
Vanilla Bean Ice Cream (with no-churn option)
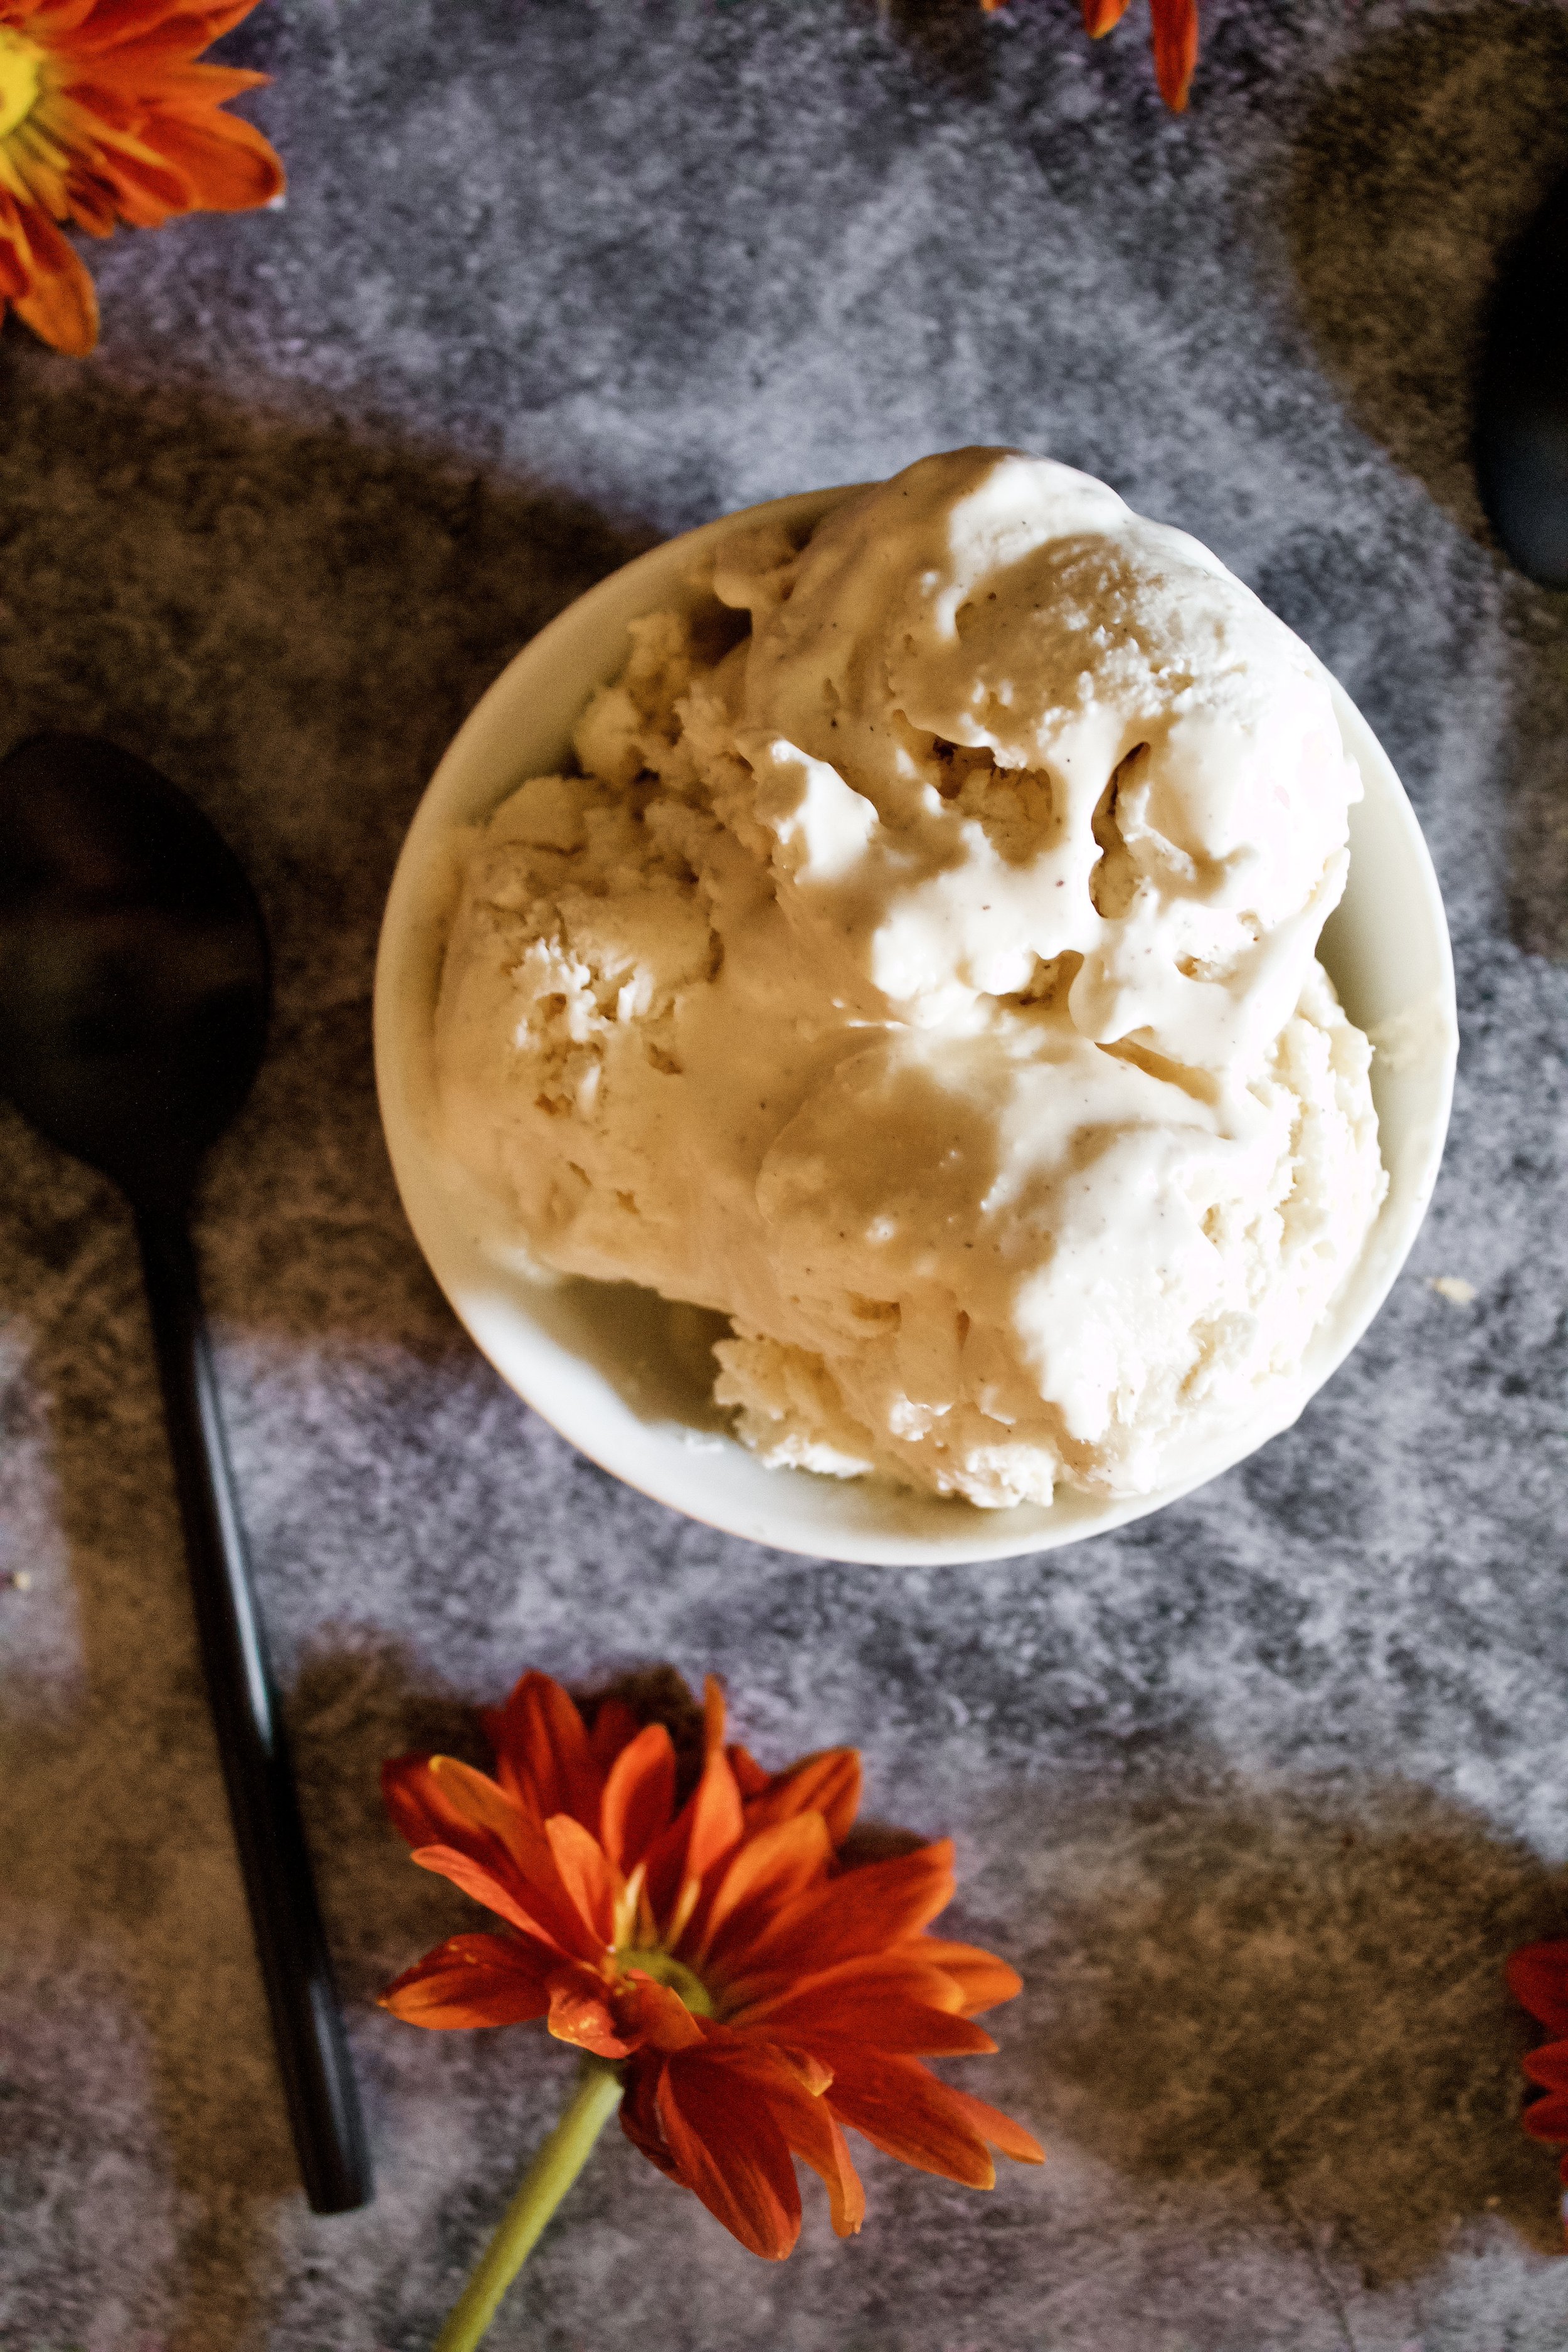
Smooth, creamy ice cream with a bold, earthy vanilla bean flavor. This is not your bland base to build a sundae on—it stands alone as a delicious bite yet pairs perfectly with your favorite toppings, next to a slice of birthday cake, or on top of warm pie!
This post may contain affiliate links from which, at no additional cost to you, I may earn a small commission to keep this site running. Only products I myself would or do use are recommended.

Vanilla ice cream is that thing I always forget about. When I buy or make ice cream, I want flavor. Mudslide and Fireside S’mores (RIP, my favorite flavor from Tillamook) are my favorites. And Ben & Jerry’s is just the best.
Why would I buy vanilla ice cream? And why would I go to the trouble of making it?
Because it’s perfection with things like apple pie, cherry cobbler, and bread pudding. That’s why.
So, I finally, finally made vanilla bean ice cream. In fact, I’ve made it a few times in the last few months. I’ve tried out some variations on no-churn ice cream, and found out it’s possible to make this just about any which way you want. It comes out deliciously every time.

Why this recipe works
The vanilla bean really is the star in this ice cream. It gives actual flavor, not just the vague hint of sweet and creamy. But I also love how versatile this recipe is. You can make it with egg custard as the base (which only takes about 10 minutes and is very simple) or use sweetened condensed milk. You can use either base to make a no-churn ice cream or a slow-churned ice cream. See? Simple!
One note is that this does call for some kind of thickened base, ideally an egg custard but sweetened condensed milk can be subbed, too. Some recipes out there sound super simple because they just need milk, cream, vanilla, and sugar. However, those aren’t actually ice cream. They’re gelato. And yes, I know that sweetened condensed milk is just milk an sugar, but it’s been thickened, making it a bit of a cross between ice cream and gelato. So…it counts…yeah.

Key ingredients
Heavy whipping cream. This is a must for any variation. It’s what makes ice cream ice cream. Make sure it’s cold so it whips ell.
Egg yolks.* These help thicken the custard, but you can see the note below for subbing condensed milk.
Milk.* I suggest whole milk, but lowfat would work, too.
Sugar.* Obviously. Some people just use milk and sugar instead of custard or condensed milk, but you don’t get as creamy a texture, which is important in something as simple as vanilla bean ice cream.
Vanilla bean paste. The star of this recipe! You can use vanilla bean pods, but that requires steeping them to draw out enough flavor, so I prefer paste.
Vanilla extract. While this may seem like overkill, it’s just a hint to create a well-rounded, vibrant flavor.

How to make vanilla bean ice cream
1. Heat the milk and vanillas. Over medium heat, stir the milk until steaming and bubbles begin to form along the edges.
2. Whisk into the eggs and sugar. The eggs and sugar should be whisked until frothy, first. Carefully temper the hot milk into the eggs by slowly pouring it while whisking the eggs quickly. I always suggest tempering all of the milk into the eggs then pouring it all back into the pan, but if you’re an experienced baker, you can just temper half of it in then pour it al back into the pan.
3. Cook until thickened. Be sure to stir constantly. Once it’s thickened, I usually recommend straining it to remove any scrambled bits of egg—it happens to the most experienced of us!
4. Chill. This is necessary, but you could speed it up by placing it in the freezer for 30 minutes, stirring every 5 minutes to avoid it freezing over.


For slow-churn option:
5. Combine chilled custard and heavy cream. Be sure they are stirred well.
6. Churn according to machine’s instructions. Be sure to read these ahead of time, as you may need to buy ice or freeze the insert for up to 24 hours.
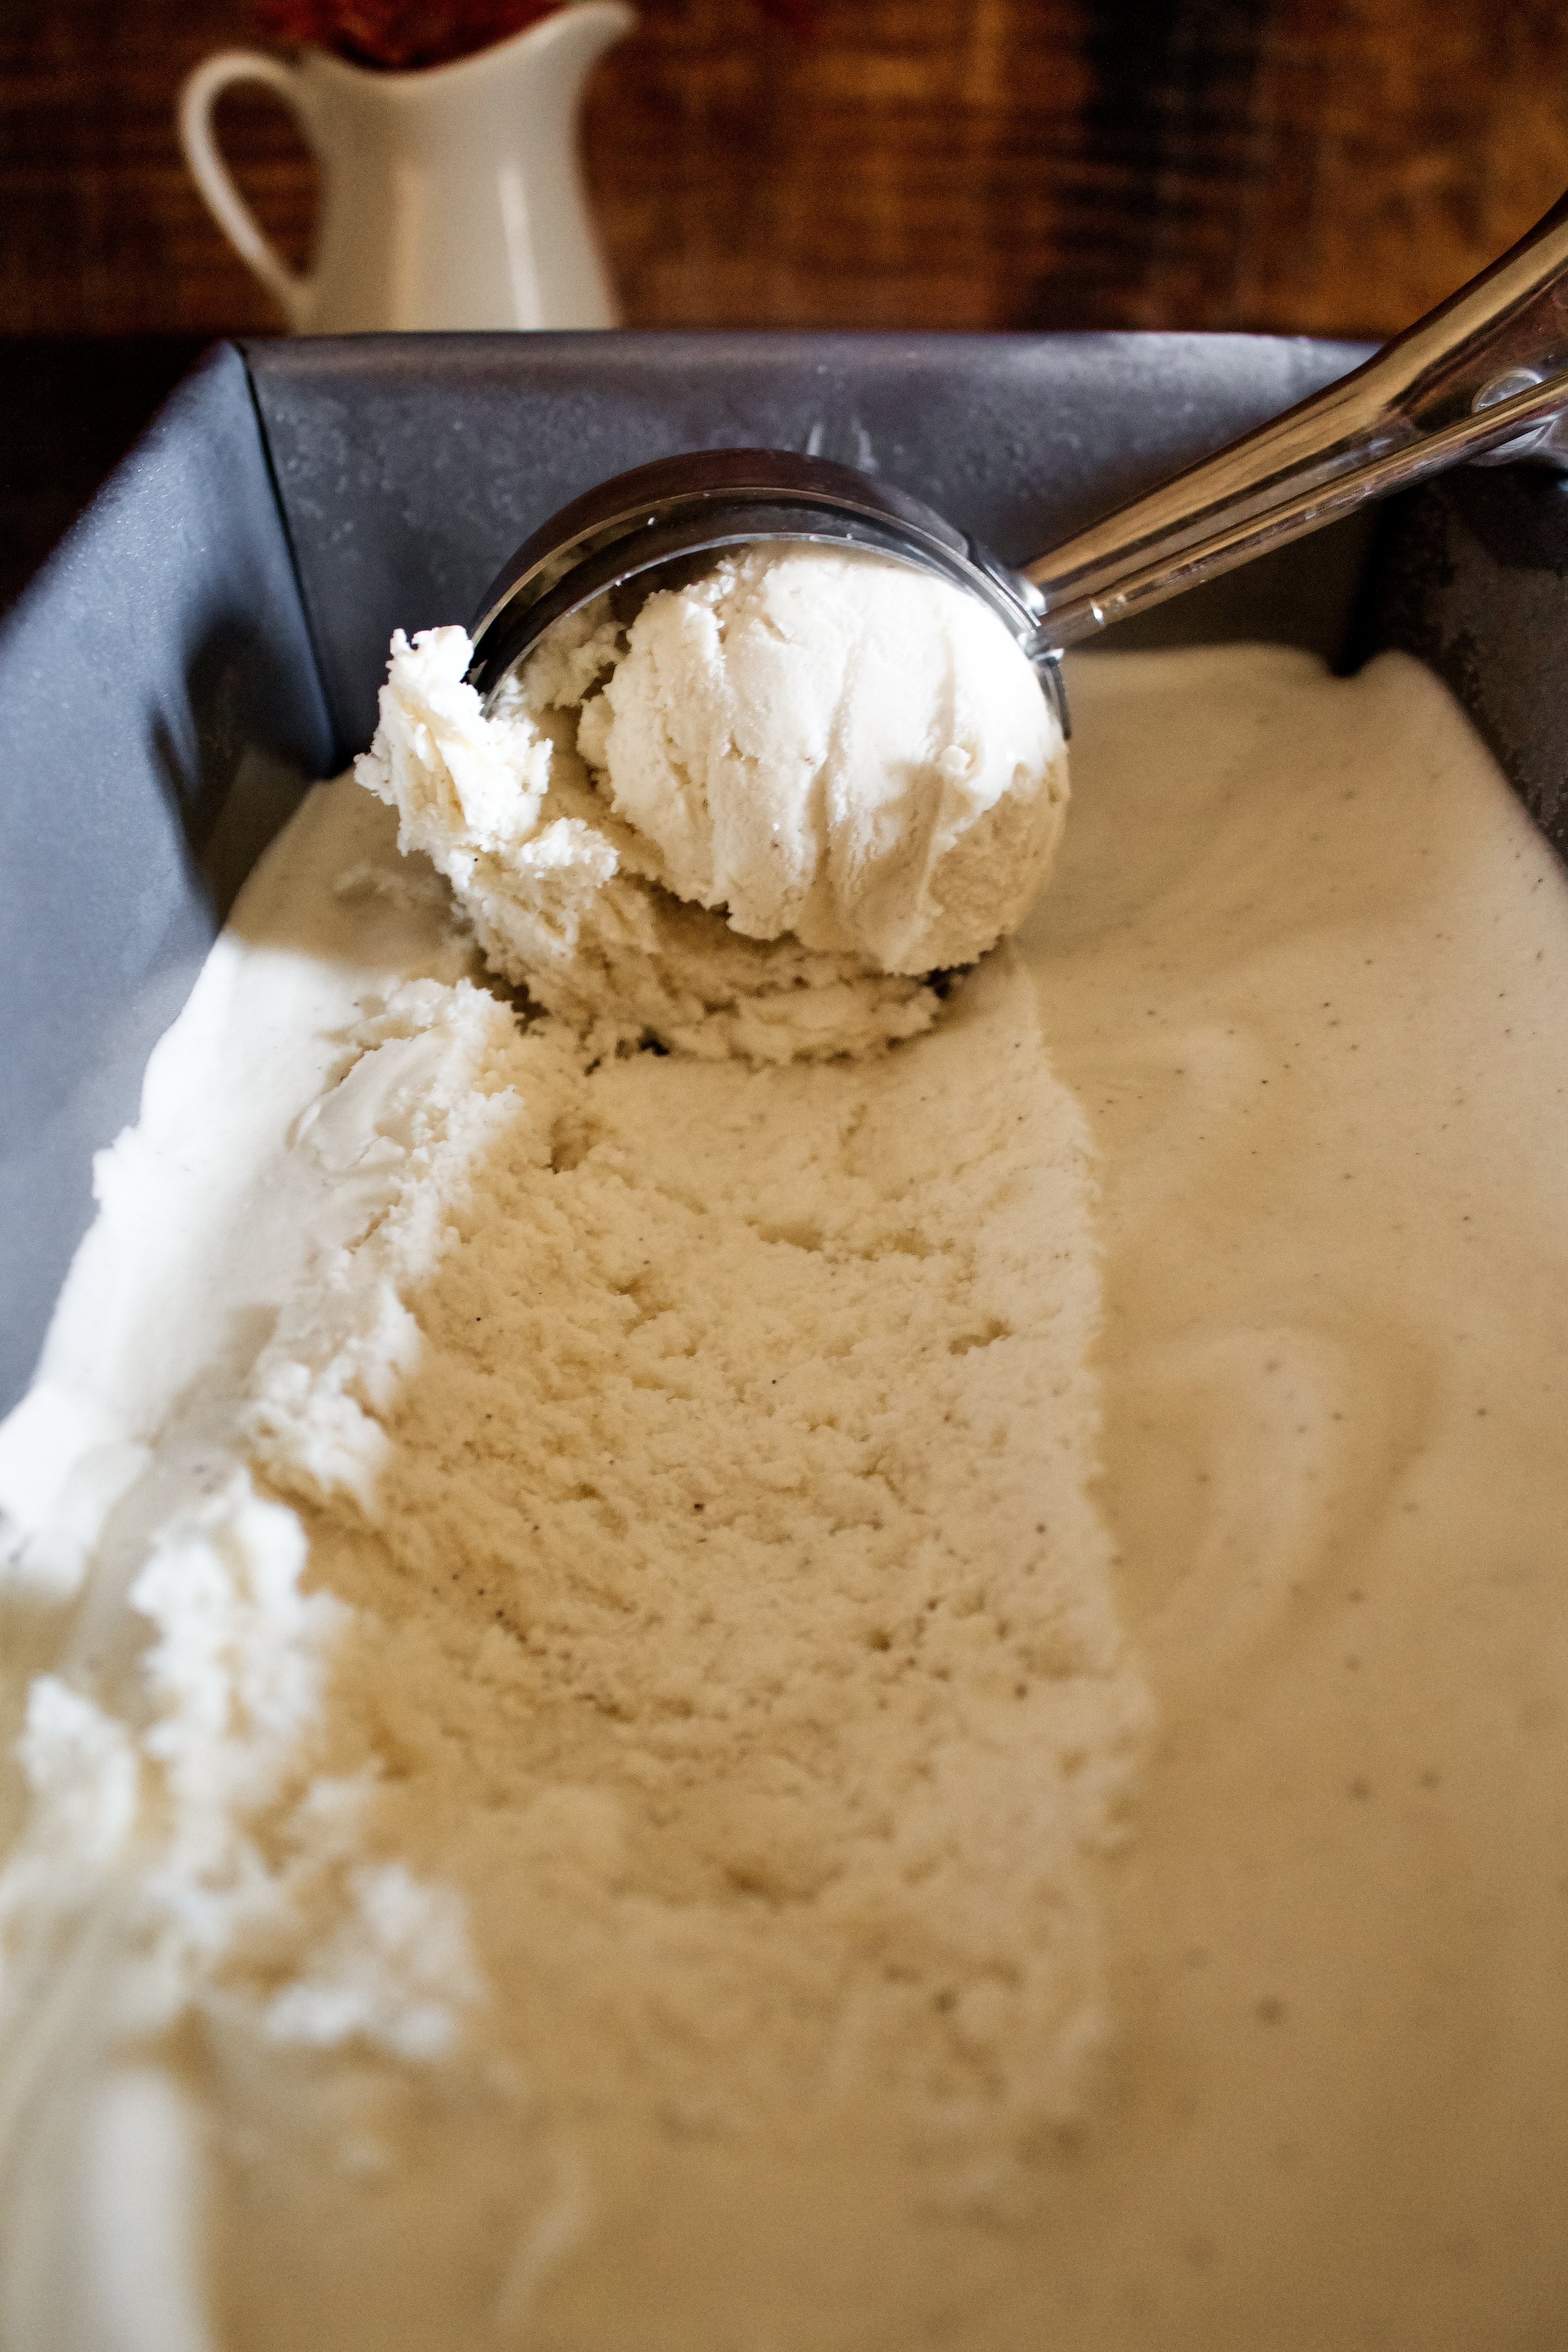
7. Serve right away for soft-serve or freeze 4+ hours for traditional ice cream consistency. Be sure it’s well-covered in the freezer.
For no-churn option:
5. Whip the heavy cream to stiff peaks. Don’t go past the very first signs of stiff peaks, or it’ll be impossible to fold it in gently.
6. Fold into chilled custard in 3 additions. Do this carefully so you don’t lose too much air.
7. Freeze 3-4 hours for soft-serve or 8+ hours for traditional consistency. I actually love eating it when it’s only halfway frozen, as it’s nice and soft, but either option works well.

Pairs well with:
Vanilla bean ice cream is wonderful with just about any pie or cake, but here are my favorite combos.
Easy Caramel Apple Crumble Tart
Classic Birthday Cake—the best combo!
Top with 5-Minute Hot Fudge and Easy Caramel Sauce for the ultimate sundae!

Tips and FAQ’s for this recipe
*Can I sub sweetened condensed milk?
Yes! I personally prefer the taste of egg-based vanilla ice creams, but you can make this recipe by using one 14 ounce can of sweetened condensed milk instead of the egg yolks, milk, and sugar (so replacing the custard). You’ll simply stir the vanilla extract and vanilla bean paste into the sweetened condensed milk in a large mixing bowl, then either add the heavy cream and churn with an ice cream maker or follow the no-churn option above.

Does no-churn really work with the custard?
It’s SO simple! I recently stumbled upon the perfect way to make a no-churn ice cream. It’s the best of both worlds: custard base with a no-churn process.

Where do I buy vanilla bean paste?
I bought this one online at the beginning of the pandemic, when vanilla bean paste was hard to come by. It’s lasted me over two years and counting, with about half the jar left. However, I also love the Trader Joe’s brand vanilla bean paste, which is currently in stock at my local stores.

My tools
Here are my must-have tools I use for making ice cream. Affiliate links provided.

Vanilla Bean Ice Cream
- prep time: 15-20 minutes
- chill time: 1 hour
- churn time: 30 minutes
- total time: 1 hour, 50 minutes (longer if using no-churn option)
servings: about 6 (½ cup servings)
Ingredients:
- 1 cups (250g) granulated sugar*
- 3 egg yolks, room temperature*
- 1 cup (240g) whole milk*
- 1 tablespoon (13g) pure vanilla extract
- 1 tablespoon (13g) vanilla bean paste
- pinch sea salt
- 2 cups (480g) heavy whipping cream, cold
- ice cream maker, prepped per directions (optional–see no-churn option at the bottom)**
Instructions:
- Follow your ice cream maker’s directions to prepare it for use, which could include placing the bowl in the freezer for up to 24 hours.*
- Mix the egg yolks and sugar in a small to medium mixing bowl. Whisk until frothy. Set aside.
- Heat the whole milk in a medium saucepan over medium heat, stirring frequently, until it begins to steam and small bubbles begin to form along the edge of the pan.
- Temper the milk into the eggs by very, very slowly streaming the milk into the eggs while whisking the eggs very quickly. Be sure to whisk constantly and quickly as you do this to avoid scrambling the eggs.
- Once all of the milk has been added to the eggs, scrape the mixture back into the saucepan and cook, stirring constantly with a rubber spatula (be sure to get to the edges and corners), until the mixture has thickened enough for the spatula to leave a trail in the custard for a brief moment as you stir.
- Remove the custard from heat and stir for about 1 minute to cool it slightly. Pour the custard into the strawberries along with the vanilla and pinch of salt and stir until mixed well.
- Stir in the whipping cream.** Cover well and refrigerate until cool, about 1 hour or up to overnight.
- Follow your manufacturer’s directions to churn the ice cream. You can either serve right away, or freeze it in an airtight container for 3-4 hours (or overnight). Serving right away will yield a soft-serve texture while freezing will create a classic ice cream texture.
Enjoy!
Store leftovers in an airtight container. Ice cream should last at least a month, but this can vary depending on your freezer and how well-sealed it is.
*See note above for an egg-free version using sweetened condensed milk.
**If you do not have an ice cream maker, you can follow the directions up to step 7. After making custard, refrigerate until cooled (about 1 hour). When the vanilla bean custard is cooled, place the heavy whipping cream in the bowl of a stand mixer fitted with the whisk attachment (or use a large mixing bowl and a handheld mixer). Beat on medium until frothy then increase speed to high until stiff peaks just begin to form (the mixture will turn matte in appearance–watch carefully and stop your mixer when this just begins to happen). Fold ⅓ of the whipped cream into the custard until fully combined, then continue with the next ⅓ of the whipped cream, followed by the final ⅓ until all whipped cream is mixed in. Pour into a loaf pan, ice cream container, or other suitably sized, freezer safe container, cover well, and freeze 3-4 hours for a soft-serve consistency or overnight for a classic ice cream texture.
