
Crispy Cherry Oatmeal Cobbler
Fresh cherries mixed with brown sugar and bourbon and topped with a crispy, chewy dough, all with the perfect balance of vanilla and cinnamon throughout. This addictive dessert has the crunch of a cherry crisp but the chew and deep flavor of a cobbler—making it one of the best ways to use up those summer cherries!
This post may contain affiliate links from which, at no additional cost to you, I may earn a small commission to keep this site running. Only products I myself would or do use are recommended.

Guys, I spent WAY too long trying to figure out how to categorize this recipe. Are cobblers pies? Or some sort of British pudding? Are they their own thing? What are they??
Wikipedia said they were created as an alternative to pies, so I settled on that…after like an hour of researching and brainstorming. That’s normal, right? About as normal as the “ocean sunglasses” I acquired in Hawaii—literally, from the ocean floor. They’re perfect beach and pool sunglasses so that my expensive Maui Jim’s don’t get tarnished or lost while I’m at the beach. Plus I’m sure the ocean water sanitized these random sunglasses before I got them…right?

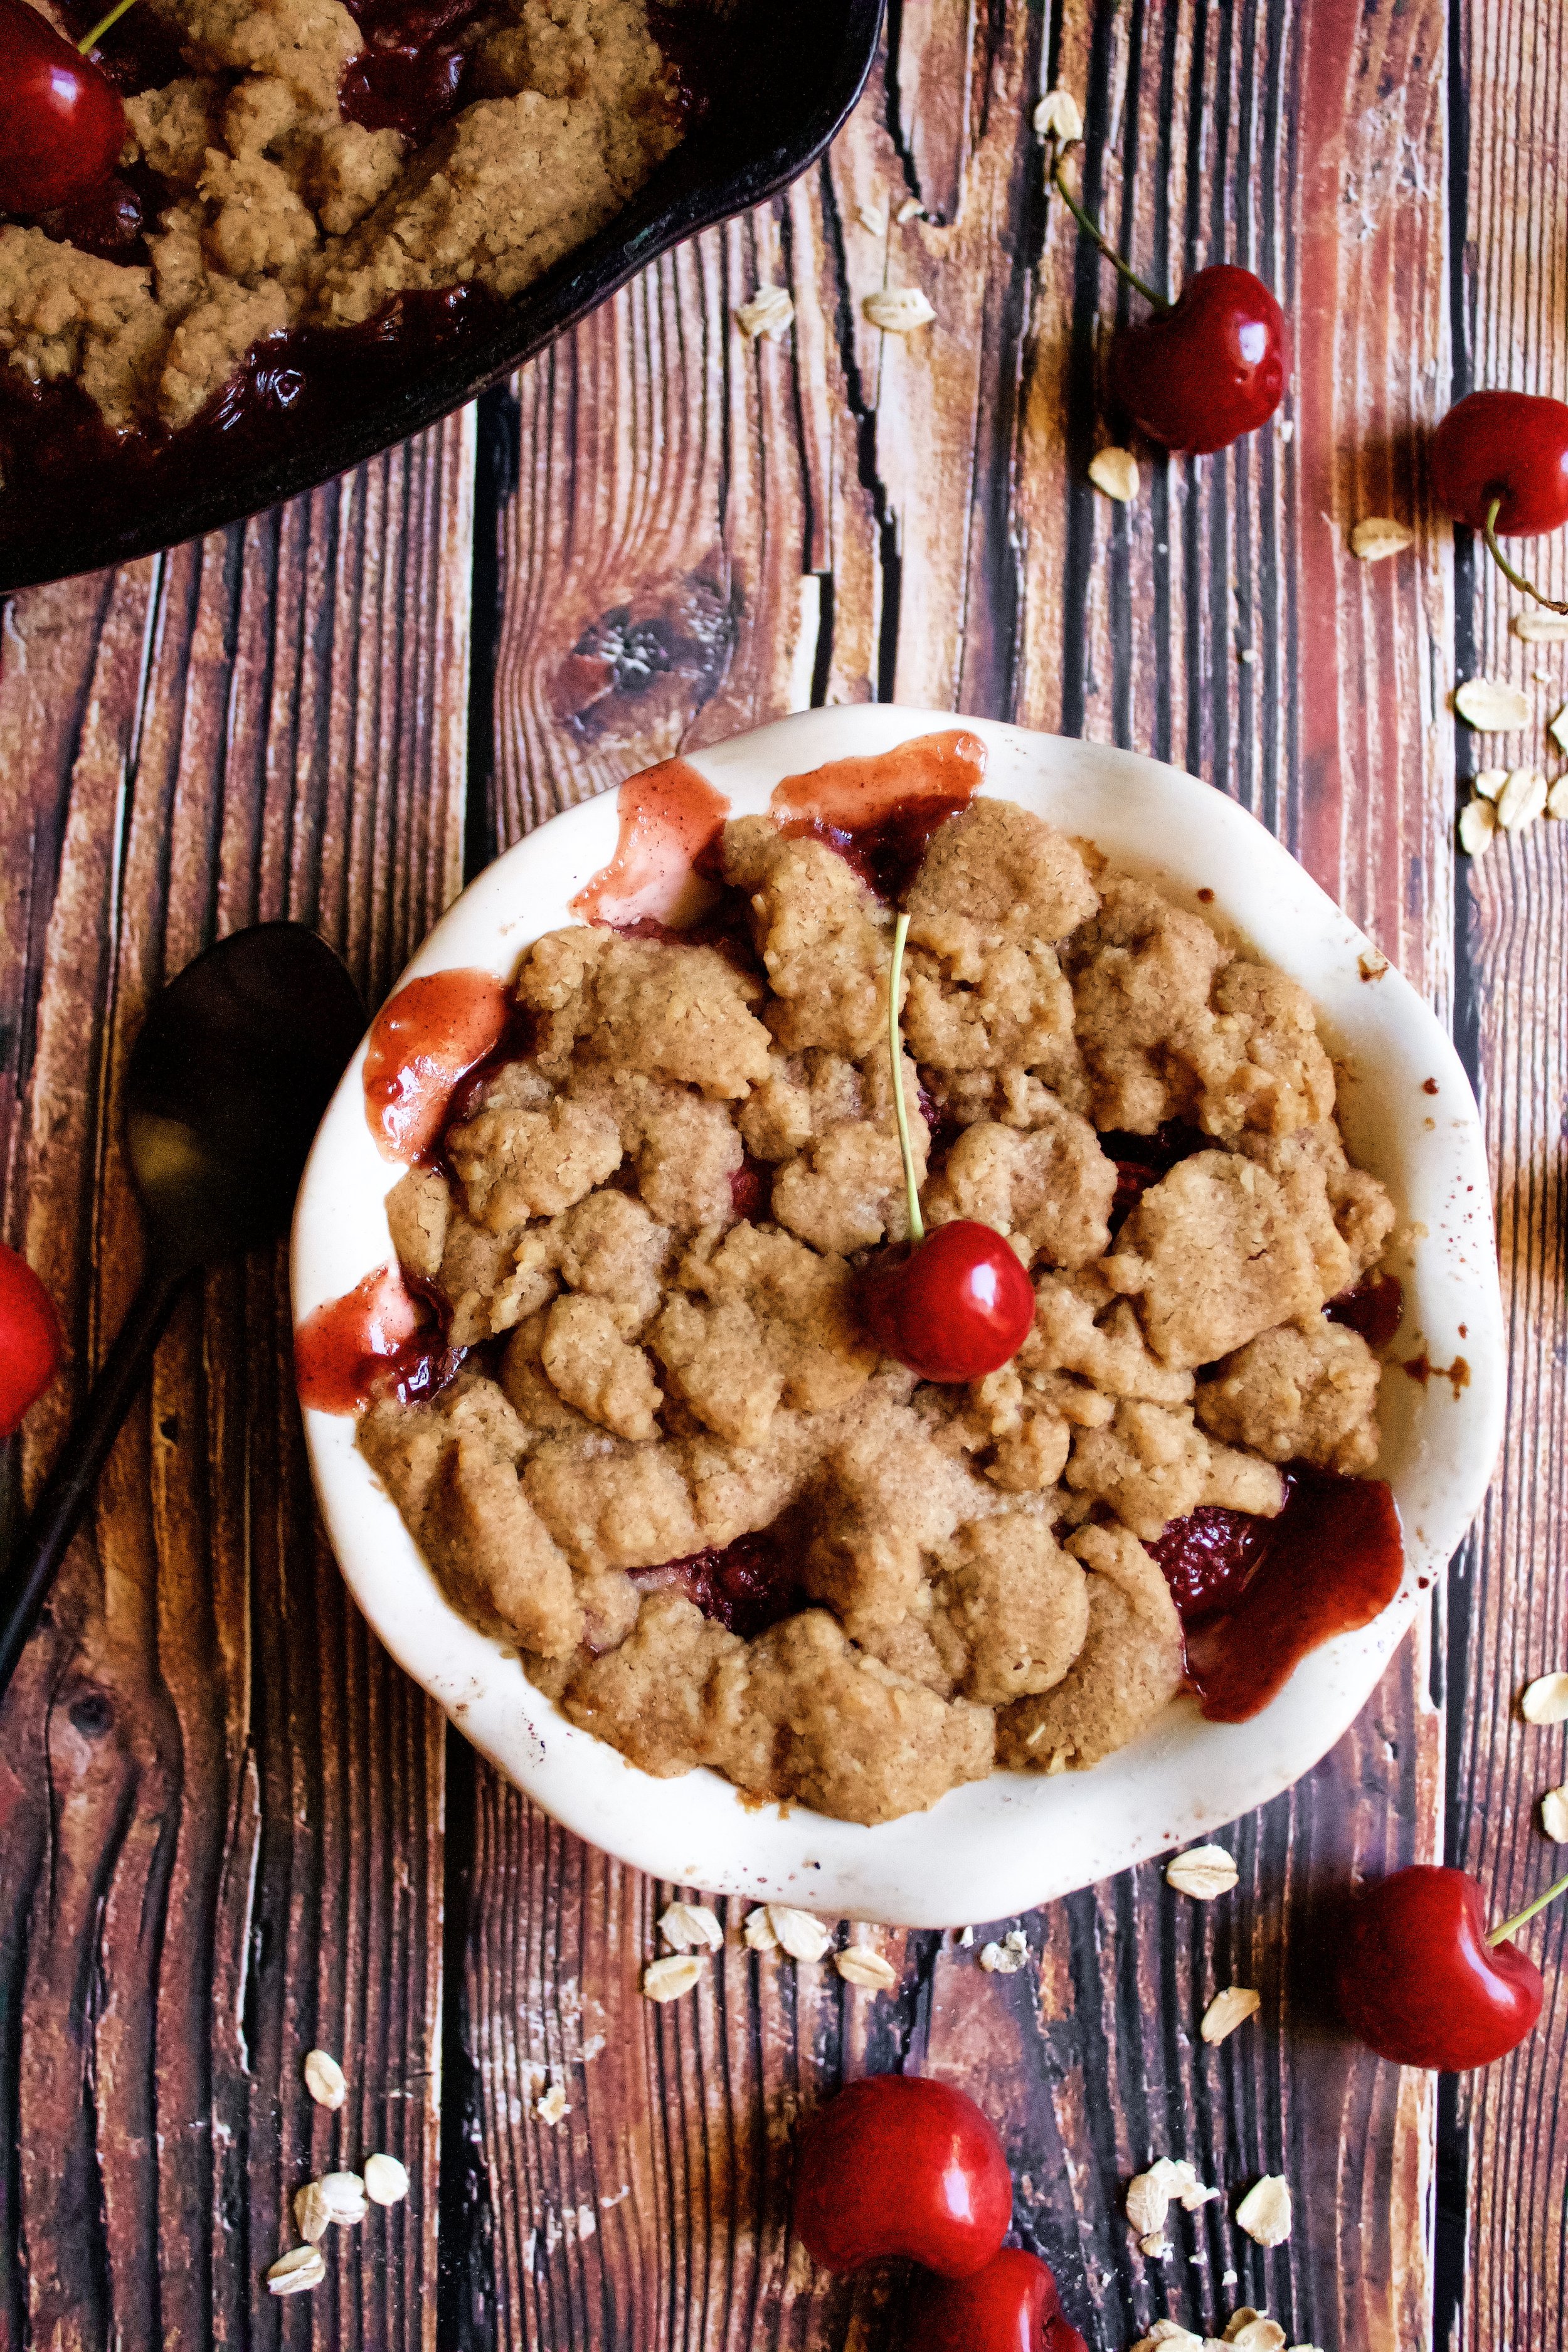
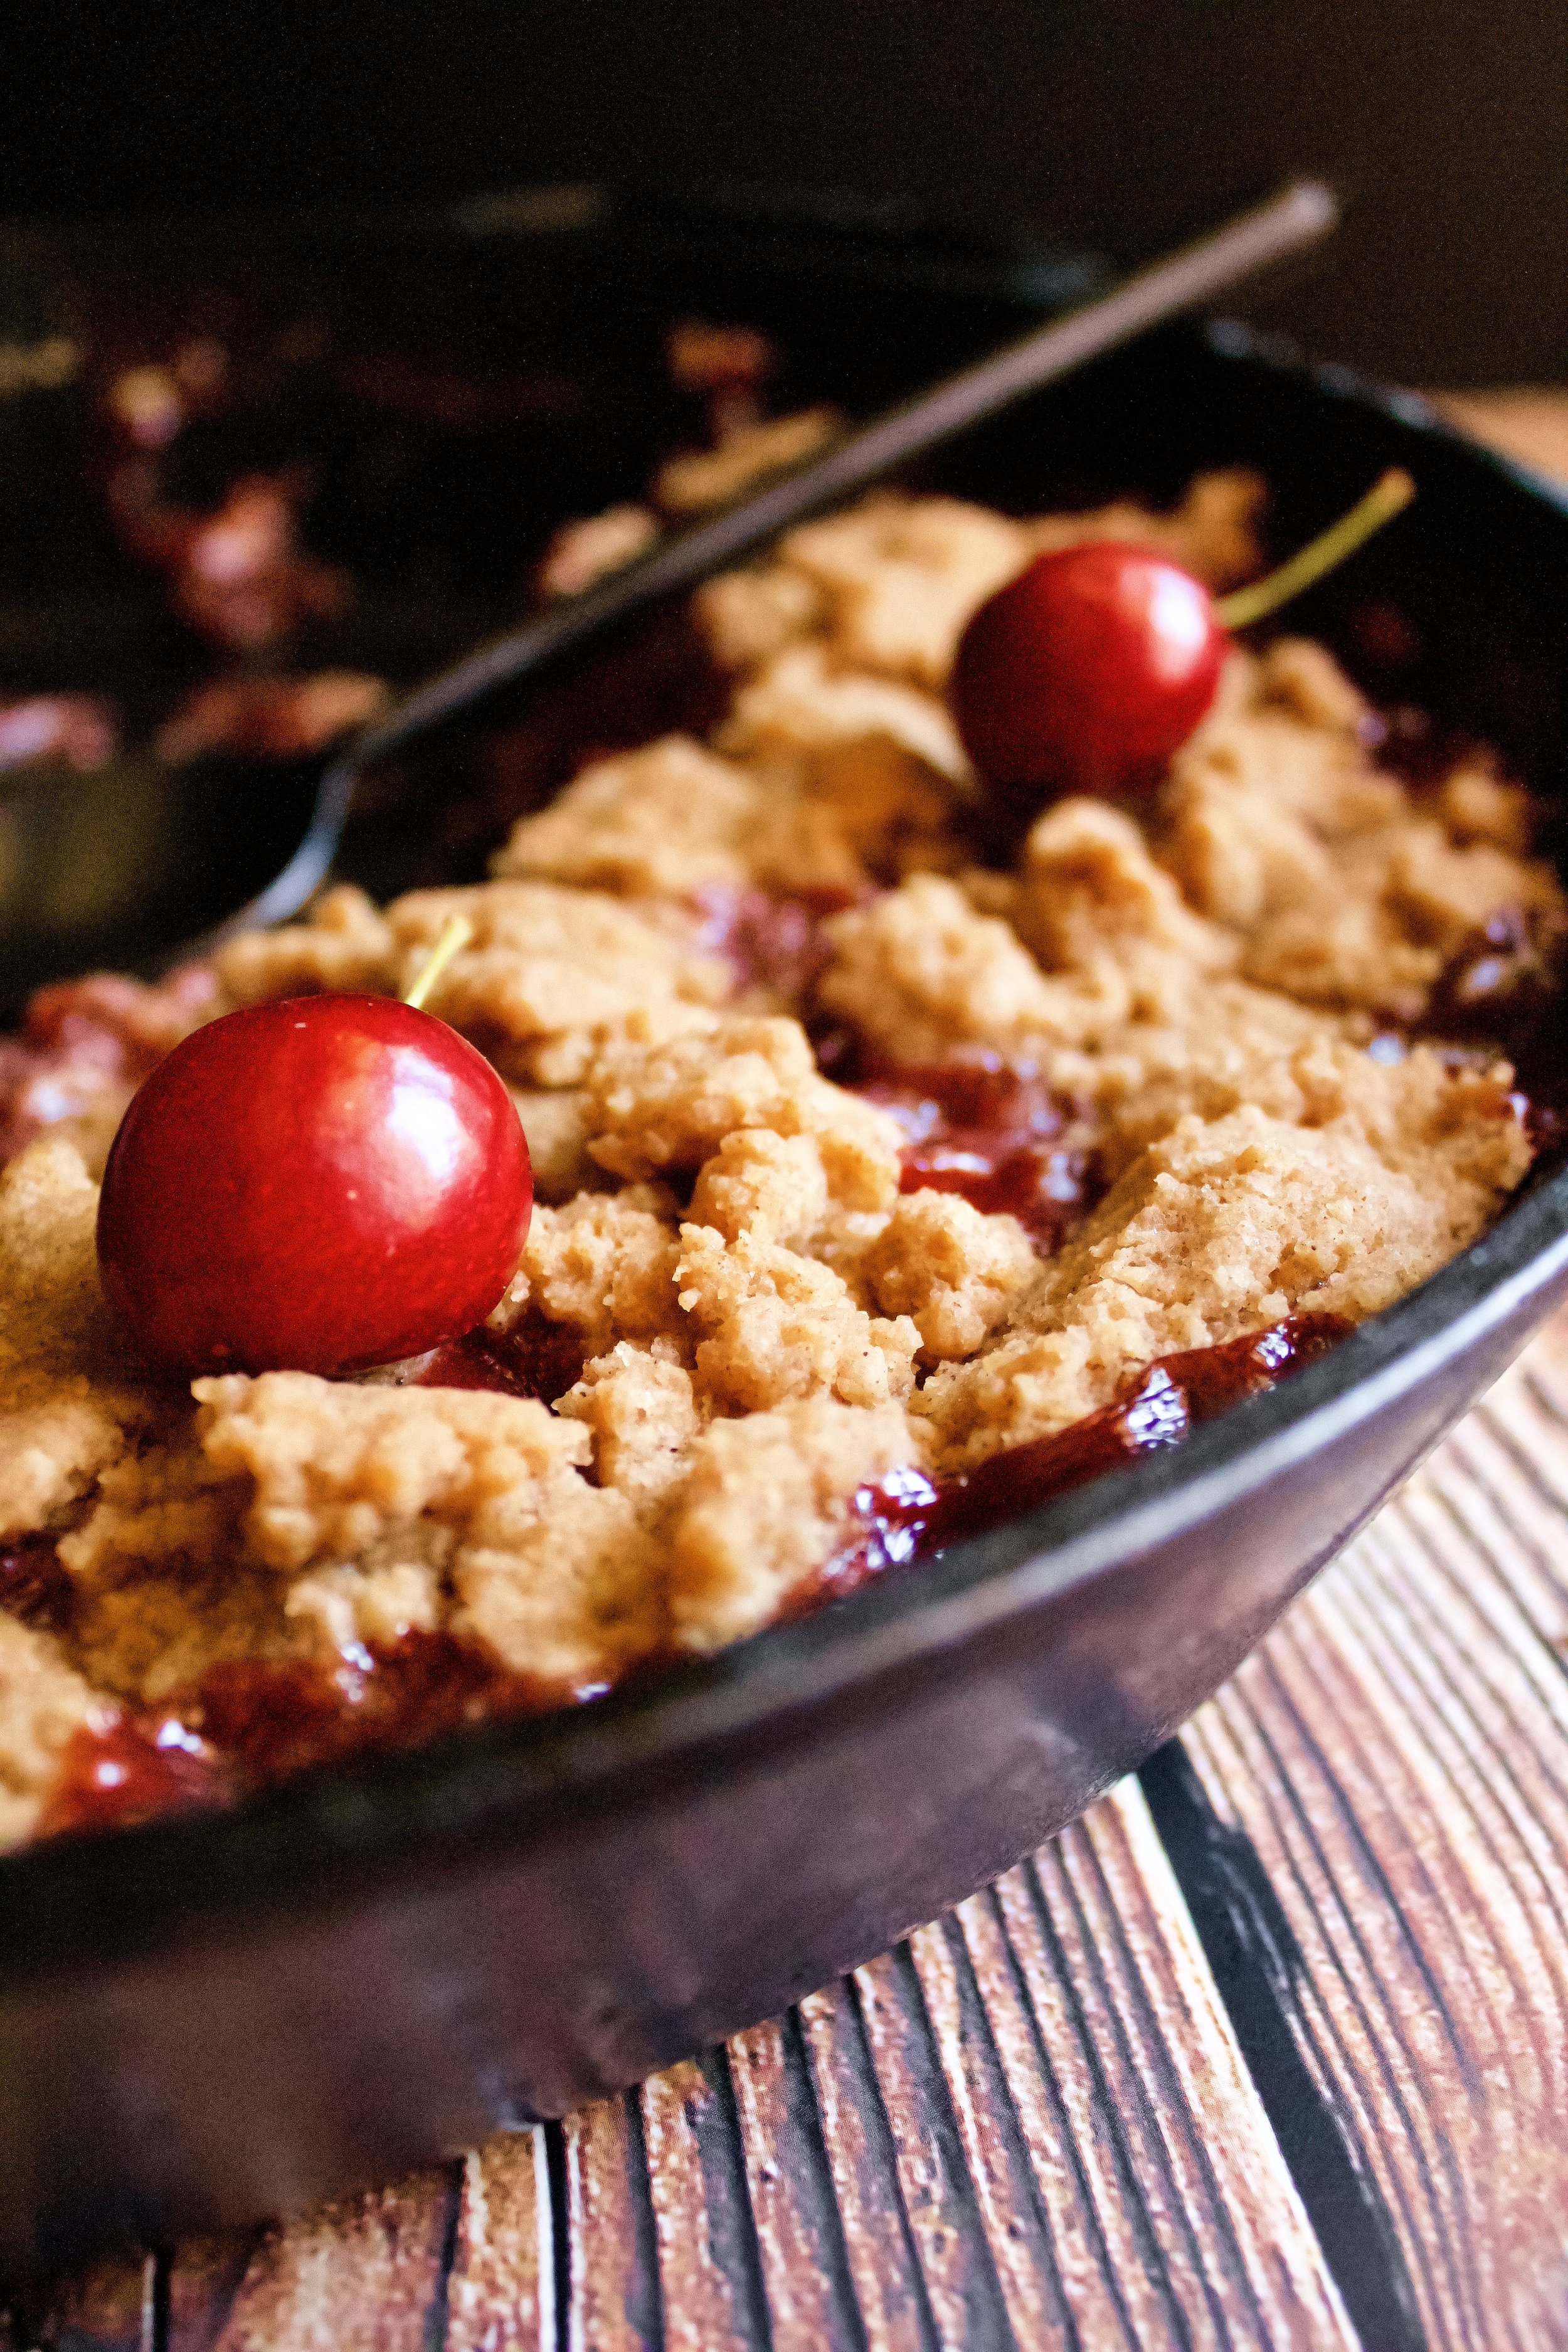
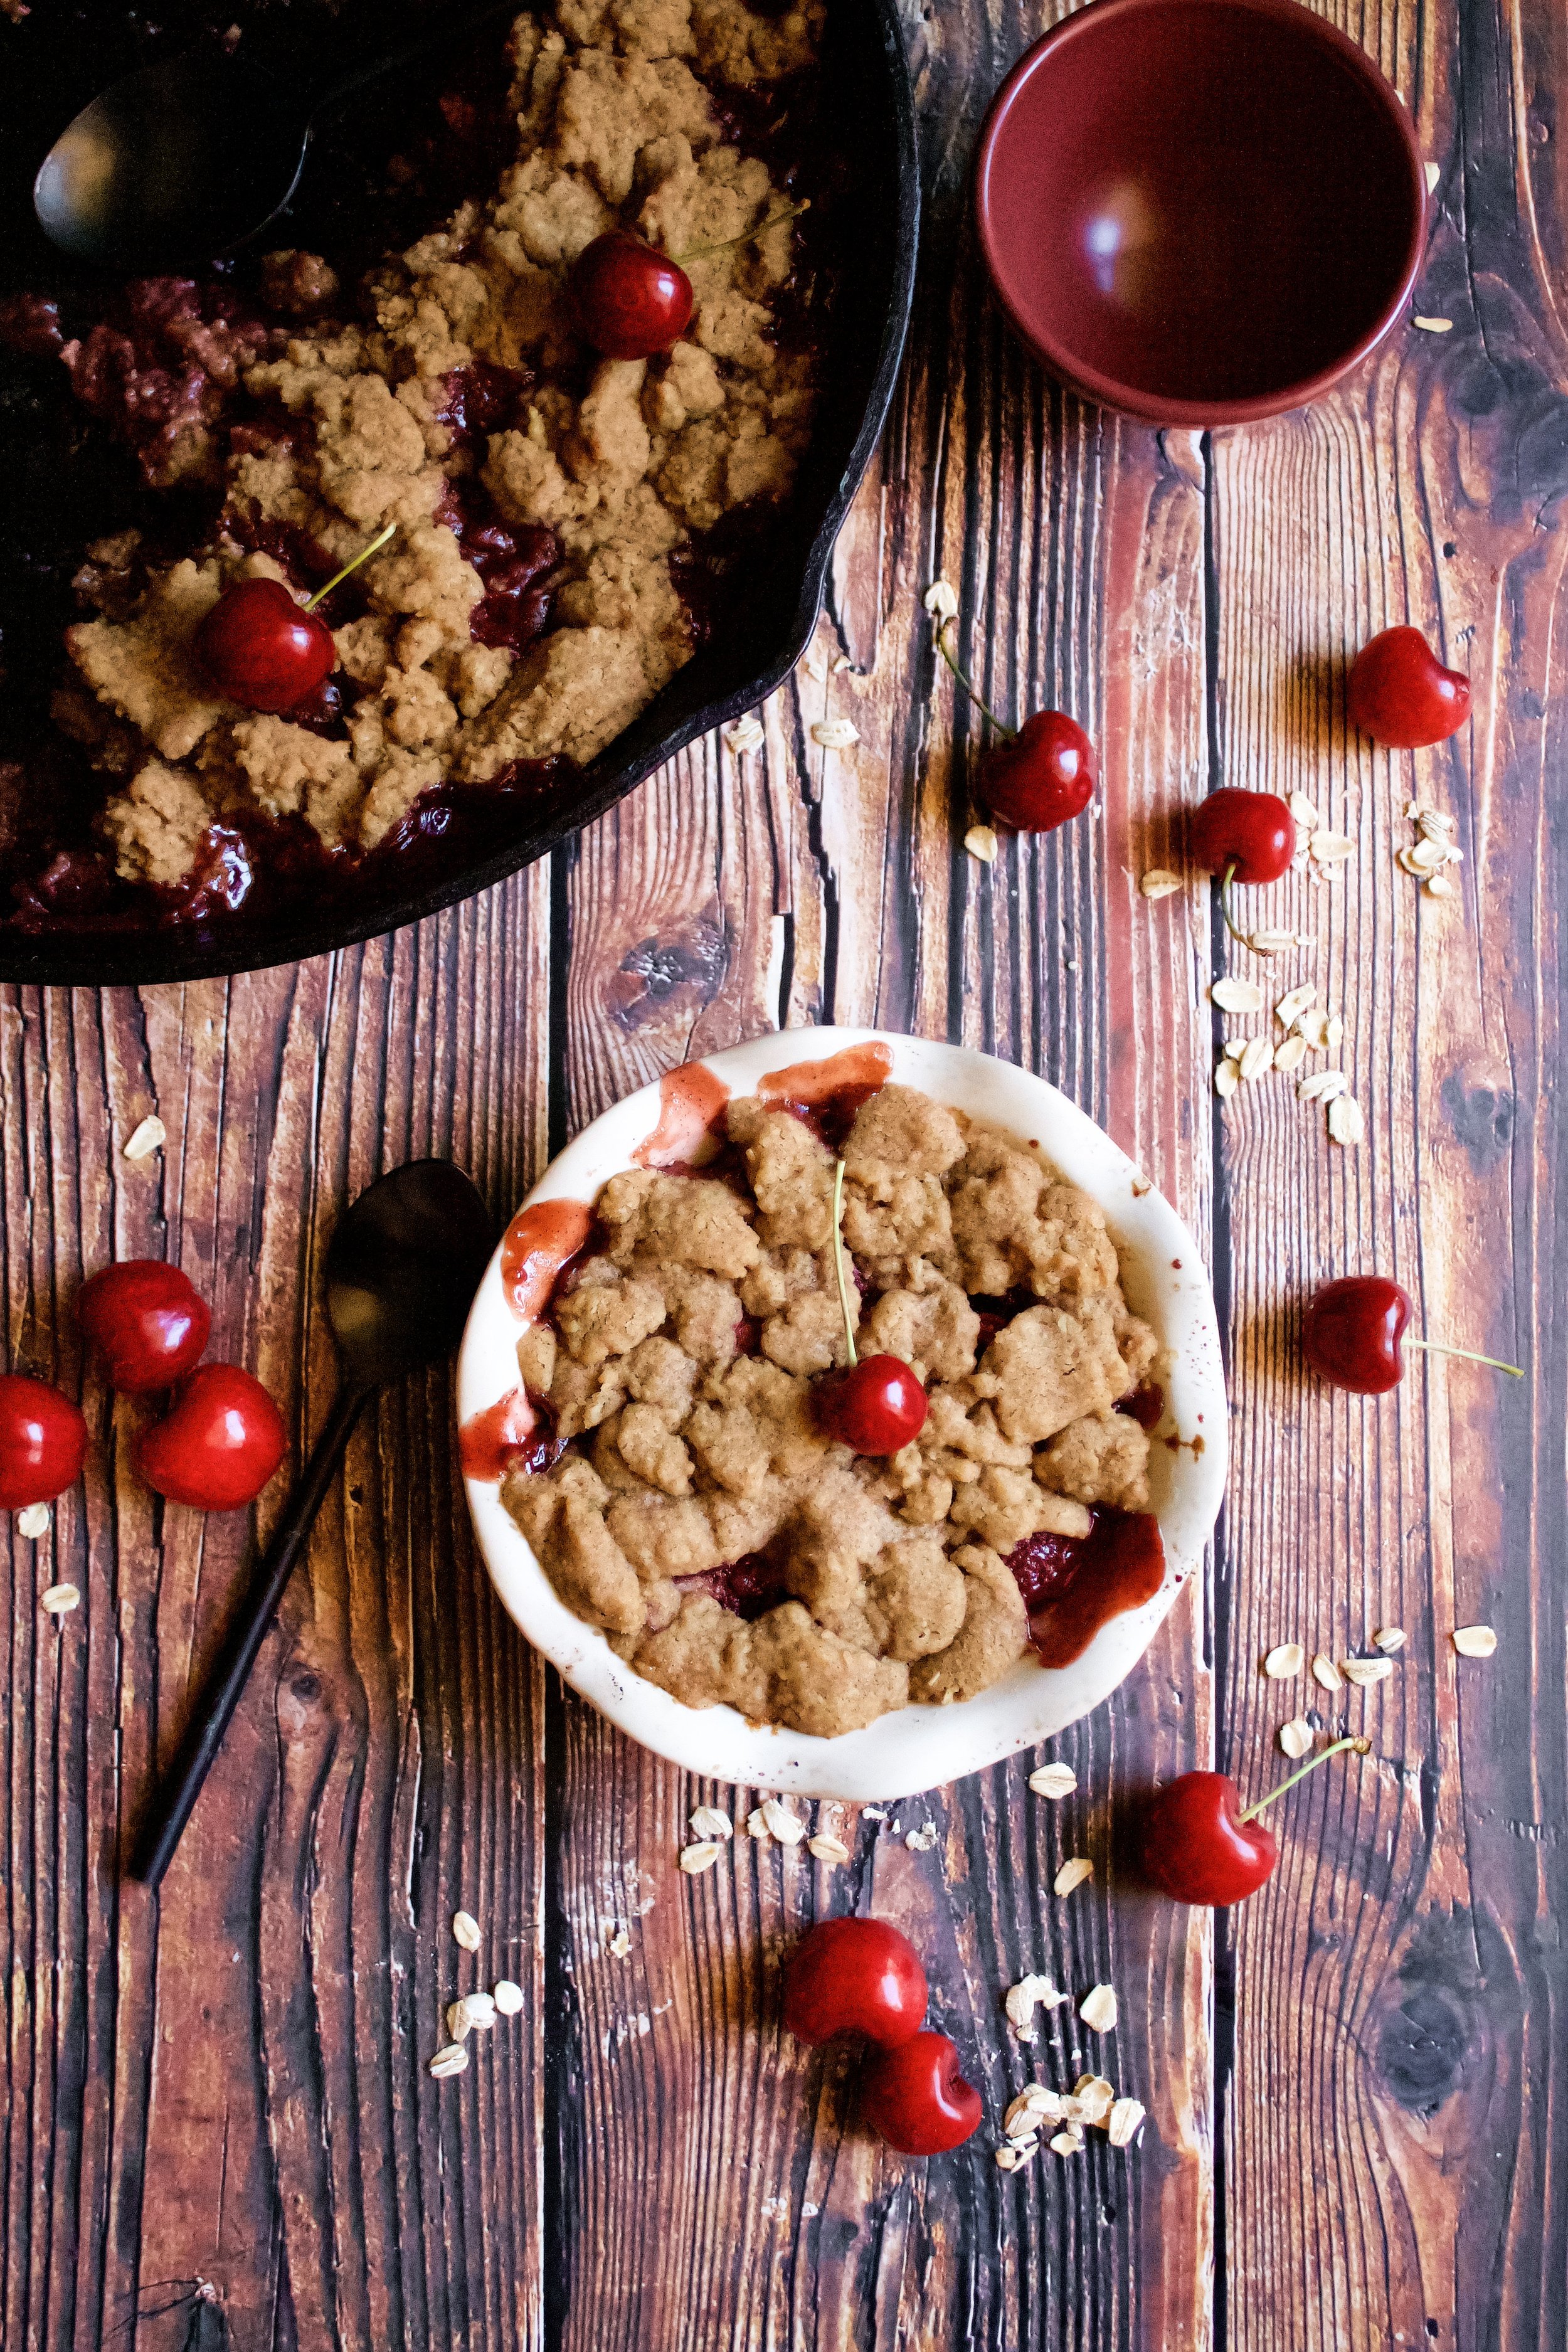
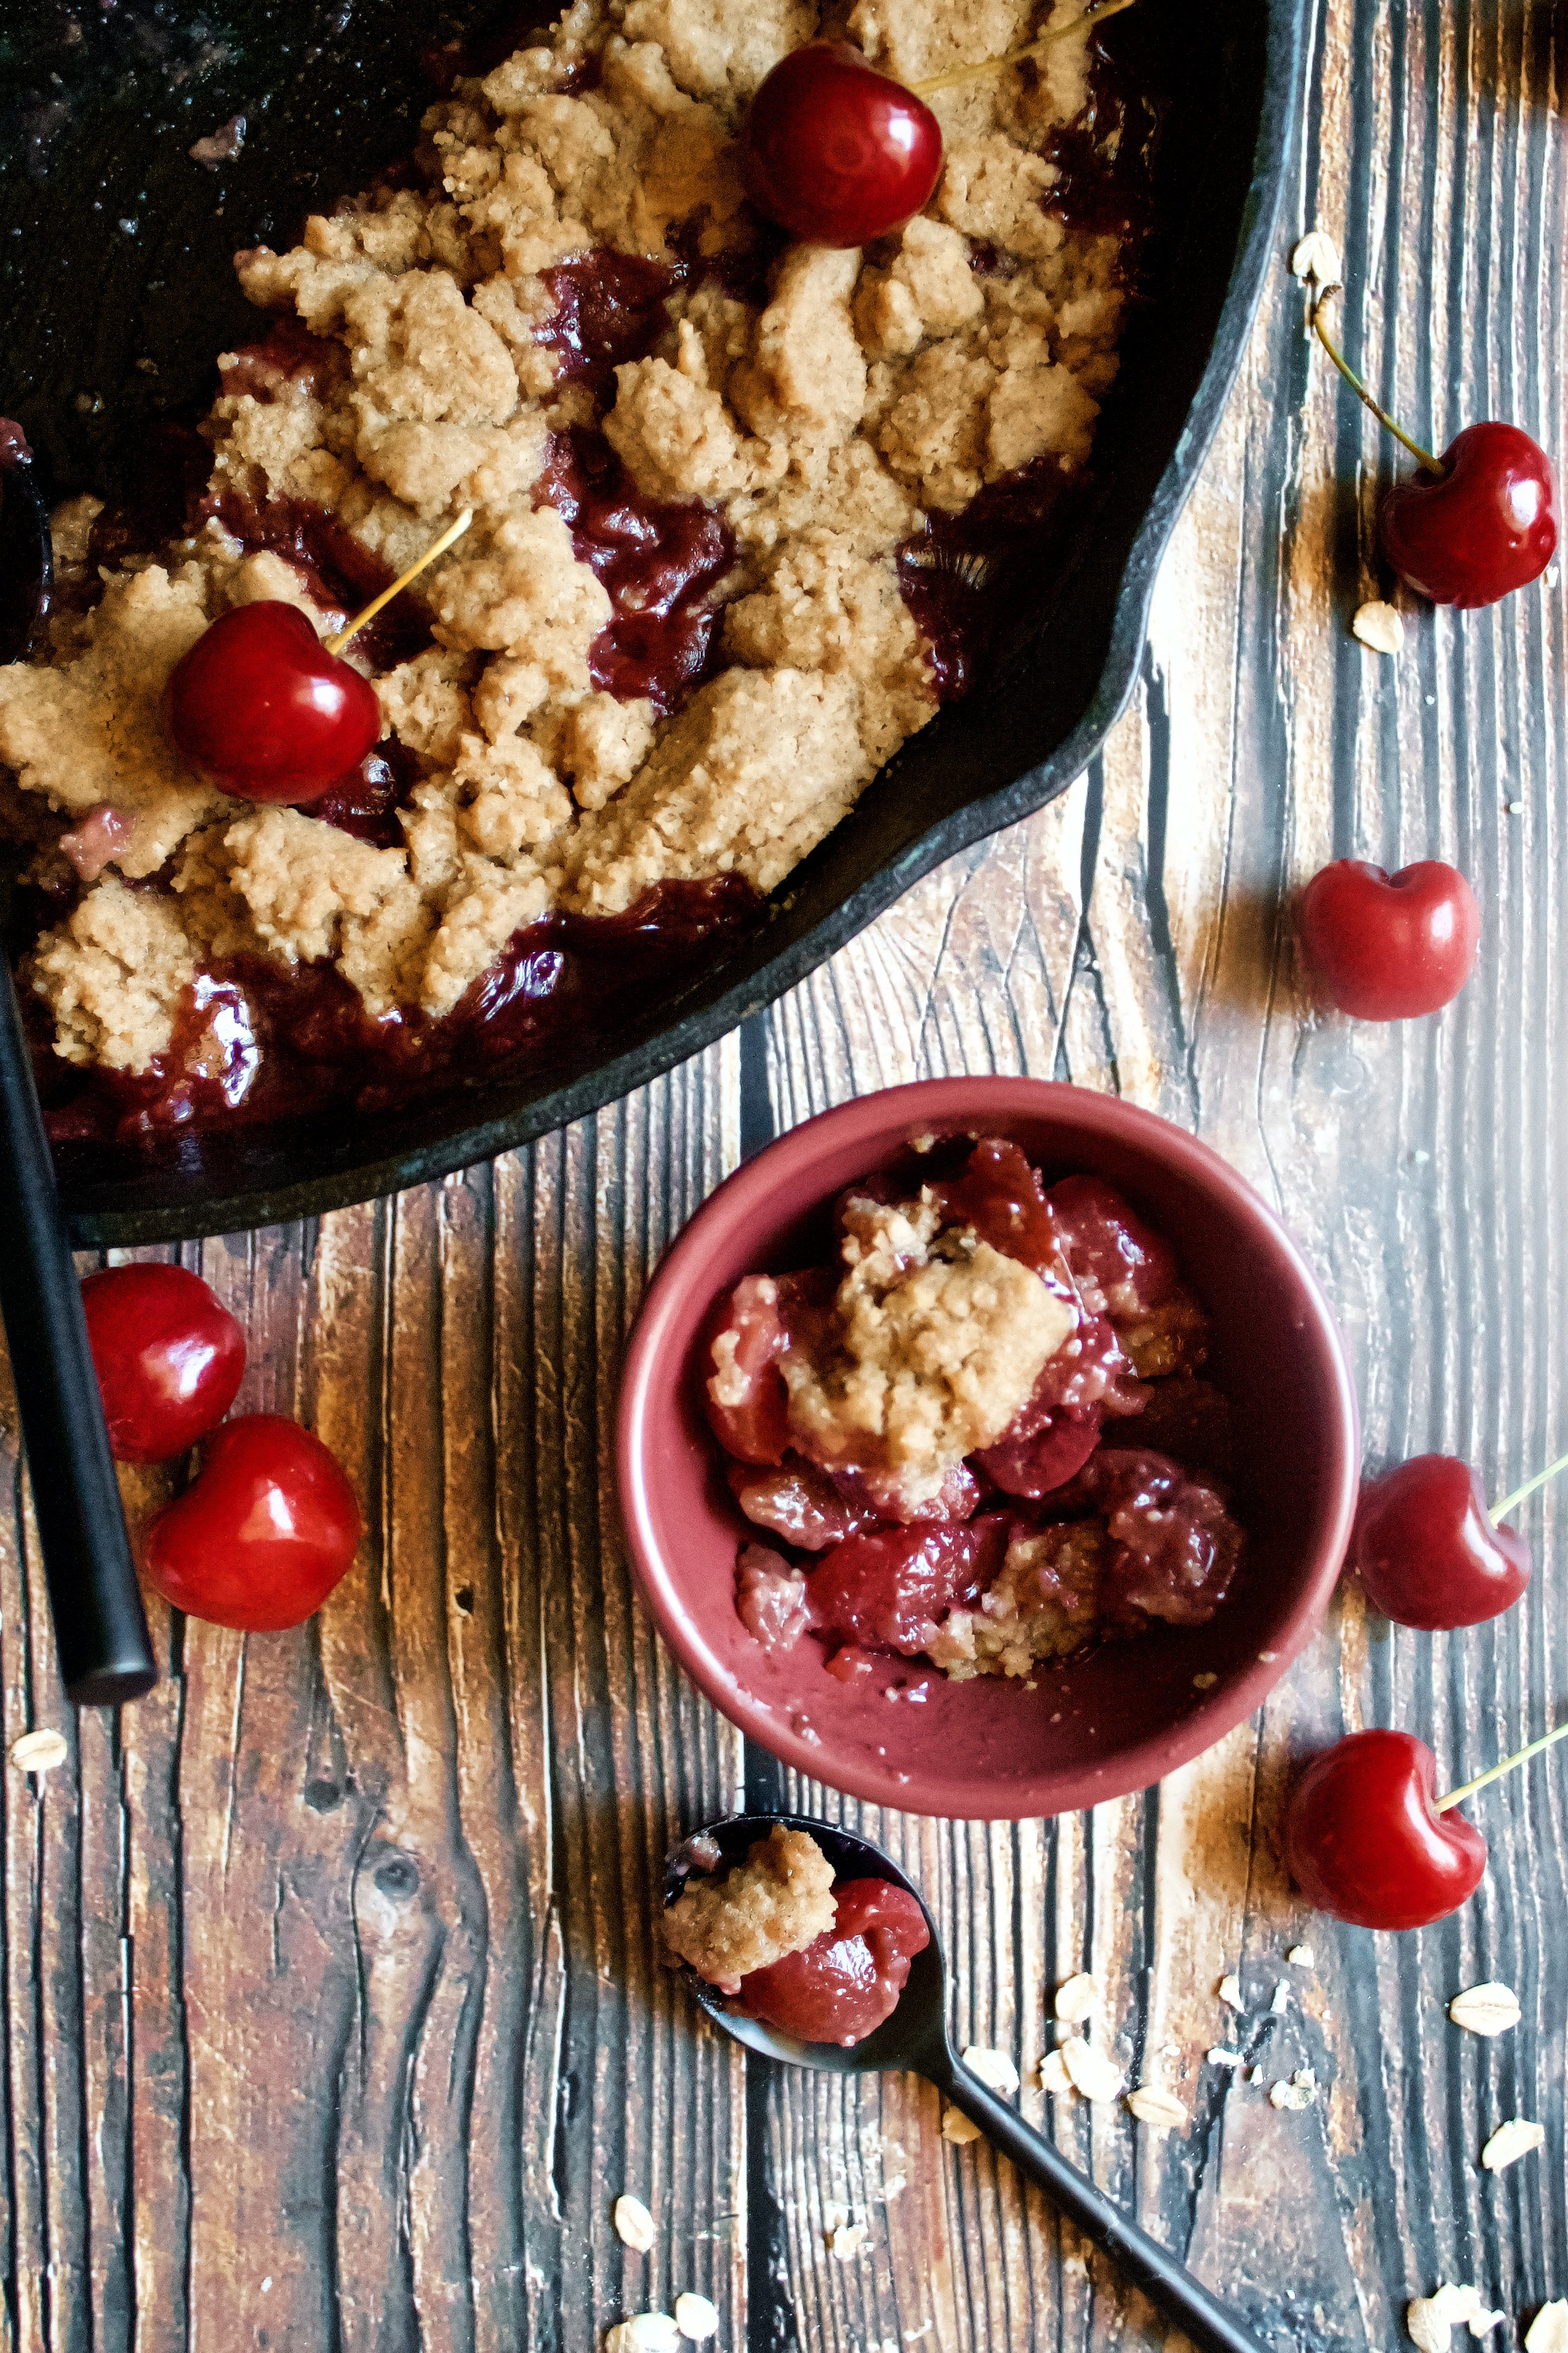
Anyway, cherry oatmeal cobbler. Technically, I made a bit of a crisp/cobbler hybrid. But I’ve never been a big fan of the texture of a crisp. They always taste like a fancy baked oatmeal. So I took the healthy part of crisp—the oatmeal—and ground it into my cobbler topping. And wow is it good. It gives just the right amount of texture and creates a somewhat crispy cobbler. It also serves up nicely, which is basically impossible with a crisp.

Then there’s the cherry filling. So bright and fruity and summery. I actually hand-pitted all of the cherries for this recipe, including two mini cobblers for keeping and a large one for sharing with my sister who’d just had a baby. It was way more work than I expected but absolutely worth it. I mean, she’s my sister and this is my first niece.

Plus, fresh cherries create the perfect taste and texture for the filling, especially if you halve them. Halving the cherries helps them begin releasing their juices before you bake, so you don’t get a soupy cobbler. Plus, it makes room for more cherries. Win-win.
How to make crispy cherry oatmeal cobbler
First, pit and halve your washed cherries. I highly suggest a pitting tool. It’s worth every penny.
Mix your cherries with the filling ingredients and set aside. Doing this first helps create a perfectly thickened filling.
Pulse your oats until well-ground. You’re looking for a result somewhere between oat flour and quinoa.
Stir in your other dry ingredients then blend in your softened butter. I’ve done this right in my food processor and also with a wooden spoon, and both work fine.
Pour the cherry filling into a greased pie pan or cast iron skillet.
Crumble the dough on top.
Bake for 45-50 minutes.
Let cool at least 30 minutes.
Enjoy with fresh whipped cream or a scoop of vanilla ice cream!


Tips and notes for this recipe
Butter can be cold, softened, or melted
I like this with softened butter, as it creates an almost cookie-like texture that makes it a cobbler. Cold butter will give you that sandy, classic crisp texture, but you’ll have to use a food processor or pastry blender to cut it in. Melted butter, on the other hand, will still make a doughy topping that will crisp up more than what you see here.

Use a cherry pitter
If you don’t have a cherry pitter, this recipe talks about how to put cherries easily. I actually found it easier to slice each cherry like an avocado then pull it apart and pick out the pit. But it took forever. So, I think a cherry pitter is a worthy investment that makes it 10x as fast.
My cobbler tools
There’s really not much to this, but here are the tools I love that helped me make this cobbler. Affiliate links provided.

Crispy Cherry Oatmeal Cobbler
- prep time: 15-20 minutes (less if you use a cherry pitter)
- bake time: 45-50 minutes
- total time: 1 hour, 5 minutes
servings: 6-8
Ingredients:
for the filling
- 2 pounds fresh cherries, washed and dried (see note)
- 2-3 tablespoons (30-45g) bourbon (or lemon juice)
- 1 tablespoon (13g) pure vanilla extract
- ¼ cup (34g) all-purpose flour
- 1 tablespoon (8g) ground cinnamon
- ½ cup (110g) packed brown sugar
for the oatmeal topping
- ½ cup (50g) old-fashioned oats
- 1 ½ cups (204g) all-purpose flour
- 1 cup (220g) packed brown sugar
- 1 tablespoon (8g) ground cinnamon
- 1 cup (227g) salted butter, softened (if using unsalted butter, add ⅛ teaspoon salt)
Instructions:
- Preheat your oven (or grill--this will work on any grill with easily controlled temperature!) to 350. Grease a 9” to 10” pie pan or cast iron skillet with butter and set aside.
- First, pit and halve your cherries. You can do this with a cherry pitter or by hand. There are two methods to do this by hand. One is featured here, and the other is to slice them like an avocado around the pit then pull the pit out with your hands.
- Mix halved cherries with the other filling ingredients, stir well, and set aside.
- To make the topping, grind the oats in a food processor or blender until somewhat fine. It should be coarser than almond meal, but finer than quinoa. Either in the food processor or a mixing bowl, add in the flour, brown sugar, and cinnamon and mix well.
- Mix in the butter, either by pulsing the processor or blender a few times or stir by hand or with a hand mixer. It should be the texture of a dry cookie dough.
- Stir the cherry filling again and pour into your prepared dish, getting all of the juices in there, too. Spread evenly in your pan.
- Crumble the topping evenly over the filling, making sure to get all the way to the edges. There’s no wrong way to do this, as long as you drop the pieces gently so as not to press it into the filling.
- Bake for 45-50 minutes, or until the topping begins to turn a deep golden brown (this can be difficult to decipher, since the raw dough is already brown, so make a mental note of how light it was when you put it in the oven). Depending on how you dropped your topping dough, you may be able to see some filling bubbling around the edges, too.
- Let cool at least 30 minutes before serving, ideally with some vanilla ice cream or fresh whipped cream!
Enjoy!
Leftovers can be stored, well-covered, in the fridge for 3-5 days. Reheat in the oven or on the grill at 350 for 10-15 minutes.
Note on cherries: the amount you’ll need can vary depending on your baking dish. I like to pour all of my cherries into the dish and have it pretty much full to the top or even a little over. Between pitting and halving the cherries then the baking, you’ll lose a lot of volume, so this is the best method for ensuring you have a nice and thick cobbler with plenty of cherry filling.
Frozen cherries can be substituted, but they should be thawed and drained first, to help control the amount of liquid in the filling.
