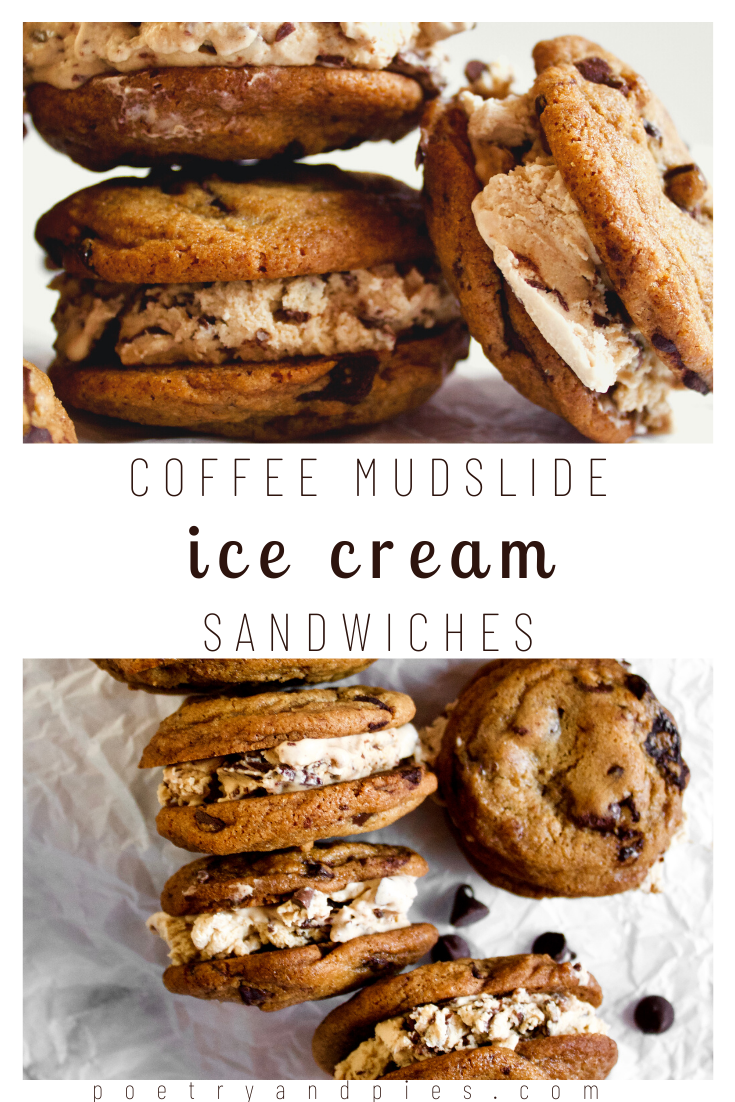
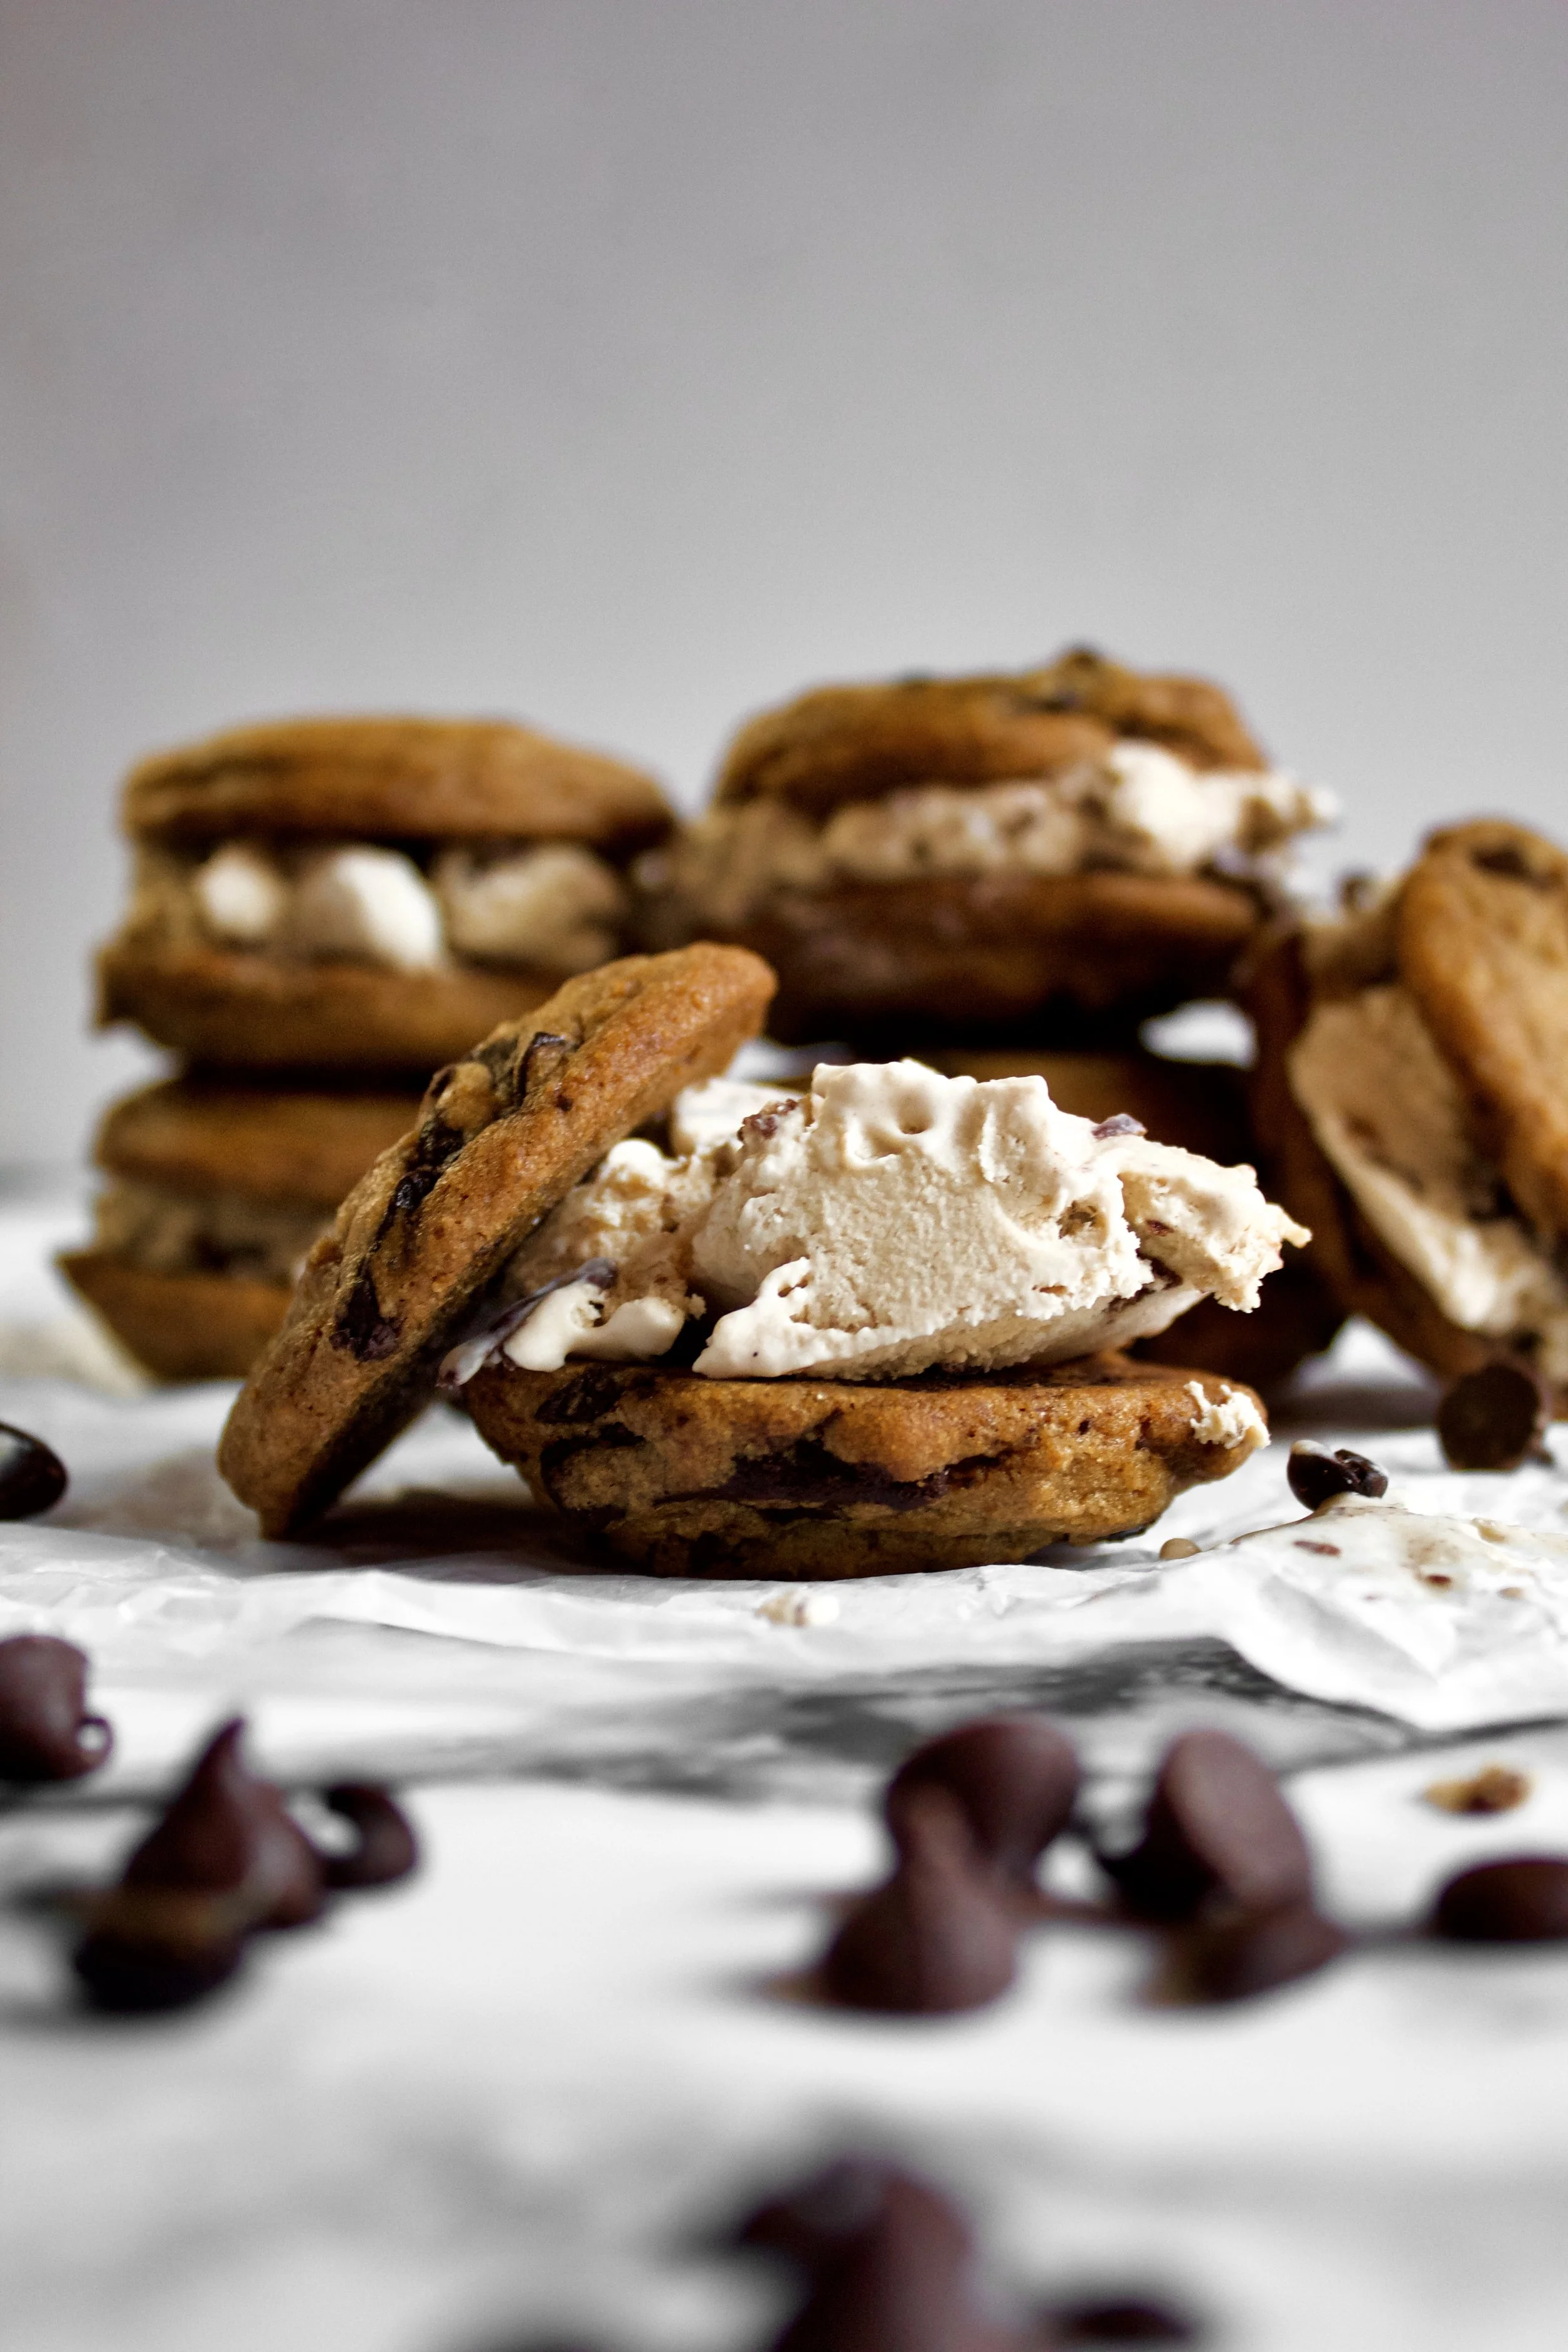
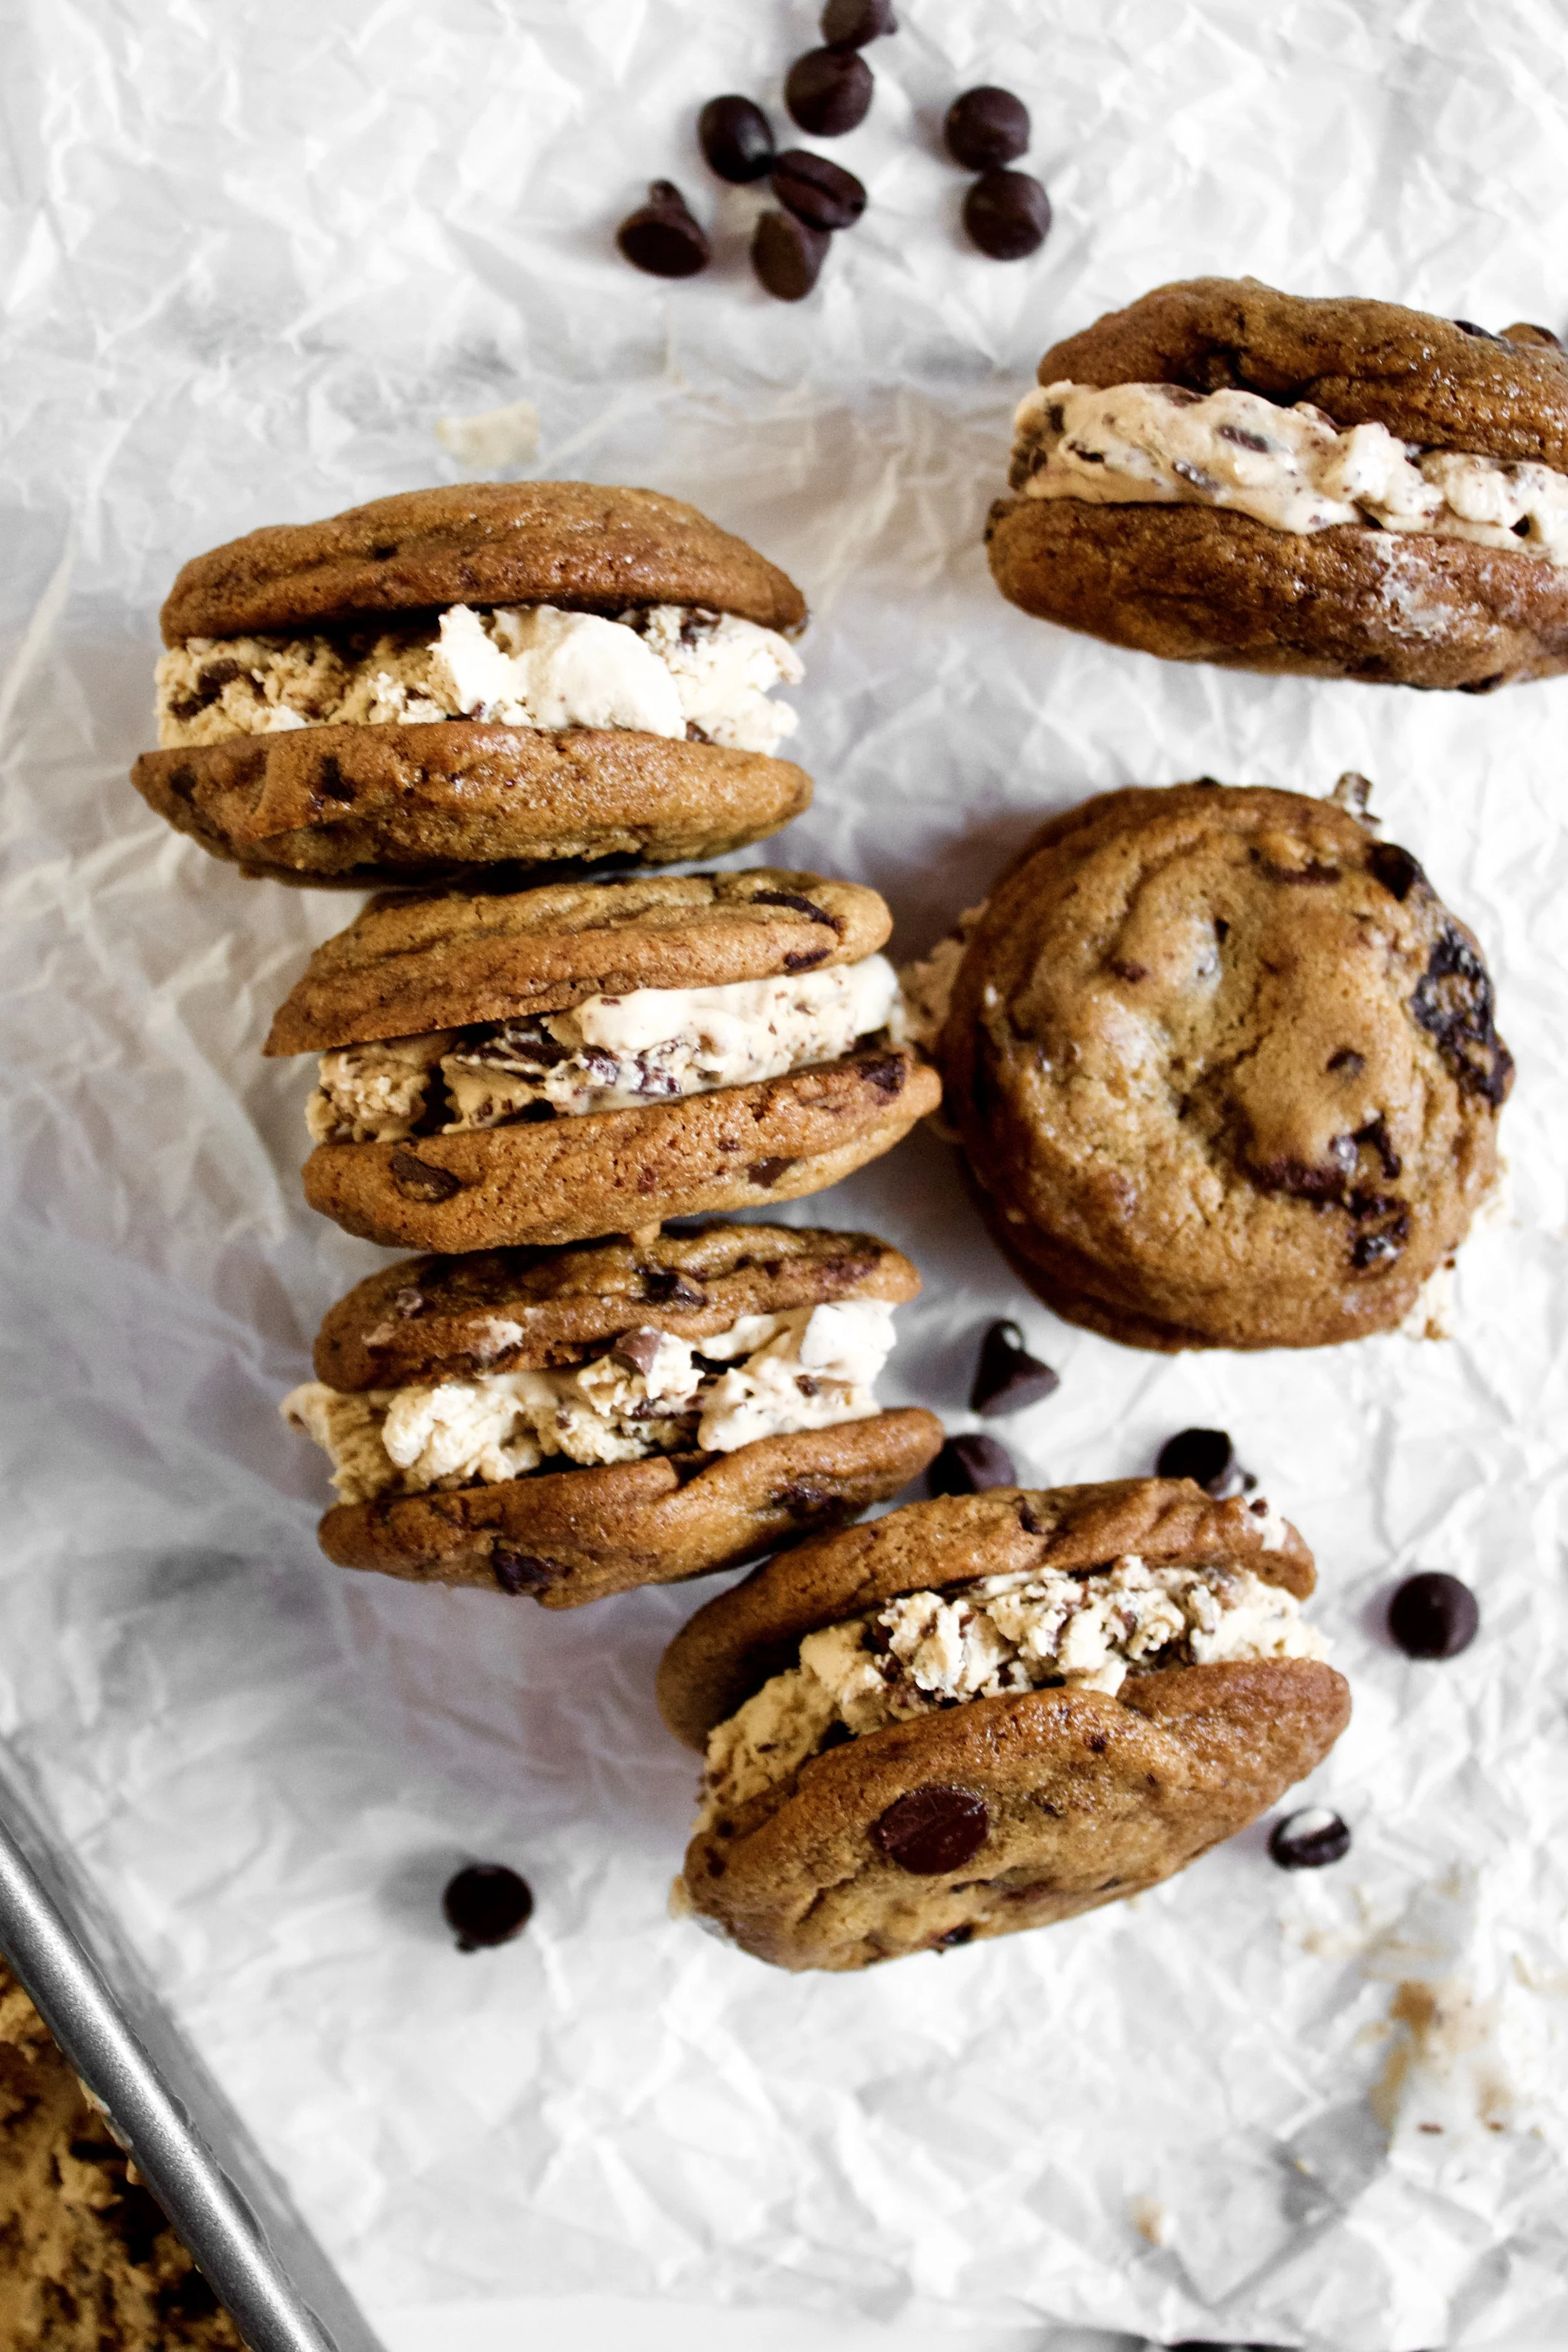
Coffee Mudslide Ice Cream Sandwiches
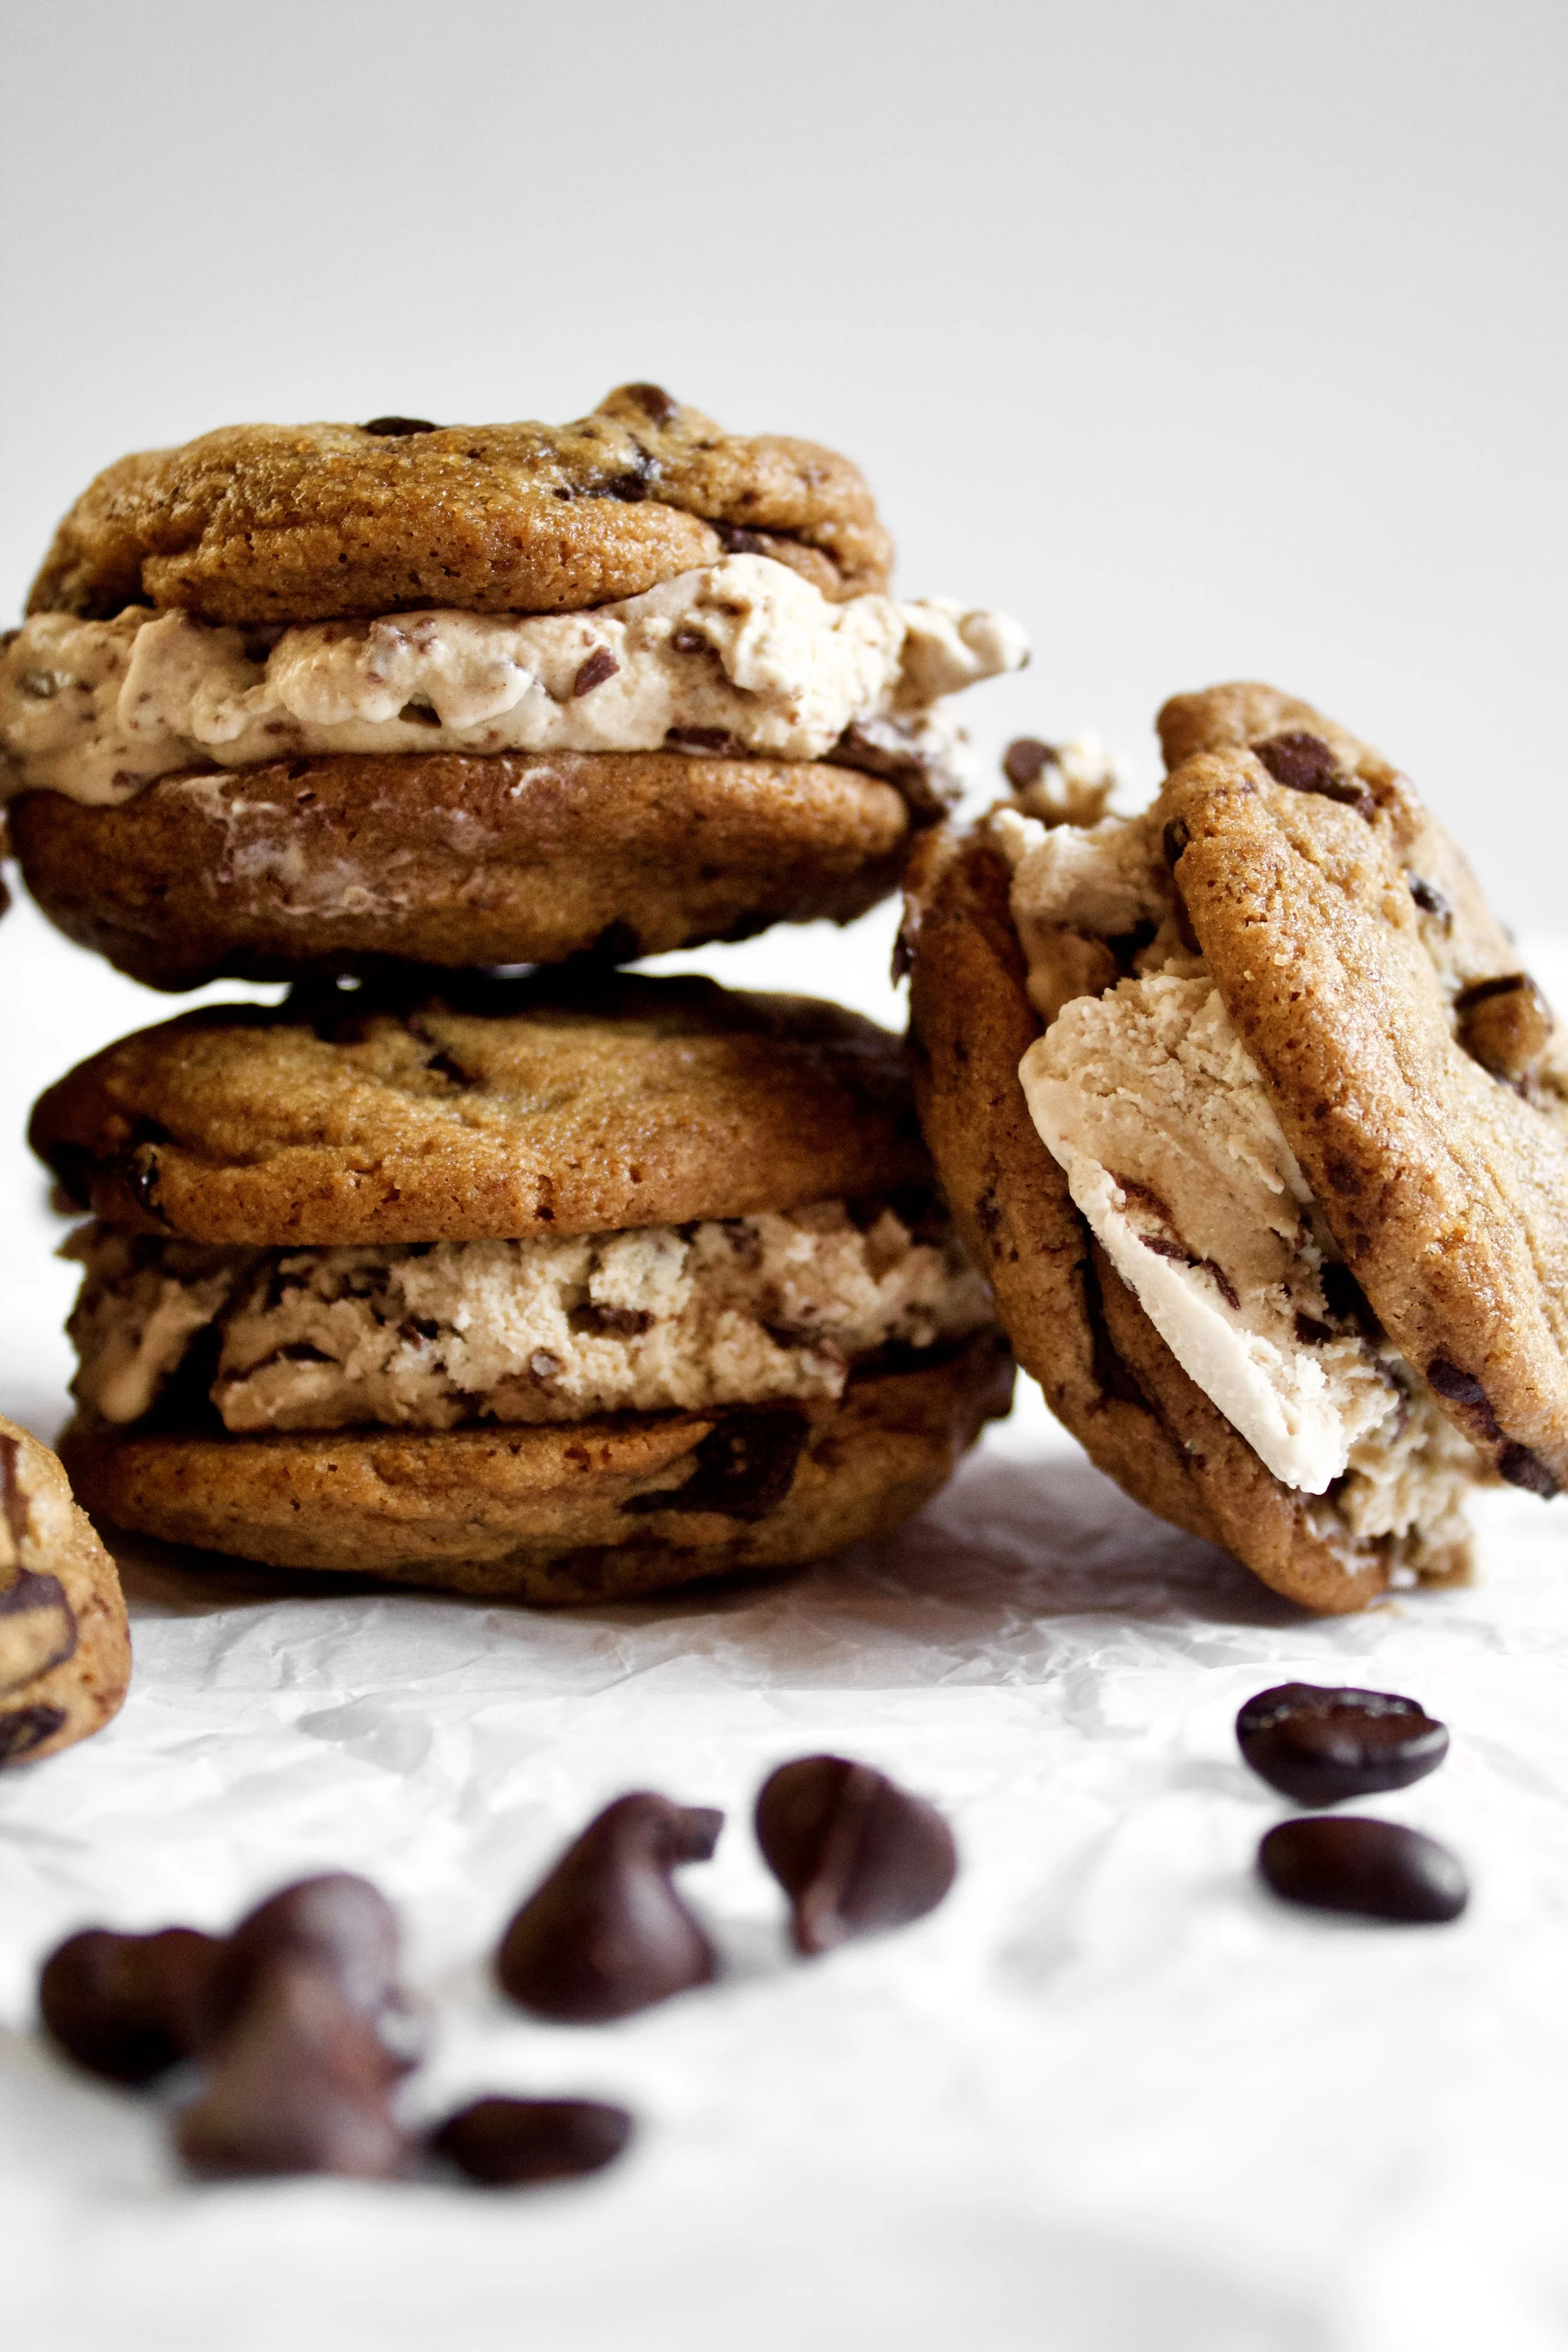
Creamy coffee mudslide ice cream is sandwiched between two rich and chewy brown butter espresso chocolate chip cookies. These ice cream sandwiches are simple to make and will last for weeks, bringing joy to coffee lovers and chocolate lovers alike.
This post may contain affiliate links from which, at no additional cost to you, I may earn a small commission to keep this site running. Only products I myself would or do use are recommended.
This recipe has a story. Surprise, surprise.
Last July, when I was in Maui with my family, my husband and I took turns going to the beach by ourselves while our daughter napped. It was really nice to have that break for constantly watching to make sure she wasn’t drowning or splashing strangers in the pool. Also, it was nice to just be able to go to the beach, since our daughter hated the ocean with a burning passion. So we alternated between solo trips to the beach and taking turns playing in the sand with her.
On my way back from one wonderful afternoon of swimming by myself, I stopped by the ABC Store. Like you do. And I found what remains one of the best treats I’ve ever bought from a store: coffee ice cream sandwich.

It used Roselani’s Kona Mudslide ice cream and a perfect chocolate chip cookie. Oh my word. This was soooo good.
I was determined to recreated it at home, which I knew I could do since I had browned butter espresso chocolate chip cookie dough in my freezer at the time. To be honest, I often have this cookie dough in my freezer, because it’s my favorite.
All that was left was to make the ice cream, which was easy and delicious.
But putting the two together was magic.
Why this recipe works
The cookies are so chewy. The brown butter causes this, and also prevents them from drying out in the freezer and becoming crumbly. Instead, they can easily stand up to the cold and the weight of the ice cream. Plus, they are so rich in flavor—instant espresso and extra chocolate chips really make these what they are.
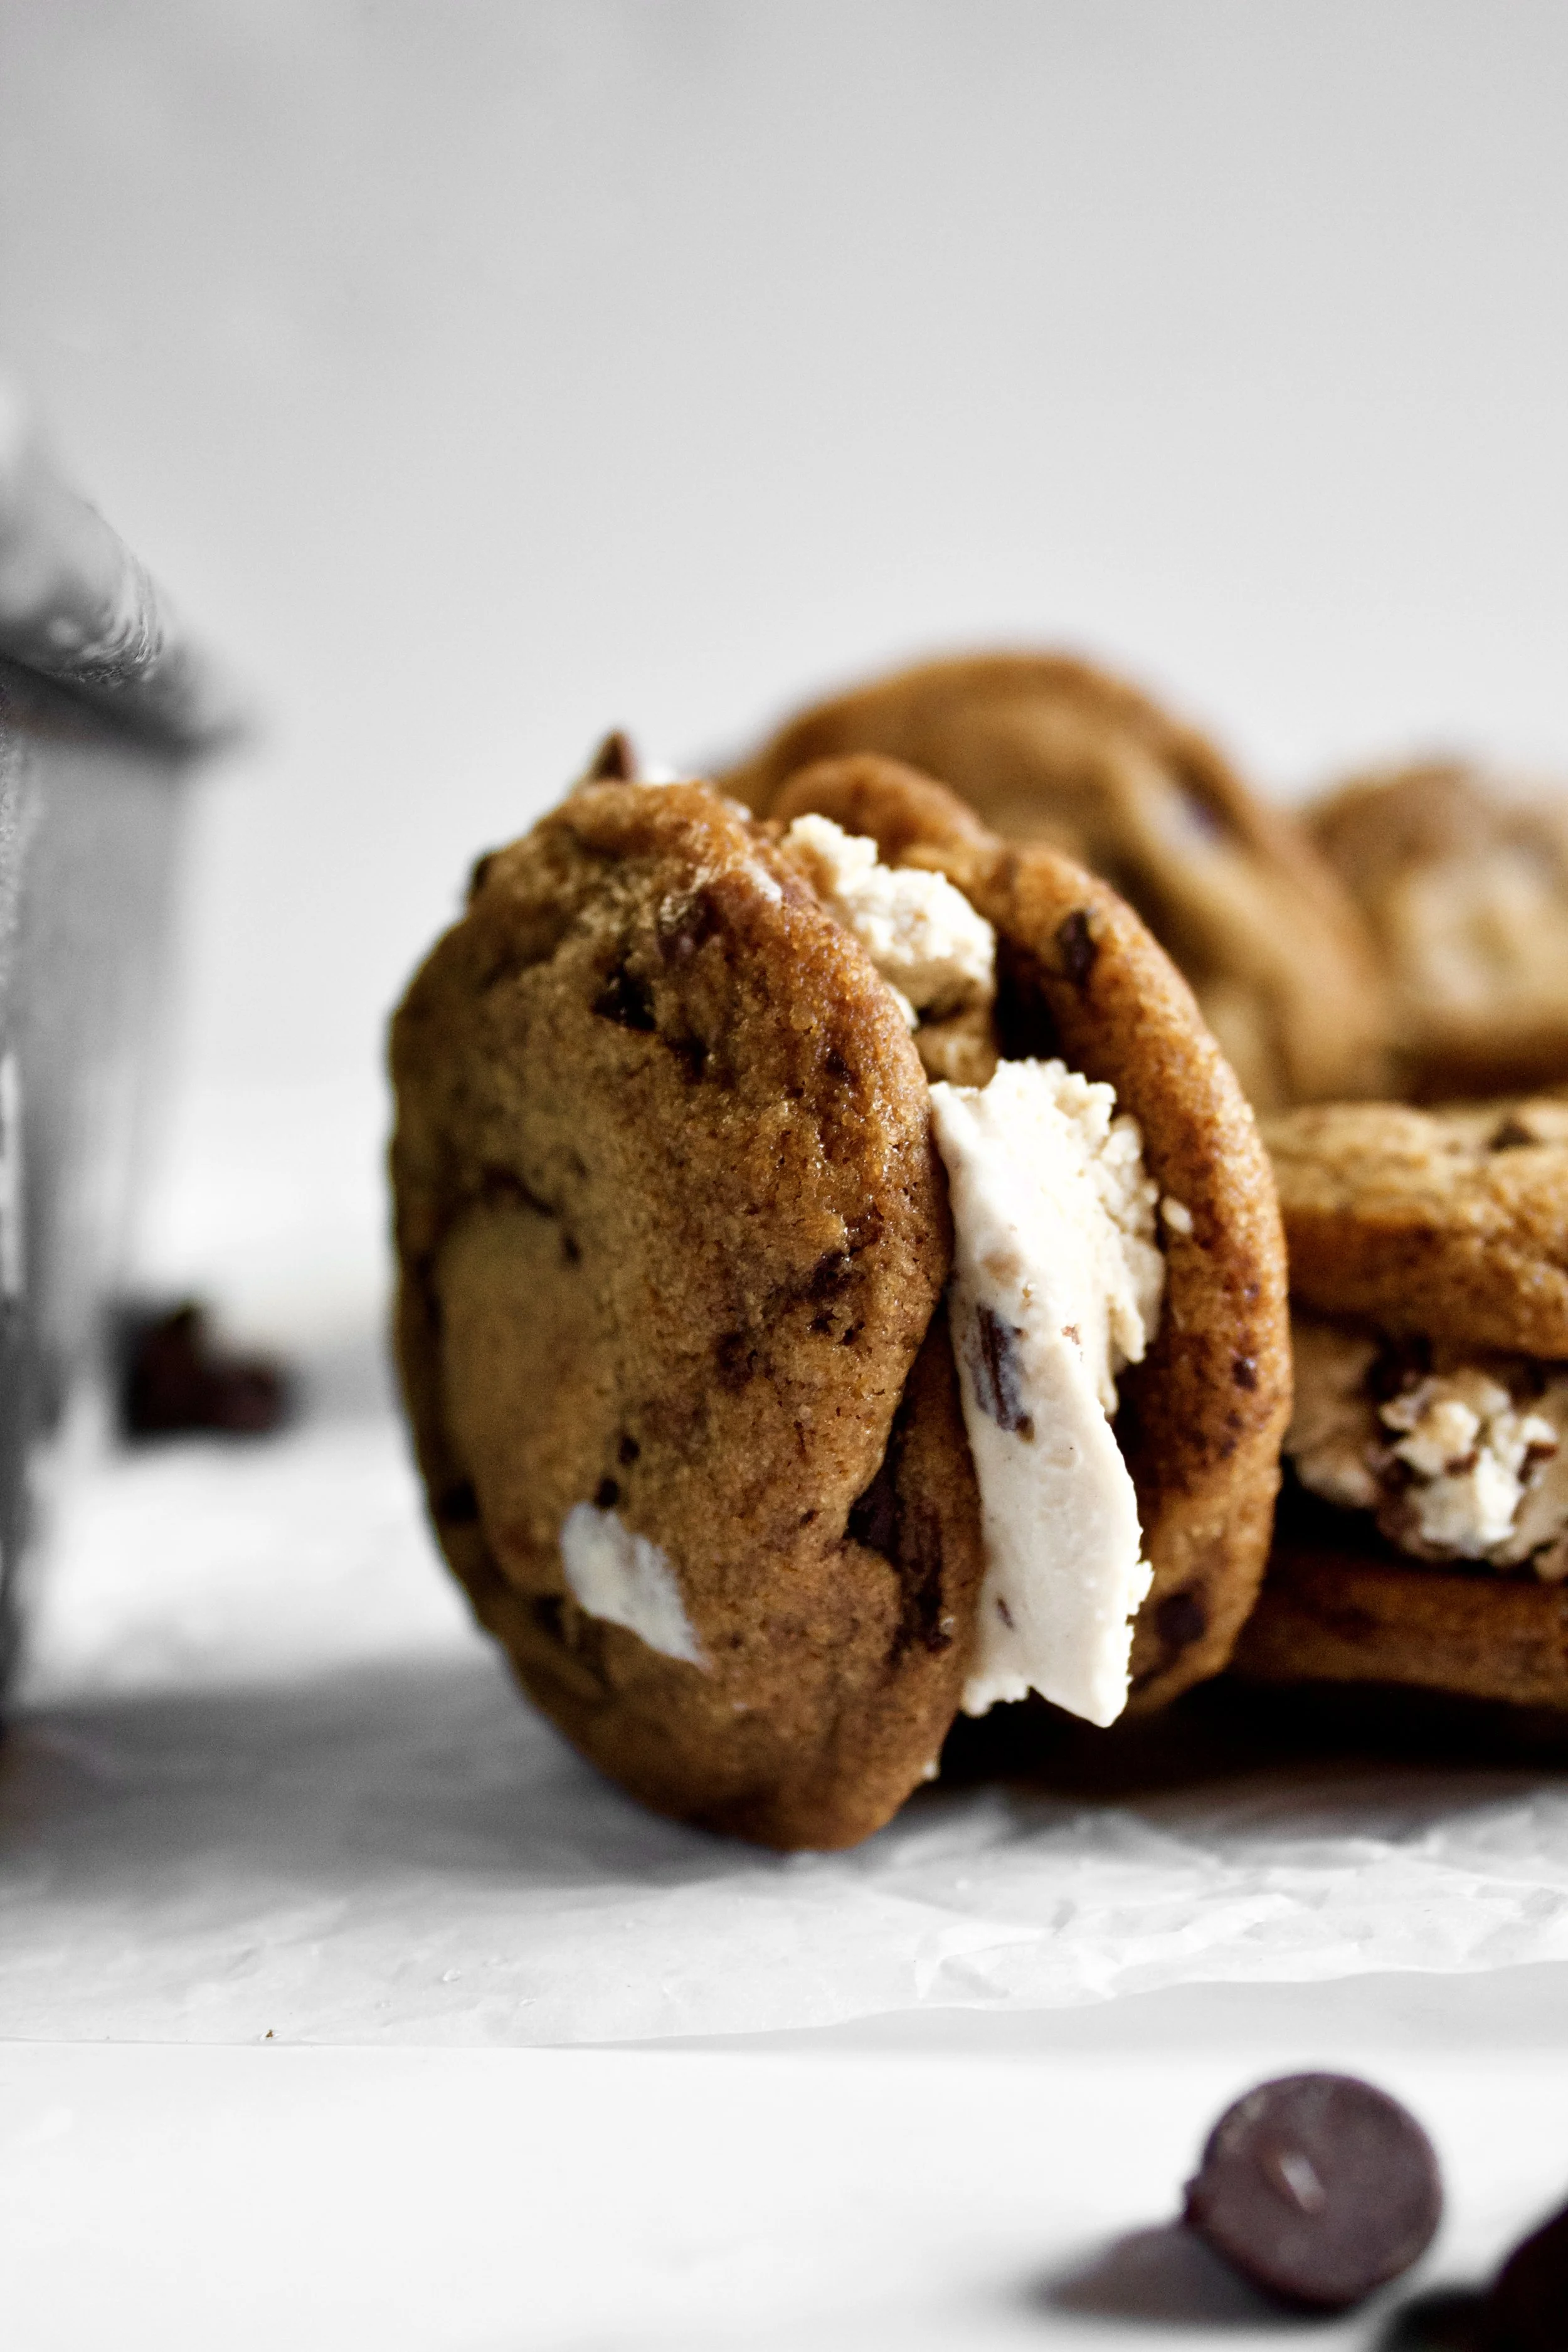
The ice cream is so simple to make. You could make a custard to replace the sweetened condensed milk, which is usually how I prefer my ice cream. However, I find the flavor if this particular recipe to be perfect. The texture is light enough to make these easy to eat yet still has that ice cream consistency. Plus, the flavor is one of my all time favorites.
Key ingredients
Flour. Be sure to spoon then level this so it’s not packed in.
Baking soda. Make sure this is fresh!
Salt. Sea salt is ideal to draw out the flavors of the cookie.
Instant espresso powder or instant coffee. Either one works, as long as it’s instant, meaning it will dissolve into the other ingredients.
Butter. Try to use European style, as it browns better and makes a better chew for the cookie.
Sugar/brown sugar. I like to use extra brown sugar to make these have a moist texture and caramelized flavor.
Eggs. Be sure these are fresh and room temperature.


Vanilla. Used in both the cookies and ice cream! Use pure, not imitation.
Chocolate chips. You’ll use these in the cookies and the ice cream as well as for the ganache that will be the mudslide swirl.
Heavy whipping cream. Also known as double cream. Using heavy cream is key to the perfect ice cream consistency.
Sweetened condensed milk. You could replace this with a custard, which is often what I do. Directions for that are below. However, in this particular ice cream, I don’t mind the flavor of sweetened condensed milk. It’s all up to personal preference!
How to make coffee mudslide ice cream sandwiches
Make the ice cream
1. Make the ganache and set aside to cool completely.
2. Mix everything but the heavy whipping cream and chocolate chips. You may need to stir it, let it sit, then stir again to get the espresso powder to dissolve fully. See note below for subbing custard for the sweetened condensed milk.
3. Whip the cream until stiff peaks just begin to form. Don’t overwhip it—stop once it begins to look matte in appearance.
4. Fold the whipped cream into the condensed milk in 3 additions. This ensures the whipped cream doesn’t deflate. You’ll add the chocolate chips with the last addition of whipped cream.
5. Layer the ice cream and ganache in a loaf pan or ice cream container. Stir the ganache when you layer it in to create swirls.
6. Freeze at least 3-4 hours. You can freeze it overnight, but you’ll need to let it sit on the counter a few minutes to make it pliable for assembly.


Make the cookies
7. Brown the butter and let cool. You can refrigerate it to speed this up, but be sure to stir often so it doesn’t solidify.
8. Sift and whisk dry ingredients. Sifting is optional, but I like it to help prevent clumps.
9. Cream cooled browned butter and sugars. Beat until very fluffy and lightened in color.
10. Add eggs, one at a time, then vanilla. Beat until fully combined each time to maintain that fluffy texture.
11. Stir in flour then chocolate chips.


12. Chill dough at least 1 hour. You can refrigerate the dough up to 3 days. Beyond that you must freeze them or they will spoil.
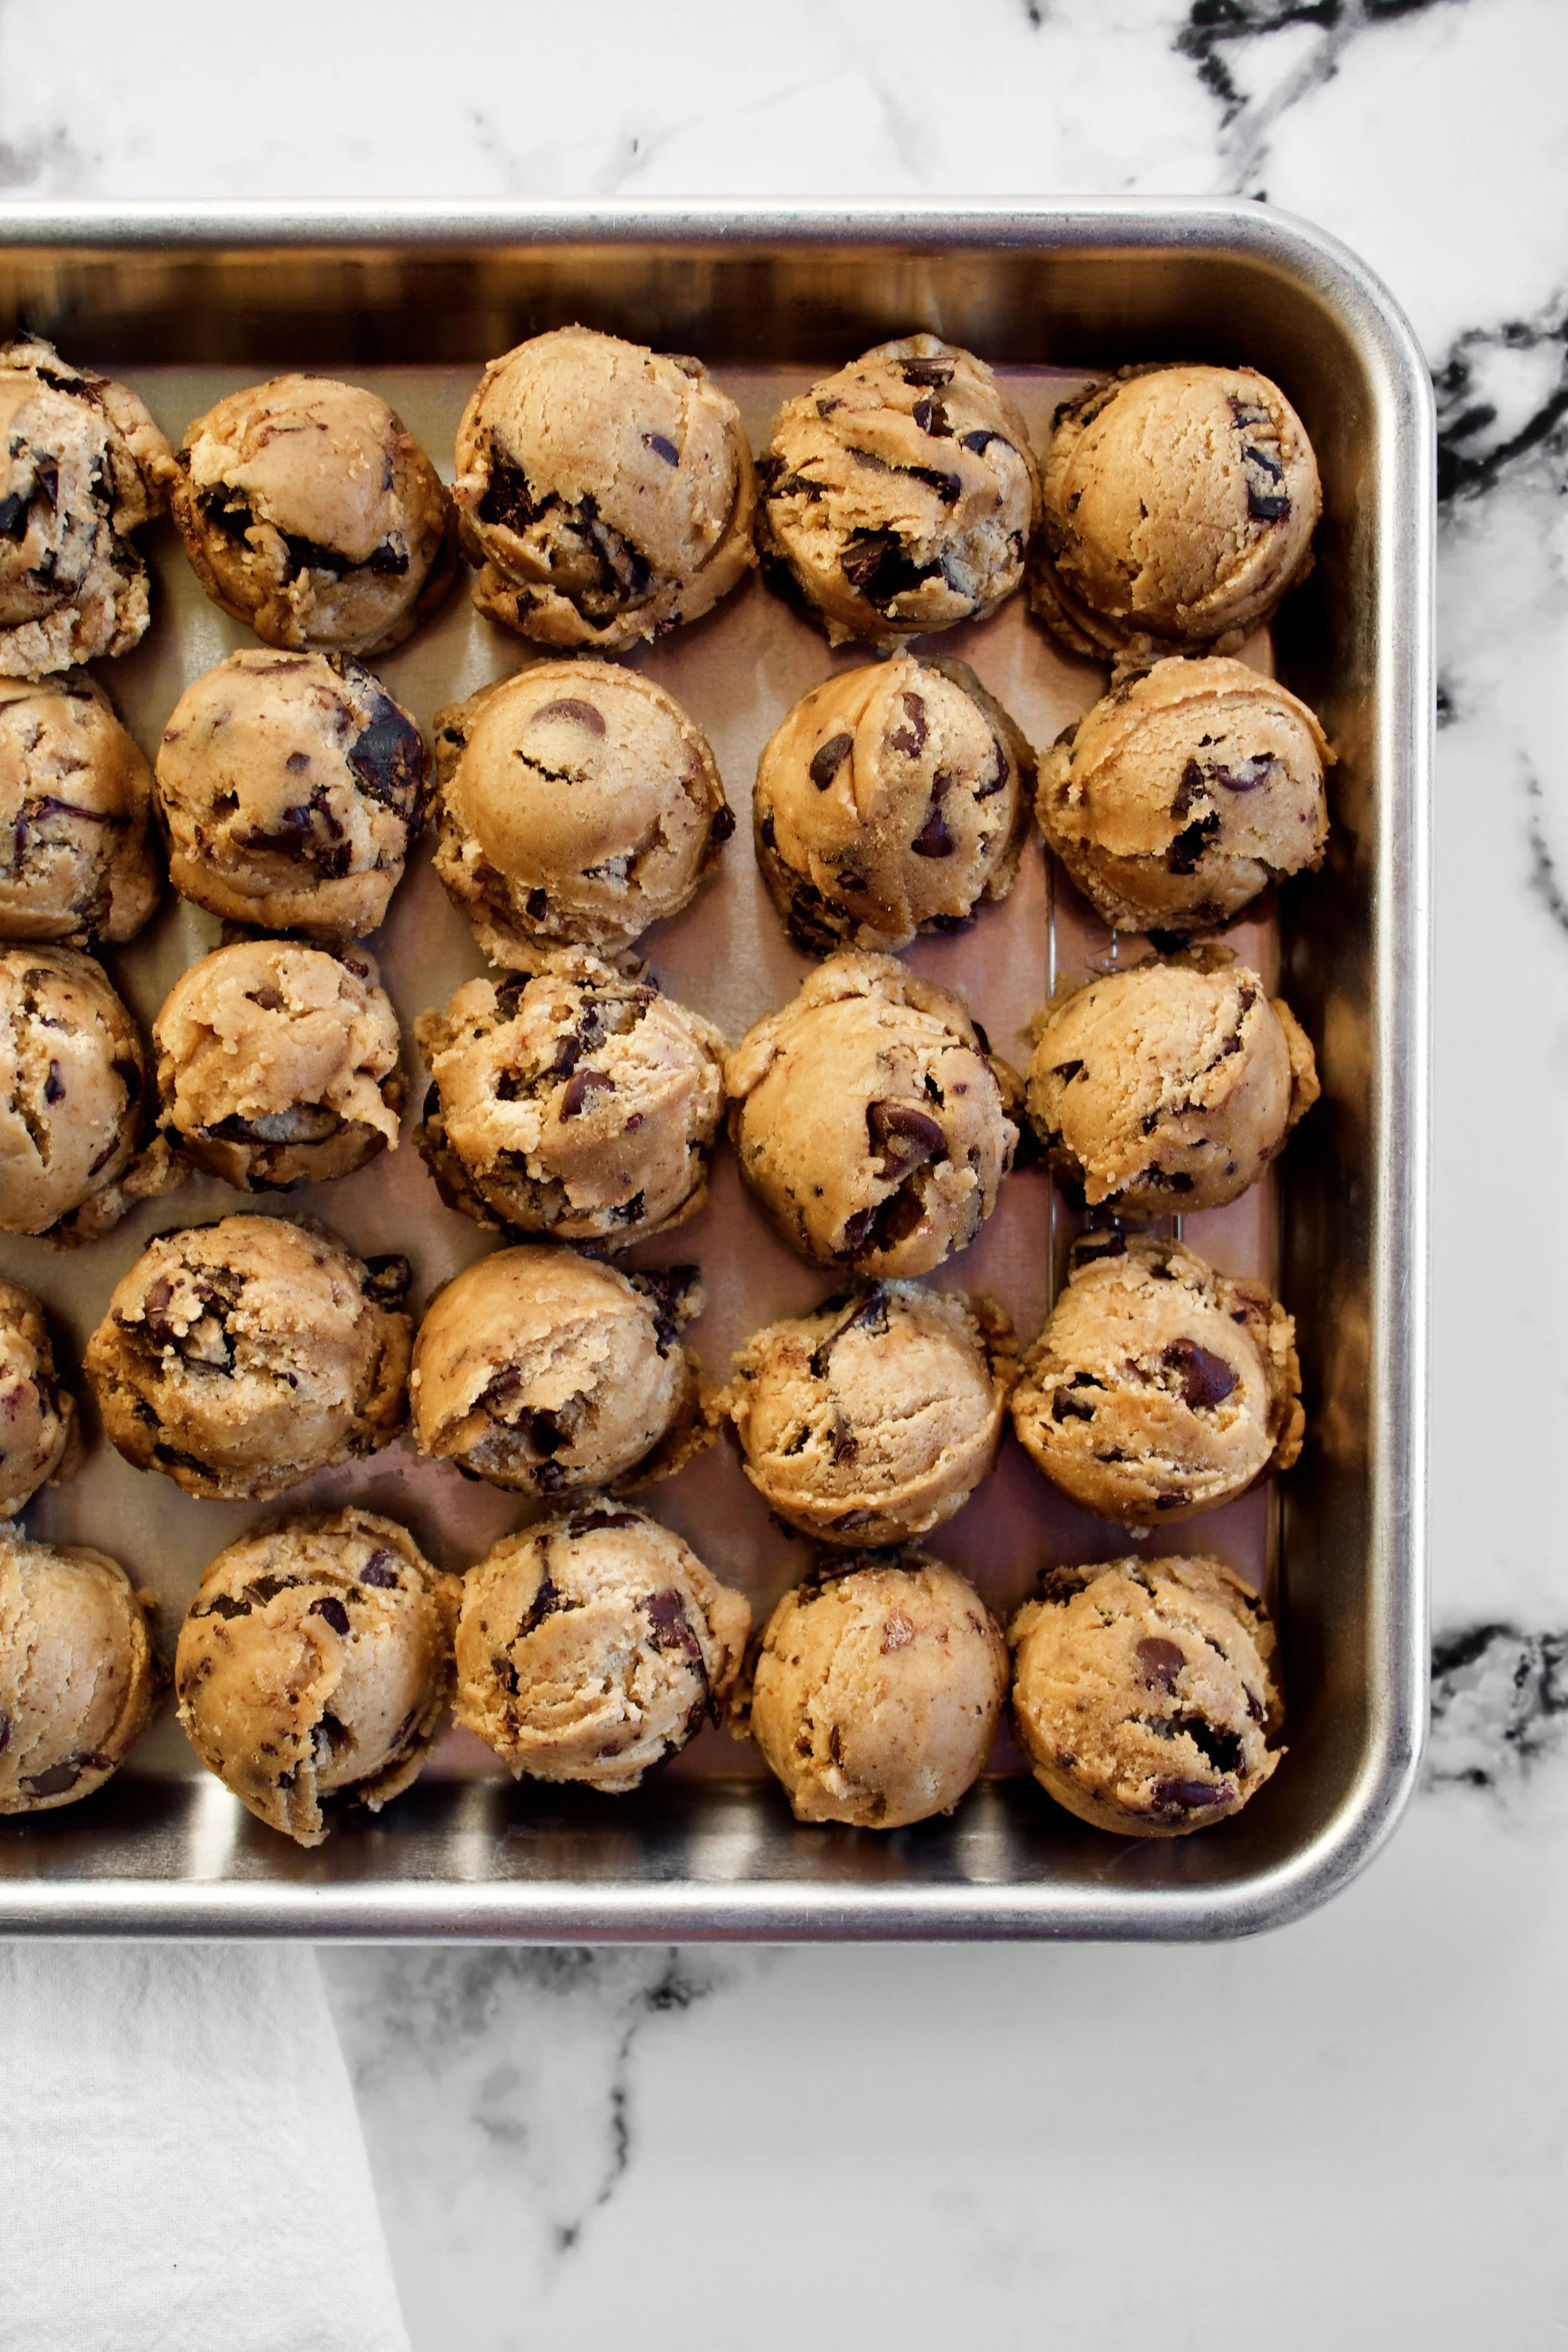
13. Shape and bake cookies. You can also shape them into balls and freeze them for up to 2 months. See recipe for details. You can bake these straight from the freezer.
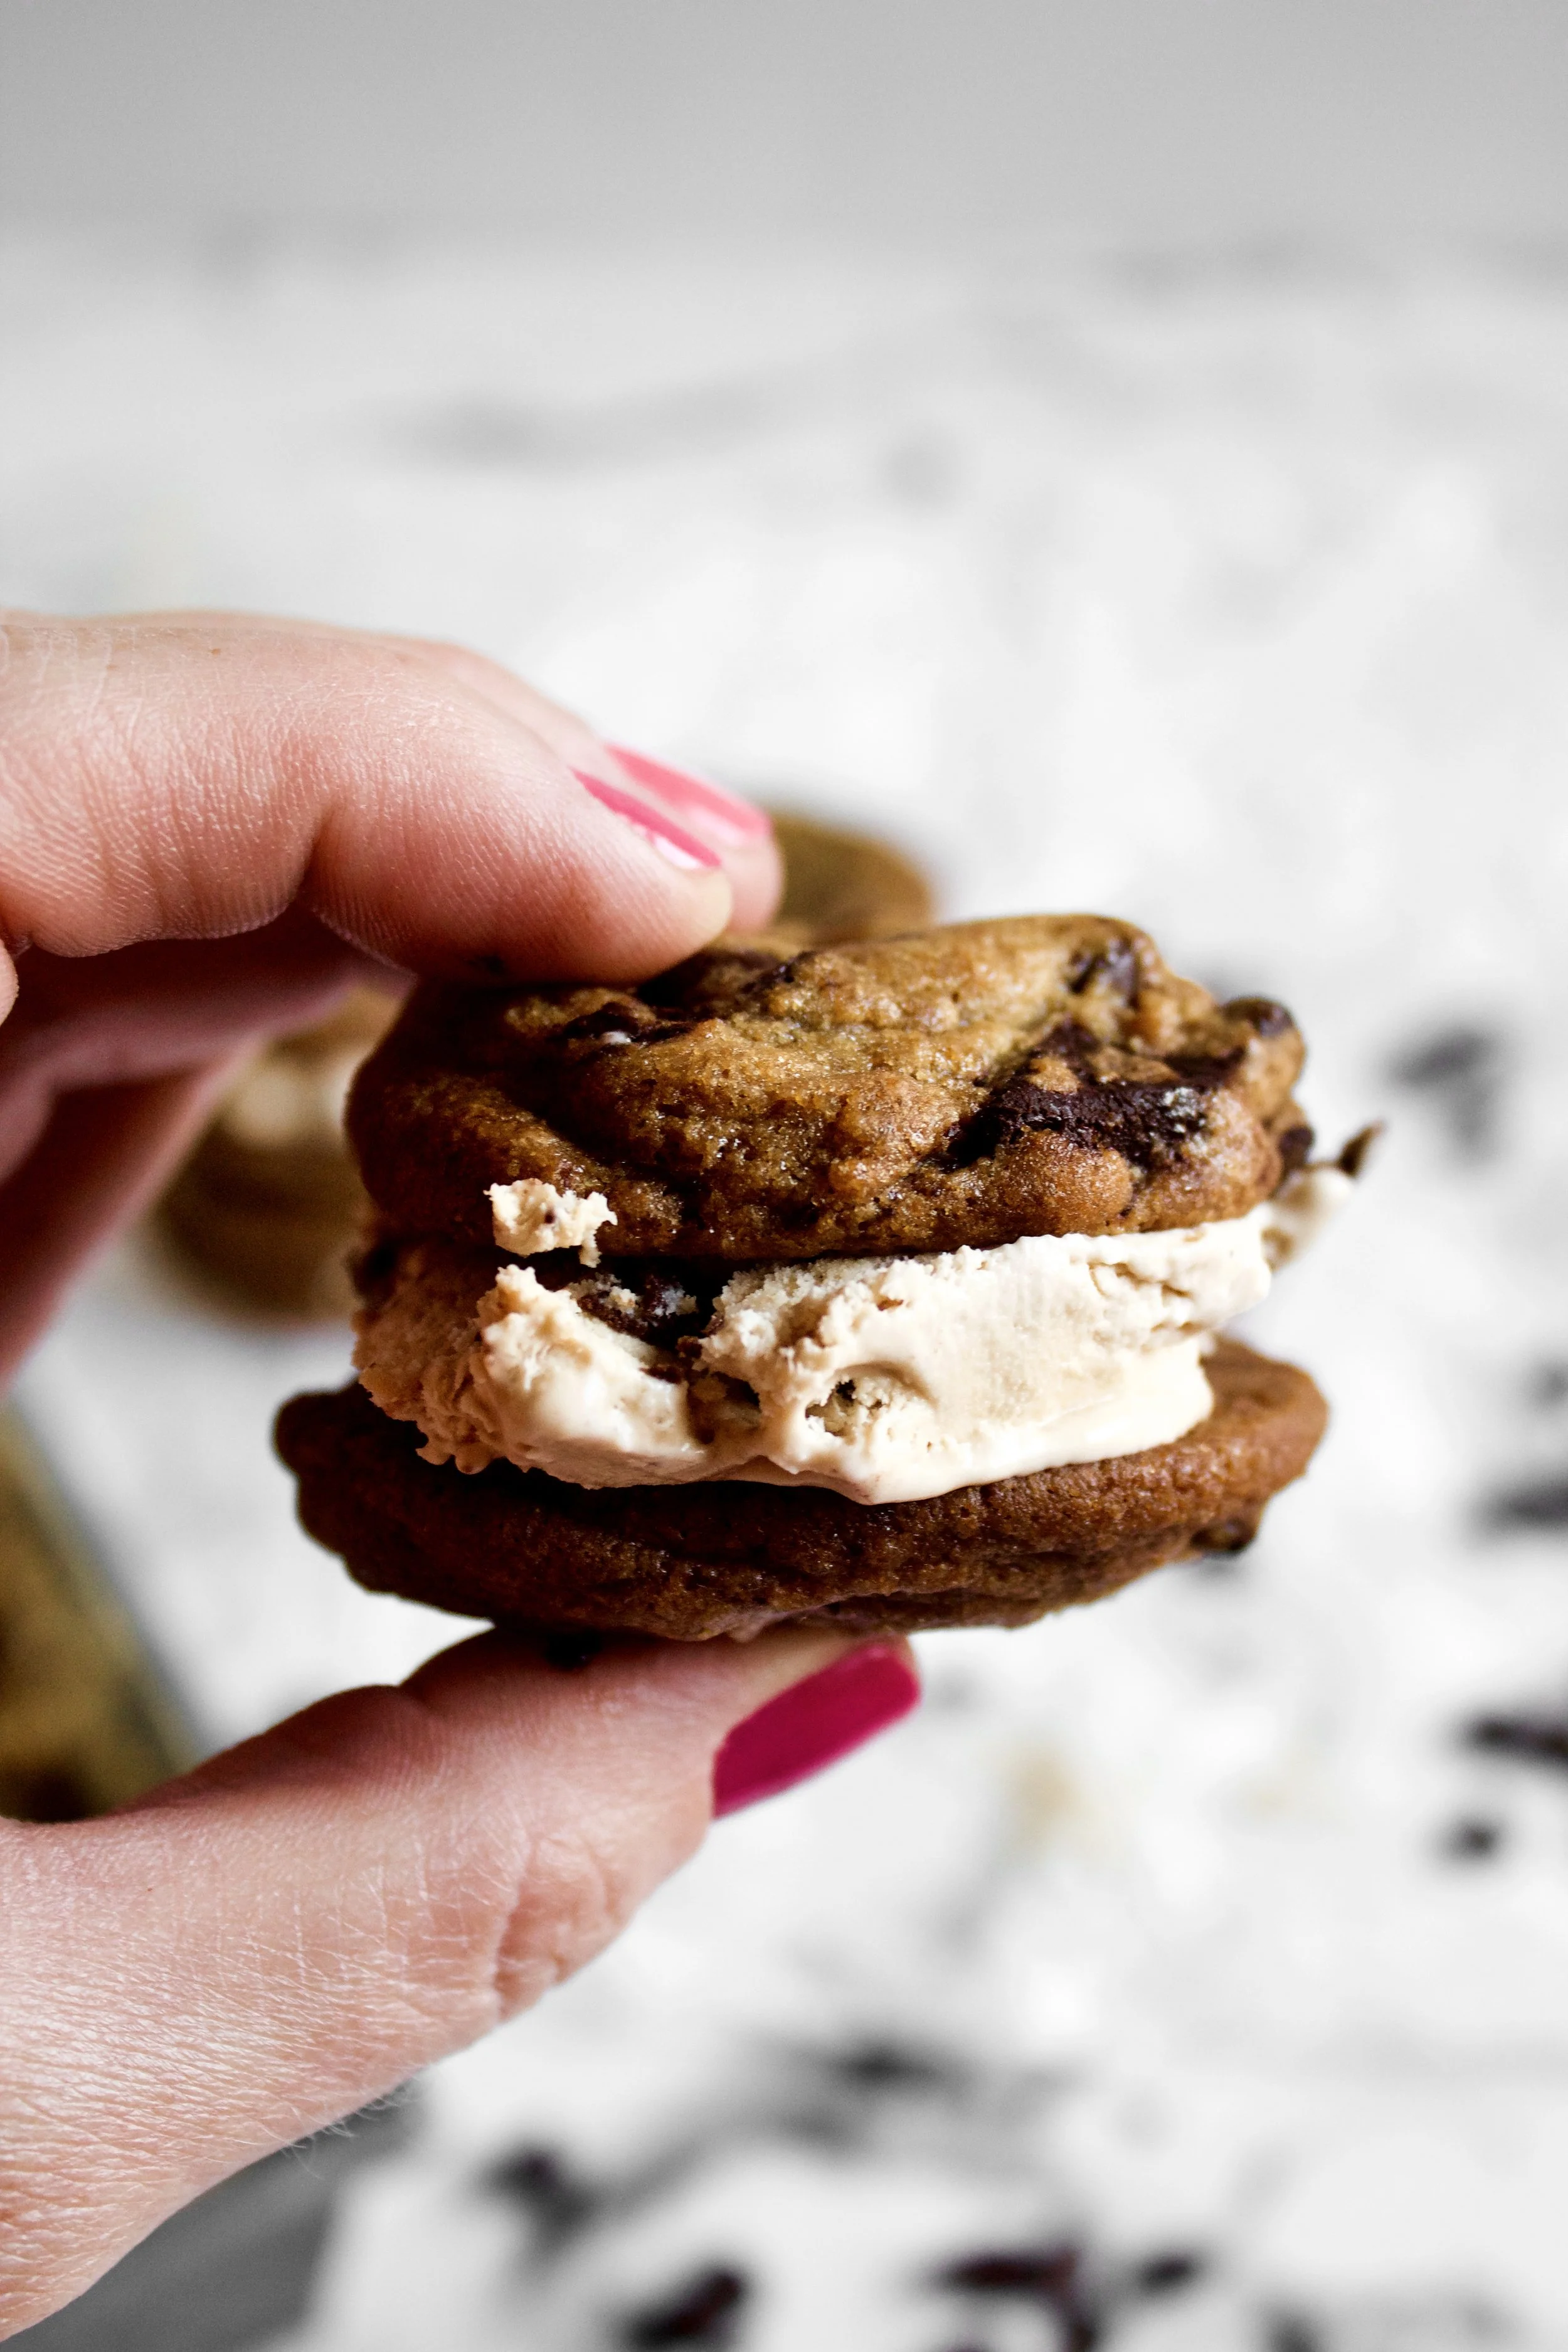
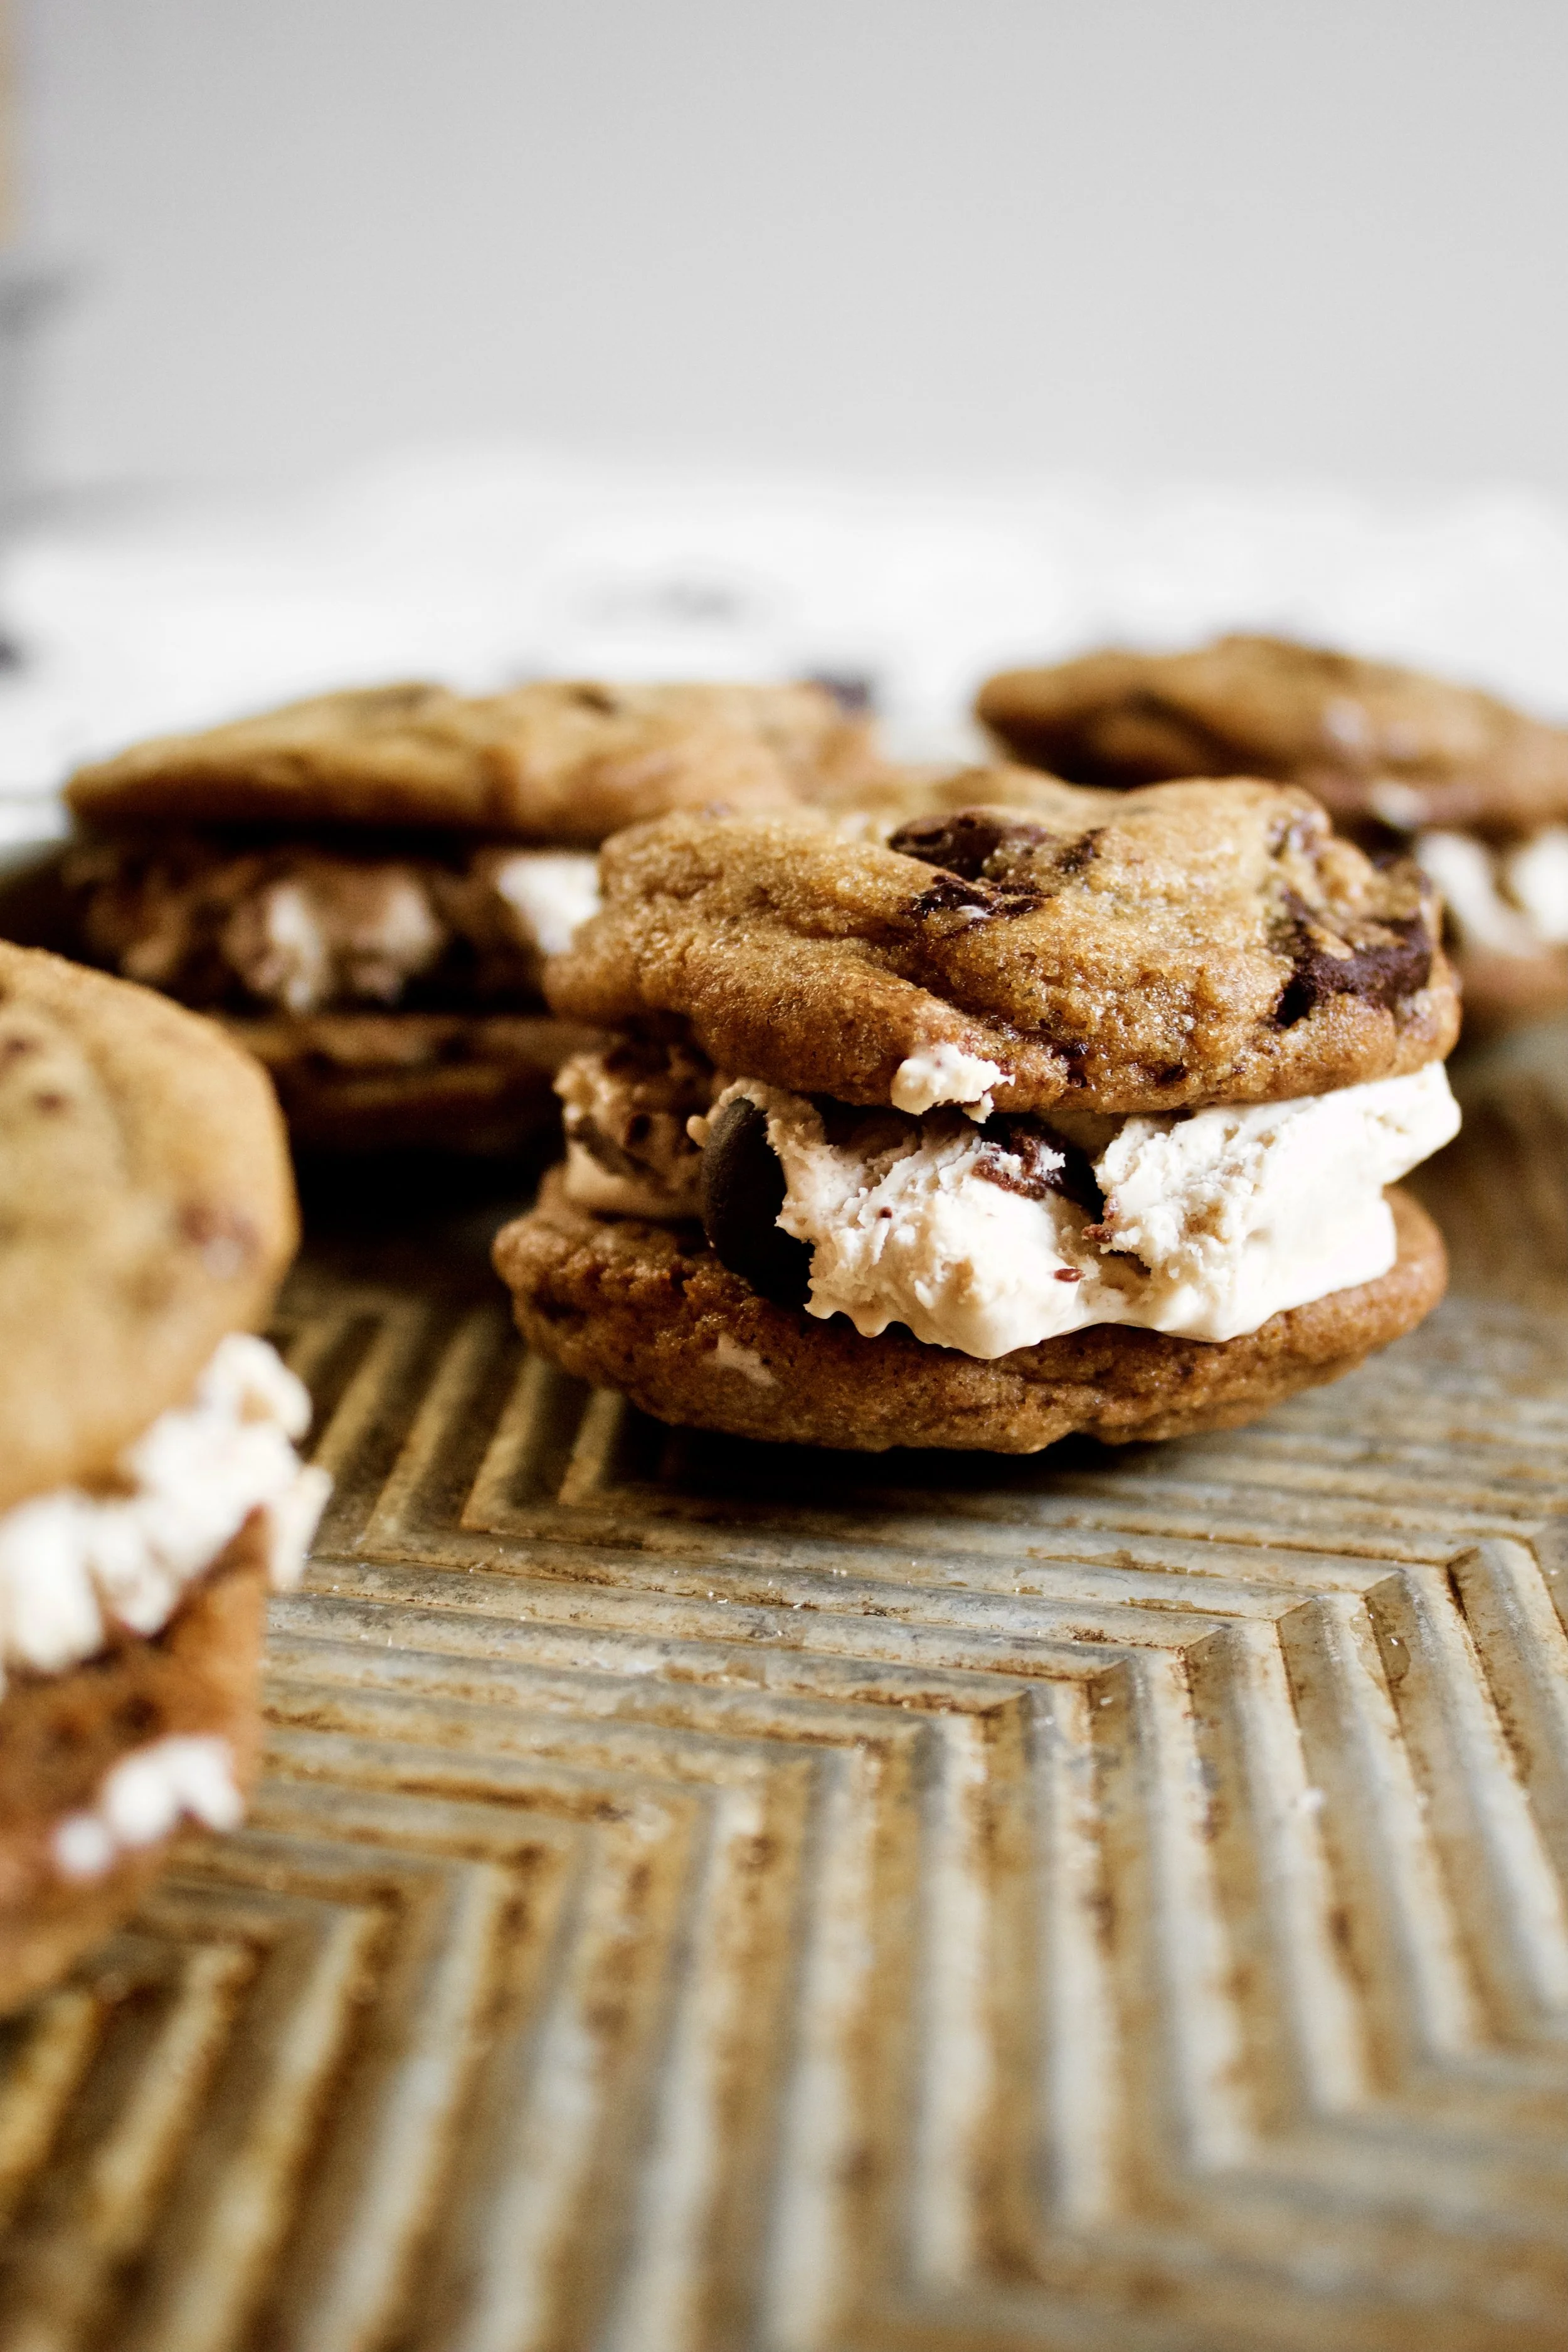
14. Assemble sandwiches. You can freeze them at this point or serve right away, although they may be messy if you eat them right away—but that’s never stopped me!
Enjoy!
Tips and FAQ’s for this recipe
Can I replace the sweetened condensed milk?
Yes! I recently discovered that you can still make a no-churn ice cream with custard. You’ll need 3 egg yolks (room temperature) whisked well with 1 cup sugar. Heat 1 cup whole milk over medium heat until steaming, then temper into the eggs by slowly pouring the milk into the eggs while whisking the eggs very, very quickly. Once all of the milk is added, whisk for a few seconds then add everything back to the pan and cook until thickened enough to coat the back of a spoon. Pour back into the bowl the eggs were in, cover with plastic wrap directly touching the custard, then refrigerate until cooled. Once cooled (it can be room temperature—no need to wait for it to be really cold), proceed with the directions as written, replacing the sweetened condensed milk with the custard. It will be slightly larger in volume from the original recipe.

Let the chocolate swirl cool completely
If you swirl hot chocolate into what’s basically whipped cream, you’ll get soup. I found that the chocolate was the perfect temperature when I was ready to use it, but I’m stopping to take photos and videos. So, if you’re an ice cream wizard and work quickly, just don’t work too quickly and swirl hot melted chocolate into your ice cream base.

Split up your work
Since you need to let a lot of these elements chill or freeze for a bit, I suggest making the dough and ice cream at least a day before you want to serve (or eat all by yourself—no shame there!) the ice cream sandwiches. You can easily bake and cool the cookies then assemble the sandwiches the day of—they only need to set in the freezer for a bit.

Measure chocolate chips with your heart
This is my new life motto. I was telling my best friend about the cookies in this recipe and mentioned I always use the Nestle cookie recipe as my base for new cookies (obvi) but always make a few tweaks, like extra chocolate chips. And she said chocolate chips should always be measured with the heart. I knew we were best friends for a reason.
My ice cream making tools
Here are my must-have tools I use for making ice cream. Affiliate links provided.


Coffee Mudslide Ice Cream Sandwiches
- prep time: 15-20 minutes
- chill time: 5-6 hours (2ish for the cookie dough and 3-4 for the ice cream)
- total time: 5 hours, 20 minutes
servings: 18-24 cookies
Ingredients:
for the chocolate swirl (this will make a little extra--save it to use as hot fudge on a sundae!)
- 5 ounces (140g) baking chocolate, chopped
- 3 ounces (86g) heavy whipping cream
for the coffee ice cream
- 3 cups (693g) heavy whipping cream
- 14 ounces (397g) sweetened condensed milk
- 1 tablespoon (13g) pure vanilla extract
- ½ tablespoon (3g) instant espresso or coffee powder
- ½ cup (86g) mini chocolate chips (or chopped baking chocolate)
to assemble
- one batch browned butter espresso chocolate chip cookies (dough can be made ahead)
Instructions:
- Note: to simplify things, you can make the cookie dough ahead of time. It can be kept in the fridge up to 3 days (if well sealed) or you can roll it into cookie-sized balls, freeze these on a tray for an hour, then transfer to an airtight container or freezer safe baggie. These will last in the freezer at least 2 months (I’ve done longer, but each freezer is different).
make the no-churn coffee mudslide ice cream
- First, make the chocolate swirl so it can cool. Use a double boiler or create one by placing 1” to2” water in a medium saucepan and finding a bowl that can sit on top without the bottom touching the water. Bring the water to a boil then turn down to low and place the bowl on top.
- Place the chopped chocolate and heavy cream in the bowl and stir constantly, until the chocolate is about 75% melted. Remove the bowl from the saucepan and stir vigorously until smooth. If it stops melting, you can place it back on the saucepan for about 30 seconds, stirring constantly. Set aside to cool, stirring occasionally as you make the ice cream. Be sure it is room temperature before you use it in step 8.
- Next, stir together your sweetened condensed milk, vanilla, and espresso powder in a medium to large mixing bowl for about a minute. It will still look speckled, like the espresso won’t dissolve. It just needs some time to absorb. Set aside.
- Add the 3 cups heavy cream to the bowl of your stand mixer fitted with the whisk attachment (or a large mixing bowl, using handheld beaters). Beat the cream on medium until frothy and bubbles start to form, about 30 seconds. Slowly turn it up to high (you can start out on high, but you’ll most likely get quite a bit of splatter on you and your kitchen). Let mix for 1-2 minutes, until stiff peaks just start to form. Watch it carefully, as your mixer and kitchen temp can alter the time it takes.
- While the heavy cream beats, stir the condensed milk some more. By now the espresso powder should be more dissolved, with only a few clumps.
- Once the heavy cream just starts to form stiff peaks, turn it off. If needed, continue to stir the condensed milk until the espresso powder is mostly dissolved.
- Add about ⅓ of the whipped cream to the condensed milk and stir/fold it in gently until fully combined. Add another ⅓ of the whipped cream and fold it in gently until fully combined. Add the remaining ⅓ along with the mini chocolate chips and fold it until fully combined. (Doing this in 3 additions helps keep it fluffier and get that “slow churned” texture without actually churning your ice cream.)
- In a bread loaf pan or similarly sized dish, spread about ⅓ of the ice cream on the bottom. Drizzle about ¼ of the cooled melted chocolate on top, swirling it a little. Don’t go overboard on the chocolate, as it will make it difficult to scoop if you use too much. Spread another ⅓ of the ice cream, followed by another ¼ of the melted chocolate. Repeat this one last time with the remaining ice cream and another ¼ of the chocolate.
- Cover and freeze at least 4-5 hours, or overnight, until set. Depending on your freezer, you may need to let it sit on your counter about 5 minutes before scooping.
bake the cookies
- If not done already, make the cookie dough at least 2 hours before you plan to assemble the sandwiches. Chill the dough for at least an hour. Roll into 1 to 1 ½ inch balls. Bake at 350F/175C for 10-12 minutes, until the edges begin to brown and the tops are all matte in appearance with no visibly raw dough.
- Cool the cookies on the pan for 10 minutes then transfer to a cool pan or platter and freeze for 30 minutes. Alternatively, you can make these the day before and store them in an airtight container on the counter (once cooled) overnight. Freeze the cooled cookies for at least 20 minutes so they are firm enough to assemble the sandwiches.
assemble the ice cream sandwiches
- Take the ice cream out of the freezer and let sit on the counter 5-10 minutes, until soft enough to scoop.
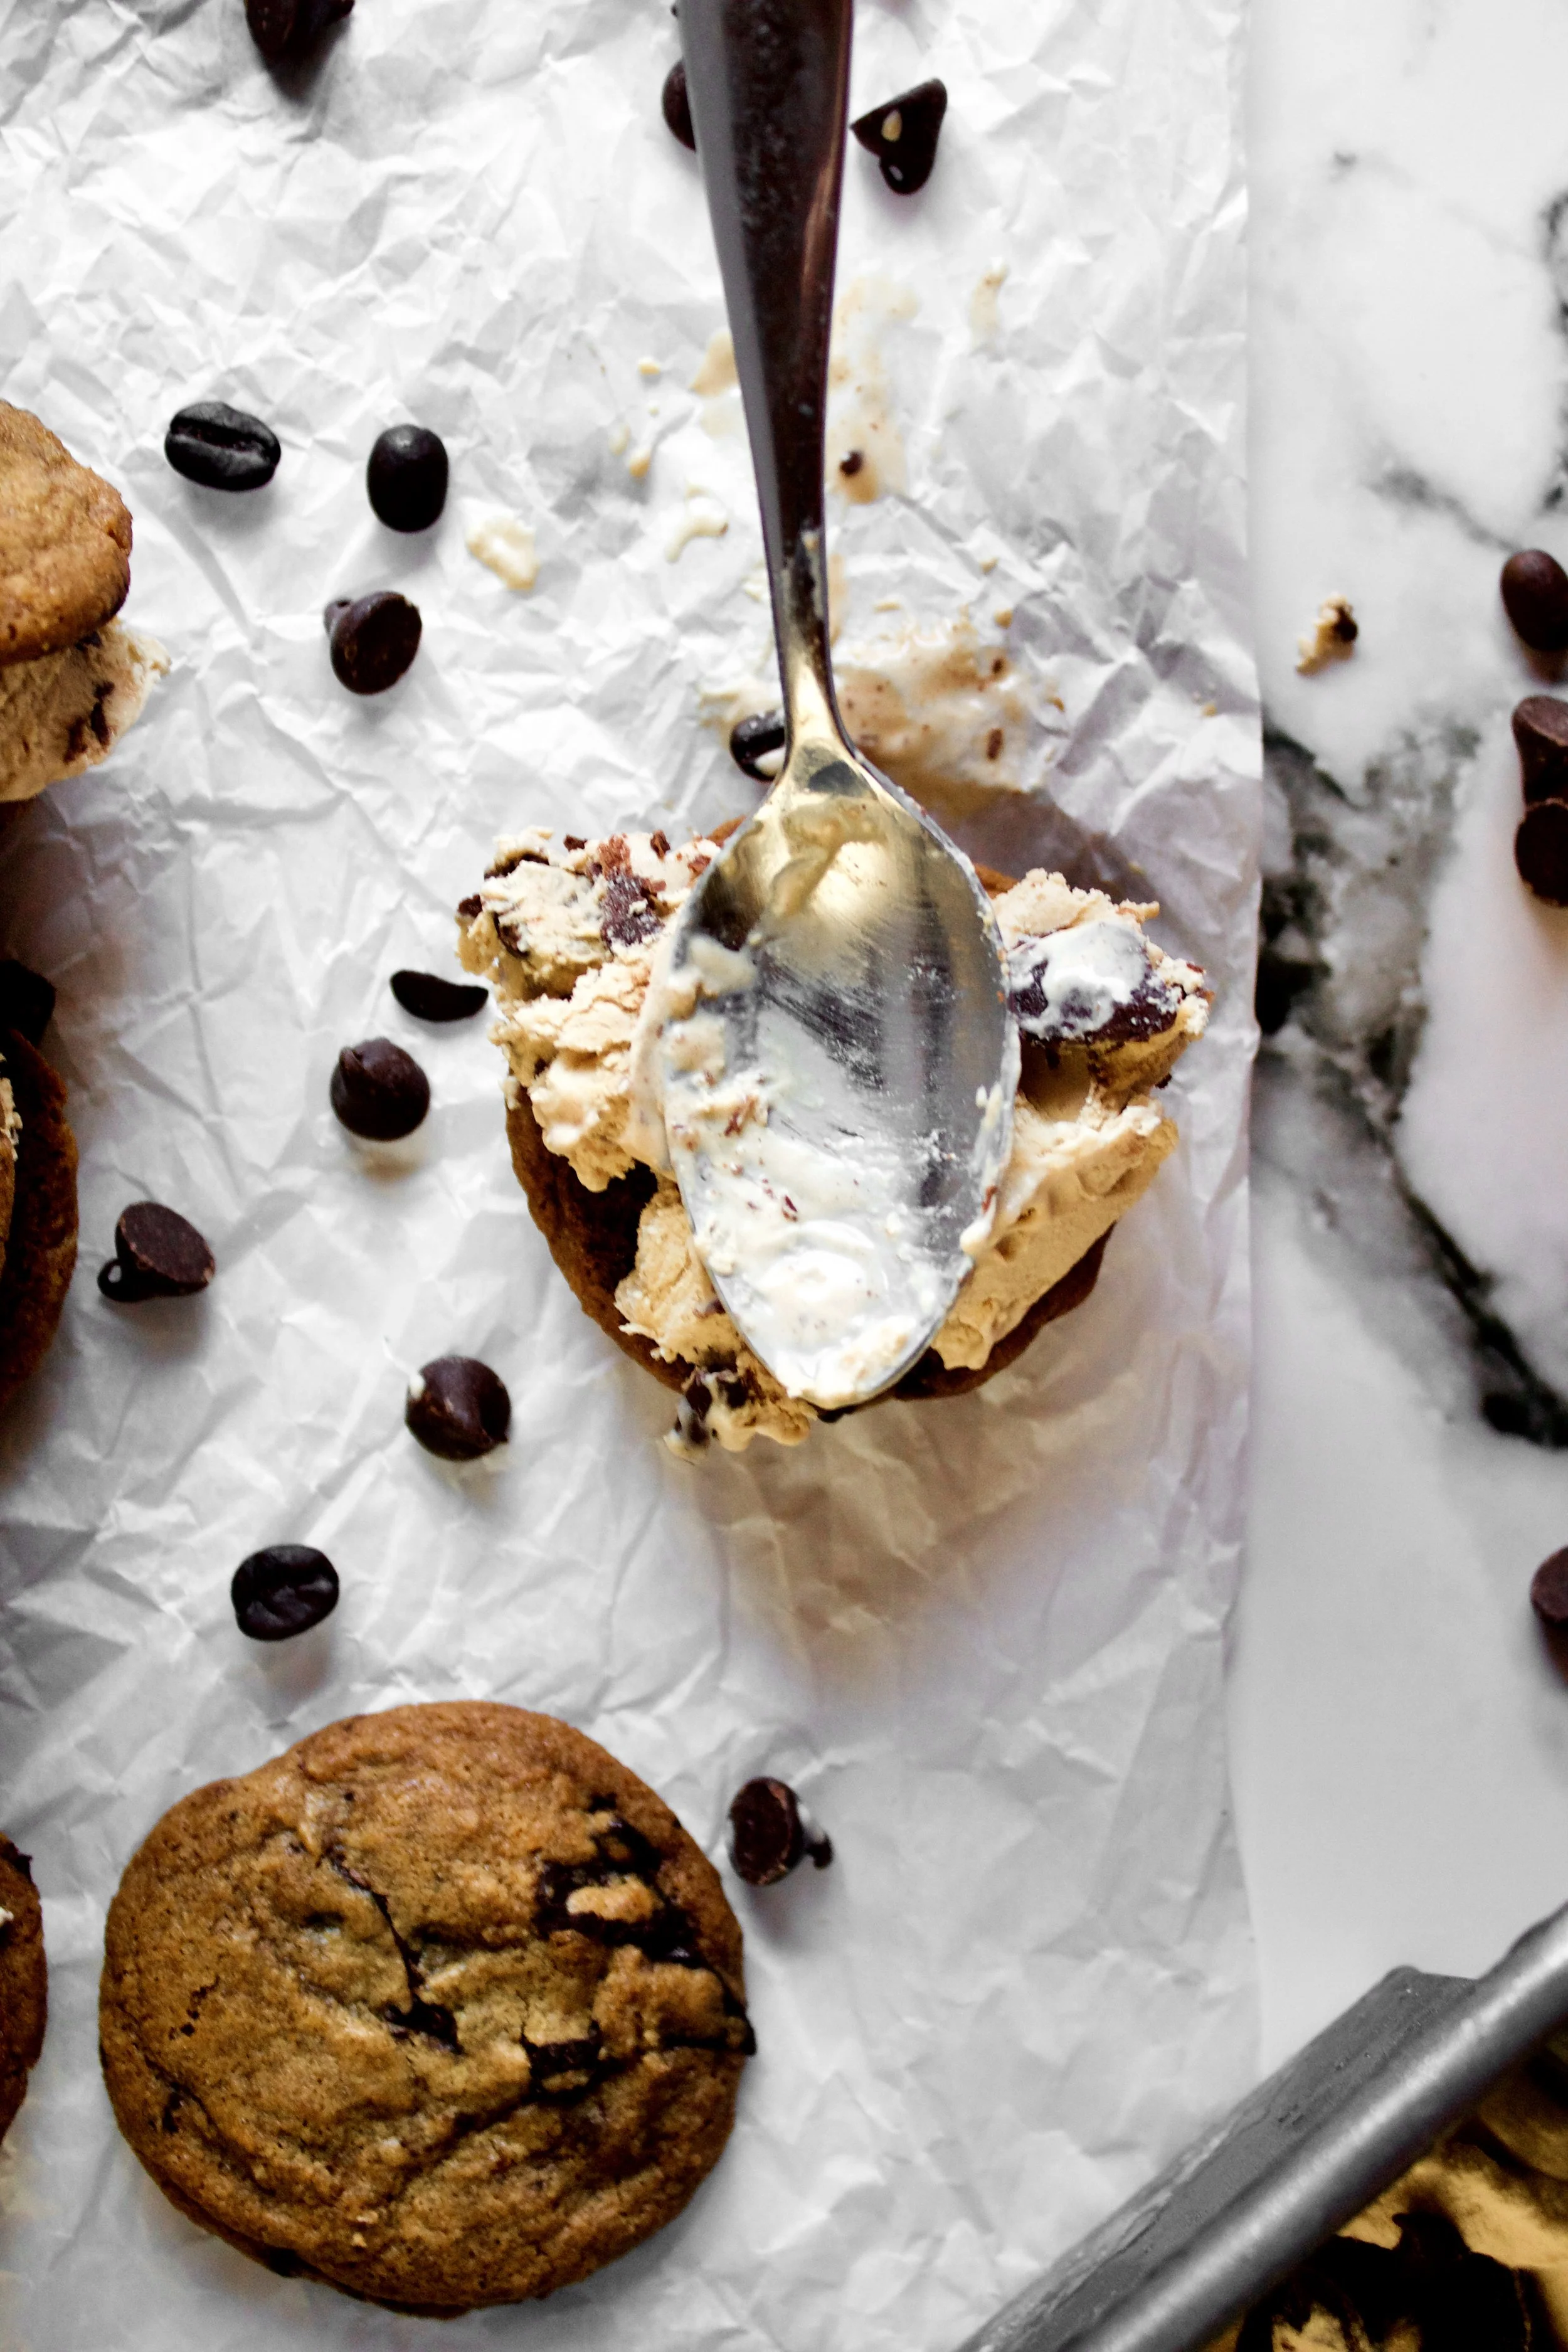
- Take one frozen cookie and place it upside down on a clean work surface. Scoop slightly less than ¼ cup ice cream (adjust based on how large you made your cookies) and place on the upside down cookie. Smooth it out slightly, spreading evenly all the way to the edges.
- Place a second cookie on top of the ice cream and press down gently. You don’t want to squish any out the sides, just seal the ice cream to both cookies so it stays together once frozen.
- Place on a clean cookie sheet. Repeat until all cookies and ice cream are used (or until desired amount is made). Freeze the tray of sandwiches for 30 minutes.
- If not serving right away, wrap each sandwich individually in two layers of plastic wrap to store in the freezer for up to 2 months. It is ideal to store individually wrapped sandwiches in an airtight container or freezer safe baggie, to ensure freshness.
Enjoy!
Depending on your freezer, you may need to let these sit on the counter for 5-10 minutes before serving.