
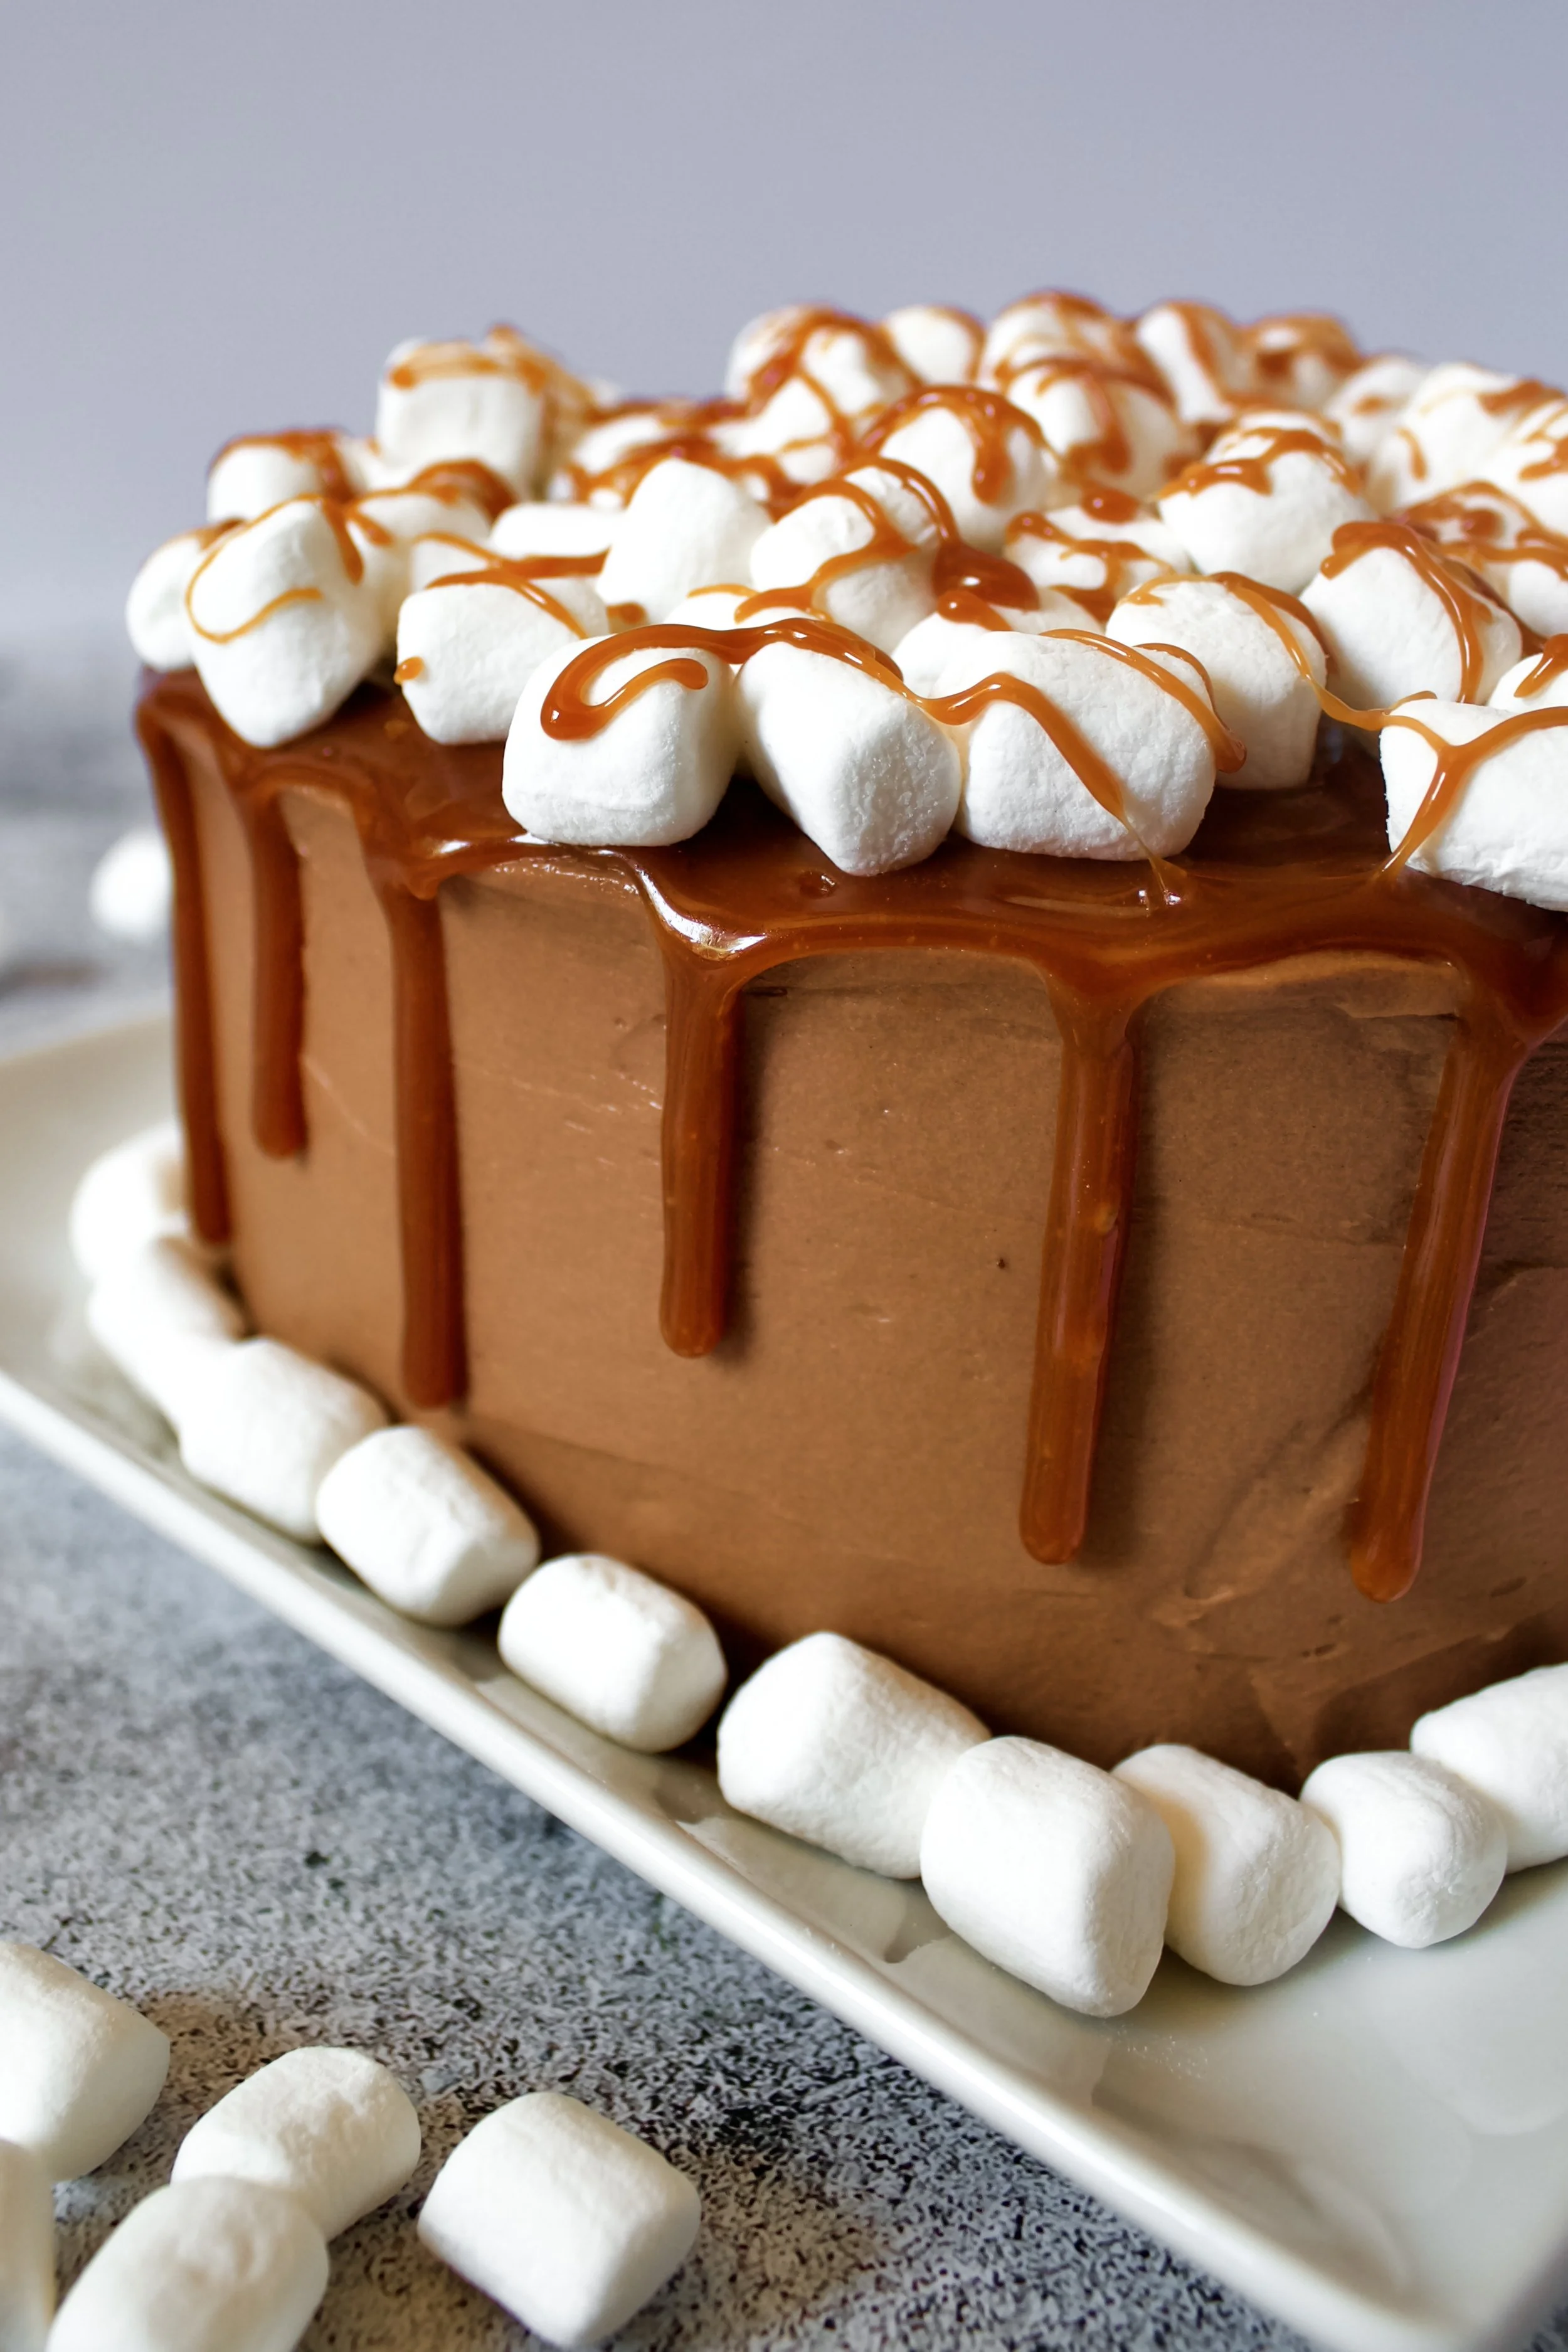
Easy Caramel Sauce or Drip
This simple recipe uses just a few ingredients and is fairly quick and effortless, creating the most amazing caramel that can be used as a sauce or cake drip. The dry method is used to develop depth of flavor and easy caramelization that has a perfectly smooth texture, so you can have caramel sauce anytime!
This post may contain affiliate links from which, at no additional cost to you, I may earn a small commission to keep this site running. Only products I myself would or do use are recommended.
Ugh. Me and caramel. We have a fraught history. I’m pretty sure that for every successful batch of caramel, I have an equally unsuccessful batch. Caramel has for sure been a humbling learning process of trial and error for me.
After having tried SO many recipes and methods, my first truly successful caramel sauce used the dry method. It made the best cake drip ever—not too thin, not too thick. And perfectly smooth.
I’ve since had success with the old-fashioned method of boiling sugar and water, but that process is more finicky and requires a candy thermometer. It’s more likely to turn out grainy, which is why I usually opt for this more foolproof recipe.
The key to this recipe is cooking it low and slow. Just let the sugar do its thing, which may mean turning the heat down a bit to prevent it burning (my stove runs a little hotter than others, so I cook mine slightly under medium heat). Just be patient, and wait for the sugar to be fully melted and caramelized before moving on, and you will have the most amazing caramel sauce!

Why this recipe works
Caramelizing the sugar without anything else in the pan is a lot faster than caramelizing it by boiling it with water. Plus, you can stir it without detrimental results. I love having control over what’s happening. Additionally, the result is usually less grainy, as the sugar dissolves before it caramelizes. This means no more worrying about the temperature being at the “done” stage while the texture is still not ready.
Usually, the dry method of caramel makes a thicker sauce, one that’s ideal for using in thinks like bars and layered desserts. However, I’ve adjusted the ratio of ingredients here so that it’s still thin enough to use as a drip when warm.
Key ingredients
Sugar. Obviously. Break up any clumps so it cooks evenly.
Butter. This helps keep it soft and pliable. Whisk very quickly when you add this.
Heavy cream. Don’t worry if it bubbles up when you add the cream—it helps preserve the liquid state of the sauce and adds a creaminess to the flavor (obviously).
Salt. A must! Salt helps draw out the sweetness and balance it. You can actually use sea salt and increase the amount to 1/2 teaspoon for a great salted caramel.
Vanilla. This is actually optional, but I love the flavor too much to omit it.

How to make easy caramel sauce
1. Sprinkle the sugar into a heavy saucepan over medium heat. Adjust the temperature as it melts, turning it down if it’s getting too dark before most of it is melted. It should be light amber on the sides and bottom with a thin layer of unmelted sugar on top before you add more. Also, you’re not supposed to stir it until it’s melted, but you can if needed. You just might get some clumps that will have to melt, meaning cooking it a little longer.
2. Once mostly melted, add more sugar. Keep watching the temperature so it doesn’t burn—it will keep getting darker but should not be burning. Keep adding very thin layers once it’s melted—this should take at least 5-6 additions of sugar.

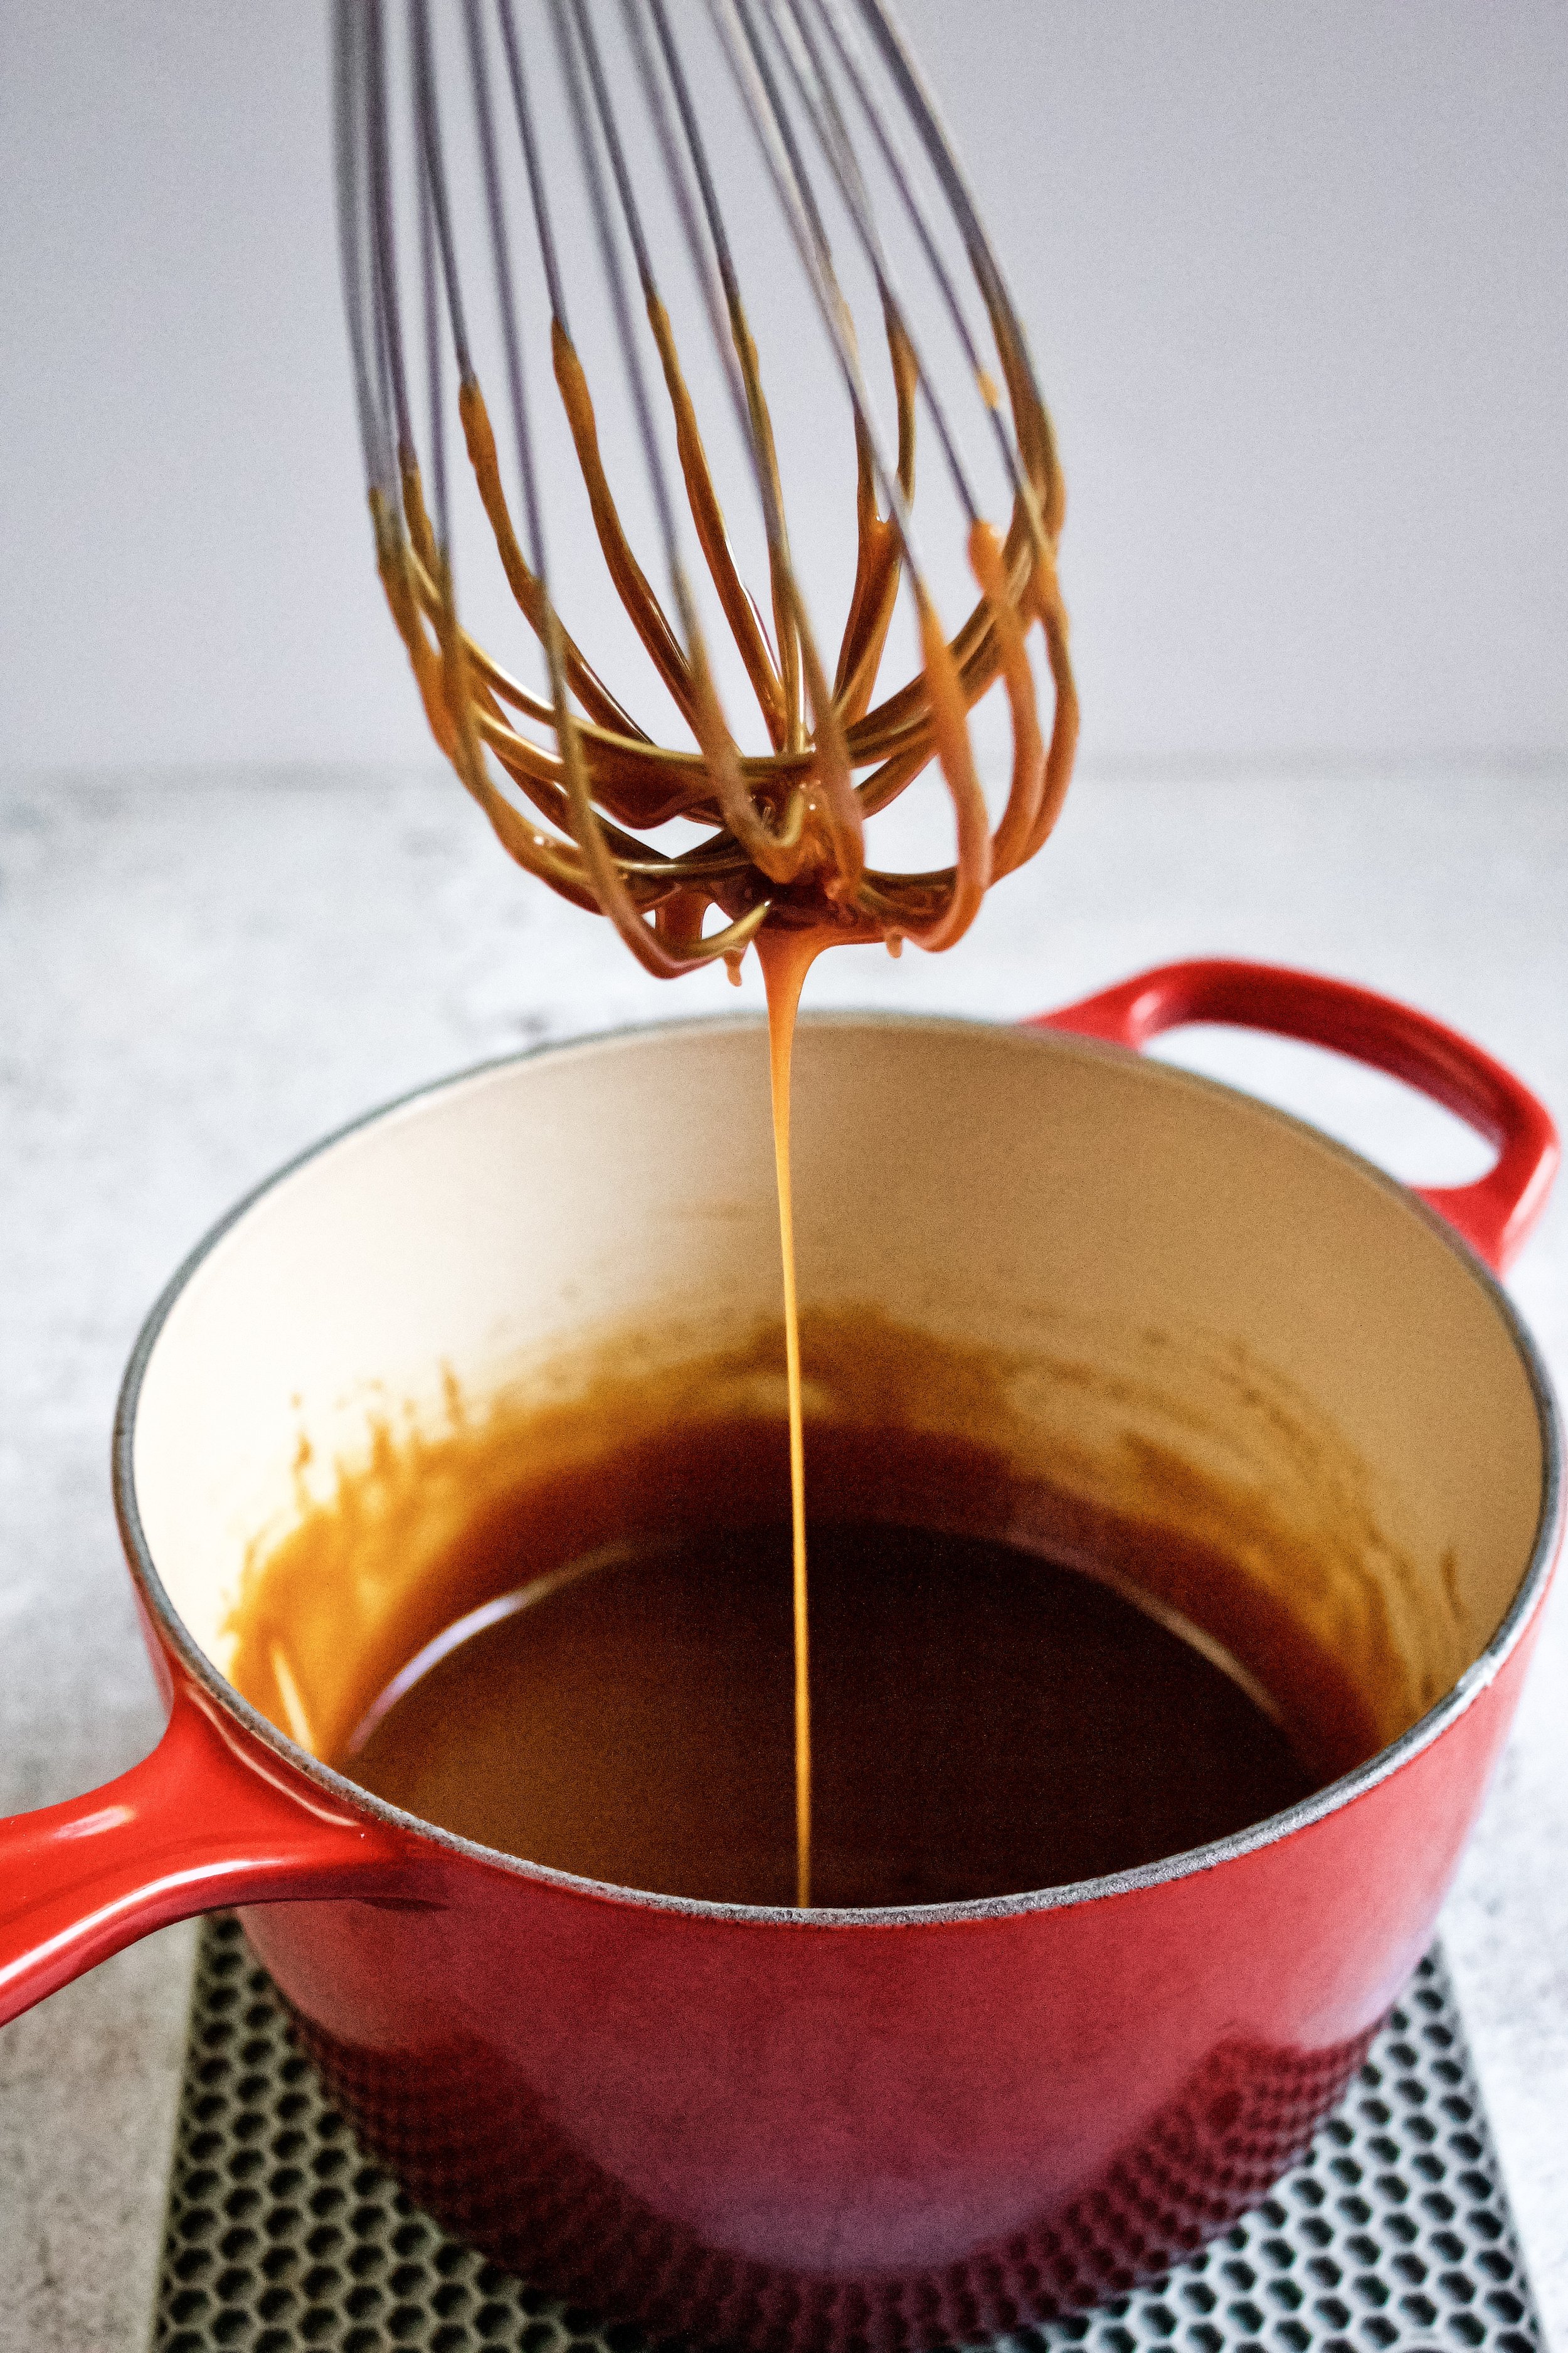
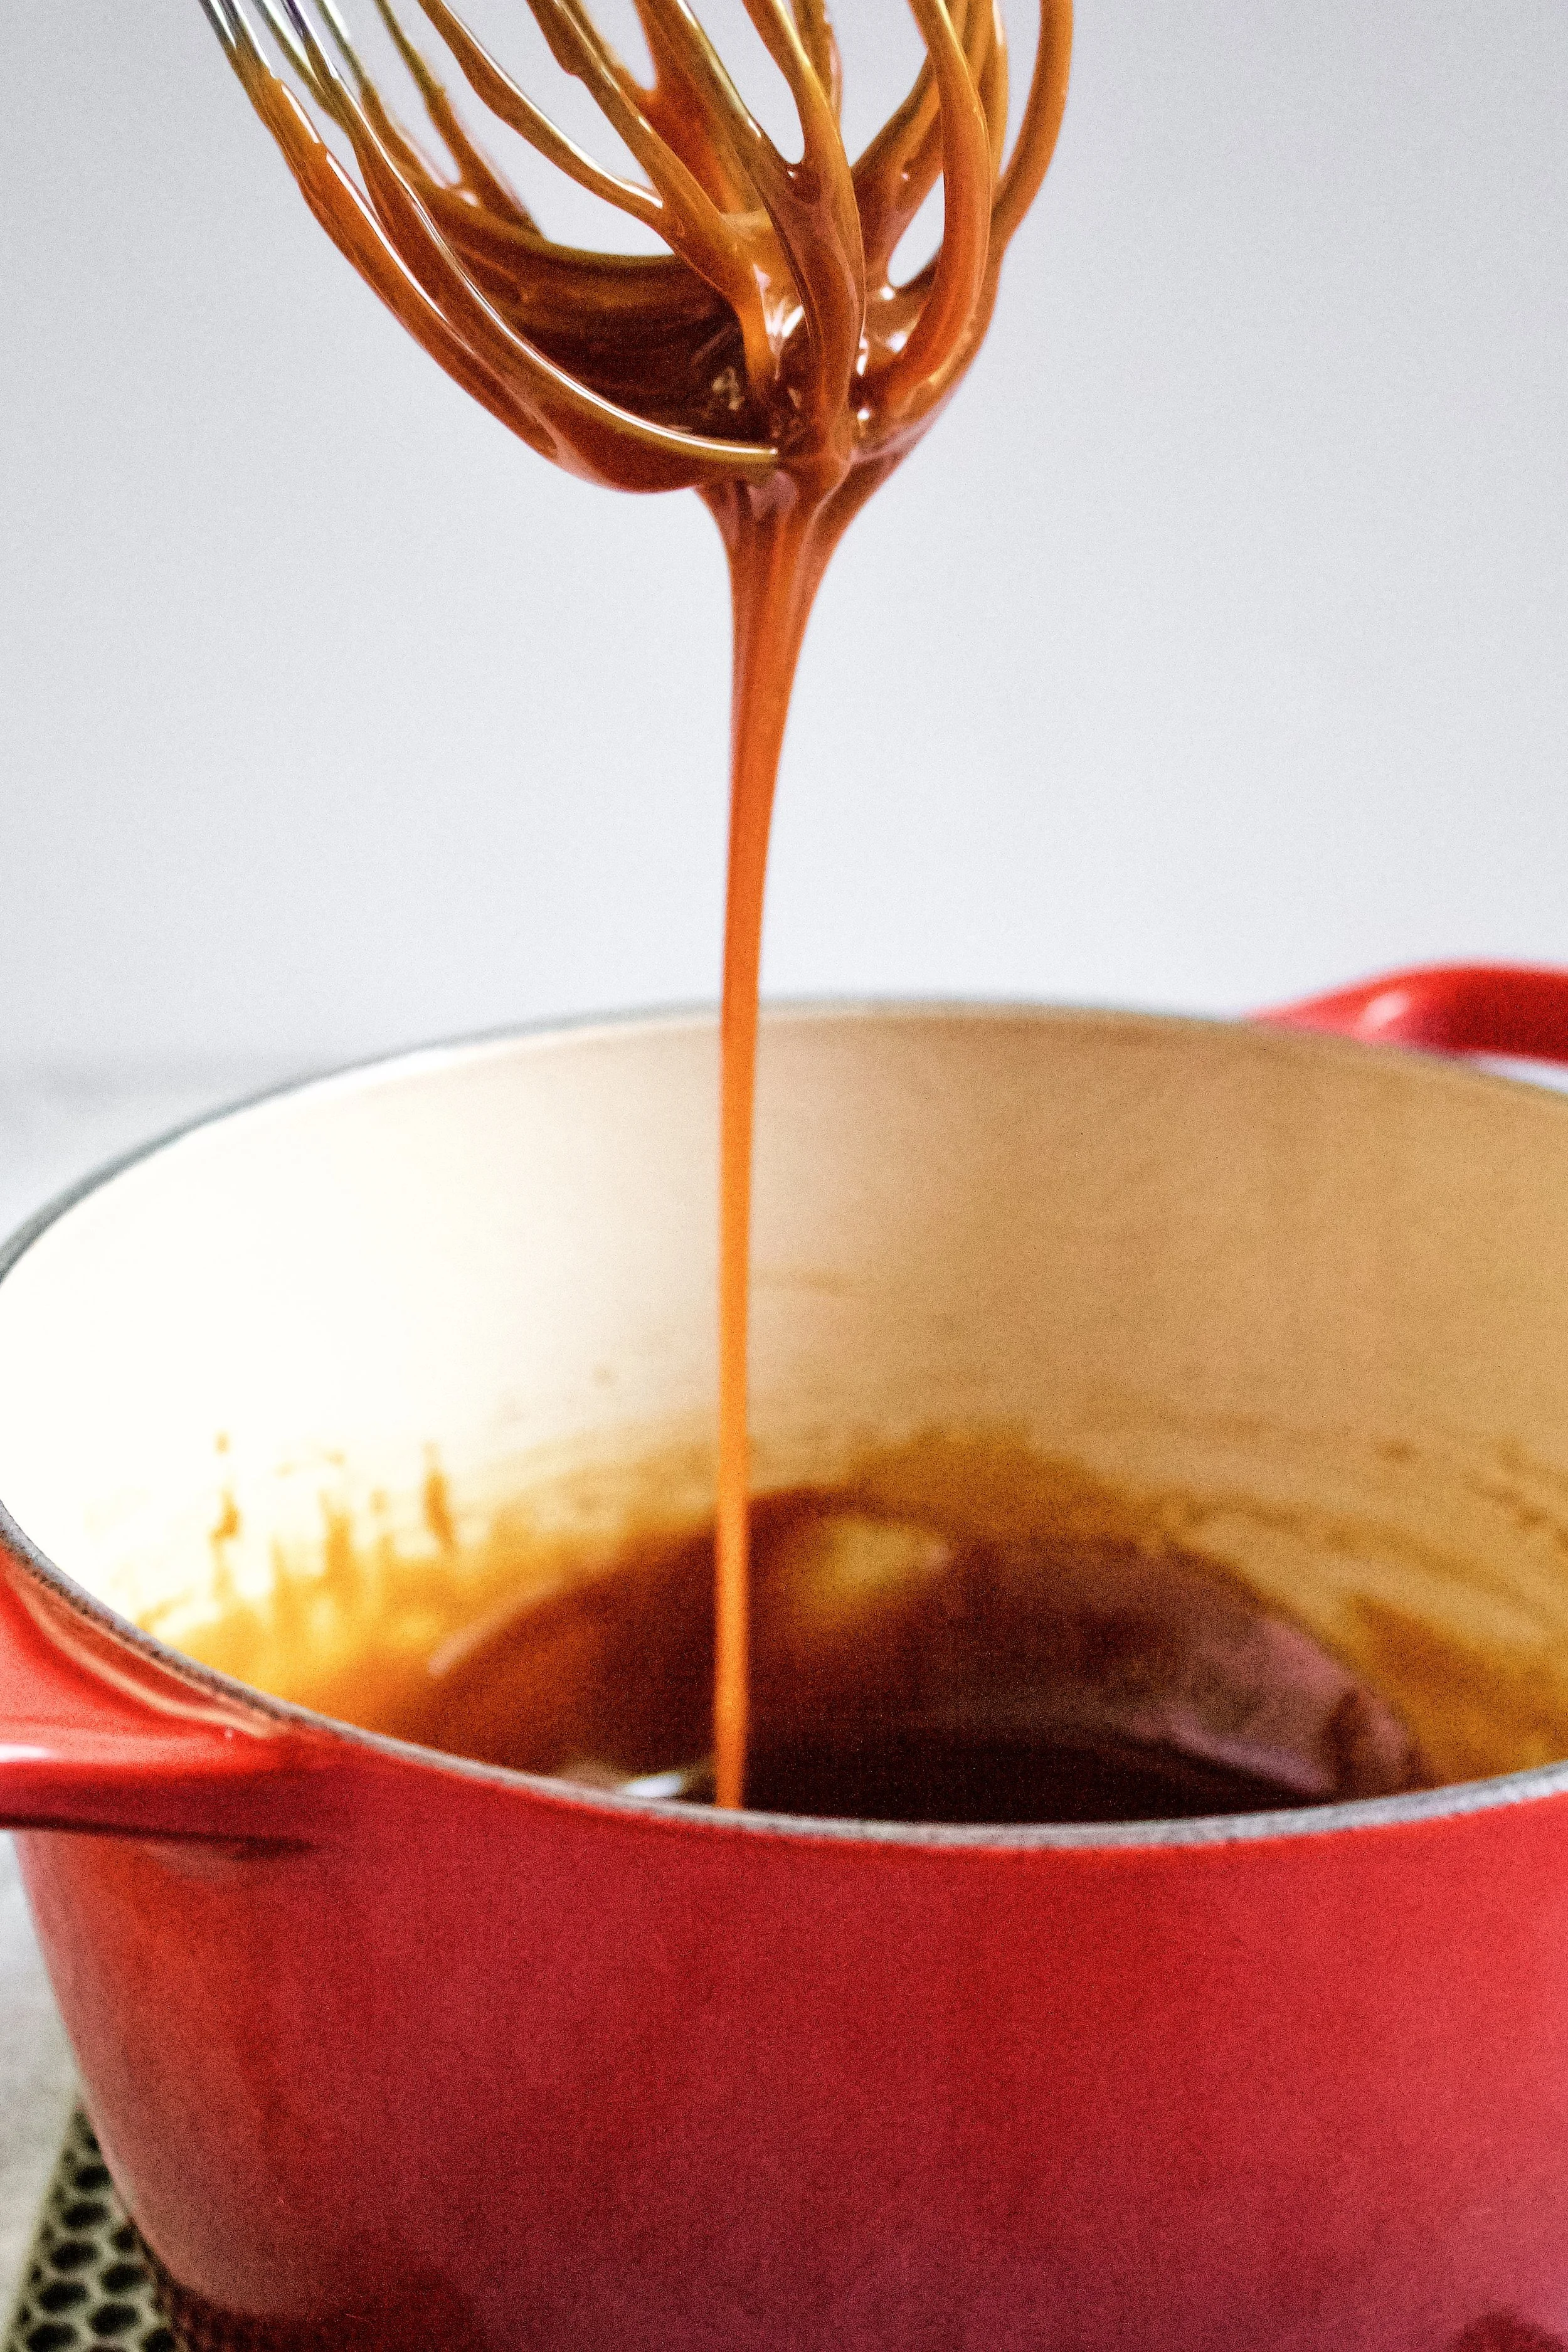
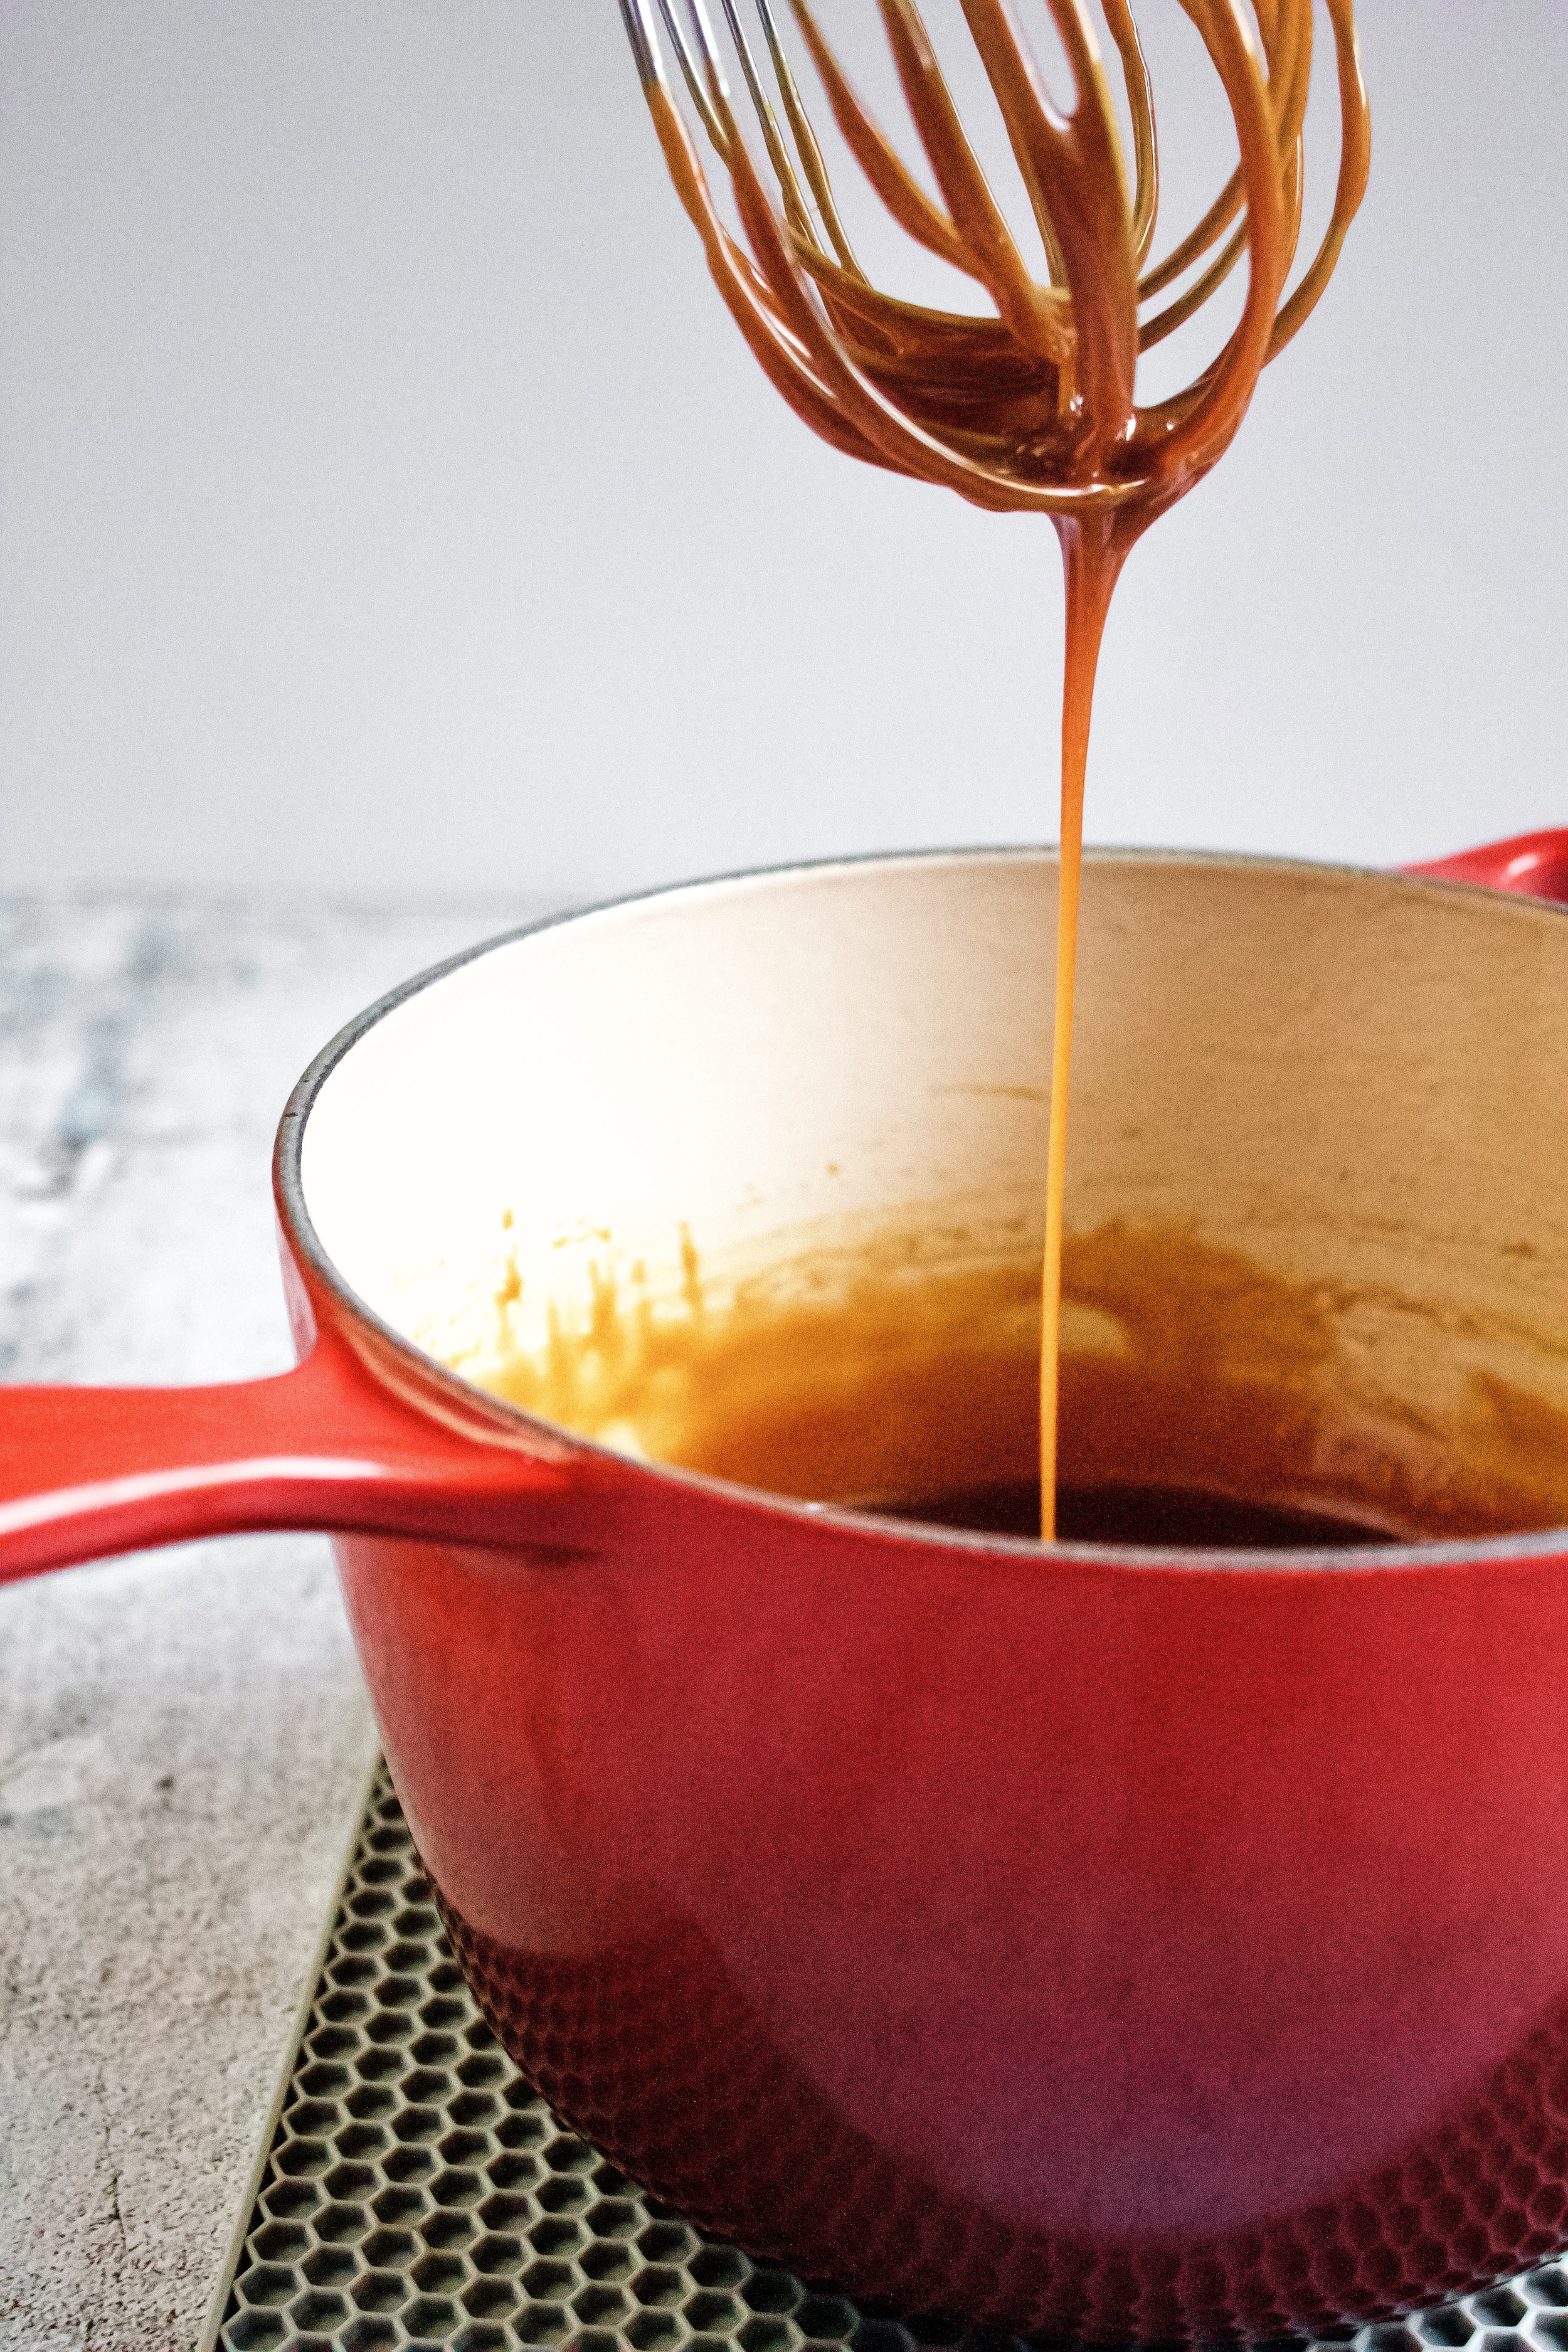
3. Once fully melted, cook until deep amber. Sometimes, this all happens at once, and other times, I stir and cook for a minute or two until it’s the right color. You’ll want it just a shade darker than you’d like the finished product sine it lightens as you add butter and cream.
4. Quickly whisk in butter. Remove from heat to do this.
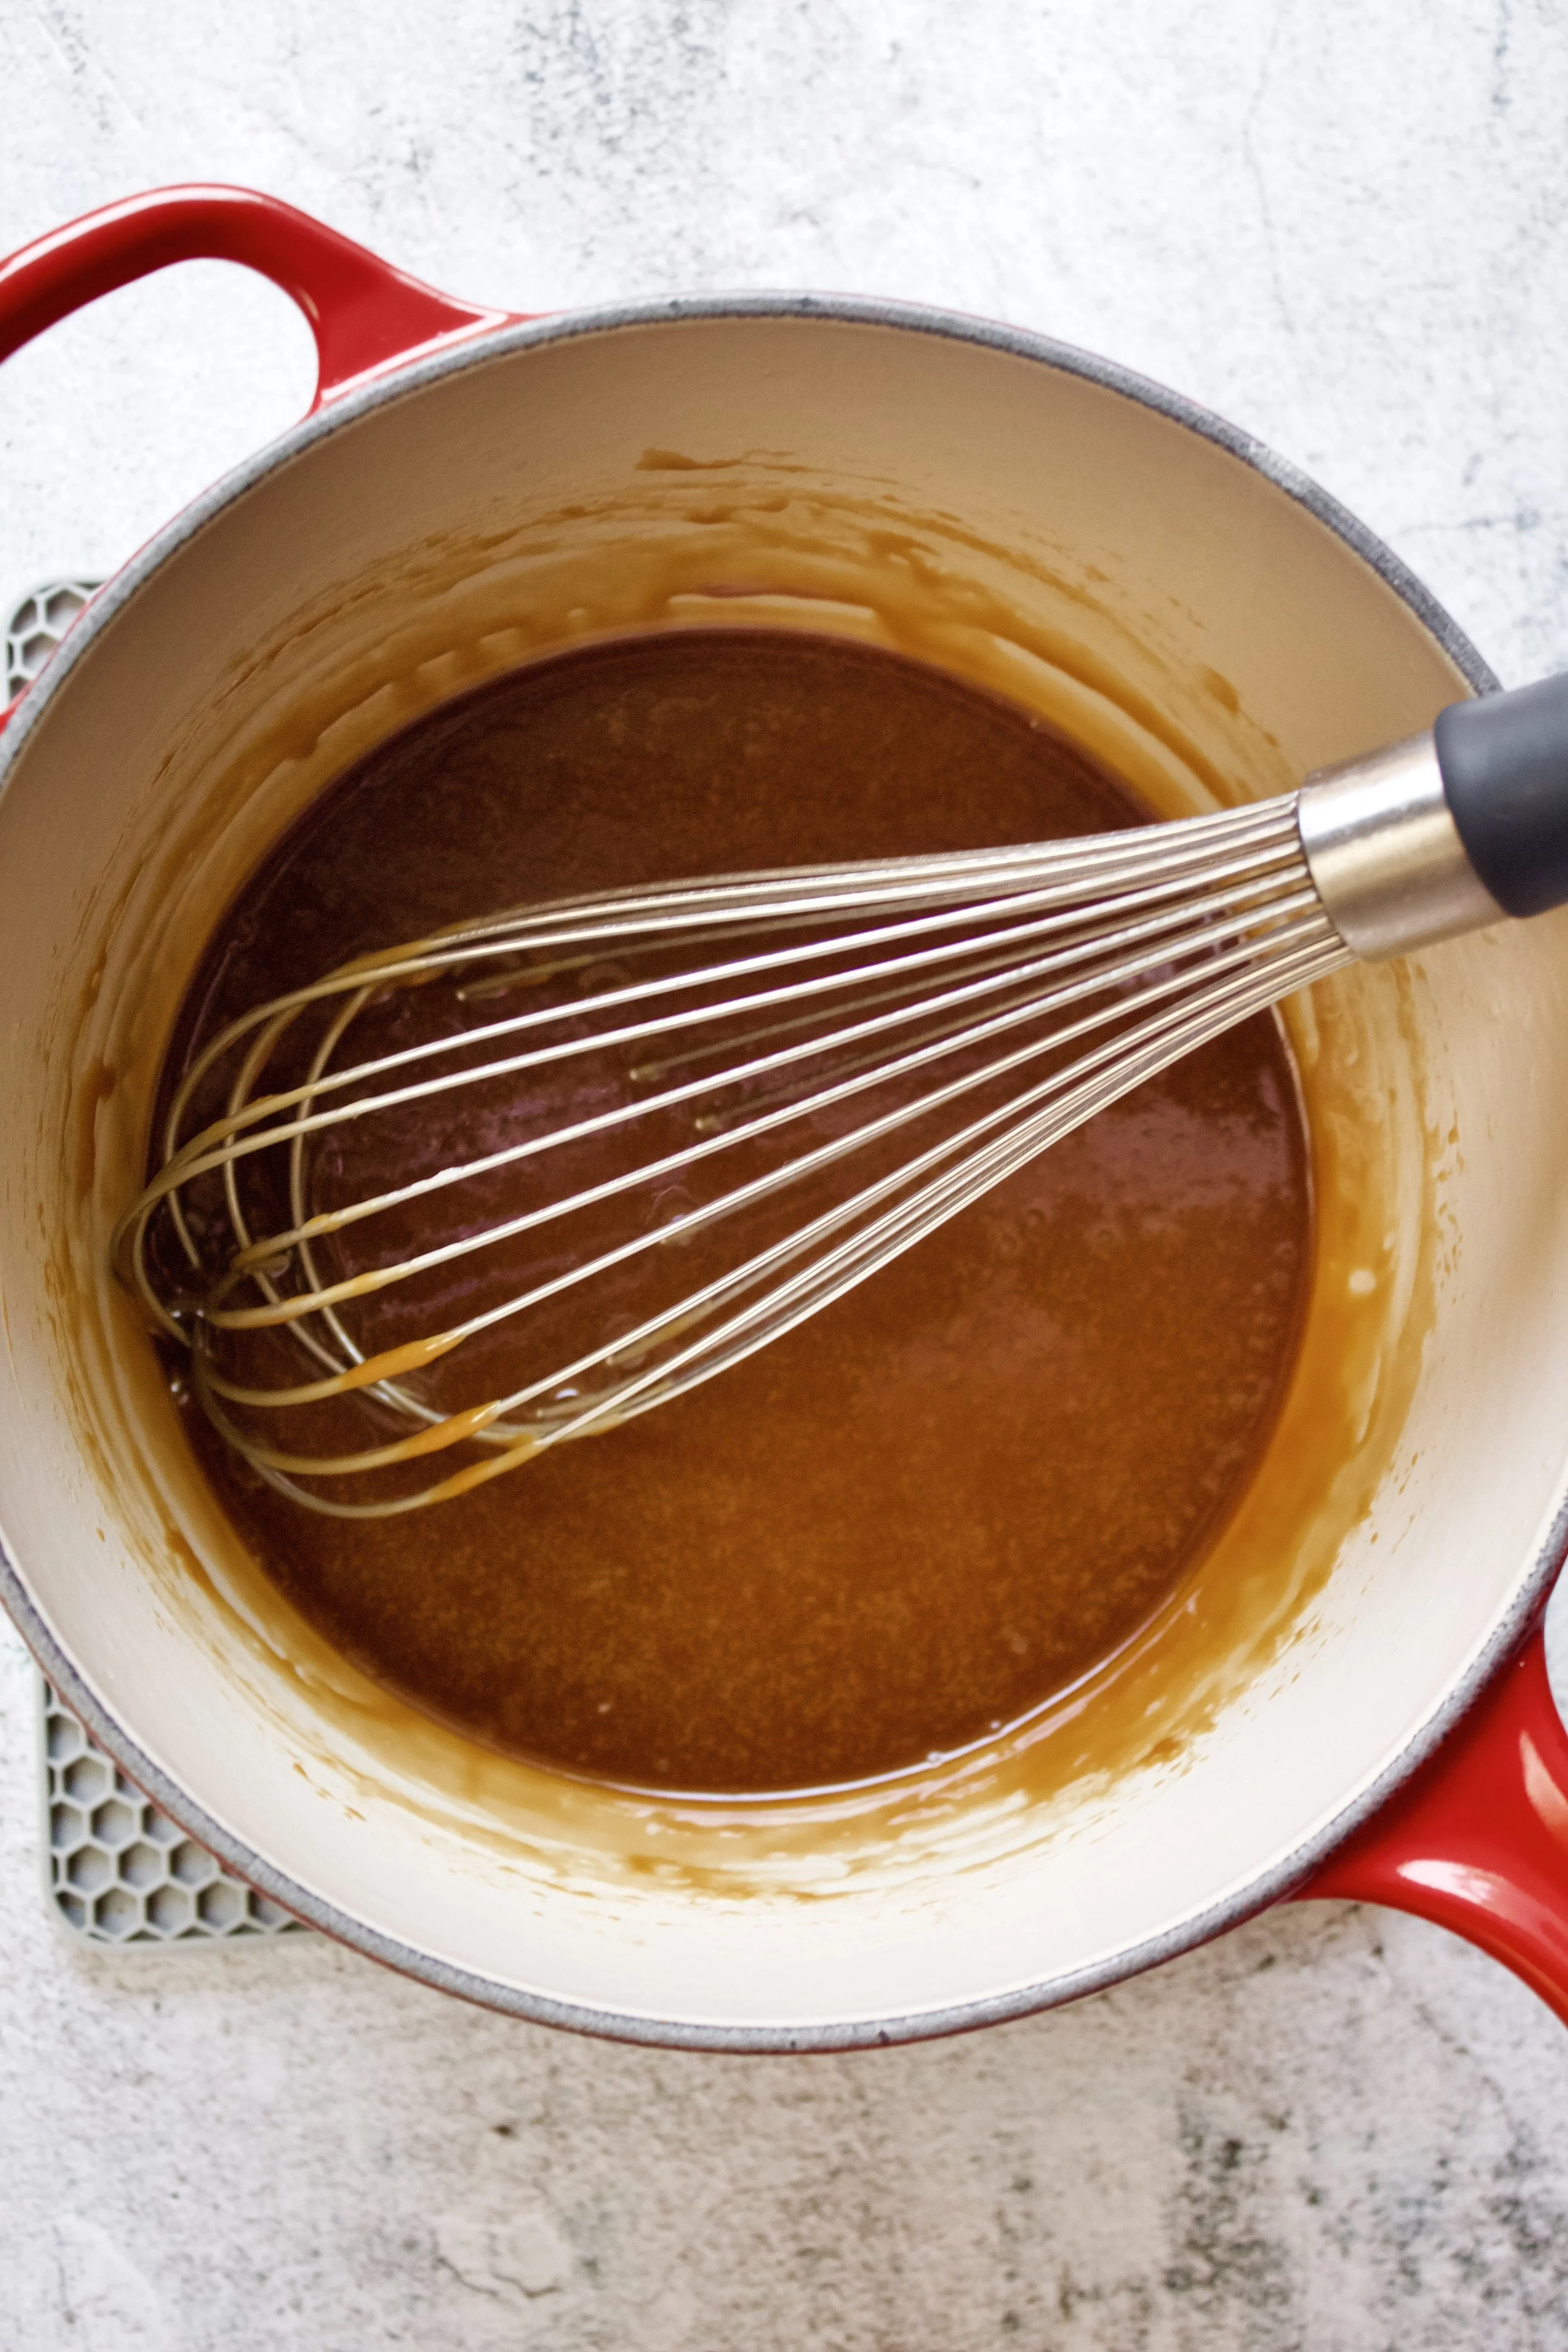
5. Quickly whisk in cream then salt and vanilla. It will bubble up when you add the cream, but just keep stirring quickly. Use 1/2 teaspoon salt if making salted caramel.
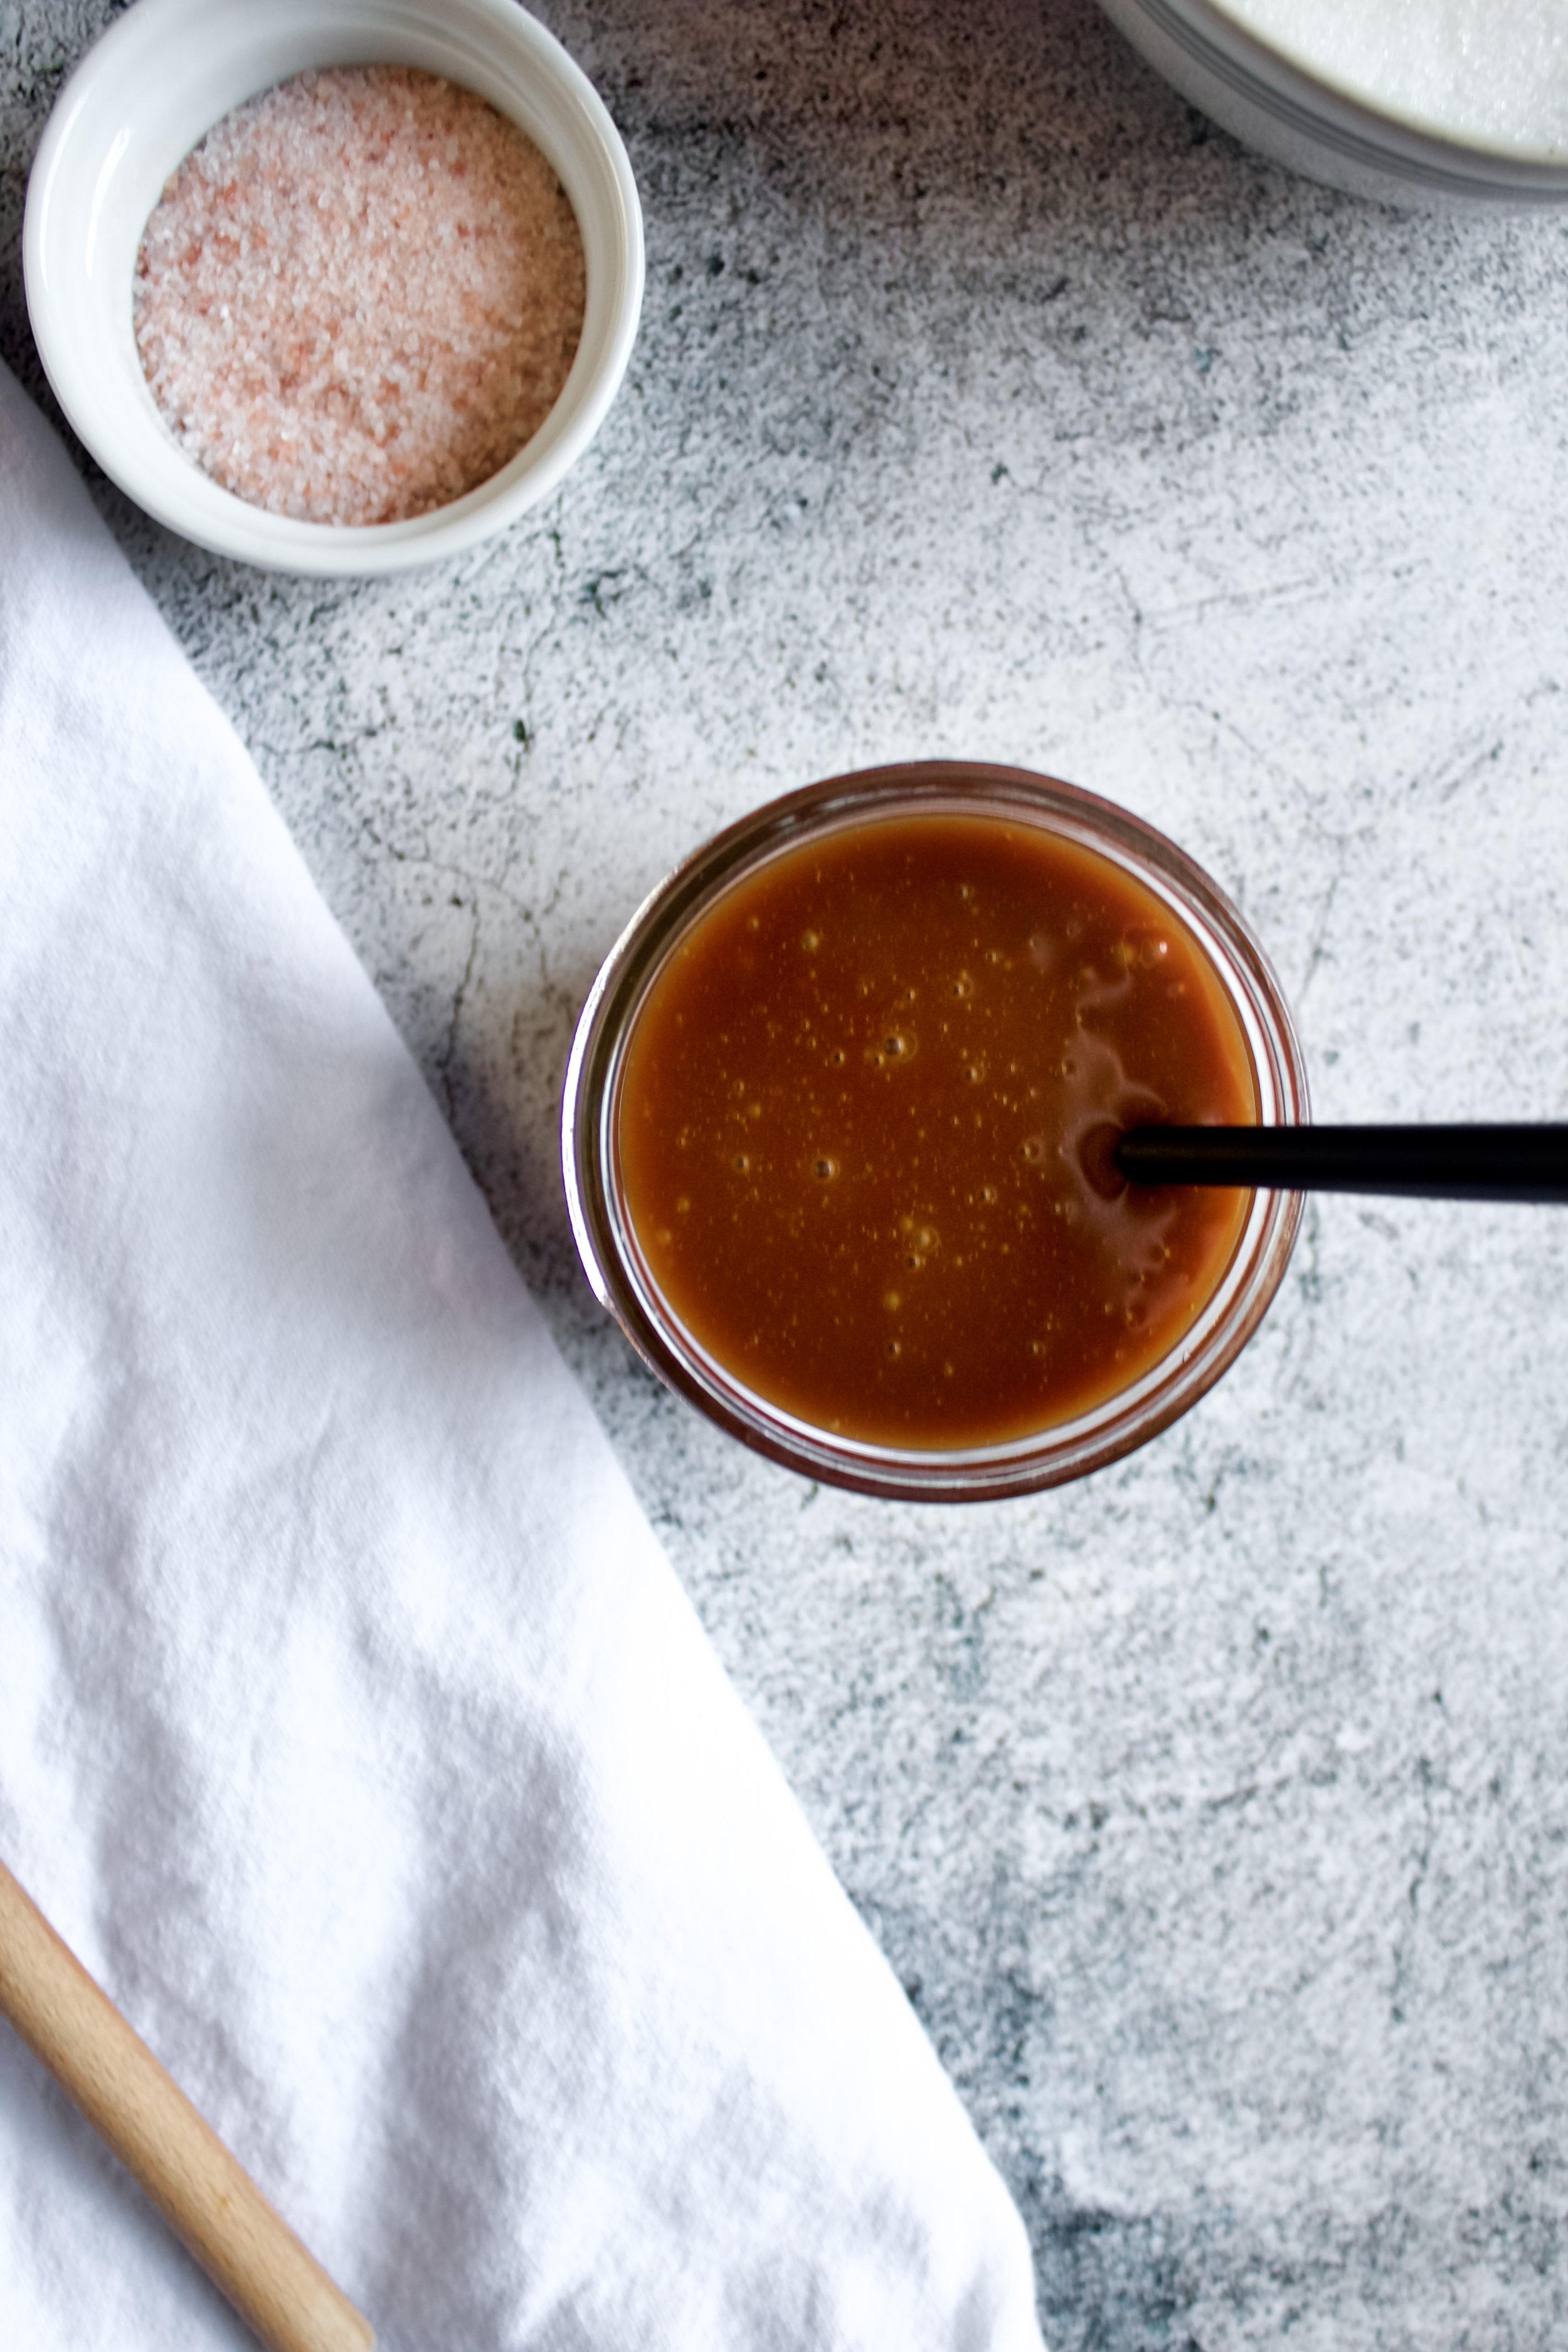
Enjoy! You can use right away or pour it into a container to cool. Just follow the tips for reheating as needed.

Tips and FAQ’s for this recipe
How do I make this salted caramel?
Easy! Just add 1/2 teaspoon of salt (ideally sea salt) instead of just a pinch. You can increase the amount to 1 teaspoon if you’d like an even stronger taste, but I’ve found that our brand of sea salt works fine with just 1/2 teaspoon.
What should I store it in?
Just about anything! If you plan to reheat it in the microwave, don’t use something with a metal clasp, like I did at Christmas. I suggest either a mason jar or drip bottle. I personally prefer mason jars, because it is fully sealed and will keep longer.

How do I reheat it?
You can use the microwave, but I suggest using half power. Het it in 10-15 second increments, stirring between each time. If you’re like me and don’t own a microwave, you can place it in a cup of hot water or even in a small pot of simmering water (over low heat), as long as the water isn’t all the way to the top of your container—you don’t want any getting inside.

Can I use it right away?
Sort of. You need to let it cool slightly. It shouldn’t be so hot that you can’t hold the bottle or jar that it’s in. This will cause whatever you’re putting it on to melt, such as a cake or ice cream. If you’re using it in something like a cookie bar, it can still be pretty hot, but remember that it will start cooking the dough as soon as you pour it on, so plan accordingly.
Help! My sugar clumped!
That’s okay! Just remove the pan from the heat altogether, stirring it for a minute or two. It should melt the clumps on its own without burning the rest of the sugar. If it’s not fully dissolved within 2 minutes, turn down the heat on the burner, put the pot back on, and continue with the process, letting it cook a little lower so it melts the sugar clumps without burning the rest of it.

How do I keep it from burning?
The key is to not let it get super dark early on. If it starts getting really dark before you’ve added more sugar, turn the heat down slightly. It helps to have a good handle on your stove and how hot it cooks, which is why I usually cook mine a bit under medium, since it tends to cook a little hotter.

My caramel tools
Here are my must-have tools I use for making this caramel. Affiliate links provided.
All-rubber spatula (this makes scraping the pot easier so the sauce doesn’t get all over a wooden handle)
Pairs Well With:
This sauce goes well with just about anything! Here are some of my favorite pairings:
Drizzle on this vegan chocolate tart (it won’t be vegan anymore, but it’ll be so good!)
Drizzle on this pumpkin pie ice cream or this macadamia nut ice cream!
Pair with my perfect pumpkin coffee cake or pumpkin bread pudding
Top my angel food cake with some caramel
Drizzle it on the filling in my apple pie cake or on top of apple pie itself
Use it as the drizzle on this easy caramel apple crumble tart

Easy Caramel Sauce or Drip
- total time: 10-15 minutes
yields: about 1 ½ cups
Ingredients:
- 1 cup (200g) granulated sugar
- 4 tablespoons (56g) unsalted butter, room temperature
- ⅓ cup (80g) heavy whipping cream, room temperature (reduce to 1/4 cup if needing a thicker sauce that will work in bars or tarts)
- a few pinches sea salt, to taste*
- 1 tablespoon (13g) pure vanilla extract (optional)
Instructions:
- Set a heavy bottomed, medium sized saucepan over medium heat. Make sure it has high enough sides for the caramel to bubble up when you add the butter and cream. If your stove is like mine and tends to run a little hot, start between medium-low and medium (I like to be on number 4 out of 10).
- Sprinkle just a thin layer of sugar into the pan and let it melt. Once it’s fully melted, you can stir it up a bit before adding another thin layer of sugar. Be sure to do at least 5-6 additions of sugar so the bottom doesn’t burn (if you’re trying to melt too thick a layer of sugar, the bottom will burn before the rest does).
- Once all the sugar is melted, continue cooking and stirring until it reaches a deep golden amber color. This is mostly up to personal preference. The darker it is, the thicker the sauce will be.
- Once the color is good, remove from heat and whisk in the butter, one tablespoon at a time. It will bubble and hiss as you do this.
- While whisking quickly, pour in the heavy cream then salt. Whisk until smooth and well-combined.
- If using right away, allow it to cool for 10-15 minutes (or fully, depending on what you’re using it in). If not using right away, pour into an airtight container, such as a mason jar, then refrigerate until ready to use.
- Reheat caramel by microwaving at half power in 30 second intervals or by placing the container in a cup of steaming hot water (but do not submerge–ensure the water can’t seep in through the seal) until desired consistency.
Enjoy!
Caramel should be stored in an airtight container in the fridge. It will last at least a month, depending on your fridge and how well-sealed the container is.
*If you want a salted caramel, use 1/2 to 1 teaspoon sea salt. Otherwise, a few pinches is fine.
