
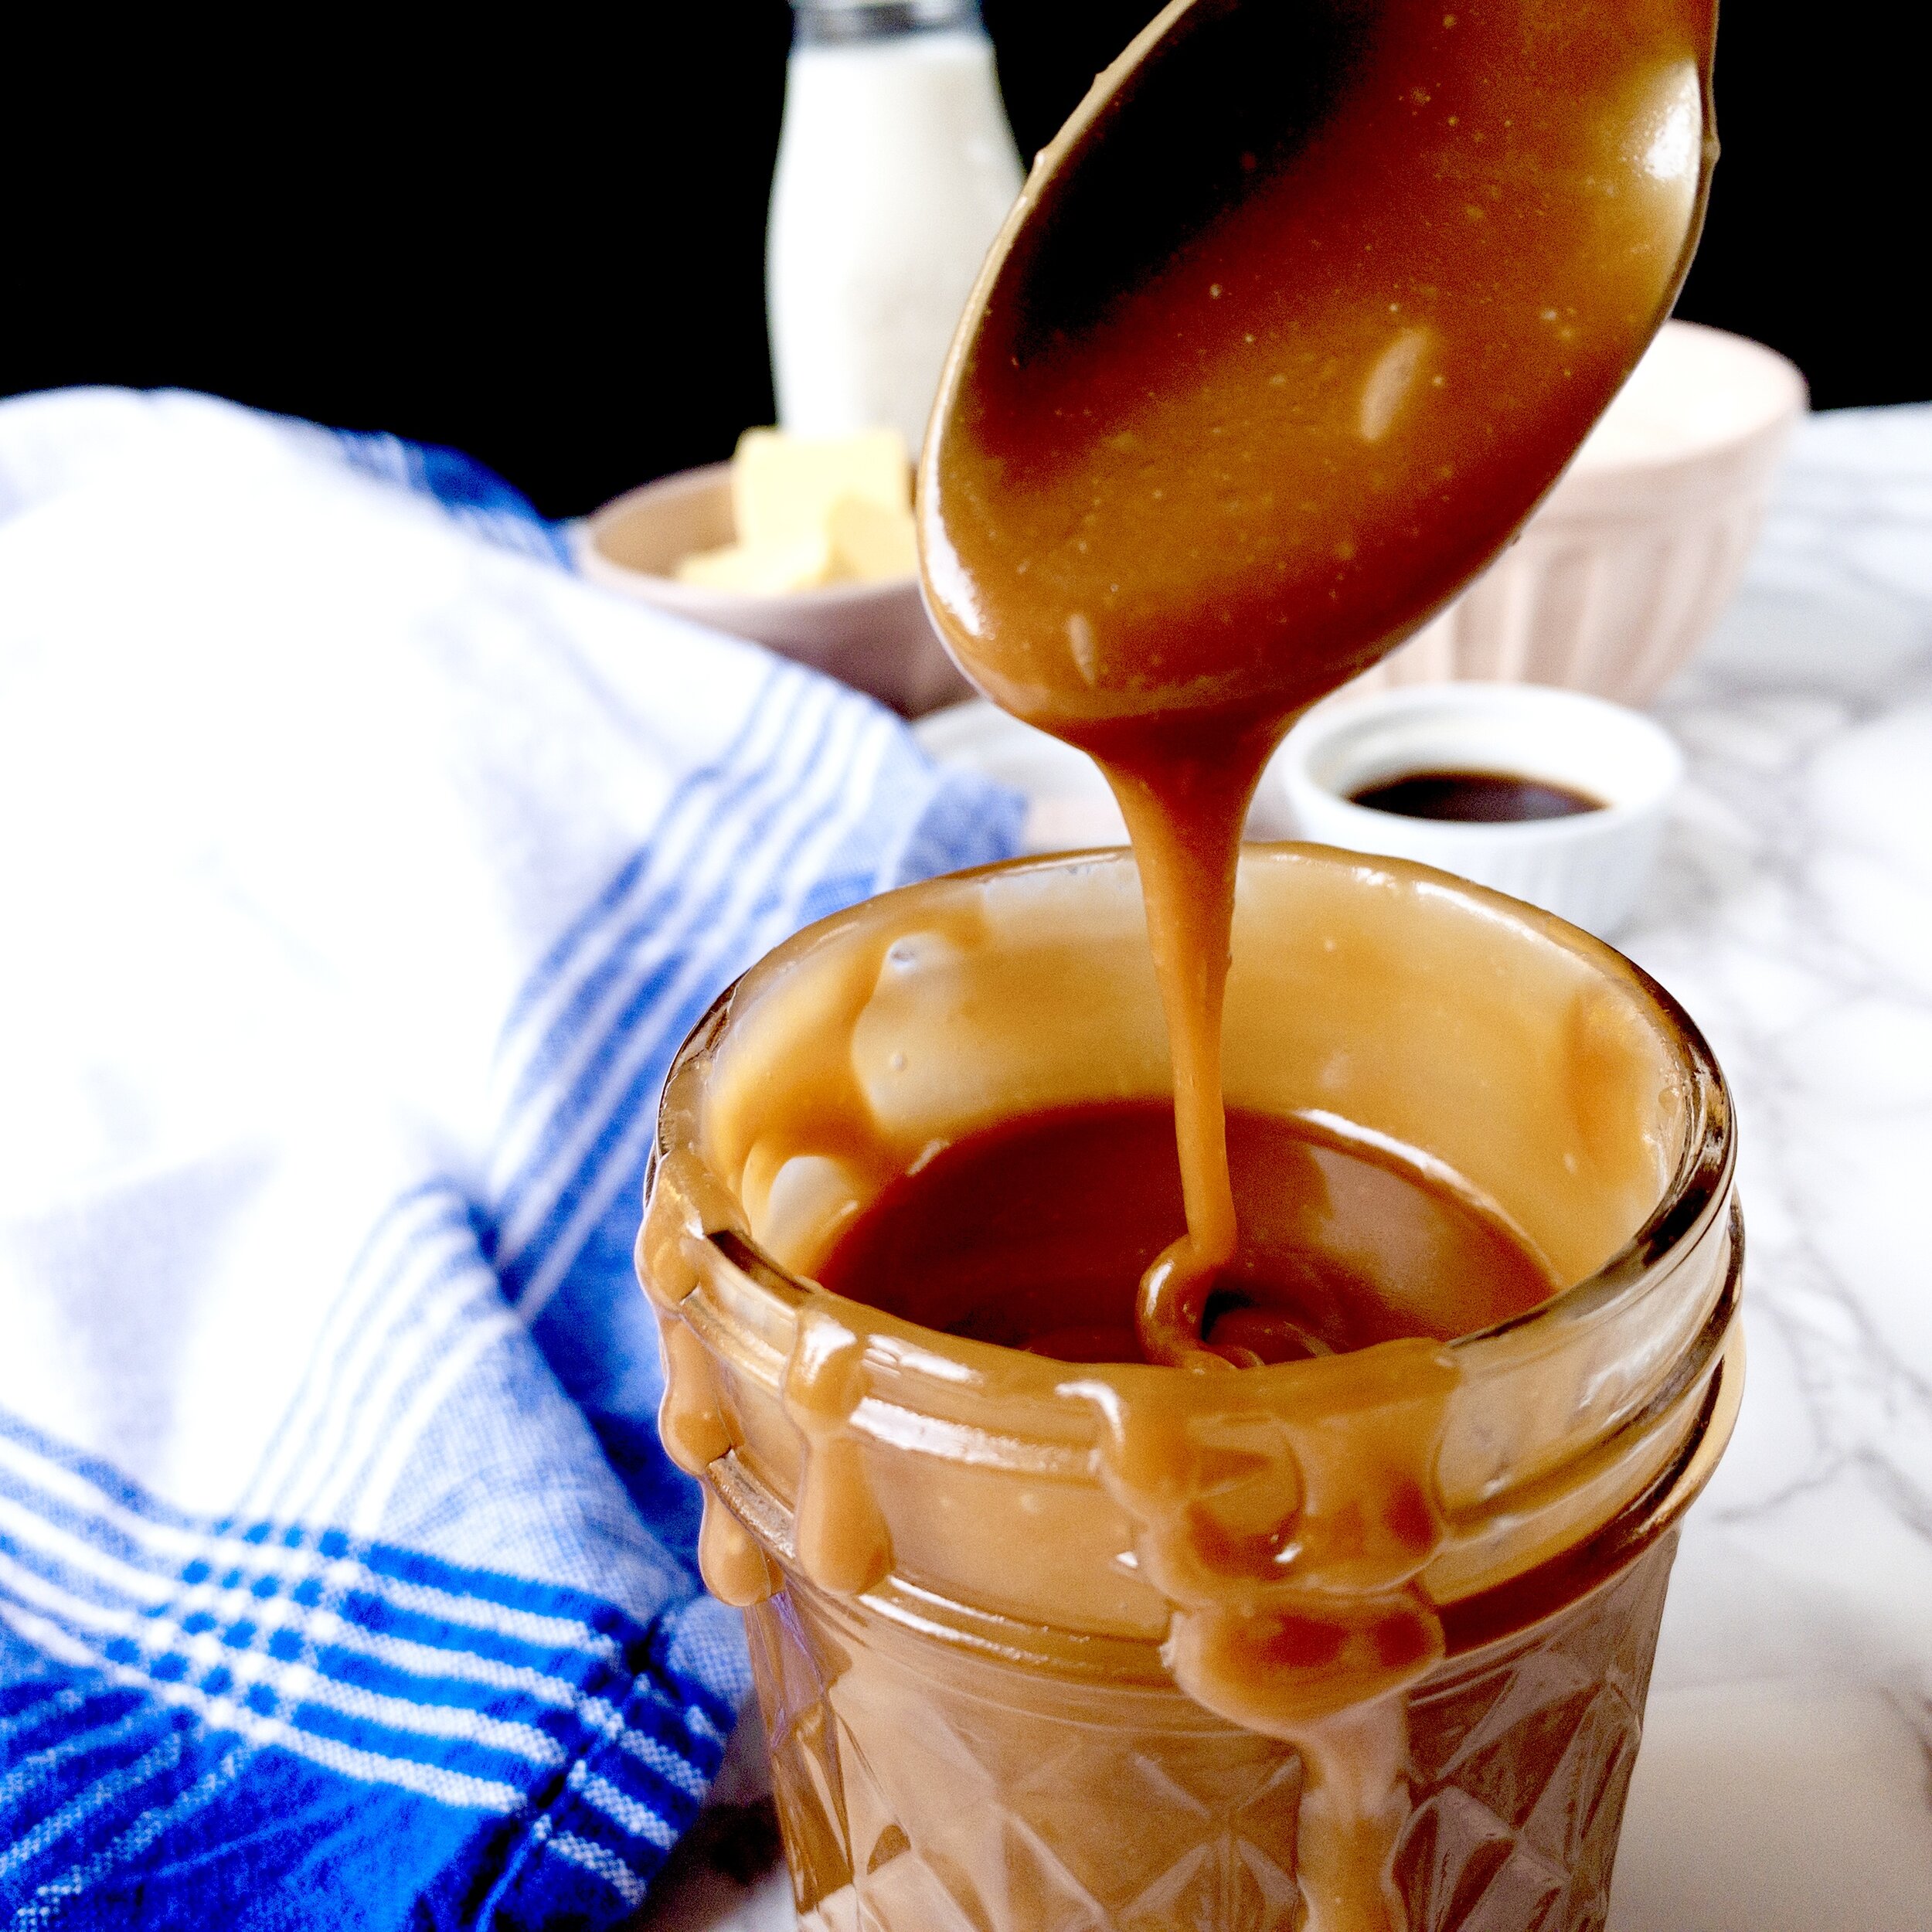
Vanilla Salted Caramel Sauce
Thick, old-fashioned caramel sauce with a perfectly salty contrast, you can drizzle this warm on ice cream or let it cool and spread it in between cake layers. Or, use it as a fruit dip (because a spoon doesn’t feel quite as healthy).

This is one of a few methods of making caramel sauce. I’ve made a few caramel sauces over the years, some to be cake drips, some to be dessert dips, some to be thicker sauces and spreads. This is more the last one: a little thicker, great for spreading, and ideal for highlighting the sea salt flavor. It’s still definitely a sauce, but if you chill it, it’ll set and stay a little on the solid side for some time, meaning you can use it as a cake filling or in my caramel cookie oopsie bars! But, if used while still warm, you can drizzle it on ice cream for an almost fudge-like caramel sauce. Yes, please.
I also like that it’s less likely to burn.

Yeah, I’m pretty simple. Don’t burn the caramel. Don’t make the house smell like smoke. But don’t worry, I make up for these virtues 😉 by also eating leftover caramel sauce by the jarful. It’s been bad, guys. I had to stir this jar for a while before I found the perfect stovetop temperature to reheat it at for photos. And of course I had to taste test a time or ten along the way. 😳

Let’s just say there was a lot less caramel in the jar when I put it back in the fridge. And it was mid-morning. And I hadn’t used any as an actual sauce. Unless a spoon counts as something you can put sauce on?

How to make vanilla salted caramel sauce
As difficult as caramel sauce may sound, this recipe is simple and, in my opinion, less likely to burn.

Combine the sugar and water and let it cook over medium heat until the sugar is dissolved.

Then add the butter and whisk until melted. Once it becomes slightly foamy and boils, turn down the heat to low. It’ll be foamy for a bit until it thickens.

Keep cooking until a rich caramel color has been achieved then remove it from the heat. Removing it too soon will result in a sauce that crystallizes and separates when chilled. But waiting too long means you’ve burned the sauce. So watch it closely to make sure you get a deep, rich color (deep golden or darkish caramel is what I shoot for) that hasn’t gotten dark dark brown or started to smell burnt.

Remove from heat and stir in the heavy cream. It will bubble up quite a bit, so be sure to pour in the cream slowly.

Stir in the salt and vanilla last. This will ensure those flavors stay bright and distinct. Pour into a heatproof bowl or container to cool slightly. Once it’s cool enough to touch the bowl easily, you can serve it or store it in a sealed jar in the fridge.

Reheat leftovers in the microwave in 15 second intervals, stirring between, or by placing the jar of caramel in a small pot of simmering water, stirring occasionally until it is smooth. It might look separated at some point as you reheat it, but just keep stirring until it’s smooth and comes together.

Tips for this recipe
Don’t stir!
Once you stir in the butter and bring it to a soft, gentle boil, you don’t want to stir it. Just tilt or very gently swirl the pan to keep it from burning. You want it to gently boil and simmer, and tilting the pan should be enough to distribute it evenly as it cooks.

Adjust heat as needed
I had to adjust between low, just above low, and removing from the heat for a second on my stove. You don’t want it boiling aggressively, so remove it from the stove for a few seconds if it’s cooking too quickly. It should take a few minutes before it starts to darken, and at first it will darken in sections that swirl throughout as you tilt the pan. If this is happening too quickly, your stove or pan may be taking longer to actually reach the low temperature you’ve turned it down to, so don’t be afraid to just give it a quick break (just a few seconds) so it doesn’t burn on the bottom.

Use a solid, deep pot
I love using my Le Creuset Dutch oven for this sauce. It’s thick and heavy and distributes heat evenly. Just be sure you have a pan you can trust that doesn’t burn food easily. You also want to be sure it’s not too shallow, or it could boil over the sides both while cooking and when you add the cream.

Reheat carefully
Obviously, remove the lid before either method. In the microwave, cook in 15 second intervals at half power, stirring in between until smooth. On the stove, immerse the open jar a little more than halfway in a pot of simmering water and stir occasionally. I recommend you hold the jar in this method so it doesn’t fall over into the water.

If it begins to look separated as you reheat, don’t worry. Keep cooking and stirring until it comes together and is smooth again.
Also, look at the super hipstergram photo I got of my reheated caramel in a steaming pot of water. Feel free to roll your eyes at how pretentiously artsy this looks. I did. 😂


I couldn’t pick just one photo…so I did a screenshot of this wall of caramel and I’m in love. 😍
Vanilla Salted Caramel Sauce
- prep time: 1 minute
- cook time: 10-15 minutes
- total time: 15 minutes
Yields: about 2 cups
Ingredients:
- 1 ½ cups sugar
- ¾ cup filtered water
- 12 tablespoons (1 ½ sticks) salted butter
- ⅔ cup heavy whipping cream, room temperature
- 1 tablespoon pure vanilla extract
- 1 ½ teaspoons sea salt
Instructions:
- In a heavy, medium to large saucepan with somewhat tall sides (such as a small Dutch oven or large saucepan), whisk together the sugar and water. Cook over medium heat until the sugar is completely dissolved, about 3-4 minutes.
- Add the butter and whisk until it has completely melted. Then, set the whisk aside and cook until it becomes foamy and begins to boil, then turn the heat to low. Let it cook for about 10 minutes, only tilting the pan (I like to tilt it from top to bottom then side to side) every 30 seconds or so—or very gently swirling it if that’s easier. You’ll start to notice swirls of dark brown mixing in from the bottom after a few minutes, while the top will still be off-white. Tilting is important as it keeps the bottom part from burning without stirring it (which isn’t recommended with caramel).
- After about 10 minutes it should have thickened significantly and turned a rich caramel color. It should also smell like a rich caramel smell. Keep tilting and cooking until you’re happy with the smell and color, but don’t let it get dark brown (think darkish caramel).
- Remove from heat and slowly pour in the heavy cream while whisking vigorously. It’s easiest if you have a pour spout that you can slowly stream in the cream from with one hand while whisking with the other. It will bubble up quite a bit as you do this, so whisk well. Then add the vanilla and sea salt and whisk until fully combined. Let cool at room temperature, either in the pan or in a bowl to speed the process up a bit. Don’t refrigerate until it’s come to room temperature, as this can cause it to crystallize. Also, don’t taste it yet! It WILL burn your mouth. You can pour some (or a lot) into a small bowl to cool faster and taste.
Enjoy! Store in an airtight container, such as a sealed jar, in the fridge. See note for reheating instructions.
