
Easy Caramel Apple Crumble Tart
Apple pie, reimagined. The vertically arranged apples create a perfect slice that doesn’t fall apart, while the crumble topping fills in the cracks with a perfectly sweet crunch, topped by a simple-to-make salted caramel sauce that brings it all together. Plus, using a tart pan with a removable bottom makes this SO much easier to slice and serve!

I’m writing this the night before a contentious election and I just want to preserve how I felt, what the world was like, before November 3, 2020. For all I know, tomorrow might be kind of just another day. But I have a feeling it won’t be.
I voted over a week ago. I voted with my conscience on each issue, researching the various candidates and issues. I didn’t really fall into any party line with my overall ballot, and I think many of us feel that way. We’re tired of our opinions being arbitrarily criticized online. We don’t feel safe or even able to have open dialogue when our beliefs differ from those around us.
We’re sad and tired.

For all the conspiracy theories about our government becoming Big Brother and trying to control us, I think we’re becoming what so many fear most. We’re refusing to allow anything that deviates from our norm. We either hate those who think differently or refuse to even talk about it. The former extreme is likely a result of the latter.

I guess what I want to remember about today is how much I wish we knew how to have healthy dialogue when we differ. I think it would help us see how often we actually agree.

So in that spirit, I beg you to vote. Be heard. Don’t you dare complain about politics if you don’t participate.
And after you vote, do something else that’s very American and eat some apple tart.

Easy caramel apple crumble tart
Guys, I just reinvented apple pie. The holidays will never be the same and I wouldn’t have it any other way. I’ve been using up the vanilla salted caramel sauce I made for my mother-in-law’s birthday cake, and I figured why not use up the absurd amount of apples I’ve let pile up in my fridge? I’ve kinda been hoarding them so I can bake all the apple things…but they’re spoiling faster than I can bake and eat them. 😳

I came up with the rest of this on a whim and prayed to the pie and tart gods that it would work. I chose the tart pan to see if it was easier to serve than a pie (it 100% is). I’ve been wanting to try the vertical sliced apple look for a while just because it’s artsy. And then I decided to minimally prepare the apples so they stayed intact and keep that rustic look. To compensate, I created a chunky, buttery-sweet crumble topping to fill in around it.

The result? Vibrant apple flavor complemented by a crunchy-sweet crumble and salty-sweet caramel sauce. And you can’t go wrong with the removable bottom tart pan. SO EASY to cut and serve. Seriously, it’s my new favorite.

How to make easy caramel apple crumble tart
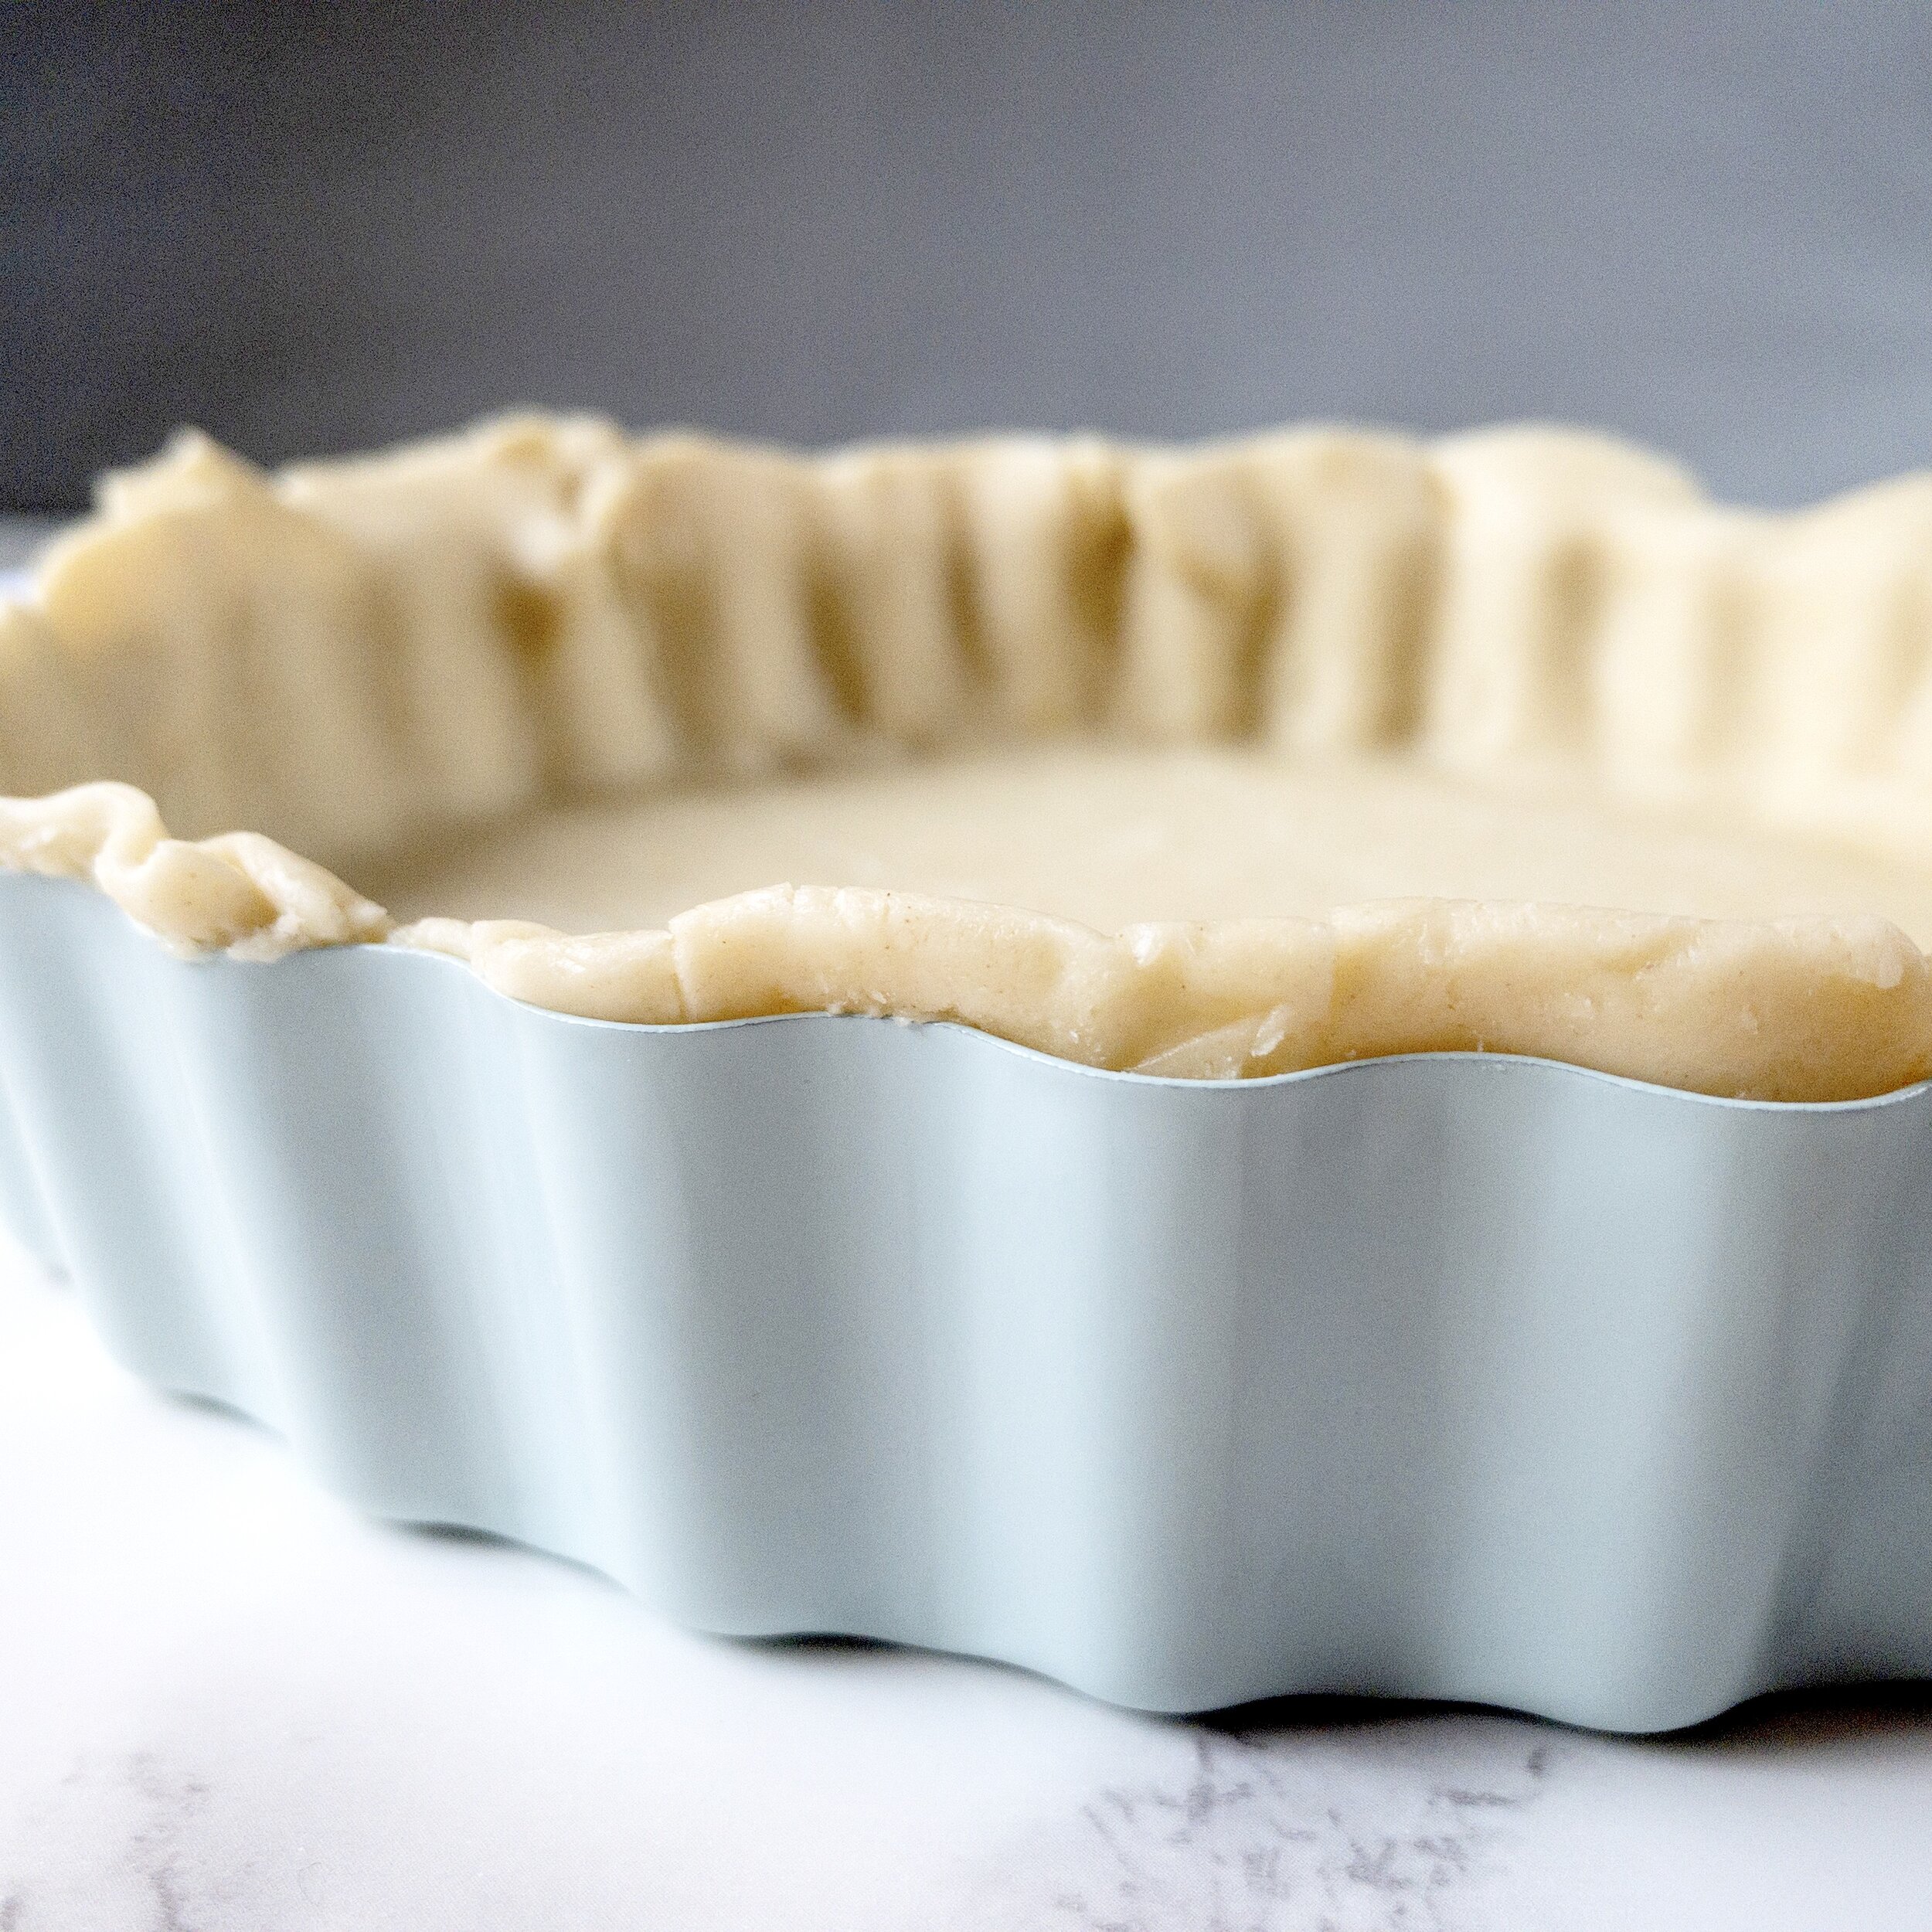
Make or buy the salted caramel sauce and pie crust ahead of time. If making the caramel, keep it refrigerated until the tart has cooled. Roll out your crust, patching any cracks as needed. Sprinkle your tart pan (ideally with a removable bottom) lightly with flour.

Center the crust over the pan and gently press into the corners, not pressing too hard, just gently shaping it to the pan. Trim excess crust. Sprinkle bottom of crust with flour, sugar, and cinnamon. Place in the freezer while you prep the rest of the ingredients.

Make the crumble by whisking together the flour, brown sugar, and spices.

Add melted butter and stir.

It should come together and create mostly large crumbles. If it looks too wet, sprinkle another tablespoon of flour, but don’t let it dry out too much. You want some smaller crumbs to pack down around the apple slices and some larger ones to create a rustic look and a to-die-for crunch. Set that aside.

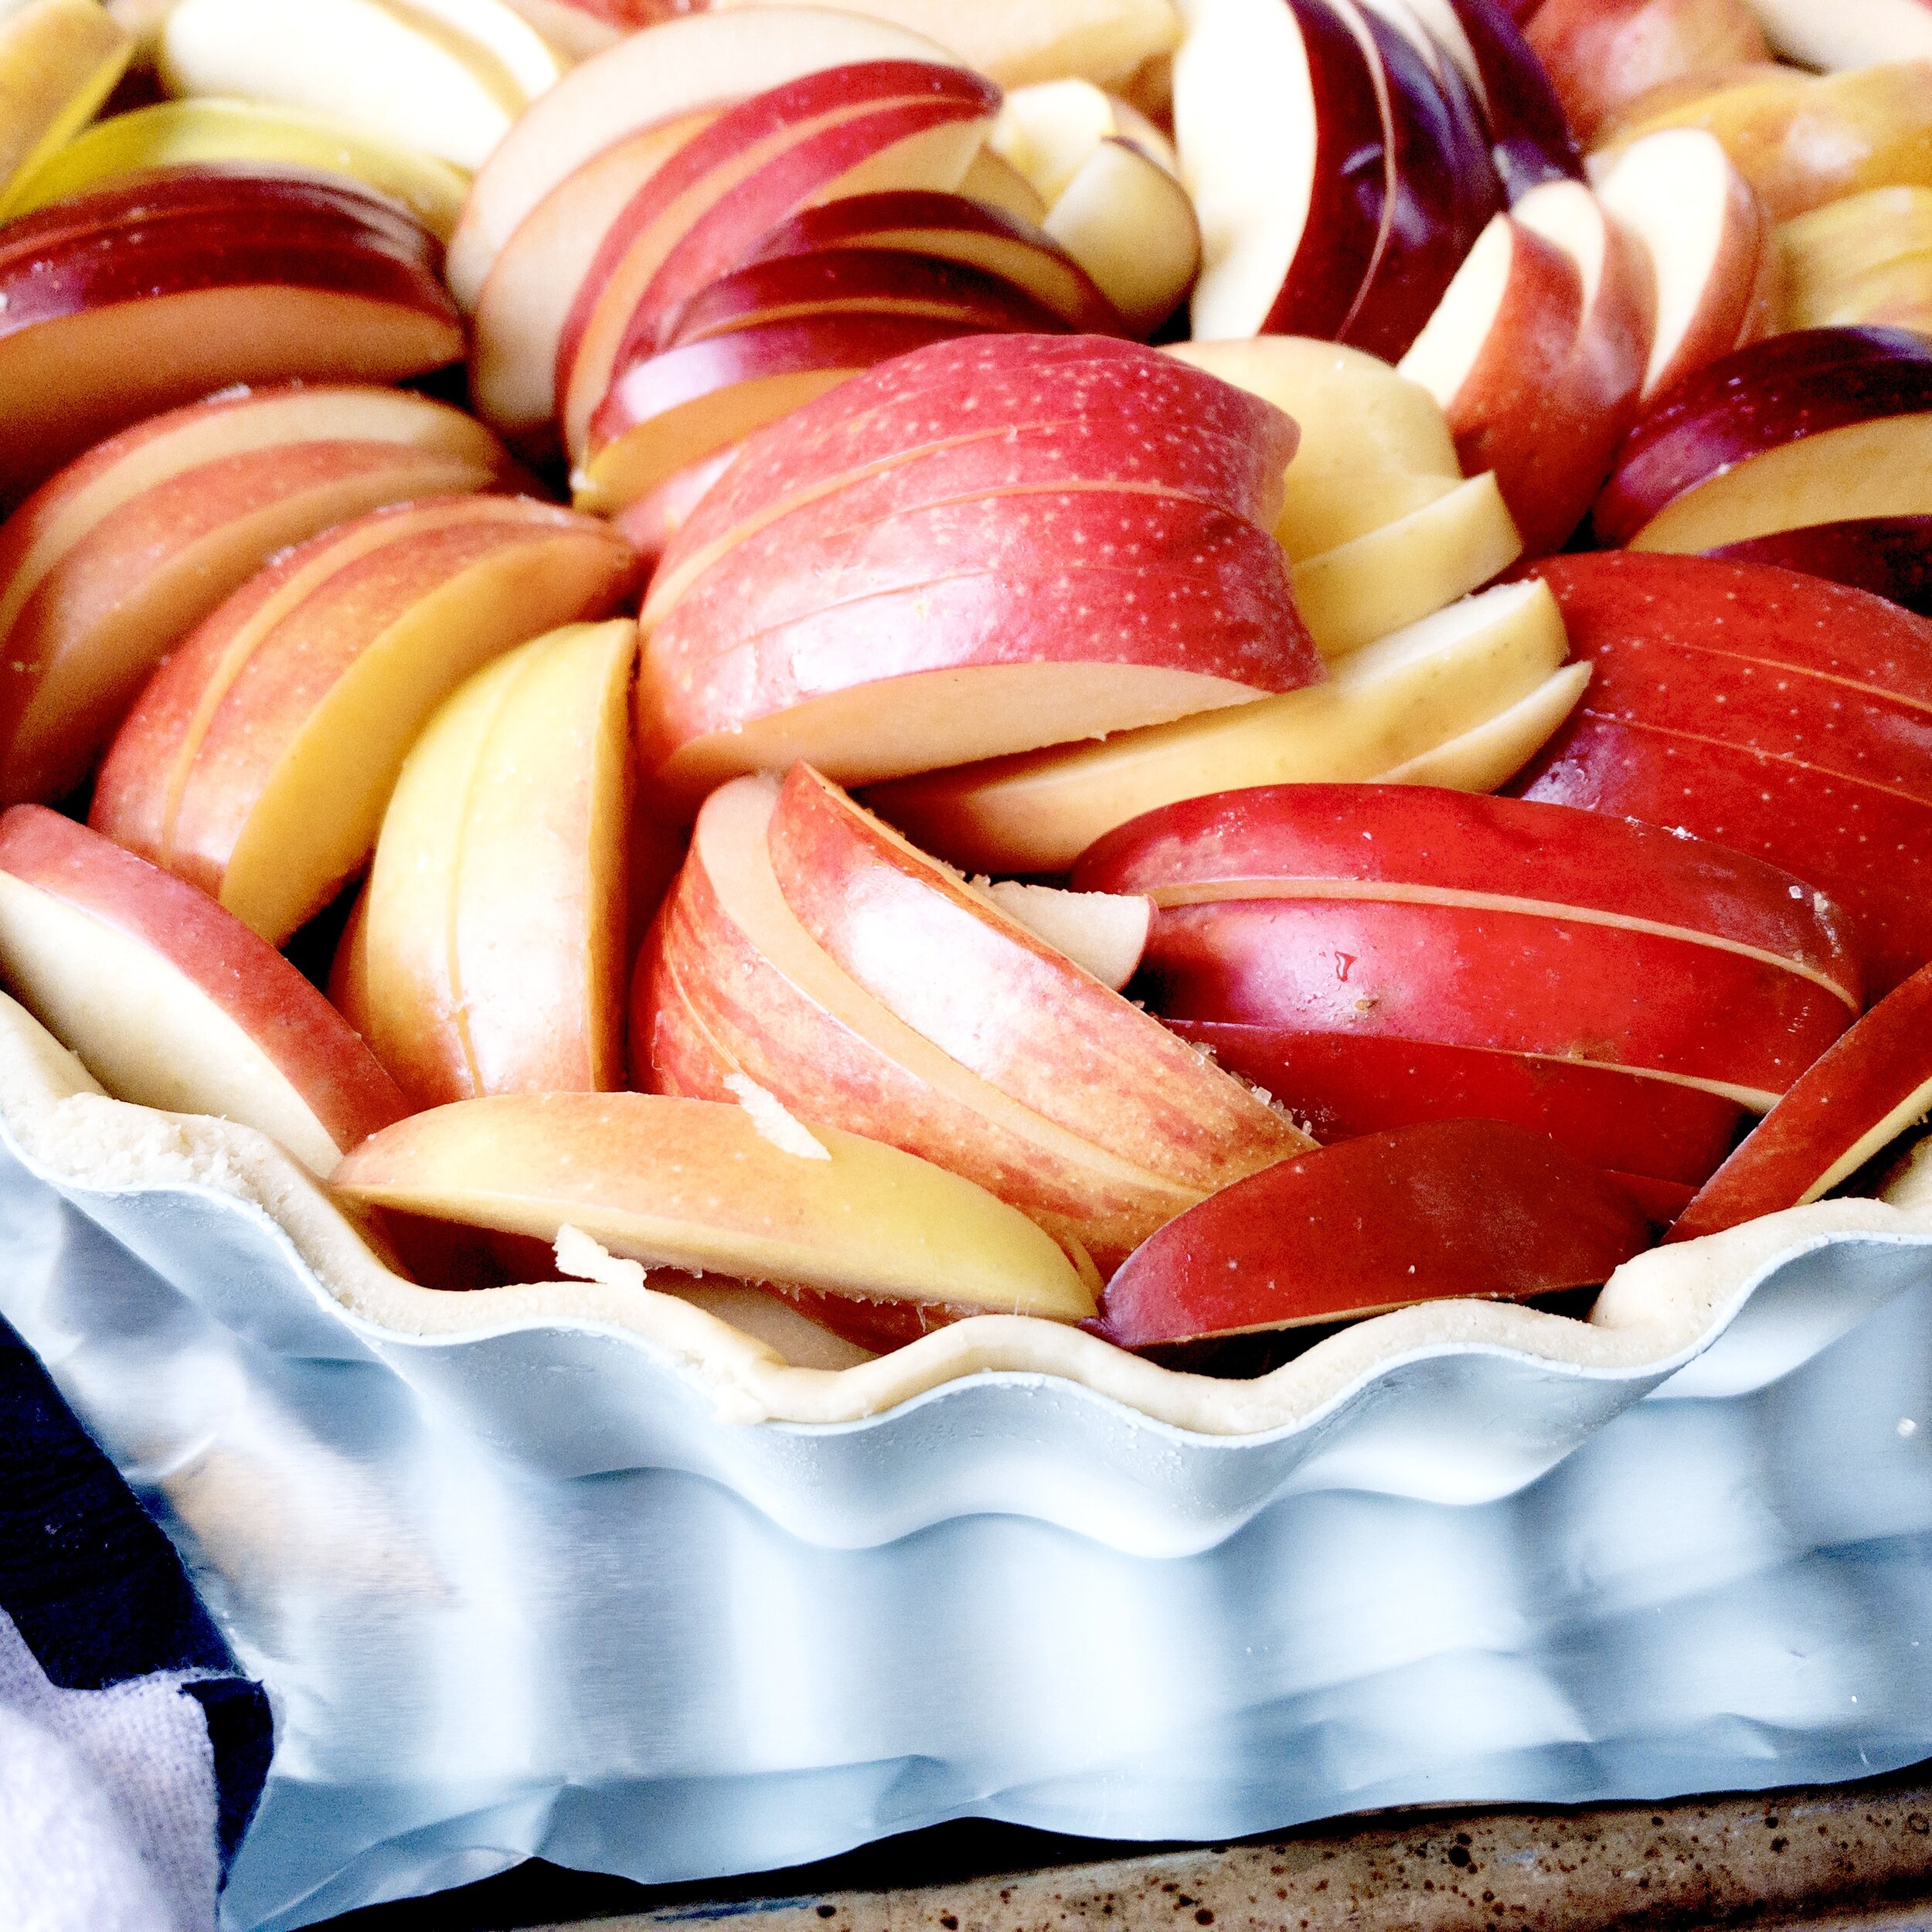
Save the apples for last so they are fresh when you assemble the tart. Wash them then cut them in half (or fourths if it’s easier) and remove the core. Leave the skin on. Slice them but keep them grouped together so you can arrange them easily.

Place them skin side up in the frozen crust, overlapping slightly. You want to leave some space for the crumble topping to fill in (think peaks and valleys), but you don’t want the bottom of the crust visible.

Sprinkle with more flour, sugar, and cinnamon as well as some butter cut into tiny pieces.

Add the crumble topping, squeezing it into any gaps but also leaving a few apple skins visible (optional; this is purely for looks).

Freeze for 30 minutes then bake at 400 for 45-60 minutes, until the crust and crumble are golden, the apples are tender, and the filling bubbles.

Let cool at least an hour. Drizzle warm salted caramel sauce on top then slice and enjoy!

Tips for this recipe
Arrange apples cut side down
This will help cook the apples evenly and also create a bit of filling from the juices that cook out. The arrangement also means you don’t need any thickeners to get a clean slice. You can add a little more butter and sugar to the apples to get a bit more of a liquid-y filling if you prefer, but keep the apples arranged this way to help them bake properly and still hold the tart together.

Use fresh apples of any kind
Fresh apples are ideal so that they hold their shape and crispness as you bake the pie. They’ll also release the right amount of liquid to create the apple “filling” for this tart (in reality, it’s almost entirely cooked apples that are slightly sweetened).
Granny Smith and other juicy, tart apples are the go-to for apple pie, but I used the Pink Ladies and Jonathan apples I had taking up space in my fridge. The juicier your apple, the more traditional of a filling it will create, since this tart doesn’t use a lot of liquid (which means it cuts very easily, but doesn’t have quite the same filling as a traditional apple pie).

Use homemade or store bought crust
Confession: I used Trader Joe’s frozen pie crust and regret nothing. I just didn’t have time to make one. While I do think homemade creates a better flake, frozen saves so much time. And I found that it’s about the same level of ease working with frozen, since mine completely cracked apart once it thawed. However, I left it sandwiched between the waxed paper, smooshed it back together with my fingers, then rolled it out with a rolling pin. Worked like a charm.

Make your own caramel sauce!
Store bought salted caramel sauce will never have the same old-fashioned, thick texture and balanced salty flavor of homemade (or locally sourced, small batch). I also loved the way the caramel sauce and crumble had melded together by the second day. The caramel will harden slightly in the fridge (to almost a soft candy texture), making the topping pretty much taste like candy.

Crust and caramel can be made ahead
I highly recommend making both and refrigerating them until you are ready to make the tart. It will taste better and be easier the day you are baking.
Alternately, you could use this ah-mazing honey cinnamon graham cracker crust, but you will need to only bake it about 30 minutes or so and thus slice your apples thinly so they’ll bake faster.

Easy Caramel Apple Crumble Tart
- prep time: 20 minutes
- cook time: 45-60 minutes
- total time: 1 hour, 20 minutes (plus optional chill time)
Servings: 8-12 (makes one 10” tart)
Ingredients:
- one pie crust (homemade or store bought and thawed)
- half a batch of vanilla salted caramel sauce
- 6 small or 4-5 medium apples
- 1 cup flour, plus more for sprinkling
- ⅔ cup packed brown sugar
- ½ cup salted butter, melted
- 2 tablespoons cold butter, cut into several small pieces
- 1 tablespoon plus 1 teaspoon cinnamon, separated
- ⅛ teaspoon nutmeg
- dash allspice
- ¼ cup granulated sugar
Instructions:
- Prep a 9” to 10” tart pan with a removable bottom by sprinkling it lightly with flour. Roll out your pie or tart crust to a diameter that’s about 3-4 inches more than your tart pan. I like to hold my pan above the crust and make sure I see a little under 2 inches of excess crust all the way around the pan. Center the crust over the pan by rolling it halfway onto the rolling pin then setting it gently over the pan and gently press it into the corners, shaping it to the pan. Trim any excess crust with a knife, working at an angle to keep from tearing it. Sprinkle bottom of crust with about a tablespoon of flour. Whisk together the ¼ cup granulated sugar and 1 teaspoon cinnamon and sprinkle about half of it on the bottom of the crust. Place the crust in the freezer while you prep the rest of the ingredients.
- Make the crumble by whisking together the flour, brown sugar, and spices. Add the melted butter and stir. It should come together and create mostly large crumbles. If it looks too wet, sprinkle another tablespoon of flour, but don’t let it dry out too much. You want some smaller crumbs to pack down around the apple slices and some larger ones about the size of a small grape. Set that aside while you prep the apples.
- Save the apples for last so they are fresh when you assemble the tart. Wash them then cut them in half (or into fourths if that’s easier) and remove the core. Leave the skin on. Slice them about ¼ to ⅓ inch thick (the thicker they are, the crisper they’ll be in the end) but keep them grouped together so you can arrange them easily.
- Assemble your tart. Place the apples skin side up in the frozen crust, overlapping slightly. You want to leave some space for the crumble topping to fill in (think peaks and valleys), but you don’t want the bottom of the crust visible. Sprinkle with another tablespoon of flour, 1-2 tablespoons sugar, and a few more dashes of cinnamon. Arrange the 2 tablespoons cold butter evenly around the apples. If you want a more traditional filling with more liquid, you can add another tablespoon of butter and a little more sugar. Add the crumble topping, patting it into any gaps but also leaving a few apple skins visible (optional; this is purely for looks).
- Freeze for 30 minutes (optional, helps it bake evenly) then bake at 400 for 45-60 minutes, until the crust and crumble are golden, the apples are tender-crisp (not mushy), and the filling bubbles. Let cool at least* an hour.
- If you didn't pre-make the salted caramel sauce, you can make it and let it come to room temperature while tart cools. Otherwise, reheat your pre-made salted caramel sauce and drizzle it on top of the cooled tart, using as much or as little as you’d like. I like to reserve some for serving as well.
- To serve, remove the tart from the pan by pushing the bottom gently up, helping release the crust along the edges, then slice and serve with another drizzle of warm salted caramel sauce and a scoop of ice cream!
Enoy! Store leftovers in the refrigerator, covered with foil or plastic wrap, for up to a week.
