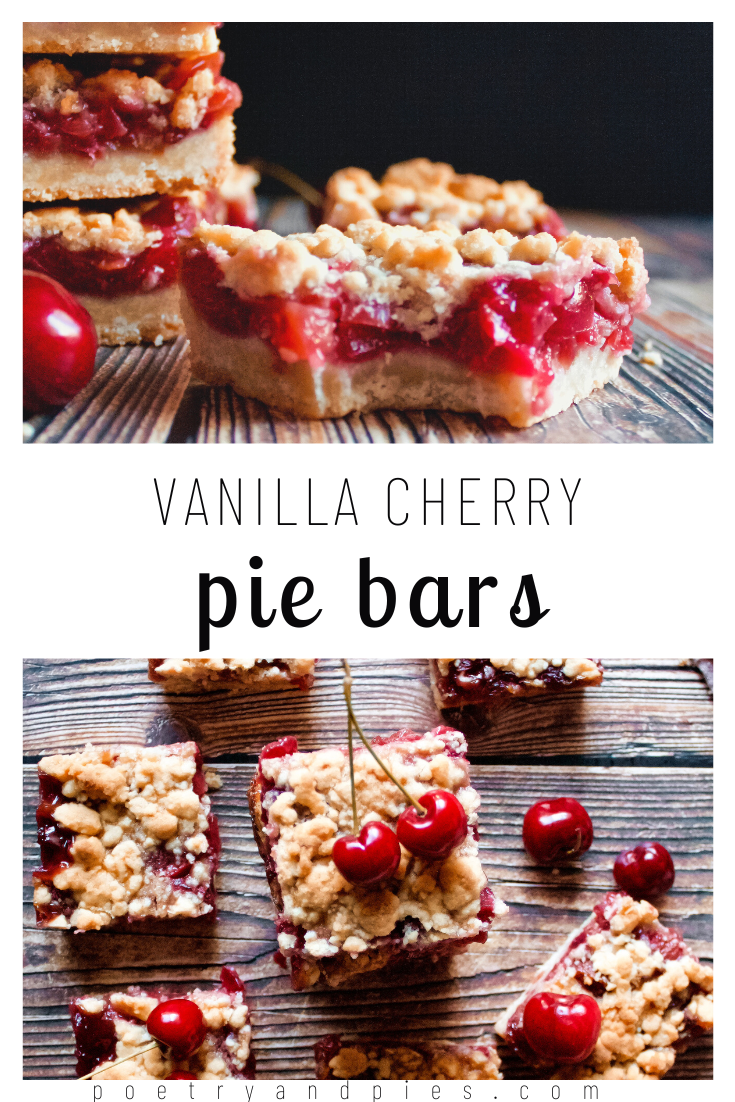
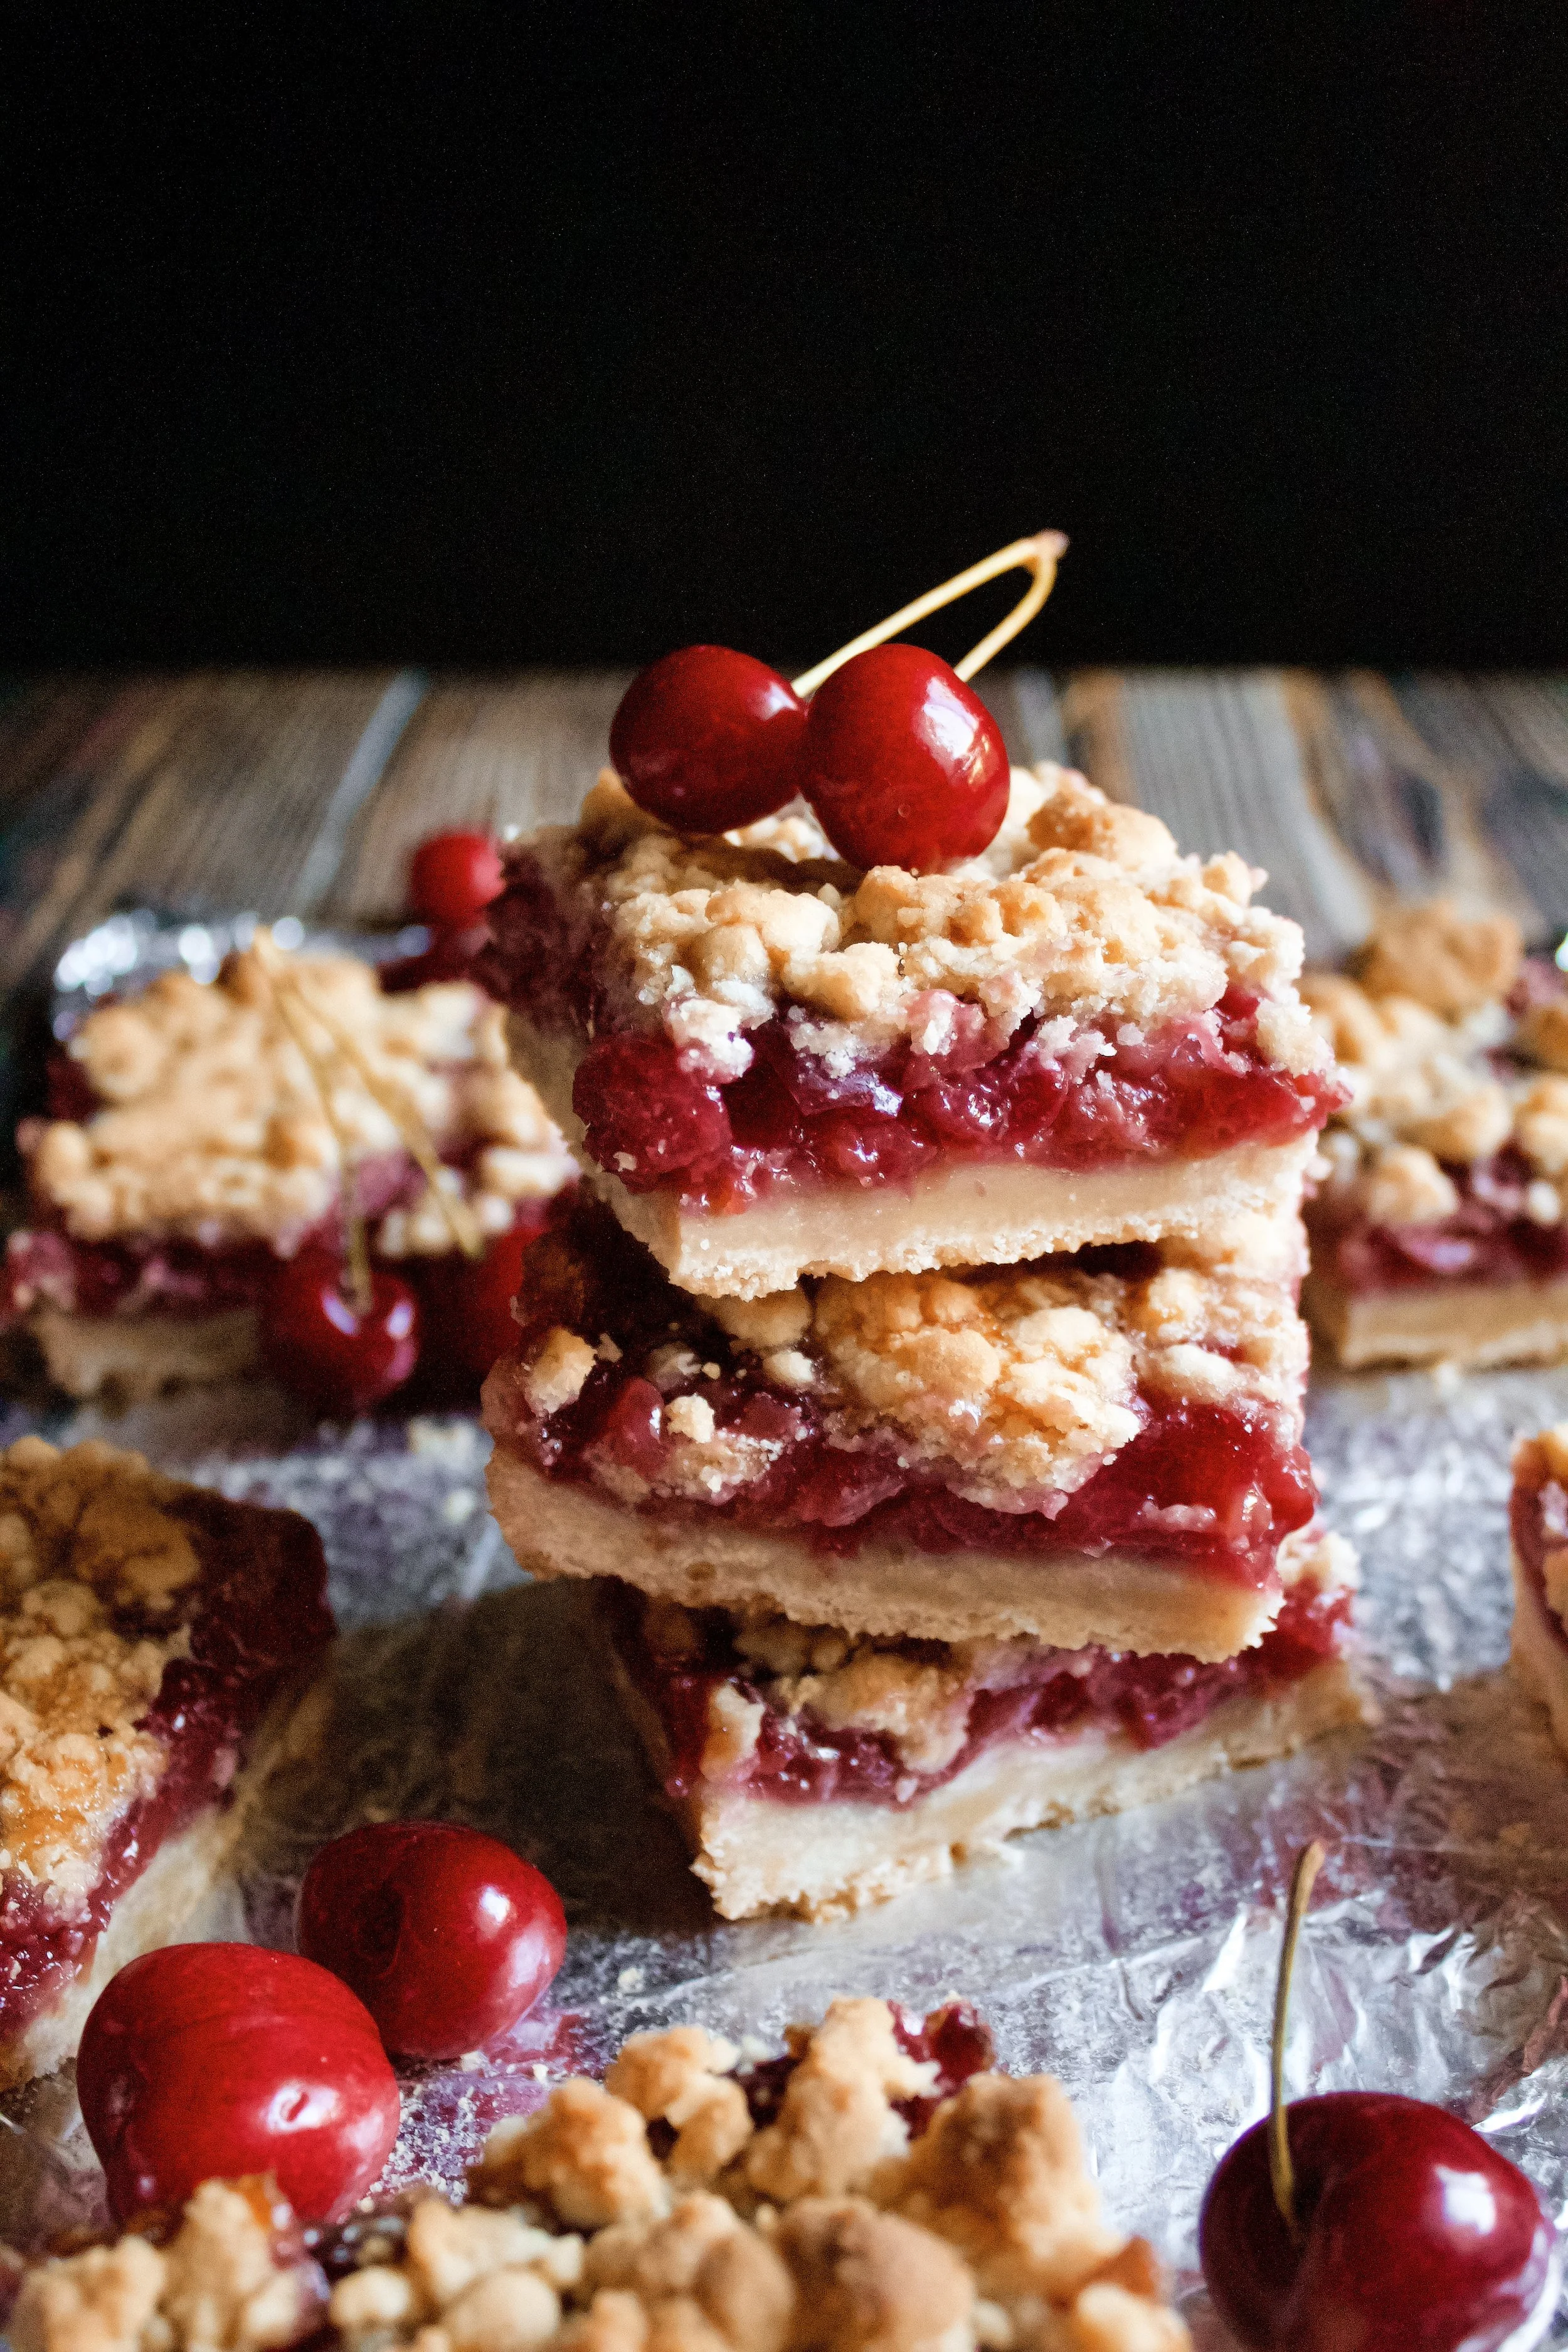
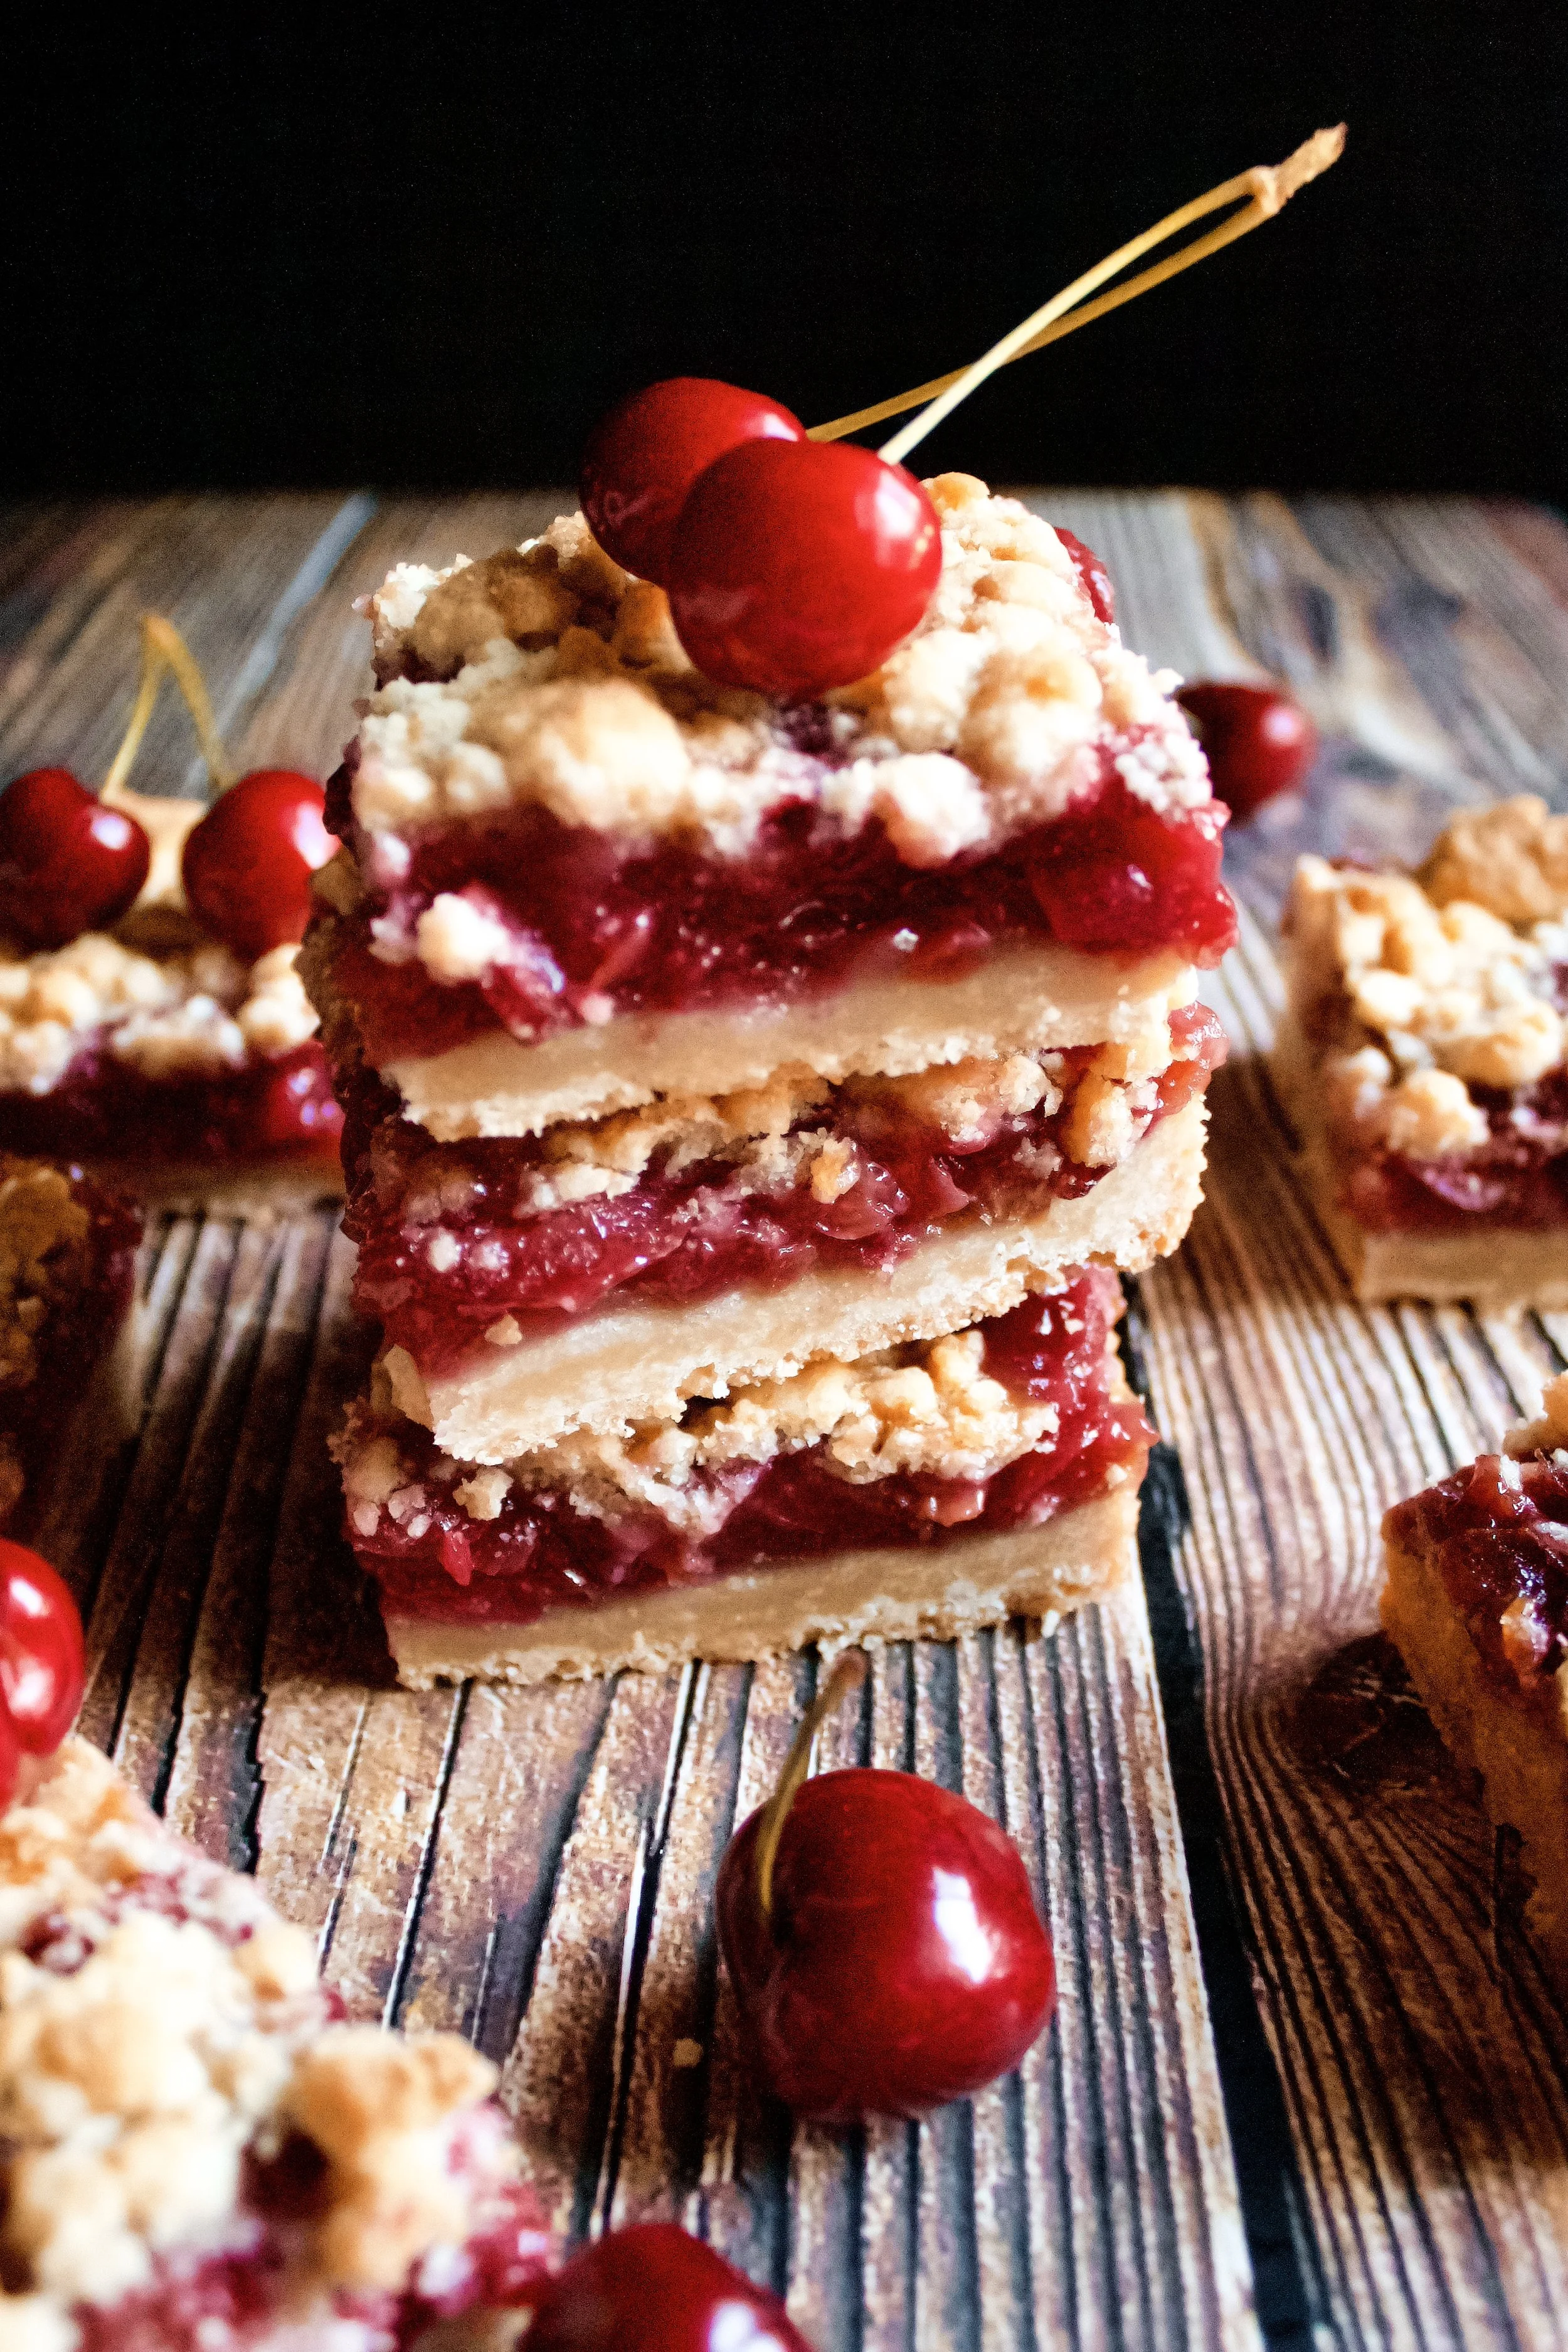
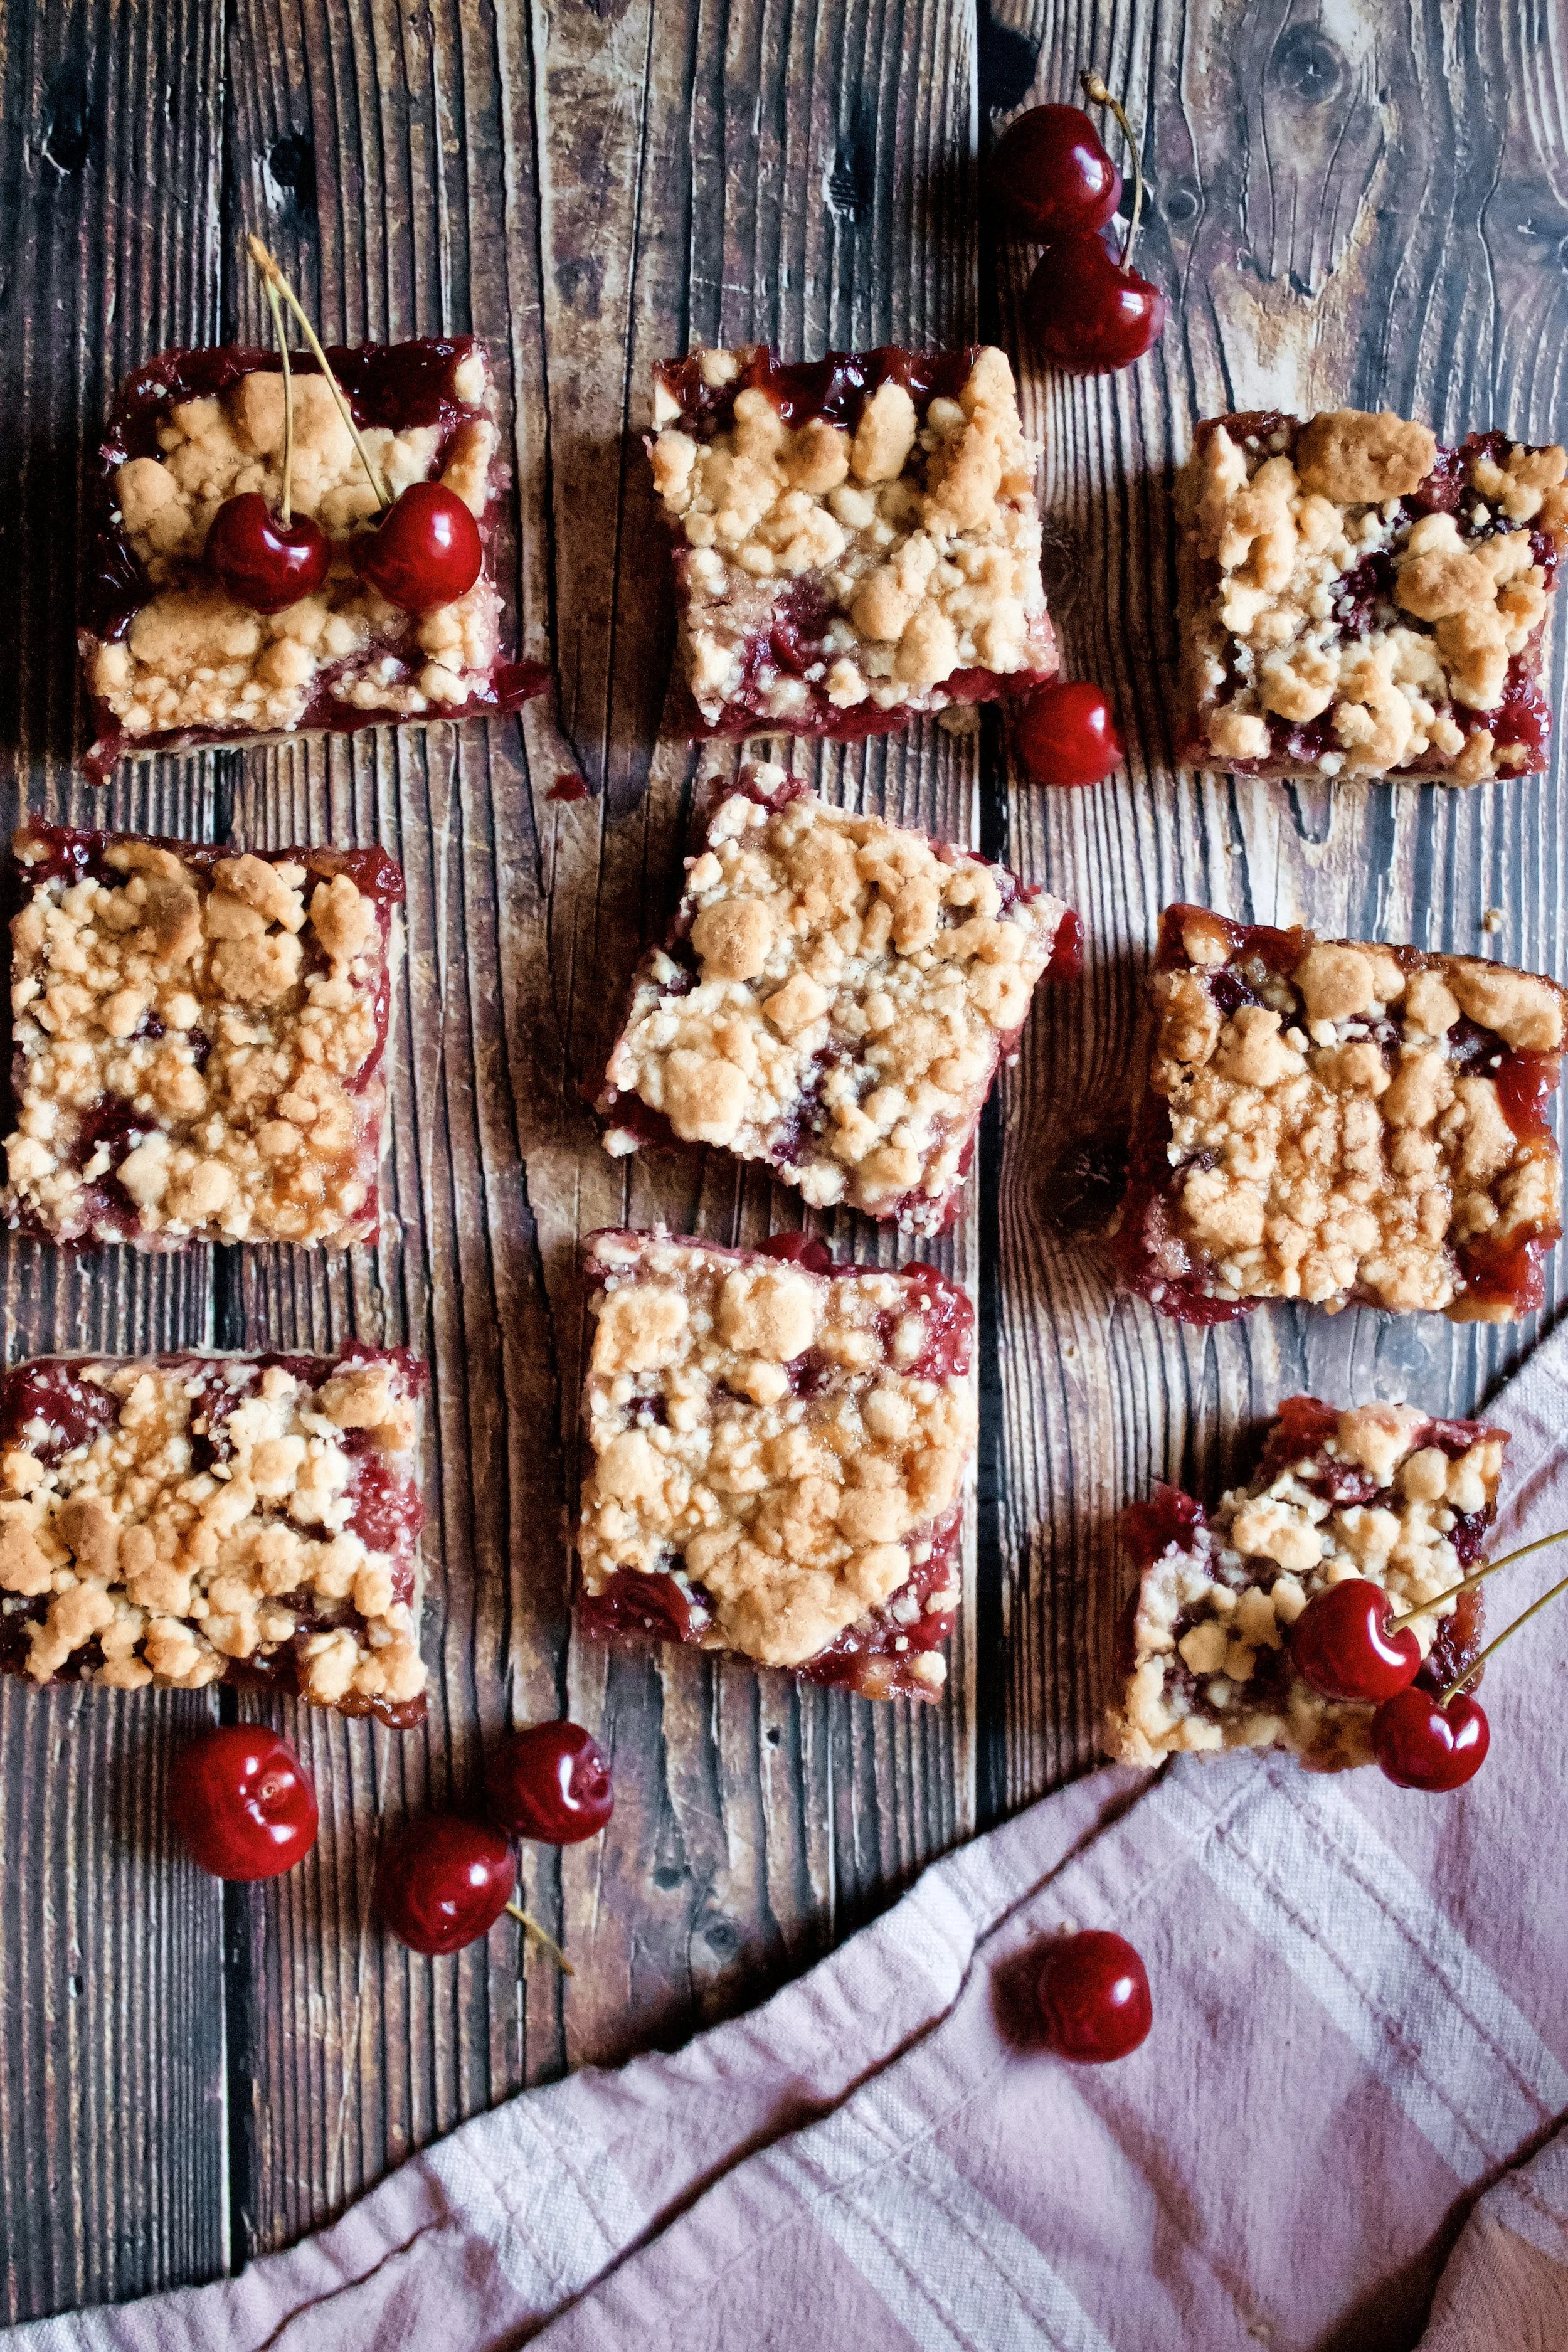
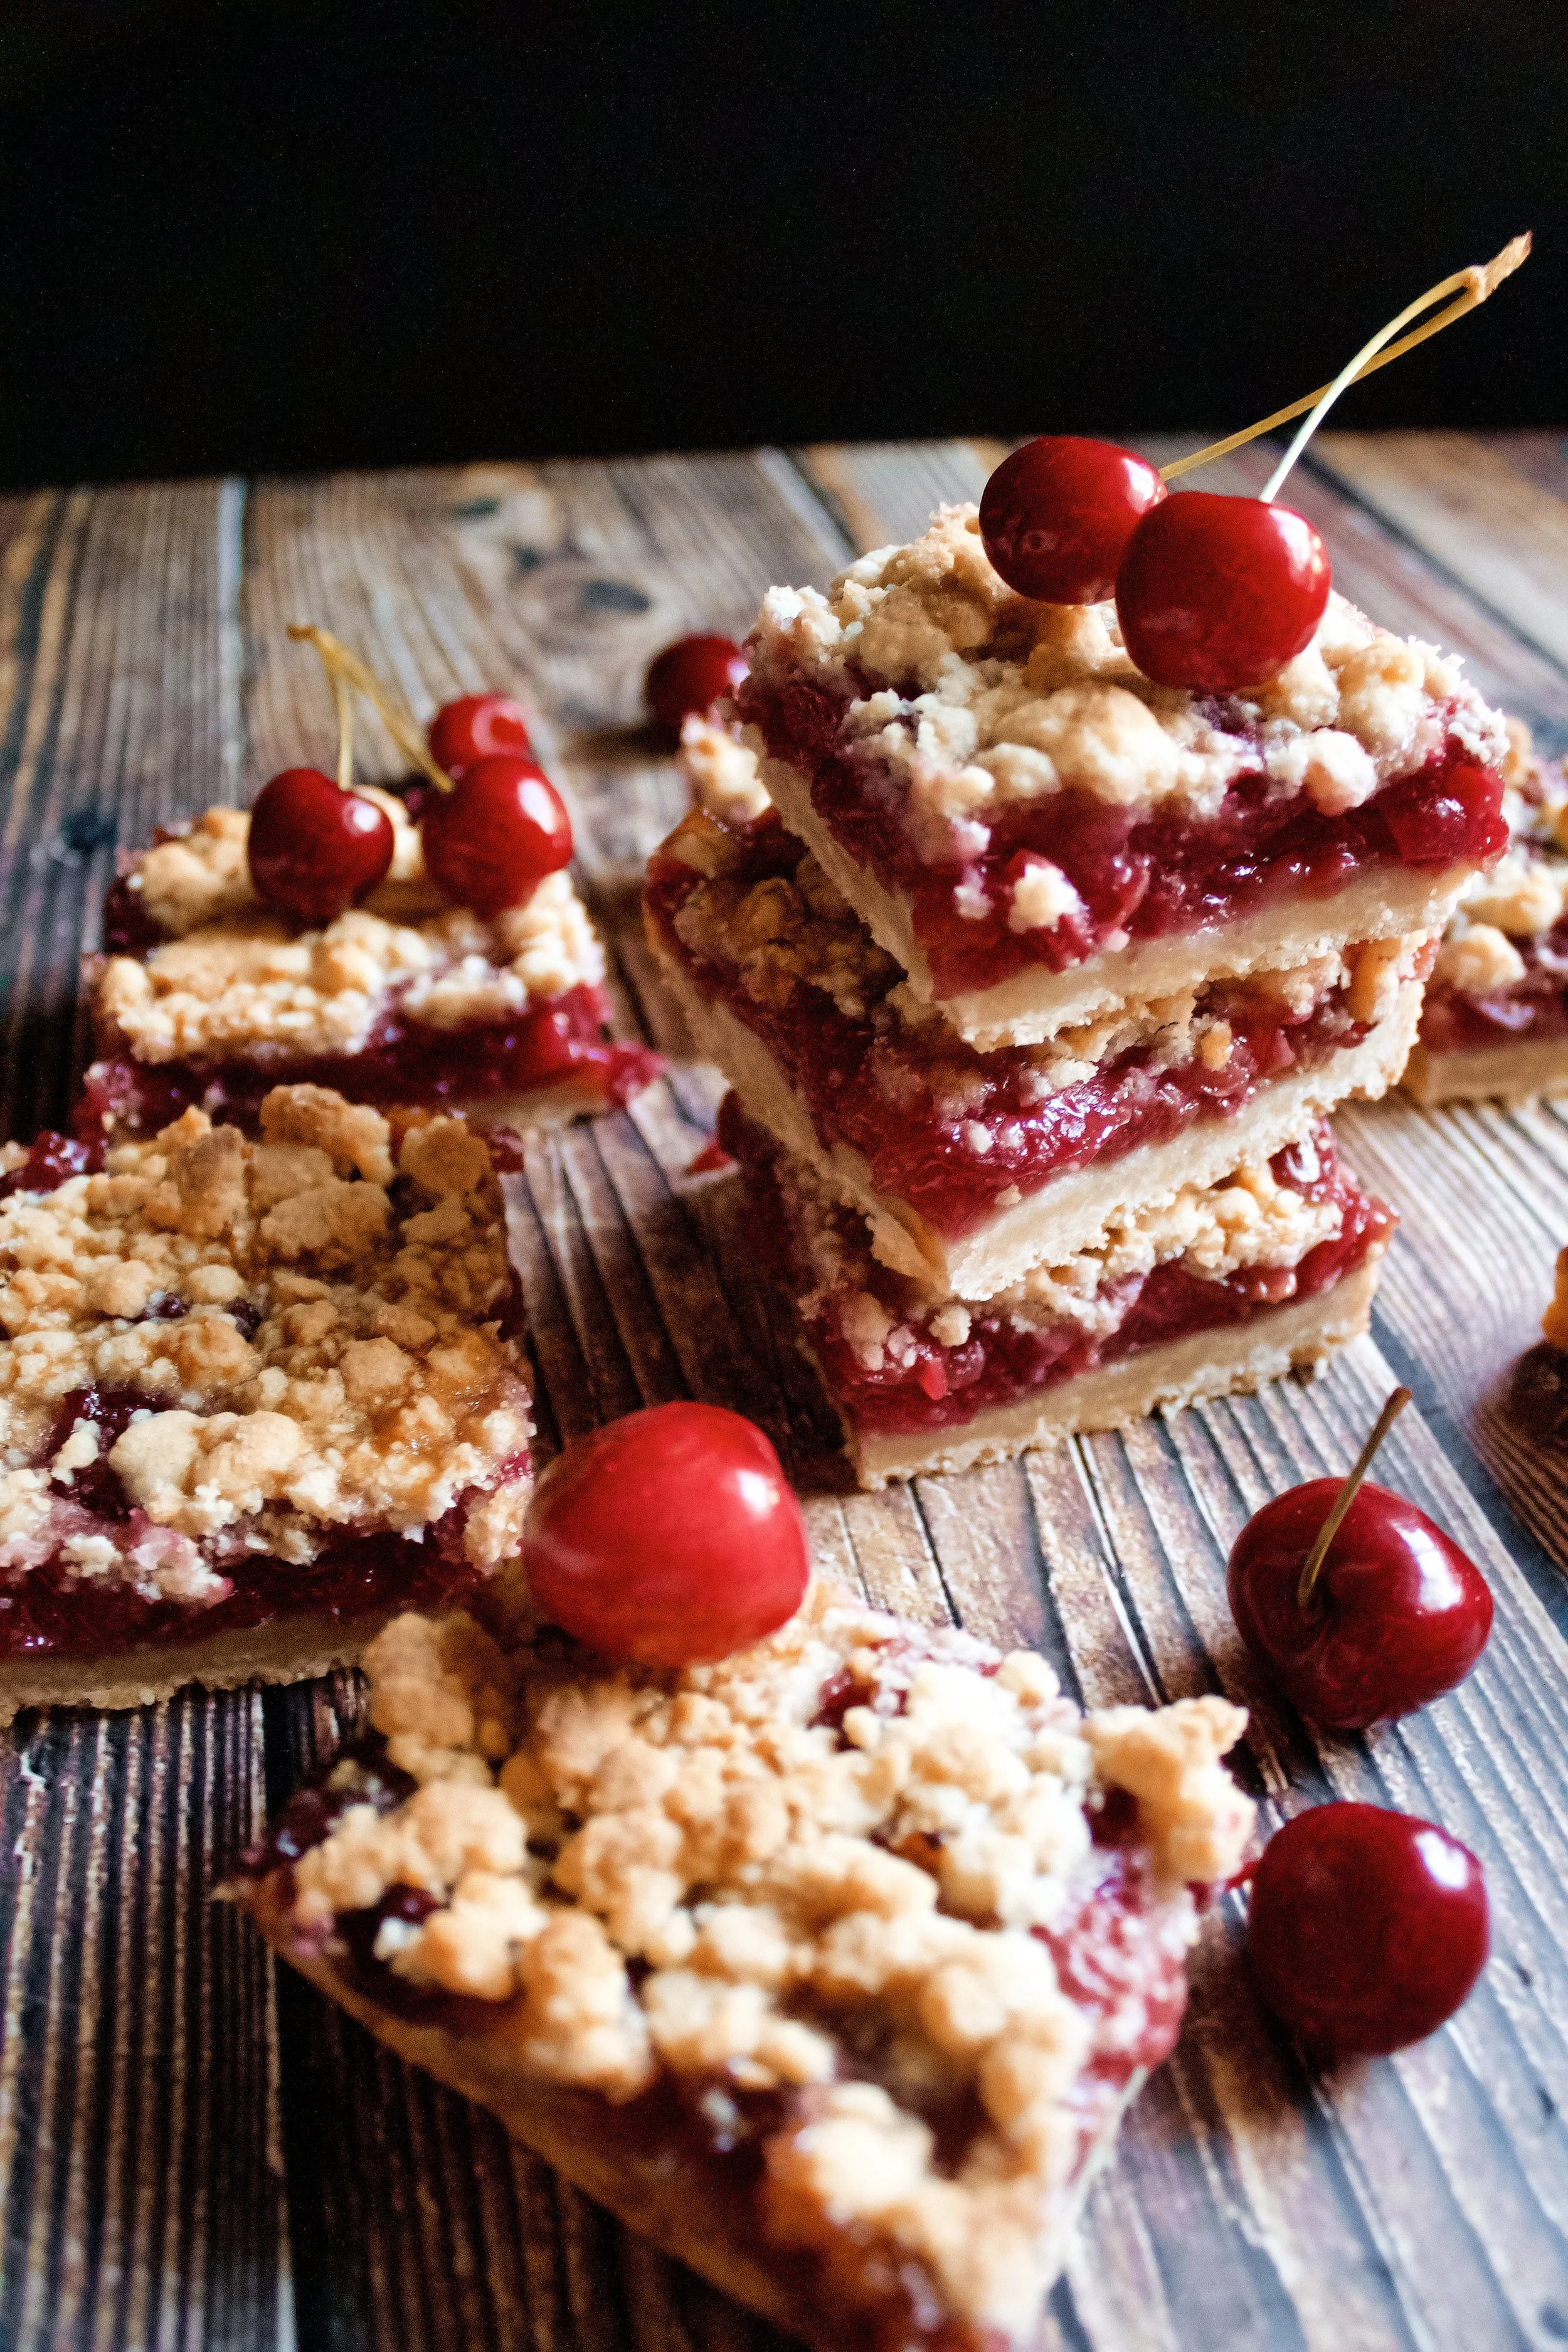
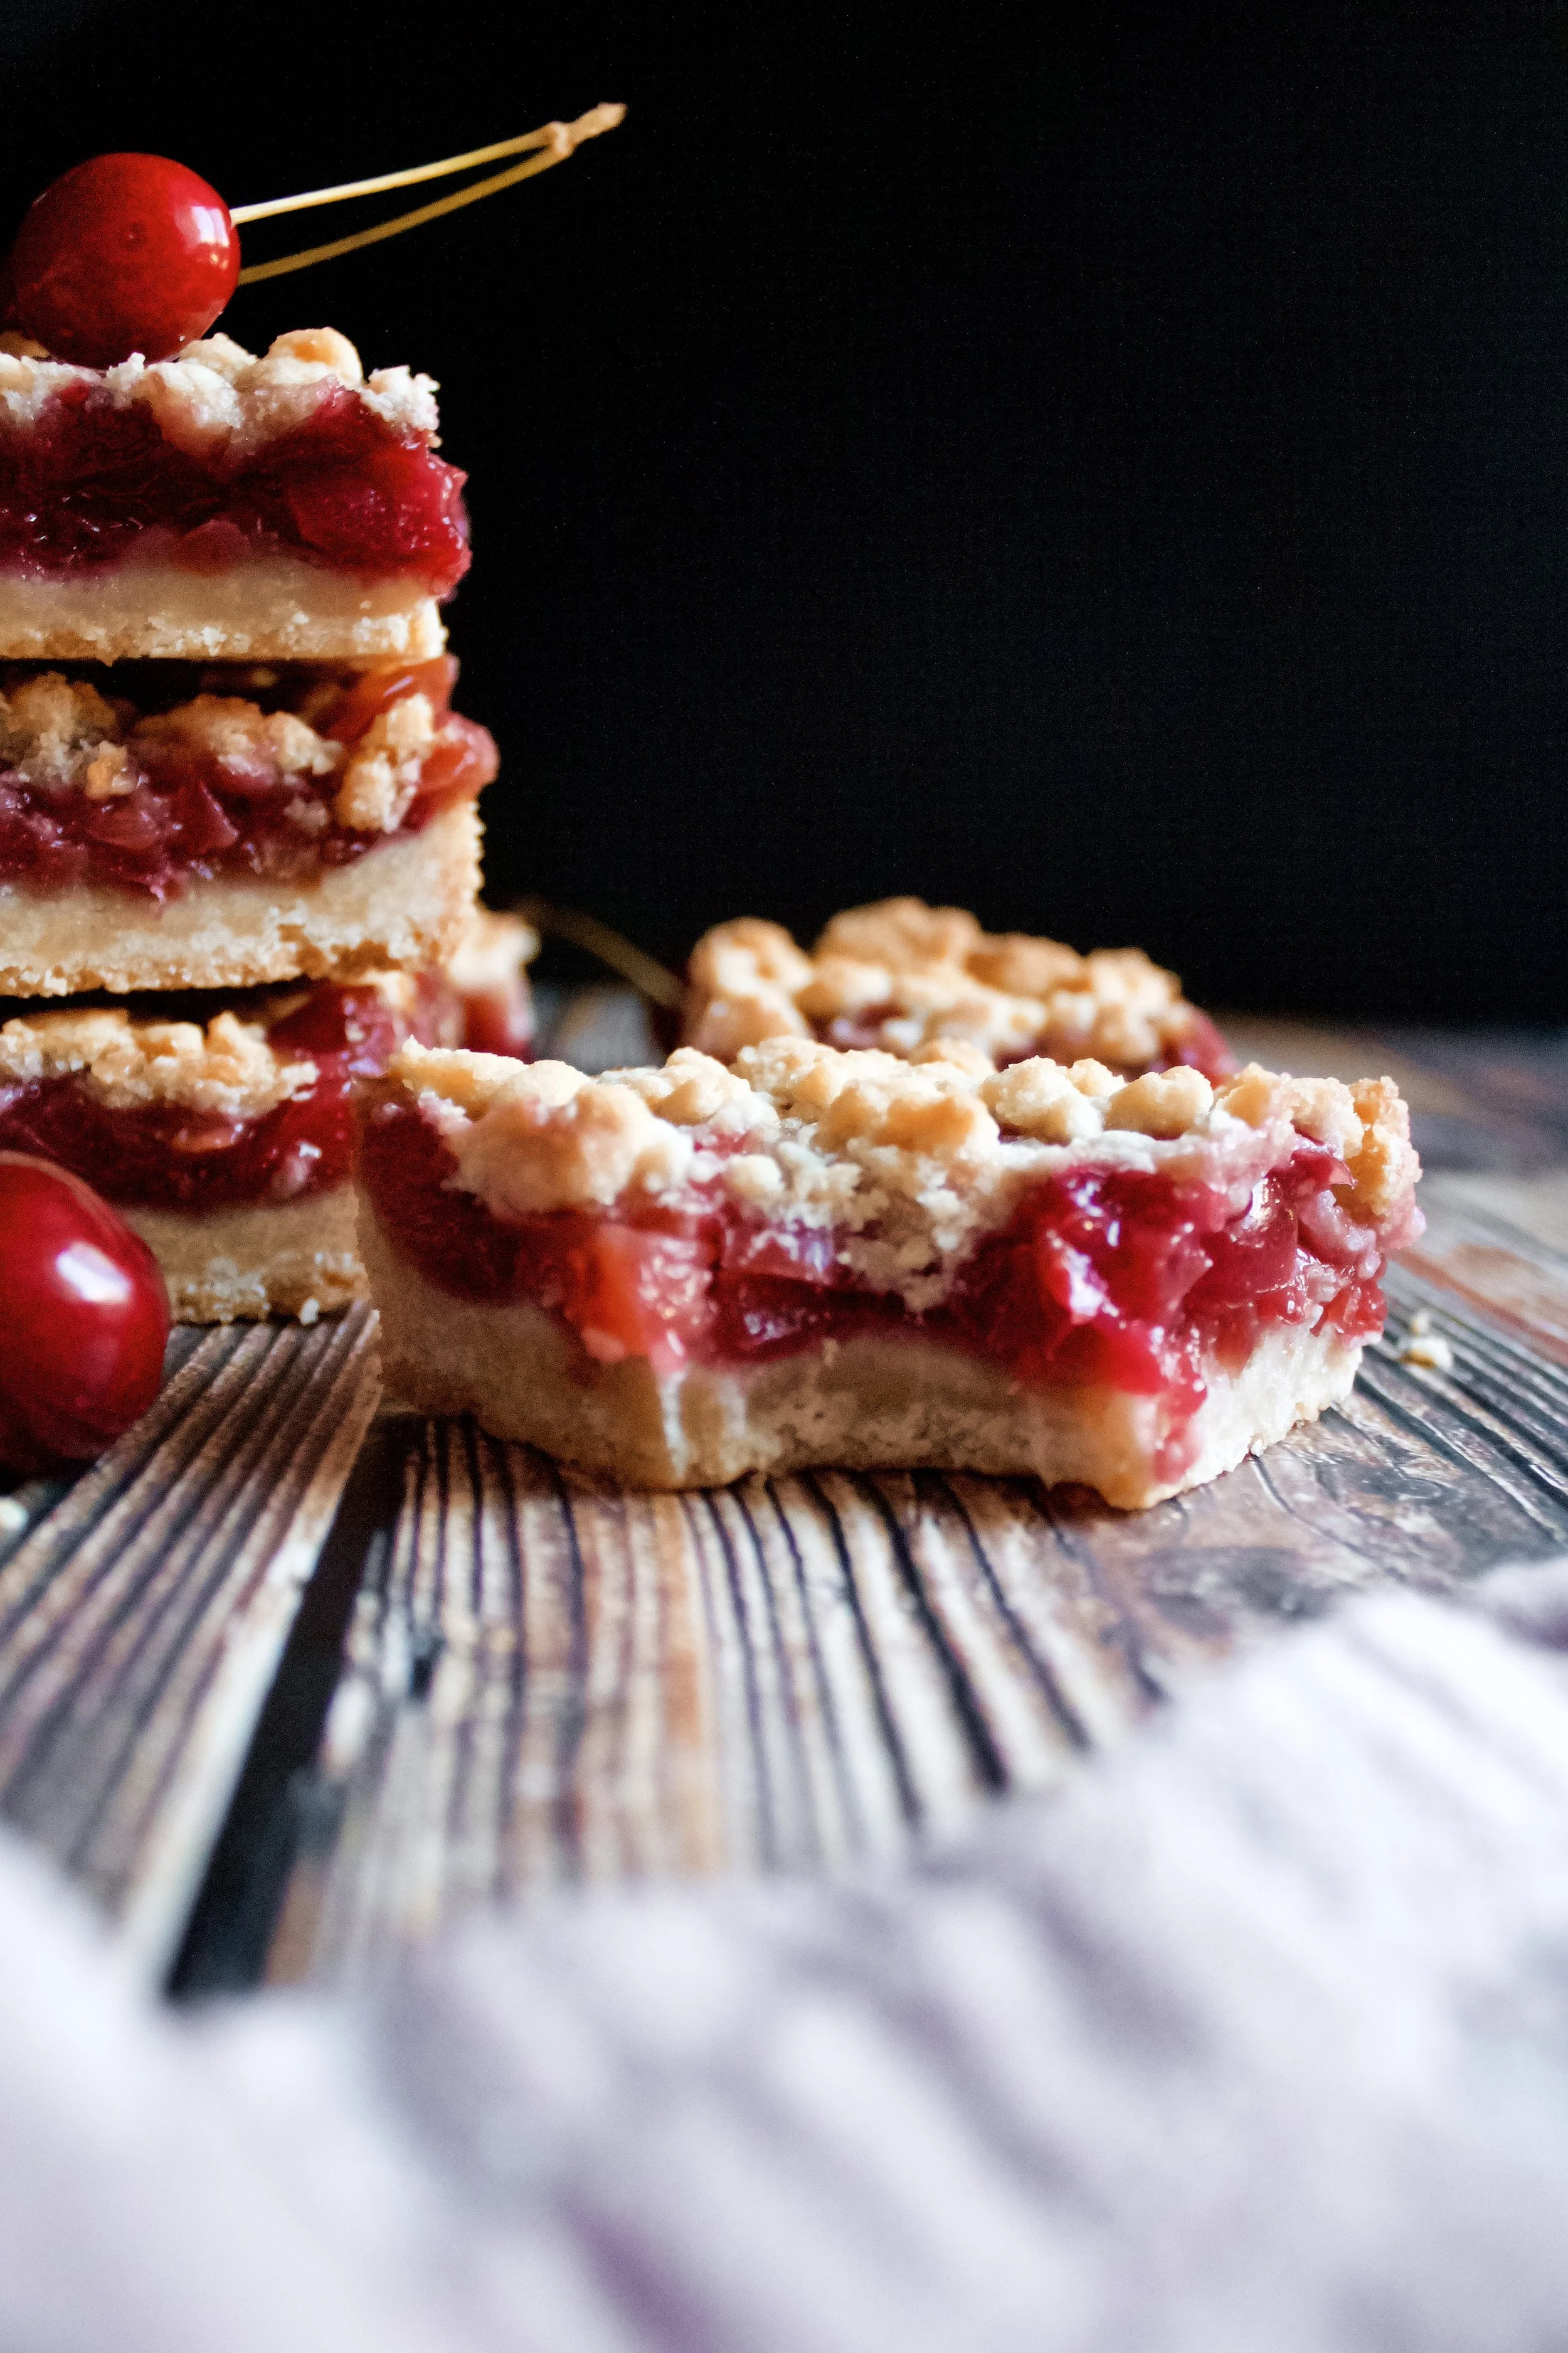
Vanilla Cherry Pie Bars
Easy-to-make pie bars that have that cherry-pie taste without the hassle of a real pie. This recipe works well with fresh or frozen cherries (fun fact: you can pit fresh cherries yourself with no special tools!). And the vanilla extract adds a warm, rounded flavor that will make these bars a hit!
This post may contain affiliate links from which, at no additional cost to you, I may earn a small commission to keep this site running. Only products I myself would or do use are recommended.
The story
In case anyone is paying attention, I am fully aware that I’ve been behind on posting recipes. I usually post twice a week, but May turned into a mush pot of a month, in my own life and in the world.
But school is finally over. Was it only nine weeks of distance learning or nine years? Hard to tell.
So, I took a break. Nearly two weeks of not doing much beyond the necessities of adulting and momming. I went swimming and got back on track with my running. In fact, I am now up to 3.3 miles per run! Laugh all you want, but that’s a big deal for me.
I also realized I was tired of cake. Most of what I’ve made/photographed lately is cake. Mini cakes. Cupcakes. Filled cupcakes. New flavors of mini cakes. Too much cake.
I can only talk about cake for so long before I’m bored of it.
So this week I made croissants (they were a big fat fail and I will share why when I finally get them right). I made my old favorite recipe: oatmeal chocolate chip cookies. And I tried something new thanks to a suggestion from my husband: vanilla cherry pie bars.
These bars remind me of one of my favorite lazy recipes, cake mix cobbler. But not the soda kind. No, the butter kind. Frozen berries thawed with sugar, topped with yellow cake mix, then covered in pats of butter. It’s delicious despite the fact that the health benefits of the fruit are far outweighed by all that sugar and butter. Sigh. I miss the days before I learned about nutrition and cleaned up my diet. It was such a yummy time.
Anyway, these bars use all scratch ingredients and still have a similar taste to my favorite cobbler! Yay!
How to make cherry pie bars
It couldn’t be simpler. First, wash, pit, and chop cherries (or use frozen pitted cherry halves). Mix with sugar, flour, salt, and vanilla extract (optional, but so oh-so-delicious).
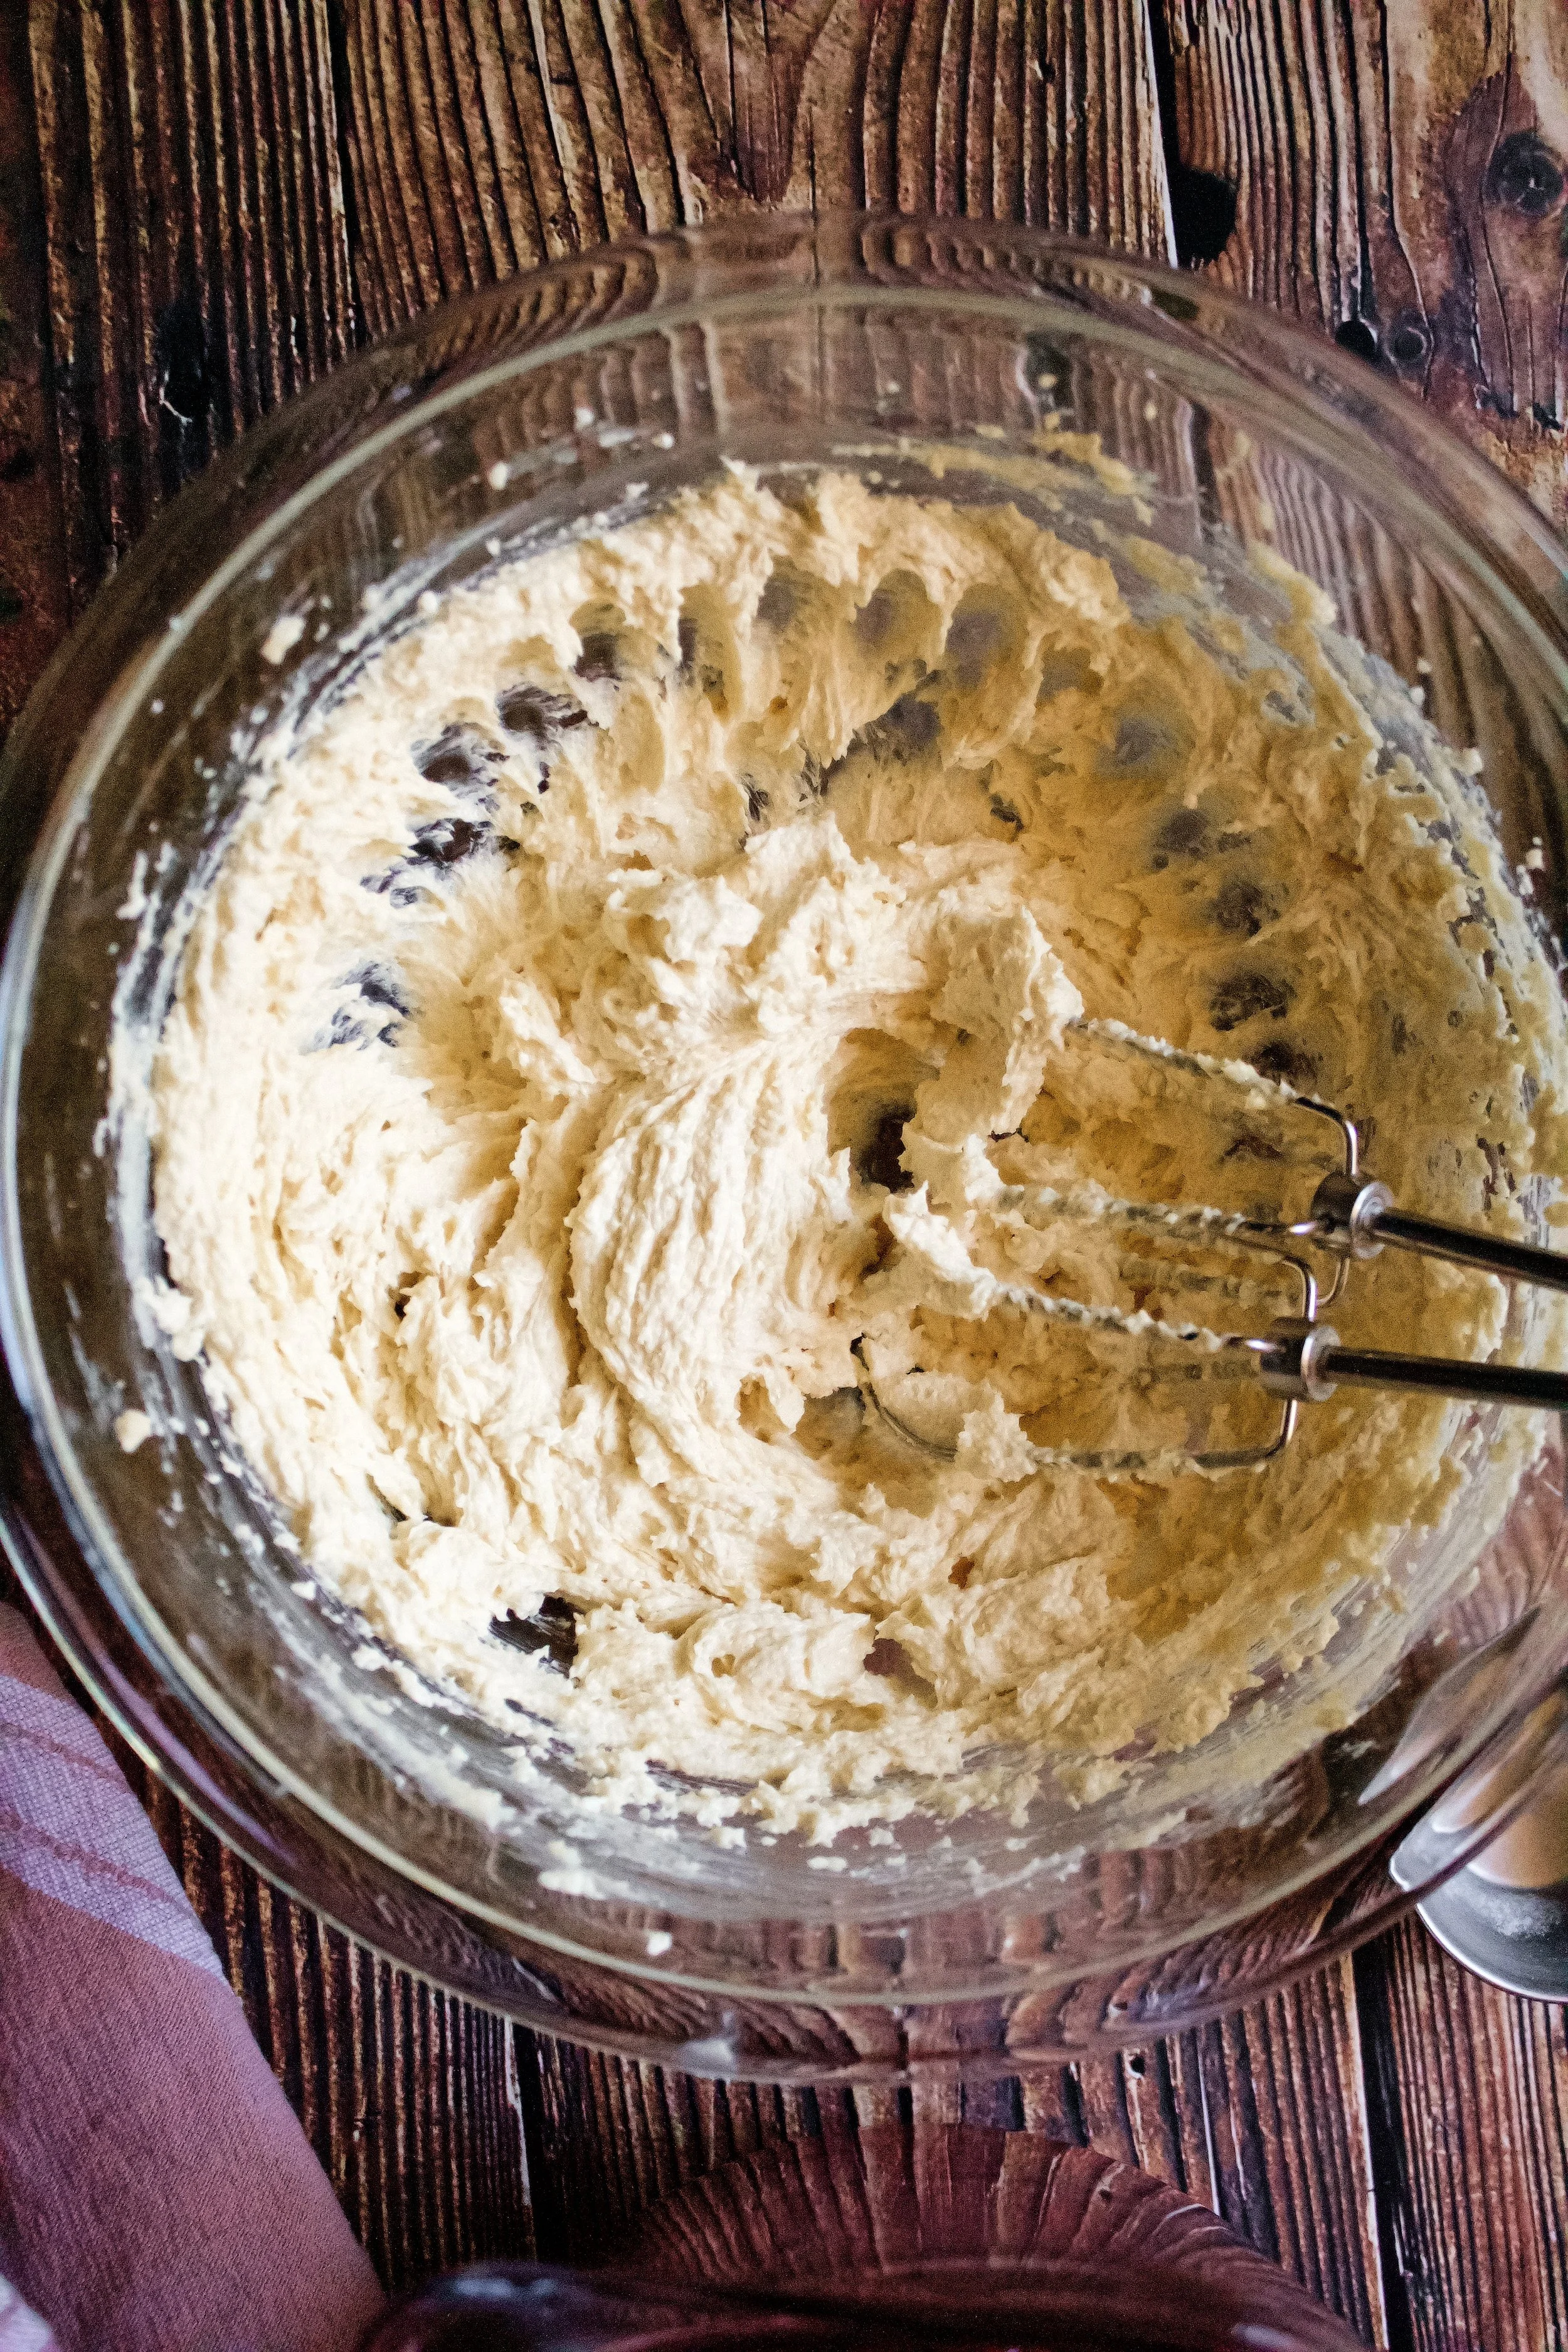
Then, make your crust. First, mix butter and sugar until fluffy. Or not. It’s not dire that the butter is fluffy before adding the flour, as these bake long enough to melt all the sugar anyway.
Stir in the flour, salt, and (optionally) vanilla on low until fully combined and crumbly.
Layer about 2/3 the dough in the pan. Spread it around evenly to start, so you can add or remove some if needed.


Press gently into the pan, sealing edges and leaving no cracks for the filling to seep through.
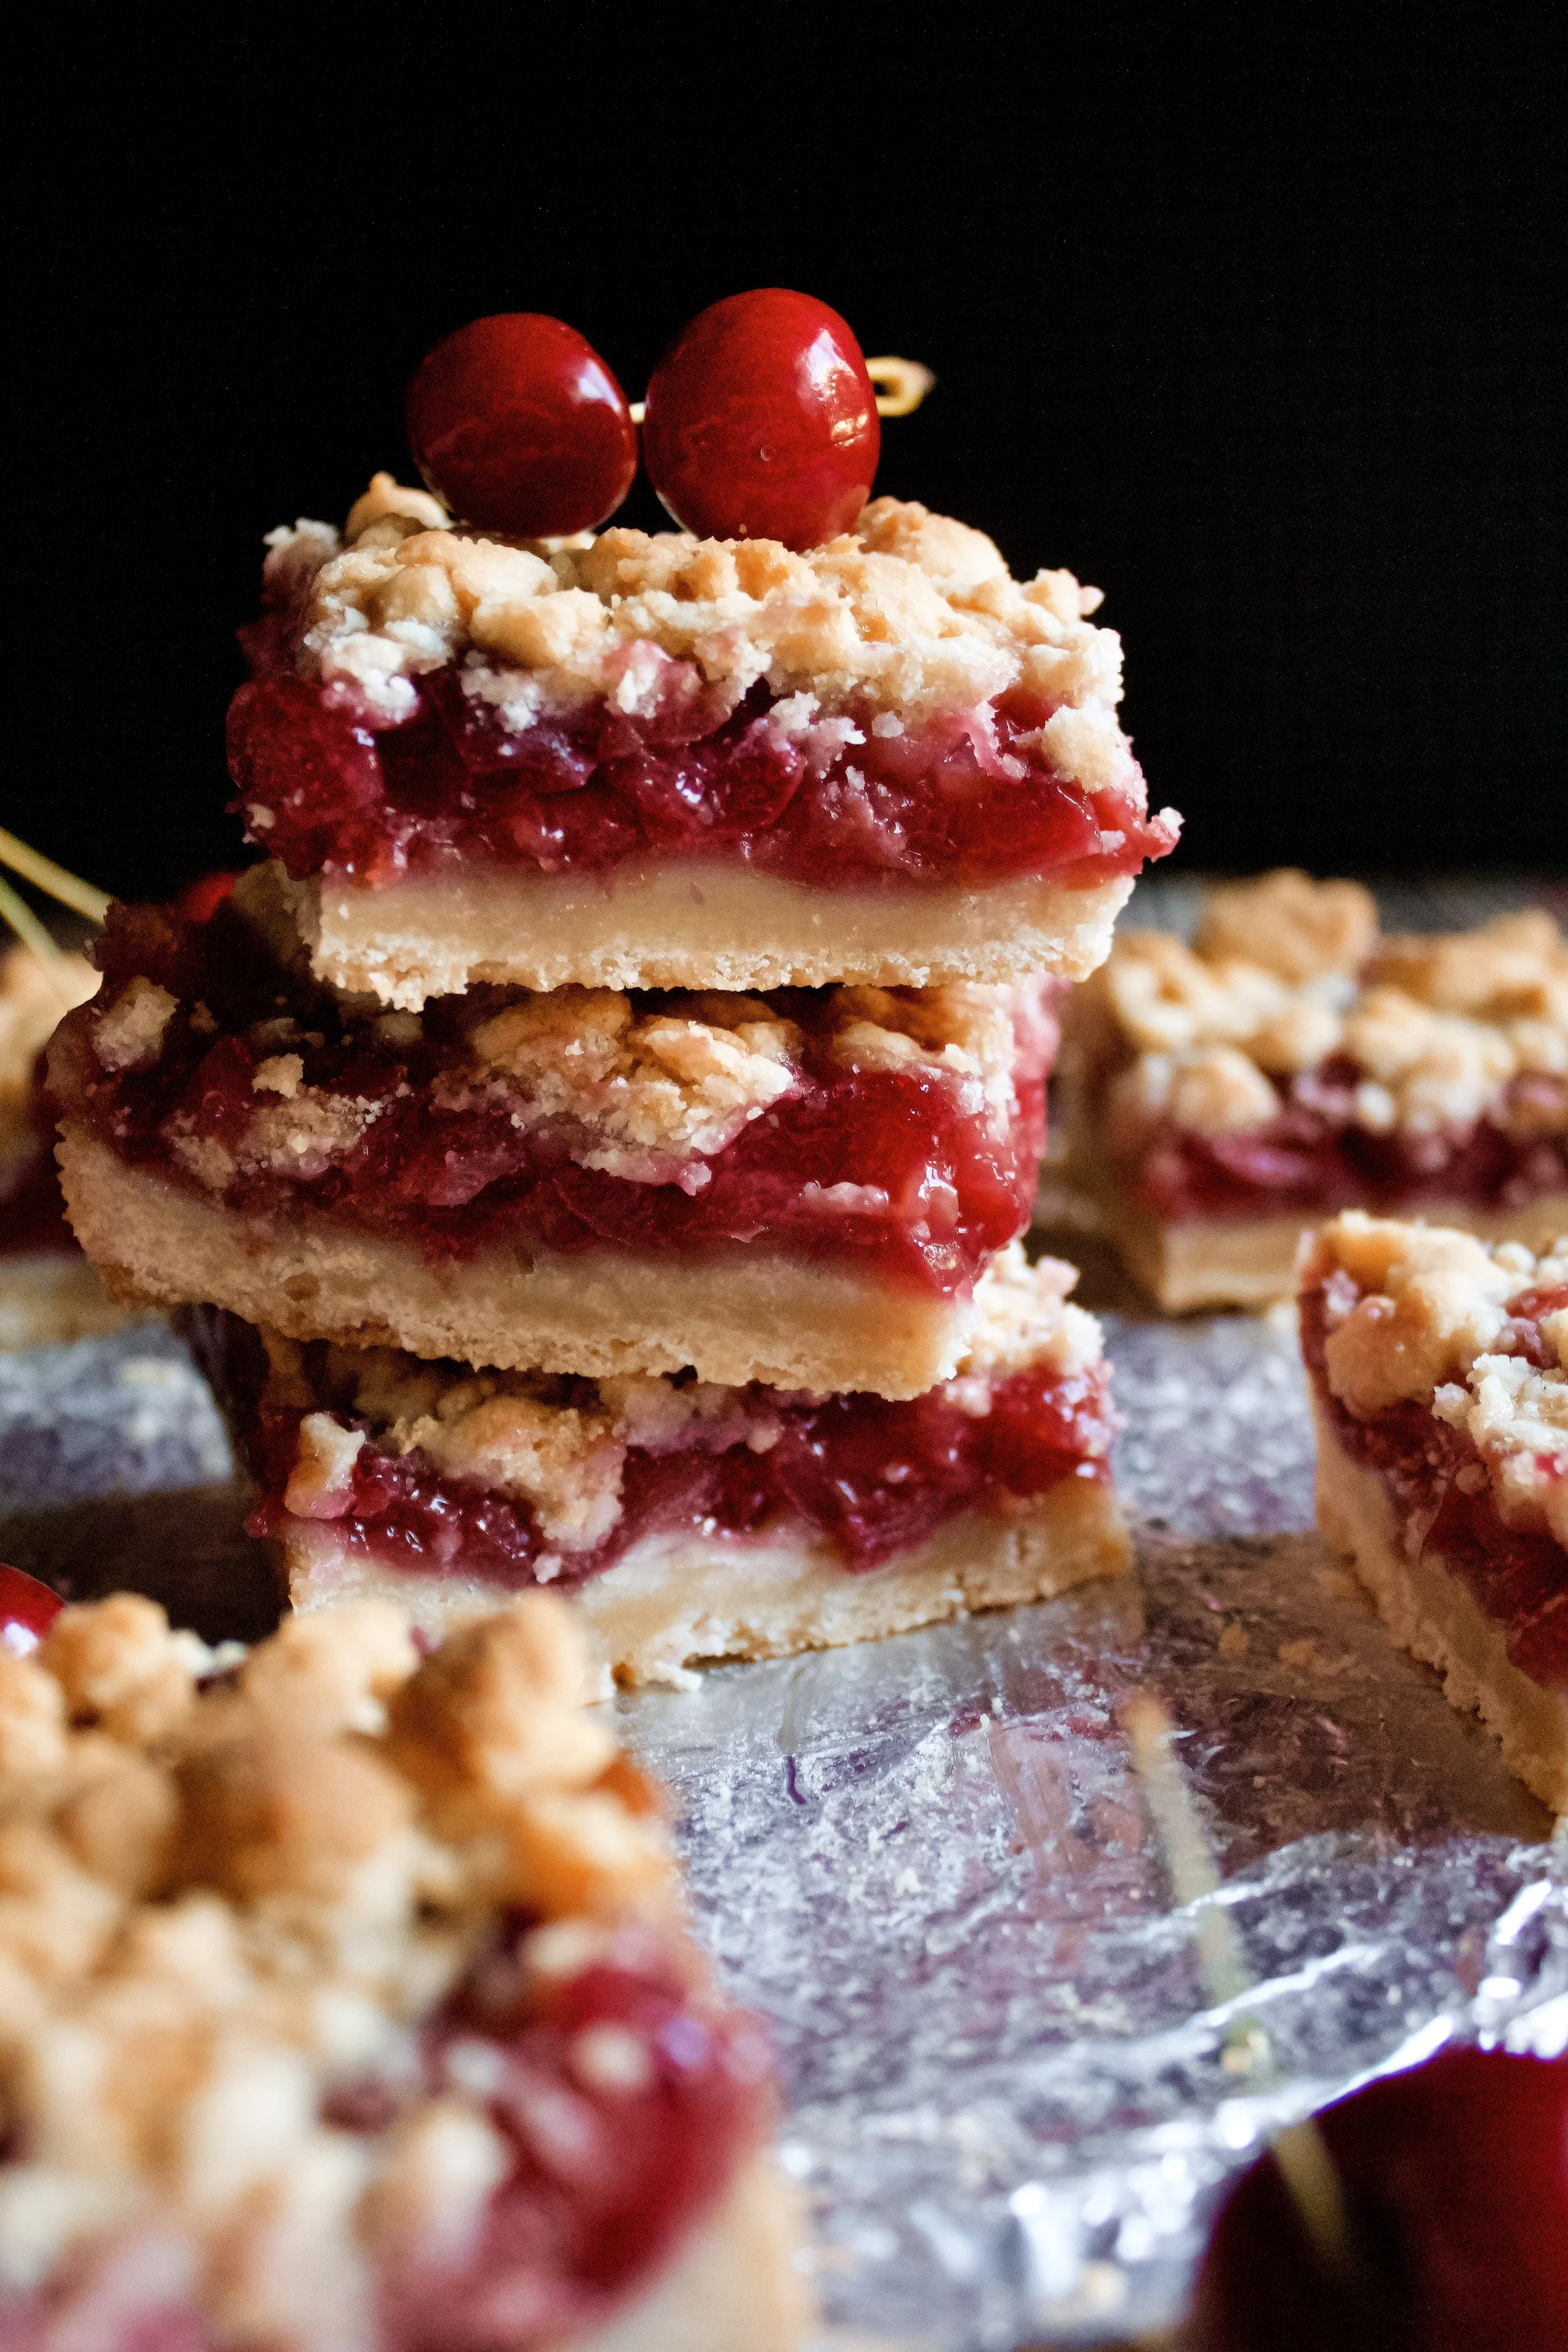
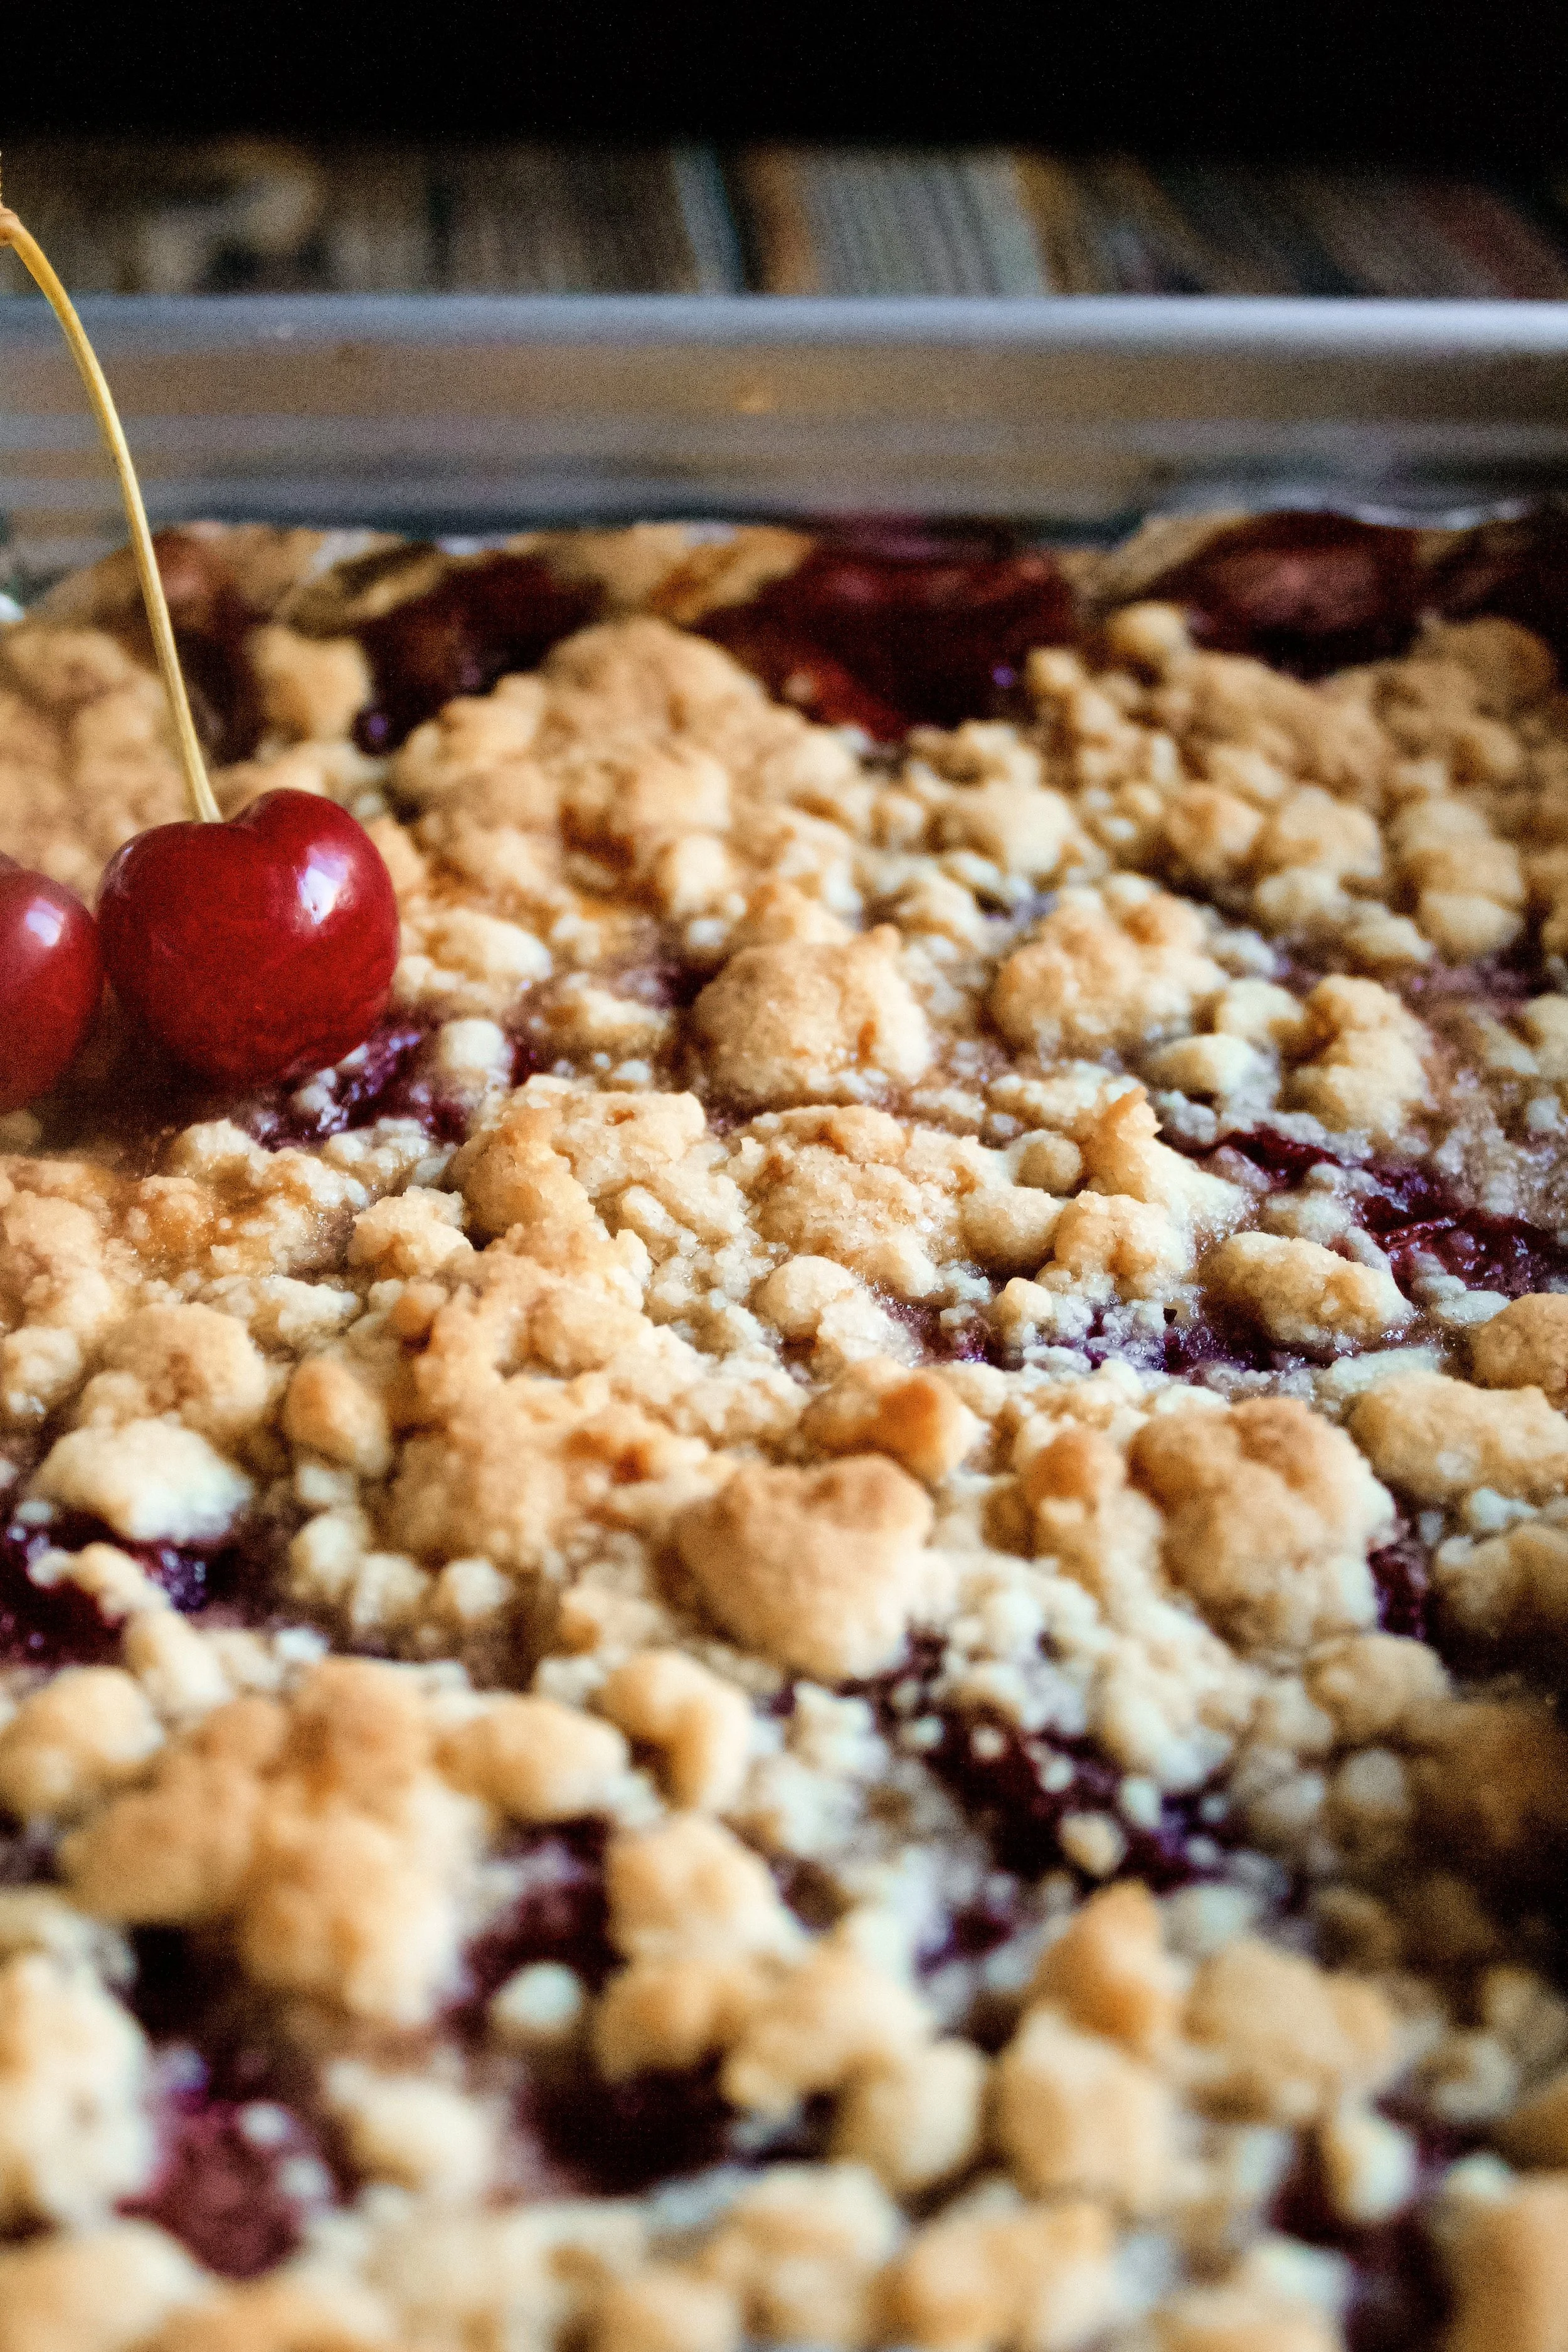
Pour cherry filling in and spread evenly.
Crumble remaining dough on top, squeezing a bit as you go to get some larger chunks.
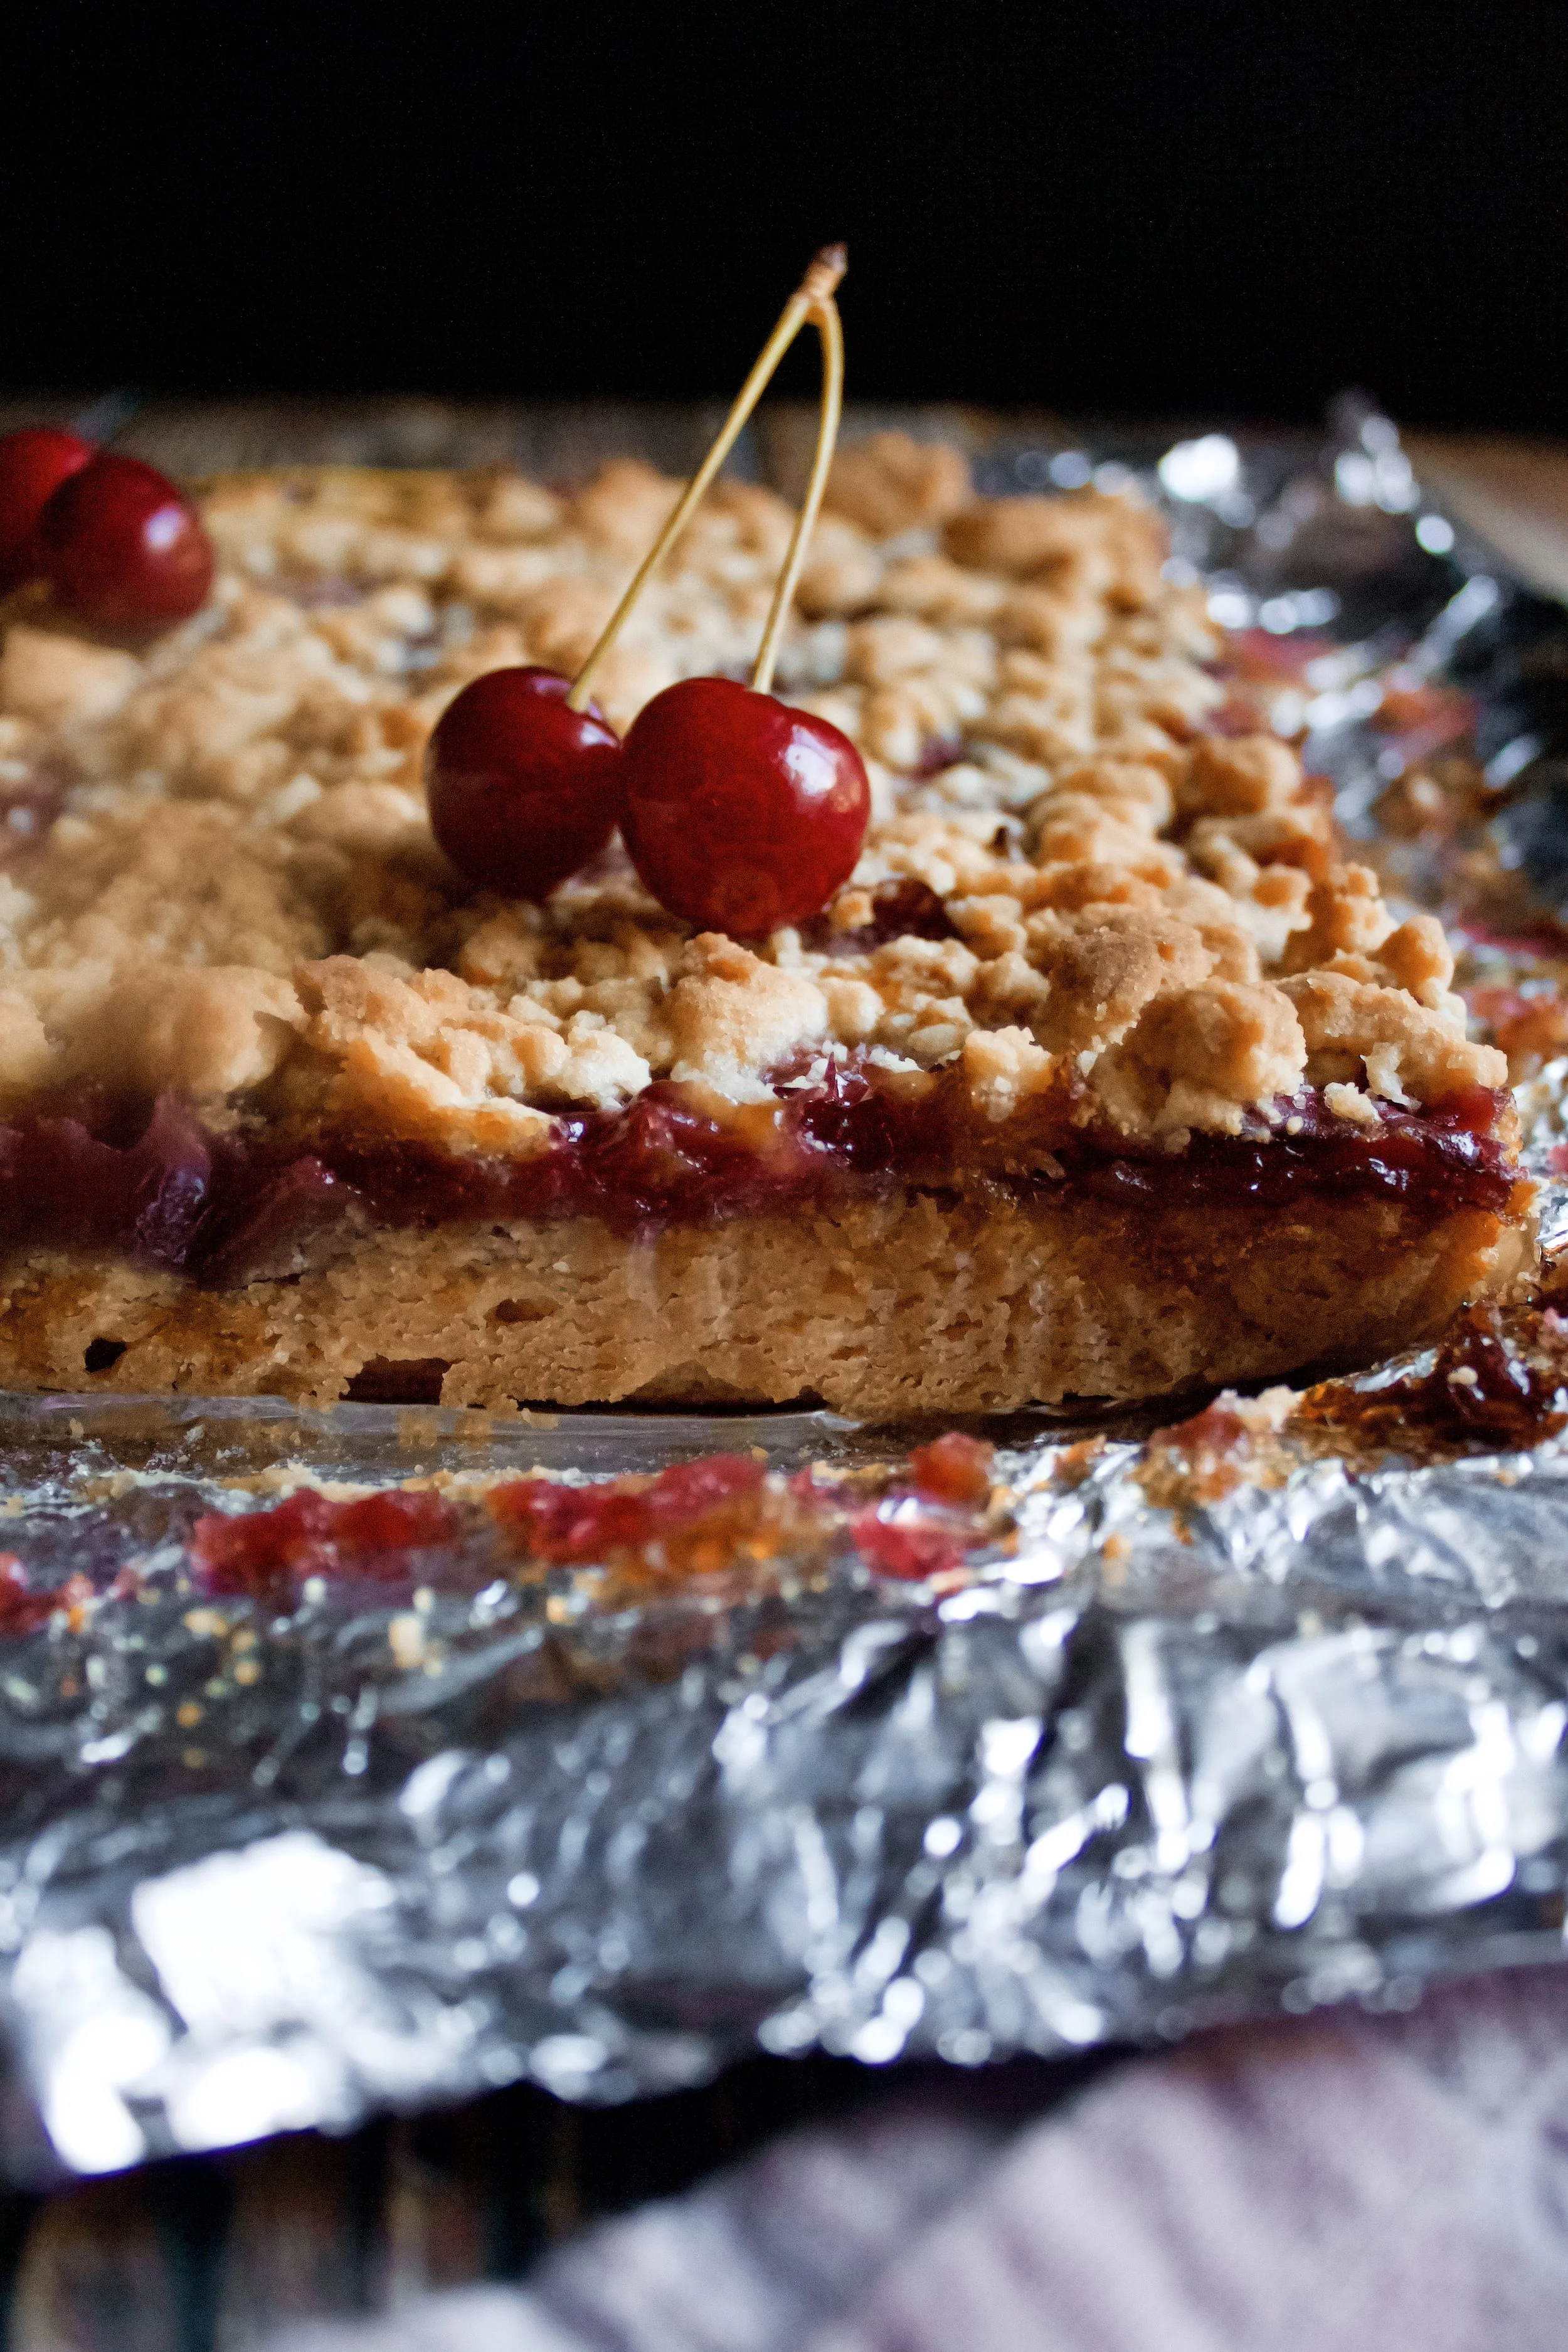
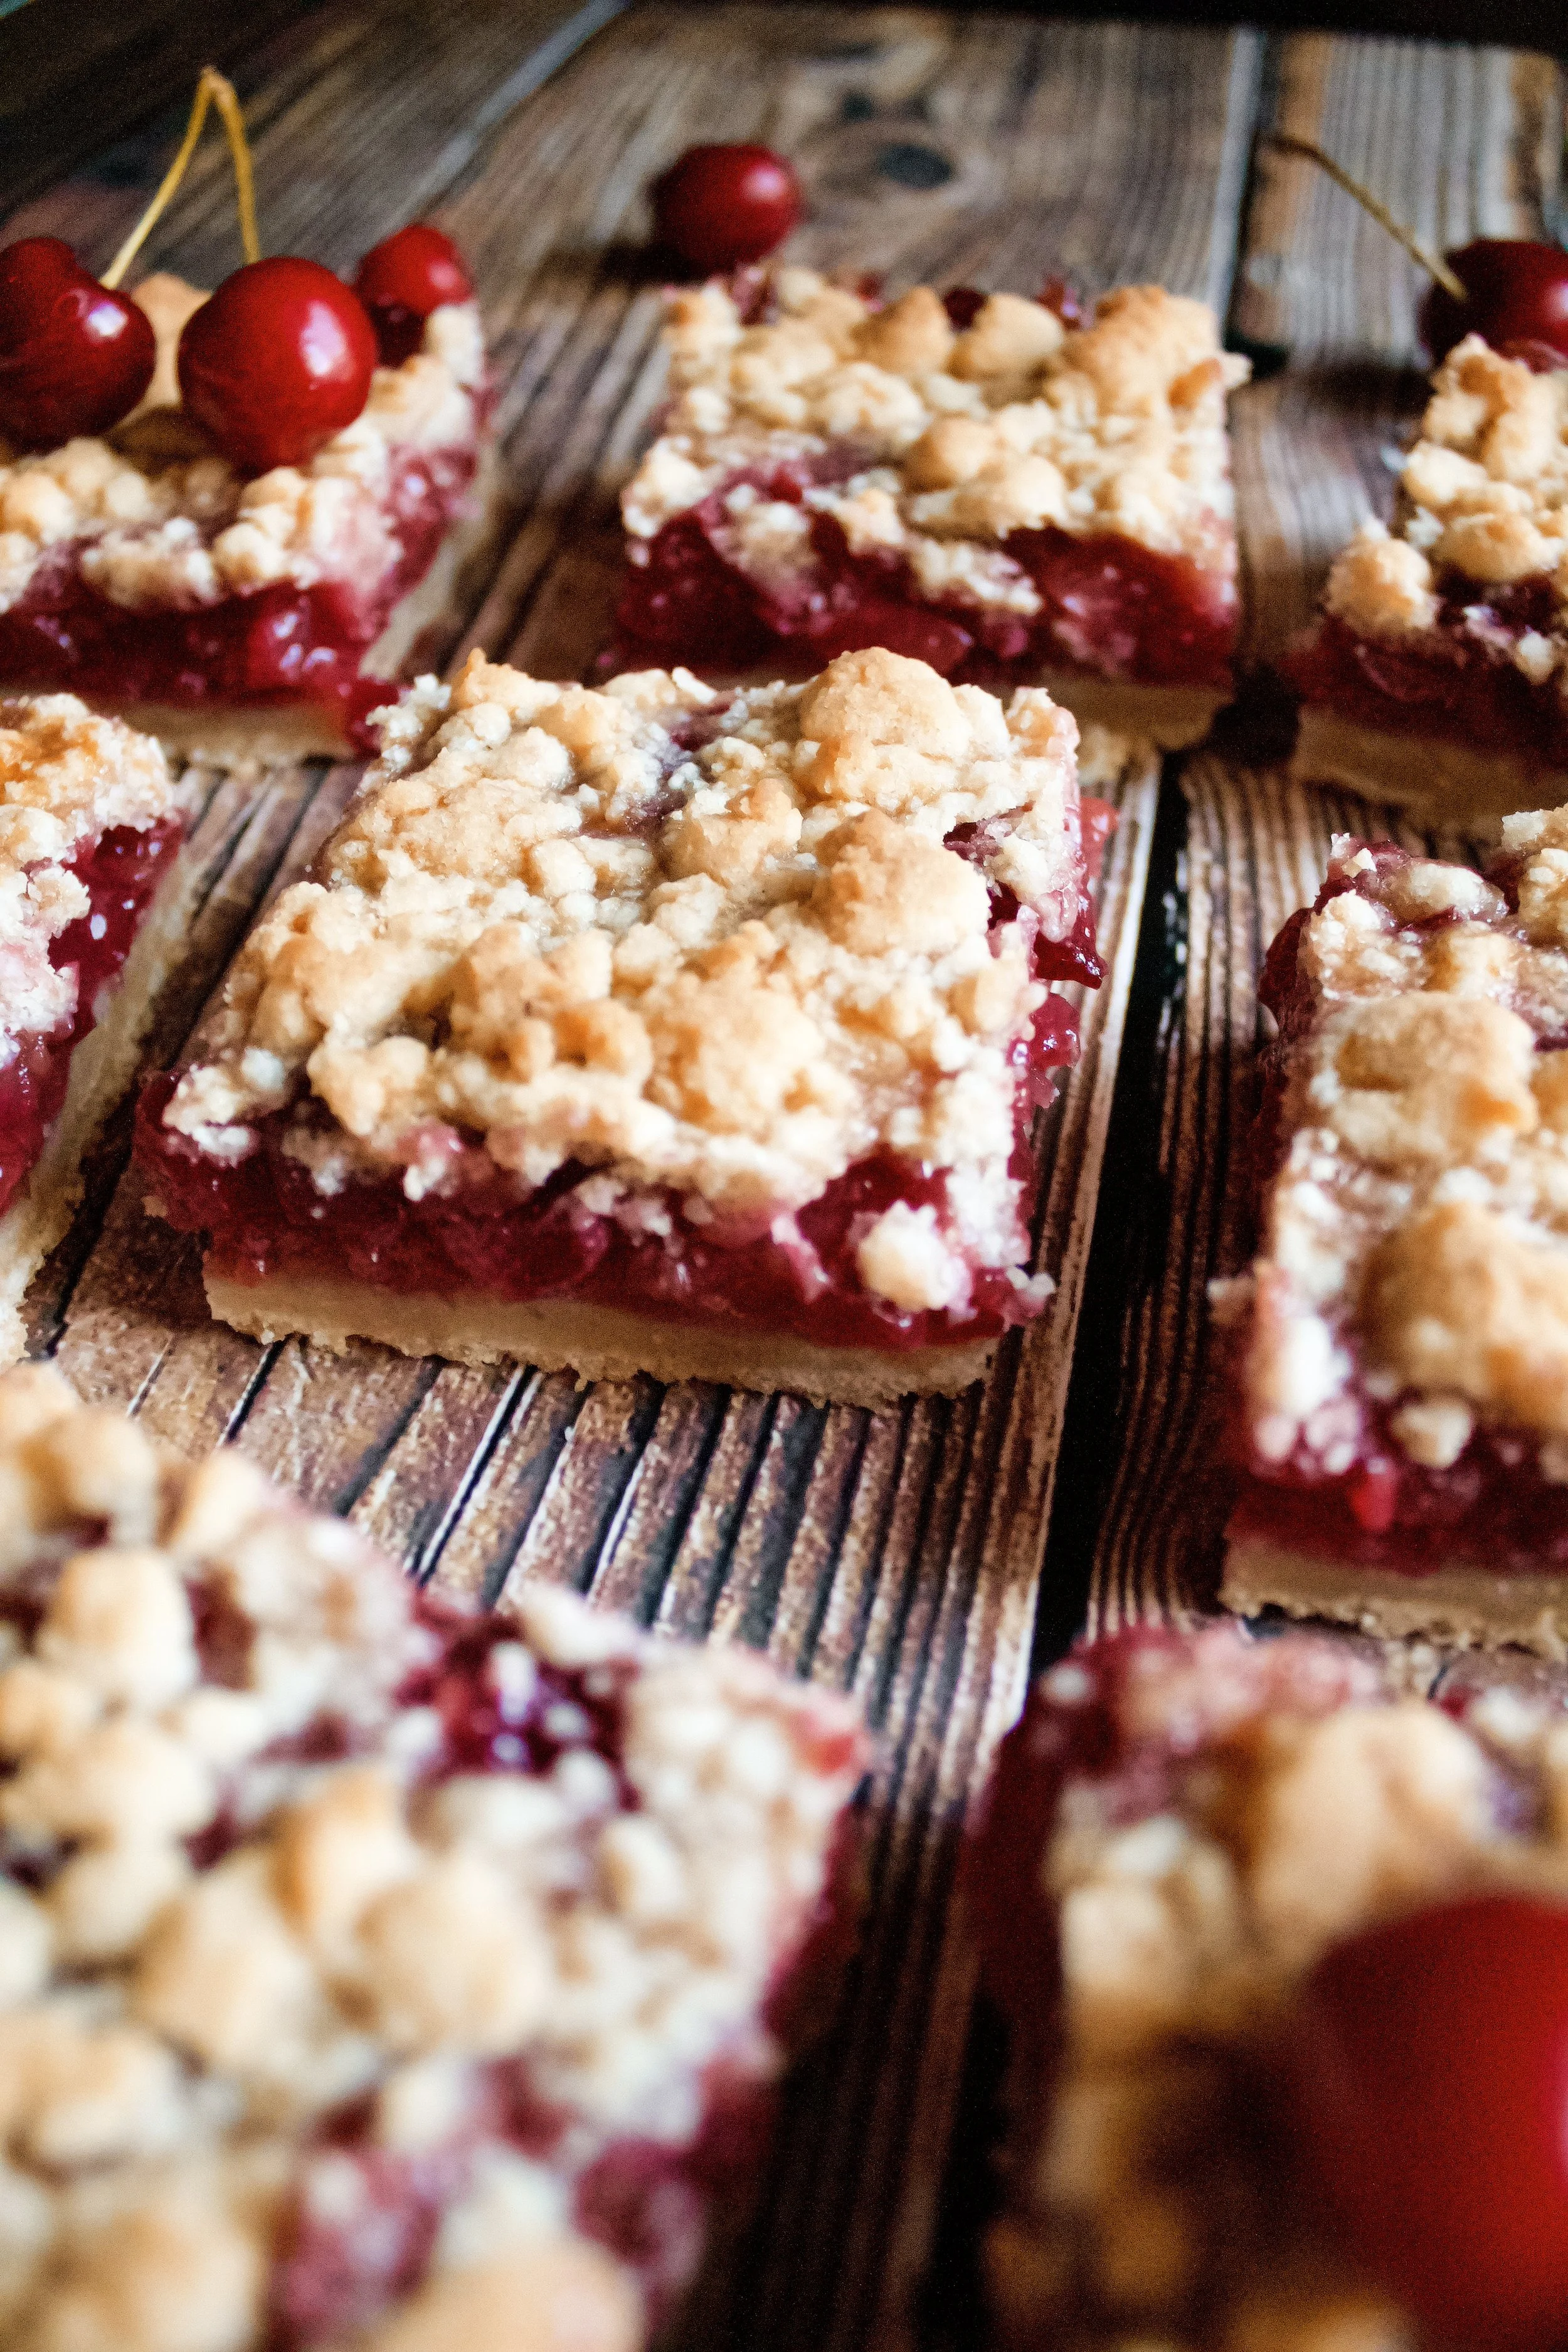
Cover loosely with foil and bake. Remove foil after thirsty minutes and cook until crust is golden and filling is bubbling and no longer liquid.
Enjoy!


Tips for this recipe
You can pit the cherries yourself!
I personally don’t like canned or jarred cherry pie filling. Plus, it’s cherry season, so why buy canned? I found a really simple method for pitting your own cherries. A quick Google search will show you videos using old glass bottles and chopsticks, but we don’t have any chopsticks in our house. Serves us right for throwing out all that spare stuff from takeout.
So I switched between the blunt end of a kebab stick and a wine cork with a pointy end. It was a big mess that made my hands look a bit Sweeney Todd, but it got the job done.
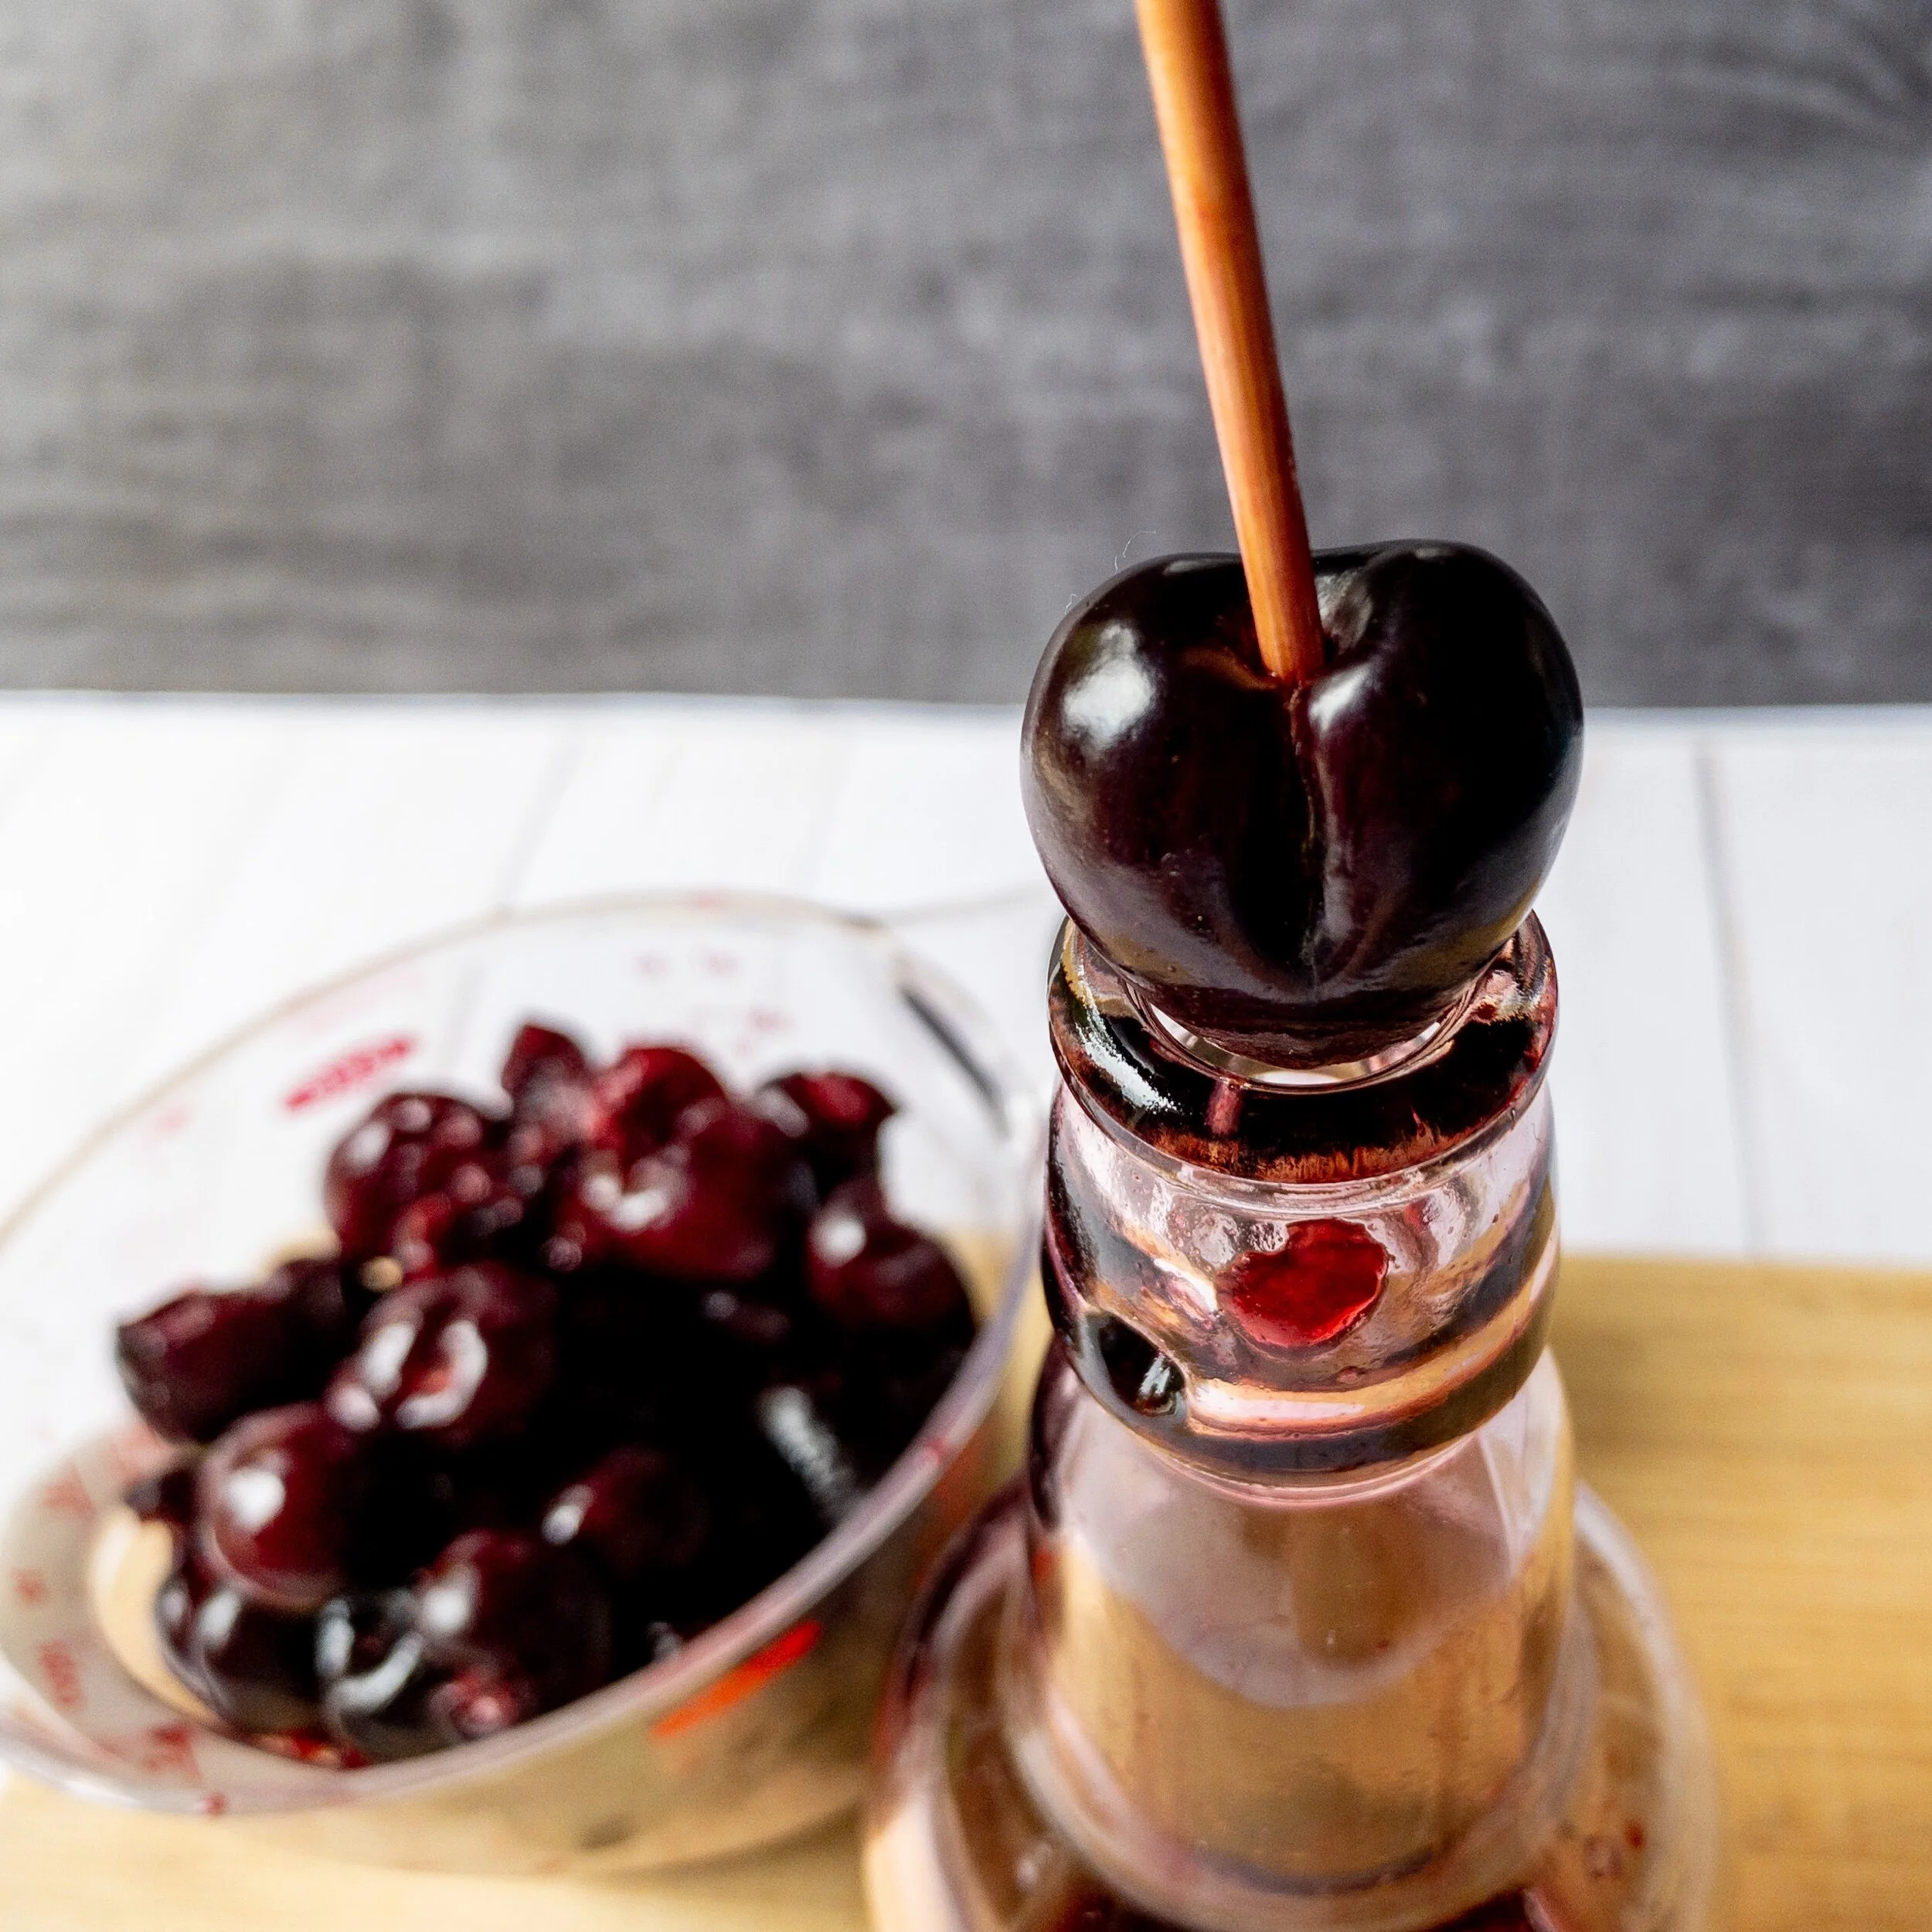
As you can see, all you need to do is set the cherry on the mouth of the bottle, hold it with one hand and use the other to force a chopstick (or stick-like device) through the center until the pit comes out the other side.
Be warned that fresh cherries don’t like to let go of their pits, so you may have to get handsy with it like I did. Don’t worry, the juice will only stain your hands murderer red for a day or so.
Macerate the cherries first
Line the pan with foil
It’s seriously my least favorite part of baking. But it’s pretty necessary in making most bars. It makes cutting so much easier, too. Just press gently and learn to maneuver the foil around slowly so you don’t punch holes in it. Like I did. In the top right corner. #noshame
Don’t press dough too hard
You don’t want the bottom layer too squished, or it can turn hard and crispy (in a bad way). It’s best to gently press just until there are no holes or cracks where the filling can spill under the crust, which could burn the bottom of the bars.
Switch cherries for any fruit!
I have similar bars with oatmeal cookie crust and mixed berries. Honestly, any fruit you’d use in a fruit pie would work here.
Fresh or frozen cherries will work
It’s cherry season, so of course I’m going to use the organic farmers market cherries we have. But frozen will work, too. Just use slightly less liquid to account for the fact that frozen cherries release more liquid when they thaw.
Vanilla is optional
I know vanilla is in the title, but it was honestly a last-minute decision. A good one, for sure, but it’s not necessary if you don’t have any or don’t feel like it. It adds a warm, well-rounded flavor profile, since vanilla is great at highlighting the natural flavor of almost any dessert.
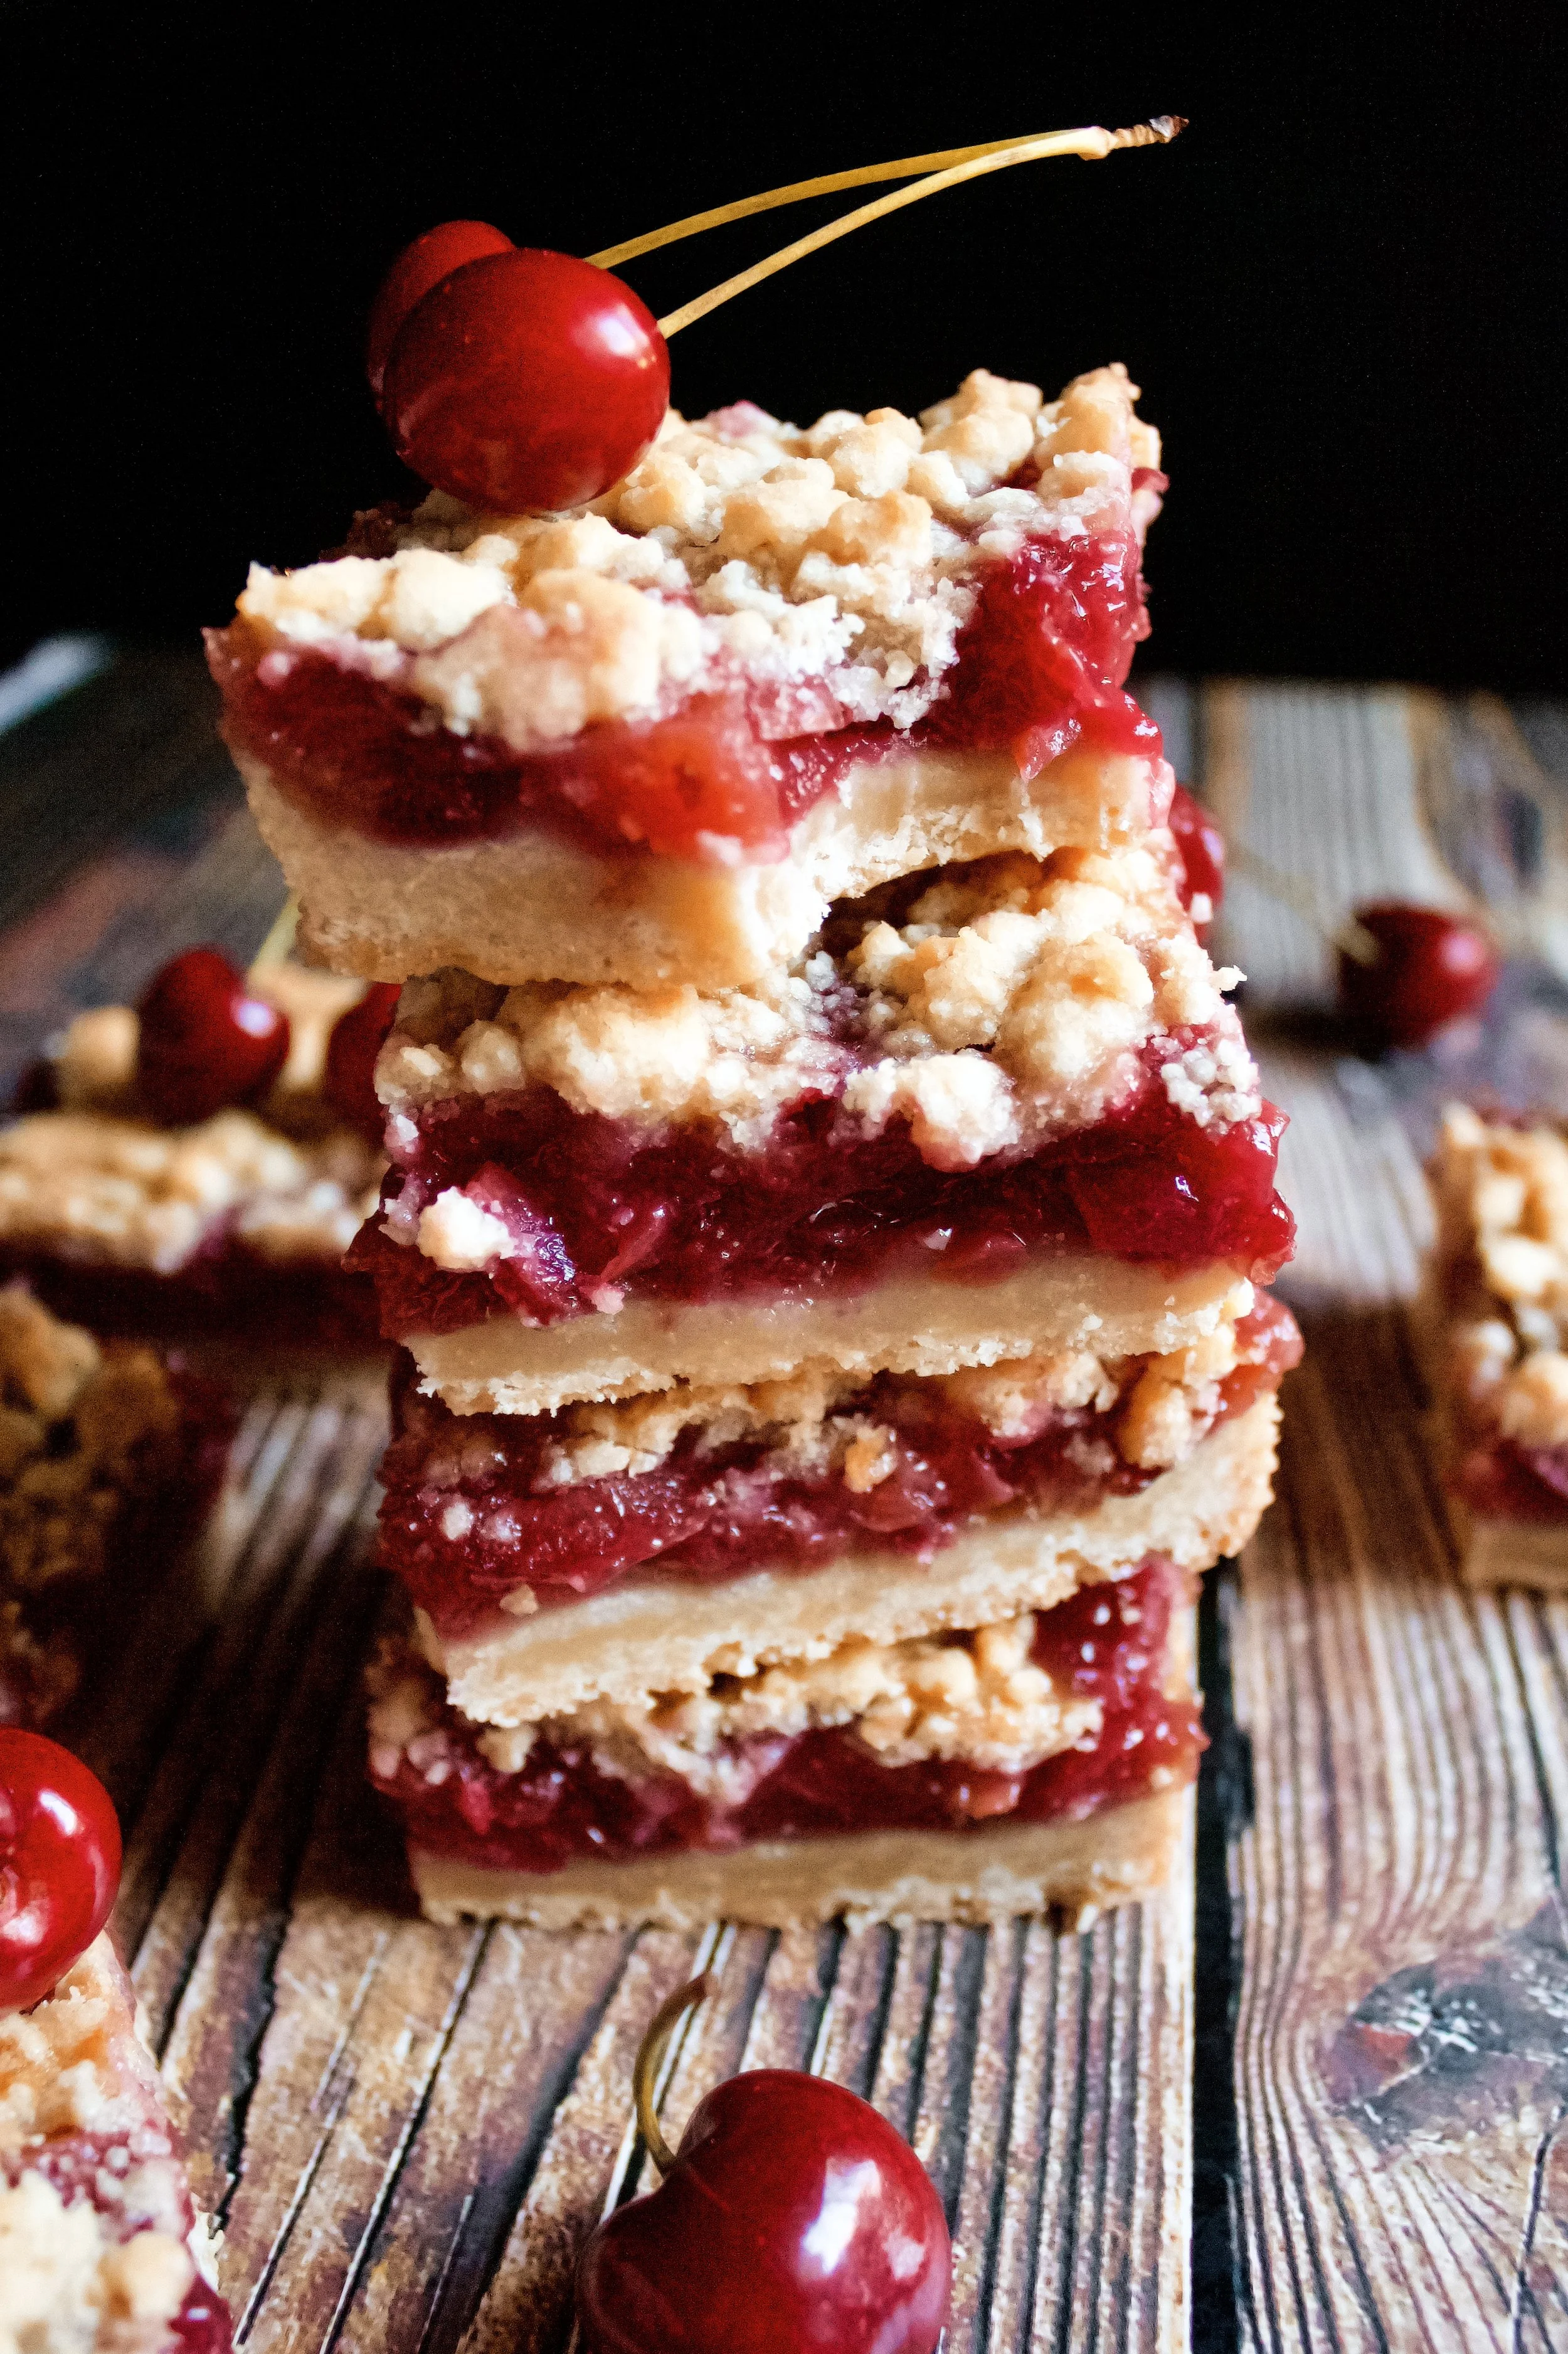
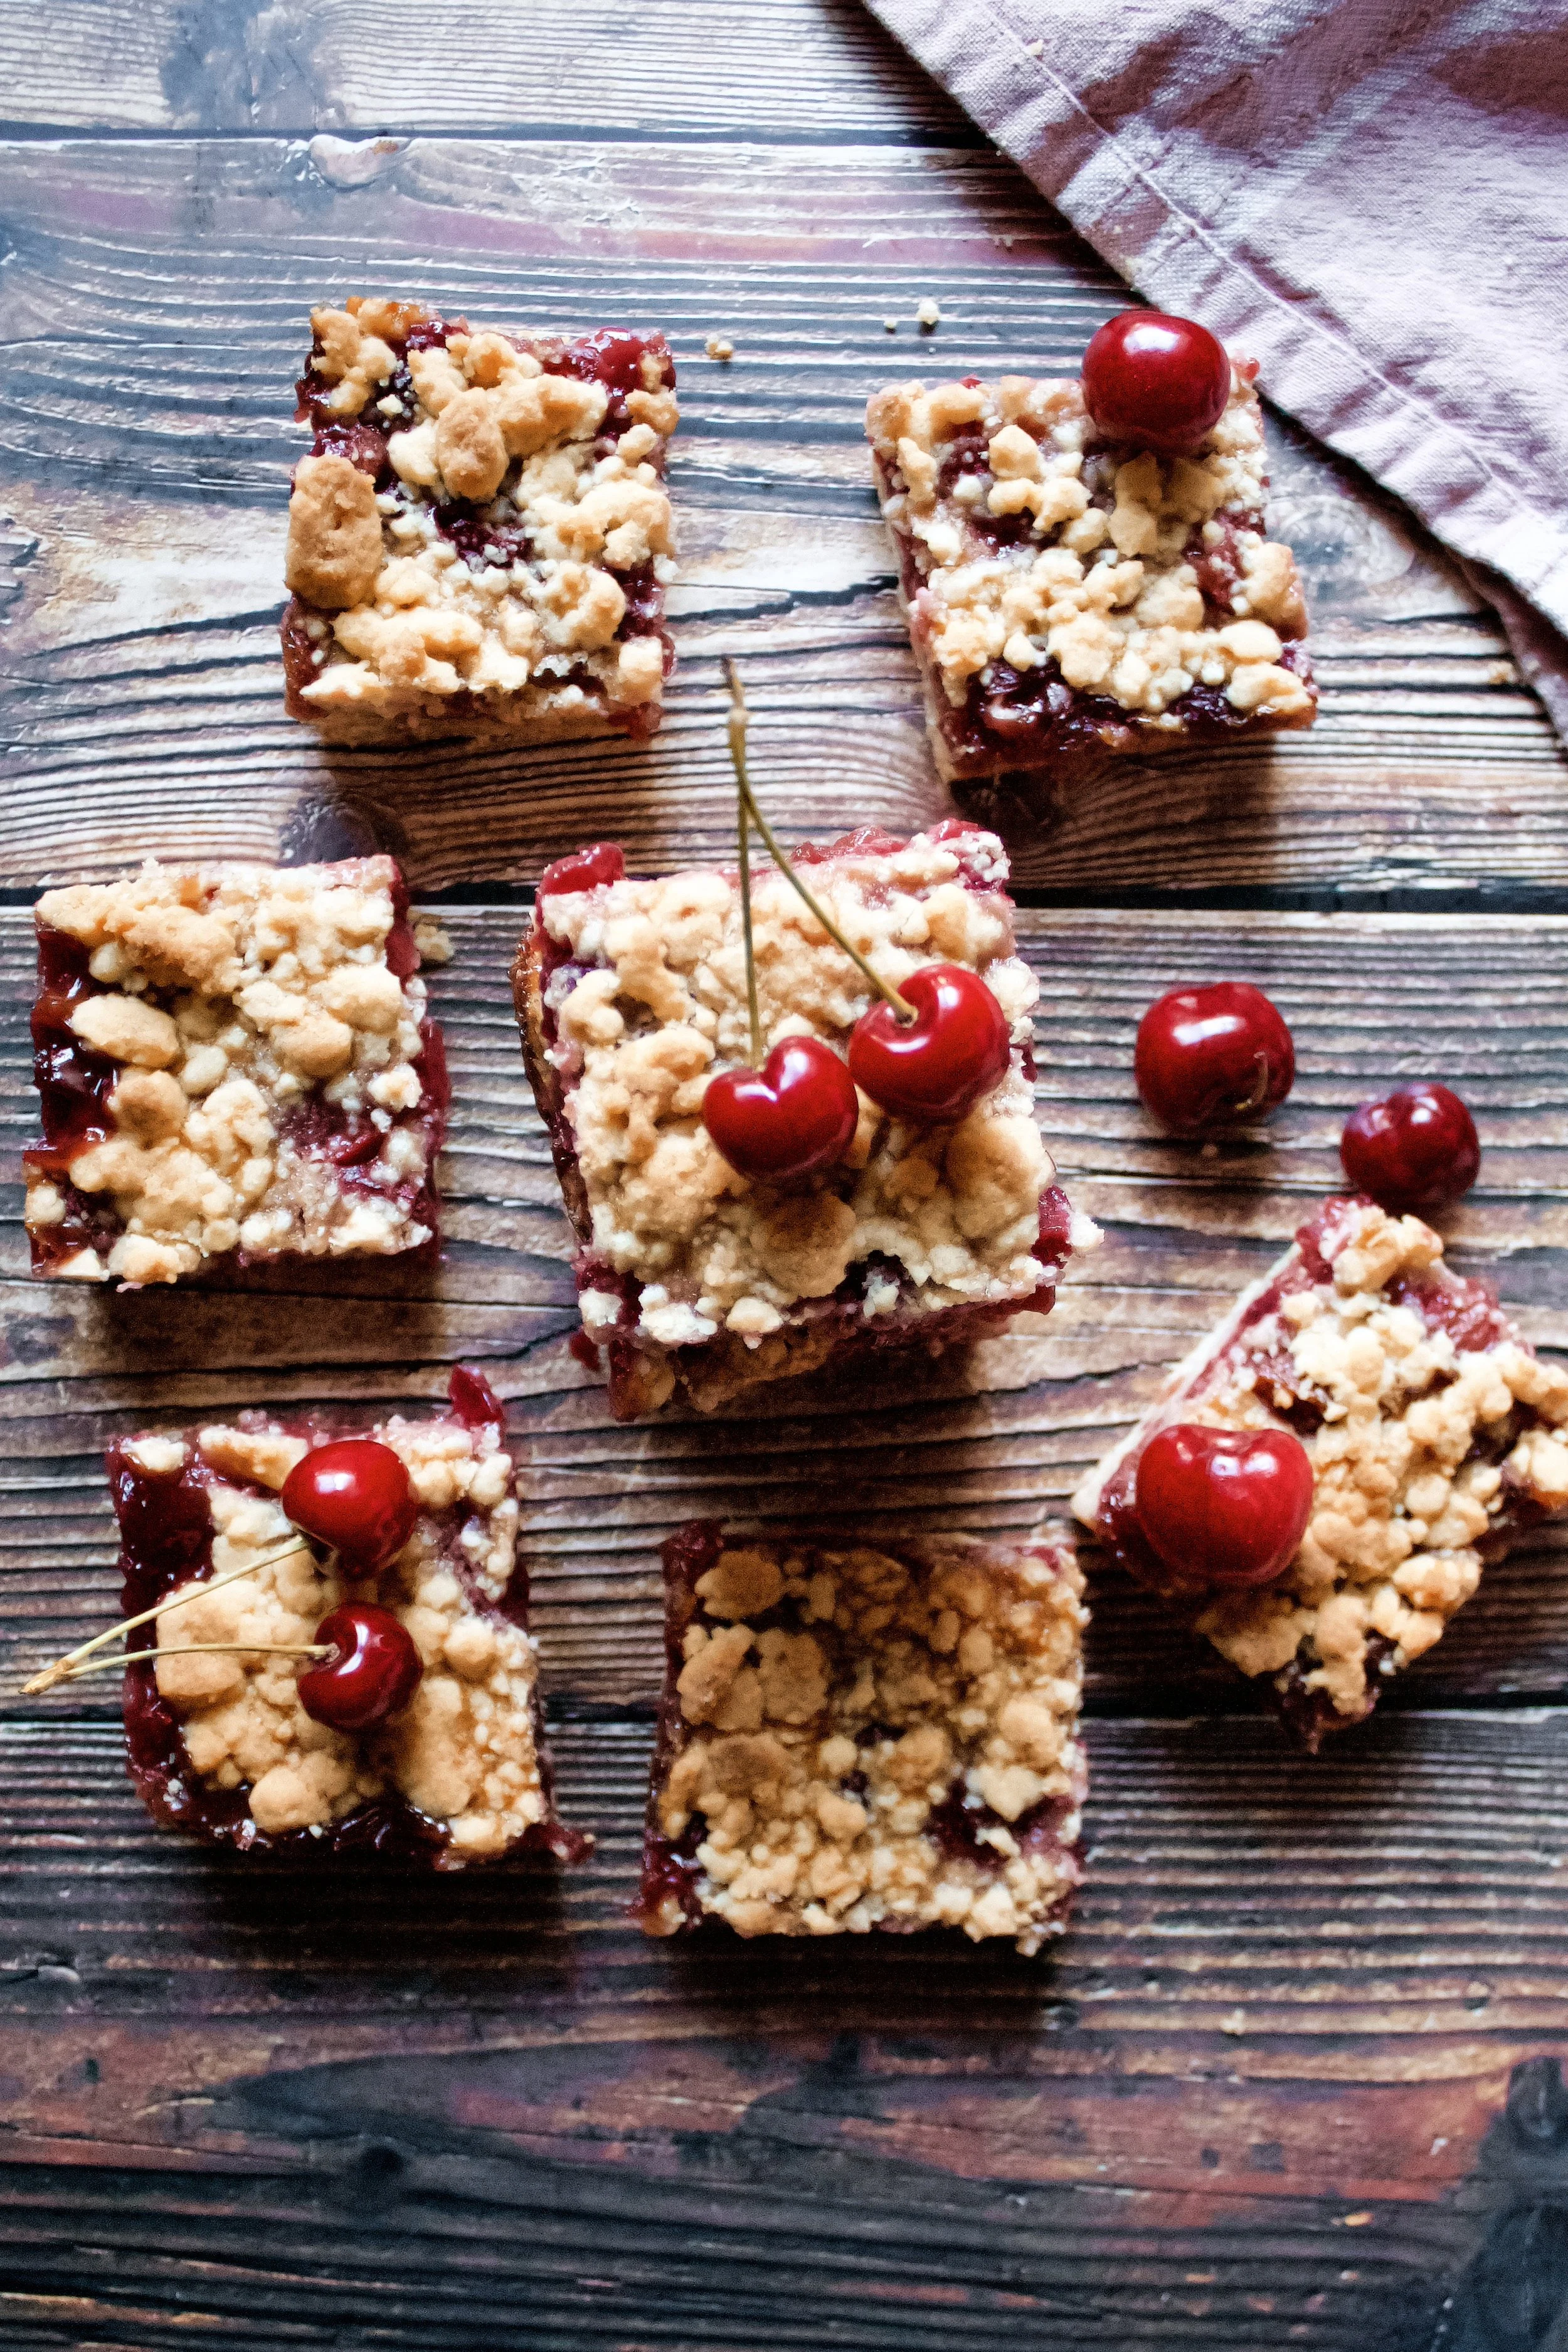
Vanilla Cherry Pie Bars
- prep time: 15-20 minutes (less if using a cherry pitter)
- cook time: 60 minutes
- total time: 1 hour, 20 minutes
Servings: 12-16
Ingredients:
For the cherry filling:
- 2-3 cups (200-300g) chopped, pitted cherries
- ¼ cup (50g) sugar
- 2 tablespoons (20g) flour (or 1 tablespoon cornstarch)
- 1 tablespoon (13g) lemon juice (orange juice or your favorite liqueur work, too)
- ¼ teaspoon (2g) sea salt (or ½ teaspoon table salt)
- 1 tablespoon (13g) vanilla extract
For the crust:
- 12 tablespoons (1 ½ sticks or 170g) unsalted butter, room temperature
- ¾ cup (150g) sugar
- 1 ¾ cups (238g) flour
- ½ teaspoon (3g) sea salt
- 1 tablespoon (13g) vanilla extract
Instructions:
- Pit cherries (I suggest using a cherry pitting tool to speed this up). Chop roughly then mix with remaining filling ingredients. Stir well then set aside while you make the crust.
- Preheat the oven to 350F/175C and line an 8x8 square pan with foil. See note for lining carefully. Grease with butter or baking spray. (Note: I chose to make the cherries before even preheating to give the filling plenty of time to macerate.)
- In a medium mixing bowl, cream butter and sugar on high for 1 minute, scraping bowl once. Add salt and vanilla and mix until blended, about 10-20 seconds. Add flour and mix on low until incorporated and crumbly.
- Sprinkle ½ to ¾ of the dough evenly into the pan. (I used ⅔ and found it to be perfect, because I wanted a fairly full top crust with some bits of filling bubbling through. As long as you have at least half the dough on the bottom crust, the exact ratio is up to your preference.) Press gently to seal edges and ensure no cracks on the bottom that filling could seep through. Don’t press too hard or it will be tough after baking.
- Stir filling one last time then spread evenly on top of bottom layer of dough. Sprinkle remaining dough on top, squeezing dough gently as you go to create a variety of sized clumps. You can cover it evenly or make a design (ish, it’s clumps of dough after all) or leave some filling to show through.
- Cover very loosely with foil (barely fold down on two sides just so it stays somewhat on but a little vented). Bake for 30 minutes. Remove foil then bake another 30 minutes or until crust is golden and the filling bubbles throughout and looks mostly set.
- Cool in the pan at least 30 minutes (1-2 hours is ideal). Remove by pulling up the edges of the foil. Peel back foil along sides before cutting. Be careful to remove any foil that may have stuck to the bottom (it only happens to me when I haven’t greased it well).
Enjoy! Store leftover in an airtight container on the counter 3-4 days or the fridge up to 1 week.