
Confetti Sprinkle Cake
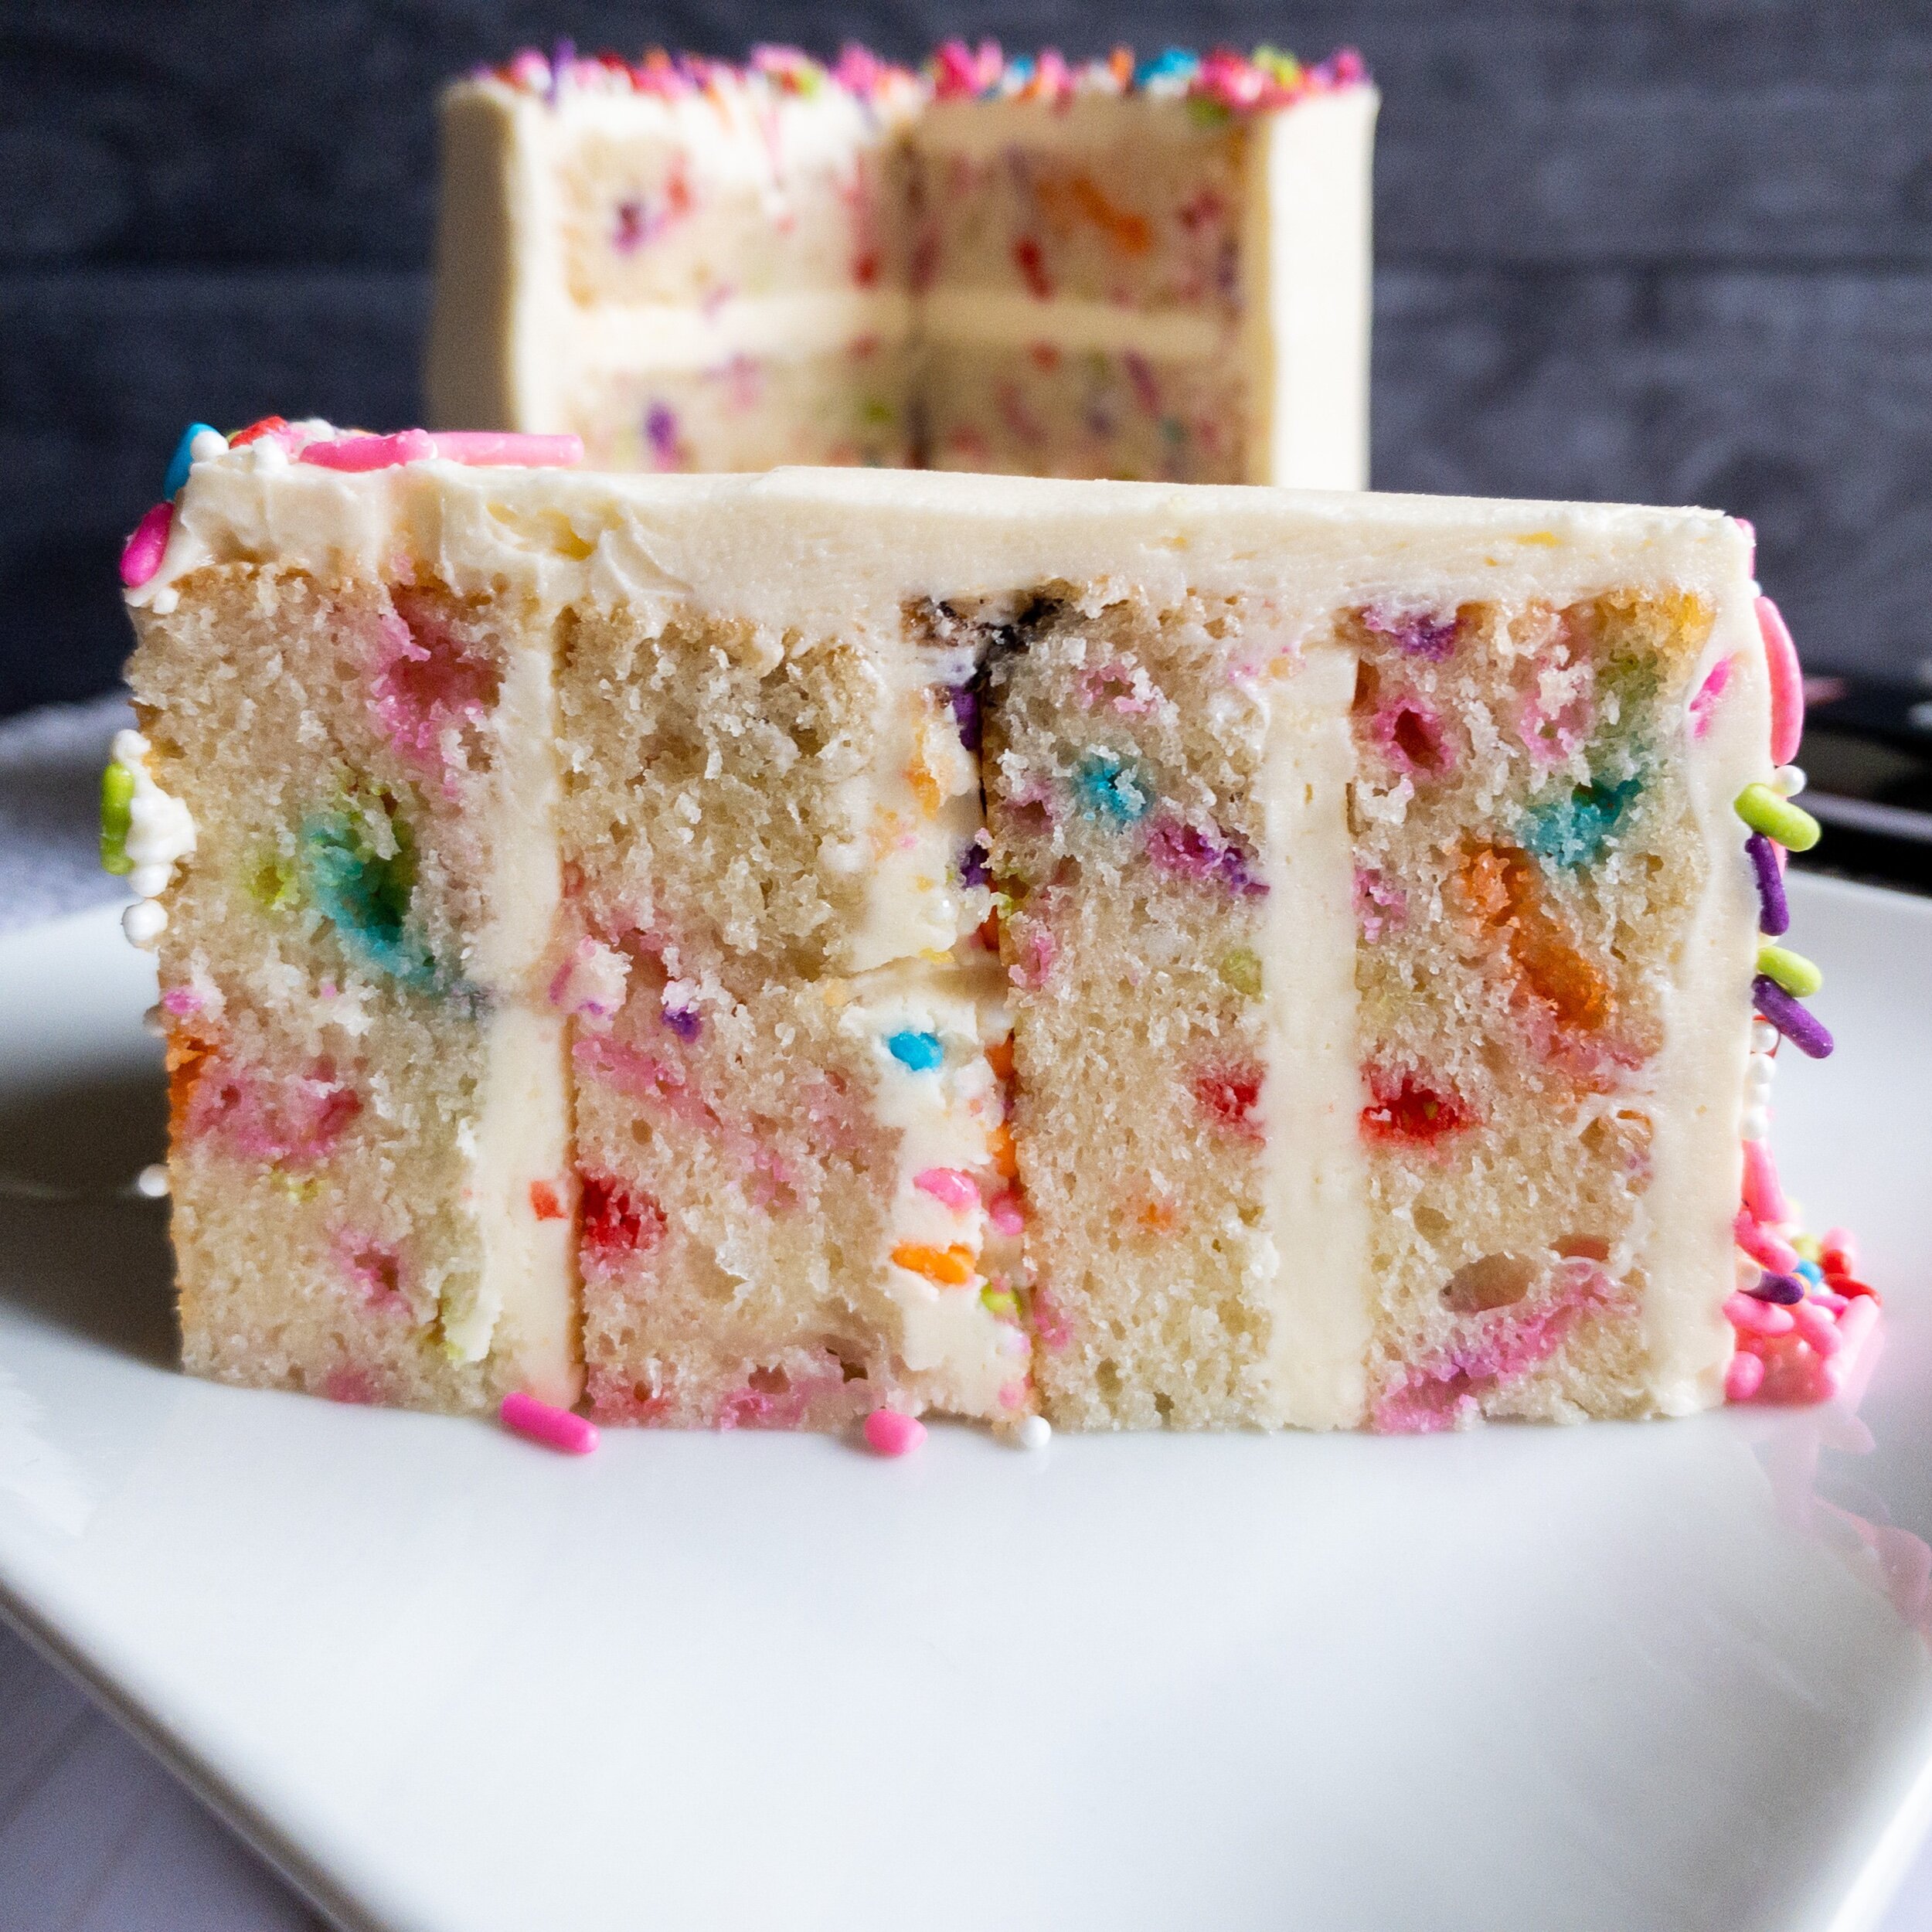
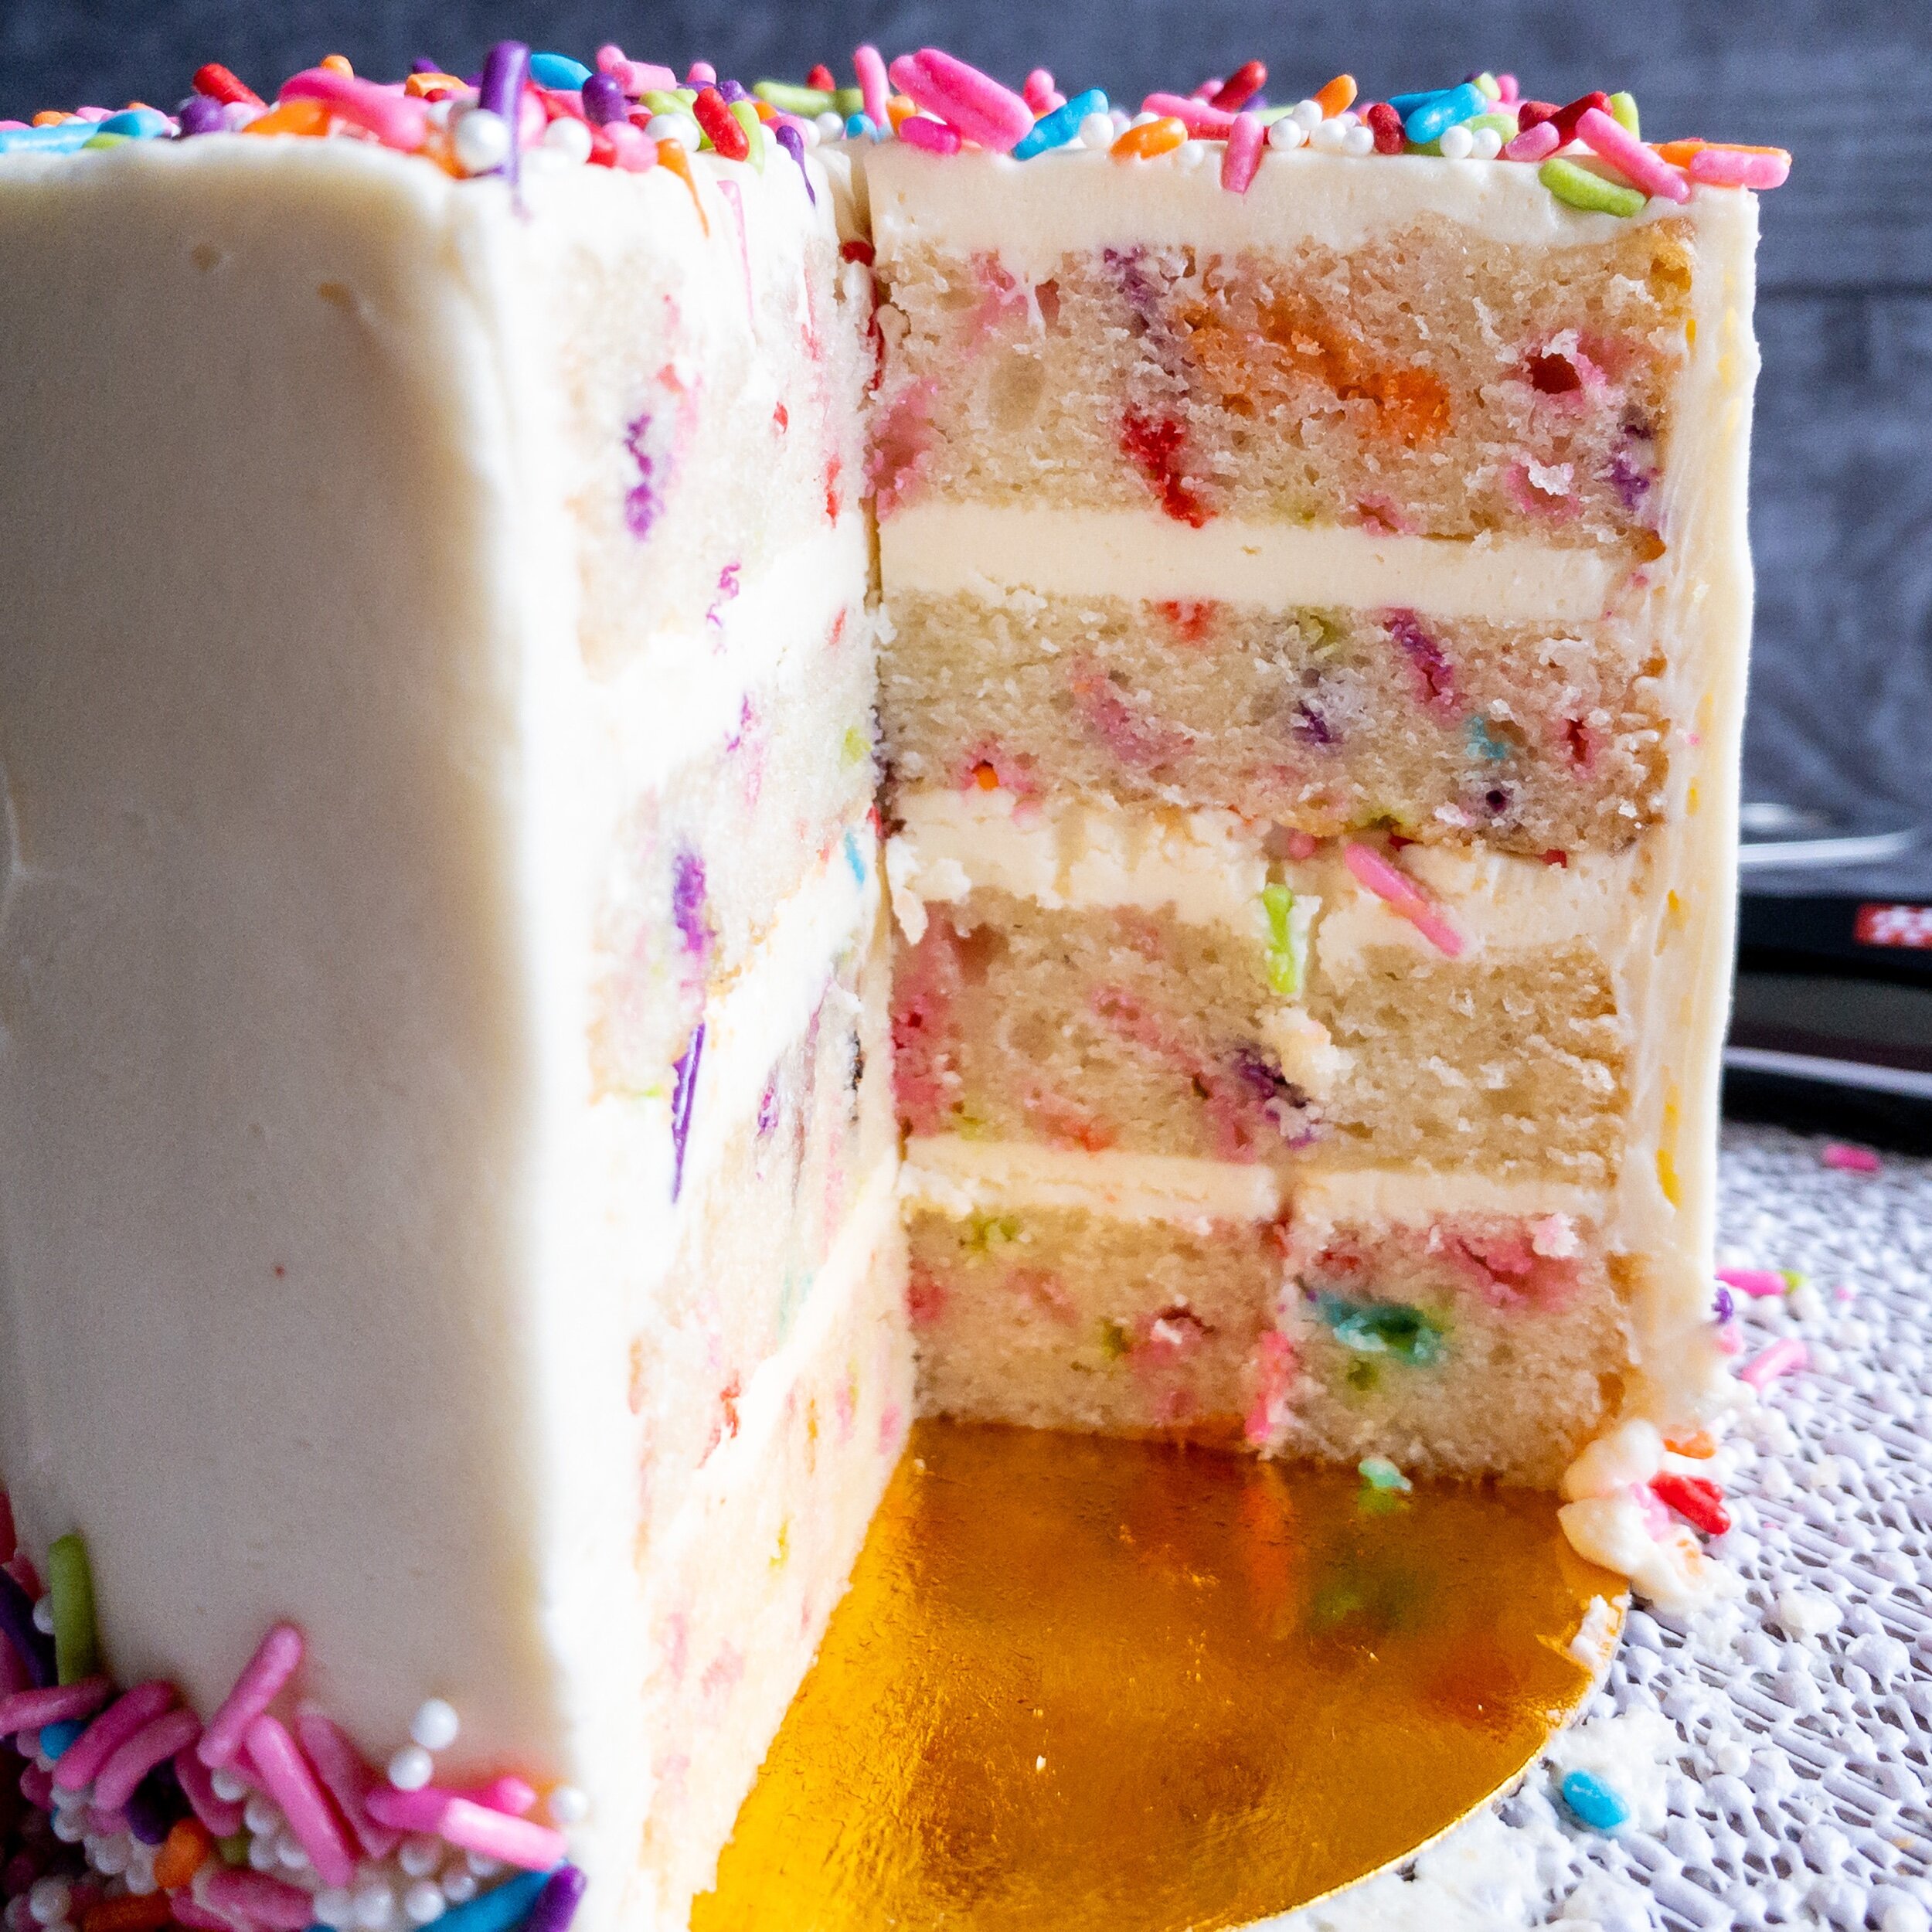
Confetti/funfetti/sprinkle/birthday—whatever you call this cake, it’s the perfect dessert for any celebration. Flavorful, moist vanilla cake layers swirled with sprinkles, frosted in creamy vanilla buttercream, and covered in even more sprinkles all make this a cake even non-cake eaters love.
The story
In the debate over sprinkle cakes, I always preferred rainbow chip over funfetti. I liked the texture and taste of those rainbow chips in the frosting (which, it turns out, were rainbow colored mini white chocolate chips…hence, rainbow chip). Plus, I prefer Berry Crocker cakes over Pillsbury.
But everyone knows funfetti. It’s iconic.
And, sadly, rainbow chip frosting was discontinued years ago. I did find a few recipes for making your own rainbow chips, but it involves a lot of stirring melted white chocolate and piping each color into tiny little dots. Simple, but repetitive and time consuming. I’m sure I’ll get around to it one day and be so glad to have my beloved rainbow chips back. I may even start making and freezing large batches so I’m never without.

For now, I’ll settle for a good, homemade sprinkle cake.
Which leads me to the other debate: what do you call it? My favorite bakery calls it Celebration Cake. Confetti Cake is usually the off-brand name. We all know Funfetti Cake. And of course there’s the obvious: Sprinkle Cake (because it’s literally just that—vanilla cake with sprinkles). For copyright reasons, I’m calling this Confetti Sprinkle Cake. You can call it whatever you’d like, cause honestly it’s all the same.

I’m all for a sprinkle/confetti/funfetti cake if it’s homemade. I like the rich vanilla flavor you get with homemade, plus the crumb is a little more dense (in a good way) and it tastes sweet and flavorful, not manufactured.
If you’re not a fan of traditional confetti sprinkle cakes, I’ll let you in on a secret: you can make any batter into a sprinkle cake. Just gently fold in sprinkles right before pouring into cake pans. In fact, you can get away with swirling them into the batter after it’s in the pan (though the sprinkles won’t be as evenly distributed).

Tips for this recipe
Sub frosting and filling for a less-sweet cake
I often make this cake with white chocolate buttercream, because it’s less sweet but still creamy and rich. You can also use chocolate ganache buttercream for a fun twist chocolate lovers will enjoy, with a nice contrast in colors. I also love this cake with berry jam swirled into the filling (do a thin layer of buttercream then swirl in a small amount of jam so it doesn’t soak into the cake and get lost). And if you want a touch of sweet but not too much, you can fill it with Bavarian cream to maximize the vanilla flavor but minimize the sweetness.
Gently fold the sprinkles at the very end
It’s important not to over mix this batter. You can leave a few lumps and have a fluffier cake or mix it until smooth for a slightly denser (in a good way) cake. I suggest leaving a few lumps to make up for the fact that you’ll mix it more when you add the sprinkles.
That being said, you want to gently fold the sprinkles in using a spatula. Think literal folding motions, like with whipped cream or whipped egg whites. The goal is to fold from the sides into the middle gently, not stir.

Bake immediately
This batter doesn’t do well sitting around waiting to be baked. I’ve learned that the hard way. The longest I’ve left it out is 20 minutes because I was making several dozen cupcakes and couldn’t bake it all at once. Longer than that could create a chewy cake that won’t rise.
Use room temperature ingredients
I have other tips on my original post for this cake (sans sprinkles), but this is the most important. It would be better to leave the ingredients out longer than the standard one hour than to have them be too cold. Room temperature ingredients mix better, creating the right texture for the crumb and helping the cake to rise properly.

Cut recipe in half for a 6” cake
Confession: the cake in these photos is a 4” cake. I had extra batter while making my nephew’s second birthday cake, so I made an itty bitty cake. I’ve written the recipe for a standard sized cake, but you can cut it in half if you want a smaller (6”) cake or if you want 12 cupcakes.
…Or use three 6” pans for a taller cake
If you make the recipe as written and use three 6” pans, you’ll have a tall, skinny cake. Which is definitely a fun look! But be warned, it’ll be pretty tall. If you don’t have baking strips, it could be smart to do it this way, as you’ll lose some height cutting the rounded tops off the cake.

Chill before frosting or cutting in half
Part of why I made this itty bitty extra batter cake was to experiment with refrigerating my vanilla cake. I’m making a wedding cake this summer (hopefully…if weddings are ever allowed again). I want to know as much as I can about my recipe so I’m prepared to make the best cake possible. That includes knowing how it chills.
What I also found was that it really is easier to cut and frost a chilled cake. I hear this all the time yet still rarely bother to chill the layers before I use them. But they’re right: fully chilled cake layers are easier to cut in half (which actually has its own culinary term, but I’ve forgotten now…) and frost. Particularly, stacking a straight cake is much easier if you have chilled cake.
The one caveat is to chill them properly. You can wrap them tightly and securely in plastic wrap and leave them in the fridge overnight. Or, you can freeze them for 20-30 minutes, which won’t actually freeze the cake but will get them fairly cold fairly quickly.

Confetti Sprinkle Cake
- prep time: 30-35 minutes
- cook time: 30-35 minutes
- total time: 60-70 minutes, plus cooking time
Servings: 12-15
Ingredients:
- 2 eggs, at room temperature for 30 minutes
- 6 ounces plain, whole milk Greek yogurt, at room temperature for 1 hour (regular yogurt or sour cream would work, too)
- 1 tablespoon pure vanilla extract
- 1 cup buttermilk, at room temperature for 1 hour
- ⅔ cup oil (avocado or grapeseed)
- 1 cup sugar (use up to 1.5 if you like a sweeter cake)
- 2 ¼ cups flour, sifted
- ½ teaspoon baking soda
- 1 teaspoon baking powder
- ½ teaspoon fine ground salt
- ½ cup sprinkles of any kind, plus more for decorating
- one batch of vanilla American buttercream
Instructions:
- Preheat your oven to 325. Spray two 8” (or more, see above) round cake pans with baking spray or lightly butter and flour the bottom and sides. Line with parchment.
- Whisk flour, baking soda, baking powder, and salt in a bowl. If baking soda is clumped (mine usually is) sift that along with the flour.
- In a separate bowl (or the bowl of your stand mixer—but with the paddle attachment), whisk the wet ingredients (eggs, yogurt, vanilla, buttermilk, and oil) until well-blended and no chunks of yogurt remain. Add sugar and whisk vigorously (or mix on high), for about 30 seconds to partially dissolve the sugar and ensure the oil has emulsified.
- Add dry ingredients to the wet, stirring gently with a spatula or mixing with the paddle attachment on low until only some small flour clumps remain (if you mix until entirely smooth, it will make the cake denser). Using a spatula, gently fold in sprinkles.
- Divide evenly between your pans. Bake for 25-35 minutes, or until a toothpick inserted in the middle comes out clean. Be careful to check frequently toward the end so as not to overbake. Remove from oven and let cool in pans for 5 minutes then transfer to a cooling rack until completely cooled.
- When cake layers are cooled, pop them in the fridge or freezer while you make the vanilla buttercream. Don’t leave them in longer than the 15 minutes it takes to make the buttercream.
- Cut chilled cake layers in half horizontally (see photo above--and know that frosting and carefully arranging unevenly cut layers can help keep it straight!). Fill with ¼ to ½ inch of frosting between each layer. Optionally, you can add a few sprinkles in between each layer as well (see above for example). Chill 10-15 minutes before frosting the outside so it doesn't slide around. Use your hand or a small spoon to coat your frosted cake with sprinkles as desired!
Enjoy! Unfrosted cake should be wrapped well in plastic wrap and stored on the counter overnight, in the fridge 1-2 days, or the freezer 1-2 weeks. Frosted cake should be stored in an airtight container on the counter and will last 3-5 days.
