
Orange Olive Oil Cake
Sweet and tart meet in this incredibly moist, easy-to-make cake that draws out the citrus and floral notes of oranges and olive oil.
This post may contain affiliate links from which, at no additional cost to you, I may earn a small commission to keep this site running. Only products I myself would or do use are recommended.

The story
My baking inspiration comes from a variety of places. Pinterest, recreating or reinventing something I love, a healthy intake of baking shows, accidents that turn into a stroke of luck. Weirdly, some of my best desserts have been born out of necessity, such as using up leftover cream or the five nectarines I guilt-bought when my daughter grabbed and tried to eat them at the farmers market.

This cake was literally a last-minute decision. I needed a dessert for a barbecue. I needed to use up homegrown oranges we’d been given. I needed something quick and easy. Which sounds lazy, but I did have grand ideas of an orange merengue tart with a blueberry curd surprise. Then I spent two hours letting my baby nap on me because I’m a big softy. So yeah, quick and easy or nothing at all.
I’d heard of olive oil cakes before. I figured one day I’d make one, but I never did until it was one of the only ways to easily use up those oranges.

Why haven’t I been making olive oil cakes my whole life???
First, they’re so simple to make. I literally made the whole thing while holding my baby (except for the one minute I let her whine while I cracked eggs). Second, they are incredibly moist. Like, four days later it still hasn’t dried out at all. Third, there’s this wonderful contrast of sweet and sour with only a faint floral hint of olive oil.
I may use this as a base for creating many future cakes. Stay tuned.

Why this recipe works
This cake doesn’t actually call for very much sugar. It’s full of flavor, so it doesn’t need it. Instead, it’s incredibly moist, thanks to the full cup of olive oil. And it uses quite a bit of orange zest and some orange juice, to get that bright orange flavor we all could use right now. The real key for this cake is the whisking stage. You whip it with a whisk attachment for quite some time, which keeps it from being short or dense or heavy. And the combination of olive oil and milk helps keep it moist for daysssss.
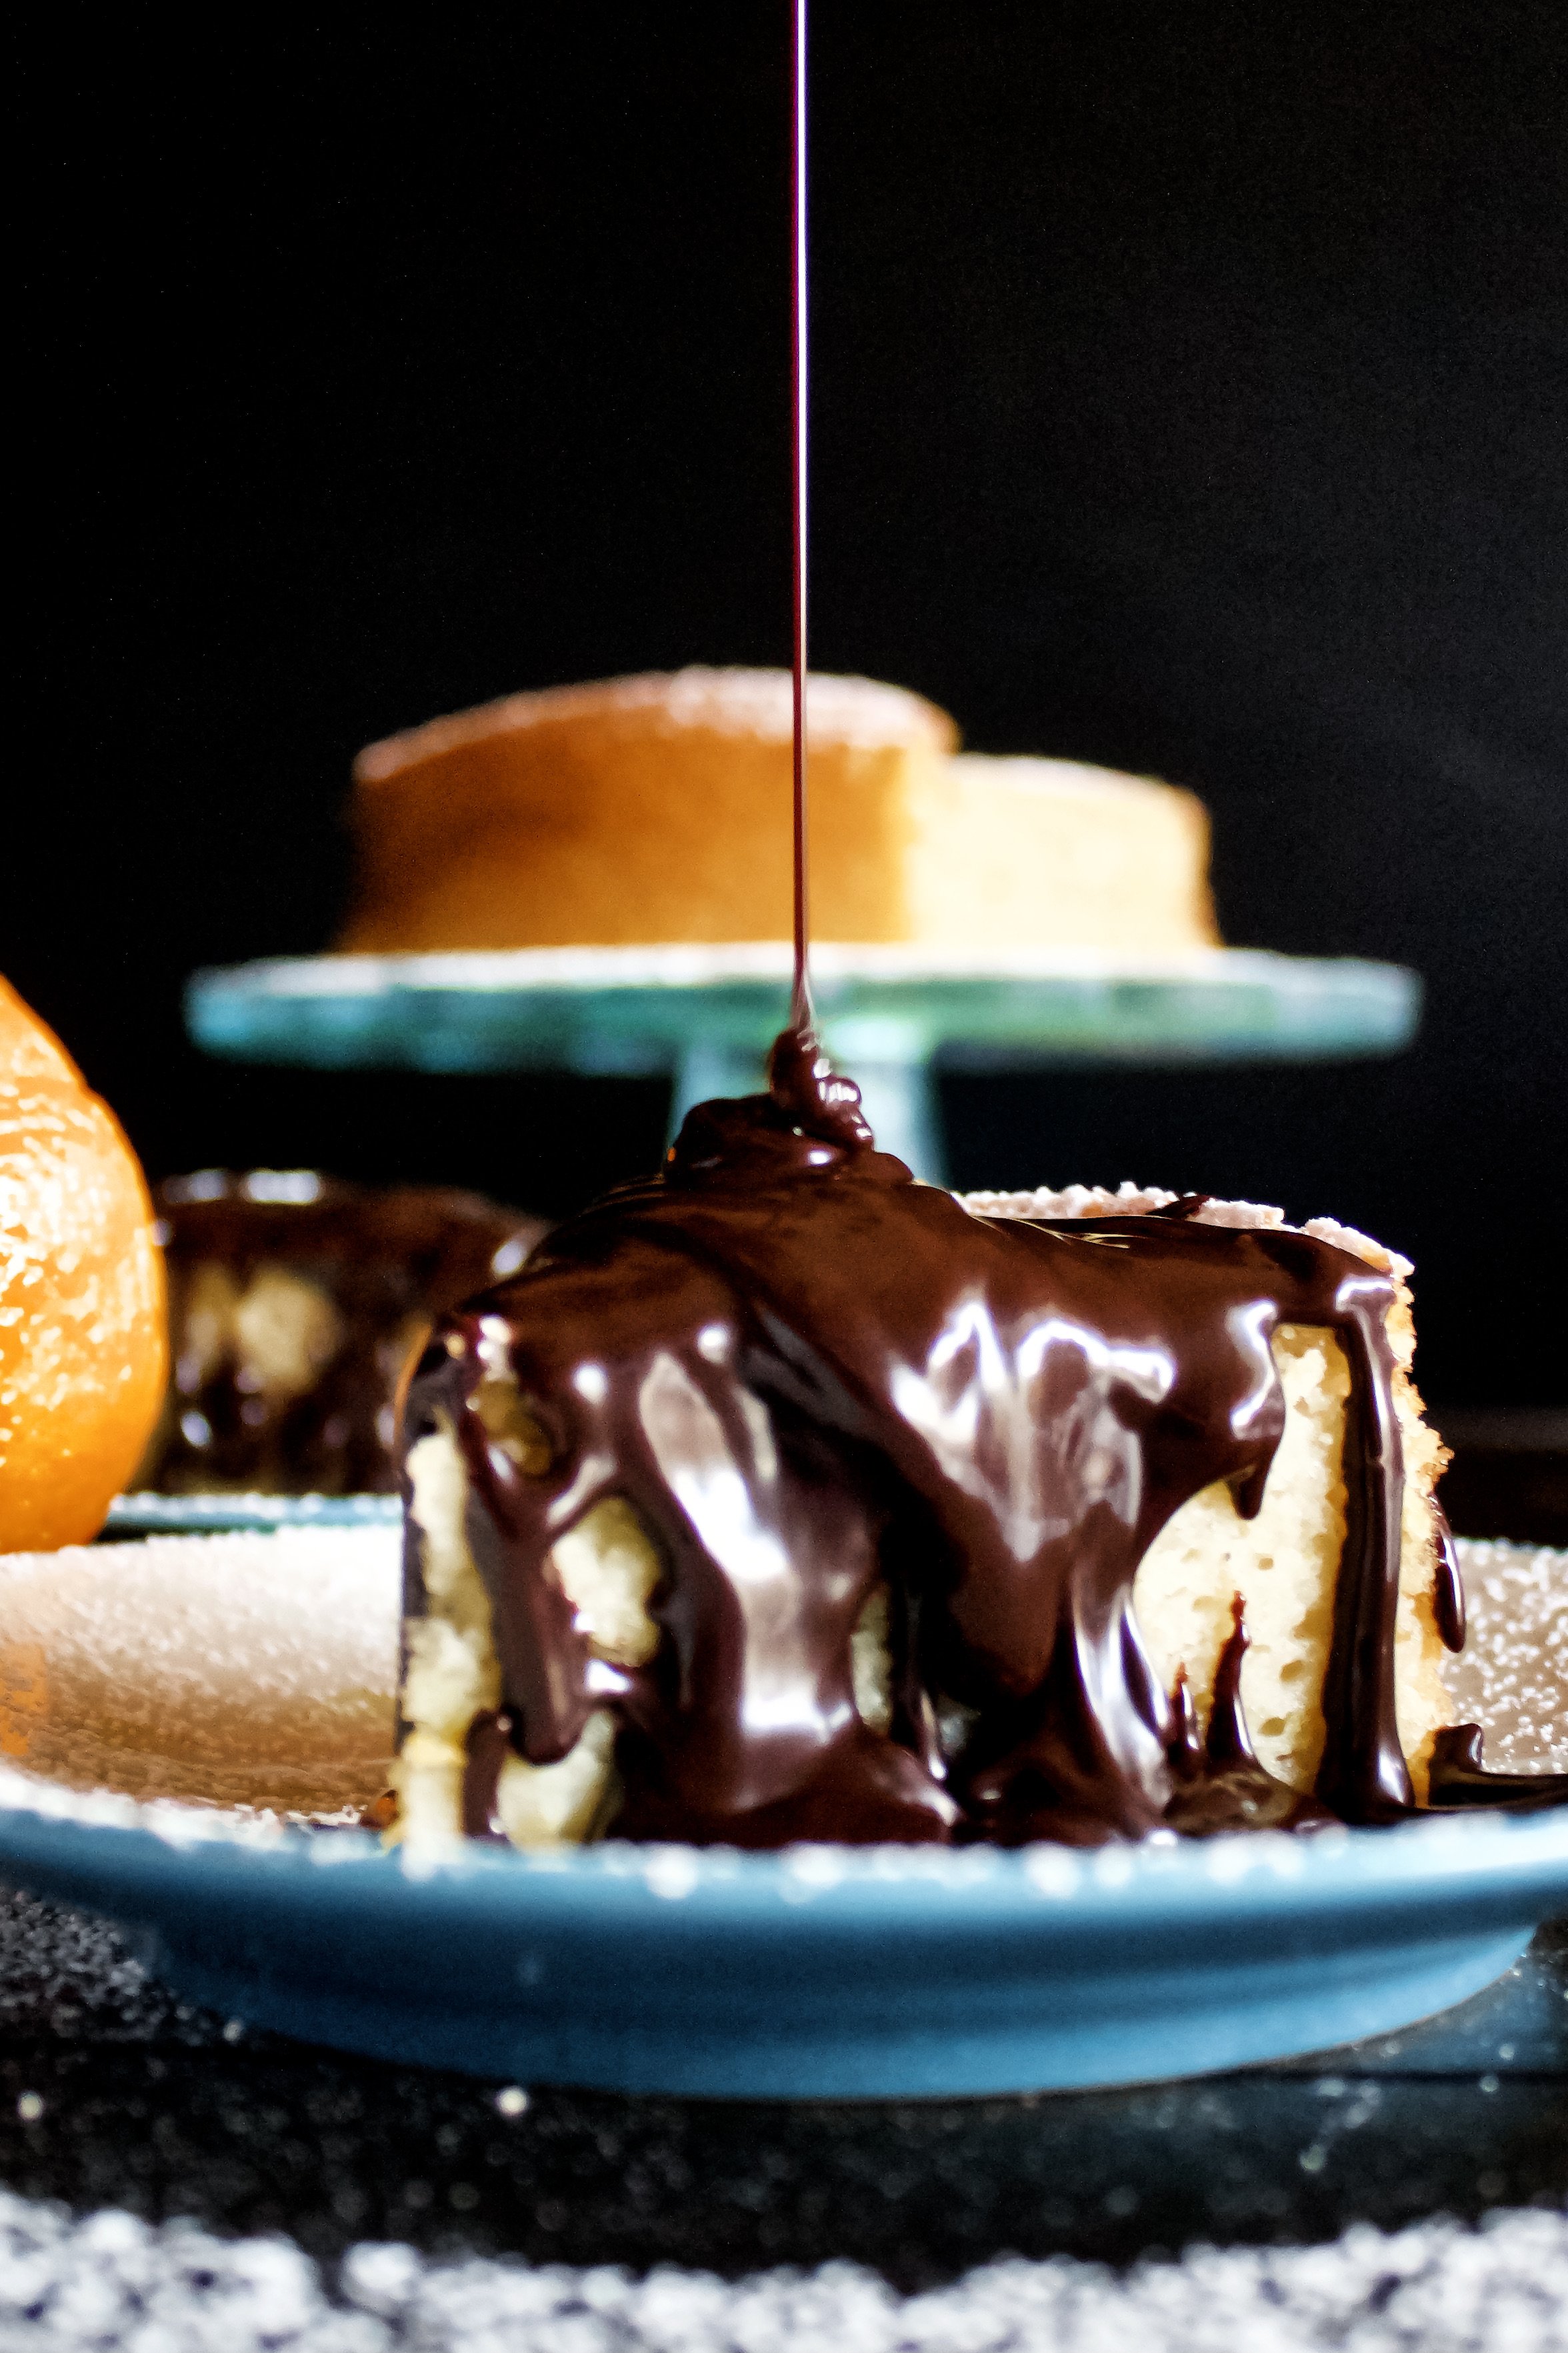
Then there’s that sauce. Oh. My. Goodness. It’s one of the best things I’ve ever made. And it’s so simple. Heating the cream with the peeled zest is the key. It brings out all of the bright orange flavors without any bitterness. It really does taste like a chocolate orange and it’s to die for.

How to make orange cardamom olive oil cake
1. Zest your oranges. Be sure the zest is finely grated. I like to use a microplane zester.
2. Mix with sugar. Stir until fragrant to release the oils.
3. Sift then whisk dry ingredients. Sifting is key to keep the cake from being dense.
4. Whisk eggs and oil. Make sure they are fully emulsified (so well, well blended).
5. Add sugar and whisk. Again, whisk well and follow the times given. This helps give a good rise and soft texture to the cake.

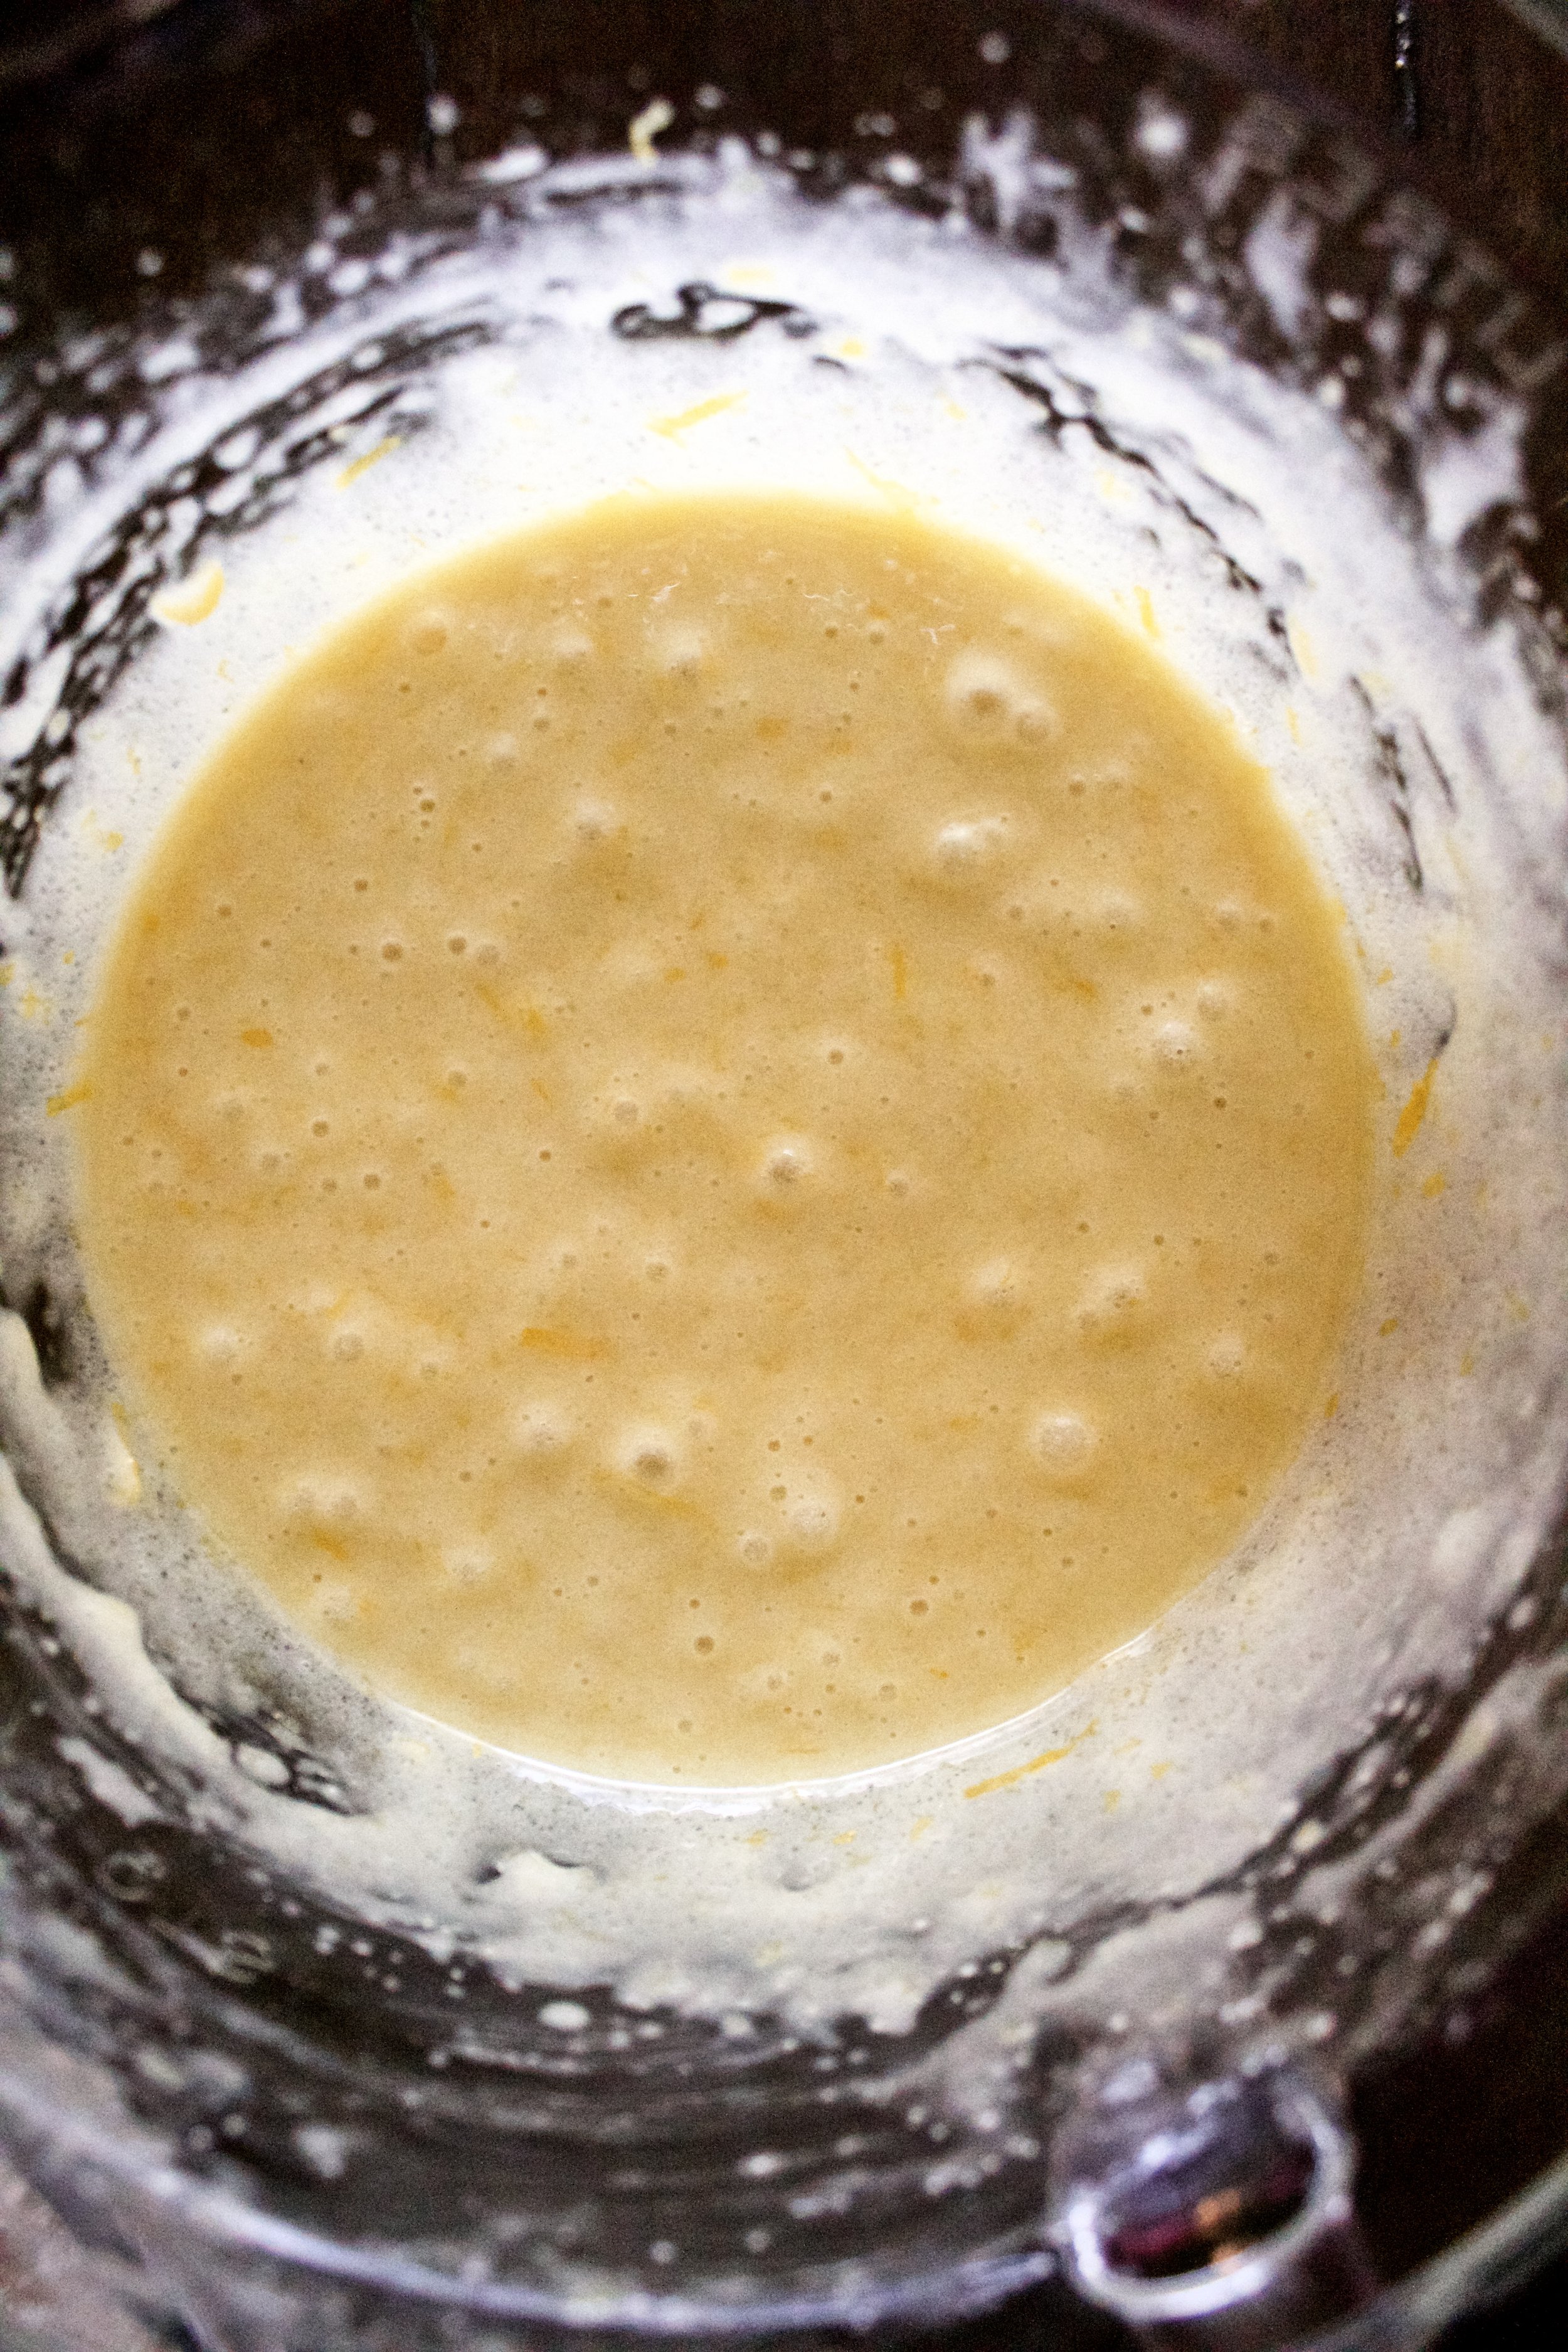


6. Whisk in milk and juice. This time you can mix until well-combined.
7. Gently mix in flour. It’s okay if there are a few lumps.
9. Bake. Bake until a toothpick comes out with some moist crumbs—not clean.
10. Make the chocolate orange sauce. I suggest heating the cream while the cake bakes then once it’s cooled, make the sauce. That way, the orange has time to steep in the cream. Yummmmm.
Enjoy!


Tips for this recipe
Add sugar to taste
I wanted a not-too-sweet cake to go with my chocolate sauce. However, you could add an extra half cup of sugar if you’d like and even dust with powdered sugar if you’re not making the sauce. Though I don’t know why you’d skip it. It’s life-changing.
Stir flour just until combined
Don’t mistake orange zest for unmixed flour. This should come together fairly easily with minimal stirring of the flour, so check carefully as you go and stop as soon as flour is incorporated.

Don’t over-zest
Of all people, Guy Fieri taught me about zesting one pass over then turning the fruit. I’m not always strict about this, but if you zest to firmly or more than a pass or two in one spot, you’ll get pith (the white part) in with the zest. This is very bitter and will dramatically affect the taste of your cake.

Don’t skip the sugar/zest step
Mixing the zest and sugar helps draw out the oils (and flavor) from the orange in a way that the rest of the mixing can’t. It’s weirdly a helpful step.
Use a deep pan
The cake will rise a bit more than a traditional 2” pan can hold. A springform pan is usually best, unless you’re like me and own way too many cake pans, some of which are 3” deep. Chances are, the only pan you have that’s 3” deep is a springform. If you use one, set it on a baking sheet in case some batter leaks during baking.

You’ll likely have a very dome-shaped cake
I used baking strips, which resulted in the flattest cake I’ve ever baked. If you don’t have these, your cake will have a pronounced dome, possibly with some browning on top. It’s not burnt, just browner than mine. It may also take a little longer to bake in the middle, which could cause the edges to brown as well. None of that is bad and in fact may be deliciously crispy-gooey, but it may look different than my cake.
Don’t remove from oven too early
If you look closely at my pictures, the very bottom of my cake is slightly under baked. I actually enjoyed this, but that’s technically not how it should look. Be sure a toothpick (or kebab stick, like I use) is inserted to the bottom of the cake and comes out clean.

*Zest and juice amounts vary by orange
My oranges weren’t very juicy, so I ended up using 4 or 5 oranges just to get 1/2 cup juice. I made sure to zest each one before juicing it to maximize the orange flavor in the cake, which resulted in about 2 tablespoons of zest. If you get enough juice from one large orange but not enough zest, you can just go with what you have or zest another orange and save the naked orange for something else. It’ll save in the fridge for a couple days.

Orange Olive Oil Cake
- prep time: 10 minutes
- cook time: 65-75 minutes
- total time: 75-85 minutes
Servings: 12-16
Ingredients:
- 1 cup plus 2 tablespoons (225g) sugar
- zest from 2-3 medium oranges (about 1.5-2 tablespoons)
- 2 cups (272g) all-purpose flour, spooned then levled
- ½ teaspoon (3g) fine sea salt
- 1 slightly rounded teaspoon (6g) baking powder (or about 1 and ⅛ teaspoons)
- 1 cup (224g) high quality extra virgin olive oil
- 3 large eggs, room temperature
- 1 cup (240g) whole milk, room temperature
- ½ cup (120g) fresh orange juice, pulp removed
- 1 ounce (30g) Grand Marnier (can replace with 1 ounce more of orange juice)
- optional: one batch of [chocolate orange sauce][1]
Instructions:
- Preheat oven to 325F/165C (this is a must for this cake—it cooks low and slow). Prepare an 8” or 9” cake pan that is at least 3” deep (or a [springform pan][2]) by greasing with butter and flour or with [baking spray][3]. Line with [parchment paper][4] (or a [silicone round][5]!).
- Combine sugar and zest and stir until thoroughly coated and the citrus aroma is released. Set aside 2 tablespoons of this for later.
- In a small bowl, sift then whisk flour, salt, and baking powder. Set aside.
- In the bowl of a [stand mixer][6] with the whisk attachment (or in a large mixing bowl using the whisk attachment of a [hand mixer][7]), mix eggs and oil on high for 1 minute to emulsify the oil. Add 1 cup of the sugar/zest mixture, reserving the 2 tablespoons you set aside for the topping. Mix on high until well-combined, about 2-3 minutes. Add milk, orange juice, and Grand Marnier. Mix on medium until combined.
- Add flour mixture and mix on low just until combined. I suggest mixing for about 10 seconds, scraping the bowl with a rubber spatula, then mixing again for a few seconds.
- Pour into prepared pan. Sprinkle reserved sugar evenly over batter. Bake for 65-75 minutes, or until a toothpick inserted to the very bottom comes out clean. Check around 55-60 minutes since different climates/ovens can cause the bake time to vary. Let cool completely in the pan.
While the cake cools, make the chocolate orange sauce. Top each slice with chocolate orange sauce (or whole cake if you plan to eat it all right away).
Store in an airtight container or wrapped tightly in plastic wrap at room temperature (the fridge will dry it out). It will last 3-5 days of tightly sealed.
Enjoy!
