
Chocolate Charity Cake
This cake is the perfect balance of sweet, chocolatey, moist, and fluffy. It’s the recipe that put me on the map as a baker. Not a big map, but a map that includes all my friends and family. So, ya know, my map.
This post may contain affiliate links from which, at no additional cost to you, I may earn a small commission to keep this site running. Only products I myself would or do use are recommended.

The Story
I promise I didn’t name this cake after myself. Two of our friends started calling it Charity Cake because I made it for basically all the things. I made it for them after their first child was born. I made it for both of their 30th birthdays as well as my husband’s. I filled it with pink candies for our other friends’ gender reveal. In fact, it was first dubbed Charity Cake when I made it for our own gender reveal (don’t worry, the gender wasn’t in the cake; it was just for eating, because cake).

This recipe has become the cake I’m known for.
Classic Charity Cake is chocolate. And it very likely is the best chocolate cake you’ll ever have.

This particular recipe took a few years to perfect. It started with a similar recipe that was good but not perfect. I kept tweaking it, as it sometimes came out dry or cracked or lacked the right amount of sweetness. I still use that one sometimes if I plan on stacking a rather tall, narrow cake or if I’m using a filling that’s less stable.
But this cake. This cake is the result of trying various, similar recipes and finding the perfect ratio of ingredients.

How to make double chocolate (Charity) cake
Sift then whisk your dry ingredients together.
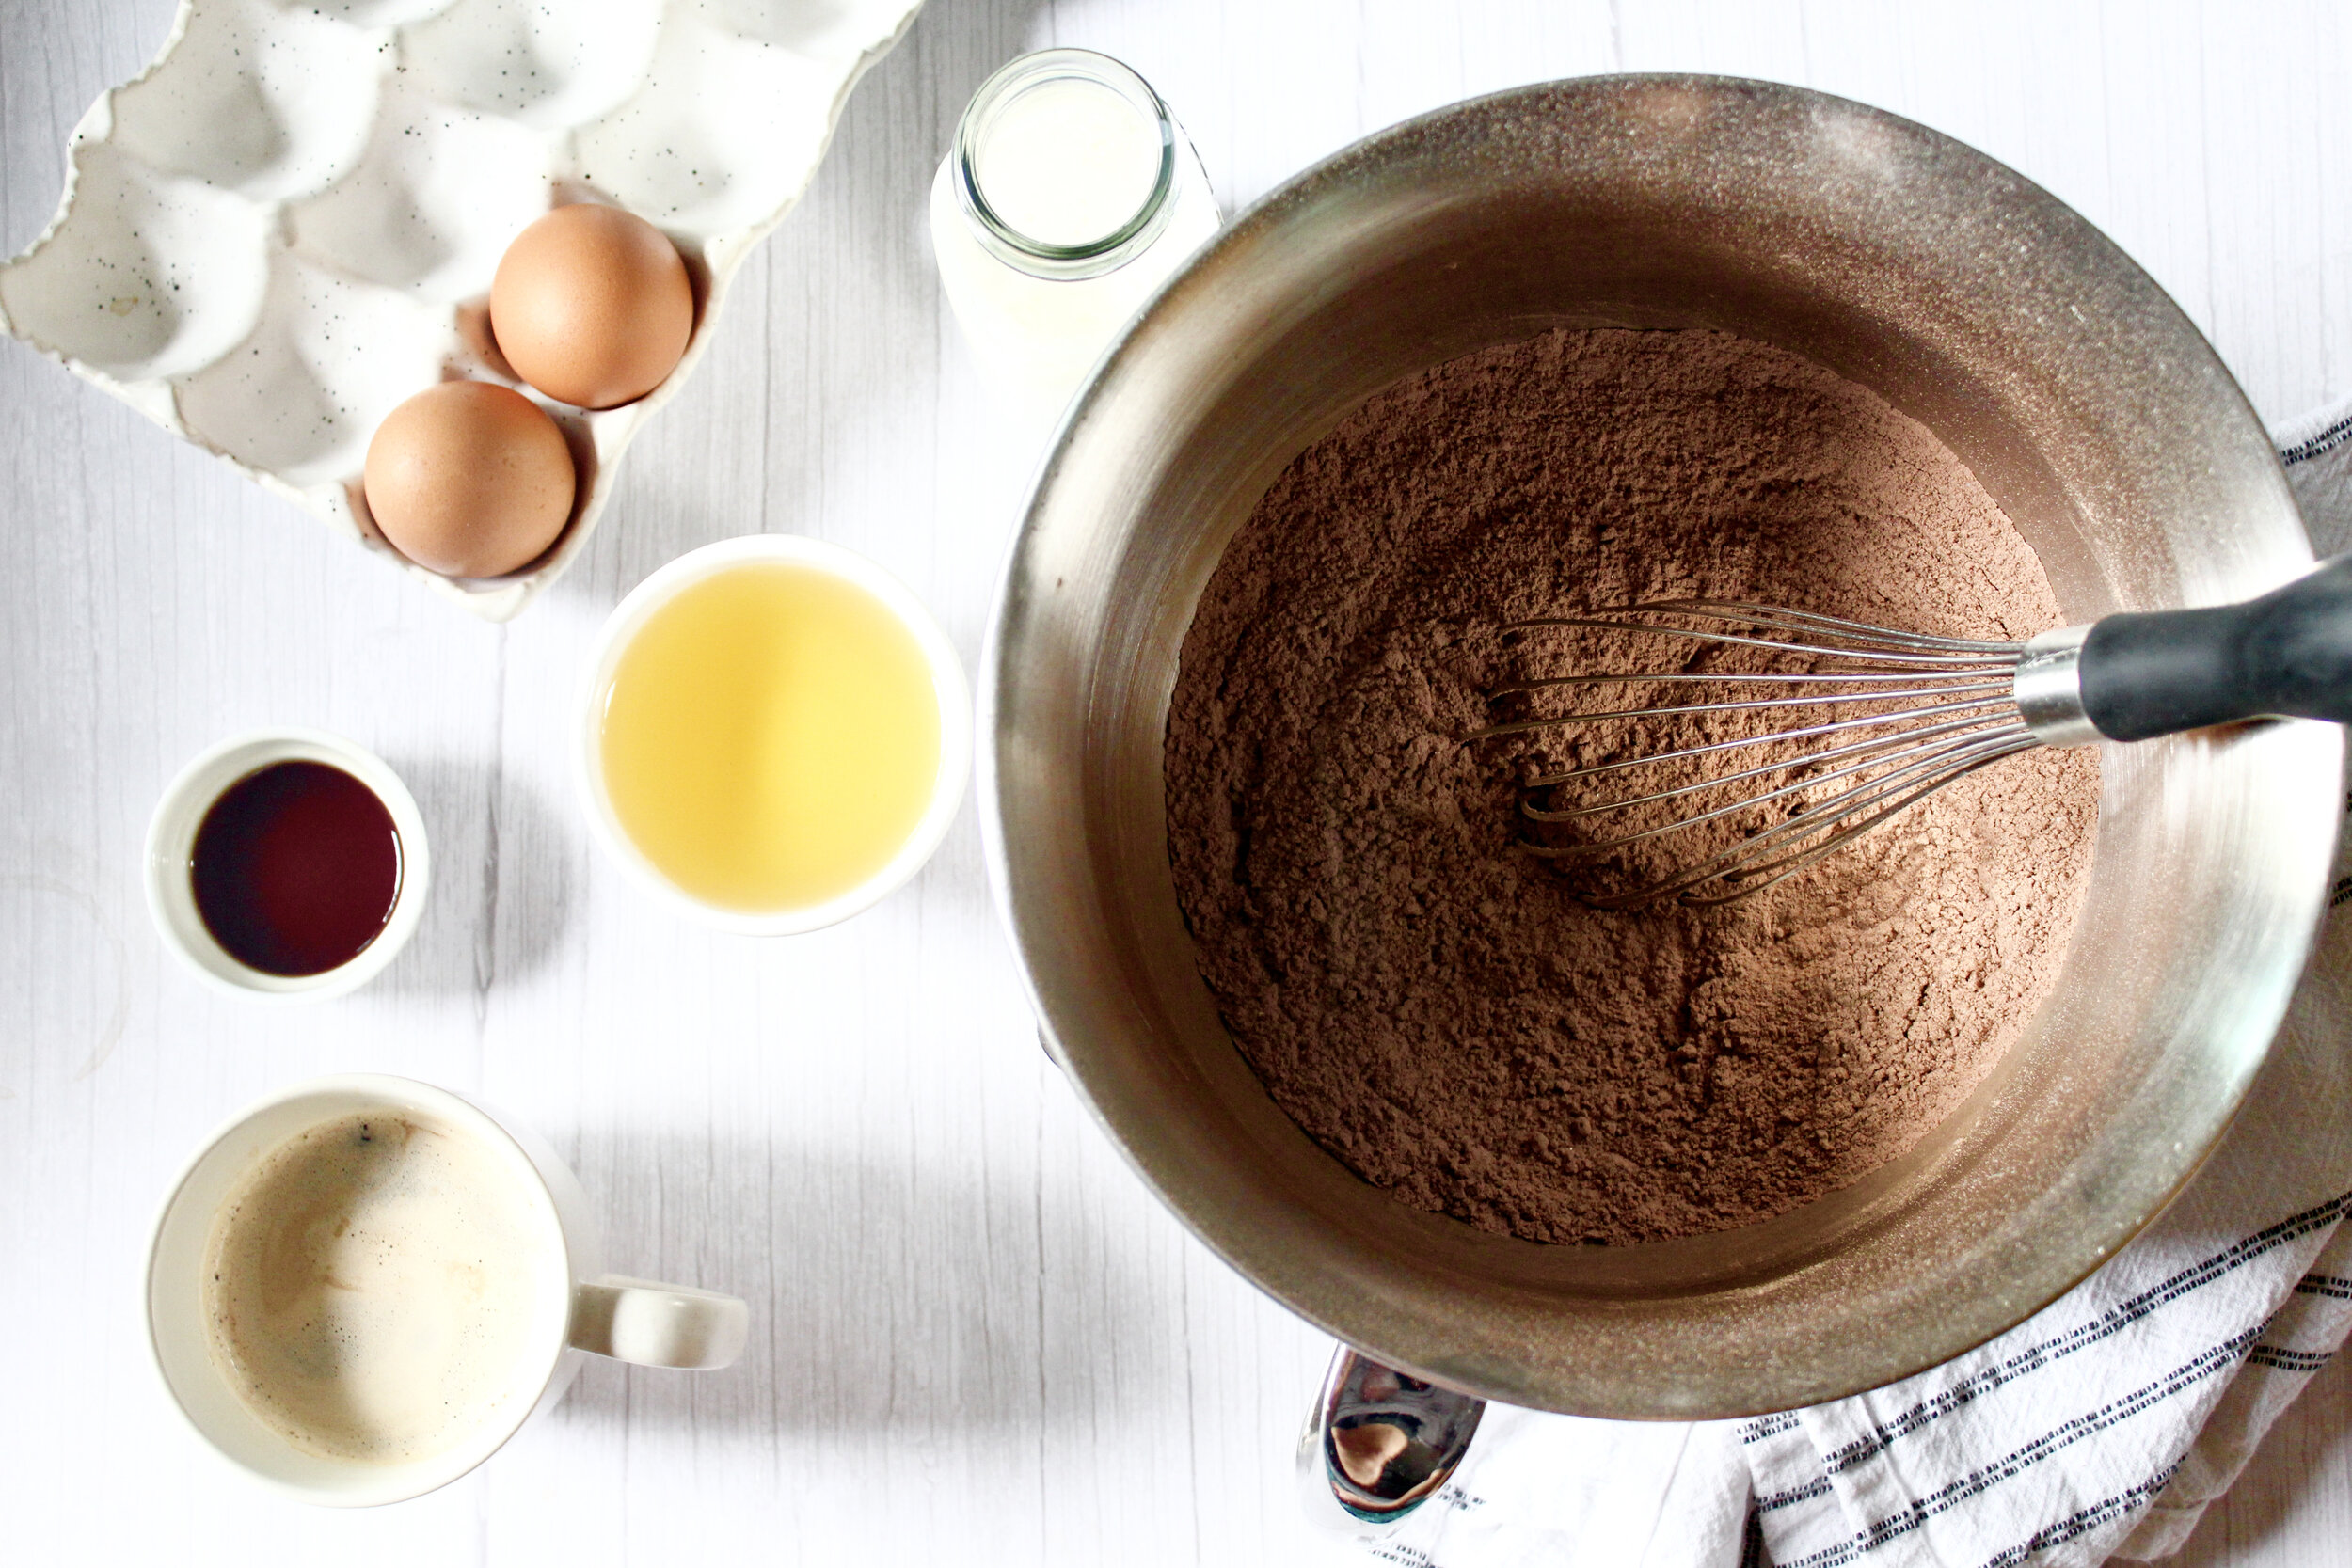
Mix all wet ingredients, sans coffee, until very well blended.

Slowly pour in coffee while whisking very quickly.

Slowly add the wet ingredients to the dry then mix on medium for exactly 2 minutes.

Bake!

Frost with chocolate ganache buttercream.

Enjoy!
Tips for great cake
Use fresh, high quality ingredients. Old butter and flour are the biggest culprits of stale tasting baked goods. But even old baking soda or eggs can prevent rising. Additionally, cheap ingredients can really affect the taste, which is why I always use things like European butter, pure vanilla extract, and organic, fair trade cocoa powder.
Use room temperature ingredients. A baker friend of mine taught me this over a decade ago, and it’s seriously one of the best tips I’ve ever received.
Don’t skip the sifting. Once, I was short on time and skipped it. The cake was dense and dry. ALWAYS SIFT!
Weigh the chocolate, don’t just assume 8 ounces is 1 cup! I did some research when I switched brands and realized that’s why things weren’t working out.

My cake tools
Here are my must-have tools I use for making these cupcakes. Affiliate links provided.
Fine mesh sieve (sifting is a must!)
Aluminum cake pans (they bake straighter than nonstick)

Variations of this cake
You can do so much with this chocolate cake. I recommend using this chocolate ganache buttercream, which I created alongside this cake over the last few years. But I also love trying new fillings, frostings, and even additions to the cake itself. Some of my favorites are:
Nutella raspberry: instead of ganache buttercream inside and out, spread a thin layer of Nutella followed by a thin layer of raspberry jam as your filling. Then frost with a half portion of my ganache buttercream or chocolate hazelnut (Nutella) frosting. I recommend slicing each layer of cake in half with a long serrated knife first, as you really need to go thin on the filling to avoid your layers sliding off each other (which may or may not have happened to me…).
Salted caramel: slice each layer of cake in half and fill with a thin layer of caramel sauce (homemade or store bought) and sprinkle a pinch of flaked sea salt. Mix some caramel and cocoa powder into my classic American buttercream for the outside and top with more flaked sea salt.
Marshmallow: fill and top with marshmallow buttercream. Sprinkle crushed Oreos for a cookies and cream cake!
Alternatively, fill and frost with marshmallow buttercream, adding coconut flakes between layers and coating the outside as well—and you have a snowball cake!
Peppermint: add about 1/2-1 tablespoon peppermint extract (depending on how strong yours is, so add slowly and taste as you go) to classic American buttercream and top with crushed candy canes. If you really love peppermint, add about 1/2 tablespoon to the cake itself, but again, do this to taste as flavors dull with baking.
Mexican chocolate: add 1 tablespoon cinnamon and 1/4-1/2 teaspoon cayenne to the cake. Some might suggest less cinnamon. But I try not to listen to that kind of negativity. Frost with cinnamon whipped cream, cinnamon buttercream, or add cinnamon and cayenne to my ganache buttercream (to taste, I prefer 1/2 tablespoon cinnamon and about two dashes of cayenne).
Inside-out birthday cake: I saw that title on something somewhere a long time ago. But it’s the best description for a chocolate cake with vanilla frosting. Not quite a black and white cake, but close.

Chocolate Charity Cake
- prep time: 10 minutes
- cook time: 30 minutes
- total time: 40 minutes
Servings: 12-16
Ingredients:
- 1 3/4 cups sugar
- 1 2/3 cups flour, sifted
- 3/4 cup unsweetened cocoa or cacao powder, sifted (add up to 2 tablespoons for a dark chocolate)
- 2 teaspoons baking powder, sifted
- 1 slightly rounded teaspoon baking soda, sifted
- 1/2 teaspoon fine ground Himalayan sea salt (or 1 teaspoon table salt, but sea salt gives a better flavor)
- 2 large eggs, room temperature
- 1 cup buttermilk, room temperature (leave out about 30 min)
- 1/2 cup avocado or olive oil
- 1 tablespoon pure vanilla extract
- 1 cup very hot, strong coffee
- optional: one batch chocolate ganache buttercream
Instructions:
- If using my ganache buttercream, prep the ganache first so it can cool (see recipe for details).
- Preheat oven to 325* (this is one of my secrets, baking low and slow). Grease and flour two 8" or 9" round cake pans (or use baking spray). Line bottoms with parchment paper.
- In the bowl of stand mixer (or large bowl), whisk together first 6 ingredients, being sure to sift as instructed. I prefer using a hand whisk for this step as the whisk attachment doesn't always get the very bottom mixed in.
- In a separate bowl, whisk together eggs, buttermilk, oil, and vanilla. VERY slowly, begin to pour in the hot coffee, whisking quickly and constantly to avoid scrambled eggs. Feel free to do it in increments if this is your first time.
- Using the paddle attachment of your stand mixer, turn mixer on to low (or use a large whisk or spatula if hand mixing). Slowly pour wet ingredients into dry. It will clump up halfway through then settle into a liquidy consistency. After all ingredients are combined, scrape down sides, making sure to get to the very bottom. Turn mixer up to medium and mix for 2 minutes. Do not overmix!
- Pour batter evenly into prepared pans. I highly recommend using Wilton Bake Even Strips to avoid a domed cake (or you can cut this off with a large, serrated knife and have a little pre-cake snack). Gently tap pans on the counter a couple times to get some of the bubbles out.
- Bake for 30 minutes until a toothpick inserted in the middle comes out clean or with moist crumbs. Check bake halfway through. If not using a convection oven, rotate cakes at this point as well. Check again every 5 minutes to avoid overbaking.
- Cool in pans 5-10 minutes then remove to a cooling rack until completely cooled.
Frost and enjoy!
- Cake will last covered at room temperature 3-5 days, unless frosting/filling needs refrigeration.

