
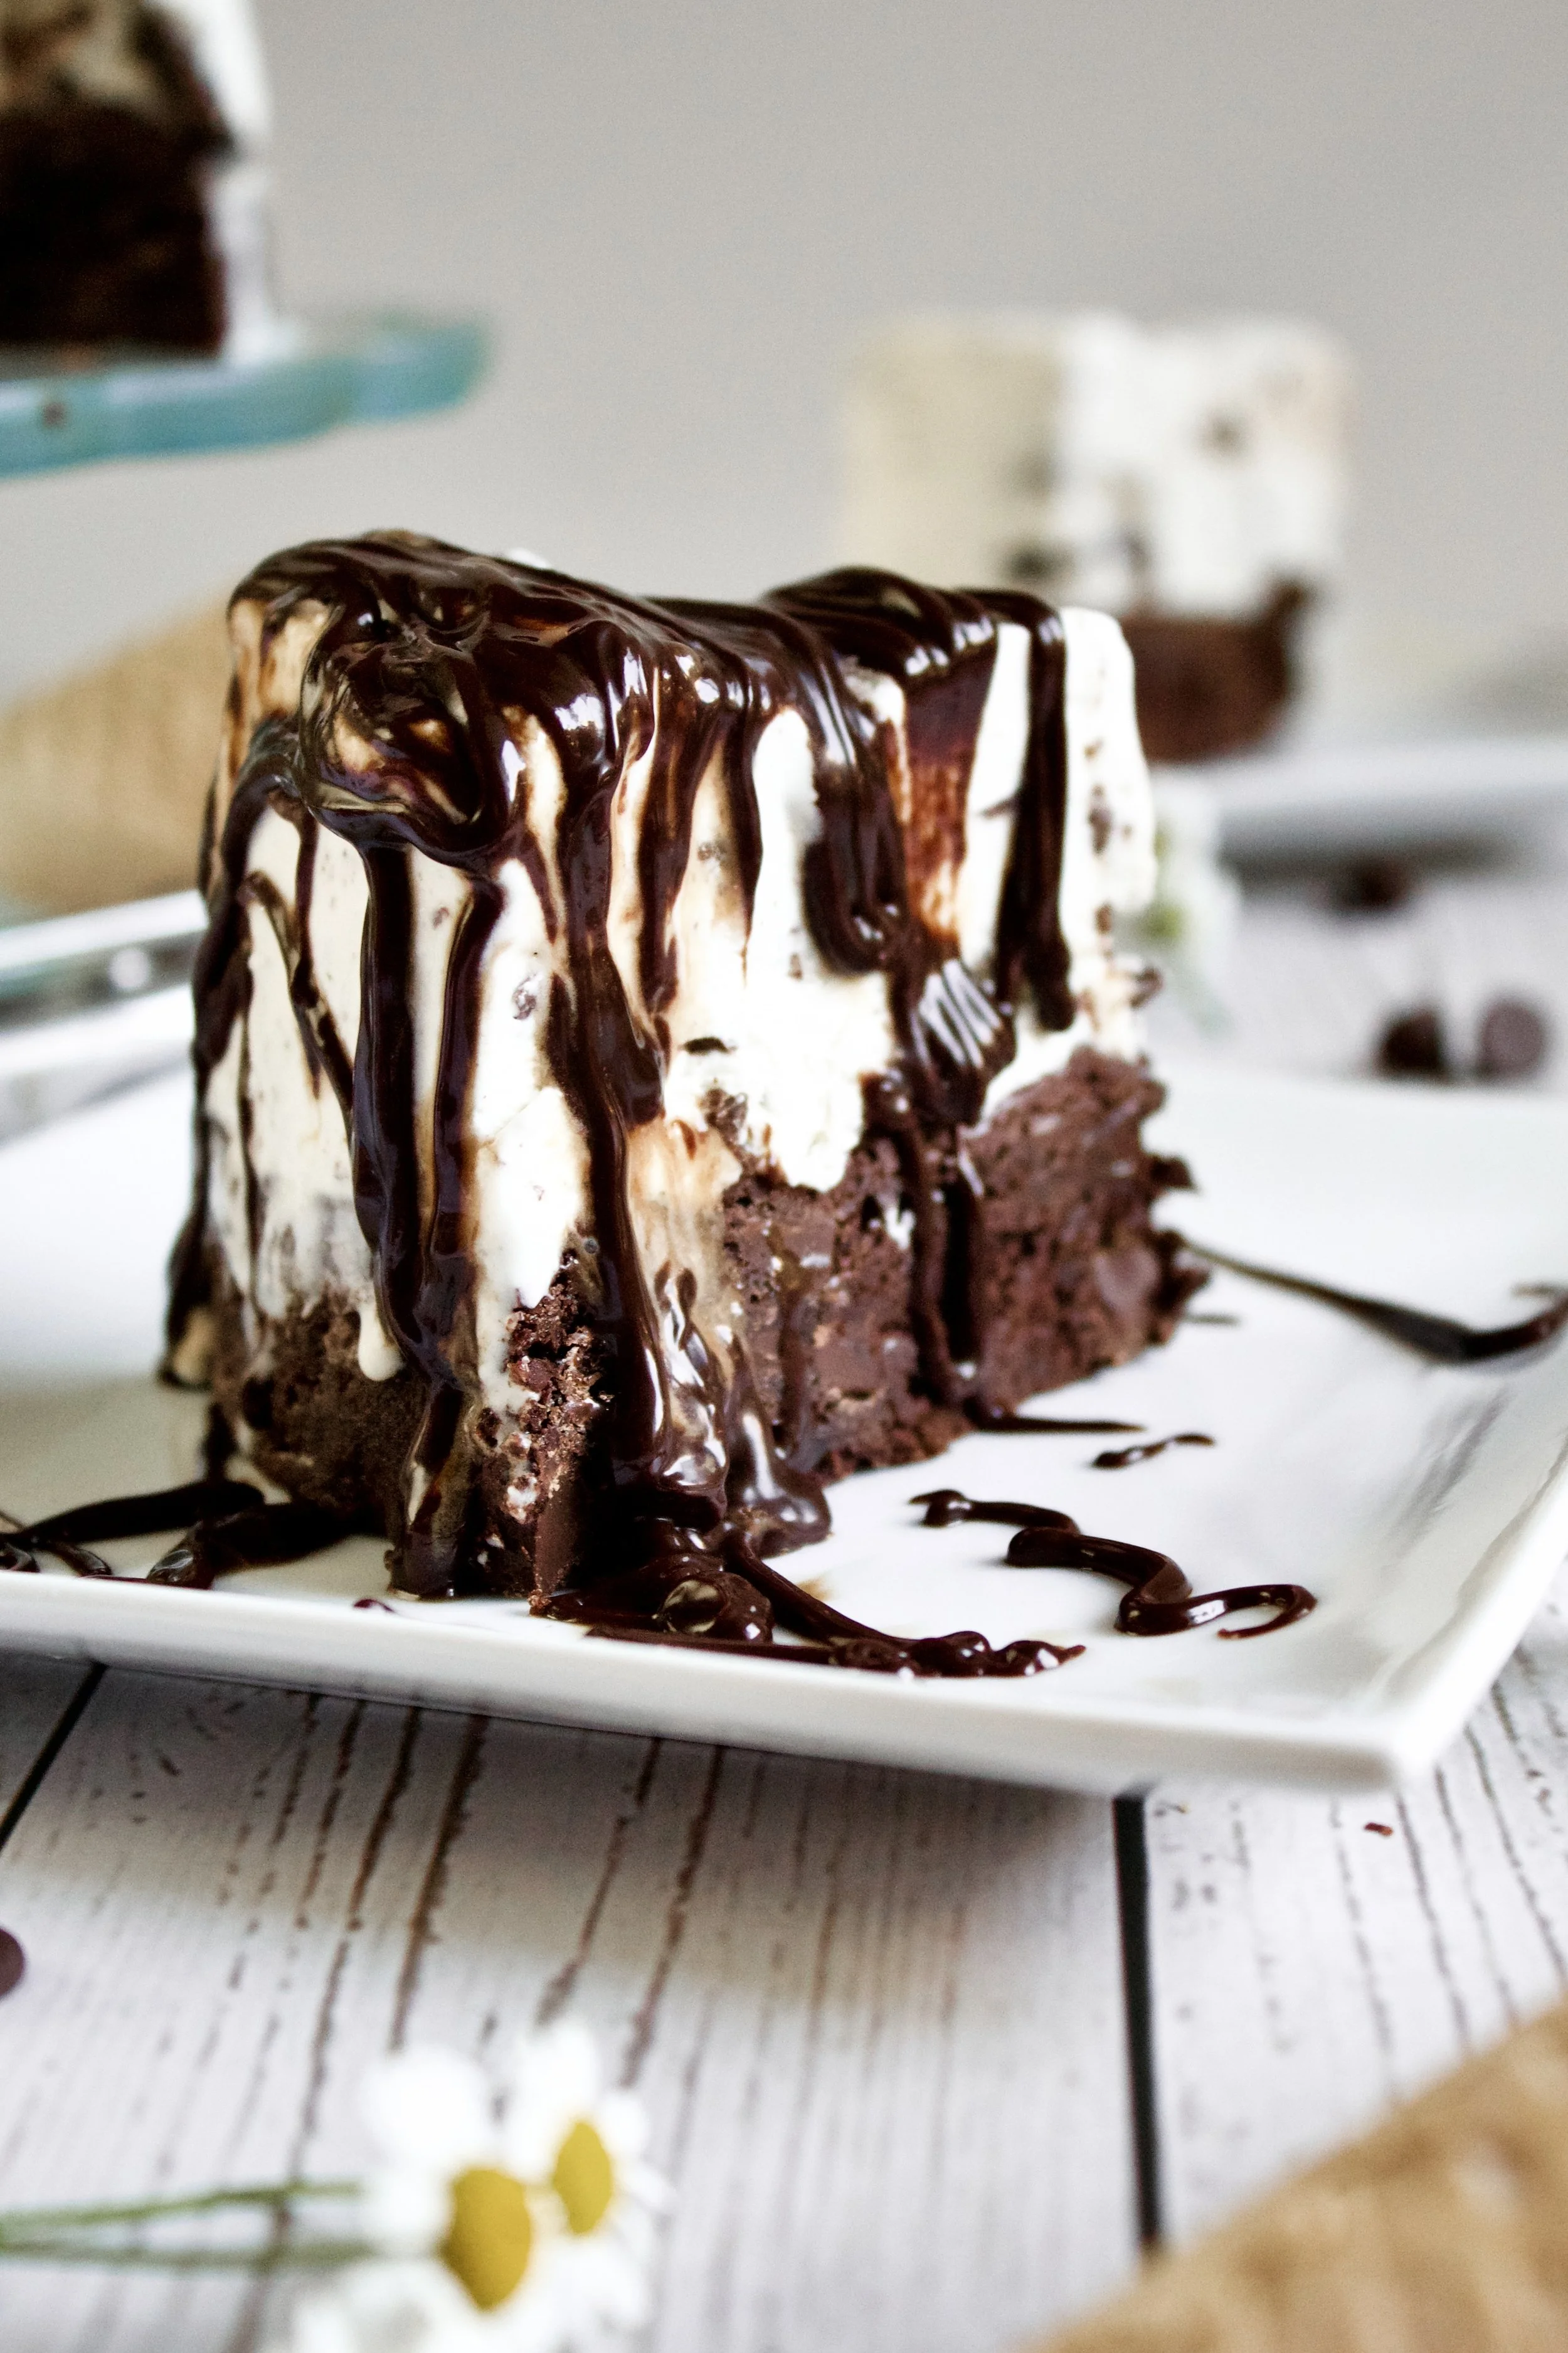
Mint Chip Brownie Ice Cream Cake
Fudgy, fresh mint brownie topped with creamy fresh mint chip ice cream. This ice cream cake is easier to make than you’d expect and is such a great spring or summer treat, with rich chocolate, refreshing mint, and cool, creamy ice cream!
This post may contain affiliate links from which, at no additional cost to you, I may earn a small commission to keep this site running. Only products I myself would or do use are recommended.
To be honest, my brain is fried. I’ve graded 30 research papers in 3 days. I have 10 more to go by the end of today, plus writing over 100 individualized report card comments, and yet here I am talking about ice cream cake. Because procrastination is the mother of furiously fast grading and writing, right?
After the year I’ve had in my personal life, I am SO glad we are now in our fourth and final quarter of this year. I’m so glad it’s daylight savings time and spring is near. I’m VERY excited that spring break is only three weeks away. But I’m really just sprinting to that finish line at the end of May.
As much as I love my job and adore my students, and as great as they’ve been this year with me being gone for more funerals and personal emergencies than I can count, I’m just ready for a break. A long, warm, work-free break.
A break during which I get to bake up a storm and not think about lesson plans or essential questions or thesis statements. Not even one bit.
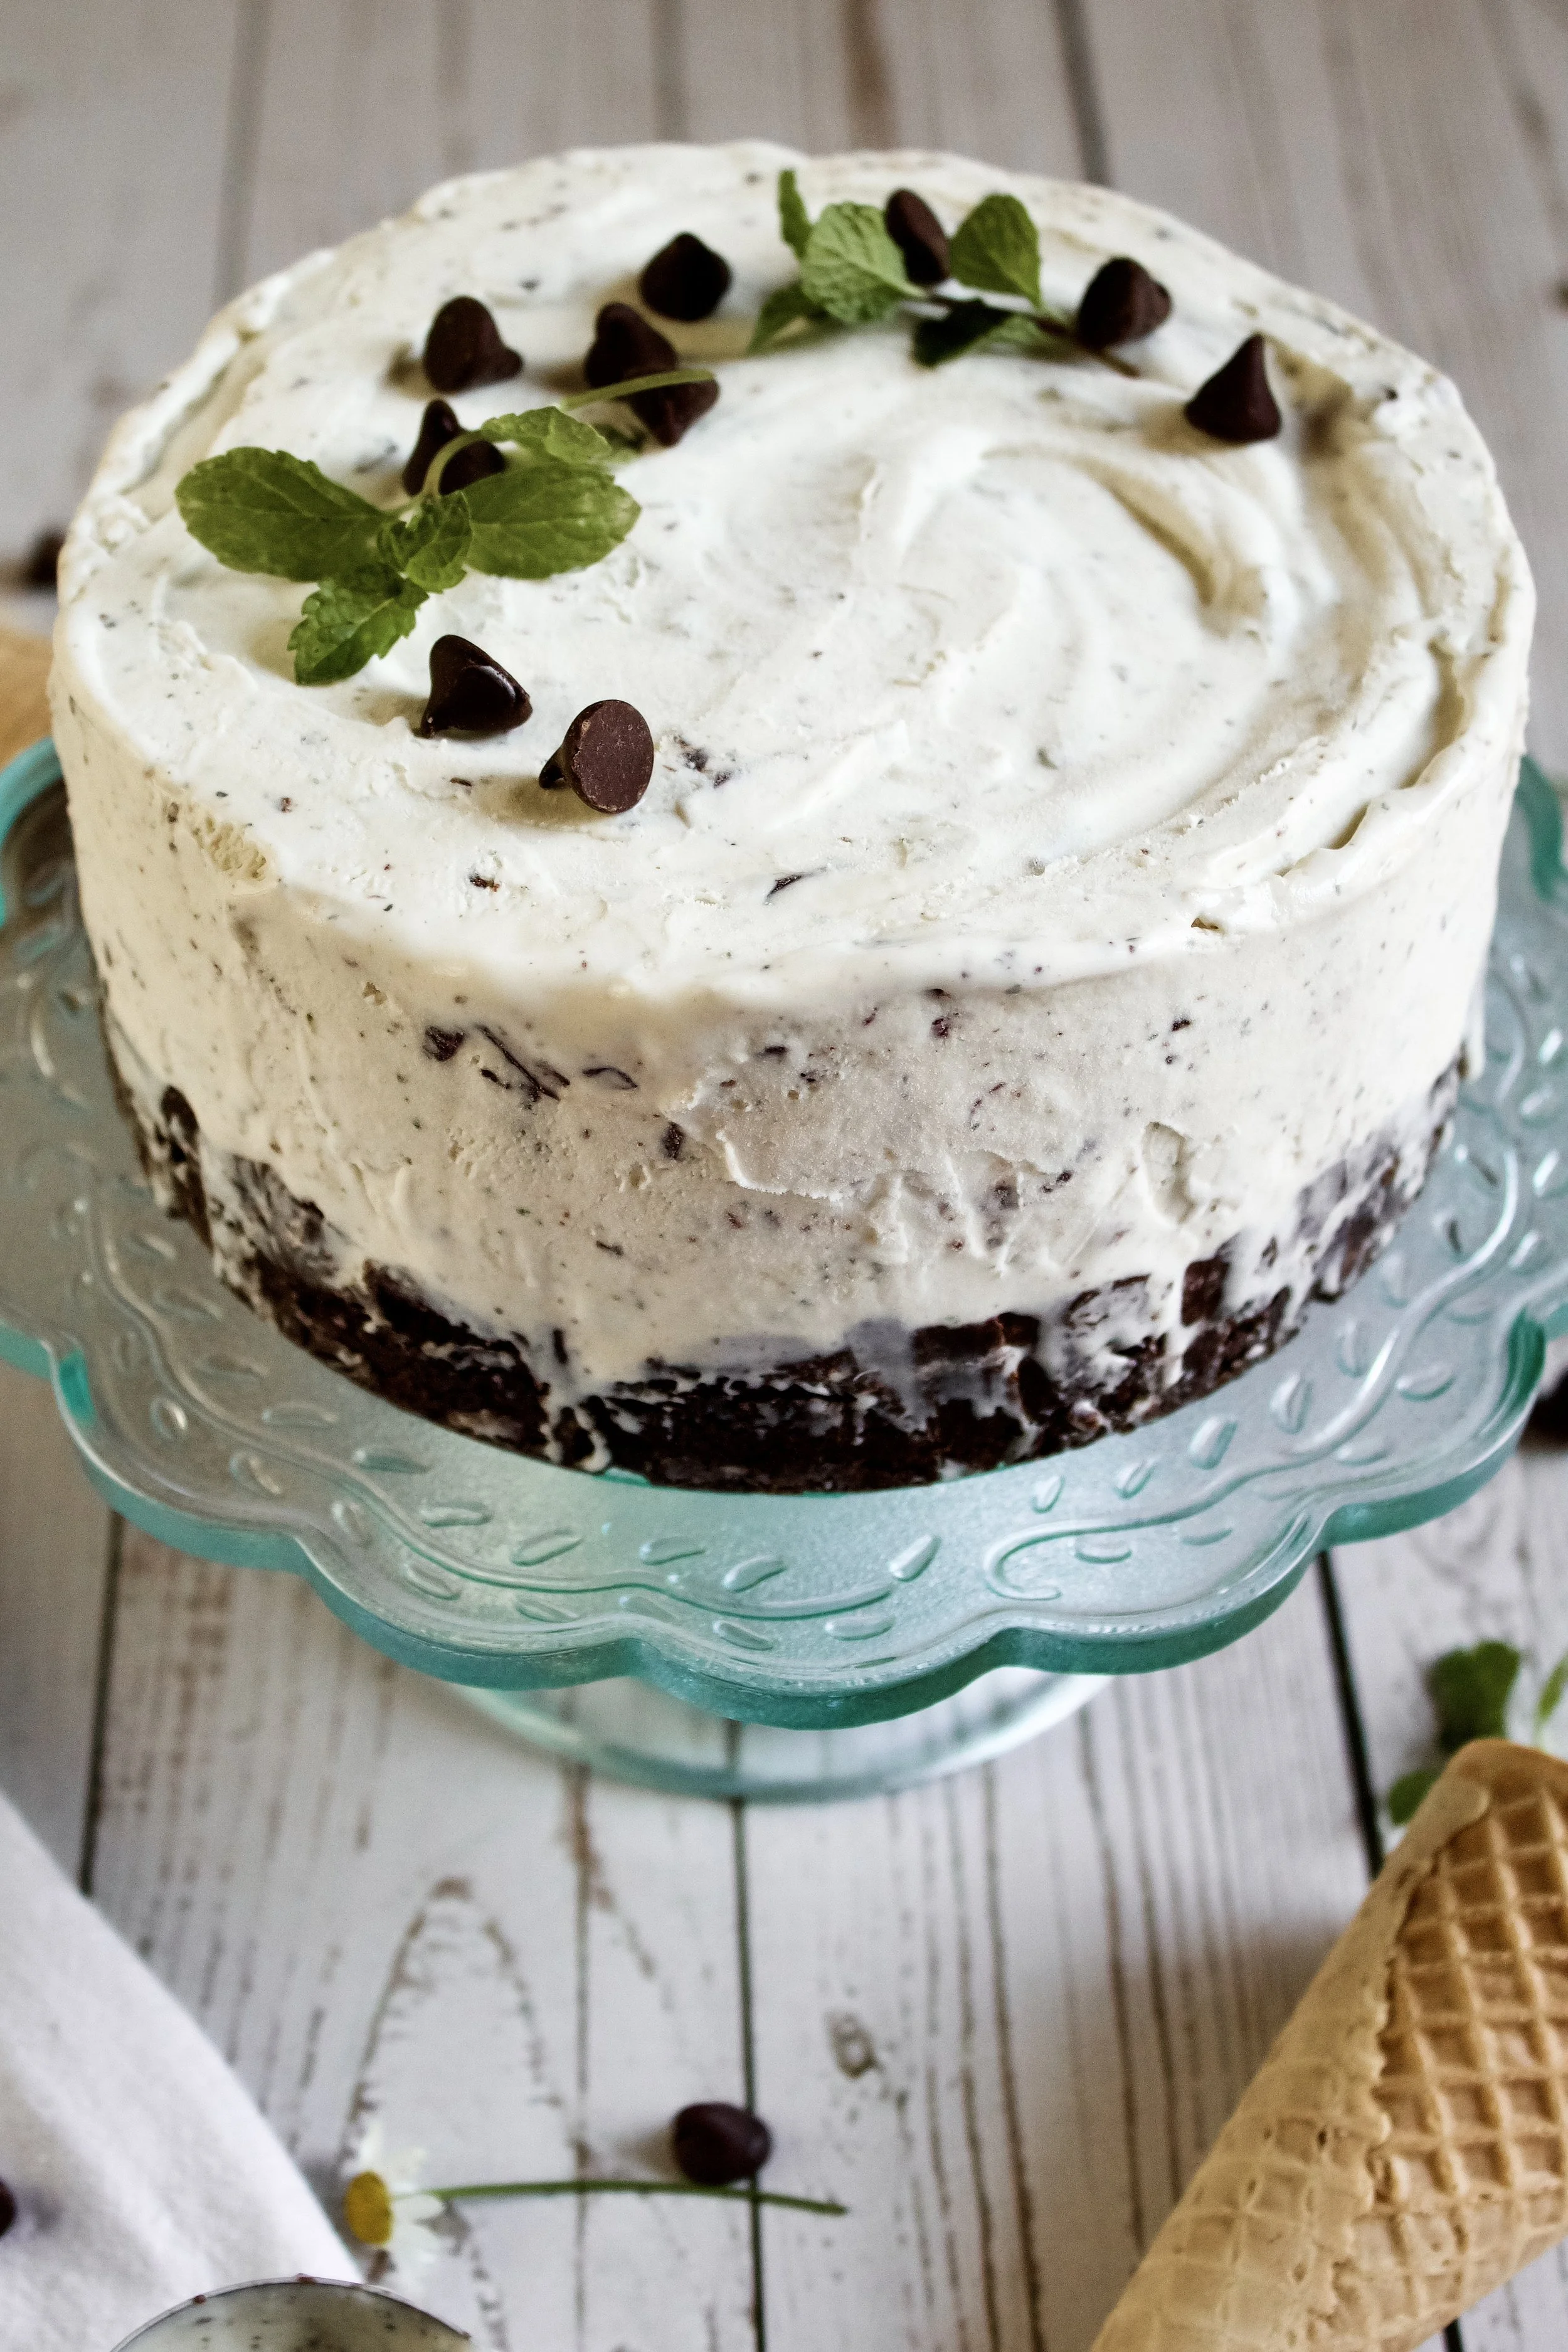
Which is pretty much unrelated to this ice cream cake, except for the fact that it’s such a bright, springy/summery recipe. Fresh mint is used in the brownie base and the ice cream, making it bright and refreshing without tasting like toothpaste. It’s perfect if you’re like me and have a mint plant that’s growing wildly but never know what to make with it.
Plus, the brownie base is so rich and fudgy and the ice cream is light and creamy. The combo is perfect for a warm-weather treat.

Why this recipe works
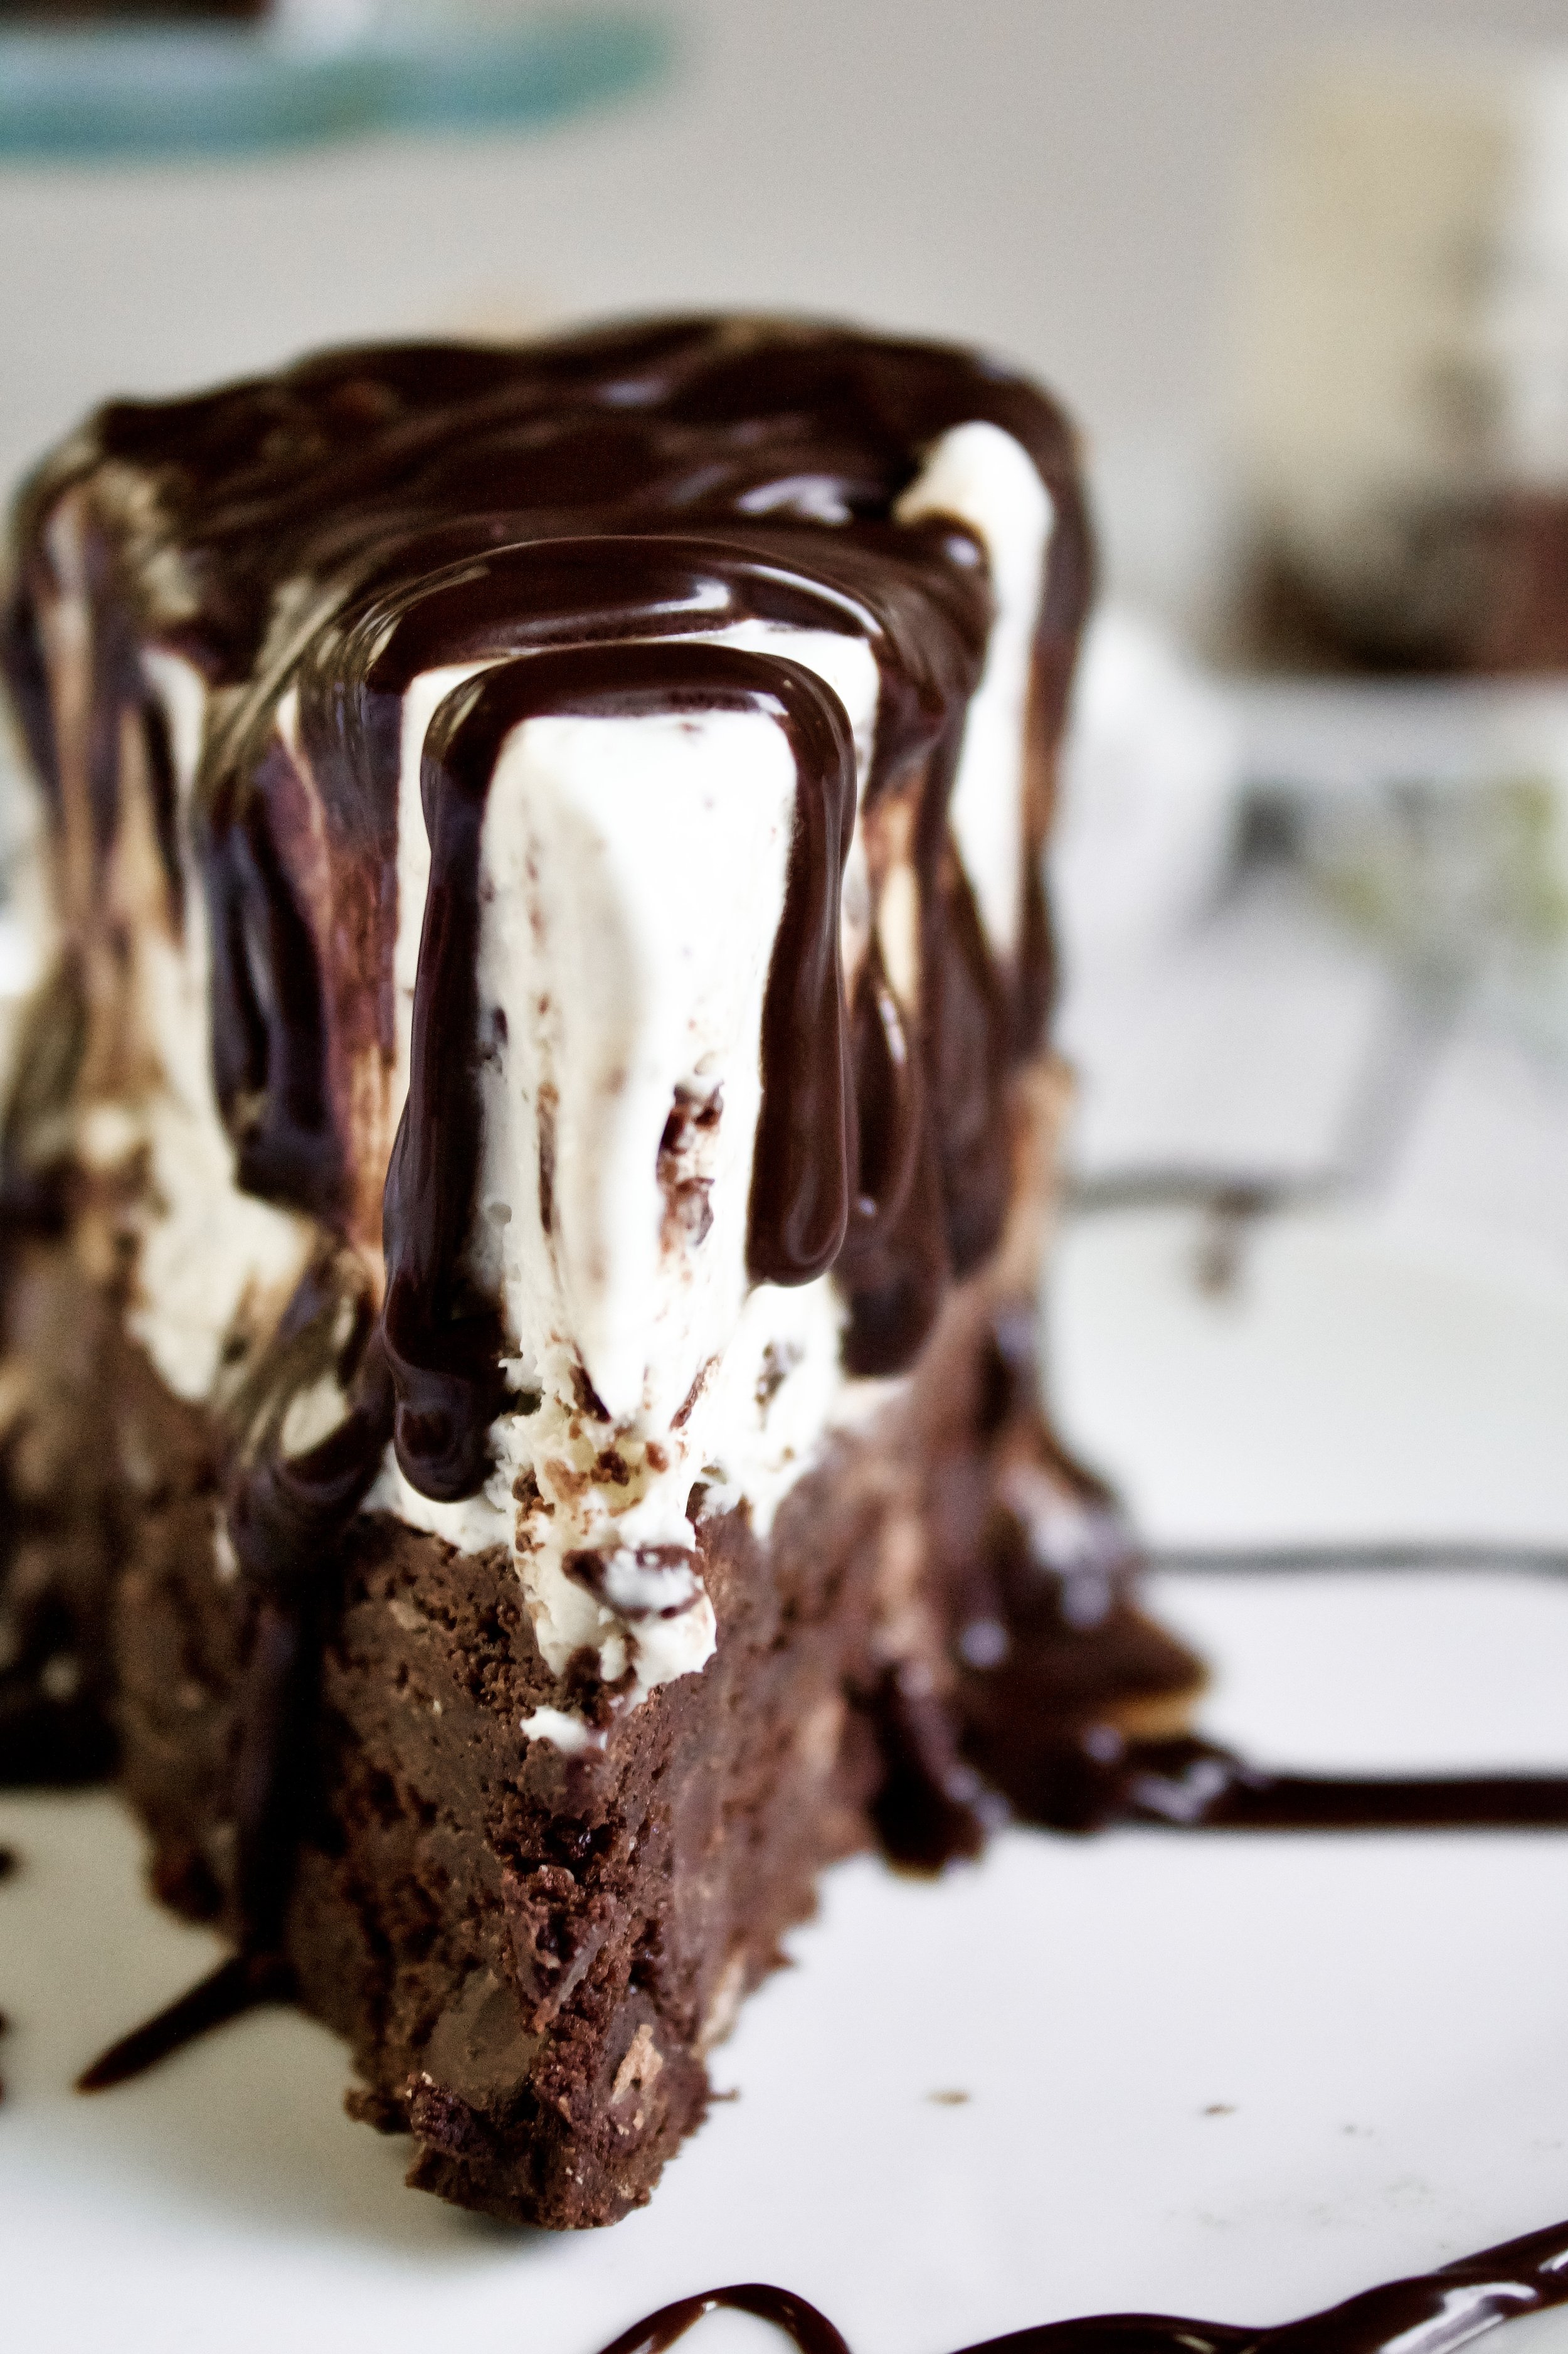
The brownie is probably my favorite part. These are seriously as good as boxed brownies—fudgy, chewy, rich. The use of fresh mint makes them both rich in chocolate flavor and yet refreshing. And the extra chocolate chips are always a good idea!
The ice cream is a great combination with the brownie. It’s simple and fast to make, with both no-churn and ice cream maker options, as well as an option to replace the sweetened condensed milk with custard, which takes about 15 minutes longer but creates a much creamier texture.
The real star in both components is the fresh mint. It’s ground with the sugar in the brownies and steeped in the heavy cream in the ice cream. It creates a much more natural flavor than extract, meaning this tastes minty and not toothpaste-y.
Key ingredients
Fresh mint leaves. The star ingredient! Try to buy organic. If you grow it yourself, you may need to rinse and dry the mint before using. Or is it just me and my disheveled garden?
Heavy cream. Because how else would you make ice cream??
Sugar. You’ll be processing this with the mint to create that great minty taste in the brownies.
Flour. Always spoon then level your flour so you don’t accidentally pack it in.
Cocoa powder. Sifting is helpful since cocoa is often clumpy.
Baking powder. This helps the brownies rise just enough to not be dense but also stay chewy.
Salt. Sea salt is best!
Butter. European style is key here, to create a better texture, since it has less water.


Egg. You only need one, unless you decide to make the custard ice cream base*, in which you’ll need a few more.
Vanilla. Pure extract is ideal, to create the best flavor.
Baking chocolate. You can use baking chocolate for the brownies and ice cream, but I usually use chips in the brownies because it’s easier and they’re more uniform in size. However, needing two kinds of chocolate is a bit of a chore, so it’s up up to you.
Sweetened condensed milk.* This is part of the no-churn option for the ice cream, which is super quick and easy! You can replace the condensed milk with custard, found in the recipe and in the tips below.
Food coloring (optional). I don’t like green ice cream, but I was okay with the subtle green color from the mint leaves. However, feel free to color it as green as you’d like!
Acetate strips. These are necessary to help build the cake and prevent it getting stuck in the pan after it freezes.
Five-minute hot fudge. Because why not serve this cake with some homemade hot fudge??

How to make mint chip brownie ice cream cake
Wash and dry the mint. You want clean mint to avoid and weird tastes.
Steep the heavy cream and fresh mint. You can either heat it then let it cool to room temperature then chill it once the flavor is to your liking. Or, you can cold steep it overnight.


Make the brownies
Sift and whisk the flour, cocoa, baking powder, and salt.
Pulse the mint with the sugar until finely ground. This helps to both release the mint’s oils and also get the sugar fine enough that it’ll dissolve when whisked.
Melt the butter.
Whisk still-hot butter into the minty sugar. Whisk for a good minute or so to help it begin to dissolve.
Add the eggs, one at a time. Whisk about a minute after each egg. Add the vanilla and whisk well again.
Gently fold in dry ingredients. Leave some streaks of flour.
Fold in the chocolate chips. This step should take care of the remaining streaks of cocoa and flour.
Pour into a greased pan and bake. Brownies are done when the top is no longer shiny and the middle is slightly jiggly but not liquidy. You can also use a toothpick, but most people like it when about half of the toothpick comes out with some doughy (not raw) batter on it.


Make the ice cream
Mix sweetened condensed milk* and vanilla. You will also mix in the food coloring at this time, if using.
Beat chilled minty heavy cream to stiff peaks. You want to stop beating as soon as it’s no longer shiny.
Fold by thirds into the condensed milk. Fold until fully combined each time.
Fold in the chopped chocolate. You can do this with the last addition of whipped cream. Don’t worry if the chocolate is a variety of sizes—this makes it more yummy!


Assemble cake
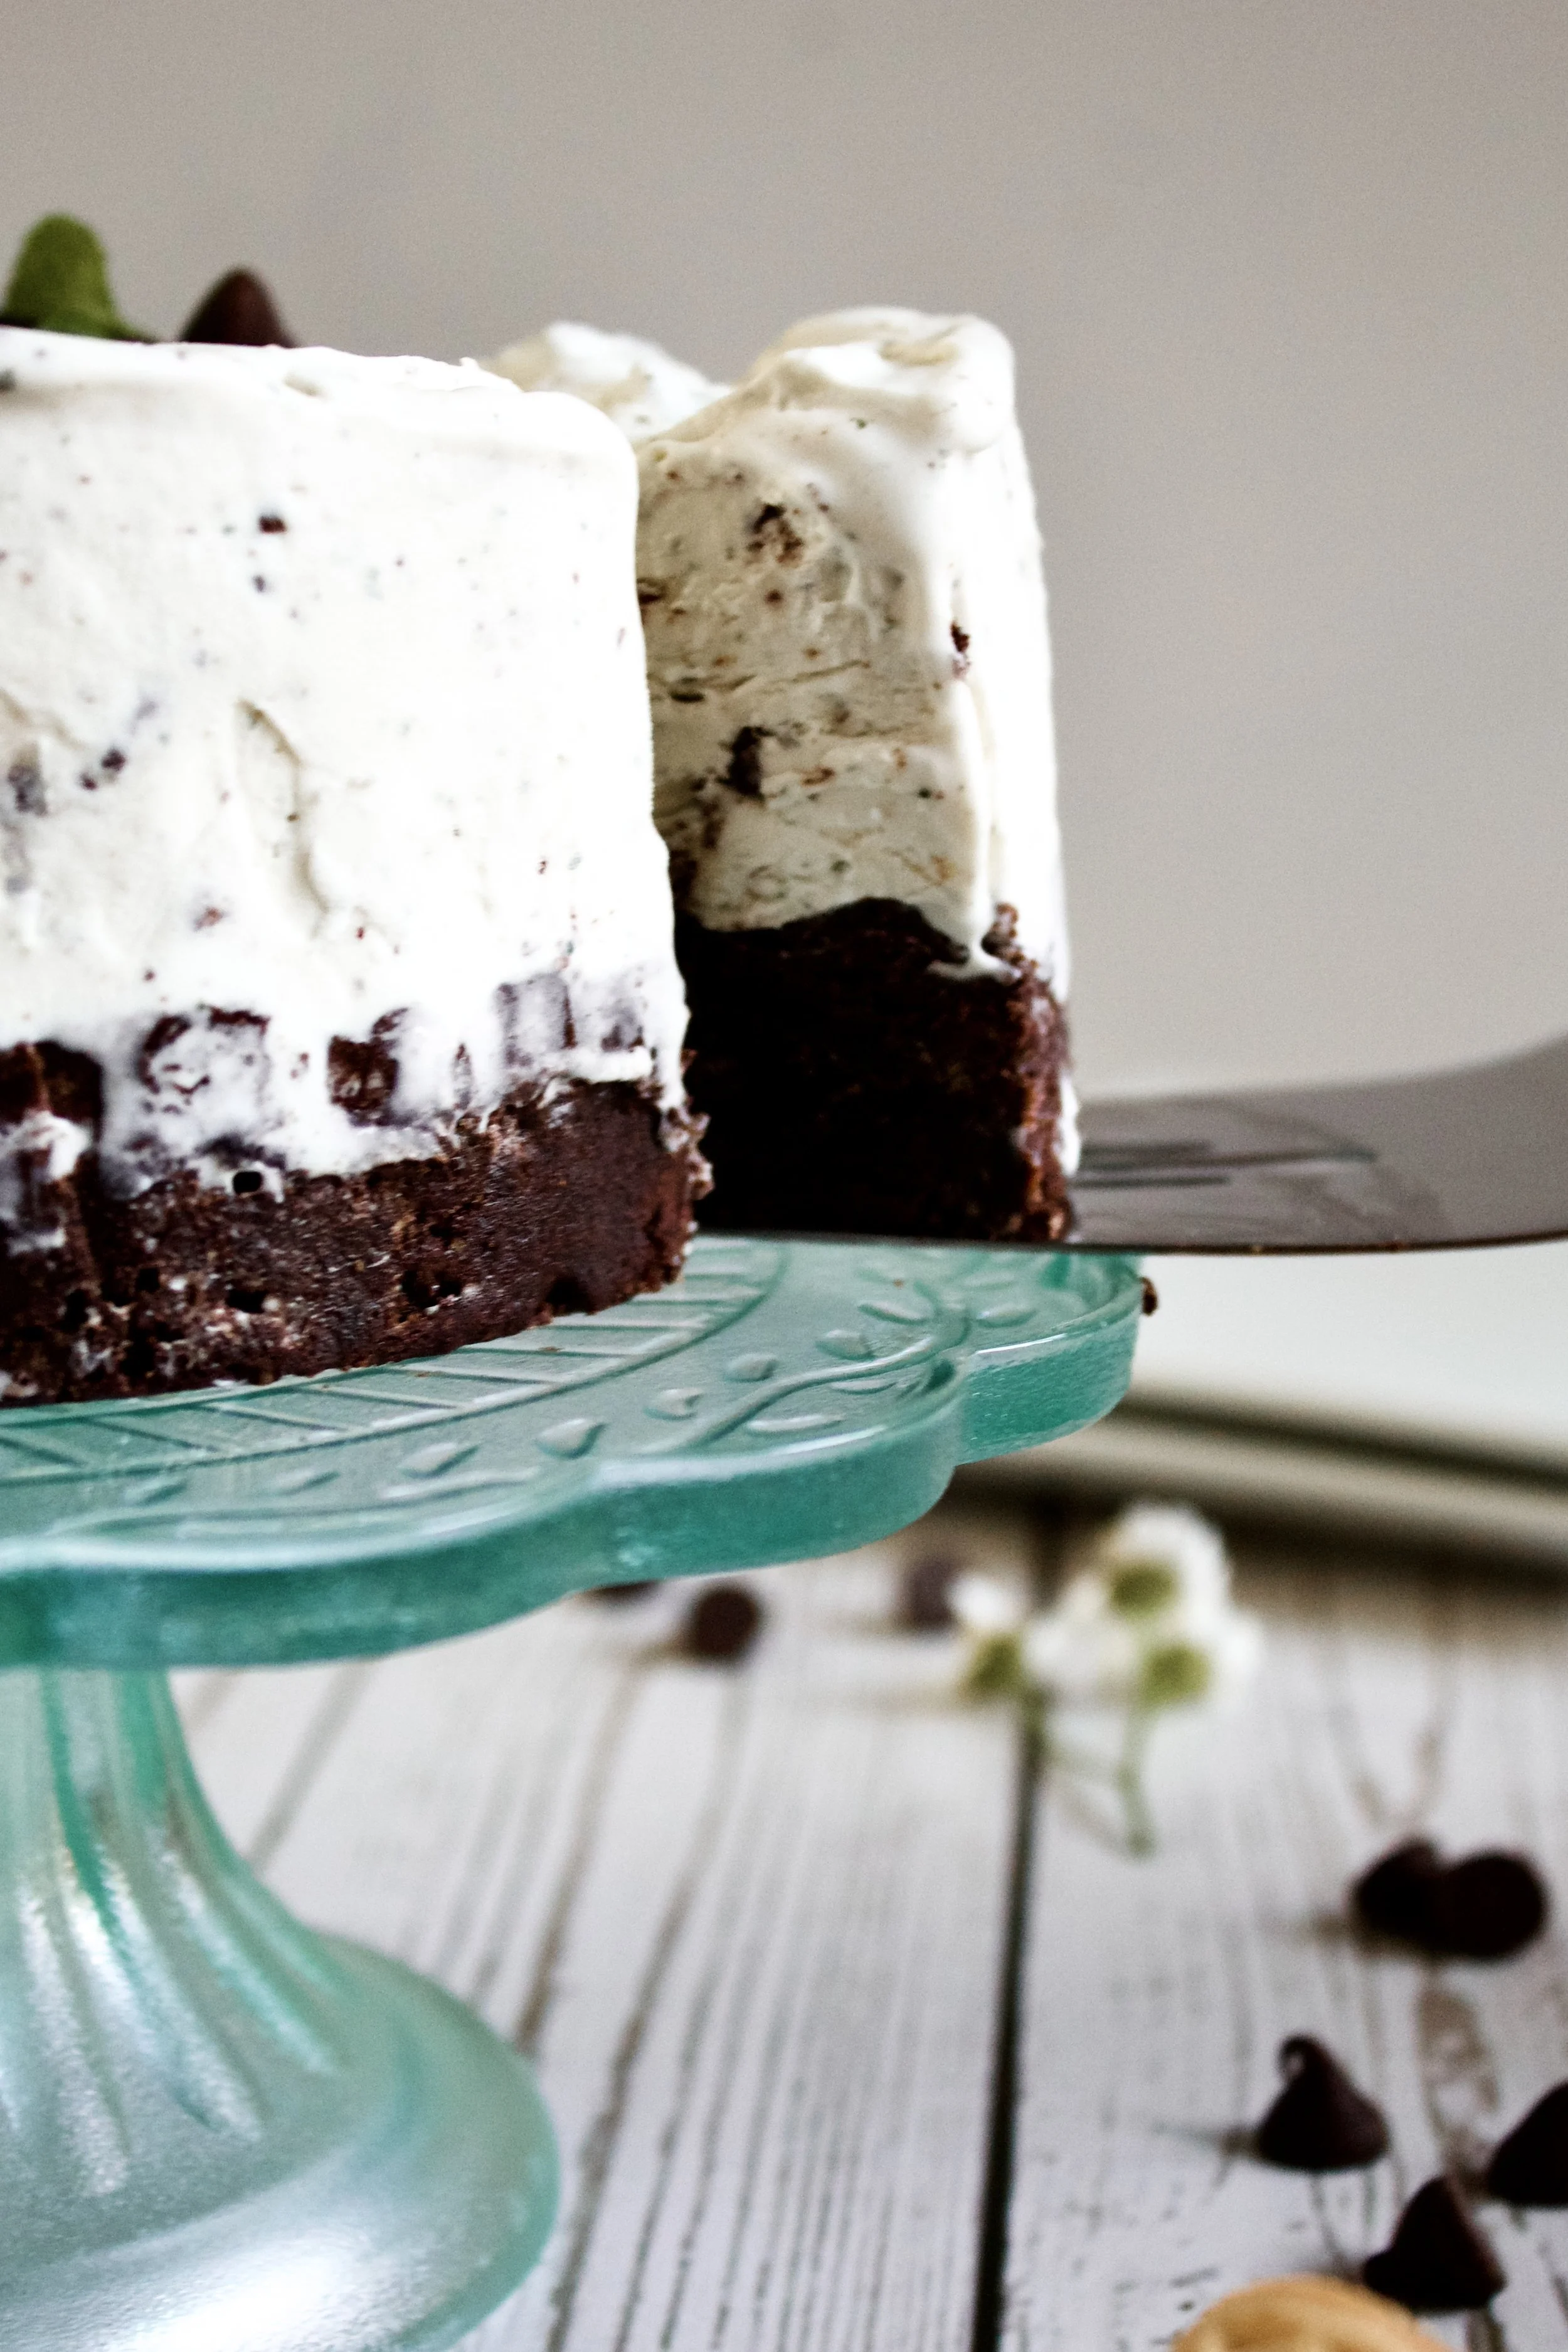
Assemble cake. Remove the completely, 100% cooled brownie from the pan and line the cake pan with acetate. Replace the brownie then smooth the ice cream over it.
Freeze. 3-4 hours will give you a soft serve texture while 8+ hours will make it more of a traditional consistency.
Enjoy!


Tips and FAQ’s for this recipe
*Do I have to use sweetened condensed milk?
No! I’ve actually started using custard instead, which is unbelievably easy to make and gives a bit creamier texture. It does take more time, so it’s entirely up to you. If you want something different than sweetened condensed milk, simply whisk 3 egg yolks in a medium bowl with 1 cup sugar until frothy. Heat one cup whole milk in a medium saucepan over medium heat until steaming and bubbles begin to form along the edges, stirring frequently with a rubber spatula. Temper the hot milk into the eggs by very slowly pouring it in and whisking very, very quickly as you pour. Take breaks as needed so you don’t scramble the eggs. Once all the milk is added, pour it all back into the saucepan and cook over medium until thickened, stirring constantly and being sure to scrape the sides, bottom, and corners. Once the custard is thick enough to coat the back of a spoon, remove from heat, stir for a moment, then pour into the same bowl the eggs were in. Place a piece of plastic wrap directly on the top of the custard and refrigerate until cooled, about 30-60 minutes. (If you see some scrambled bits, strain it through a large, fine mesh sieve before cooling.) Once cooled, use in place of the sweetened condensed milk and proceed as directed.
Alternatively, you can sub one cup of sugar and one cup of whole milk (which is the base of sweetened condensed milk). This option is technically closer to gelato and does require an ice cream maker—the no-churn method will not work properly if you go this route.

Can I use my ice cream maker?
Yes! This works best with the custard method mentioned above, but either way will work. Instead of whipping the heavy cream, combine it with the other ingredients and proceed with the directions of your particular machine. Typically, you add the chopped chocolate toward the end of churning, so check the directions for that.

Try cold-steeping your cream
I actually prefer this method when I’m going to whip my cream. It ensures you don’t over-heat it so that it can whip up perfectly (overheating can sometimes impede the cream’s ability to form stiff peaks). In this method, you have to plan ahead. Double the amount of fresh mint called for, as cold steeping doesn’t draw out as much flavor. Chop the mint as directed and stir in the heavy cream. Cover or place in a sealed jar and refrigerate 12-24 hours. Strain the leaves and proceed with the recipe as written.

Measure the chocolate chips with your heart
Can you believe I’ve actually been accosted by readers who very angrily dislike how many chocolate chips my recipes call for?? Some are kind, but some are vicious. They probably need more chocolate. My best friend once said one of my favorite quotes I’ve ever heard: chocolate chips should be measured with the heart. And it’s true. I always measure out what the recipe calls for then pour a little extra for good measure. But two notes: 1) this only works for mix-in chocolate chips, like in cookies and brownies, not ganache or things like these dark chocolate cupcakes, and 2) there is a point where you’ve added so many chocolate chips that they’re literally drowning out the batter or dough. As long as you keep those in mind, follow your heart.

Use more or less mint
A few things will impact your mint flavor: how fresh the mint is, how large each leaf is, and how strong your cocoa powder is. If you want a really minty brownie, use at least 40 leaves. If you want a lighter mint taste, use around 30. You could do around 20 leaves, but there’s a likely chance no one will even notice the mint flavor at all, so I’d stick with at least 30 (ish) then adjust it the next time to your liking.

Use quality cocoa
Since cocoa is the main flavor here, you want a good brand. Opt for something organic and fair trade, if possible, because this usually means it was produced in smaller batches and thus higher quality and is often fresher, too. Plus, the flavor of the high quality cocoa is always noticeable in the brownies. My go-to is Volupta, from Costco, but some other good options are Ghirardelli, Guittard, Scharffen Berger, Anthony’s, or even Hershey’s Special Dark in a pinch.
Sift your dry ingredients
Usually, you don’t need to sift the dry ingredients unless it’s cake. However, I realized that every time I tried making brownies, my cocoa left little clumps that in turn caused me to over mix my batter. Instead, sifting the dry ingredients means you can simply fold them into the wet ingredients without over mixing, resulting in a tender, fudgy brownie that’s not dense.

My tools
Here are my must-have tools I use for making ice cream cake. Affiliate links provided.
Fine mesh sieve (because sifting is KEY)


Mint Chip Brownie Ice Cream Cake
- prep time: 25-30 minutes
- steep time: 1 hour
- bake time: 15-20 minutes
- freeze time: 5-6 hours (or overnight)
- total time: 6 hours, 50 minutes
servings: 8-12
Ingredients:
for the fresh mint brownie
- ½ cup (100g) granulated sugar
- 1 handful (about 30-40 large leaves) fresh mint, rinsed and dried
- ¼ cup (34g) all-purpose flour
- ⅓ cup (27g) unsweetened cocoa powder
- ¼ teaspoon (1g) baking powder
- ¼ teaspoon (2g) sea salt
- ¼ cup (56g) unsalted butter*
- 1 large egg, room temperature
- ½ tablespoon (6g) pure vanilla extract
- ½ cup (85g) chocolate chips (or as many as your heart says you need)
for the fresh mint chip ice cream (this is a half batch–you can double it to have extra)
- ½ cup (15g) packed fresh mint leaves (about 40-60 leaves or 1 bunch)
- 1 cup (116g) heavy whipping cream, cold
- 7 ounces (199g) sweetened condensed milk**
- ½ tablespoon (6g) pure vanilla extract
- 3 ounces (85g) dark chocolate, chopped
- optional: green food coloring
- acetate (to assemble the cake)
- optional: 5 minute hot fudge, to serve
Instructions:
prep the cream for the ice cream
- If needed, wash the mint leaves and let dry completely. Remove leaves and discard stems. Chop the mint roughly and set aside. Heat the heavy cream in a medium saucepan over medium heat, until steaming and bubbles begin to form along the edges. Remove from heat and stir in the chopped mint leaves. Let sit 1 hour, until completely cooled. Strain out the leaves and discard. Refrigerate the cream 1 hour, until completely cooled again. Time may vary, depending on your fridge. You want the cream very cold before you use it.
- Note: taste the cream before straining the mint. It should taste very minty, as the flavor will be diluted by the end. If it is not very minty, leave the mint in the cream while you refrigerate it, straining after very cold and minty tasting.
make the brownies
- Preheat oven to 350. I’ve found 350 is good for convection and regular, which is weird but at least it works! Grease a 6” round cake pan with butter and flour or baking spray. Line with parchment paper or a silicone baking mat.
- In a small food processor or blender, blend the sugar and mint until the mint is finely ground. You’ll hit a point where it’s about the size of quinoa or a bit smaller and just isn’t getting any smaller, so stop then. If you keep blending, it’ll create a crusty paste on the blades of your food processor/blender instead of becoming finer. Place in a large-ish mixing bowl and set aside.
- Using a fine mesh sieve set over a small mixing bowl, sift then whisk together the flour, cocoa powder, powder, and salt. Set aside.
- In a small saucepan, melt the butter until completely liquid. Immediately add it to the mint sugar and whisk for about a minute, until it comes together and the sugar begins to dissolve.
- Add the eggs, one at a time, whisking for about a minute after each egg. Add the vanilla and whisk well again (half a minute should do this time).
- Add the dry ingredients in and gently fold in with a wooden spoon or rubber spatula, until almost blended some streaks of flour remain.
- Gently fold in the chocolate chips.
- Pour into your prepared pan, smoothing the top and getting the batter mostly into the corners (I like to leave a ½ inch gap that will absolutely fill in during baking but prevent an overly crunchy corner).
- Bake for 15-20 minutes, or until the top is no longer shiny/raw looking and the middle is slightly jiggly but not liquidy. You can try a toothpick, but that should actually come out with some matte-looking batter (not quite raw dough, not quite crumbly brownies). If you prefer fully cooked, non-fudgy-middle brownies, cook a little longer until a toothpick comes out with several brownie crumbs rather than a smear of almost-cooked batter.
- Let cool completely, about 1 hour, before making the ice cream.
make the ice cream
- When the mint cream is very cold, place the bowl of your stand mixer and the whisk attachment (or a large mixing bowl and the beaters of a handheld mixer) in the fridge for 15 minutes.
- While the bowl chills, pour the sweetened condensed milk* in a large mixing bowl and stir in the vanilla and 1-2 drops green food coloring, if using. Stir until well mixed and just slightly darker green than you want your finished ice cream. Set aside.
- Pour the strained, cold mint cream in the bowl and begin beating on medium until frothy. Turn speed to high and beat until stiff peaks just begin to form. The cream will turn matte in appearance, and this means you are done mixing, so watch carefully to catch it at the right time.
- Fold*** ⅓ of the cream into the condensed milk, until fully combined. Repeat with another ⅓ of the whipped cream. Add the last ⅓ along with the chopped chocolate, folding until no lumps remain.
assemble the cake
- Remove the brownie from the pan. Line the pan with a strip of acetate and tape it off so it stays flush with the very inside edge of the cake pan. Be sure it’s perpendicular so your cake isn’t cone shaped. Remove the parchment or silicone from the brownie and replace the brownie inside the acetate. Be sure there is at least 4” of acetate sticking up above the brownie. If not, wiggle it up a bit so you have plenty of acetate to hold the ice cream in.
- Spread a thin layer of the ice cream over the brownie, smoothing it so it gets into the grooves and adheres to the brownie. Spread the rest of the ice cream (or desired amount–you can reserve some for eating).
- Freeze cake for 5-6 hours, or until the ice cream is firm to the touch. Remove from pan by pulling up the acetate. It should come out fairly easily, but if not, let it sit on the counter a few minutes. Remove the acetate strips. Allow cake to sit on the counter for 5-10 minutes before cutting and serving. Use a very sharp knife dipped in hot water to cut cake. Serve with hot fudge and whipped cream, if desired.
Enjoy!
Store leftovers in an airtight container. Ice cream should last at least a month, but this can vary depending on your freezer and how well-sealed it is.
Notes:
*European butter is best! It has less water and makes a better brownie, in my opinion.
**If you want to skip the sweetened condensed milk, you can make a custard by whisking 1 cup (200g) sugar and 3 egg yolks in a bowl until frothy. Heat 1 cup (240g) whole milk in a medium saucepan until steaming. Temper into the eggs by very slowly streaming the milk in while whisking very, very quickly. Take breaks as needed, to avoid scrambling the eggs. Once all the milk is whisked in, add it all back to the saucepan and cook, stirring constantly with a rubber spatula and getting all the edges and corners and bottom of the pan, until thickened enough to coat the back of a spoon. It should be almost as thick but not as tacky as sweetened condensed milk. Let this cool completely then proceed with the recipe as written. It’s best to pour back into the bowl the eggs were in, place a piece of plastic wrap directly touching the top of the custard, and refrigerate until cooled.
***Optionally, you could also combine the steeped cream, cooled custard, and vanilla and use an ice cream maker, adding the chocolate whenever your machine says to add mix-ins.
