
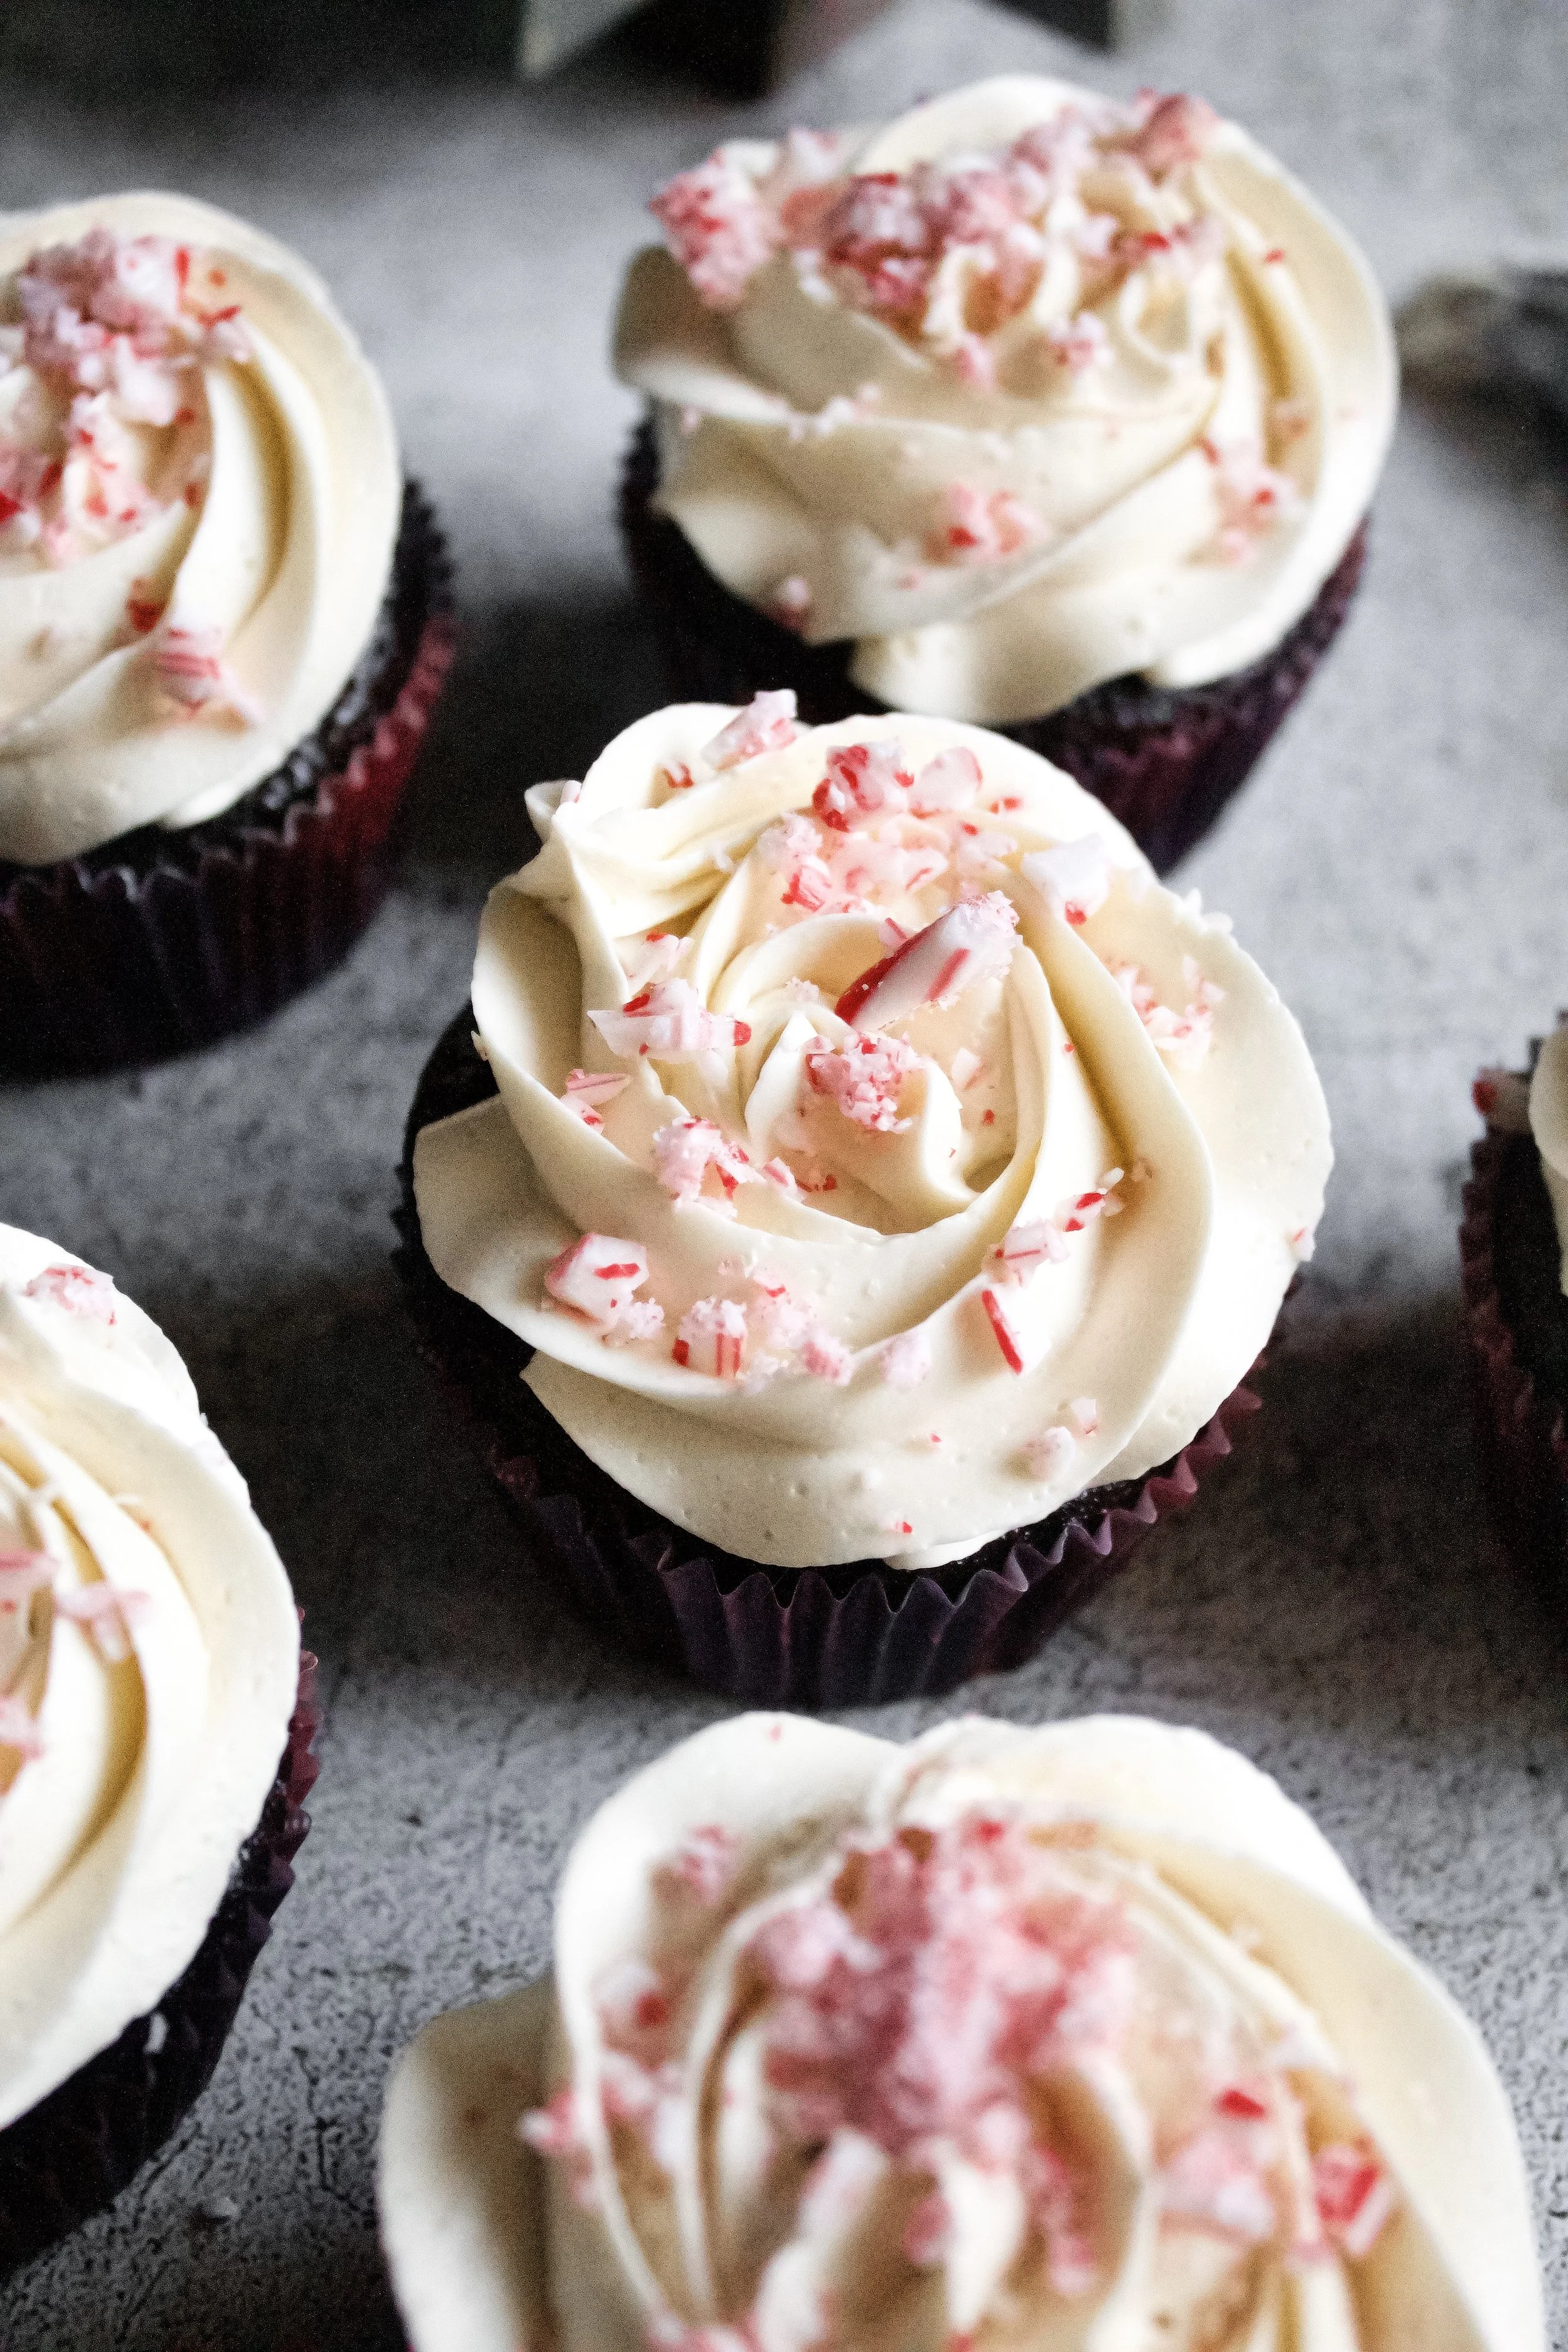
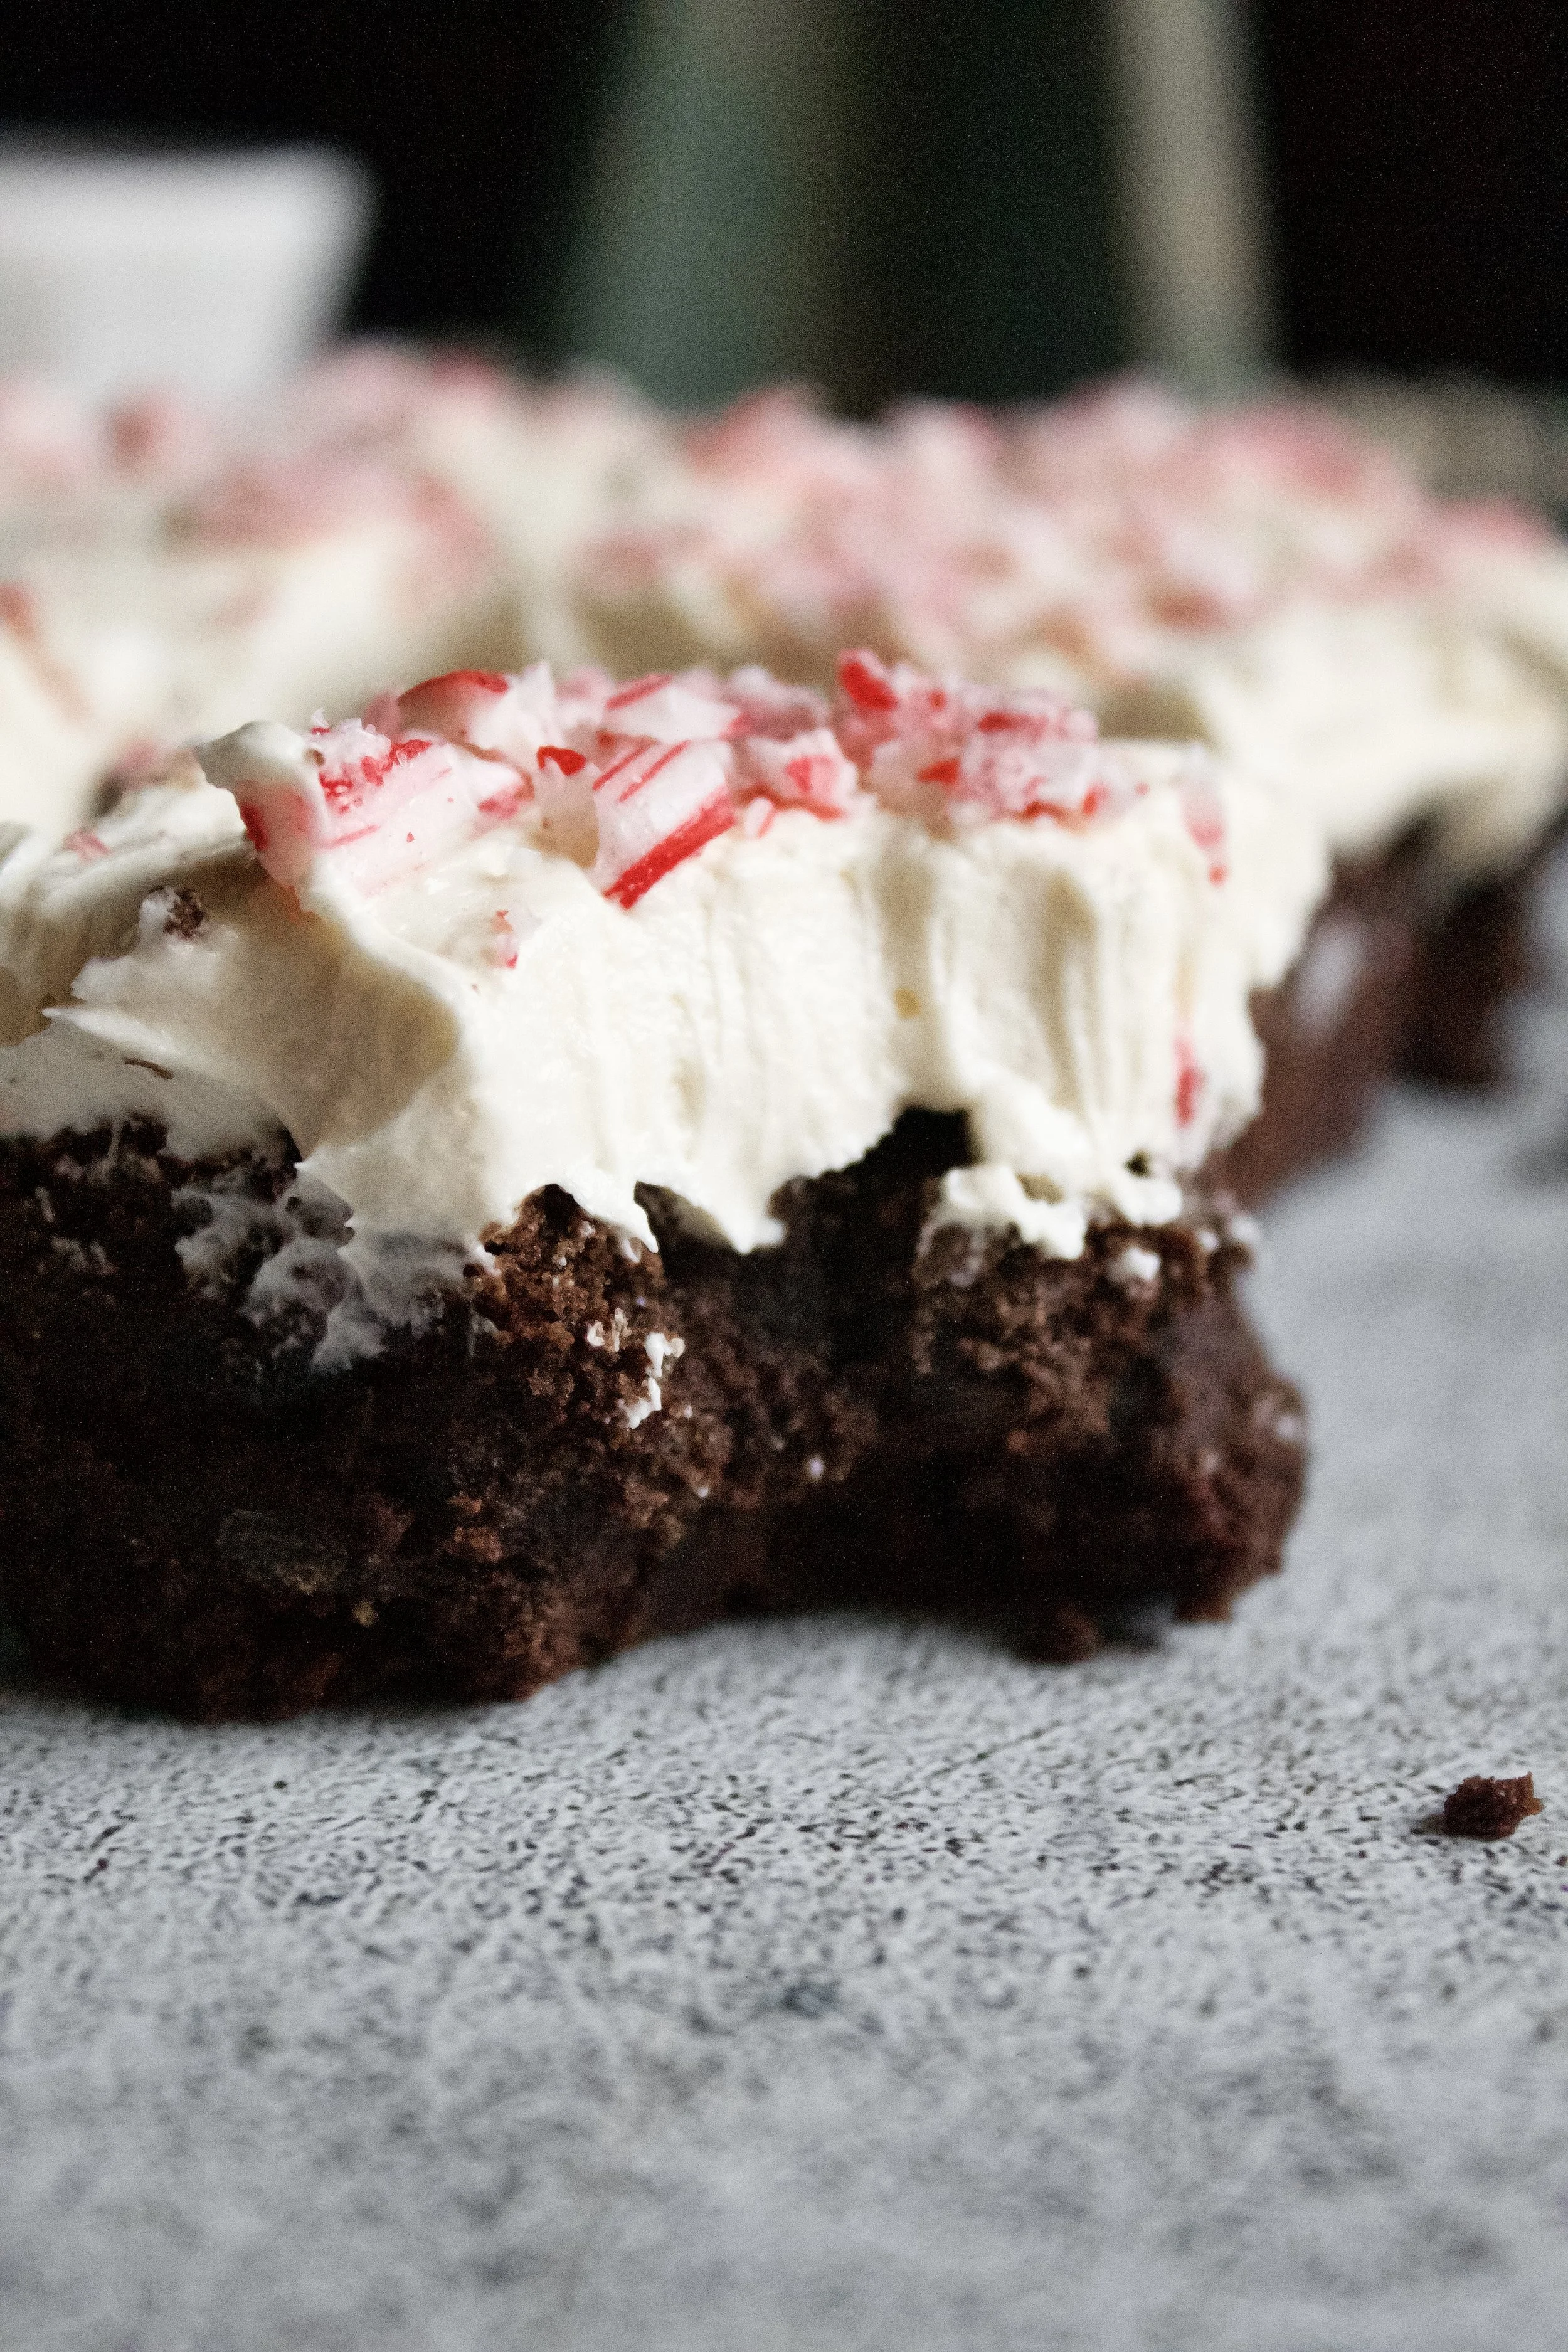
Peppermint Buttercream
Creamy buttercream with the perfect amount of peppermint to top all of your holiday treats. Adding high quality peppermint in small amounts helps create the perfect flavor that is refreshing and wintery!
This post may contain affiliate links from which, at no additional cost to you, I may earn a small commission to keep this site running. Only products I myself would or do use are recommended.
This has been on of those sort of fine, sort of bad weeks. Some great stuff, some fun stuff. But also some struggles, like a fridge that suddenly stopped working or feeling overwhelmed by simple things then being embarrassed by it.
Suffice it to say, it’s Friday (as I’m writing this) and I feel meh.
So, I’m going to instead focus on something happy: by the time I post this, it’ll officially be Christmas season!!!! Today marks the beginning of Christmas in my world. I consider Thanksgiving part of the “holidays” and therefore—get out of my way turkey decorations, I’m putting up all things green and red. Fall has had 2-3 months already; why are we giving it November when the rest of the world is allowed to move on to Christmas now???
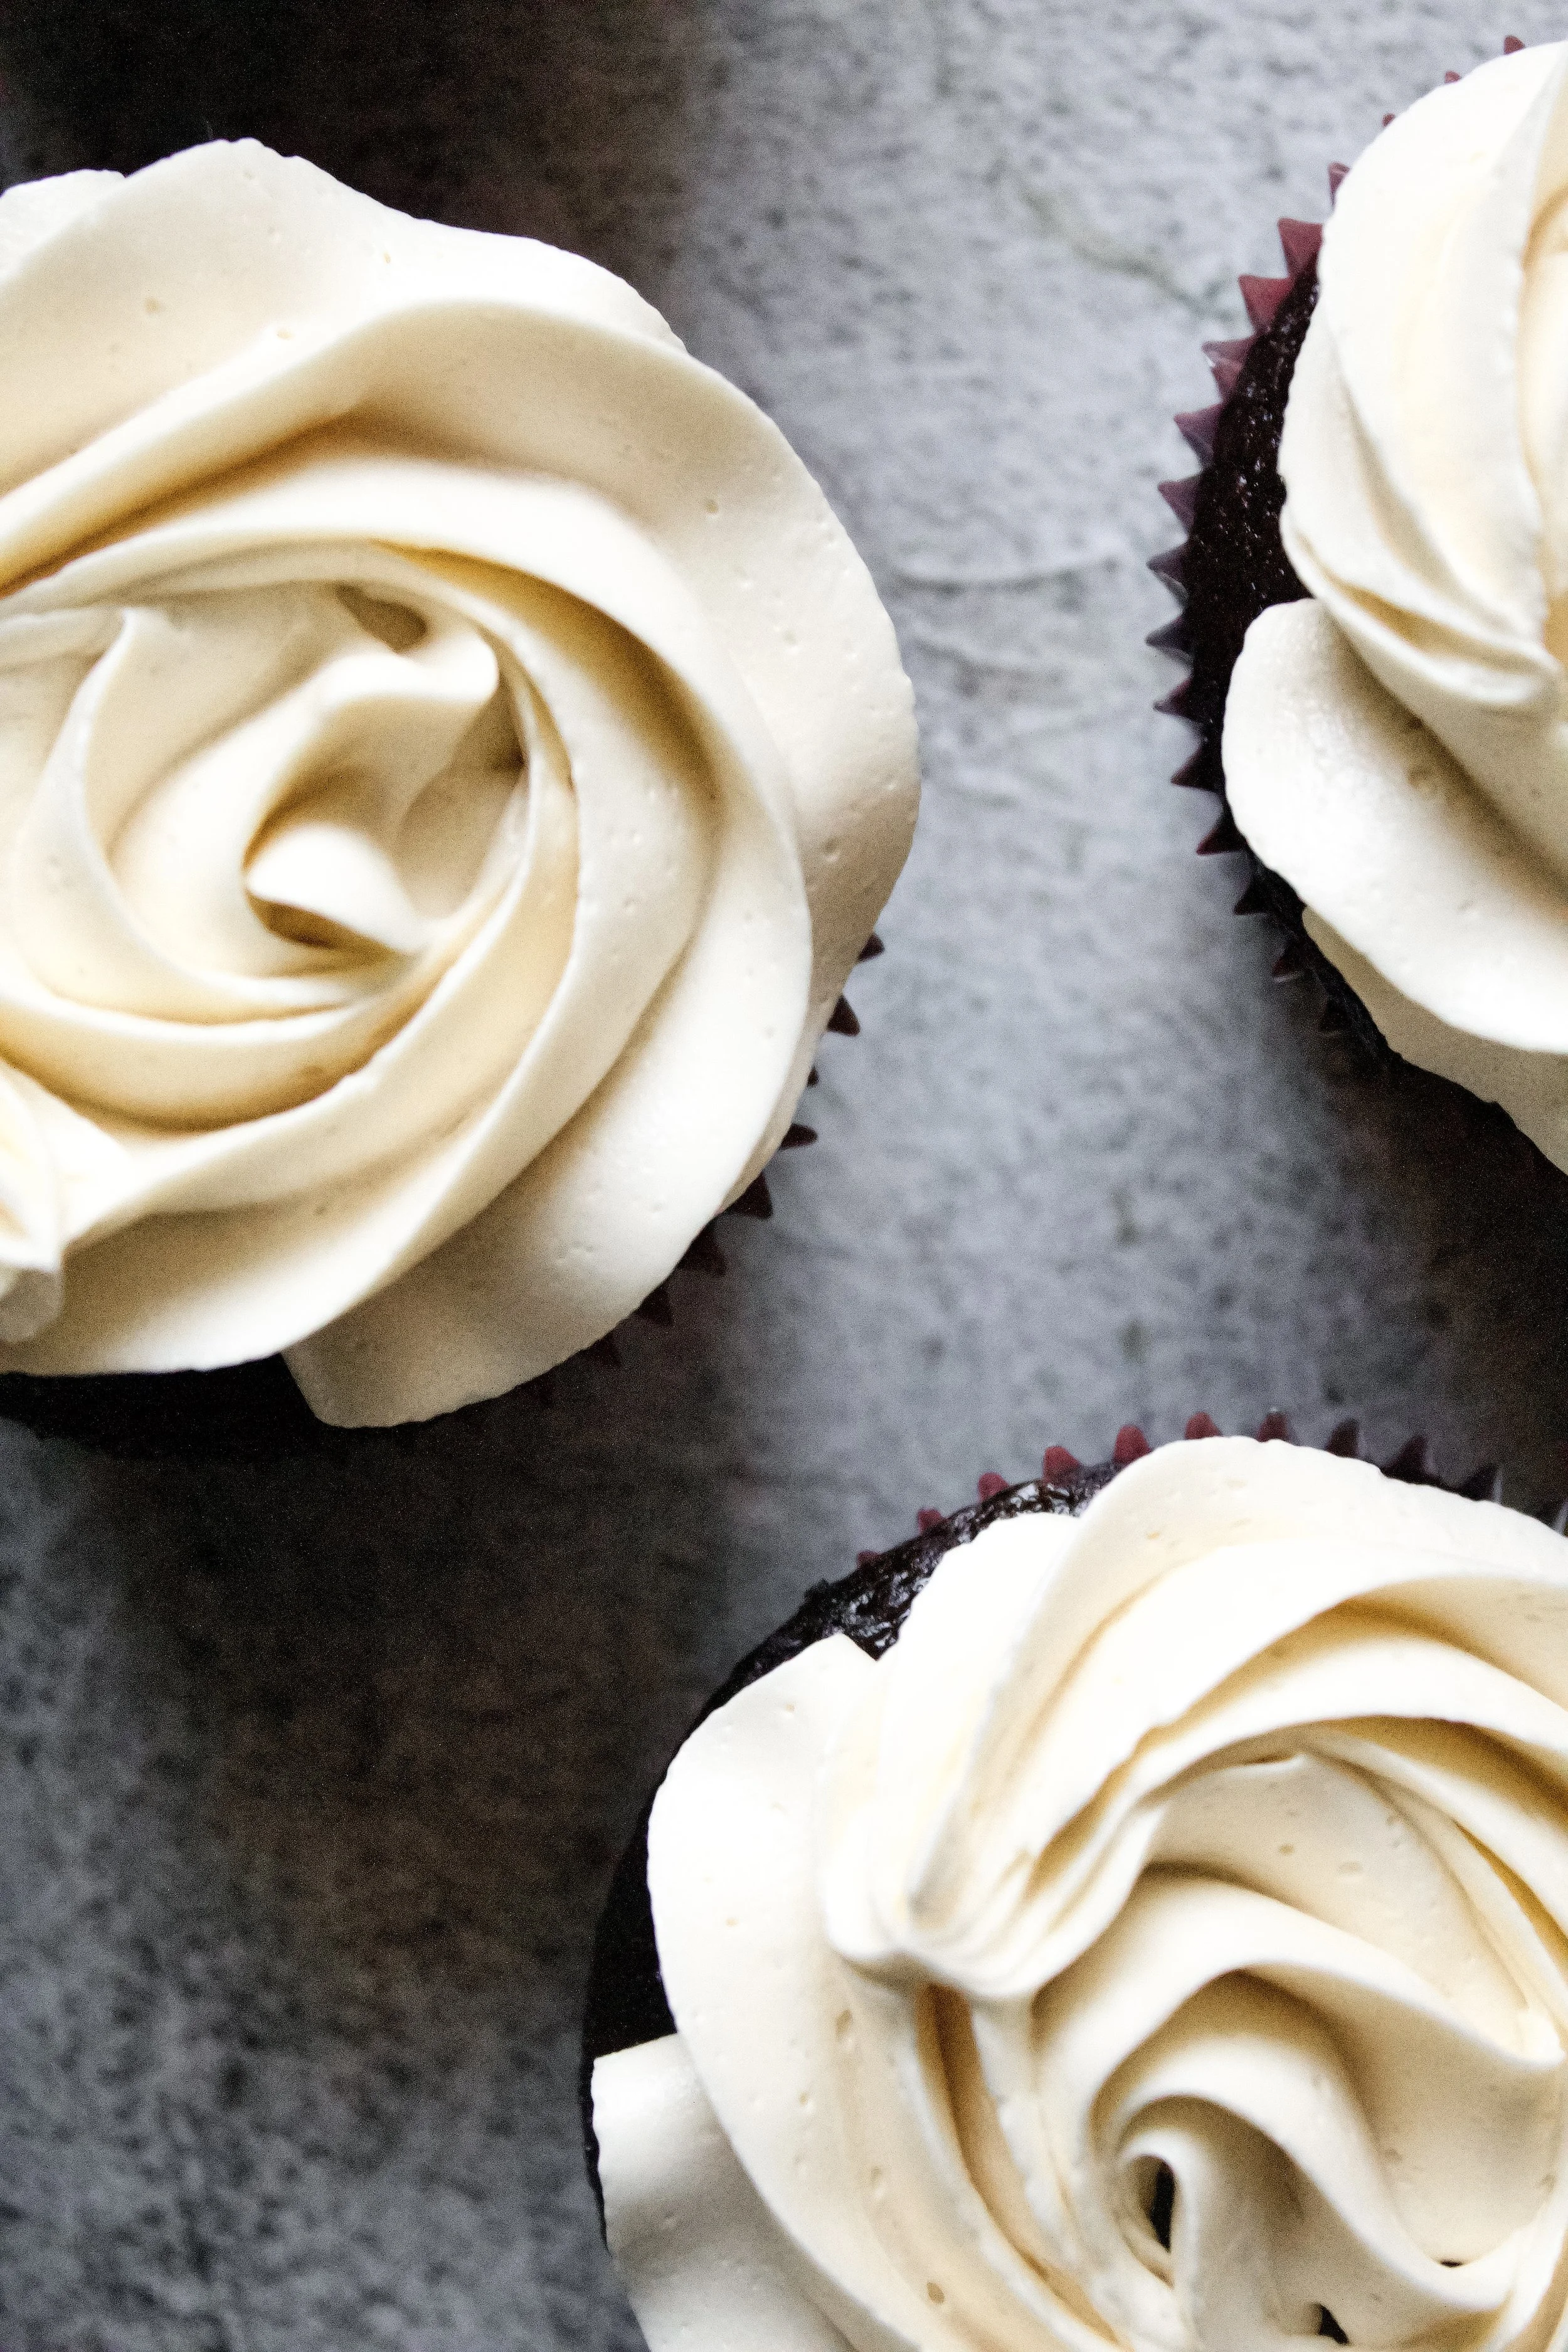
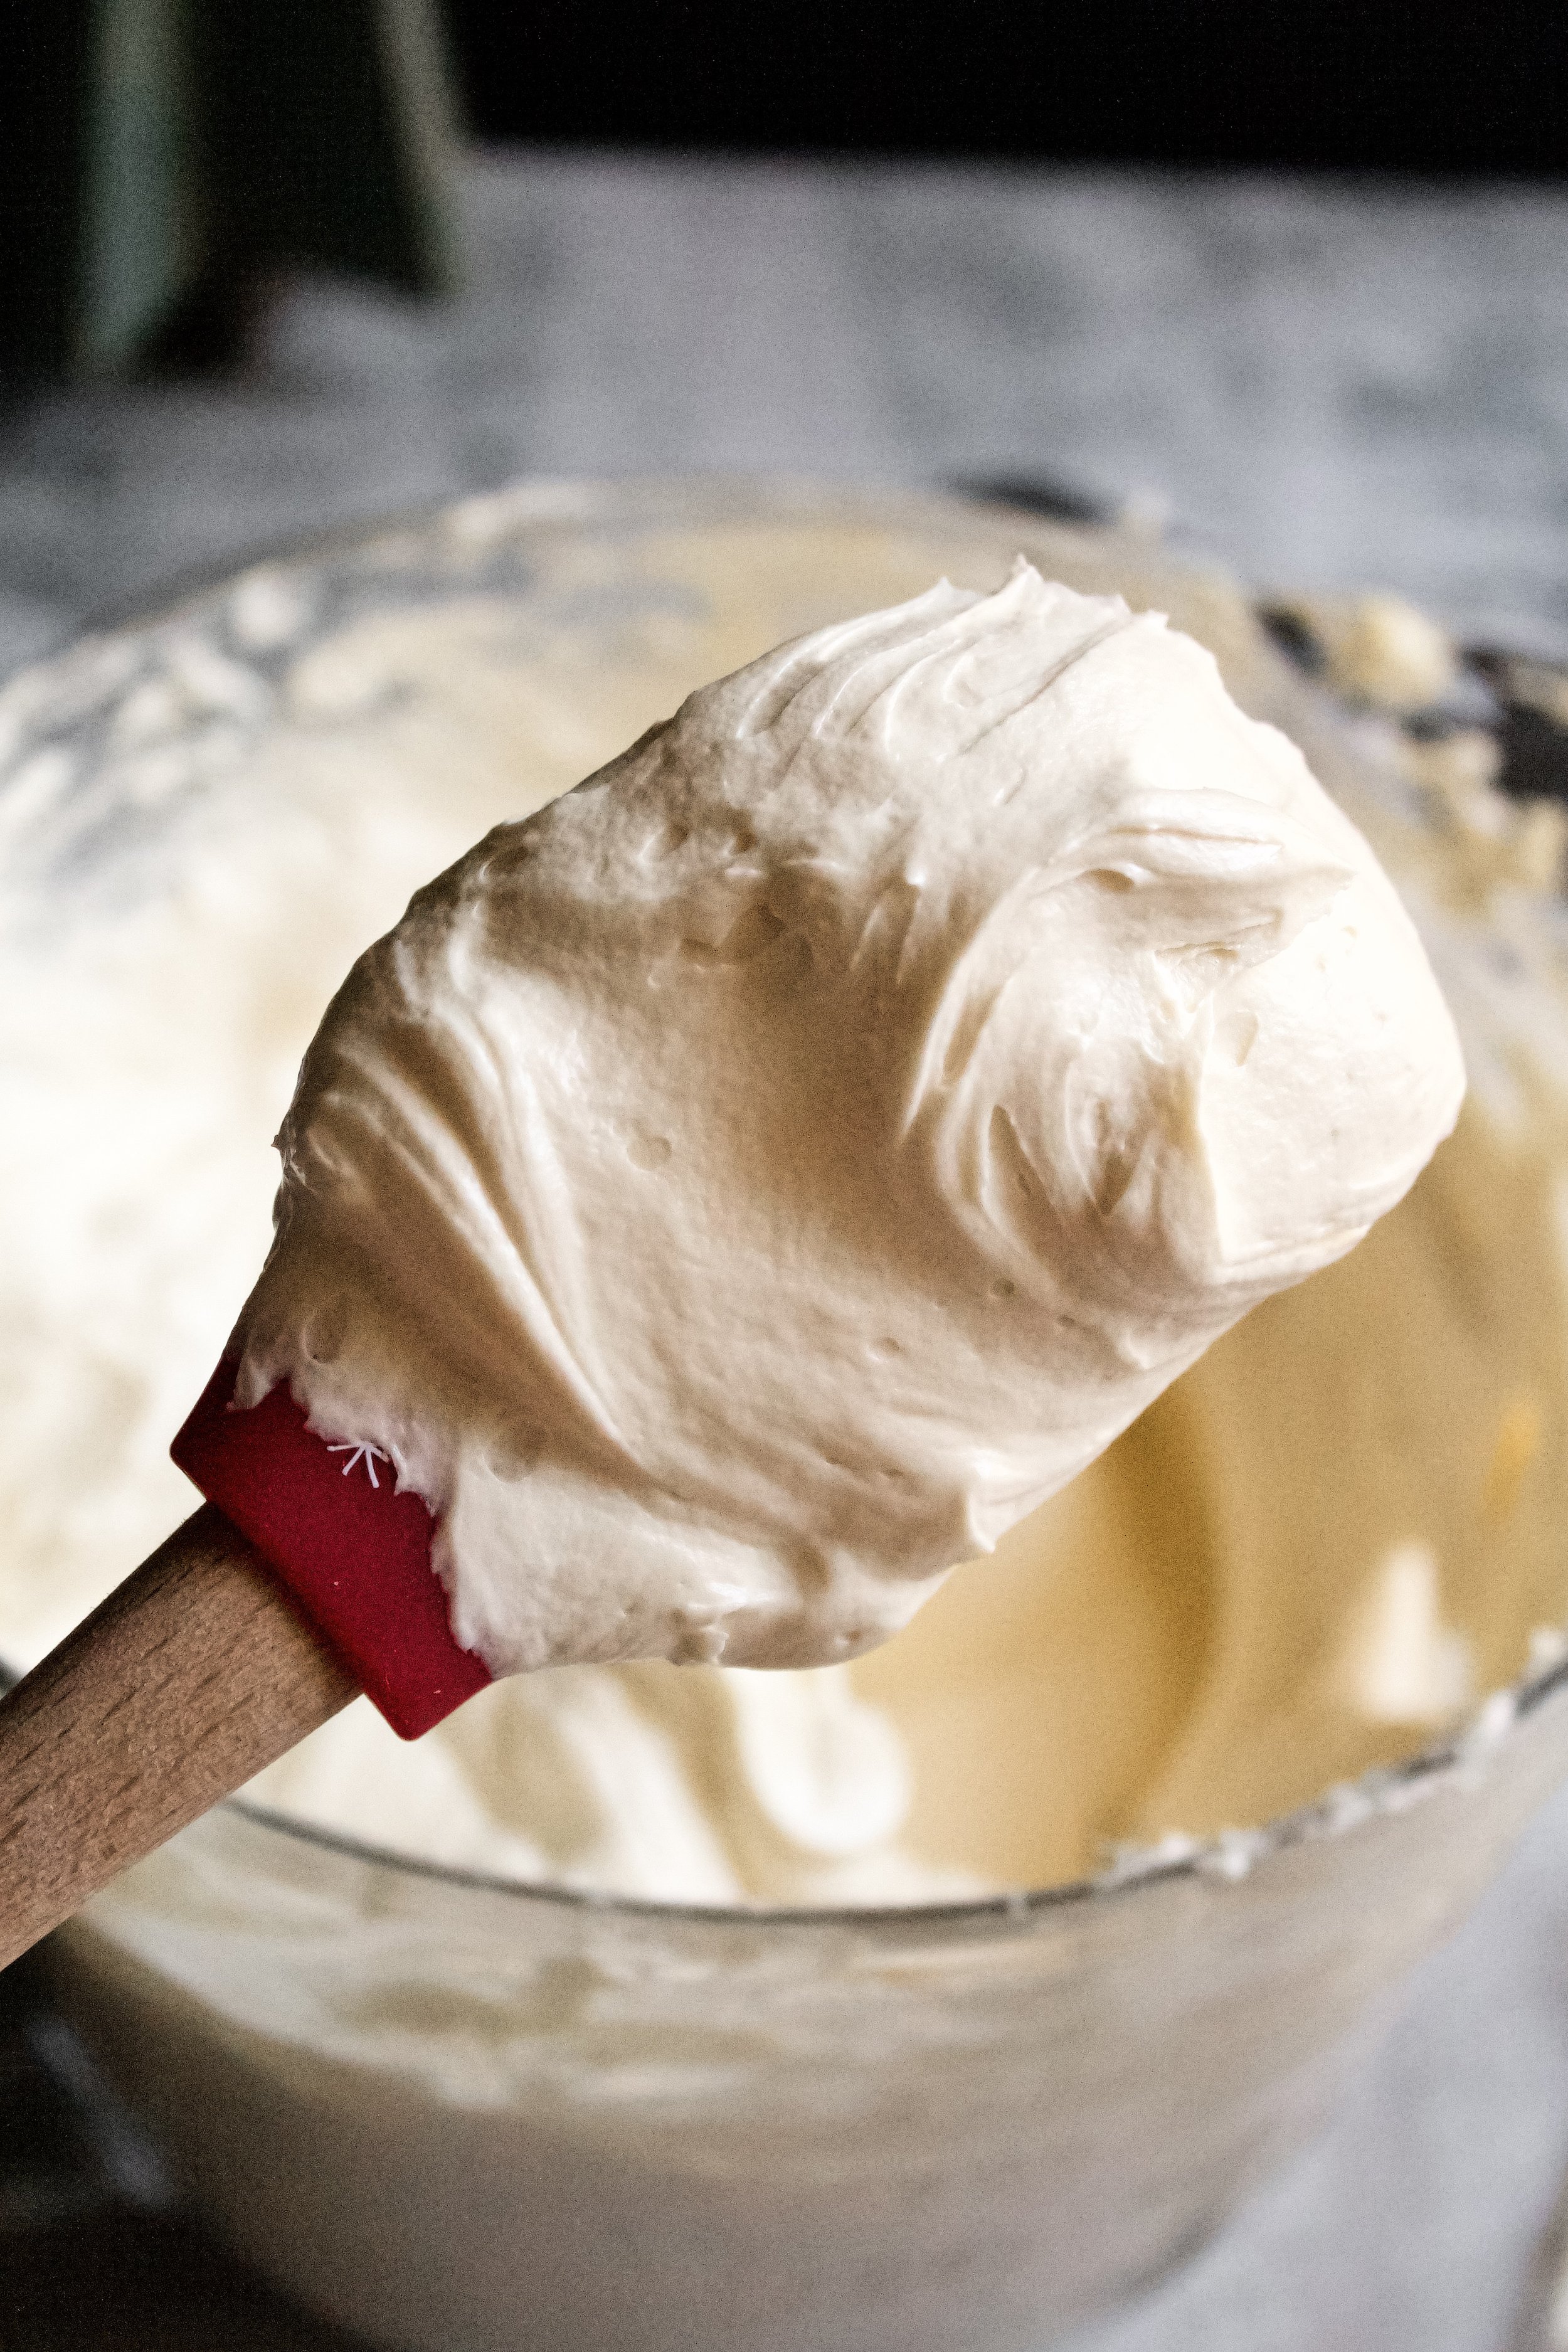
Today also means Christmas recipes! Like this super simple buttercream that I make in large batches this time of year. It’s perfect on cakes, brownies, even cookie sandwiches.
And after years of trial and error, I’ve found the secret to a delicious peppermint buttercream instead of a toothpaste-y peppermint buttercream. It’s a simple trick of using the right brand of extract as well as adding it in slowly and only until you can just start to taste the peppermint. The flavor intensifies over time, so don’t go overboard!
Why this recipe works
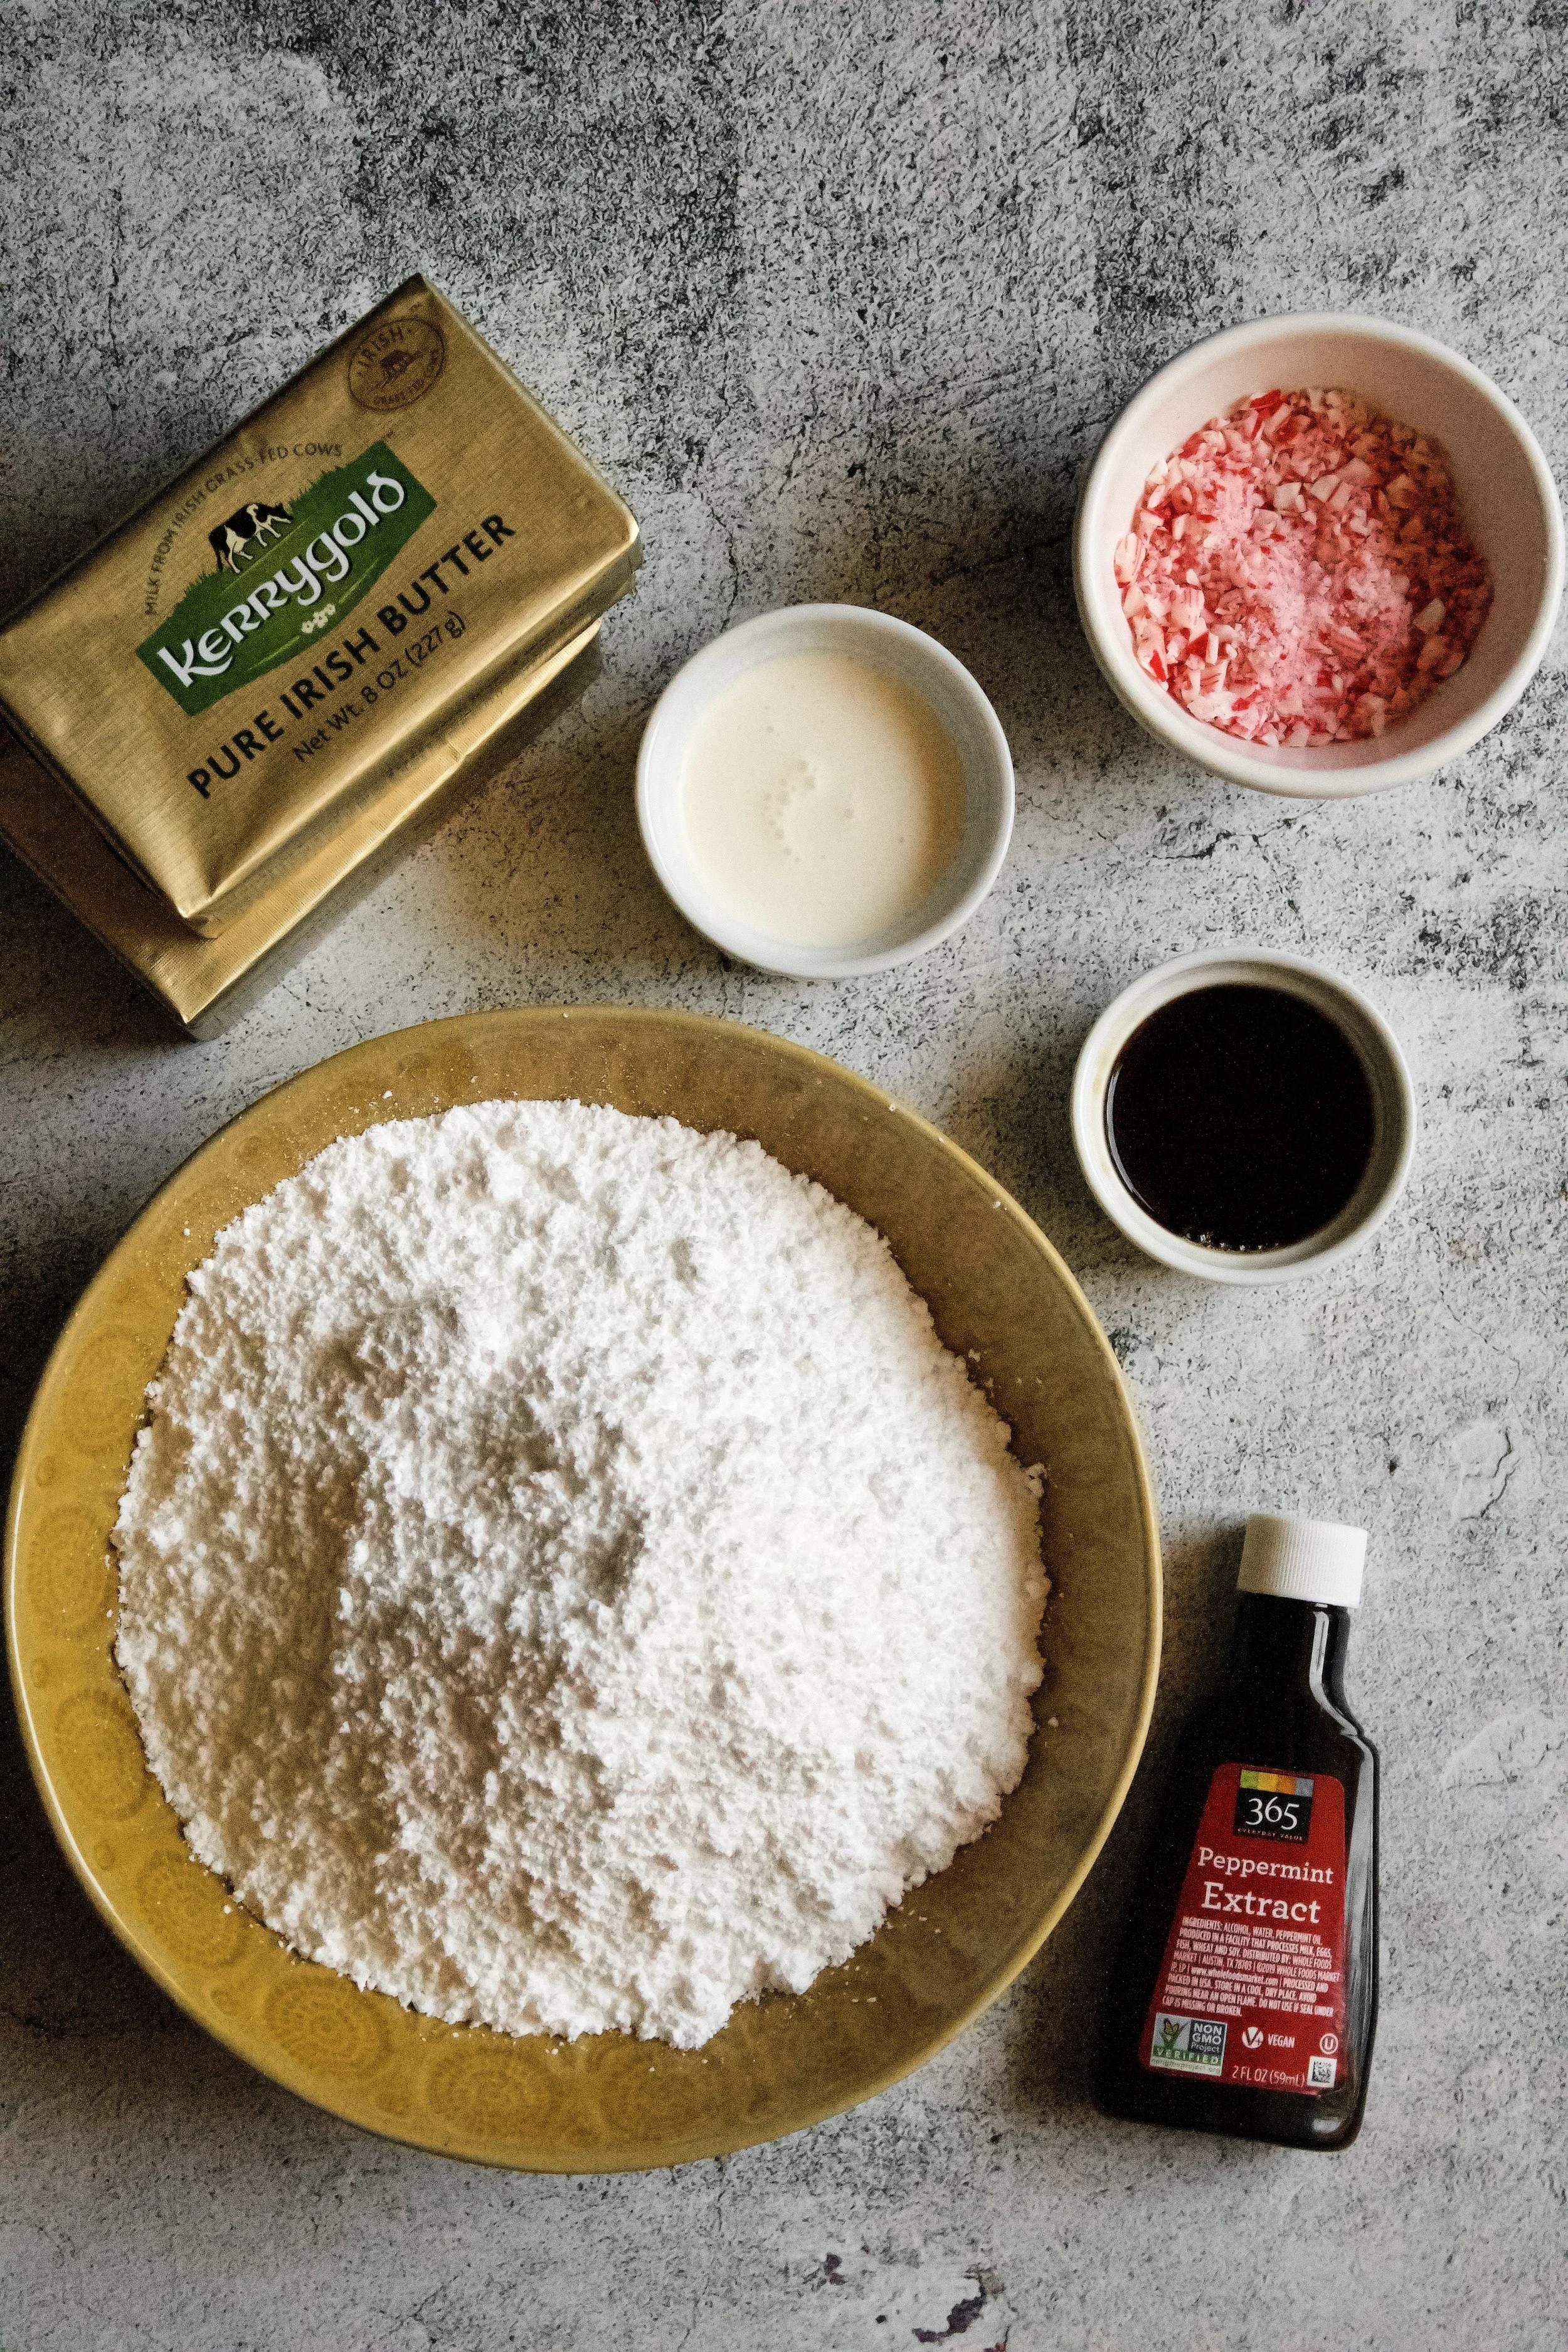
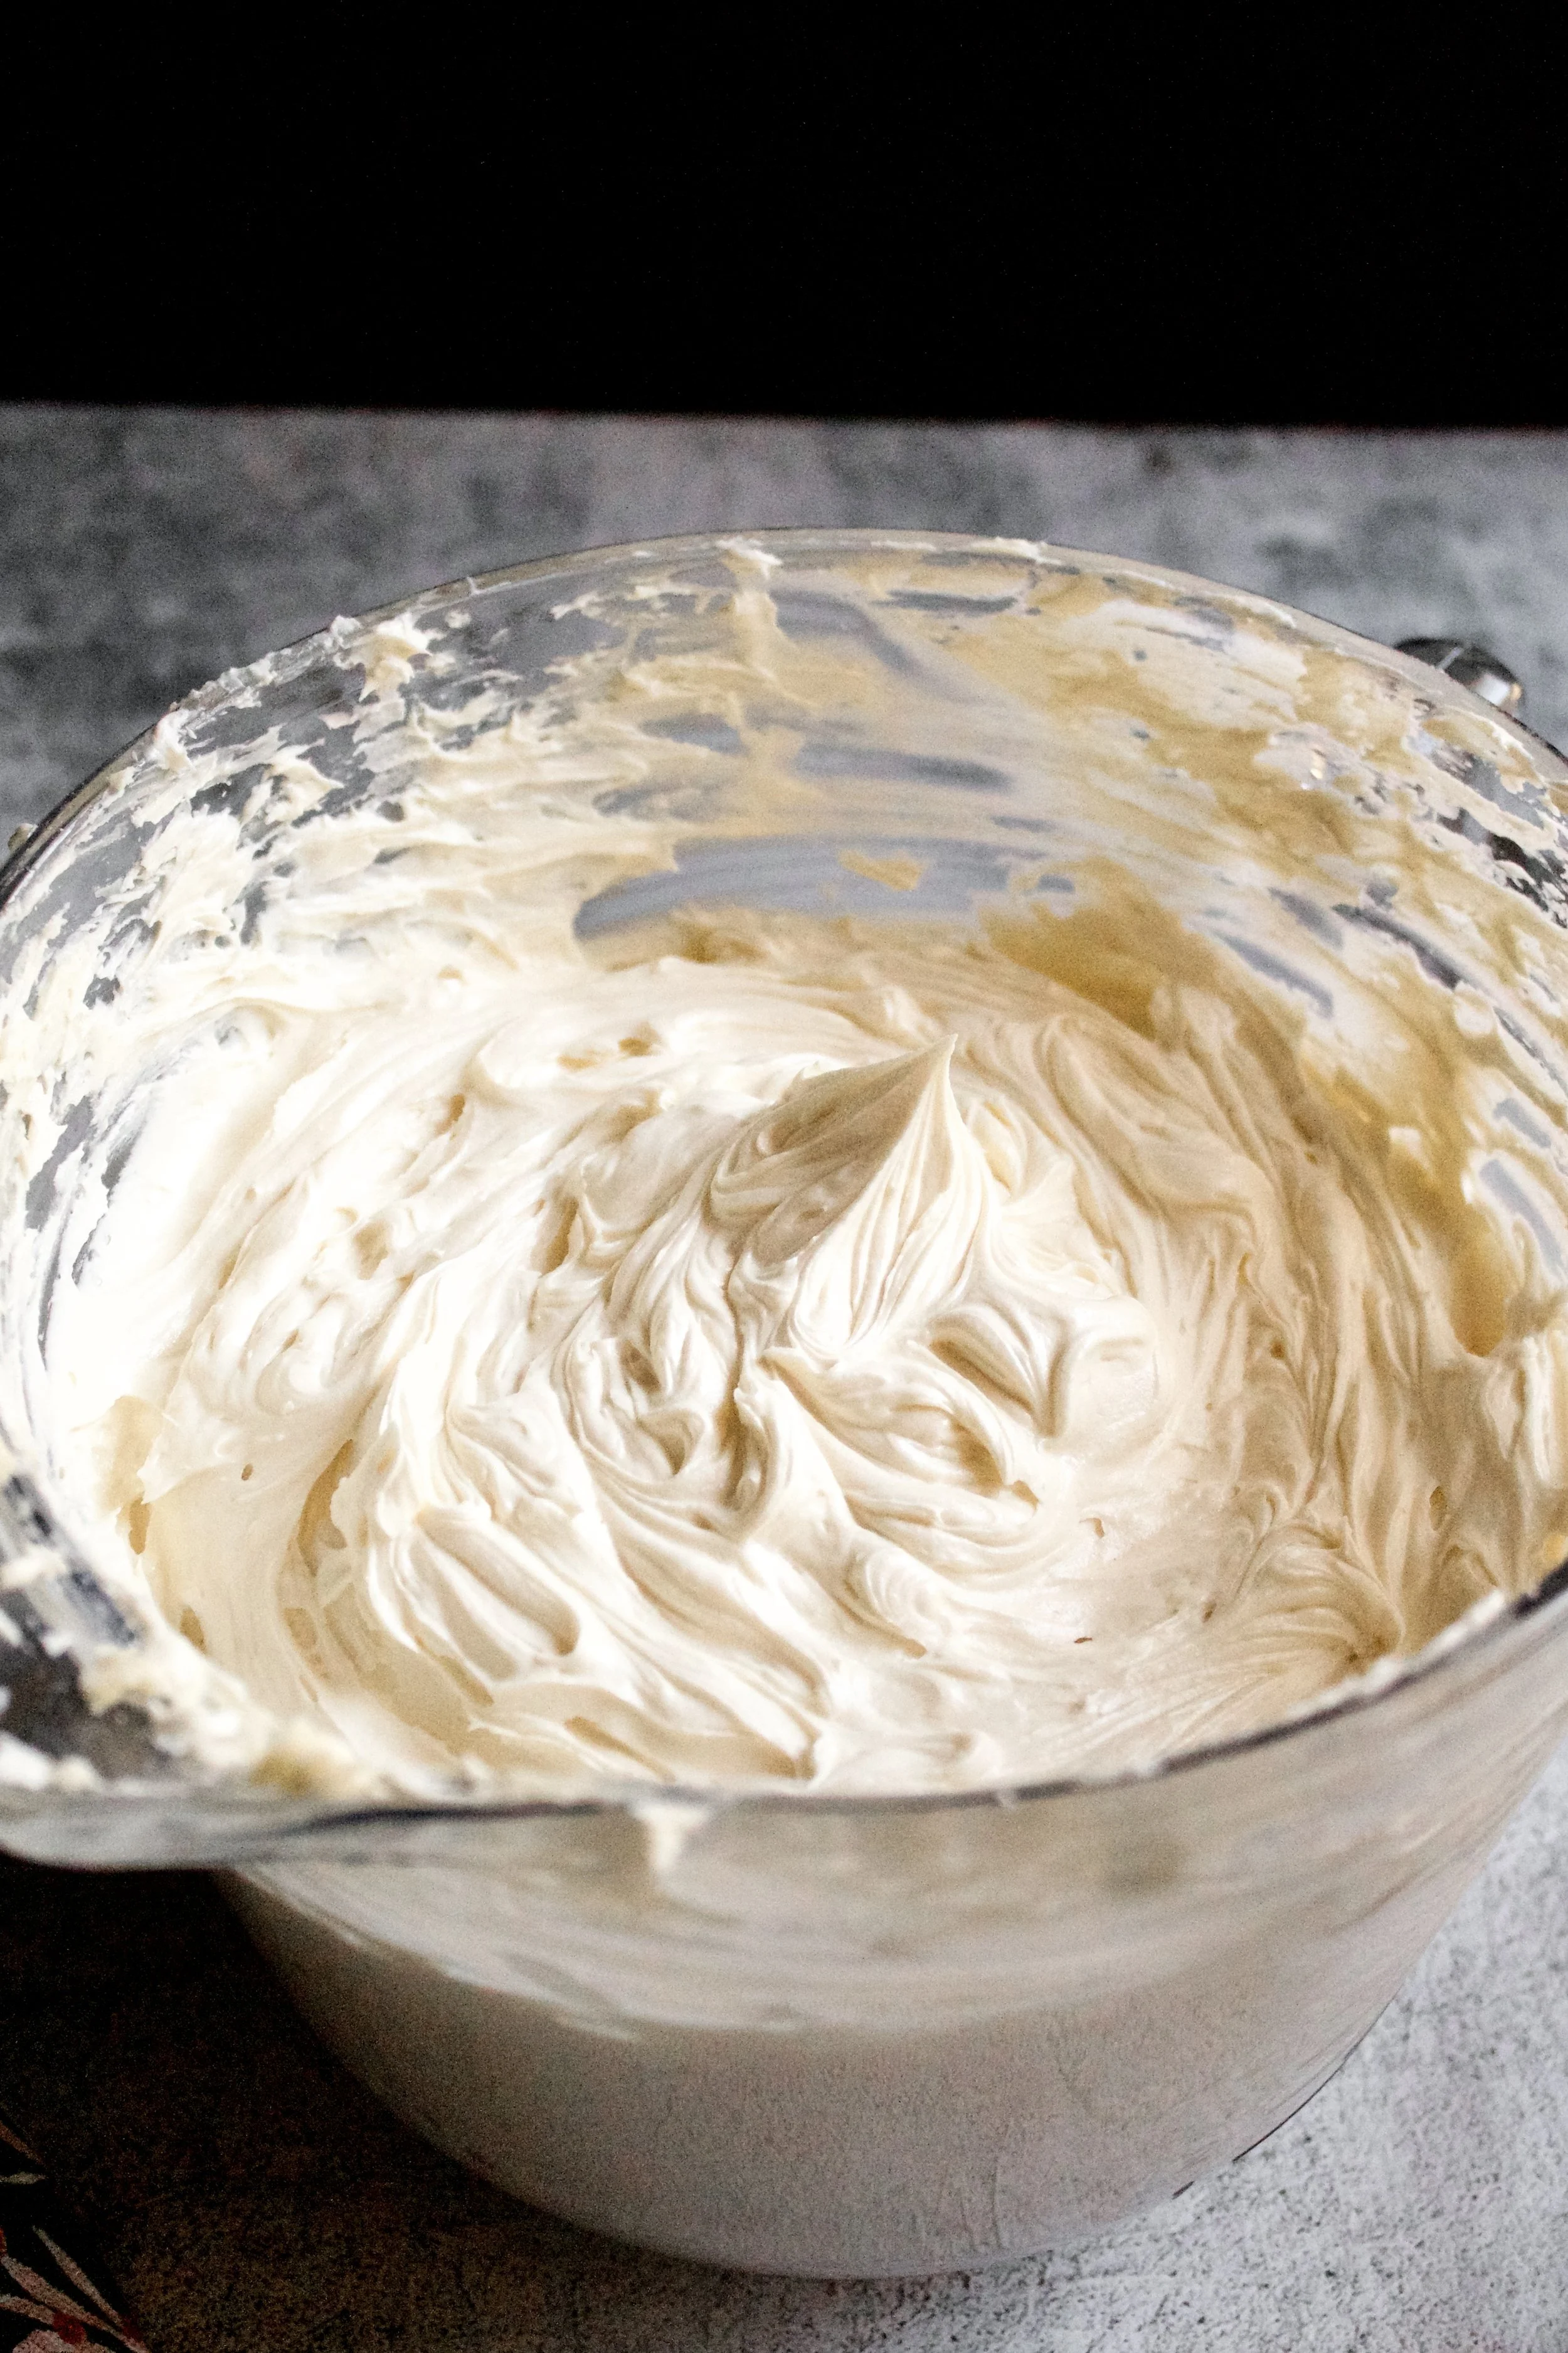
Using European butter is one key to my buttercreams. It has less water, so it’s creamier and smoother than regular sweet cream butter. I also like to use Kerrygold, which comes from grass fed cows. I’ve found the taste to be noticeably better, which matters in a buttercream when butter is the main ingredient.
Another key here is the peppermint. You want to use just a little of a reputable brand. I once bought some random brand online because it came in bulk. It had zero peppermint taste. Another time, I bought an “all natural” extract that tasted like toothpaste and was unusable. So, using a quality brand (even just McCormick is fine) that’s fresh and adding it in small amounts is key to the perfect peppermint buttercream. Also, be aware that the flavor will intensify over time (especially in the fridge), so stop when the taste is pleasantly noticeable, not punching you in the taste buds.
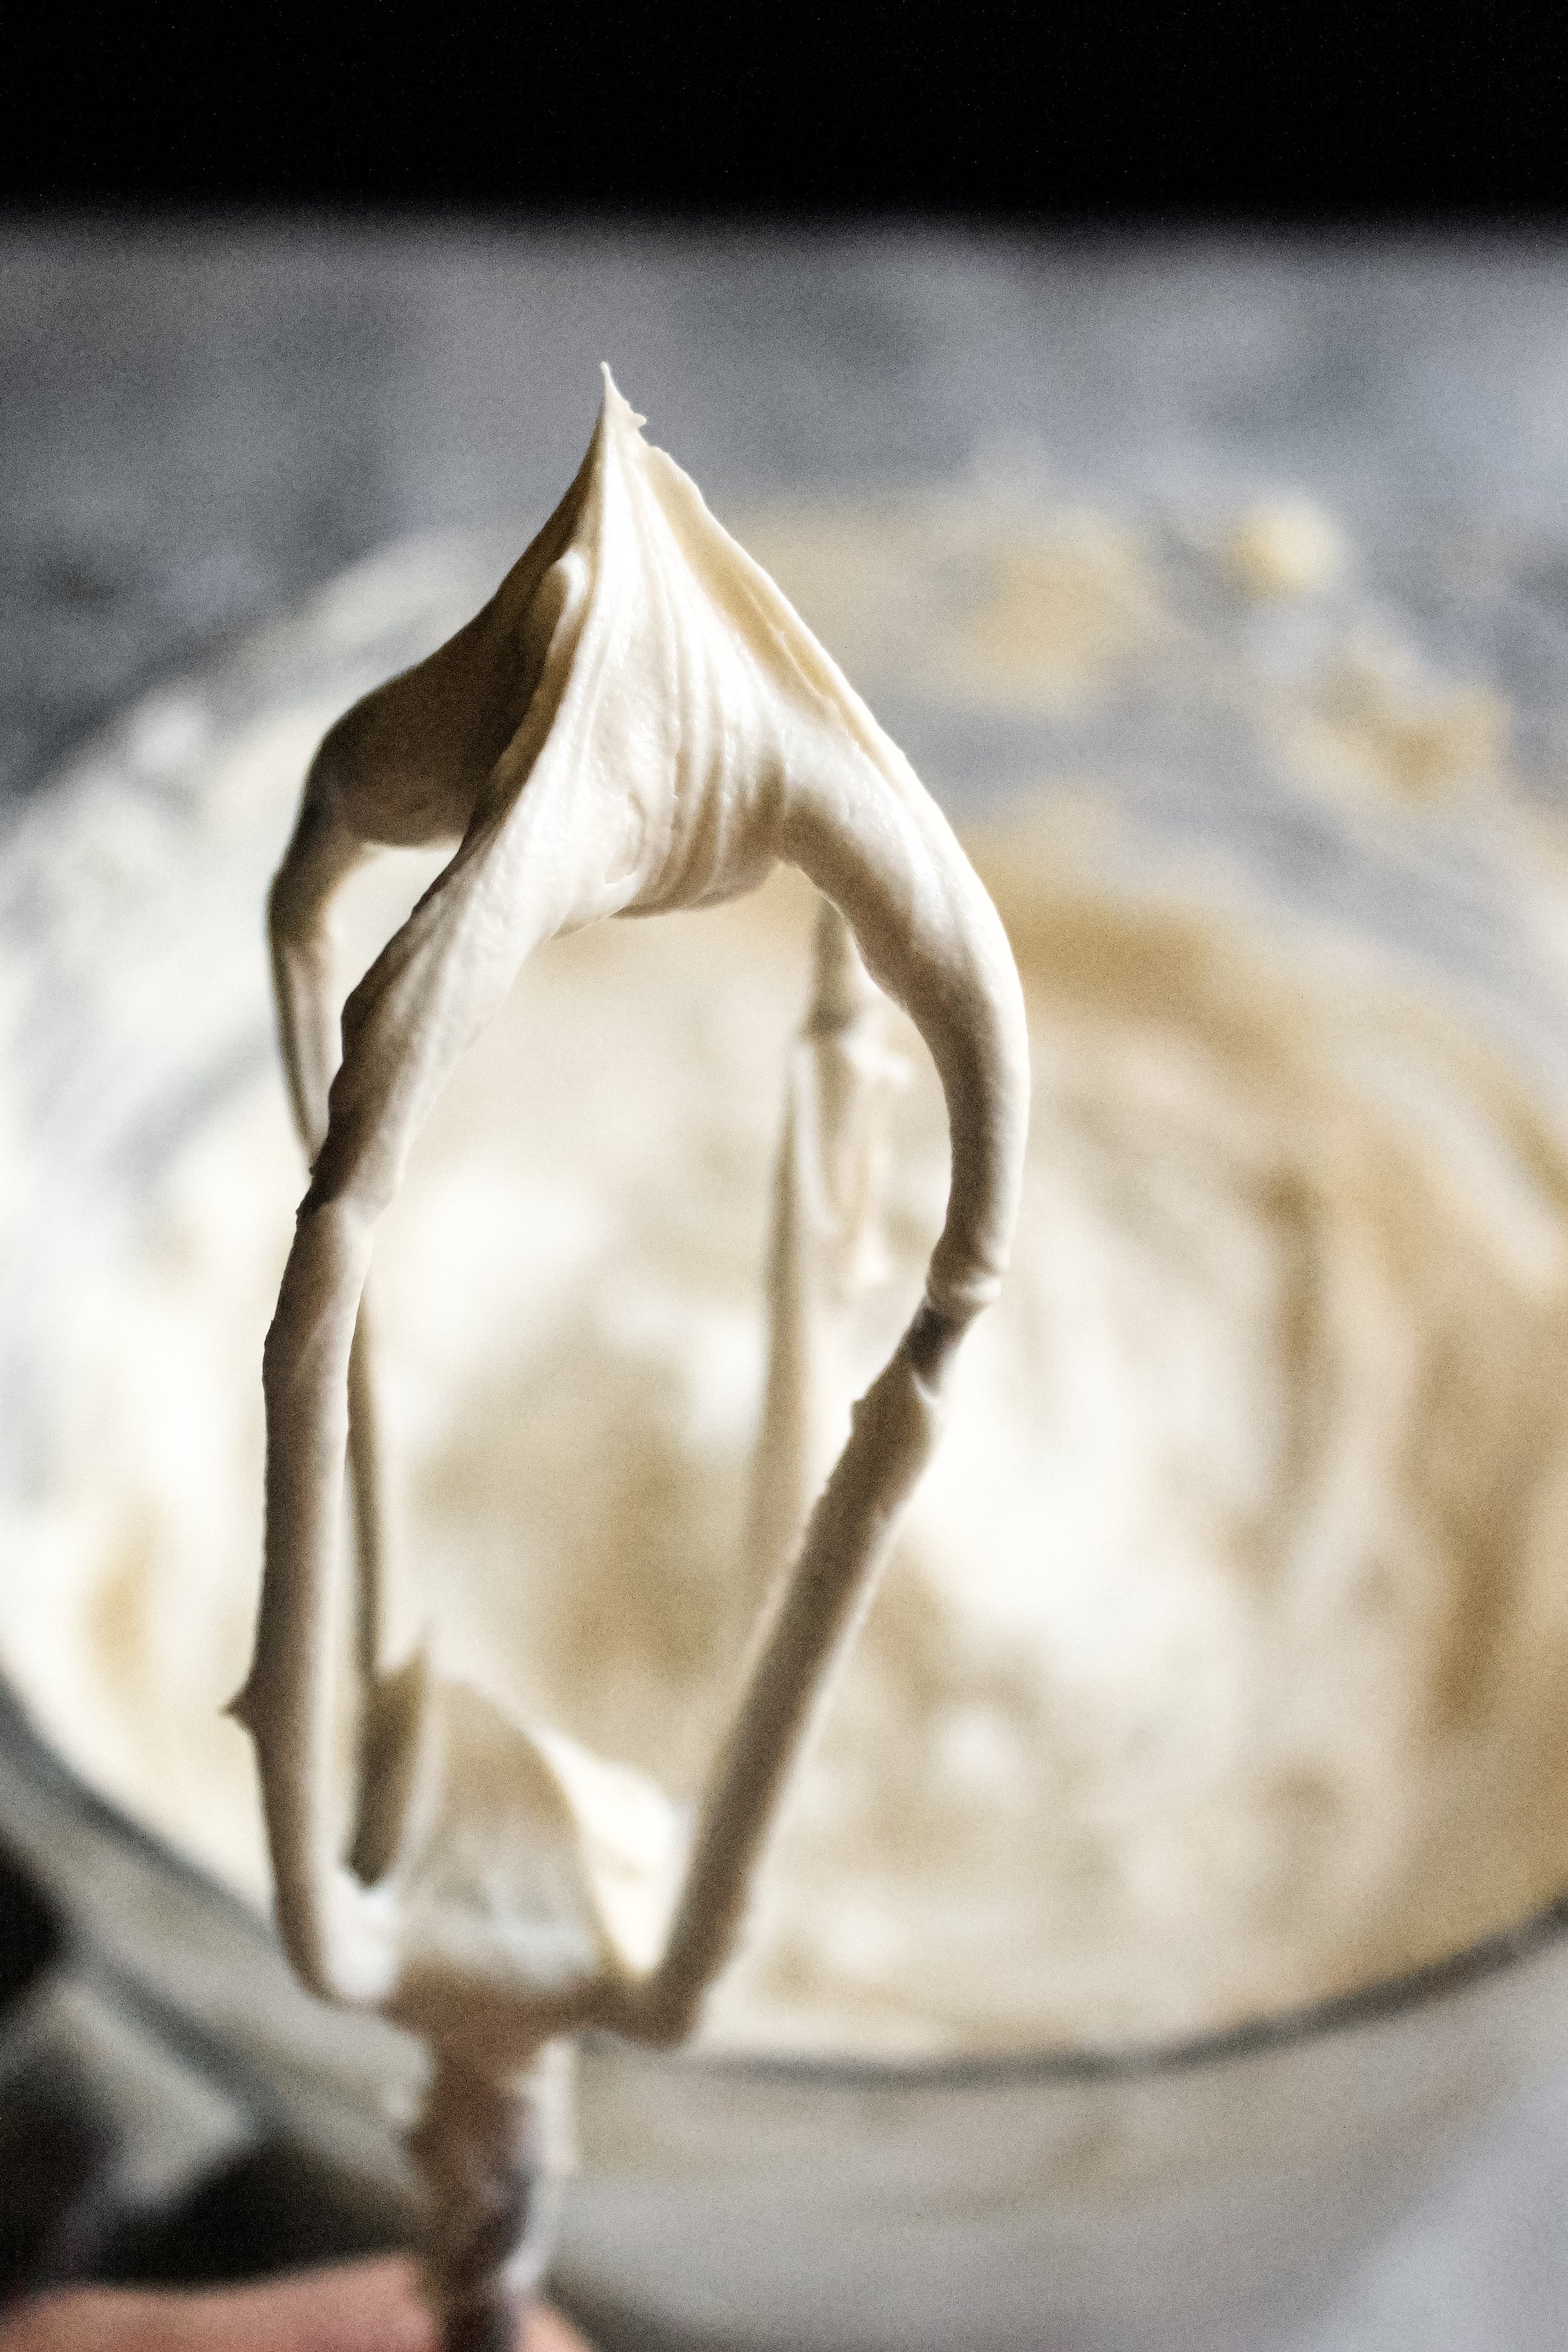
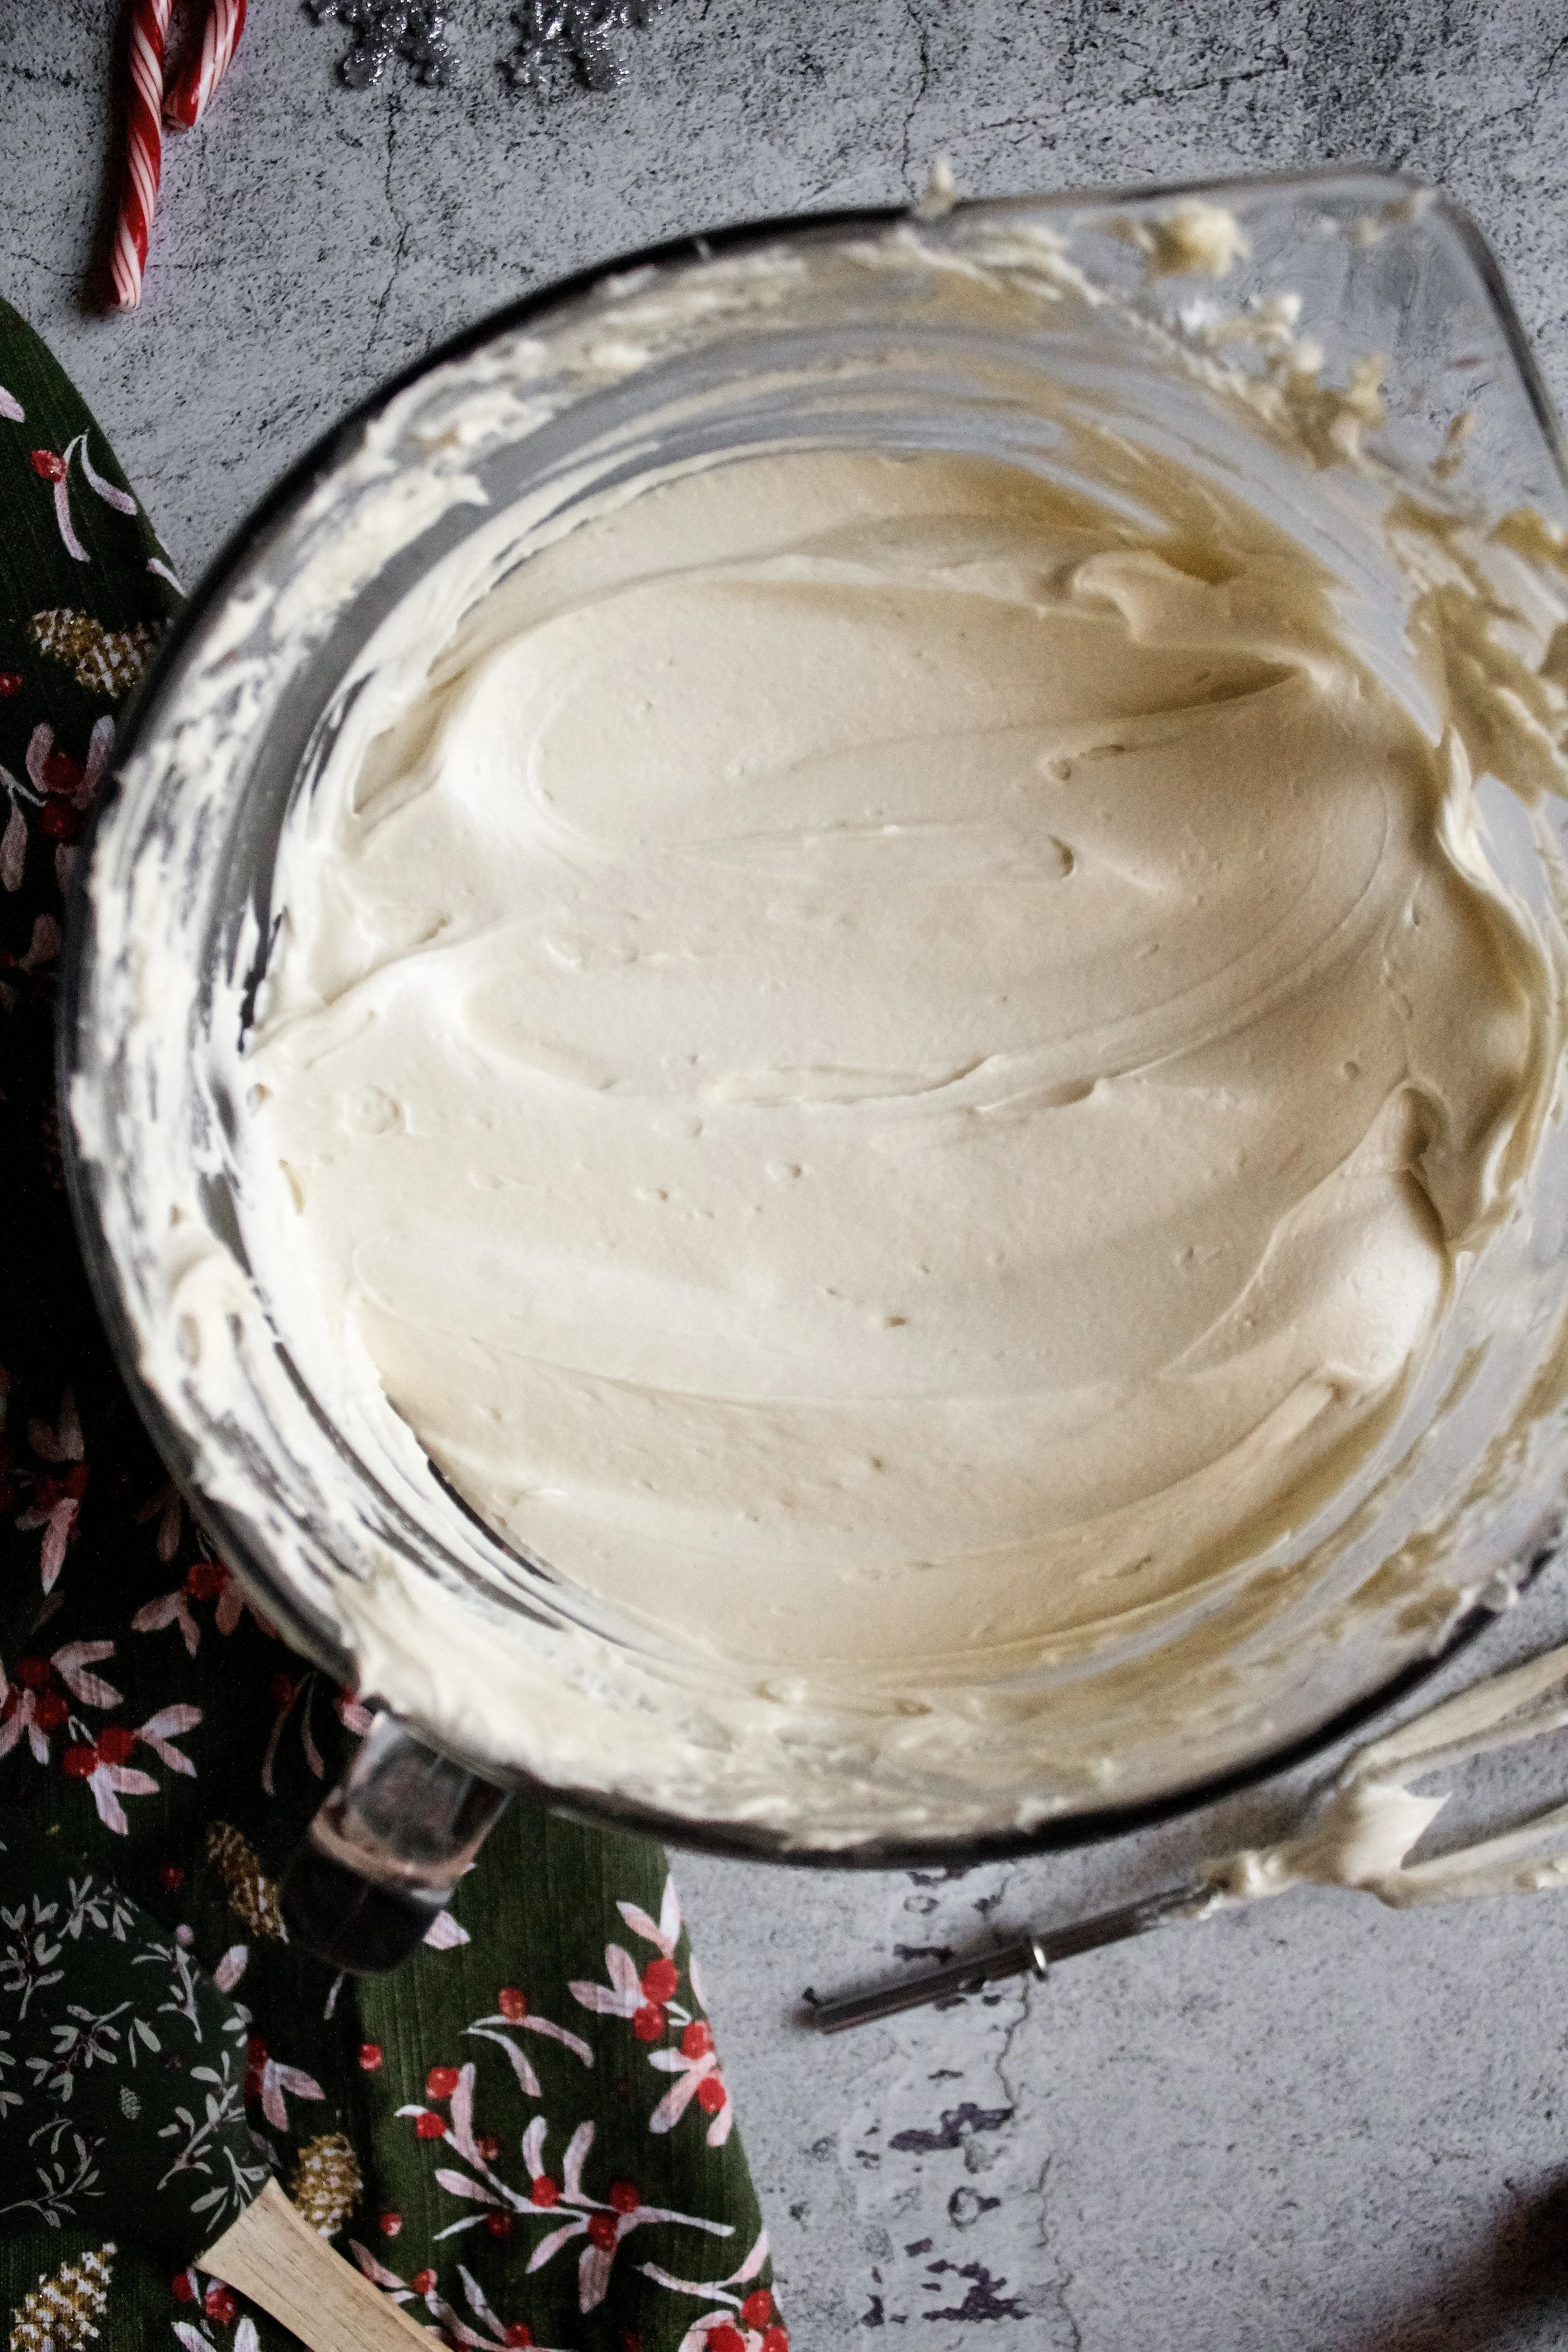
One other key is to beat the buttercream for a few minutes once the flavors are to your liking. It creates a super fluffy, creamy, smooth buttercream that’s easy to spread and isn’t too heavy. You always need to stir a buttercream by hand (or mix on lowest setting) to release air bubble, and that’s especially necessary when you whip the buttercream like this. It will create a smooth, flawless, easily spreadable buttercream that’s slight and creamy.
Key ingredients
Butter. I always use European style butter in my frostings, but it’s especially helpful in this recipe, as you don’t want to lose too much volume in the browning process (to water evaporation). Unsalted butter is ideal, as salted butter can sometimes create a metallic taste when browned.
Powdered sugar. Also known as icing or confectioner’s sugar. This is added to taste, as browned butter can turn out a little differently each time, which will affect how much sugar you really need.
Vanilla extract. Use pure extract, not imitation.
Peppermint extract. This is the star here. Use just a little bit to start, as it can be powerful.
Salt. Omit if using salted butter.
Heavy whipping cream. This is to smooth out the frosting, which is especially needed in this recipe due to the browned milk solids and altered overall texture of browned butter.
How to make peppermint buttercream
1. Beat butter. Be sure your butter isn’t too soft—it shouldn’t be melty or very shiny.
2. Slowly beat in powdered sugar. Do this about a cup at a time, scraping the bowl as needed.
3. Add vanilla, peppermint extract, salt, and heavy cream. Heavy cream is optional, but I always use at least a tablespoon to smooth out the frosting.
4. Adjust flavors then beat until smooth. You can add more powdered sugar, peppermint extract, or heavy cream, if needed. Do this in small increments so you don’t overpower the other flavors. Then beat on medium-high for a few minutes until very light and fluffy.
5. Stir to remove air bubbles. You can use your mixer on lowest setting for a few minutes or stir vigorously by hand for a minute or two. Just be sure those air bubbles are gone!
Enjoy!


Pairs well with:
This won’t pair with just any cake, but it does work well with anything chocolate or Christmasy.
Cookies and Cream Crunch Cake (omit the marshmallow buttercream for a peppermint cookies and cream cake!)
Dark Chocolate Mocha Cake (omit the orange buttercream for a peppermint mocha cake!)
Cookies and Cream Mickey Santa Cupcakes (this is sturdier than the marshmallow frosting!)
Tips and FAQ’s for this recipe
Does the peppermint brand matter?
Yes! McCormick is a pretty reliable brand, but it can taste like toothpaste if you use too much. I’ve also weirdly had good luck with the Whole Foods 365 peppermint. Nielsen-Massey is another one I’ve had pretty good luck with, but I haven’t tried their peppermint. The key is starting small and adding more as needed. Also, the flavor WILL intensify over time—especially in the fridge, so if you plan to make this ahead of time or more than a few hours before serving your dessert, err on the side of “that’s just right” rather than “yeah I taste that peppermint.”
Can I use salted butter?
Yes, but you probably won’t need any salt in that case. It really depends on the brand. I often use Kerrygold salted butter and only add a pinch of salt for a double recipe of frosting, so taste as you go and use your better judgment on adding additional salt.
Do I have to stir it at the end?
Yes! It’s best practice to beat your buttercream on high or medium hight for at least a minute after everything is to your liking. It really does create a creamier frosting. However, it also creates bubbles (womp womp). So you need to stir those bubbles out, and doing this by hand is the best method I’ve seen so far.
Take your time adjusting the flavors
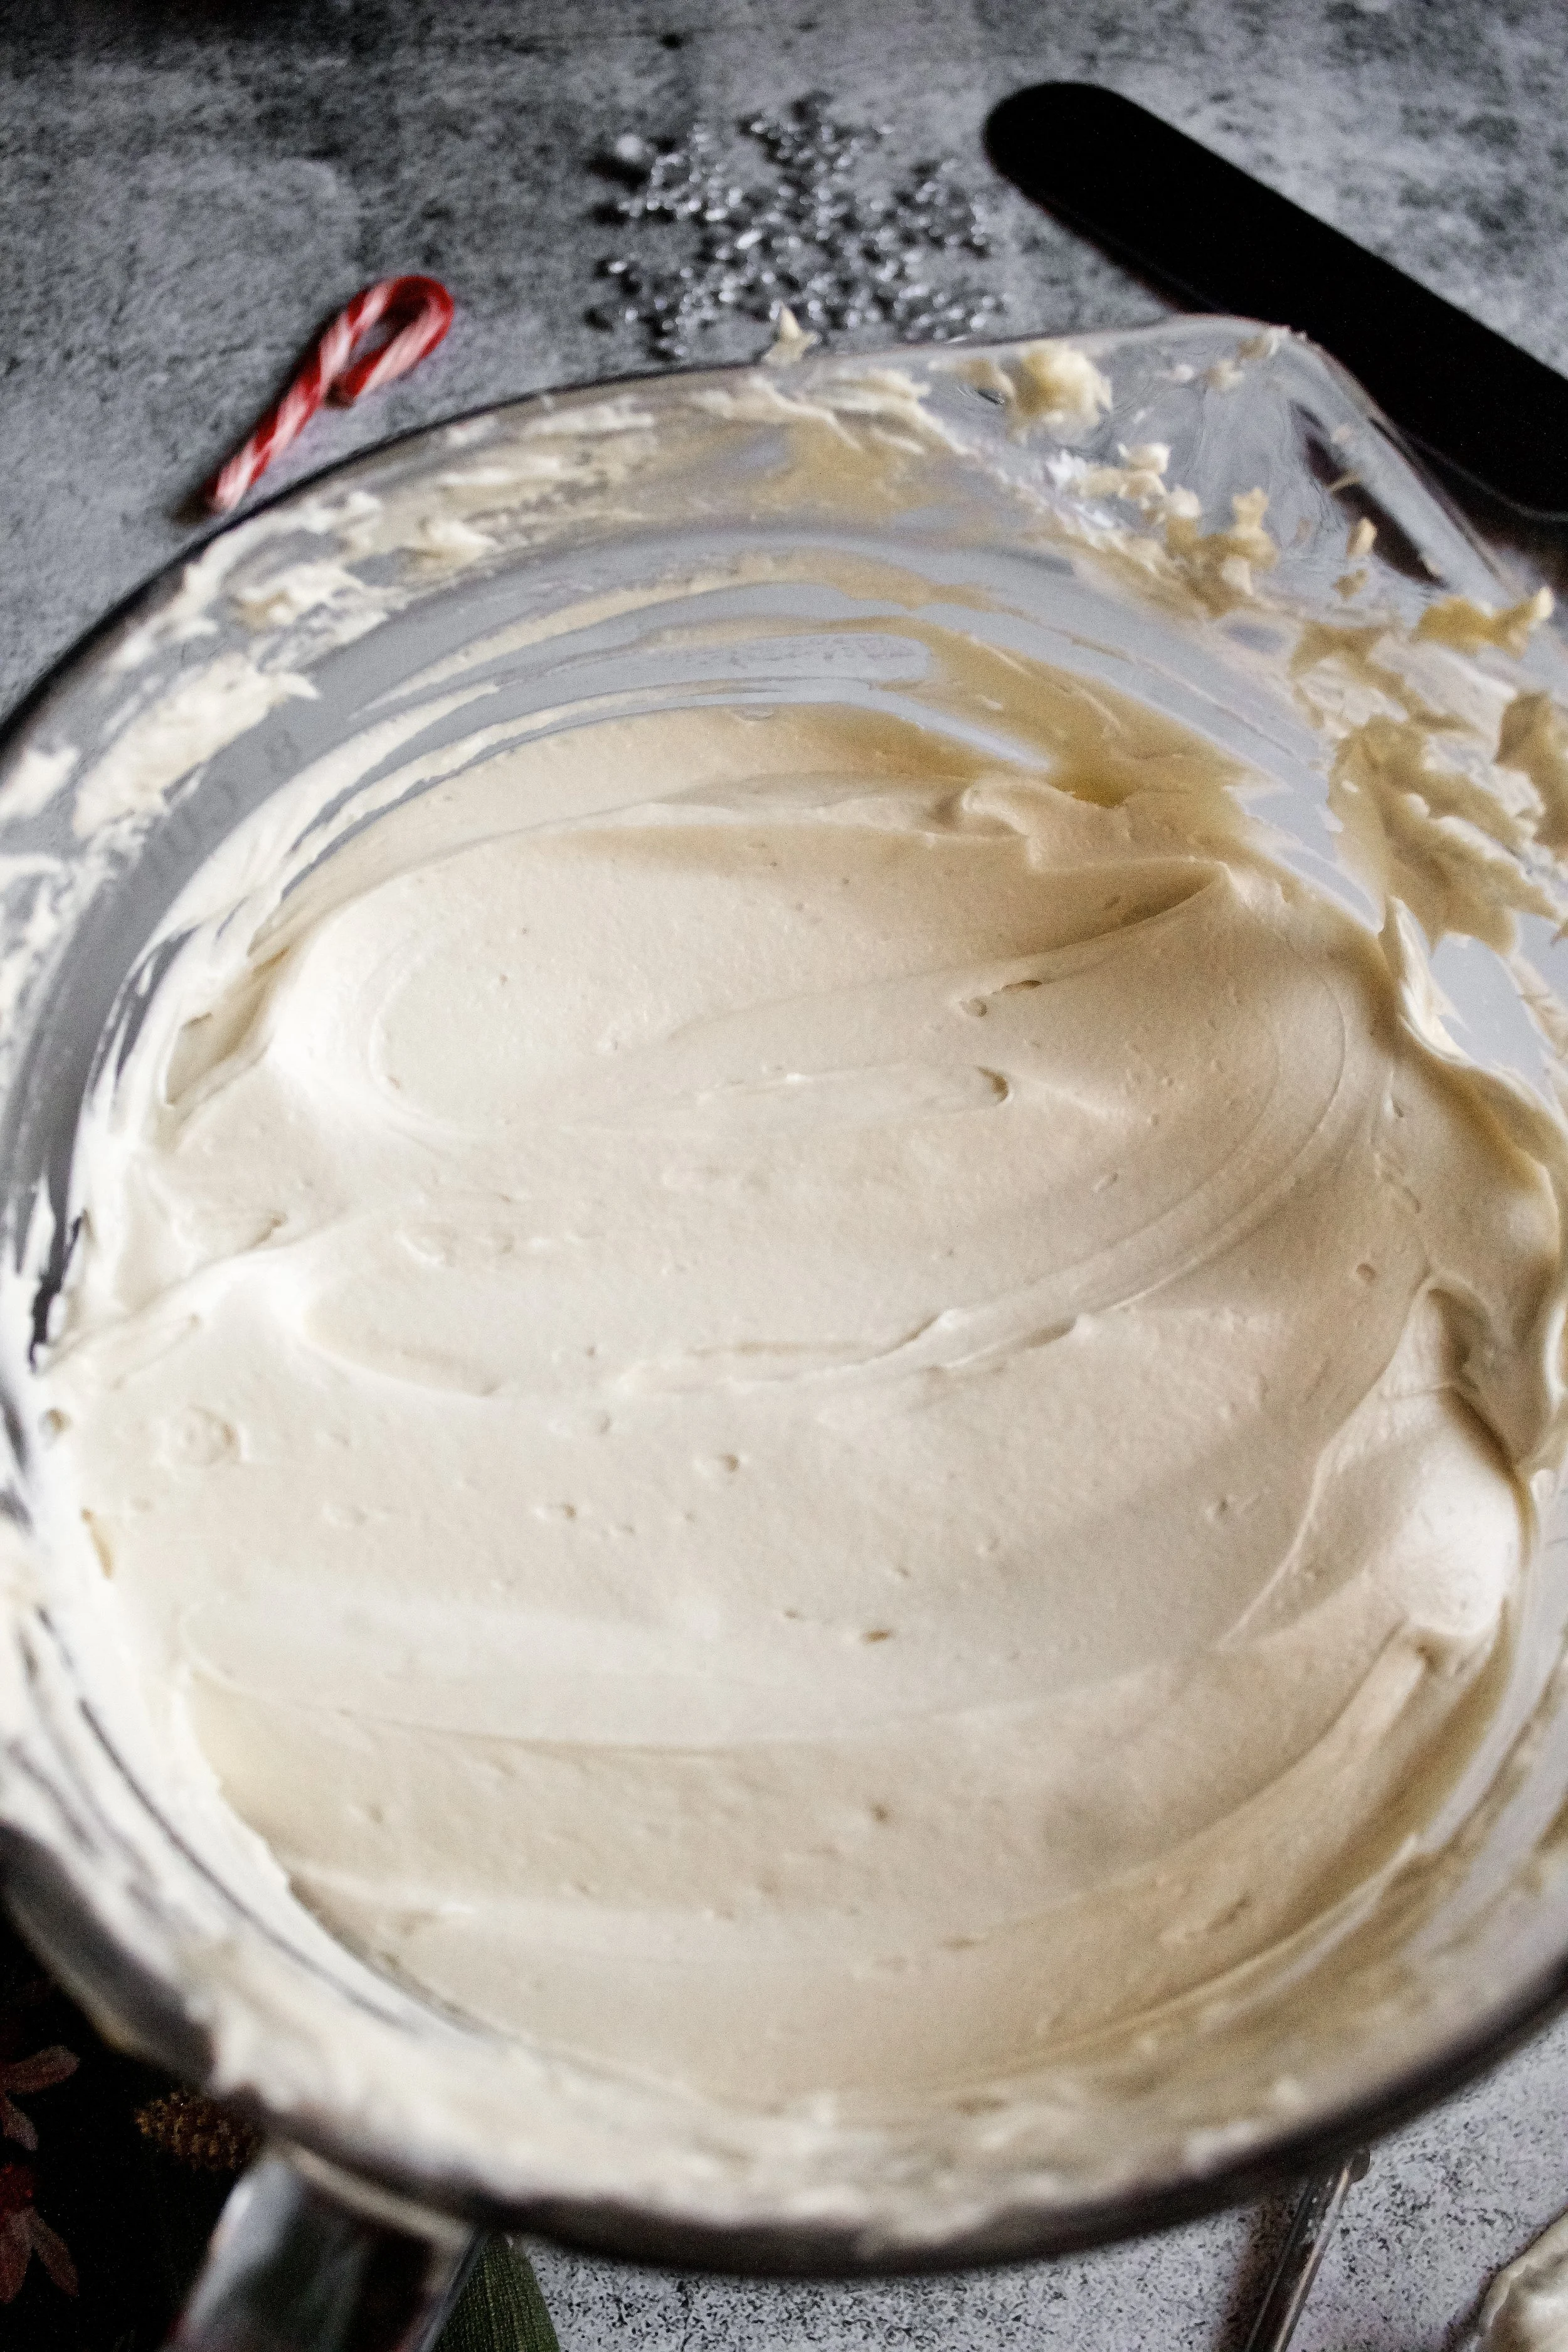
If you add too much peppermint extract (which is easy if you don’t use a measuring spoon), it will be overwhelming and taste like toothpaste. Or, the absolute worst, is adding too much heavy cream. You can easily turn American buttercream (which is what this is) to soup or cause it to break (i.e. separate) by adding too much liquid, such as heavy cream or coffee. So, use a light hand and have the patience to take an extra 5 minutes adjusting the flavors. In the end, you’ll love the result and get to taste test more frosting.

Refrigerate overnight if possible
When you refrigerate buttercream, it helps smooth it out quite a bit. Plus, it helps the flavors deepen. Since each brand of malt powder is different, you may feel like your buttercream is grainy. Covering it and putting it in the fridge overnight then giving it a good stir once it comes to room temperature is really helpful in smoothing out any remaining graininess.
My tools
Here are my must-have tools I use for making this buttercream. Affiliate links provided.
1M piping tips (for piping rosettes)
Offset spatula (if frosting a cake)
Peppermint Buttercream
- total time: 5-10 minutes
servings: about 3 cups (enough to thickly frost a 2-3 layer cake or 24 cupcakes)
Ingredients:
- 2 cups (454g) unsalted European style butter, softened
- 5-8 cups (650-1040g) powdered sugar
- 4 teaspoons (17g) pure vanilla extract
- ¼-½ teaspoon (1-2g) peppermint extract
- ½ teaspoon (3g) finely ground sea salt (or 1 teaspoon table salt)
- 2-4 tablespoons (30-60g) heavy whipping cream (optional)
Instructions:
- Add butter to the bowl of your stand mixer fitted with the paddle attachment (or a large, deep mixing bowl and using a hand mixer). Beat butter on high for 1-2 minutes, scraping down sides and bottom of bowl with a rubber spatula a couple times.
- Add powdered sugar one-ish cup at a time, starting mixer on low to avoid a poof of sugar flying everywhere. Slowly increase speed to high, mixing until smooth after each addition (about 30 seconds or so for each cup). Scrape down bowl every 2-3 cups. If it’s looking grainy, add a small splash of cream when you scrape the bowl.
- After adding about 5 cups powdered sugar, add vanilla, ¼ teaspoon peppermint, and salt and mix until fully combined. Taste, adding more peppermint if needed (do so cautiously, as the flavor intensifies with time, especially in the fridge). Depending on your brand of peppermint, you may need to use more than ½ teaspoon.
- Taste your frosting and keep adding sugar, this time ½ cup or less at a time, until it reaches your desired taste or thickness. Add cream as needed, in small splashes, to smooth out the frosting (but remember that the next step will help smooth it as well). Don’t add too much cream, as there’s no recovering from that. Be conservative—you can add more later.
- Once you’re happy with the taste/thickness, scrape down the bowl again then beat on high for 3-5 minutes. I sometimes scrape the bowl once in the middle of this if I notice a yellower tinge along the edge of the bowl (see note about achieving a truer white color). This tinge just means the buttercream on the edge isn’t getting pulled in and whipped as quickly as the rest, and it can happen if you’re making a smaller batch or if you have a larger stand mixer (like I do).
- Once light and fluffy and fully blended, turn off mixer, remove bowl, then scrape down sides and paddle attachment. Using the same rubber spatula or a large wooden mixing spoon, stir vigorously by hand for about a minute, or until you no longer see any air pockets as you stir. When I’m feeling lazy, I mix semi-vigorously and just look for a smooth texture. If you’re making a large batch of frosting, you can theoretically do this with your stand mixer on low, but I’ve found it’s not as effective as stirring by hand. Just consider it part of your Michelle Obama arms workout. #sheismylifegoals
Enjoy!
If not using that day, place in a sealed container or piping bags (if using the next day) and refrigerate. Frosting will last, tightly sealed, in the fridge 2-3 weeks or in the freezer about 2 months. Let come to room temperature before using. Depending on how long you chilled it, you may need to whip it quickly in your stand mixer or with a hand mixer to fluff it back up.
