
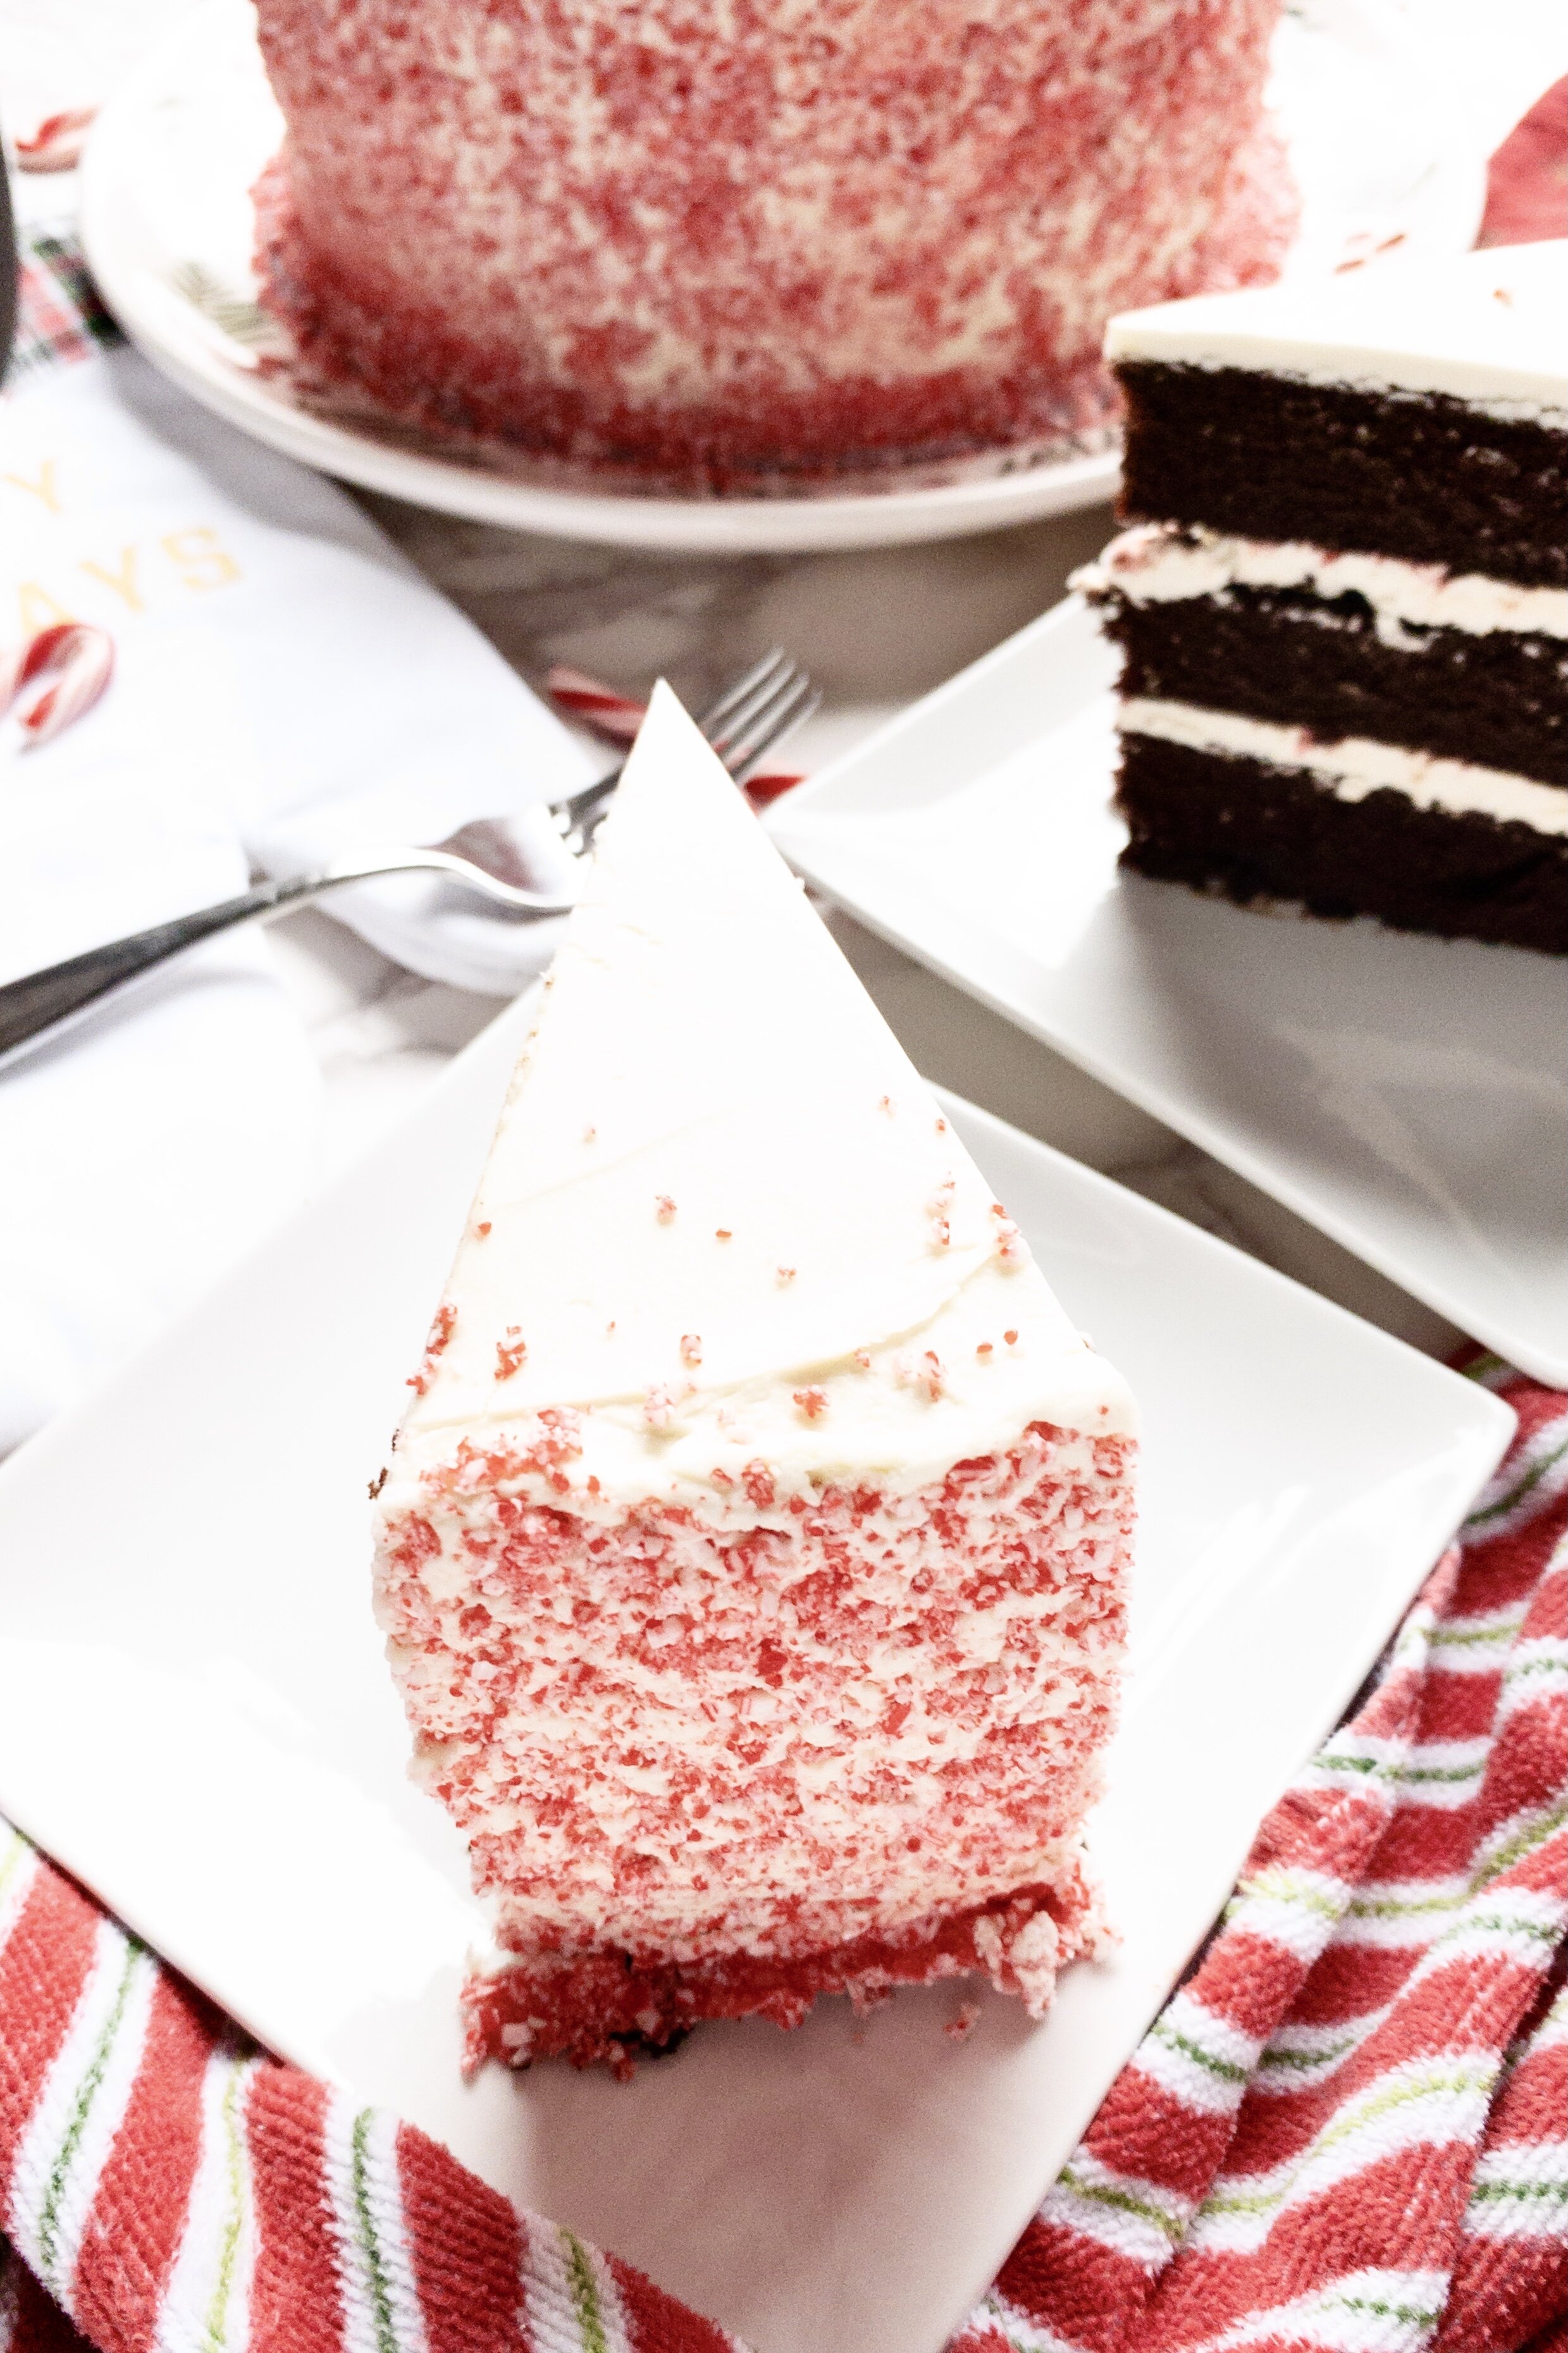
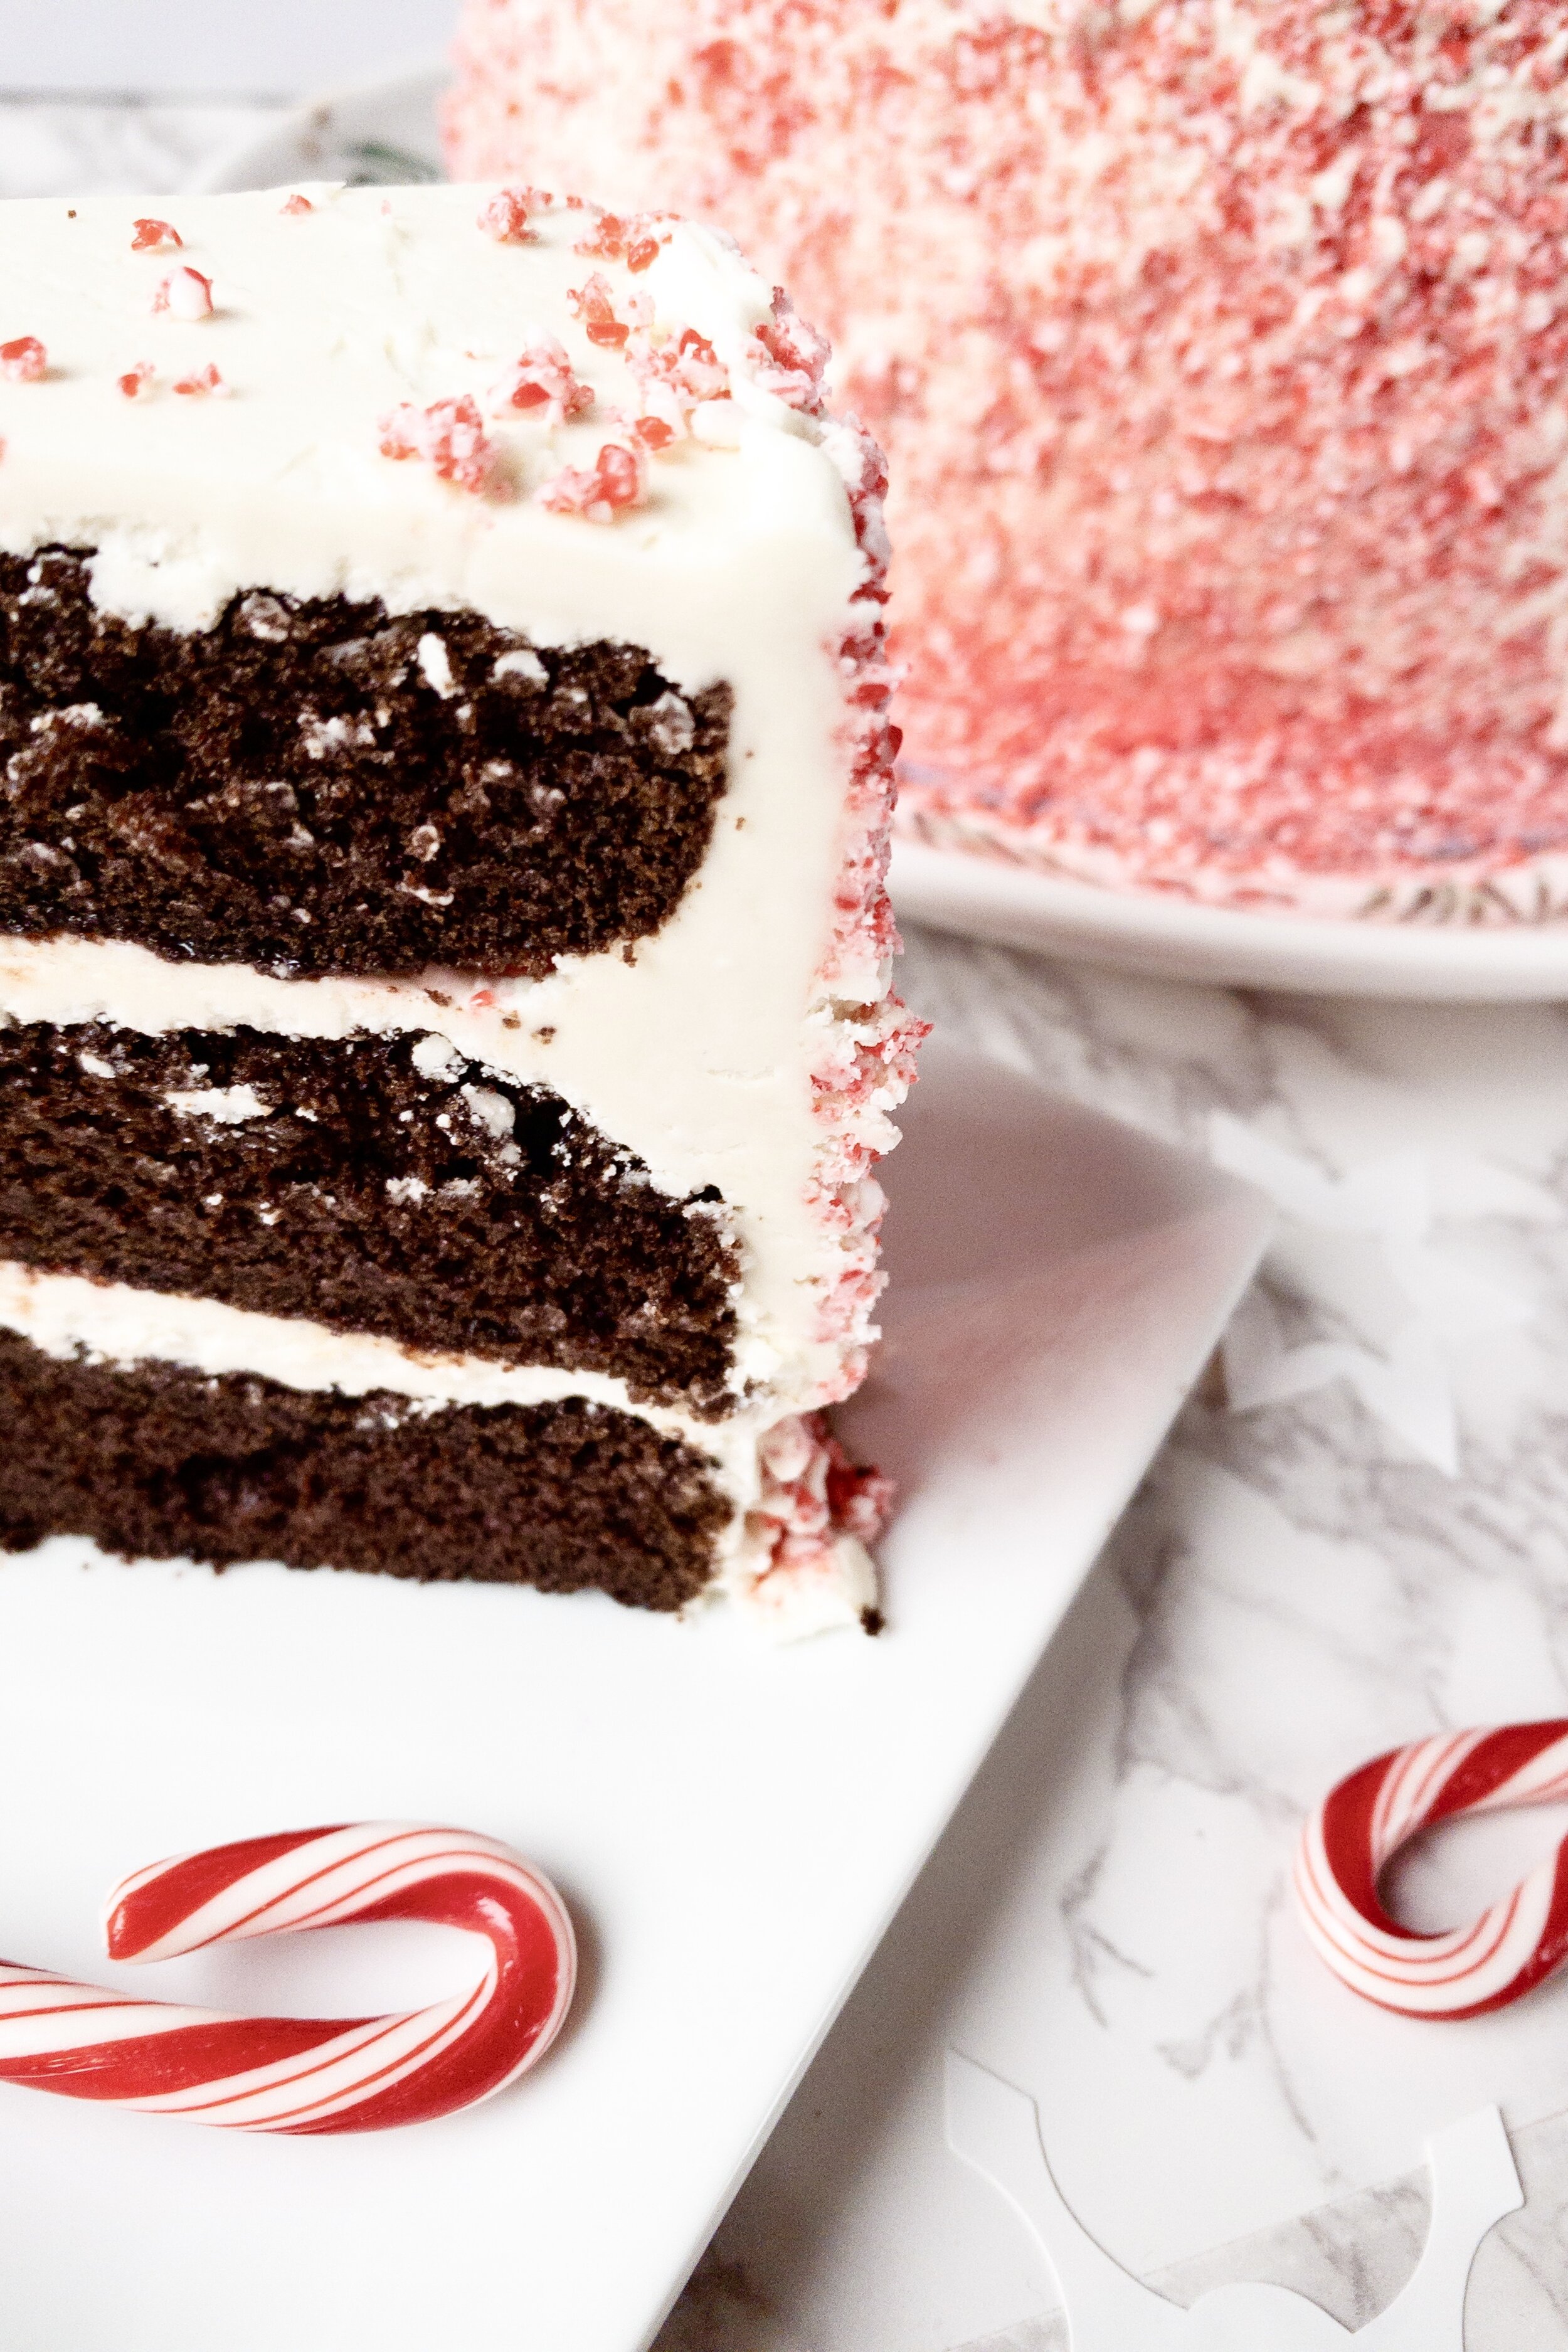
Chocolate Candy Cane Cake
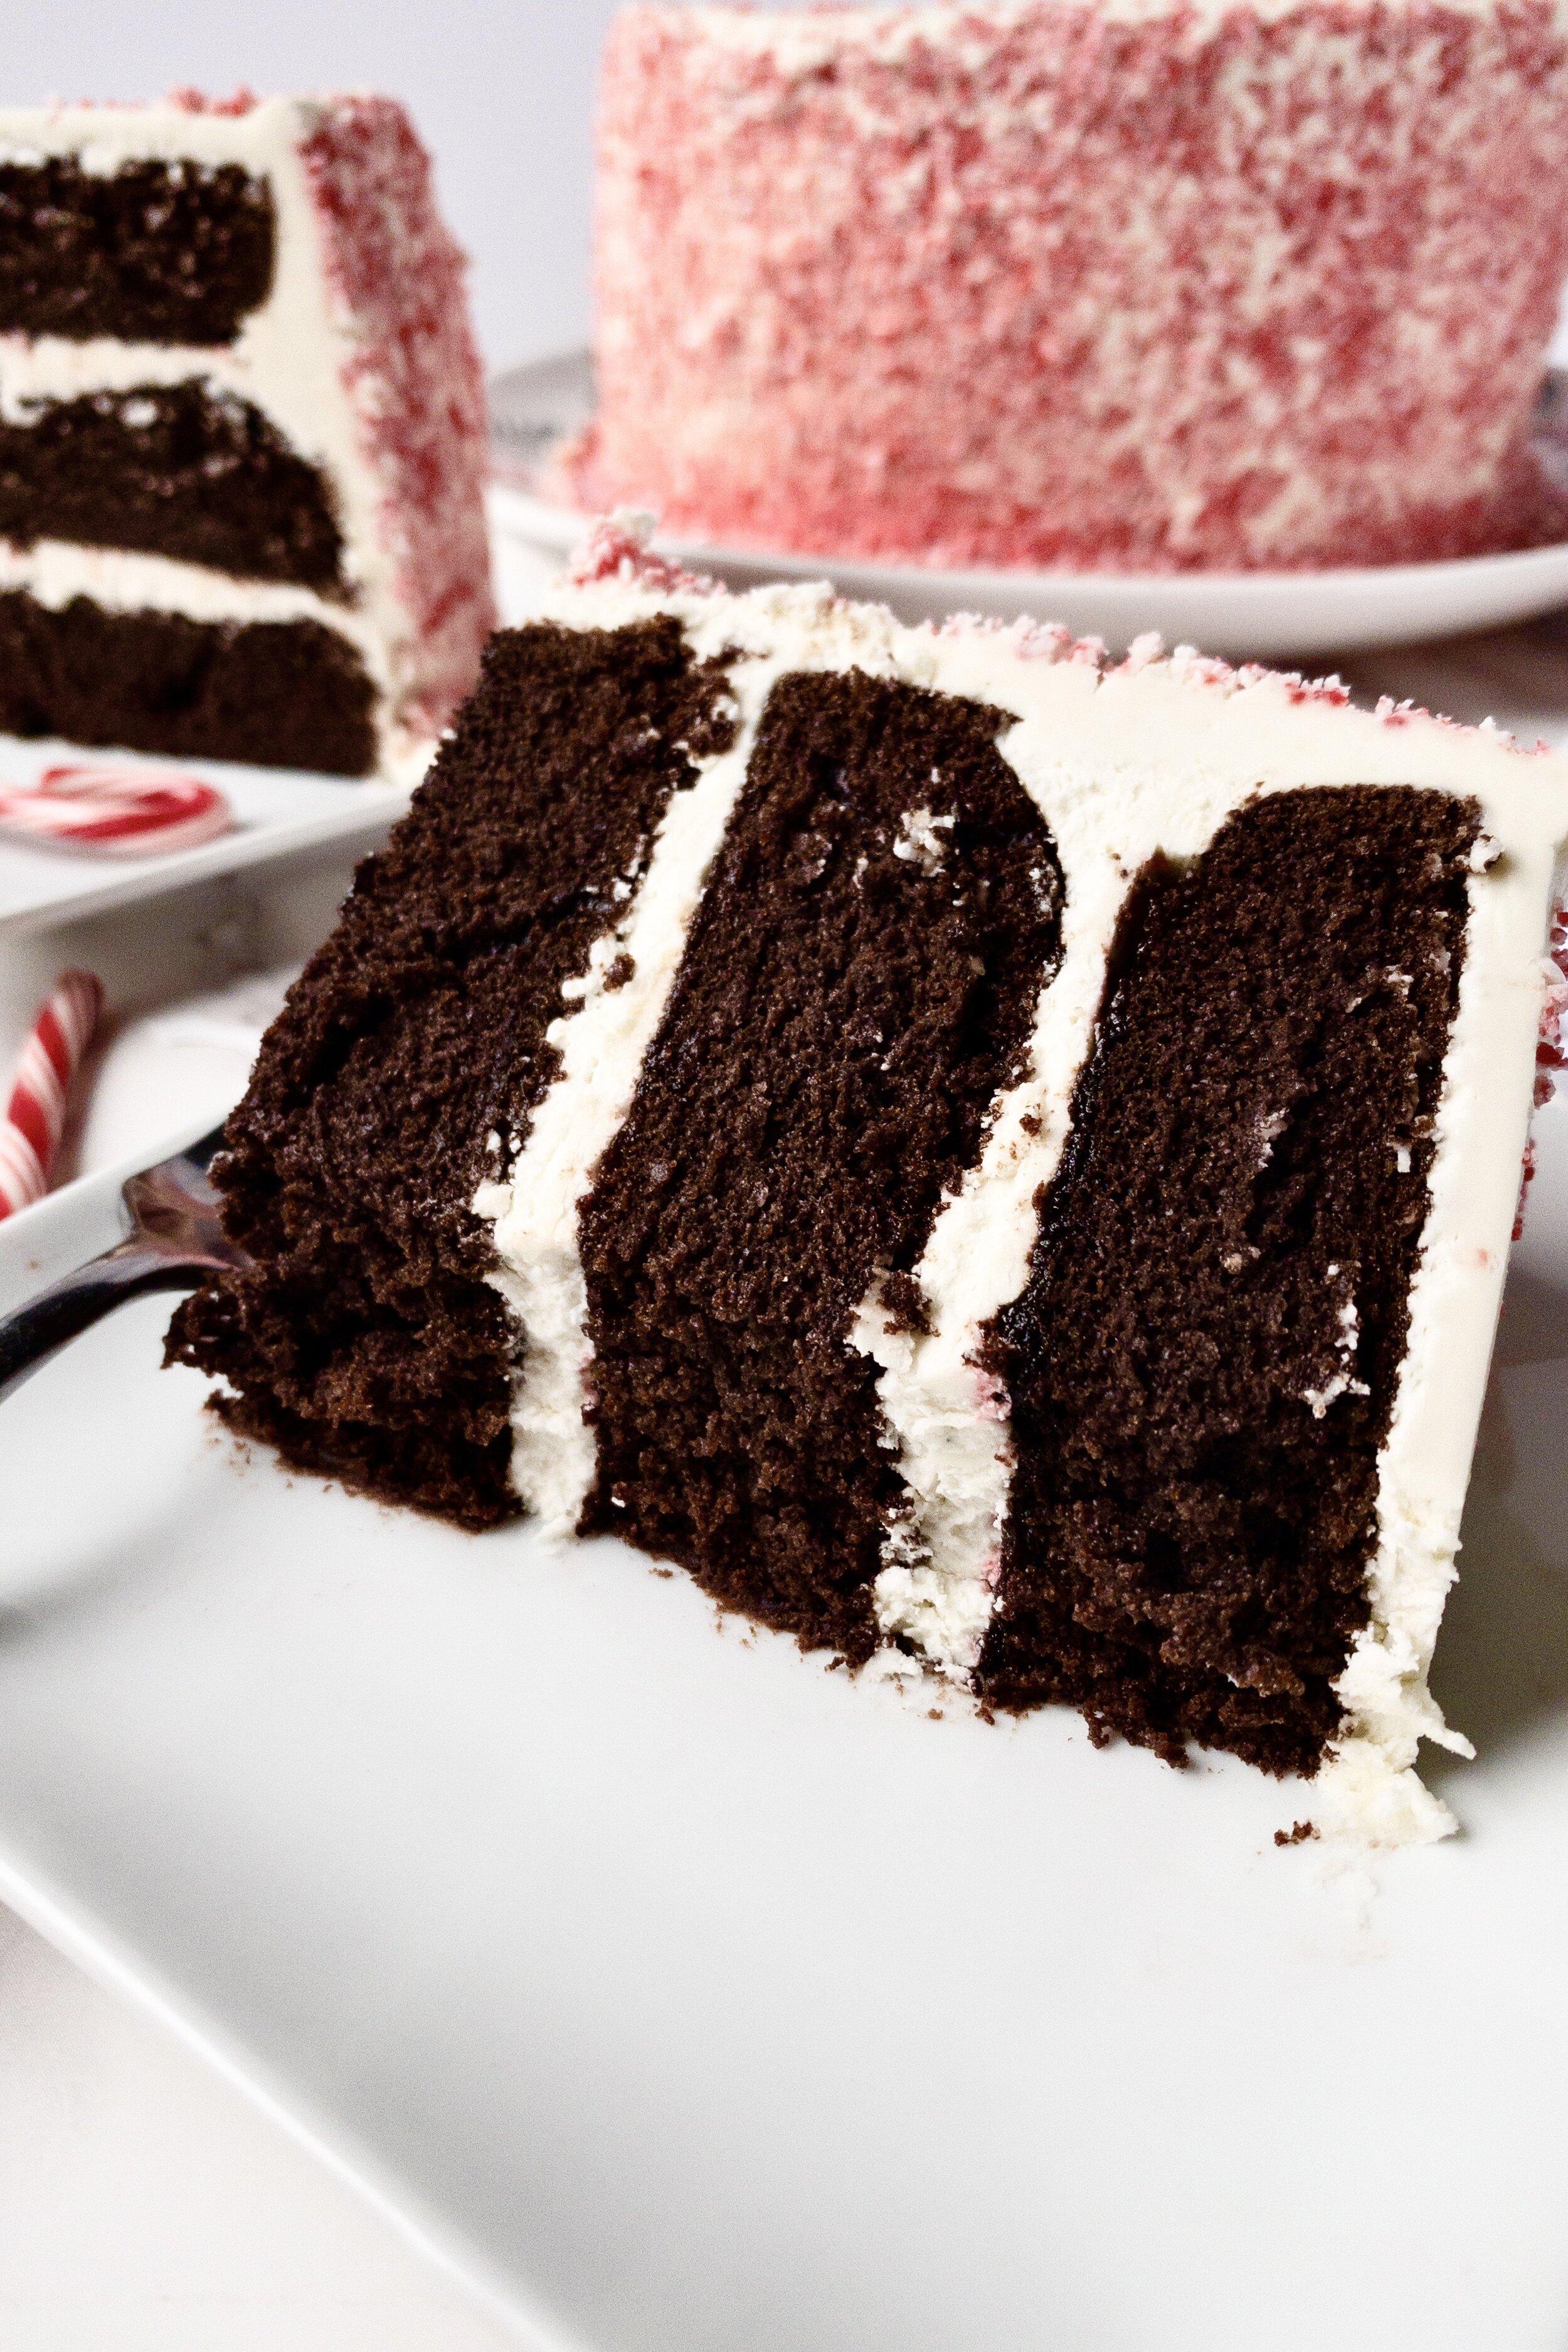
Rich and fluffy chocolate cake filled and frosted with sweet peppermint buttercream and crushed candy canes. This cake is delicious, festive, and not very technical to make! In our house, it just wouldn’t be Christmas without our favorite holiday cake.

I had a bit of a crisis this morning. I couldn’t decide how I wanted to decorate this cake. Yup. Big crisis.
In my mind the stakes were just so high because this cake is so special to me. It’s honestly one of my favorite cakes. I look forward to it every year. We make it at least once a season, for my husband’s big Greek family party. It’s rich and chocolatey and minty and just the right amount of sweet. The balance of dark chocolate and peppermint is, in my opinion, perfection.
And each year we pick a new way to decorate it, sometimes attempting grandiose (and difficult) designs. Even when we find ourselves regretting all our choices in the wee hours of the night as we struggle to execute an idea, it’s always fun and one of my favorite traditions.

Only I suffer from crippling indecision and couldn’t pick from the many designs we’ve used over the years plus the many ideas I’ve brainstormed for the future.

Yep, major #firstworldproblems right here.
As far as flavor, I’ve made this candy cane cake a few different ways over the years. Peppermint chocolate cake layers (that was a pretty intense cake). Dark chocolate cake layers with vanilla peppermint frosting. All the chocolate with chocolate peppermint cake layers and frosting. And sometimes I throw in a fun filling, like whipped cream or marshmallow.

So, after all my agonizing and envisioning, I decided to recreate my very first version of my favorite Christmas cake, decorations and all. It’s simple and festive and honestly not difficult. The biggest key is not over baking the cake layers—which is why I bake this at 325. Easy peasy.

Also, I fully plan to share a new candy cane or chocolate peppermint cake with you each holiday season. Because I don’t know that I’ll ever run out of variations of this cake and I want to share them ALL with you!

How to make chocolate candy cane cake
First, make your cake layers. Make sure the eggs and buttermilk are room temperature first. Everyone says leave them out for an hour, but it can honestly be longer, especially for the eggs. Take them out when you’re able. Sift your dry ingredients into the bowl of your stand mixer and whisk until the cocoa is evenly distributed and there are no streaks. Attach to the mixer with the paddle attachment.

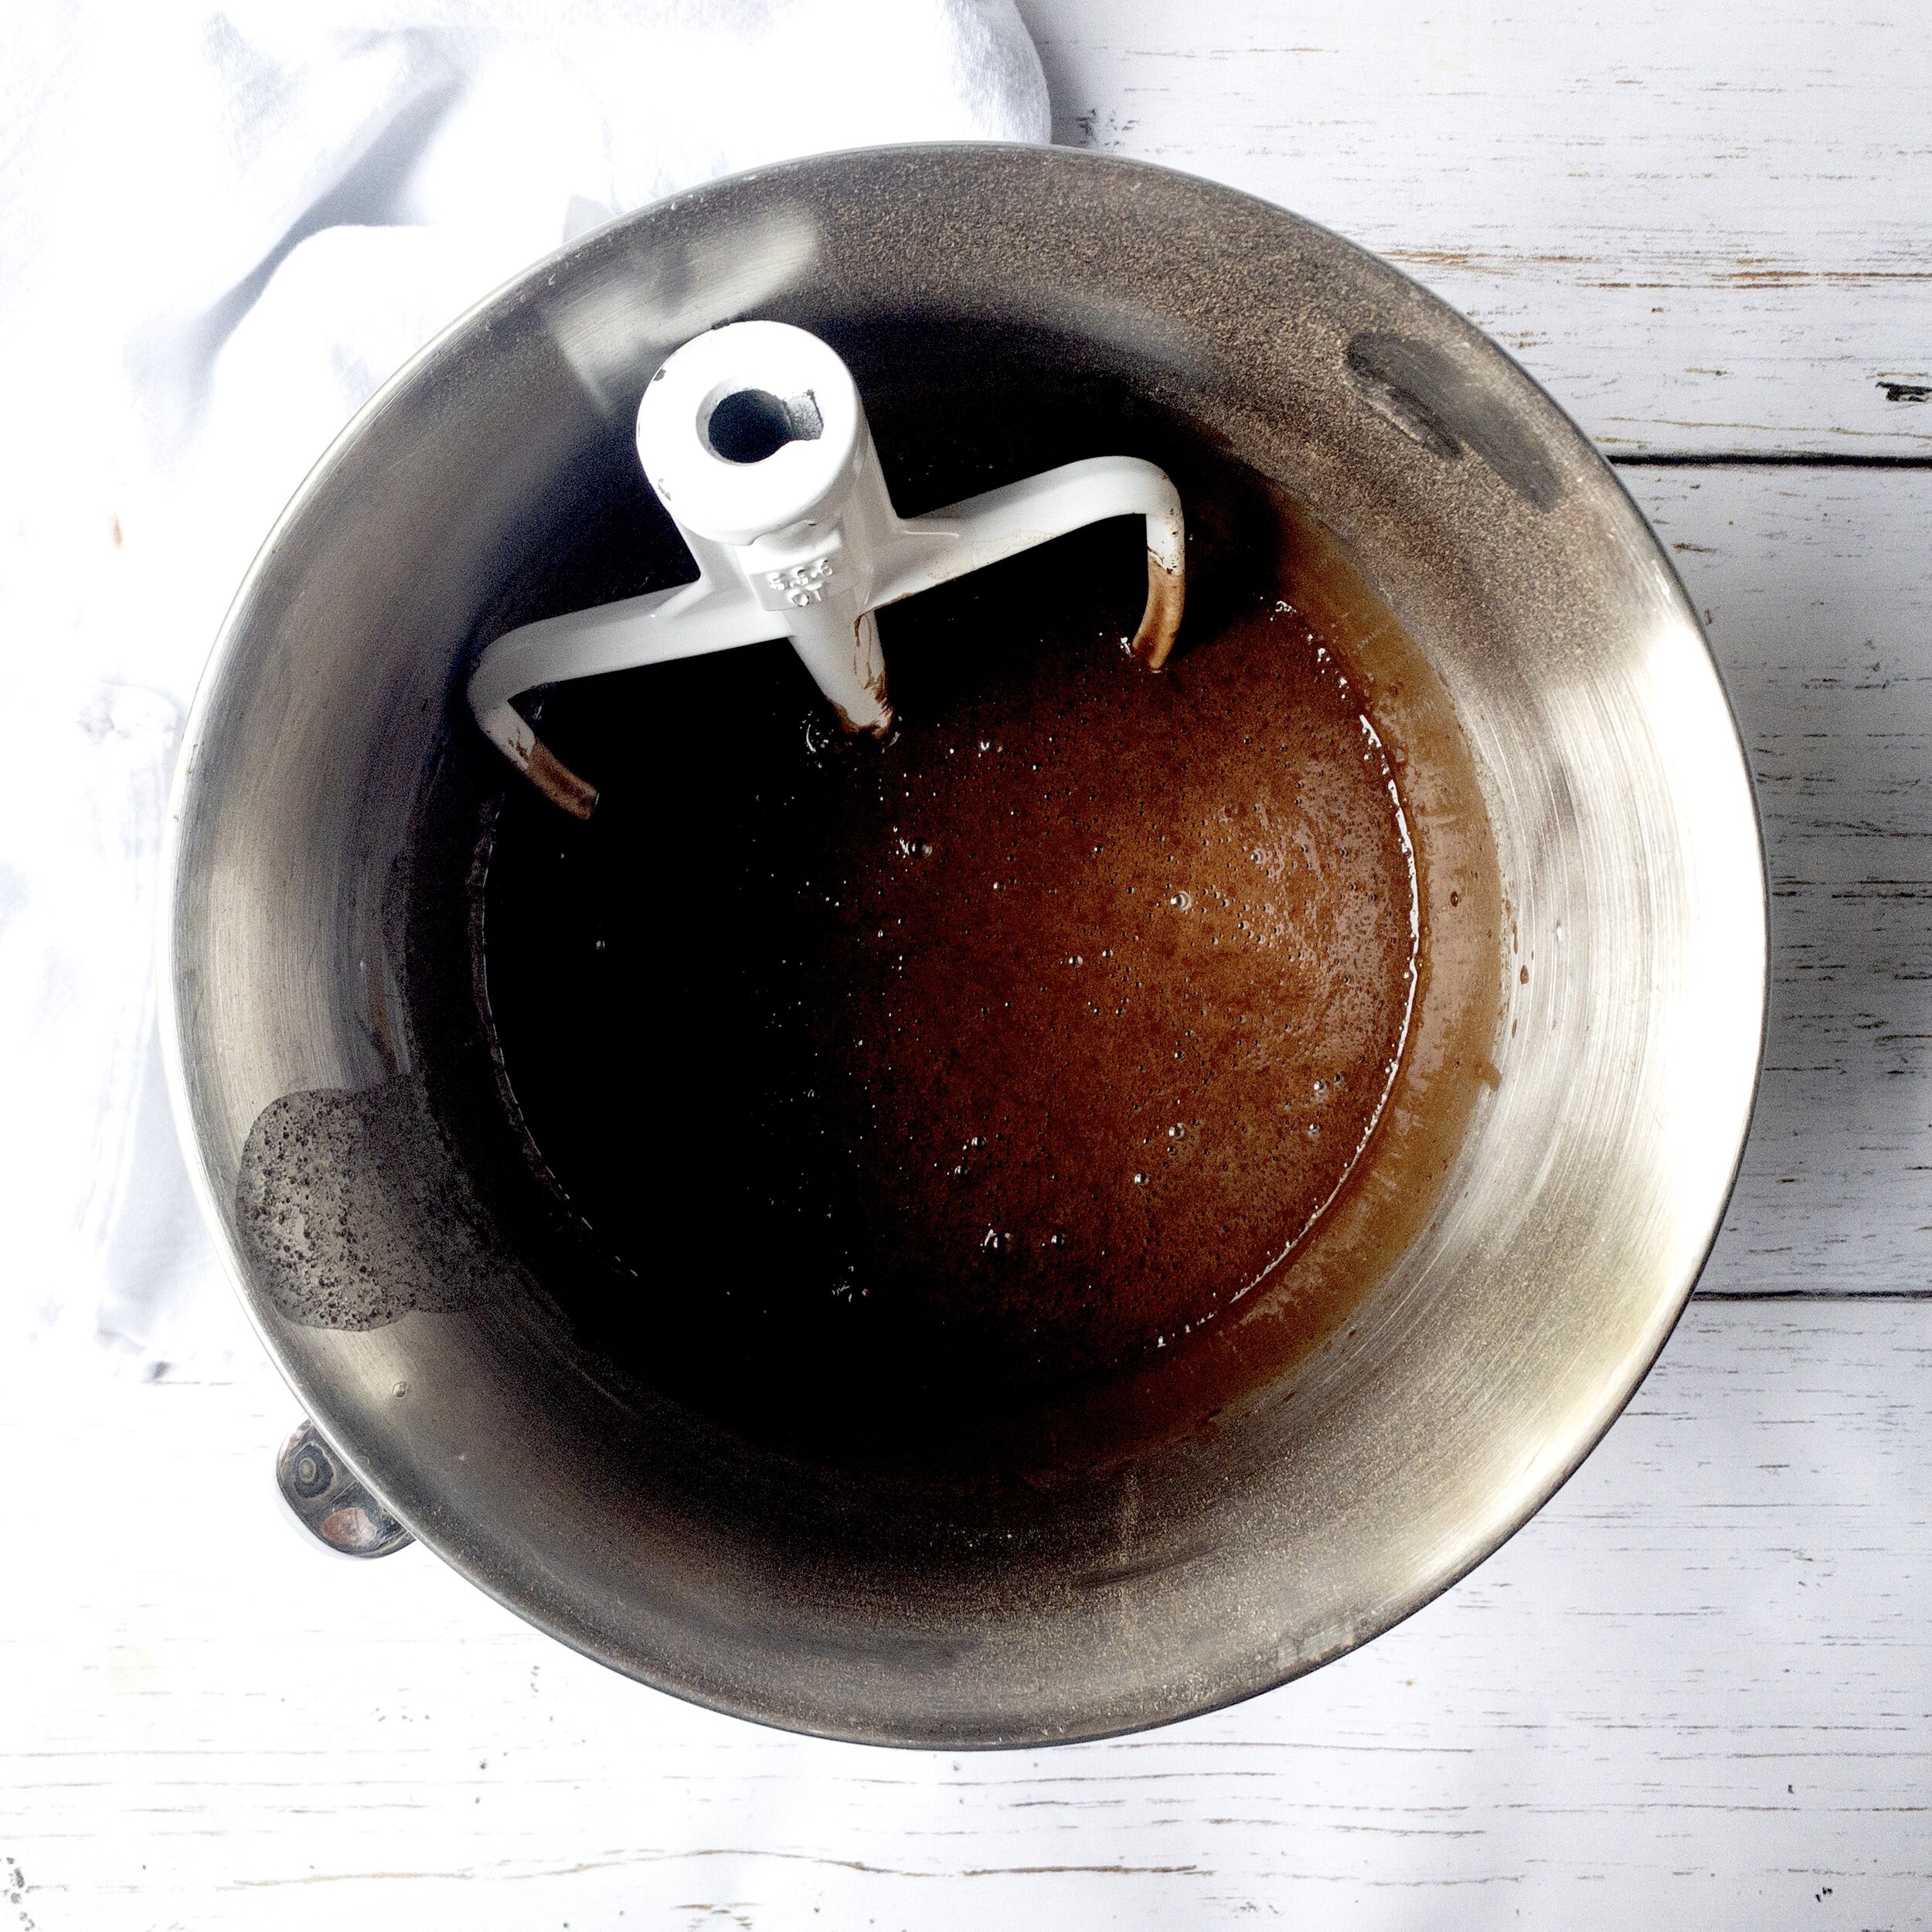
In another bowl, whisk the wet ingredients, except for the coffee, until very well blended. You want the eggs and oil fully emulsified, meaning no little droplets of either floating around. This usually takes about a minute of vigorous whisking. Once that’s blended, slowly stream the hot coffee into the wet ingredients, whisking constantly. I like to place my bowl on a rubber hot pad to keep it in place while I whisk.

Next, with the stand mixer on low, slowly stream the wet ingredients into the dry. It should take you about 30 seconds or so to do this, so don’t rush it. Once it’s all added, scrape the sides and bottom of the bowl then mix on medium for exactly 2 minutes.
Divide batter between your prepared pans. Bake for 20-35 minutes, depending on how many of what size pan you used. Check early with a toothpick. Don’t over bake; you want a few moist crumbs still on the toothpick. While the cakes cool, make the peppermint buttercream. Beat the butter until smooth, about 30 seconds.
Add the powdered sugar, one cup at a time, beating on low then slowly increasing to high until smooth. This method prevents a cloud of sugar hitting you in the face. Scrape bowl every so often.
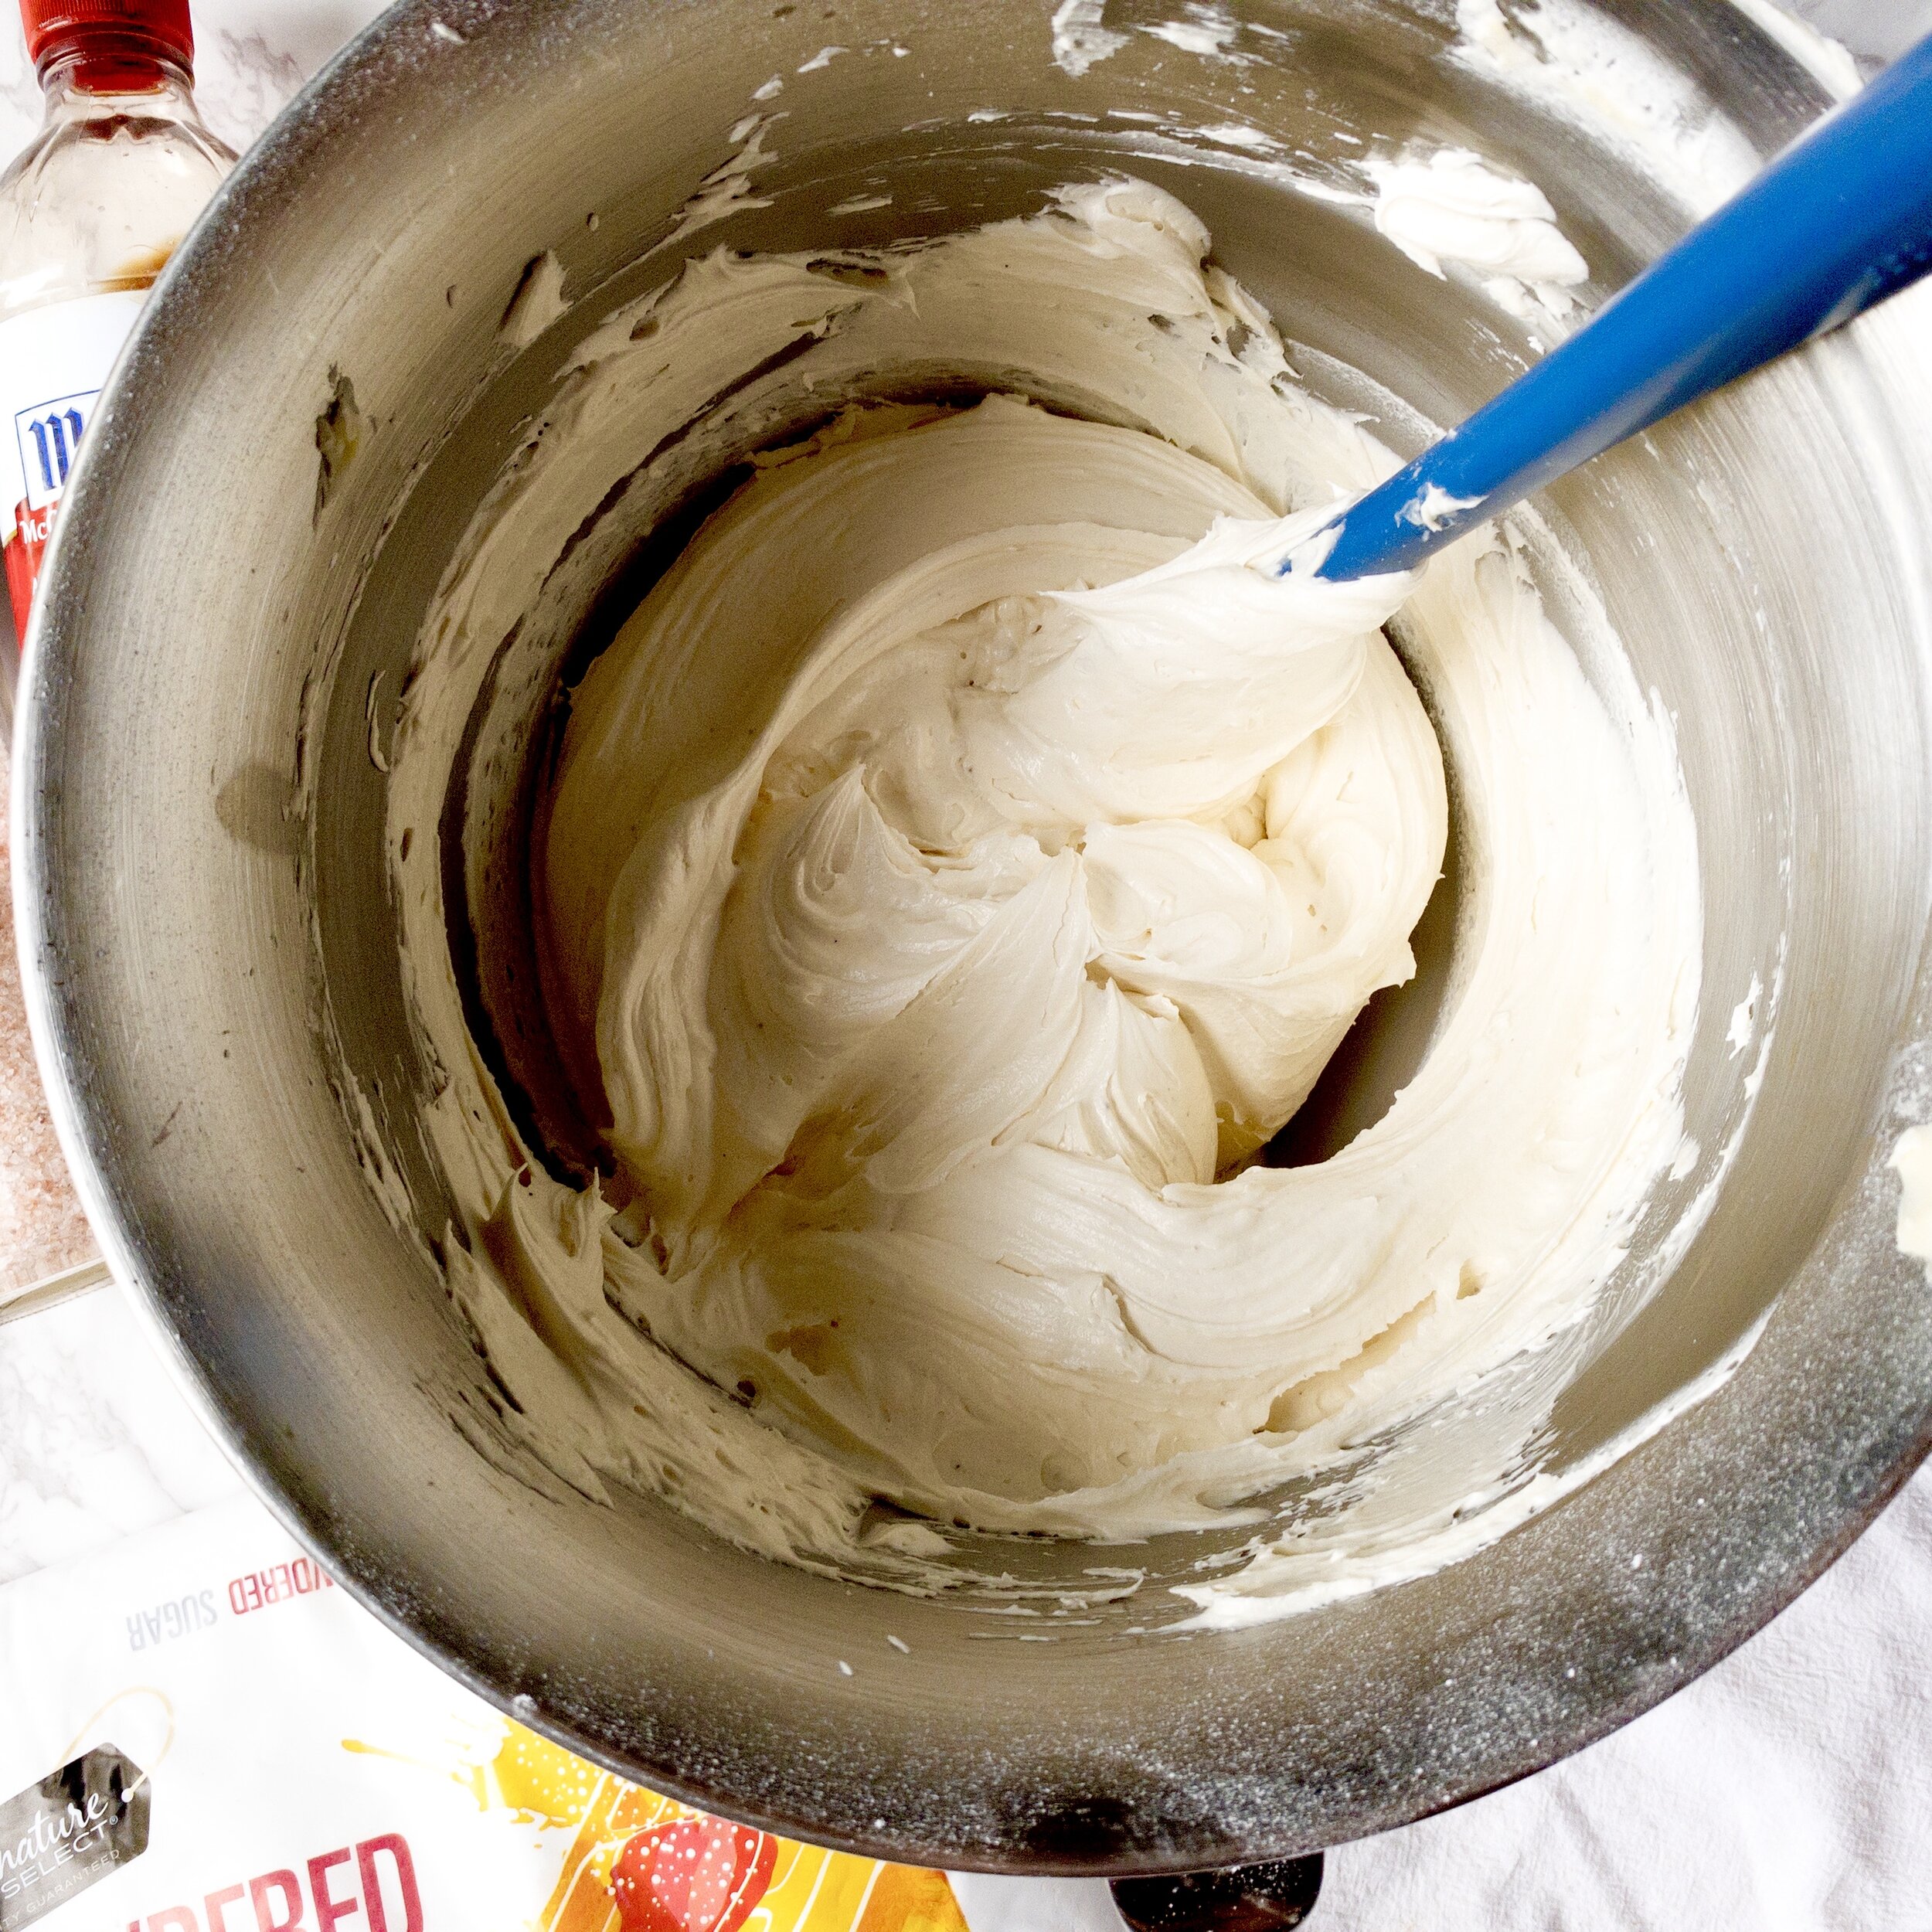
After adding the minimum amount of sugar, add the salt, vanilla, and peppermint extract. Mix on low again, slowly increasing to high until smooth. Taste, adding more sugar or peppermint (a couple drops at a time) as needed. On occasion I’ve added more vanilla, too. If needed, add a few splashes of heavy whipping cream to smooth it out. If you want a pure white frosting, add a teeny, tiny speck of violet gel food coloring to counter the yellow.

Once the taste is right, turn up the mixer to high for 3-5 minutes, stopping to scrape the sides and bottom halfway. Stop and stir with your rubber spatula for about a minute, to release the air bubbles.

Assemble by placing a layer of cake on a board or plate. Frost with desired amount of peppermint buttercream. Add crushed candy canes. Repeat with the next layer of cake and more buttercream and crushed candy canes. Top with the last layer of cake. Spread a thin layer of frosting to crumb coat. Chill at least 20 minutes. Add another layer of frosting in desired thickness. With frosting still “wet,” place the cake in a rimmed cookie sheet or baking pan. Use your hands to gently press the crushed candy canes into the sides. If they begin to clump on your hand, let them dry in the pan then separate with the back of a spoon.

Chill another 20 minutes. Serve and enjoy!
Tips for this recipe
Sift your dry ingredients
This cake is pretty forgiving, but a couple steps are necessary: sifting your dry ingredients and beating it on medium for 2 minutes after scraping the bowl. I’ve made it enough times that I can definitively say those two steps cannot be skipped. It’s also helpful not to bake after a toothpick comes out with no raw batter but still with some crumbs. If nothing sticks to your toothpick, it may have baked a little too long, so in that event only let it cool in the pan 5 minutes then remove to a plate and refrigerate to stop it baking further from residual heat.

Don’t overdo it with the peppermint
Once, I made this with all the peppermint. Peppermint in the cake, peppermint in the frosting. So much peppermint. Too much, in fact. I discovered that you really only need it in the frosting. It doesn’t show up easily in the cake, and by the time you’ve added enough to make it pop, it becomes medicinal. Kinda like eating vapor rub. No thanks. You really just want a hint, since the candy canes will add more flavor.

Candy canes are optional—but so good!
I love the way the candy canes slightly melt into the frosting. The texture and peppermint flavor together are perfection. And I love the simple look of candy canes on the outside! But if you were heavy handed with the peppermint extract in the frosting, or if you just like them, you can leave the candy canes out or just layer them in the filling.

Make the cake layers (or whole cake) ahead
The layers can be made ahead and chilled in the fridge (double wrapped well in plastic wrap) for up to a week or in the freezer (also double wrapped) for up to a month. You can also make the entire cake a day or two ahead and keep it in the fridge—but only if you make sure it’s fully sealed with frosting (no gaps at the bottom). I also highly suggest chilling it for an hour then wrapping it with plastic wrap. It doesn’t have to be tight, just sealed so the aromas of anything in your fridge (especially if you’re prepping a holiday meal) don’t absorb into the frosting.
The frosting can also be made ahead of time. You can freeze it (sealed well) for 2-3 months, refrigerate it for 2 weeks (I’ve done a month, but that usually starts to have a funny fridge taste), or leave it at room temperature overnight. I often do that last one so I have less to do the day I’m baking. If you chill it, it will need to come to room temperature then likely be whipped up again.

Seal cut edges!
If you have leftover frosting, spread some on the cut edge to keep it fresh (and be yummy the next day!). You can also use a piece of white bread attached with a toothpick then covered in plastic wrap. Or, you can just use all plastic wrap and make sure one piece actually touches the cut edge then cover the whole thing with another piece.
How to get your frosting white
The final whipping stage in the buttercream is the most important, as it adds air to help make it both fluffy and white. I usually find it’s white enough after this, but sometimes I want as pure white as possible. In that event, there are two things you can do. First, don’t use Kerrygold. Even though it’s my favorite (because our Costco carries it), it’s rather yellow. Instead, Plugra and Danish Creamery European are two good options. You can of course also go with sweet cream butter, but it has a higher water content and won’t be as fluffy and creamy and smooth. Second, use just the teeniest, tiniest speck of violet gel food coloring. Gel is key to avoid a grainy frosting. And you really do just need a speck—about the size of a grain of quinoa.


Chocolate Candy Cane Cake
- prep time: 15-20 minutes
- cook time: 30 minutes
- total time: 50 minutes
Servings: 12-16
Ingredients:
for the chocolate cake:
- 1 ½ cups sugar
- 1 ⅔ cups flour, sifted
- ¾ cup unsweetened cocoa or cacao powder, sifted
- 2 teaspoons baking powder, sifted
- 1 teaspoon baking soda, sifted
- ½ teaspoon fine ground Himalayan sea salt (or 1 teaspoon table salt, but sea salt gives a better flavor)
- 3 large eggs, room temperature
- 1 cup buttermilk, room temperature
- ⅓ cup avocado or olive oil
- 1 tablespoon pure vanilla extract
- 1 cup very hot coffee
for the peppermint buttercream:
- 2 cups (4 sticks) unsalted European style butter, left out about an hour
- 6 cups powdered sugar (or to taste)
- 1 ½ tablespoons vanilla extract
- ½ teaspoon sea salt (or to taste--I needed a pinch more)
- ¼ teaspoon peppermint extract
for assembly and decoration:
- one box candy canes
Instructions:
make your cake layers
- Preheat oven to 325. Lightly grease and flour (or use baking spray) two or three 8" or 9" round cake pans. You can also use three 6” pans. I like doing 3 pans so I get more filling without having to cut the layers in half. Line bottoms with parchment paper.
- In the bowl of stand mixer (or large bowl), whisk together sugar, flour, cocoa, baking powder, baking soda, and salt, being sure to sift as instructed. I prefer using a hand whisk for this step as the whisk attachment doesn't always get the very bottom mixed in. Fit this to your stand mixer with the paddle attachment. You can also use a large mixing bowl with a hand mixer. * I also like to make my coffee at this time so it’s fresh and hot.
- In a separate bowl, whisk together eggs, buttermilk, oil, and vanilla. VERY slowly, begin to pour in the hot coffee, whisking quickly and constantly to avoid scrambled eggs. Feel free to do it in increments if this is your first time.
- Turn mixer to low. Slowly pour wet ingredients into dry. It will clump up halfway through then settle into a liquid-y consistency. Immediately turn off mixer once all ingredients are combined then scrape down sides with a rubber spatula, making sure to get to the very bottom. Beat on medium for exactly 2 minutes. Do not overmix!
- Pour batter evenly into prepared pans. I highly recommend using Wilton Bake Even Strips to avoid a domed cake (or you can cut this off with a large, serrated knife and have a little pre-cake snack). Gently tap pans on the counter a couple times to get some of the bubbles out.
- Bake for 20-35 minutes, depending on how many of what size pan you used--three 9” will bake the fastest, until a toothpick inserted in the middle comes out with some moist crumbs but no raw batter. Always check cakes a little early. If not using a convection oven, rotate cakes halfway through.
- Cool in pans 5-10 minutes then remove to a cooling rack until completely cooled.
make your frosting
- While the cakes cool (you can speed this up in the fridge or freezer), make the frosting. Beat the butter in a stand mixer with a paddle attachment or hand mixer on high until smooth, about 30 seconds.
- Add powdered sugar 1 cup at a time, each time beating on low then slowly increasing to high for about 30 seconds to 1 minute, until smooth. Keep adding powdered sugar, scraping the sides and bottom of the bowl every so often, until you’ve added about 6 cups.
- Scrape the bowl again then add the salt, vanilla, and peppermint extract. Mix on low then increase to high until combined. Taste frosting. If needed, add a little more sugar or peppermint (or salt or vanilla, but those usually aren’t what’s lacking), but don’t go overboard, as the crushed candy canes will add both sweetness and peppermint.
- If needed, add some heavy cream, one tablespoon at a time, until smooth. If it begins to look separated, you can chill it for 20 minutes to help it come back together. This can happen if it’s warm in your house or if you left the butter out too long. See note for getting a pure white color.
- Once the flavor is good, scrape the bowl, then turn up the mixer to high for 2 minutes. Scrape the bowl again (yep), then beat on high for another 2-3 minutes. Stop the mixer and remove the bowl. Stir by hand with your rubber spatula or a wooden spoon for about a minute, to release the air bubbles.
assemble your cake
- Before assembling the cake, make sure the cake layers are fully cooled or even chilled a little. Crush the candy canes by removing the wrappers, placing them in a strong plastic bag (or double up) and crush with a rolling pin or meat tenderizer. Your bag may rip, so watch carefully for flying candy canes. #Christmasproblems
- Next, trim any rounded tops off of the cake layers with a long serrated knife or cake leveler. If desired, carefully cut each layer in half to make room for more filling. Place the first layer on a cake plate or board. Frost generously with the peppermint buttercream, about ⅓ inch if doing 3 or 4 layers and about ½ inch or so if just doing two layers of cake. Use a spoon to sprinkle the crushed candy canes in a thin layer on top of the frosting. If needed, repeat with the next cake layer.
- Place the top layer on top side down (this helps create a straight edge). Frost top and sides with a thin coat of frosting (called a crumb coat). Chill for at least 10 minutes. Frost to desired thickness.
- Decorate the sides and/or top with the remaining crushed candy canes (or as much as you’d like). To do the sides, place on a cake stand set in a rimmed baking sheet. Use your hands or a spoon to press the candy canes into frosting. This will get sticky, so stop when your hands are coated, scrape off the candy canes, and let them dry for a few seconds then separate them with the back of a spoon and keep going. Be sure to do this before chilling, so the frosting is still “wet” for the candy canes to easily attach to.
Enjoy!
- Cake will last covered at room temperature 3-5 days. If traveling with it, refrigerate for a few hours first to help the frosting stay put in the car.

