Hot Cocoa Cake
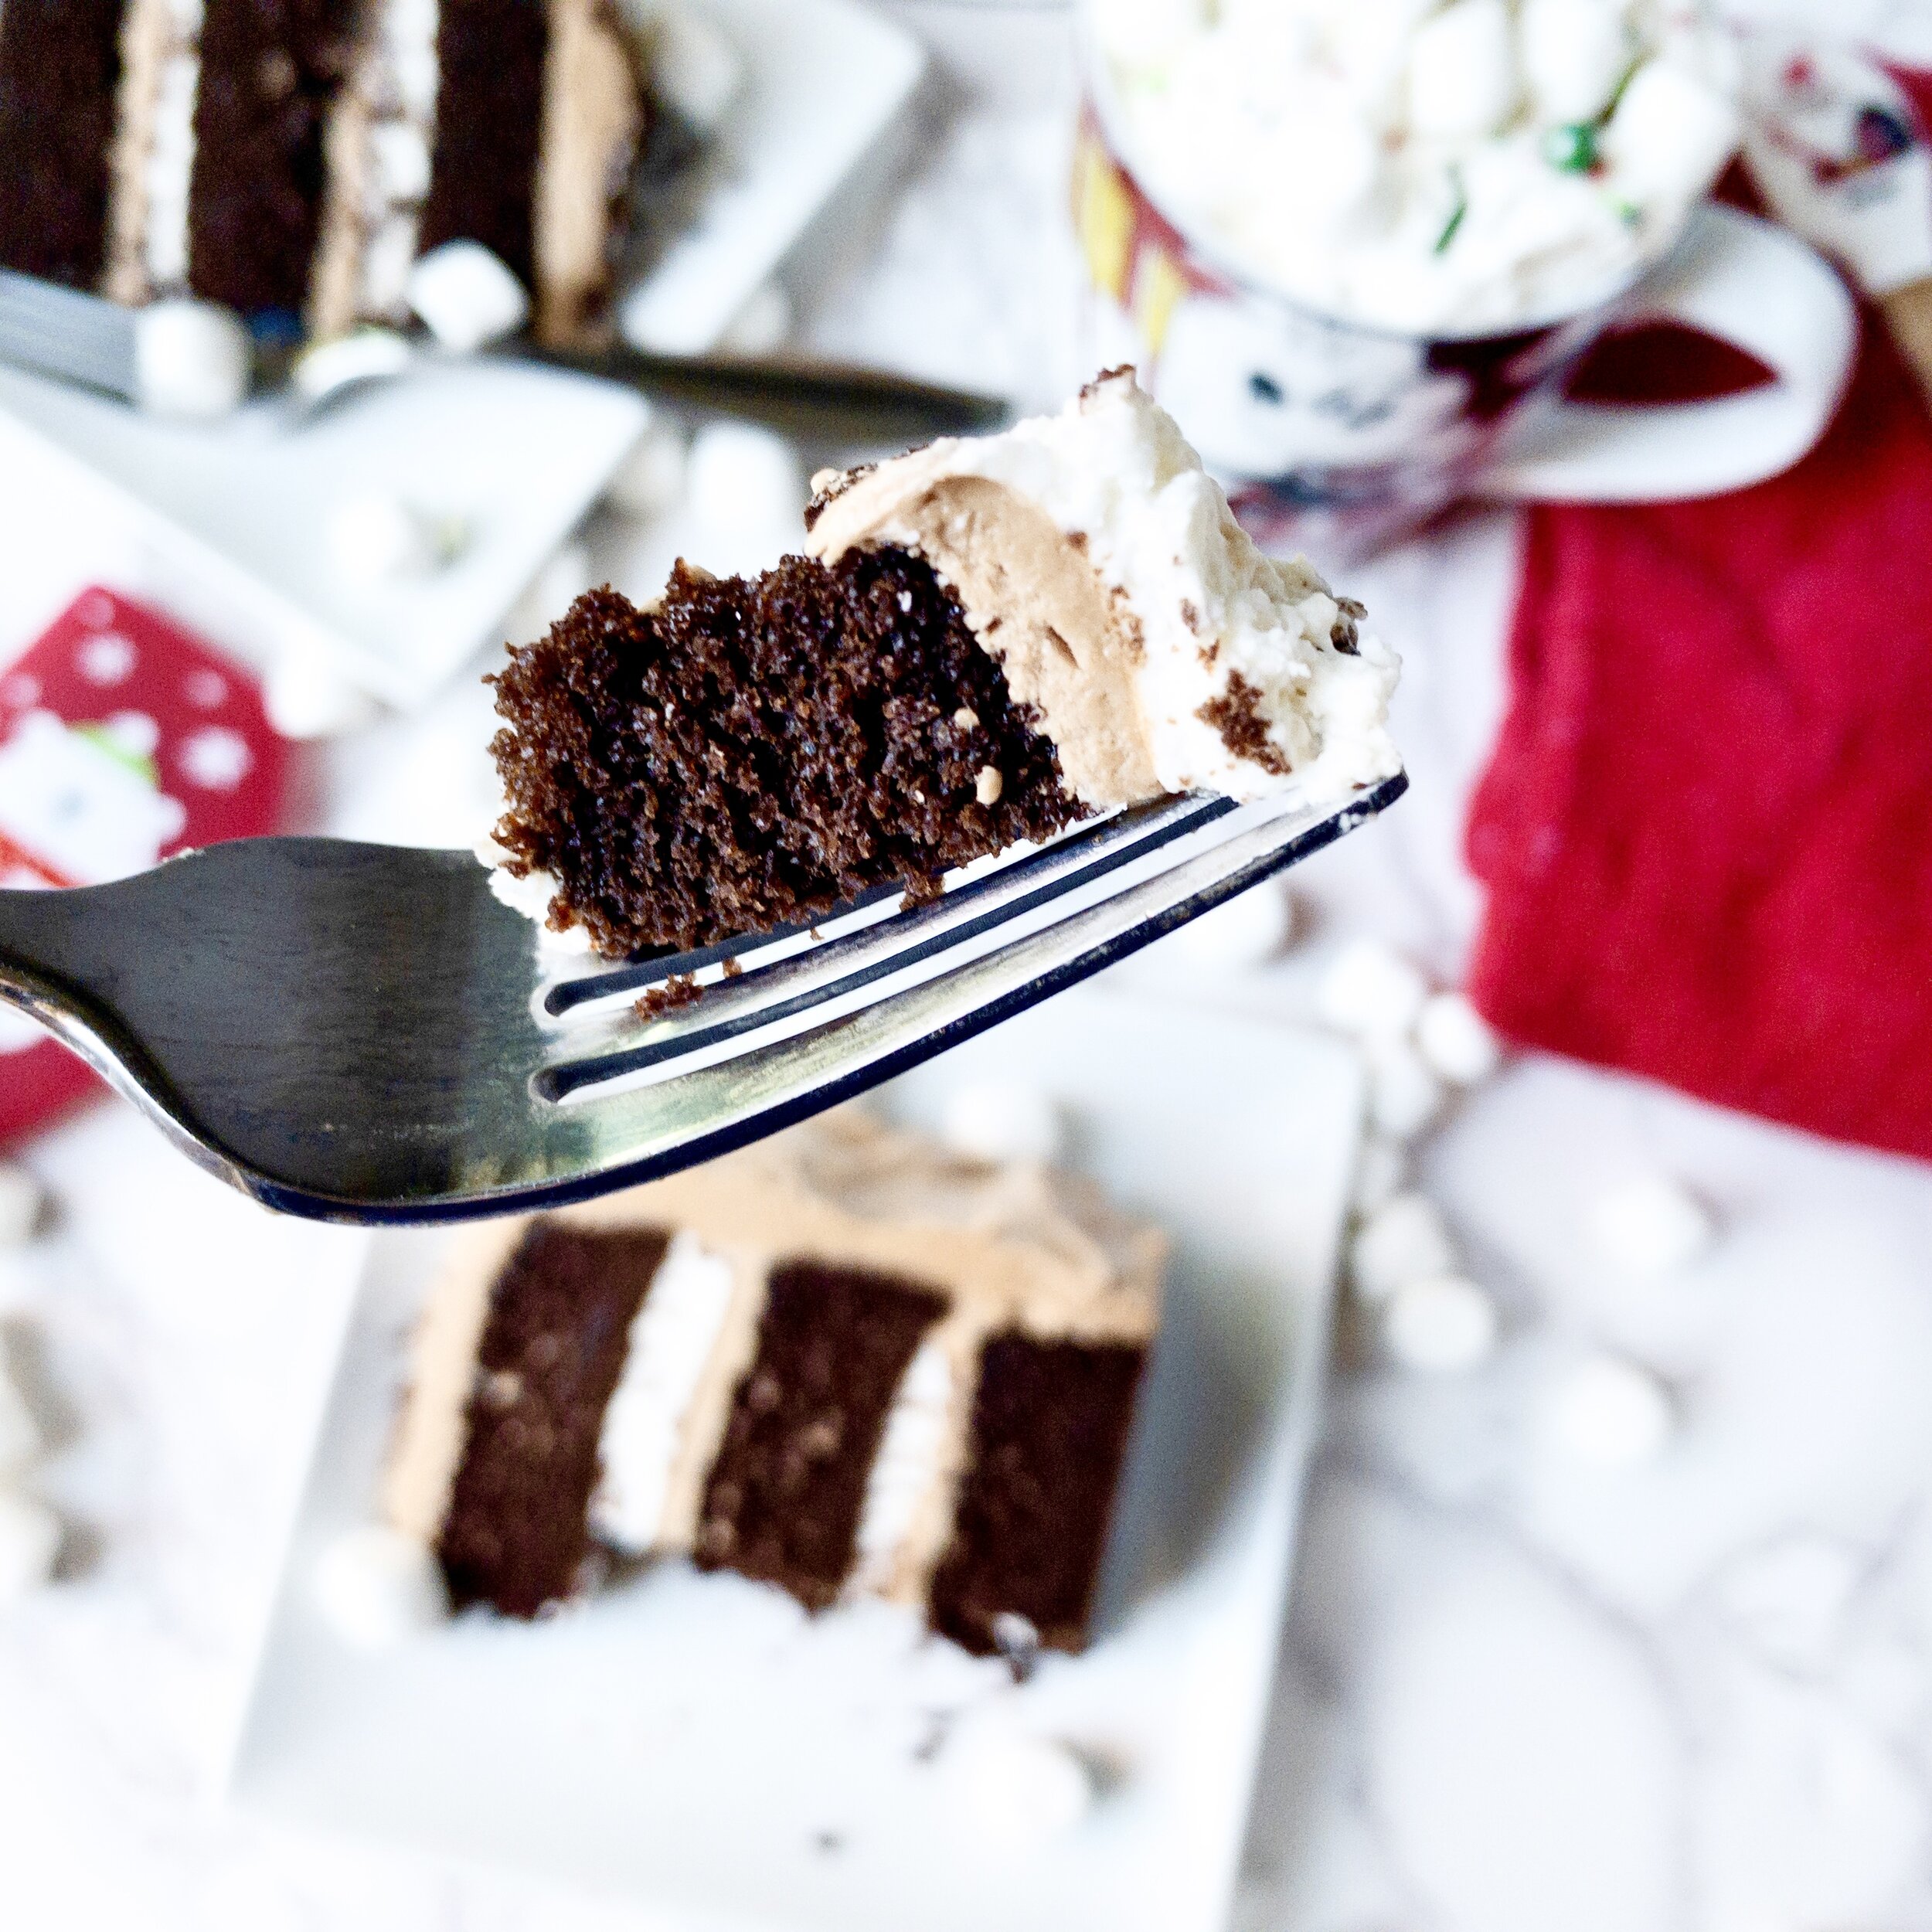
Light and fluffy milk chocolate cake layered with both chocolate marshmallow buttercream and whipped cream, so you don’t have to choose just one. Serious tastes of hot cocoa, but in a cake and all from scratch.

I have a very serious question for you: marshmallows or whipped cream in your hot cocoa?

This appears to be a very heated debate for some people. There appears to be two very devoted camps as far as how to best serve hot cocoa, but I’m typically a peacemaker. I say both. There’s room for all the toppings in my mug.

Which is why I made a hot cocoa cake with both whipped cream and marshmallow!
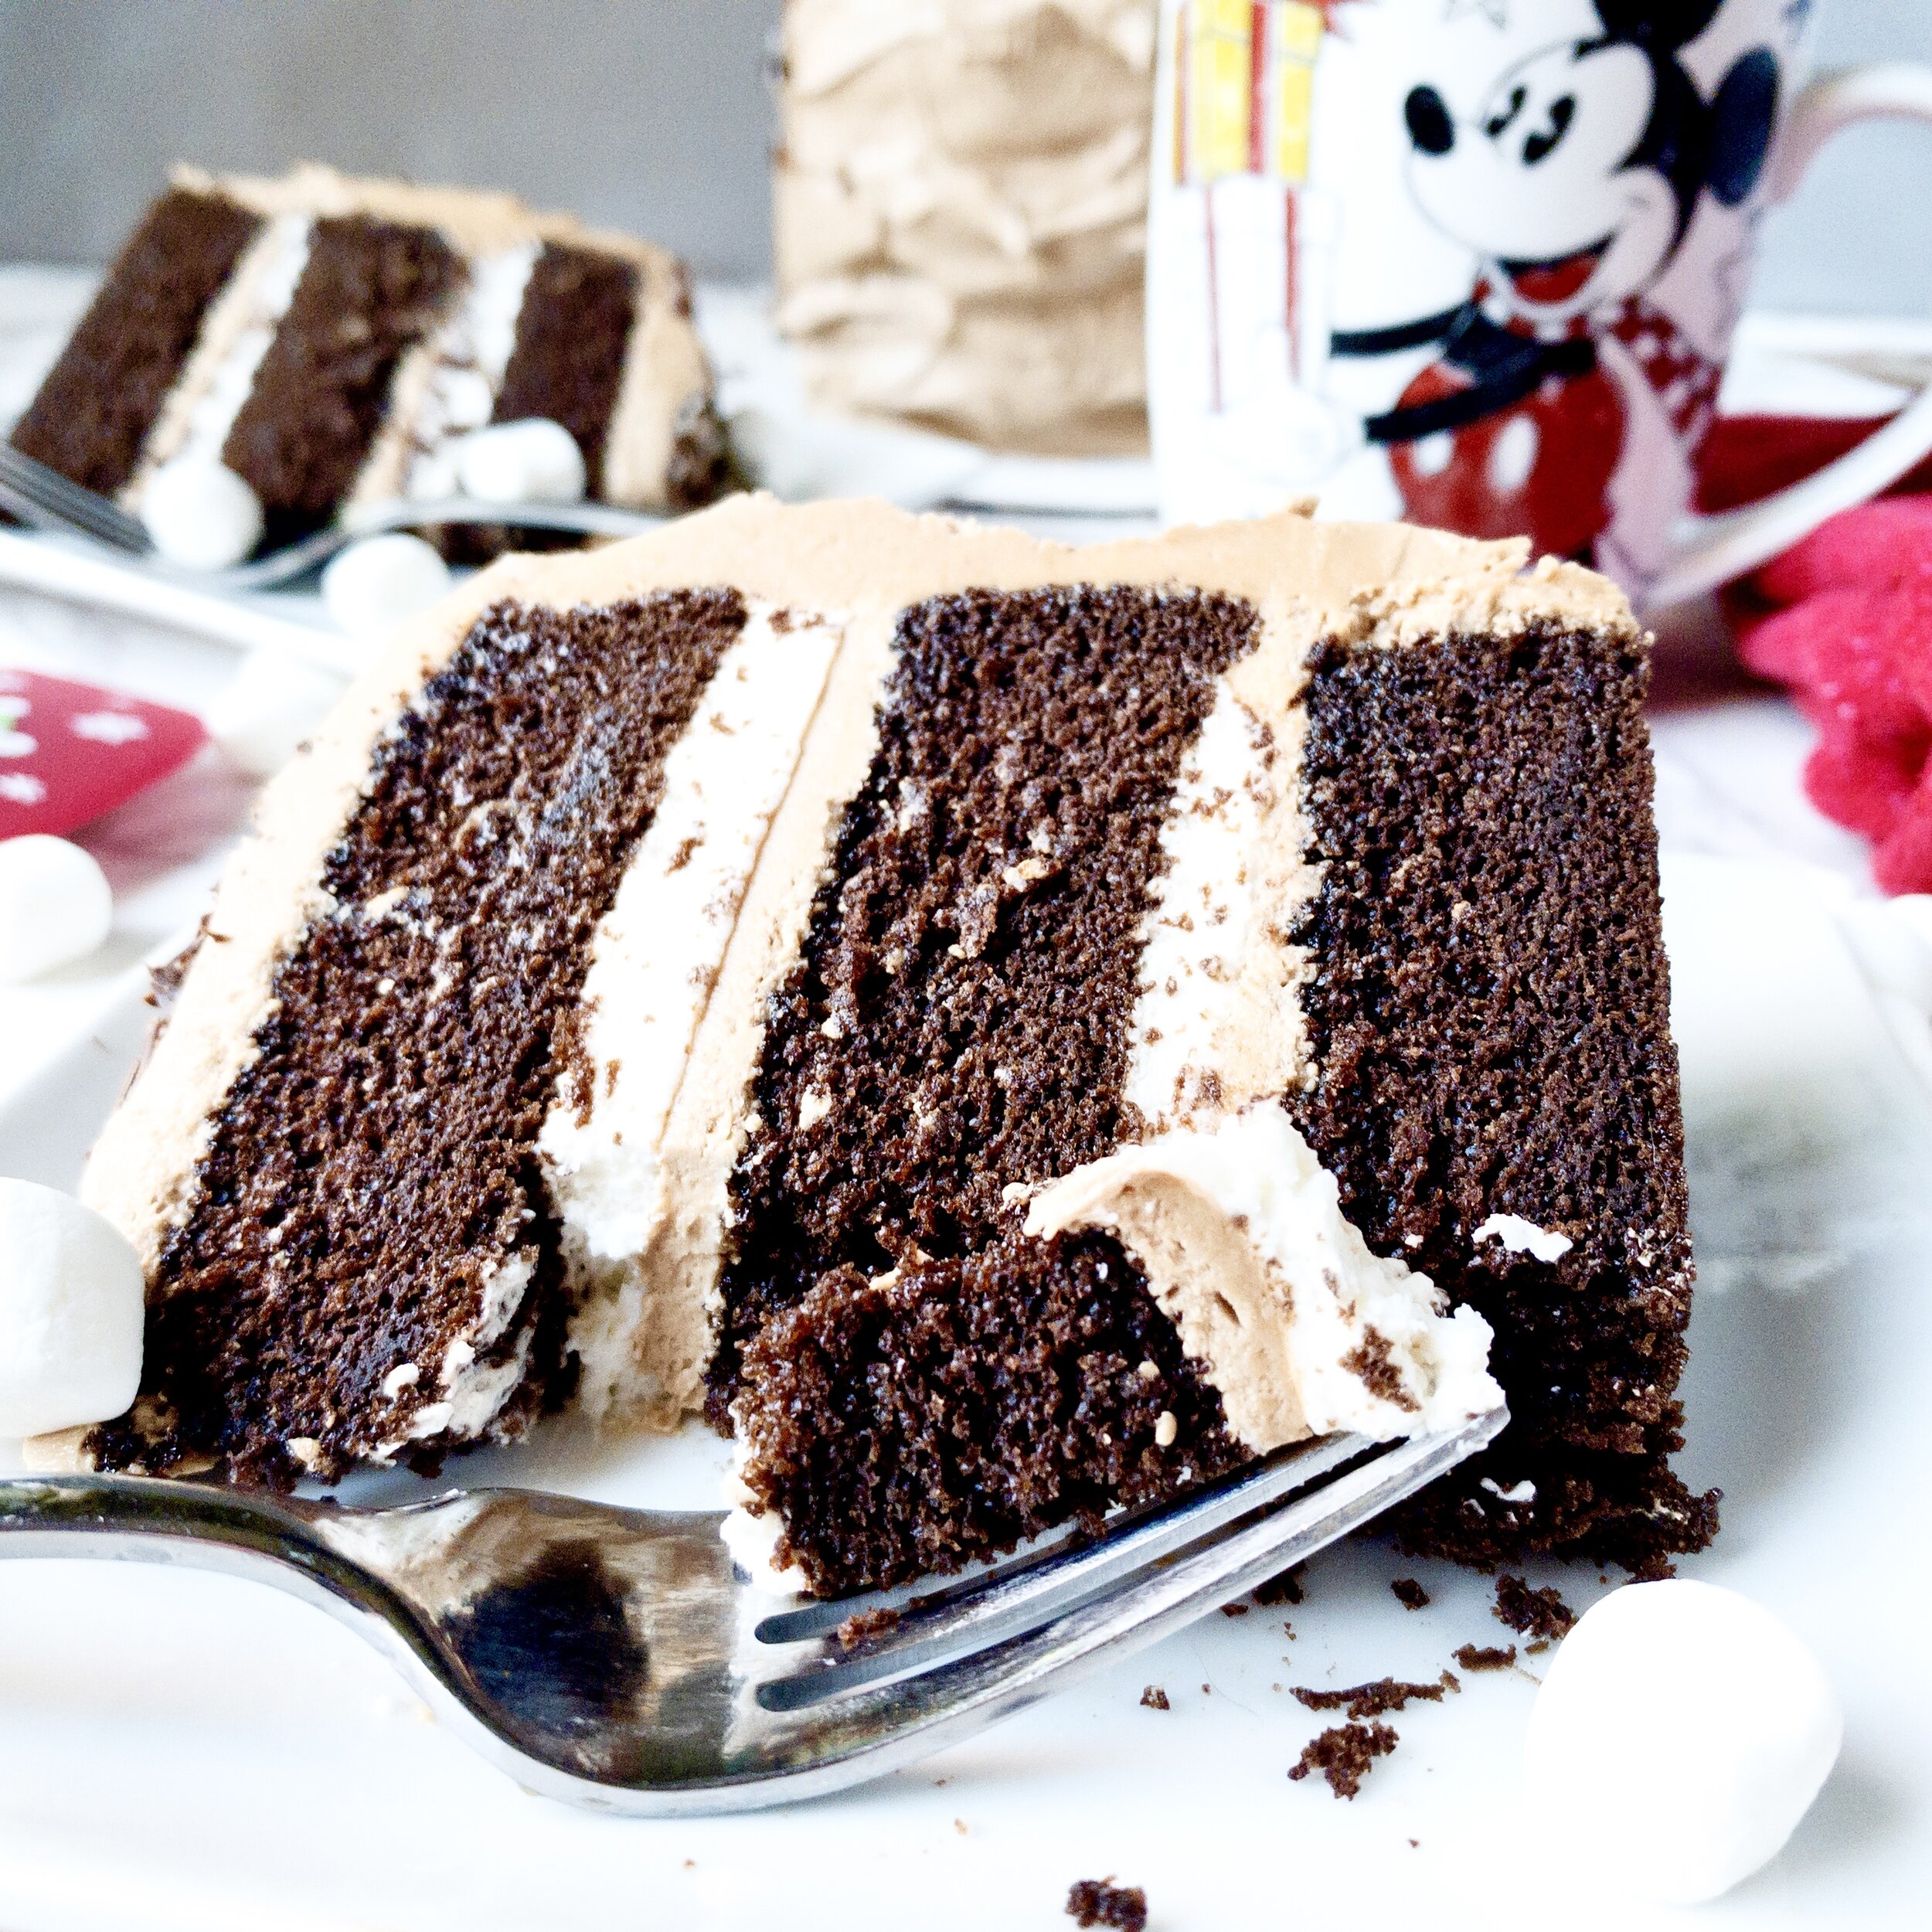
This chocolate marshmallow buttercream was actually created for a Scotchmallow cake, but I realized it’s almost as universal as plain vanilla buttercream. It has a balanced marshmallow flavor along with a hint of chocolate, all with a creamy, silky smooth texture. Layer that with fluffy, lightly sweetened whipped cream and you the best of both cocoa worlds.
Oh, and you can’t go wrong pairing it with my hot cocoa cake layers. I started with my new favorite—black chocolate cake, but used regular cocoa, half brown sugar, and a pinch of cinnamon. This recipe has become my go-to because it’s light and airy without being dry and has just the right amount of sweet.

Altogether, this was one of my favorite chocolate cakes that I’ve made in a long time.

How to make hot cocoa cake
First, make your milk chocolate cake layers. Sift together the dry ingredients into the bowl of a stand mixer.

Whisk in the sugars (the brown sugar might clump up a little, just be sure there are no hard clumps). Set aside.

Whisk together your eggs, buttermilk, oil, and vanilla until well-emulsified.

Slowly stream in the hot water or coffee (I did one light roast espresso shot mixed with about 7 ounces of hot water), whisking the mixture quickly as you pour. Don’t pour too fast or you’ll scramble the eggs.

With the paddle attachment and the mixer on low, slowly stream in the wet ingredients. Once all of it is poured in, stop, scrape down the bowl, then mix on medium for exactly 2 minutes.

Pour into prepared pans and bake. Cool to room temperature (see note about chilling if possible).

While the cakes cook and then cool, make the chocolate marshmallow buttercream. I made the ganache while the cakes baked…
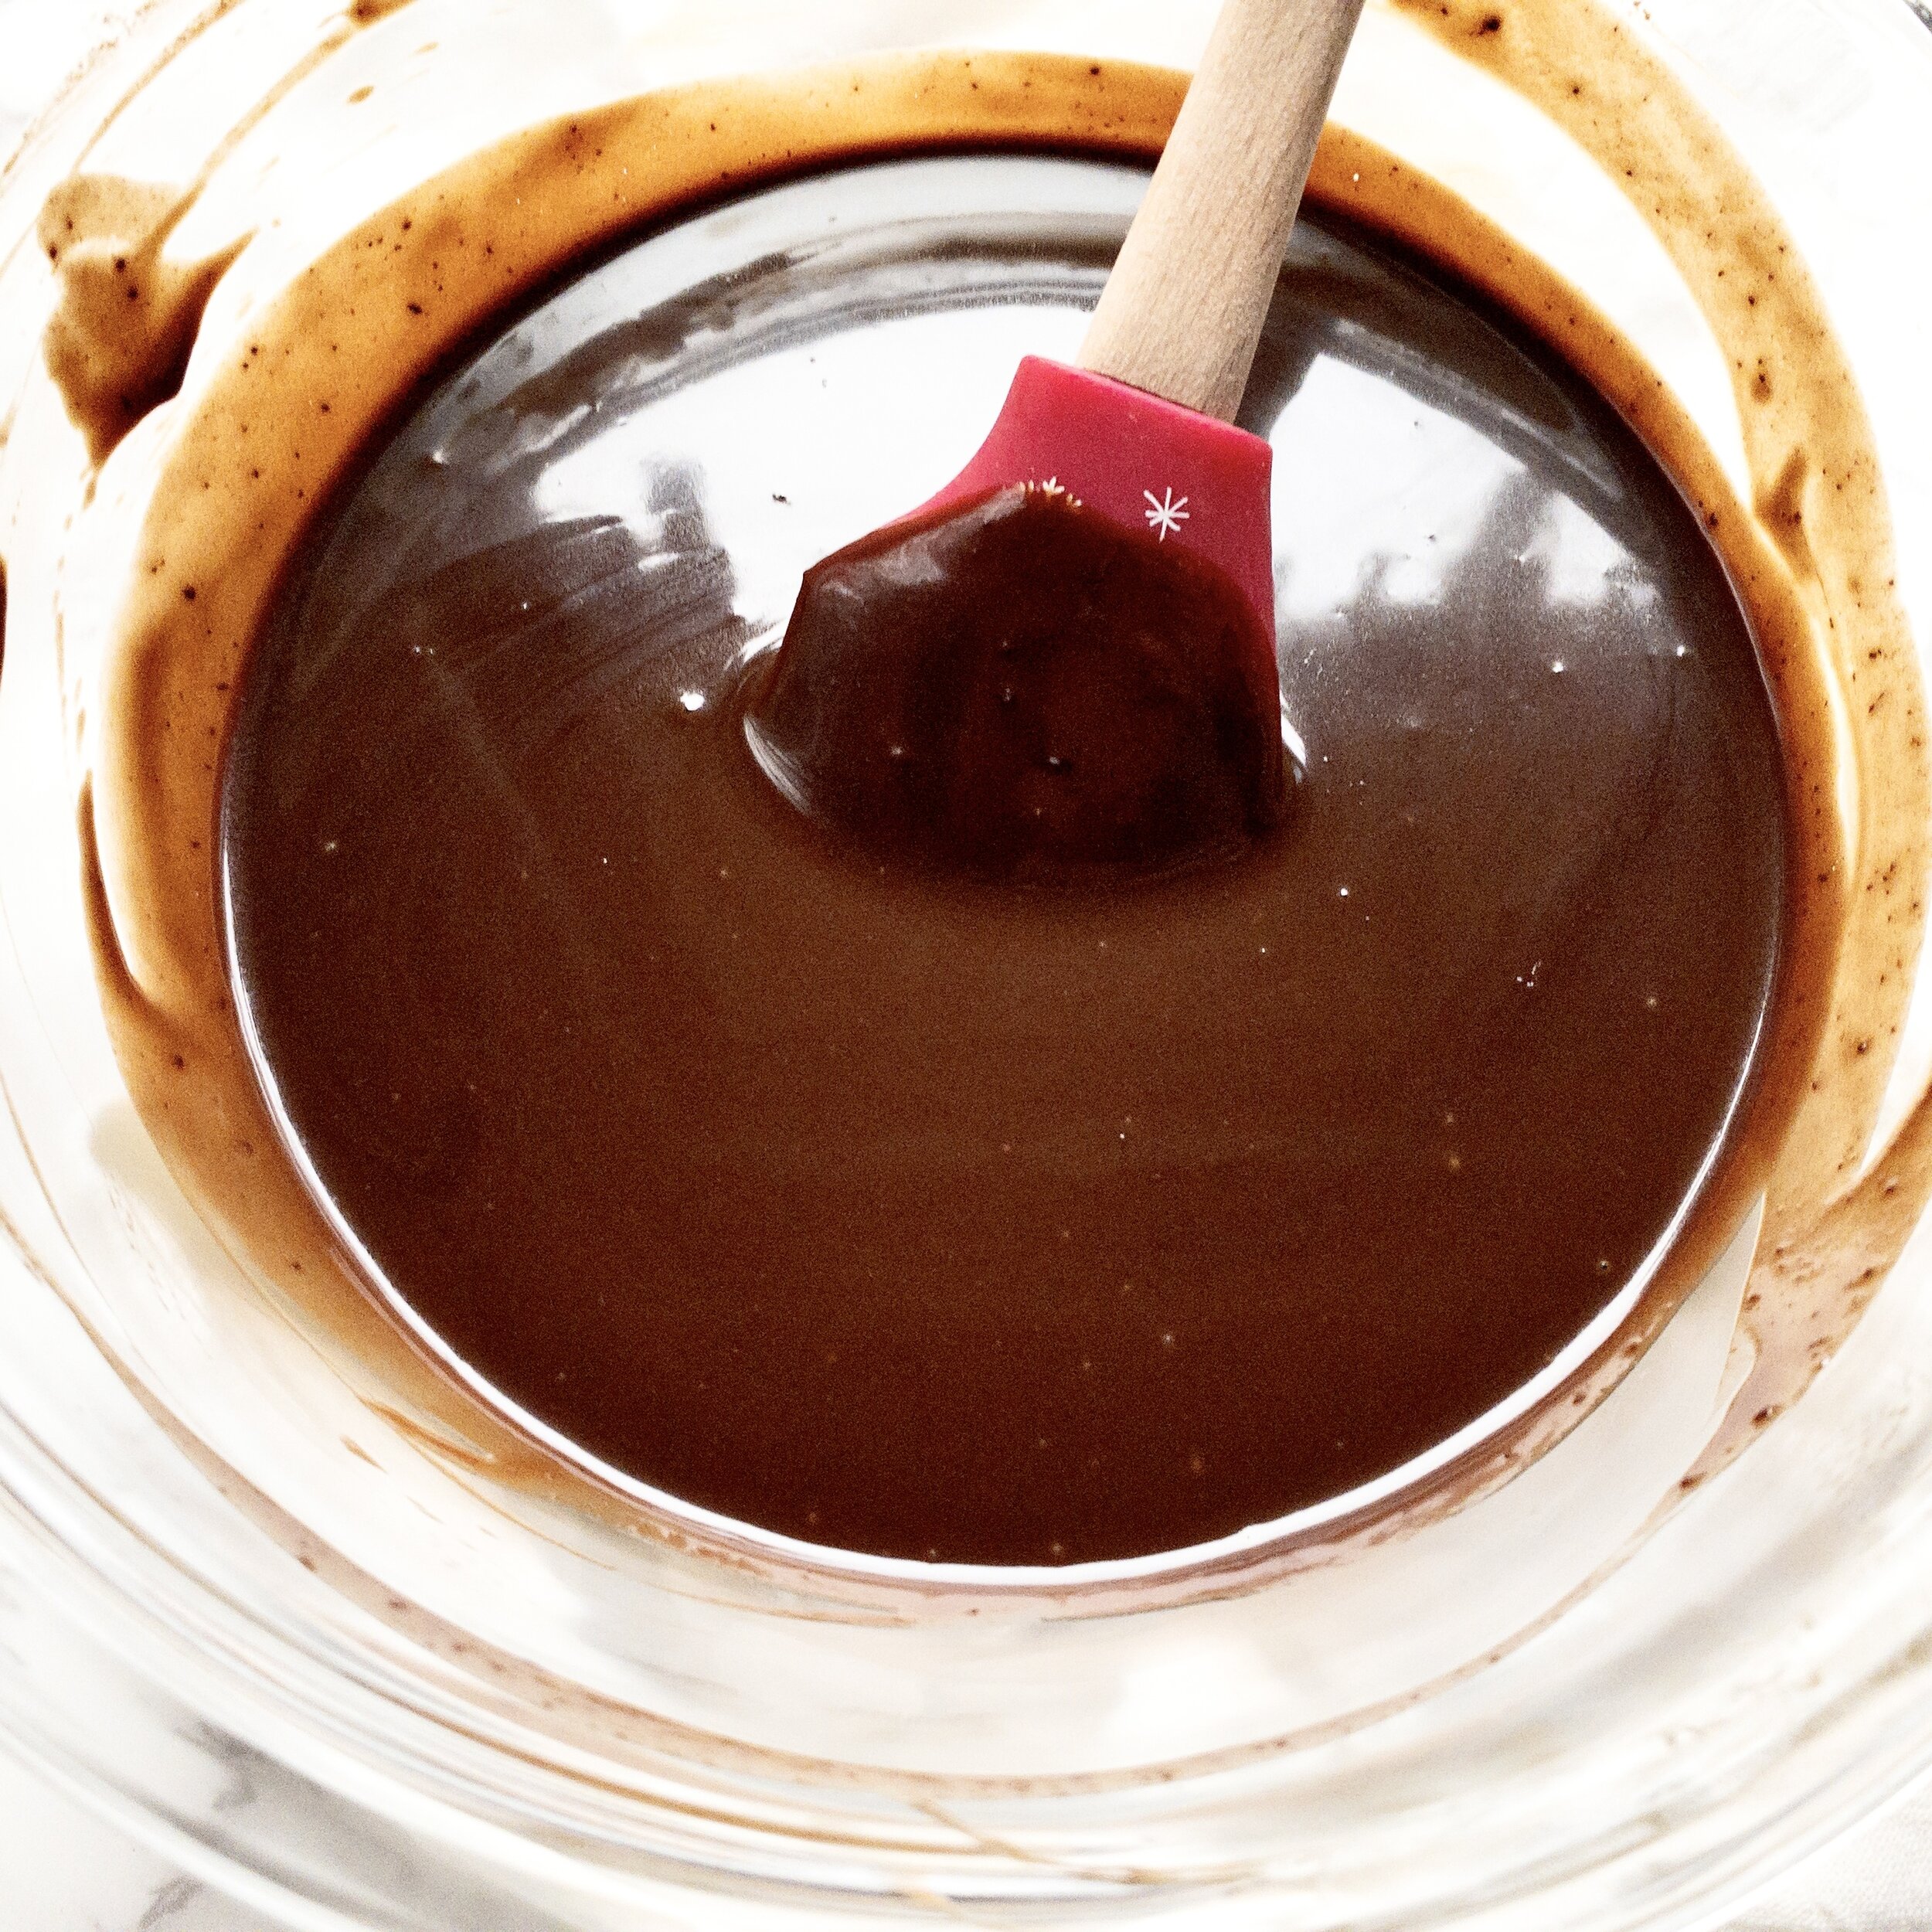
…then finished the buttercream once the cakes were out of the oven, to give my ganache a chance to cool a little.

Once the cakes are completely cool (or slightly chilled), make the whipped cream. Simply combine heavy whipping cream and powdered sugar in a chilled bowl. Whip to stiff peaks with a chilled whisk (you can also use a hand mixer or stand mixer for this). See note about making stabilized whipped cream if needed.

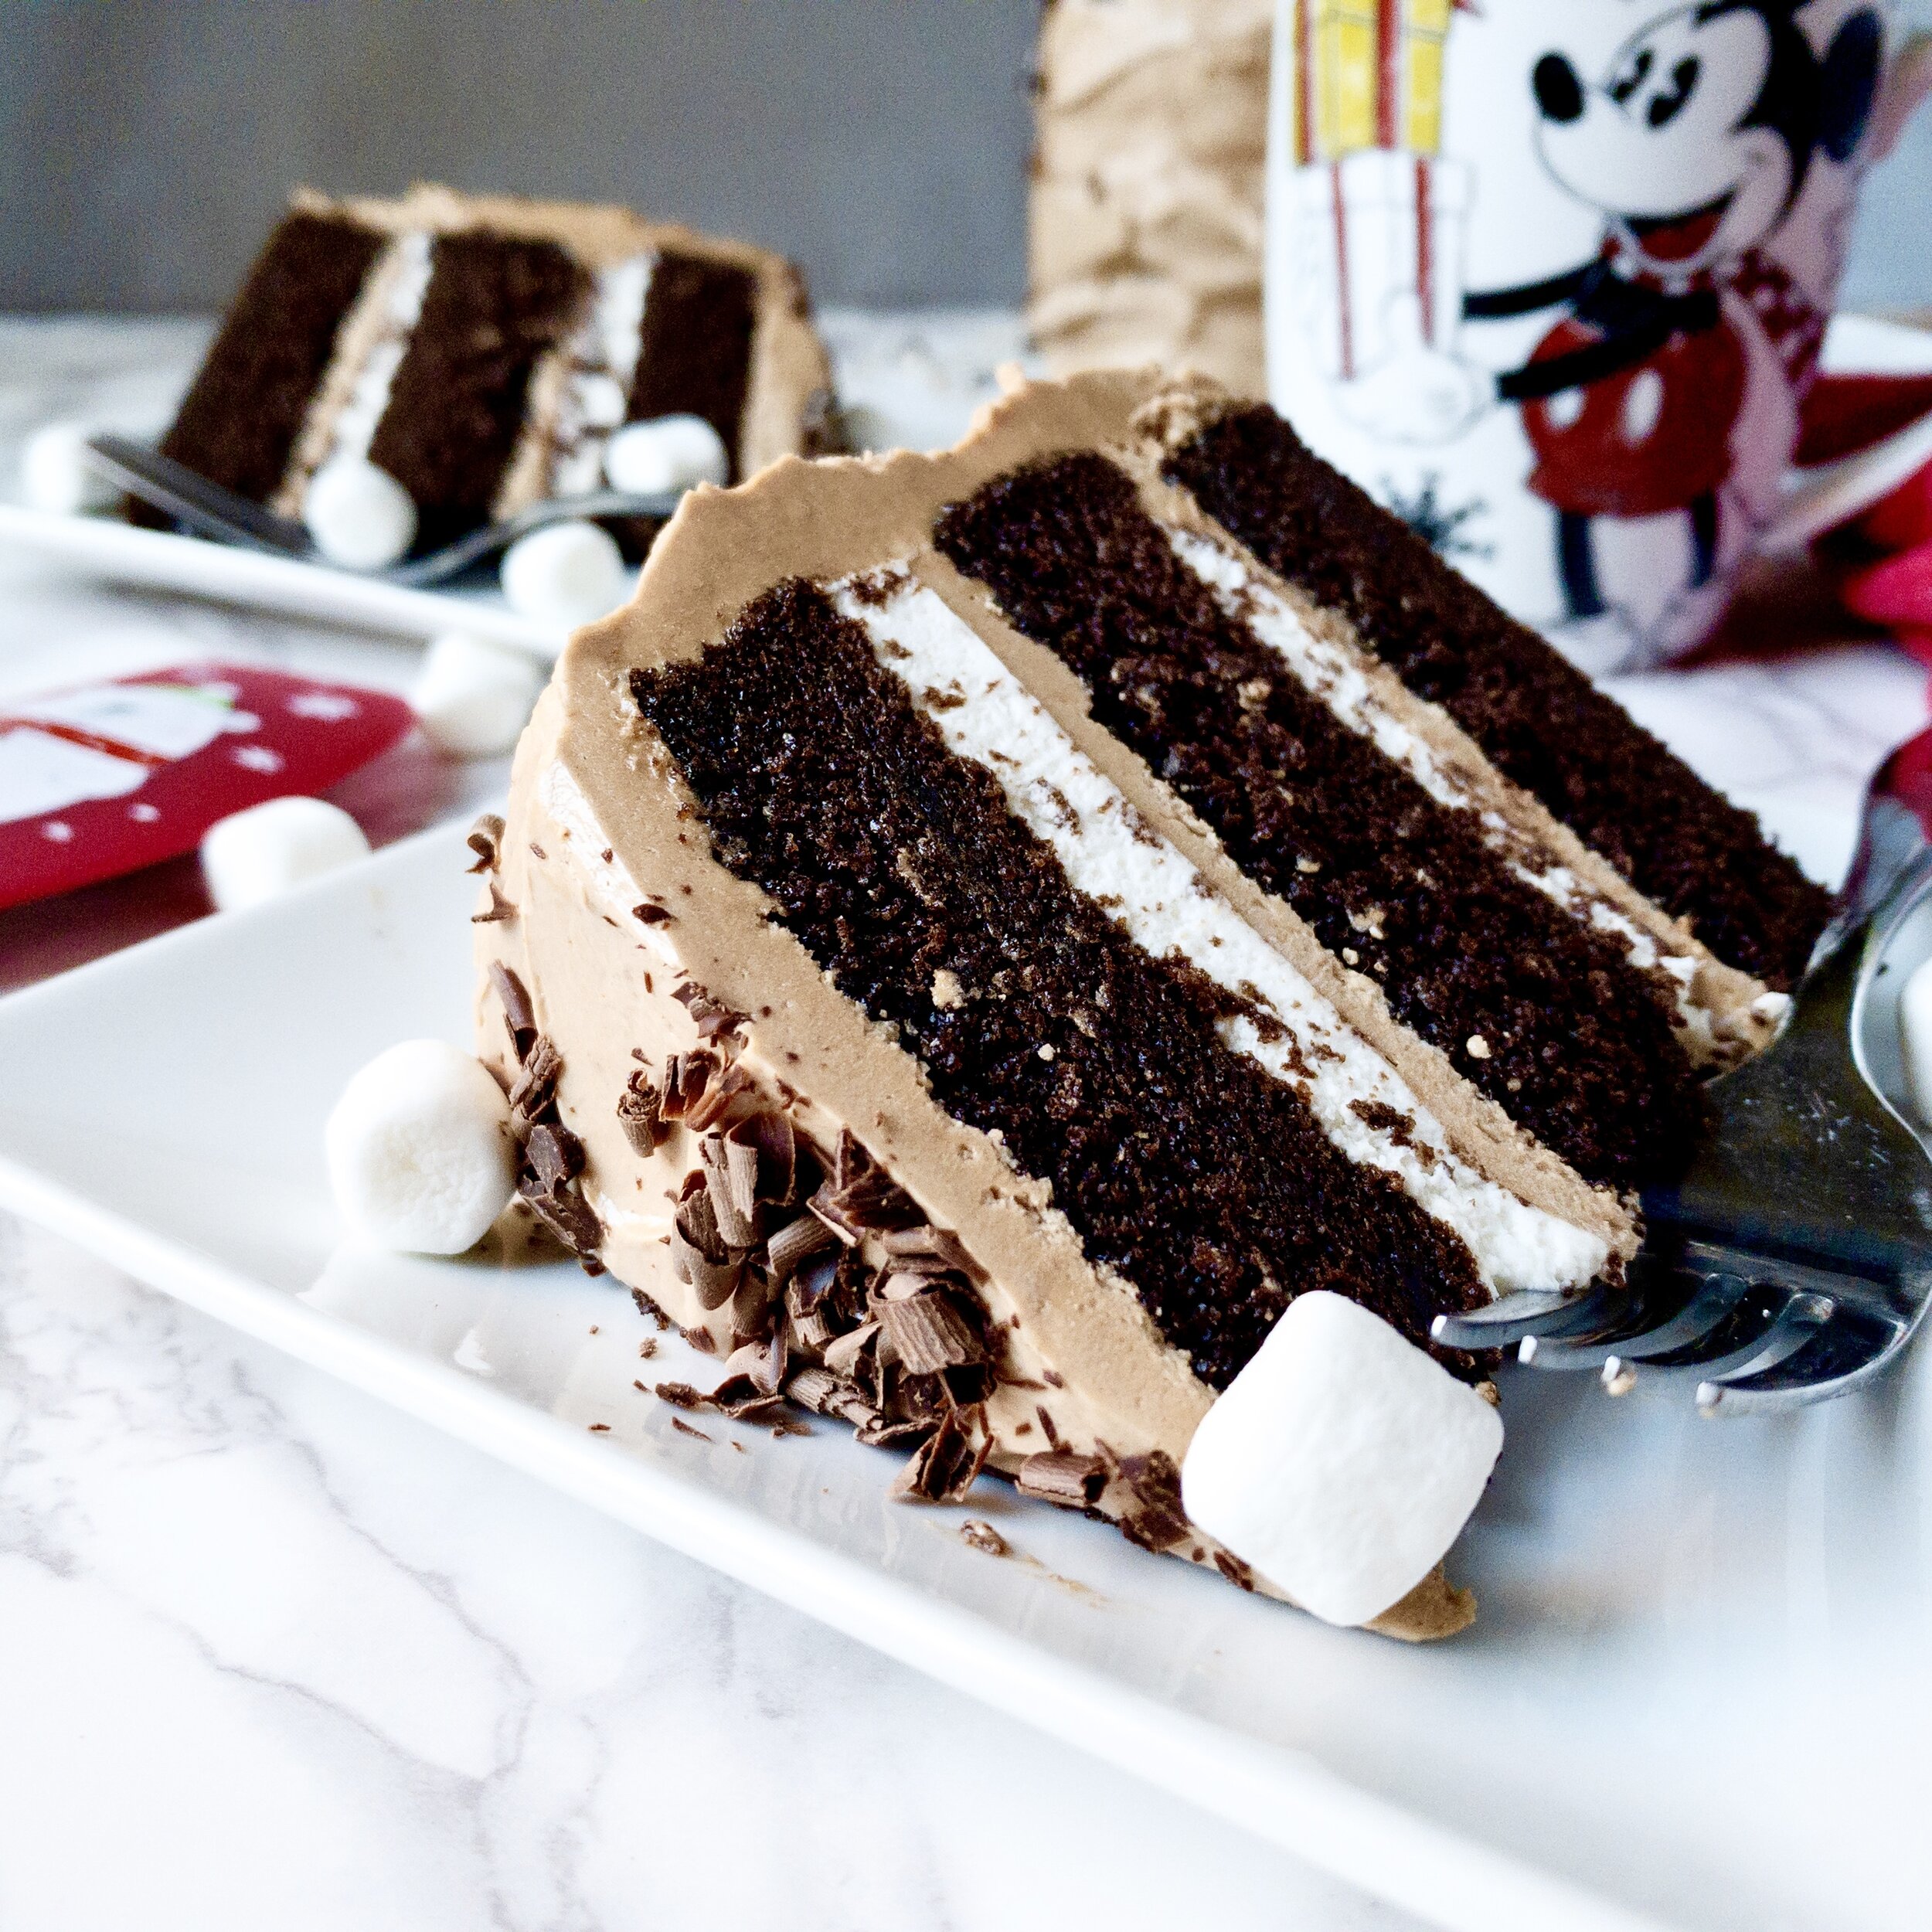
By now the cake layers should be nice and cool. If you only used two cake pans, I highly recommend cutting each in half to allow for more layers of filling. Either way, be sure to cut off any domed cake tops to help prevent the cake from cracking or sliding. Assemble the cake by spreading a somewhat thin layer of chocolate marshmallow buttercream on your cake. Use a piping bag or plastic bag to pipe a ring of frosting around the edge. Make it tall enough to hold as much or as little whipped cream as you’d like.

Gently spread about half your whipped cream inside. You don’t want it to rise very much above the buttercream ring, as it can squish out the sides if you do.

Repeat until all layers are added. Spread a thin layer of frosting on the top and sides of the cake (a crumb coat) and refrigerate for 10 minutes. Then, frost to your desired thickness. Top with chocolate shavings, sprinkles, mini marshmallows, or extra whipped cream.

Enjoy!
Tips for this recipe
Use stabilized whipped cream if traveling or not serving right away
I simply whipped my cream to stiff peaks and filled my cake. However, if your cake will be traveling or waiting overnight, it’s best to used stabilized whipped cream to keep the filling from deflating or sliding off the cake.

Don’t skip making a dam!
Because the filling isn’t very sturdy, you need to create a ring of frosting around each layer (also known as a dam) before you fill it with whipped cream. Otherwise, the whipped cream will squish out the sides as you assemble your cake. It’s as simple as filling a small plastic baggie with a scoop of frosting, cutting a 1/2 inch hole at one corner, and piping it in a ring.

Cool or even chill before frosting
This is true of any cake, but especially true of this one. Your whipped cream will turn to liquid if placed between even slightly warm cake layers. Plus, the frosting is liable to start melting as well. I ended up freezing my cake layers for half an hour because I was racing against the setting sun (on a rainy day, so it was already pretty dark). Just be sure your cake is for sure at room temperature, but also consider chilling or freezing them for half an hour to make the assembly easier.
How to make chocolate shavings
This isn’t as hard as you’d think. I always thought it was outside my skillset until I realized that most people use A POTATO PEELER. No, seriously. Grab a bar of your favorite solid chocolate. Hold it over your cake. Run the peeler along the short edge. Marvel at how easy it is to look oh-so-fancy.


Hot Cocoa Cake
- prep time: 30-35 minutes
- cook time: 20-30 minutes
- total time: about an hour, plus time to cool the cake layers
Servings: 12-16
Ingredients:
- 1 ¾ cups (238g) flour, spooned then leveled
- ¾ cup (75g) unsweetened cocoa powder
- 2 teaspoons (8g) baking powder
- 1 teaspoon (5g) baking soda
- ½ teaspoon (3g) sea salt (or 1 teaspoon table salt)
- ⅛ teaspoon (or a few dashes) ground cinnamon
- ⅔ cup (134g) granulated sugar
- ⅔ cup (134g) brown sugar
- 1 cup (236g) buttermilk, room temperature
- ⅓ cup (72g) avocado oil (can sub vegetable, grapeseed, or canola)
- 3 large eggs, room temperature
- 1 tablespoon (13g) pure vanilla extract
- 1 cup (240g) hot, blonde/light roast coffee or hot water
- 1 cup (232g) heavy whipping cream, cold
- 2 tablespoons (15g) powdered sugar
- one batch chocolate marshmallow buttercream
- ½ bar of your favorite solid chocolate (optional, for chocolate shavings)
- optional: mini marshmallows, sprinkles, crushed candy canes, or favorite hot cocoa topping
Instructions:
- Preheat oven to 325 (adjust temperature as needed for your oven and elevation—high elevation usually bakes hotter for less time). Lightly grease and flour two 8”-9” cake pans or three 6” pans and line with parchment paper.
- Sift together the flour, cocoa, baking powder, baking soda, salt, and cinnamon into the bowl of a stand mixer or a large mixing bowl. Add in the sugars and whisk until well combined. Set aside.
- In a medium mixing bowl, whisk the buttermilk, oil, eggs, and vanilla until very well combined and emulsified. There should be no oil bubbles that surface when you stop whisking. Very, very slowly stream in the hot coffee or water, whisking quickly and constantly to avoid scrambling the eggs.
- With the paddle attachment (or with a hand mixer) on low, slowly pour the wet ingredients into the dry. Once it’s all added, stop the mixer and scrape down the bowl and paddle. Mix on medium for exactly 2 minutes.
- Divide batter evenly between the prepared pans. Bake for 20-25 minutes if using 6” pans or 25-30 minutes if using 8” or 9” pans. Bake until a toothpick inserted in the middle comes out clean or with a few moist crumbs. Be sure to check each pan each time, as one layer might bake faster than the other. Let cool in the pan 5-10 minutes then remove to a wire rack to cool completely. You can also chill the layers in the fridge or freezer once they’re cool enough to touch with your hands.
- While the cake cools, place a medium mixing bowl and whisk (or hand mixer attachments) in the fridge to chill for the whipped cream. Then make the chocolate marshmallow buttercream. If you’re in a time crunch, you can make the ganache for the buttercream while the cake bakes, then finish it while the cake chills in the freezer.
- Once the layers are cooled completely, I highly suggest popping them in the freezer for a few minutes while you make the whipped cream filling. Combine the heavy whipping cream and powdered sugar in the chilled bowl using the chilled whisk. Then, whisk vigorously for about a minute or two, until stiff peaks form and the whipped cream begins to pull away from the sides of the bowl (stop before it starts to look chunky or separated).
- If you used two cake pans, you can cut each layer in half before you assemble the cake, if desired. Assemble cake by spreading about ¼ inch of chocolate marshmallow buttercream on each layer, then create a dam (a ring of frosting) around the edge by placing a scoop of it in a piping or plastic baggie and cutting a small opening in the corner. Fill the ring with whipped cream and spread evenly. Repeat this process until the last layer is on the cake. (Pro tip: put the top layer on cut-side down to help create even sides and to prevent crumbs getting into the frosting.) Frost the top and sides in a thin layer (crumb coat) then refrigerate for at least 10 minutes. Cover the whole cake with desired amount of frosting.
- Using a potato peeler, take your chocolate bar and a potato peeler and shave along the short edge of the bar, right over the cake, to create chocolate shavings. Add any other desired toppings.
Enjoy! Store in the refrigerator until 30-60 minutes before serving. Store leftovers in the fridge with a piece of plastic wrap right up against the cut sides of the cake, placing the entire cake in a sealed container or covering in more plastic wrap.