
Peppermint Hot Cocoa Cake
Fluffy, moist hot cocoa cake frosted with chocolate peppermint marshmallow buttercream and filled with peppermint mini marshmallows. All the best parts about a peppermint hot cocoa—in a cake!
This post may contain affiliate links from which, at no additional cost to you, I may earn a small commission to keep this site running. Only products I myself would or do use are recommended.

To be perfectly honest, I’m finding it hard to be “cheery” and "Christmas-y” while writing this. I’m on a tiring day 2 of our third attempt at potty training. I thought we were ready: she’s cognitively there and was excited for my latest round of incentives (a unicorn “watch” that’s just a timer and a unicorn sticker chart). But by the time we actually started, things started falling apart. I’ll spare you the details, but instead of writing about this amazing cake, I’d rather be napping.
So I’ll just cut right to the chase. Or, the recipe. Because this cake is amazing and speaks for itself. :)

Why this recipe works
The cake is a fluffier, hot cocoa variation of my famous (or at least popular among my friends) chocolate cake. Two key changes are subbing some brown sugar and adding the tiniest bit of cinnamon. You won’t notice the cinnamon, but it gives a “hot cocoa” taste to the cake.
And that buttercream. I took my chocolate marshmallow buttercream (my most popular recipe on this site) and added just a bit of peppermint. It’s Christmas bliss. Then I added some peppermint marshmallows from Trader Joe’s. Yuuuuum.

For good measure (and for a sprinkle collab I was participating in on Instagram), I added Christmas sprinkles. It was so happy and delicious (and perfectly cheery on an October afternoon).
I didn’t have any crushed candy canes at the time, but I’ve used them on a nearly identical cake in the past and it was soooo good. The candy canes melt a bit with the frosting and create this delicious, soft candy crunch. What’s not to love?

Key ingredients
Flour. Always spoon then level and sift your flour.
Cocoa. Use unsweetened, and be sure to sift it!
Cinnamon. Just a hint of this is key to getting a “hot cocoa” taste.
Baking soda & powder. The combination helps the cake rise perfectly.
Salt. Necessary in any dessert! Sea salt is recommended.
Sugar and brown sugar. White sugar helps the cake rise while brown sugar adds moisture and a “hot cocoa” flavor.

Eggs. Be sure they’re fresh and room temperature.
Buttermilk. Make your own by combining 1 tablespoon white vinegar and 1 cup room temperature milk and letting it sit for 5-10 minutes.
Oil. I prefer avocado oil, but the brand I have is tasteless and fairly clear.
Vanilla. Necessary in the cake and the frosting to create a well-rounded flavor.
Peppermint emulsion or extract. Emulsion is a brighter taste, but extract will do, too!
Hot coffee. Use a light or blonde roast to help bring out the cocoa flavor without overpowering it.
Butter. Use room temperature, European style butter for a perfect buttercream.
Powdered sugar. Add slowly to your buttercream to get a smooth finish.
Marshmallow fluff. Homemade is my favorite, but store bought works, too.
Chocolate chips. You can sub cocoa to make the frosting more travel-friendly, but the taste is just unbelievable with melted chocolate.
Heavy cream. To help melt the chocolate—but see the recipe for tips on omitting if in a warmer climate.
Peppermint mini marshmallows. Because you NEED marshmallows in hot cocoa!
Sprinkles or crushed candy canes. Because why not?

How to make peppermint hot cocoa cake
1. Sift and whisk dry ingredients. Do this in the bowl of your stand mixer or a large mixing bowl.
2. Combine wet ingredients, except for hot coffee. Whisk well.
3. Slowly whisk in hot coffee. Do this carefully to avoid scrambling the eggs.
4. Slowly add wet ingredients to the dry. Scrape the bowl then mix on medium for exactly 2 minutes.


5. Bake the cake. Check early so you don’t over bake it.
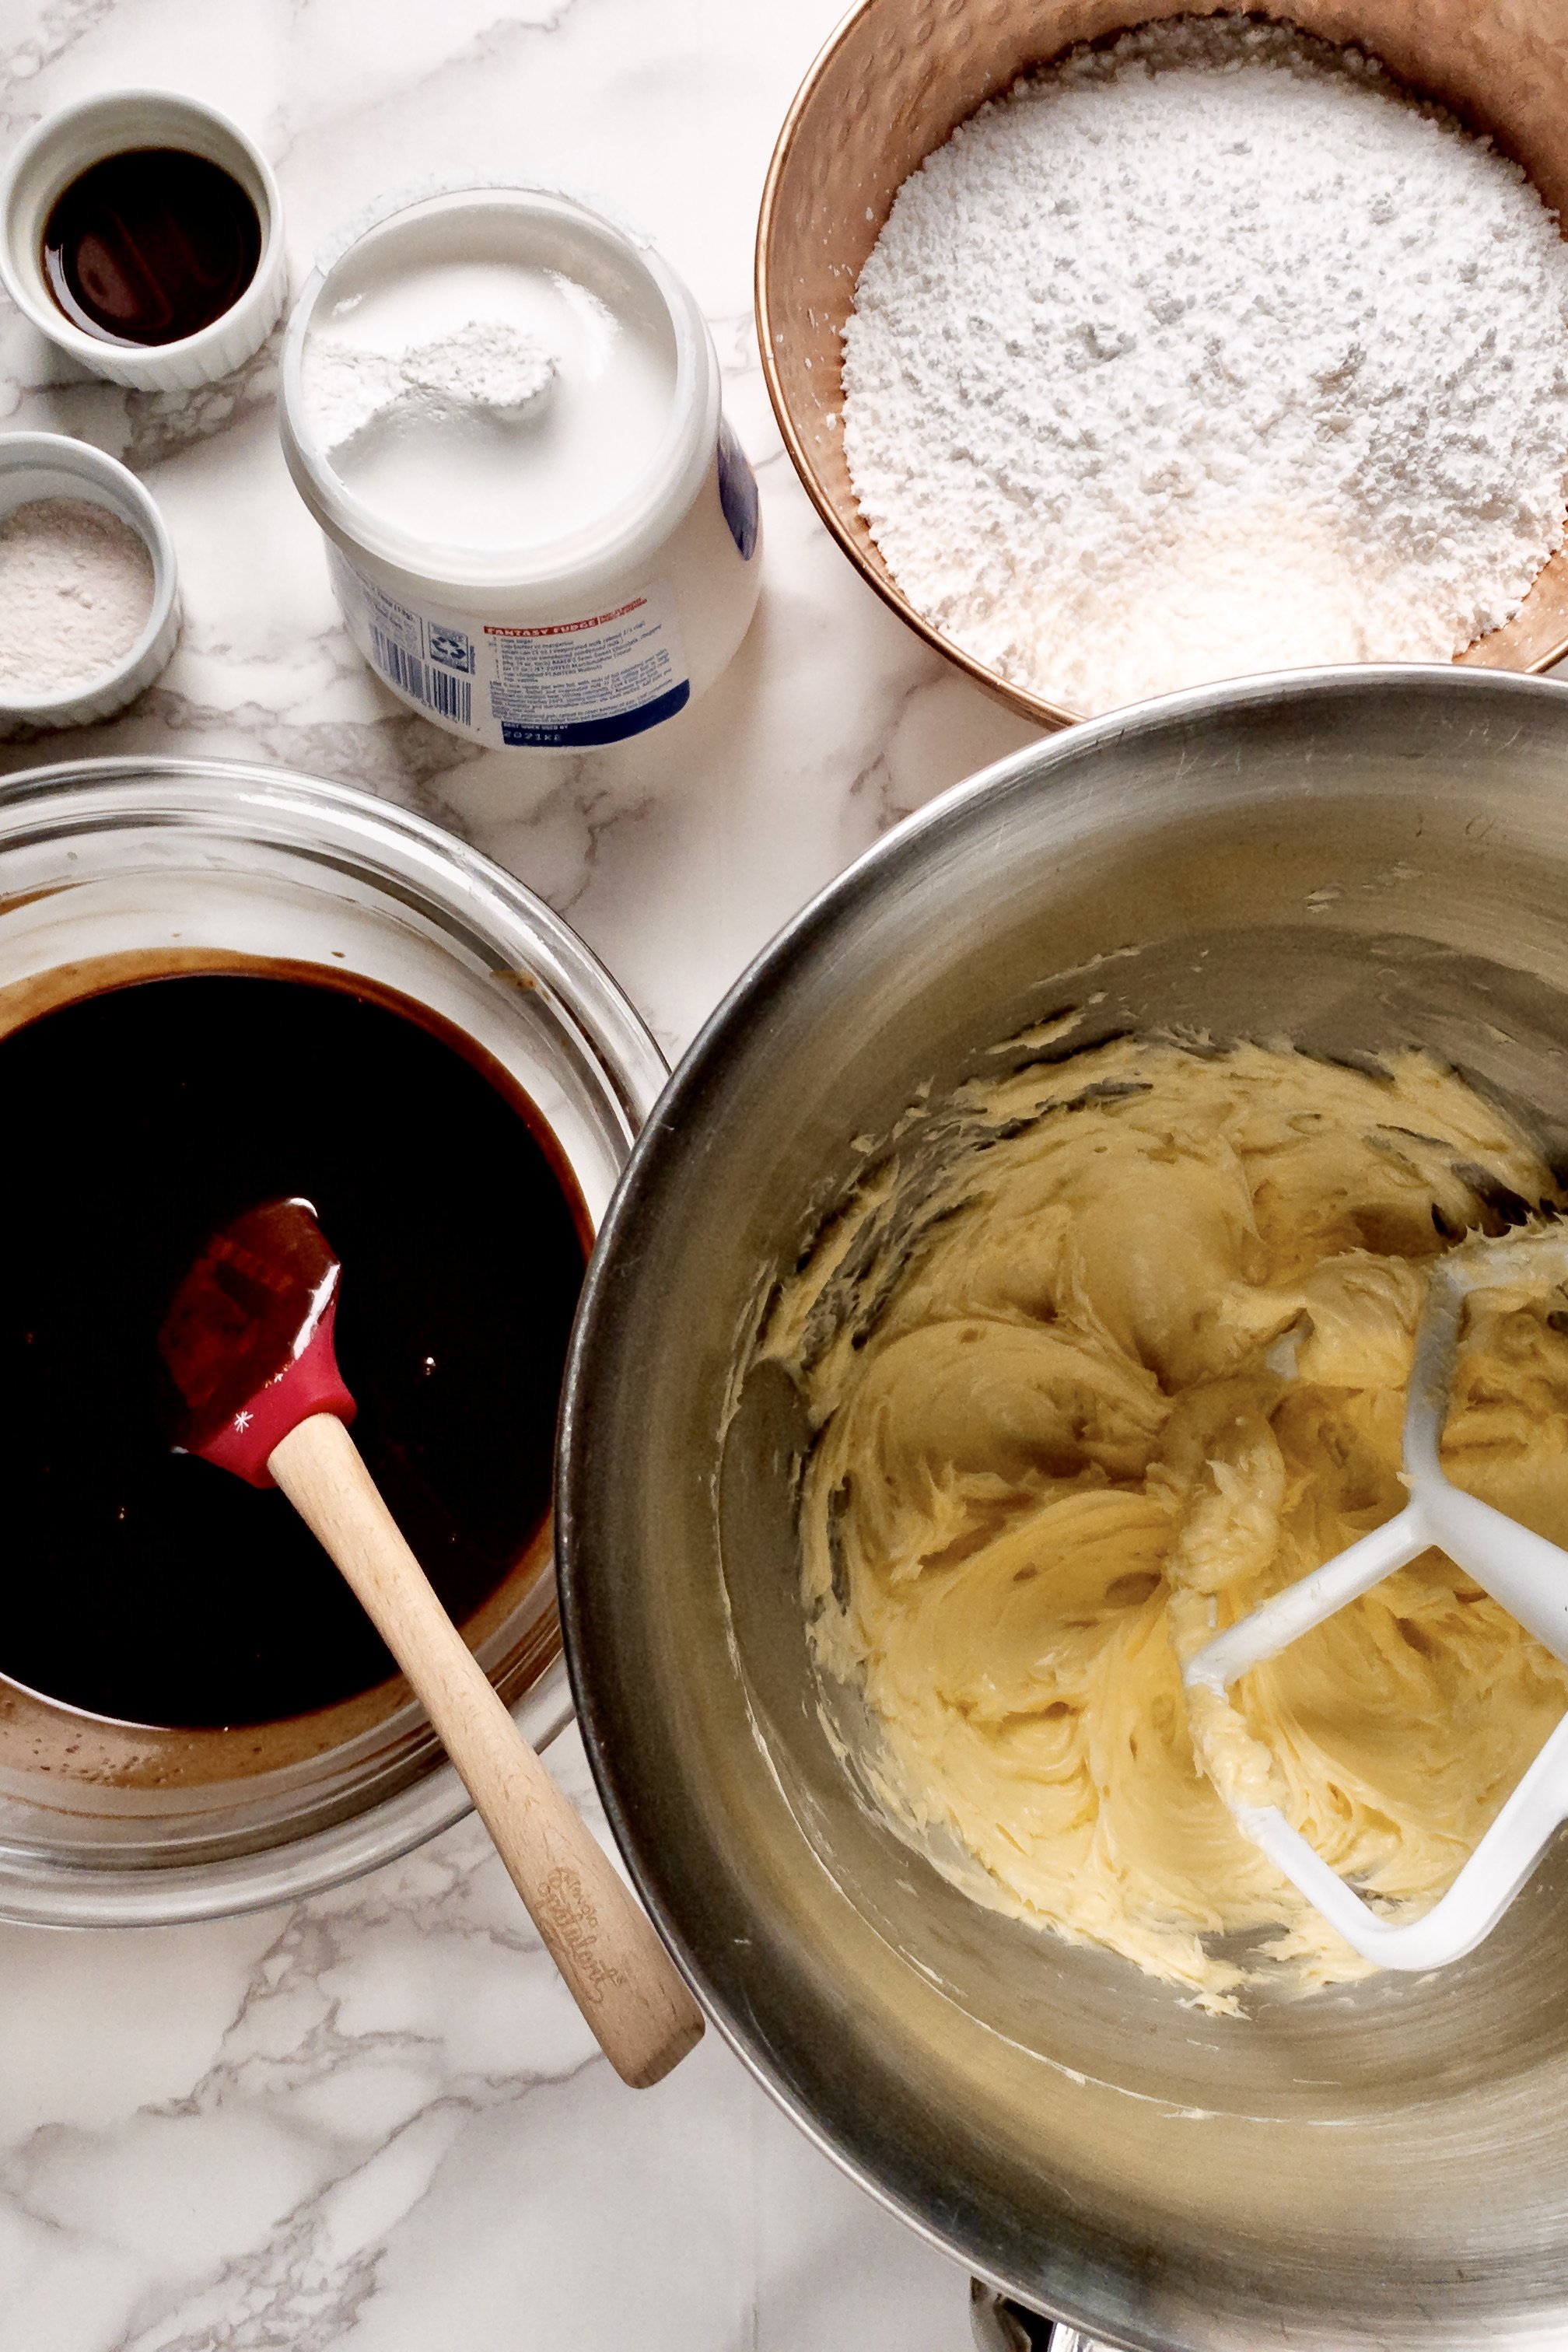
6. Make the buttercream. Cream butter and sugar.
7. Add the marshmallow then ganache and extracts. Do this gently so it doesn’t become gummy.


8. Assemble the cake. On the first layer of cake, spread a layer of buttercream then sprinkle some marshmallows and crushed candy canes (optional). Continue until all layers have been added. Frost with a crumb coat, chill, then frost fully and add sprinkles, crushed candy canes, and/or more marshmallows in any design you like.

Enjoy!
Tips and FAQ’s for this recipe
Can I transport this cake to my family’s house for the holidays?
Yes and no. My chocolate marshmallow buttercream is my most popular recipe and is also my personal favorite. However, it’s not one of those rock hard, throw this cake in the car and go frostings. It will hold the cake up just fine, but traveling long distances usually involves winding roads, sharp turns, or sudden stops. If possible, have someone hold the cake so it doesn’t fly around accidentally. As well, consider using cocoa powder (4 tablespoons is perfect for me) instead of the ganache in the frosting (see the original post for more details).

Measure dry ingredients carefully
Always spoon flour and cocoa into your measuring cup then level with the back of a knife or other straight edge. And be sure to sift with a fine mesh sieve so your cake is nice and fluffy.
Use room temperature ingredients
This is another baking must. Room temperature ingredients (when called for) are non-negotiable. I have seen the difference in cakes that are tough and don’t rise. Plan ahead and make sure your ingredients have had time to sit out.

My cake tools
Here are my must-have tools I use for making this cake. Affiliate links provided.
Mesh sieve (because sifting is KEY for a fluffy cake)
All-rubber spatula (this makes scraping the bowl easier as the batter and frosting doesn’t get all over a wooden handle!)
Silicone liners for 8” cake (or for 6” cakes)
8” aluminum cake pans or 6” aluminum cake pans (I’ve found nonstick doesn’t bake as evenly)
Offset spatula for frosting the cake


Peppermint Hot Cocoa Cake
- prep time: 45-50 minutes
- bake time: 25-30 minutes
- total time: 1 hour, 20 minutes (plus cooling time for cake; can be broken up)
servings: 12-16
Ingredients:
for the hot cocoa cake layers
- 1 ¾ cups (238g) flour, sifted
- ¾ cup (75g) unsweetened cocoa powder, sifted
- 2 teaspoons (8g) baking powder
- 1 teaspoon (5g) baking soda
- ½ teaspoon (3g) sea salt
- ⅛ teaspoon (or a few dashes) ground cinnamon
- ⅔ cup (134g) granulated sugar
- ⅔ cup (134g) brown sugar
- 3 large eggs, room temperature
- 1 cup (236g) buttermilk, room temperature*
- ⅓ cup (72g) avocado oil (can sub vegetable or canola oil)
- 1 tablespoon (13g) pure vanilla extract
- optional: 1 teaspoon (4g) peppermint emulsion (or extract)
- 1 cup (240g) hot, light roast coffee (or hot water)
for the peppermint marshmallow buttercream
- one batch chocolate marshmallow buttercream
- 1 teaspoon (4g) peppermint emulsion (or extract)
to assemble
- mini marshmallows (or peppermint marshmallows!)
- optional: sprinkles or crushed candy canes
Instructions:
make the hot cocoa cake layers
- Preheat your oven to 325. Lightly grease and flour two 8” to 9” cake pans (or use baking spray) and line the bottom with parchment paper or silicone baking mats. This is also a great time to set your coffee to percolate (unless using hot water or espresso and hot water, which is what I do).
- Sift and whisk together the flour, cocoa powder, baking powder, baking soda, salt, and cinnamon in the bowl of your stand mixer or a large mixing bowl. Add the sugars and whisk well. Set aside.
- In a separate medium mixing bowl, whisk the eggs, buttermilk, oil, vanilla, and peppermint emulsion/extract (optional) together until well-blended and fully emulsified, about 1 minute.
- Very, very slowly stream the hot coffee or water into the wet ingredients, whisking vigorously and constantly as you pour to avoid scrambling the eggs. Feel free to do this in segments if it’s easier. If you do scramble some of the eggs, you can run the mixture through your fine mesh sieve to remove the cooked egg bits.
- Using the paddle attachment, turn your stand mixer to low (or use a hand mixer) and slowly pour the wet ingredients into the dry. This should take about 30 seconds or so. The batter will clump up then thin out. Once you’ve poured all the wet ingredients, immediately turn off the mixer. Scrape down the bottom and sides. Beat on medium for exactly 2 minutes (set a timer).
- Evenly divide batter between prepared pans. Bake for 25-30 minutes, until a toothpick inserted in the middle of each cake comes out with just a few moist crumbs (ideally not fully clean, as this could mean they’re over baked). Check early and rotate halfway if not using convection.
- Let cool 5-10 minutes in the pans then remove to a cooling rack to cool completely. If not assembling the cake right away, wrap fully, 100% cooled cake layers in two layers of plastic wrap and freeze until ready to use. Let defrost on the counter, still wrapped, for 1-2 hours, until defrosted enough to level and cut in half (if desired--if not, you can frost a frozen cake!).
make the peppermint chocolate buttercream
- Make the chocolate marshmallow buttercream as directed, adding the peppermint emulsion/extract at the same time as the vanilla. Taste and add more peppermint, as desired. Be careful not to mix the frosting more than directed, as it can turn gummy. Make this on the day you assemble the cake for best results.
assemble cake 9 .Trim any domed tops off the cakes using a serrated knife or cake leveler. Cut each cake layer in half (optional, but makes room for more frosting!). Assemble the cake by spreading a layer of buttercream about ¼ inch thick on the bottom layer of cake then sprinkling some marshmallows. Continue this process until all layers are stacked. Be sure to place the top layer with the cut side down (reserve a bottom slice if you halved your layers so you can have the bottom, uncut side facing up--it creates far fewer crumbs). Optional: sprinkle some crushed candy canes with the marshmallows in between each layer.
- Frost the entire cake in a thin crumb coat of buttercream. Refrigerate 10 minutes or so. Add another layer of buttercream, to desired thickness, then decorate with sprinkles, crushed candy canes, or more marshmallows!
Enjoy!
Cake should be stored in a truly airtight container. If you have any leftovers, place a piece of plastic wrap right against the cut sides to seal it.
