
Hot Cocoa Cookies
Rich, fudgy cookies with the perfect crispy outside and chewy center and packed with chocolate chips and marshmallows. Brown sugar, a hint of cinnamon, and just the right amount of cocoa powder make these taste just like a warm cup of hot chocolate—perfect for winter!
This post may contain affiliate links from which, at no additional cost to you, I may earn a small commission to keep this site running. Only products I myself would or do use are recommended.
Guess what?? It was my birthday this weekend. Which is fun and exciting on its own (especially because my dear friend took me to a Pixar party and I got to see their upcoming movie and it’s SO GOOD!). But another thing I love about my birthday is that afterward, I’m officially allowed to go to town with our Christmas decorations.
I actually cheated a little already, switching out our year round decorations for Christmas ones. I mean, it’s not cluttered and in the way if our shelves have snowmen and reindeer instead of candles and Mickey Mouse? And putting up our window clings was mama/daughter bonding, so how could I not?
But now that we’re done cramming people into our house, it’s time to go all out. I’m so excited to put up all of our lights and snowmen and garland. I actually make Mickey Mouse wreaths on Etsy and have promised to make my daughter a Minnie Mouse one (which we’ll start selling once I have a prototype ready!). That for sure is going up on the wall this week.
And of course, we will eat all the Christmas things while decorating. Which is how I came up with these cookies. They are Christmas spirit itself, and I’m pretty sure we’re going to include them in our cookie tray for Santa. :)
Why this recipe works
To be honest, my favorite hot chocolate cookies are by Averie Cooks. There’s no improving on that perfection. However, they don’t always travel well and are best fresh out of the oven. Instead, I endeavored to create something equally delicious that also lasts for several days.
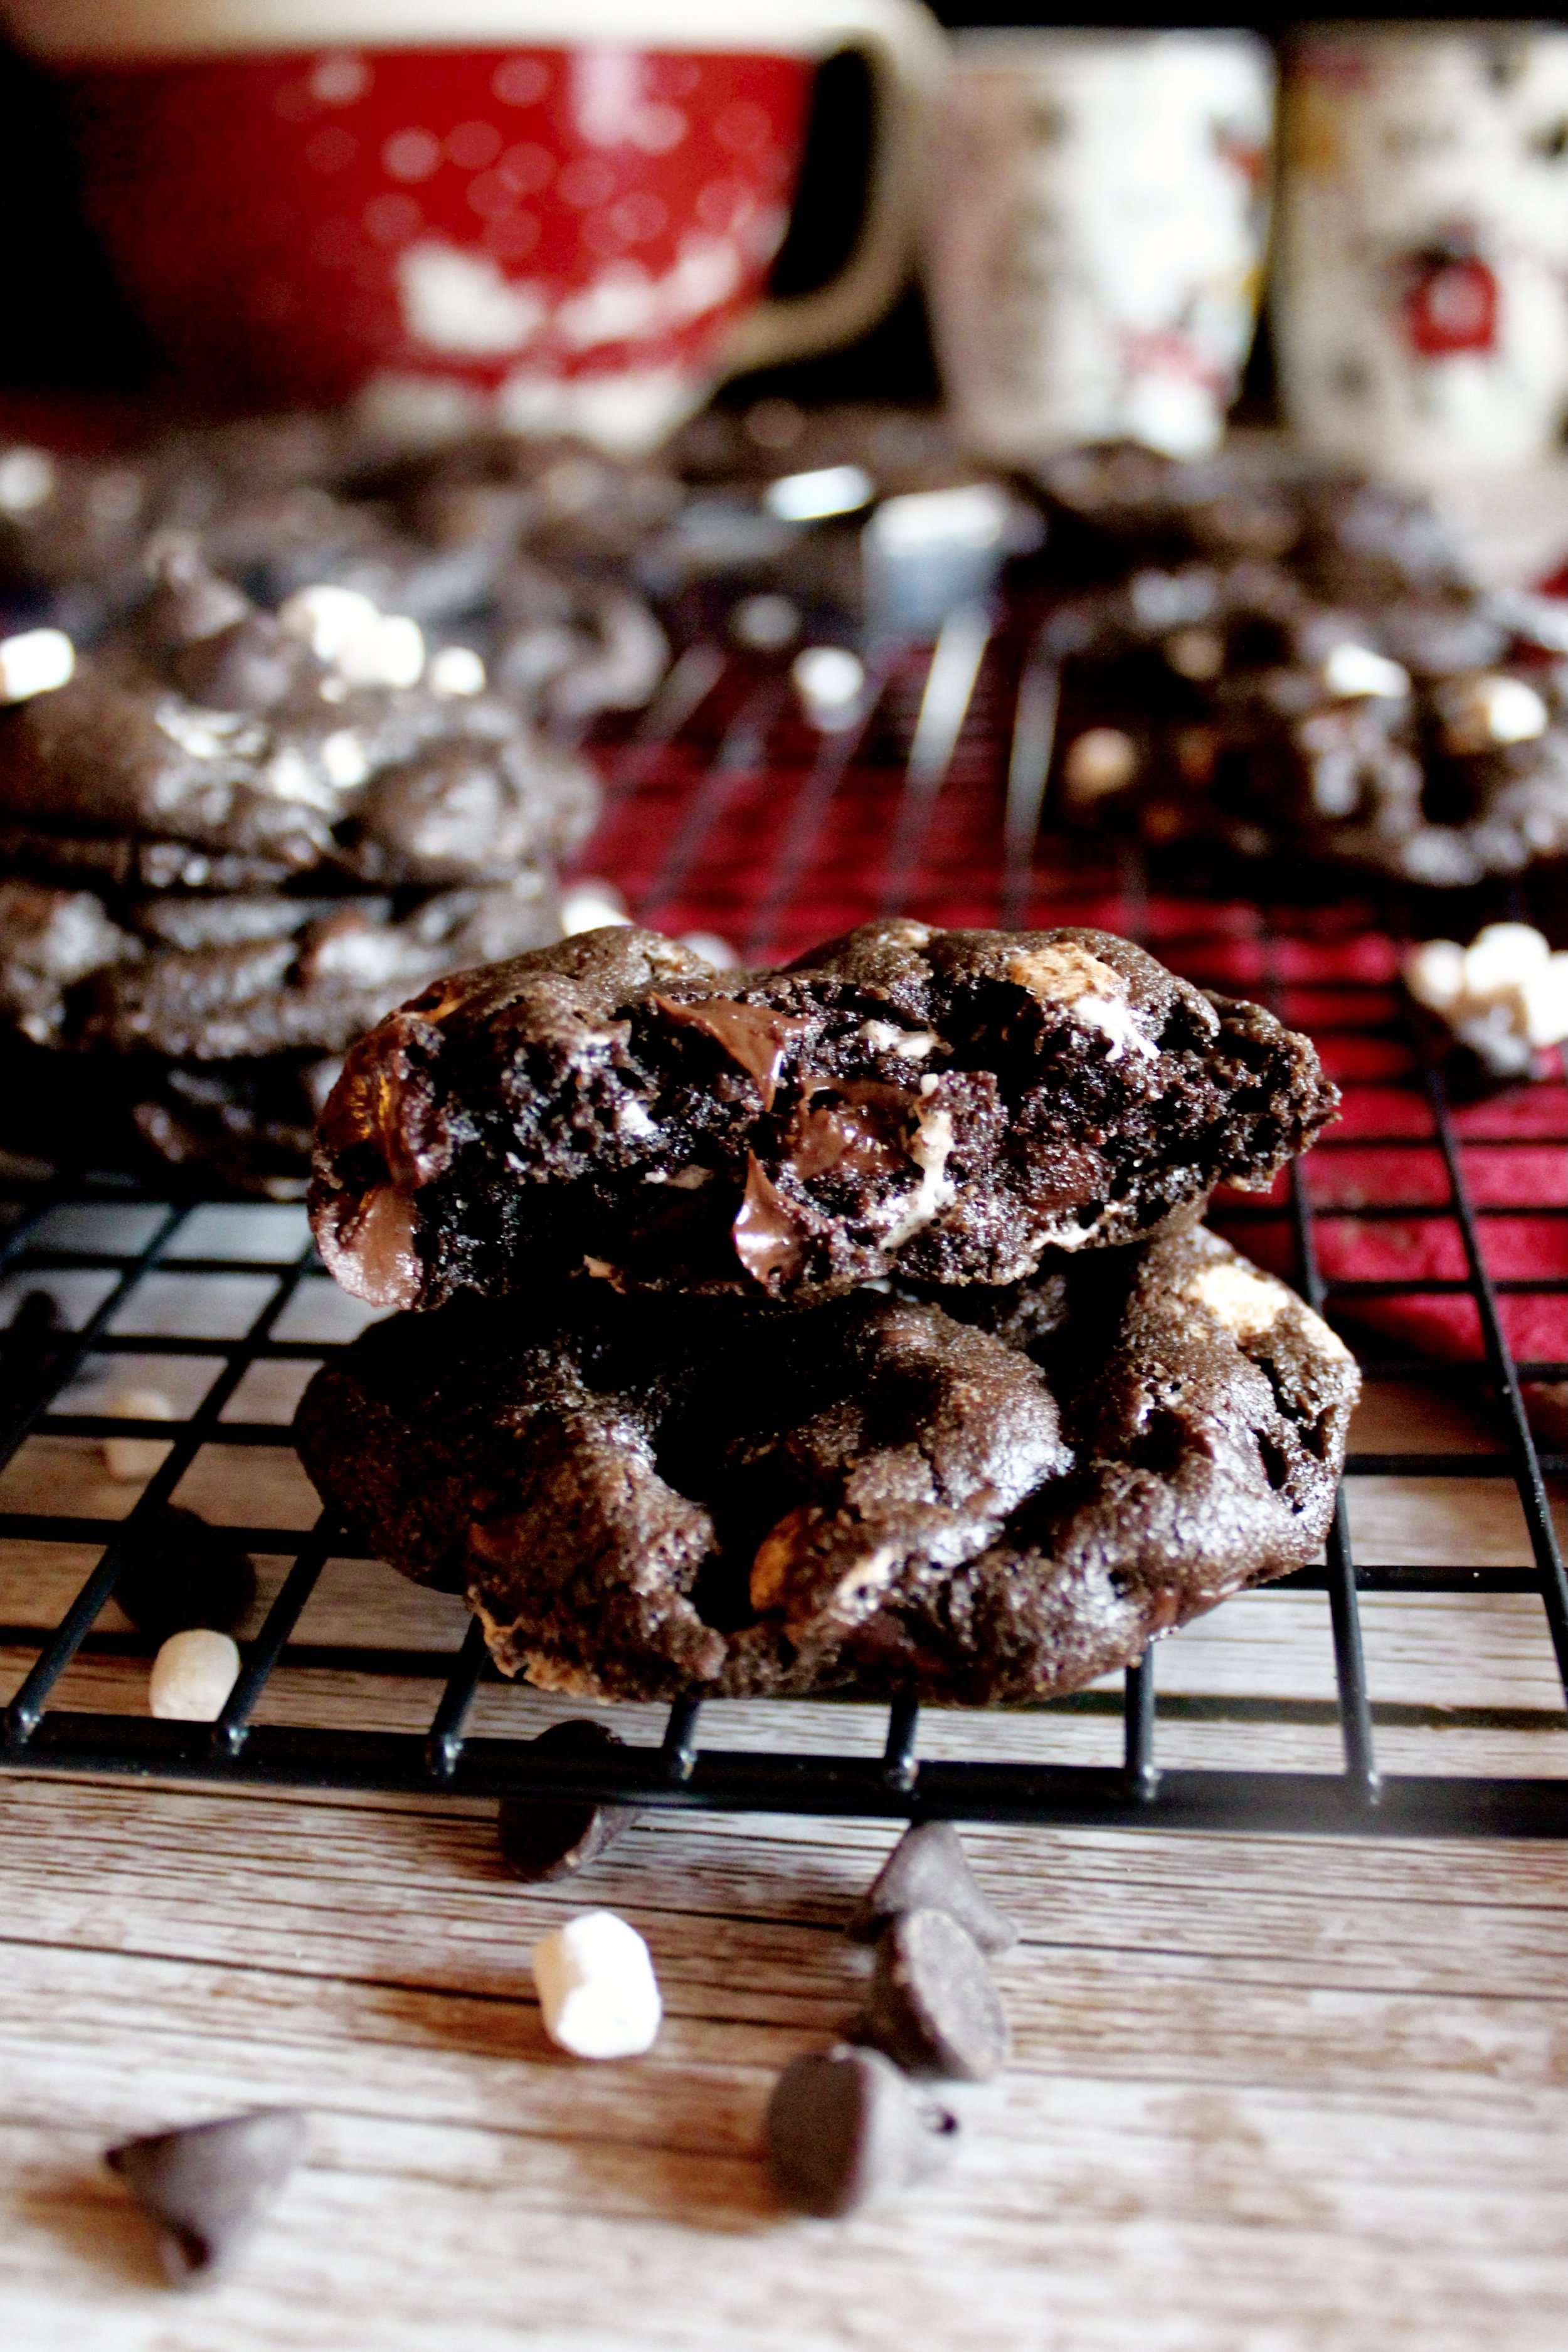
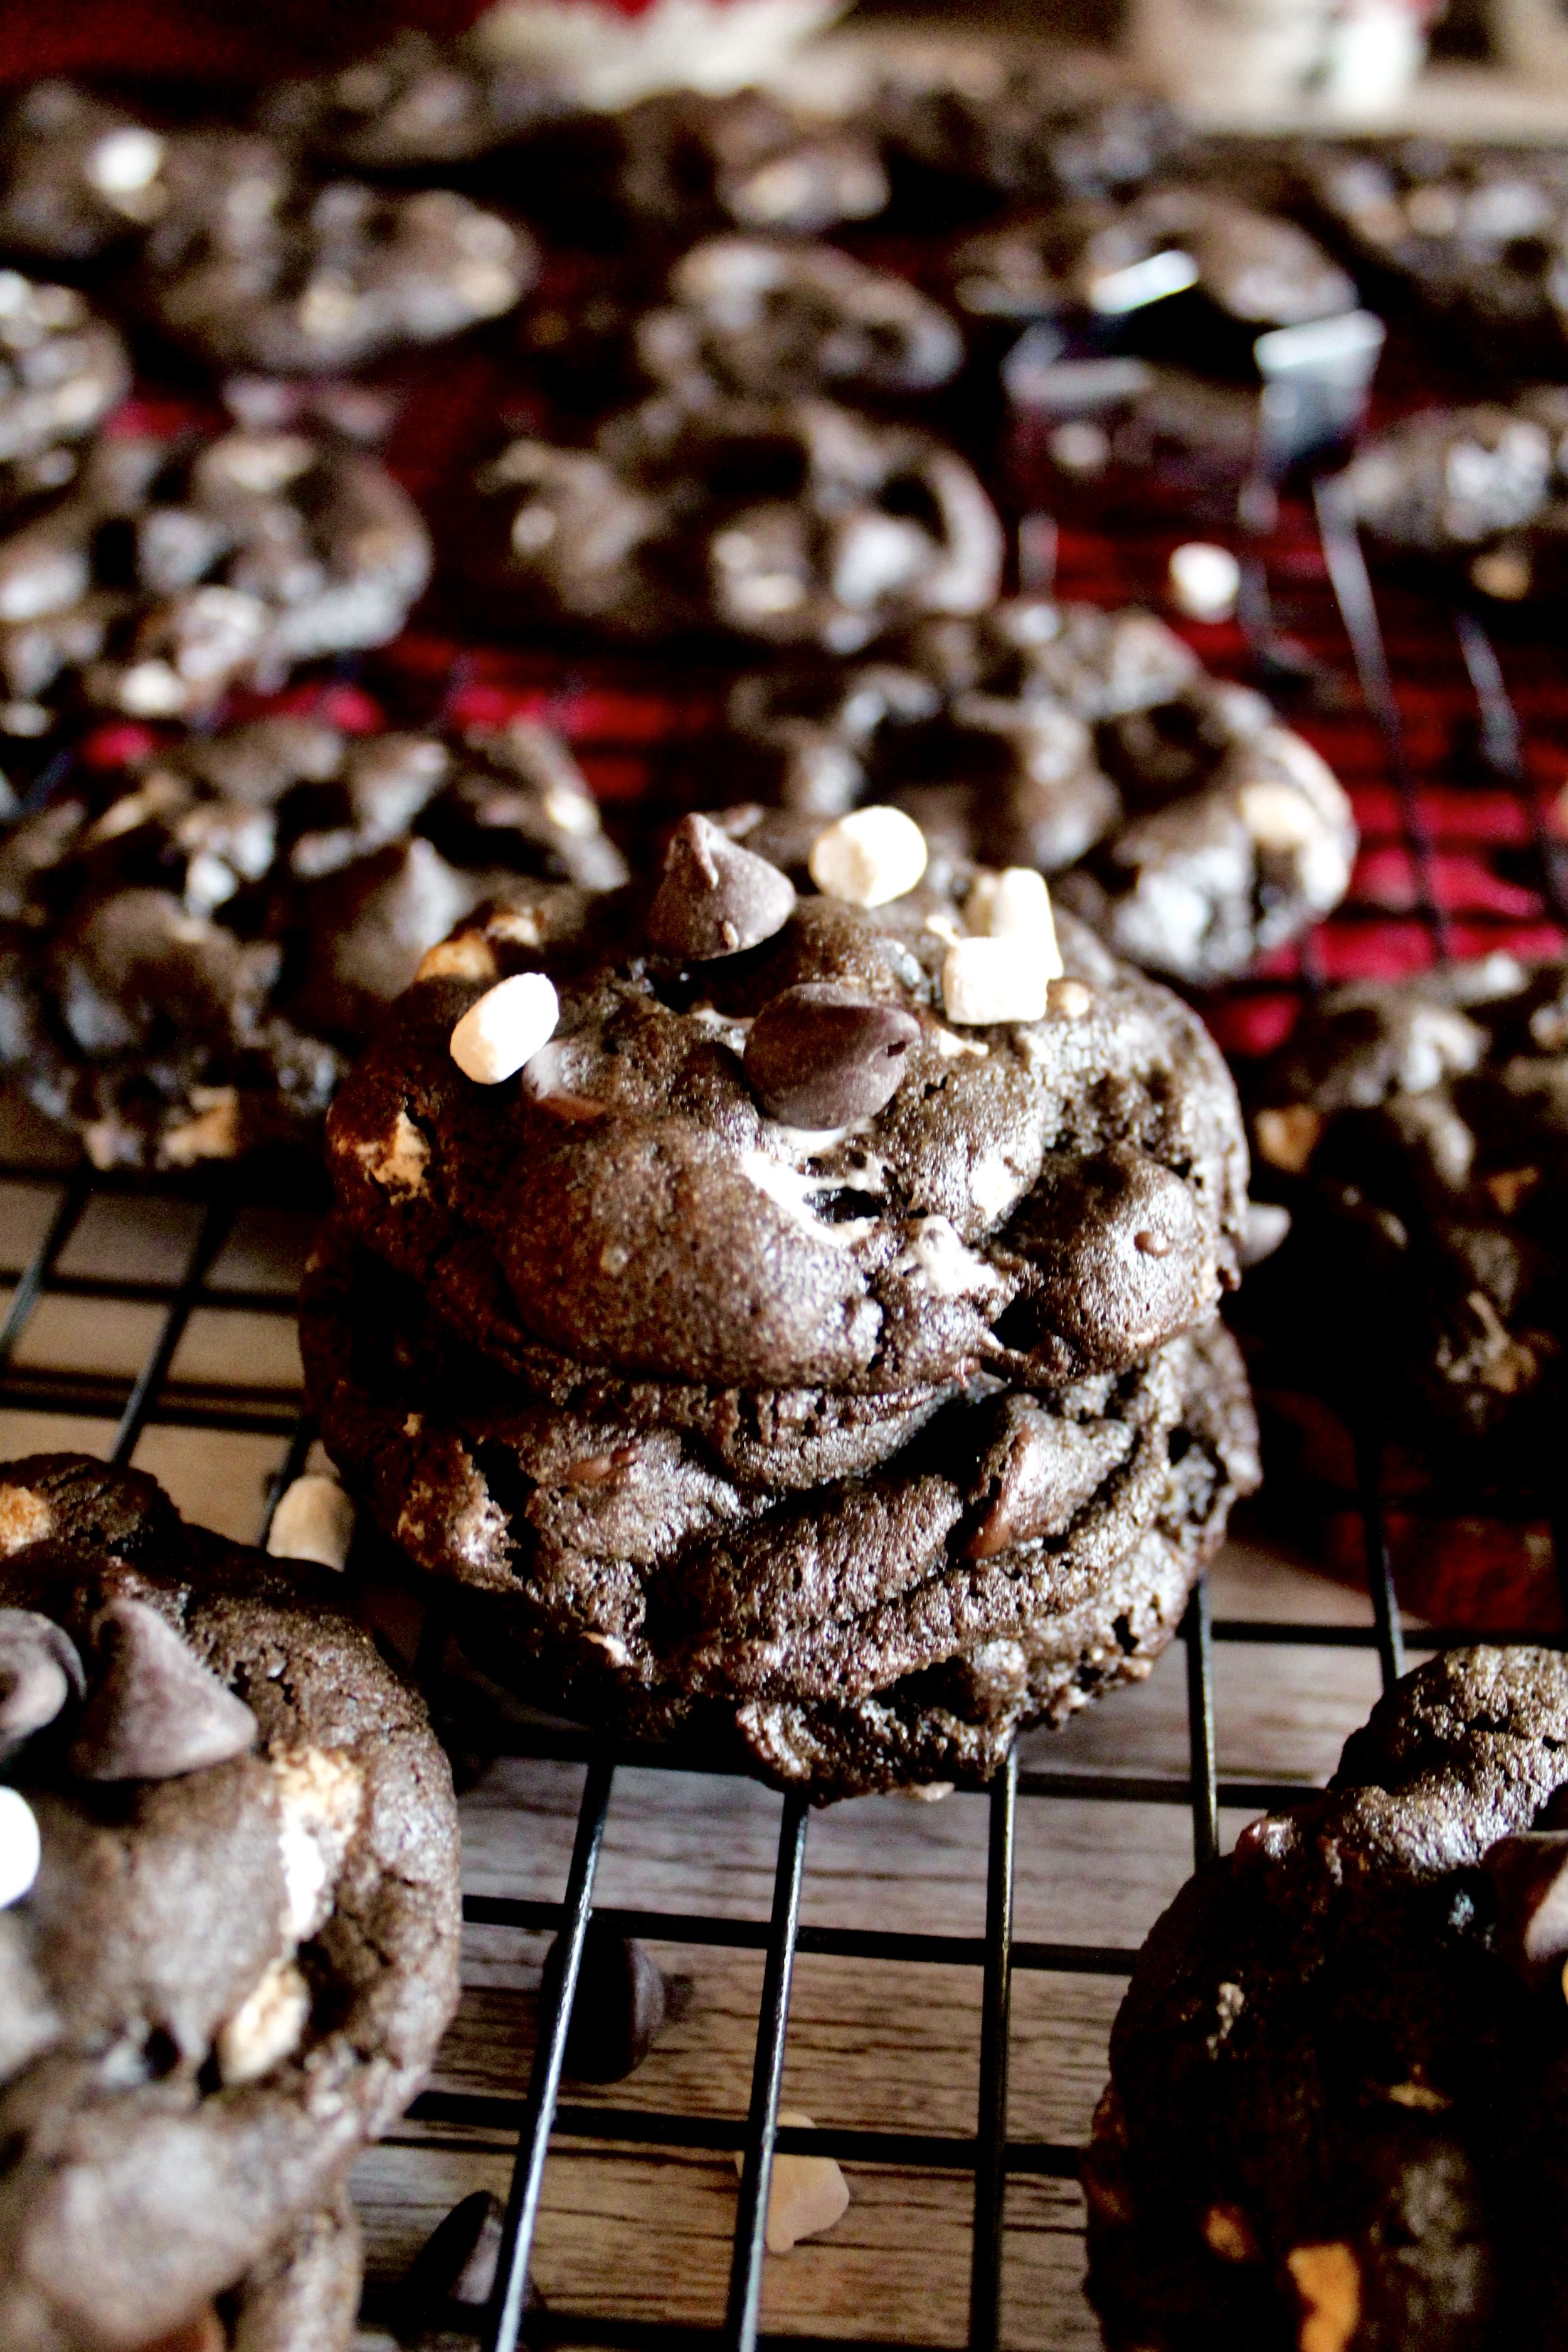
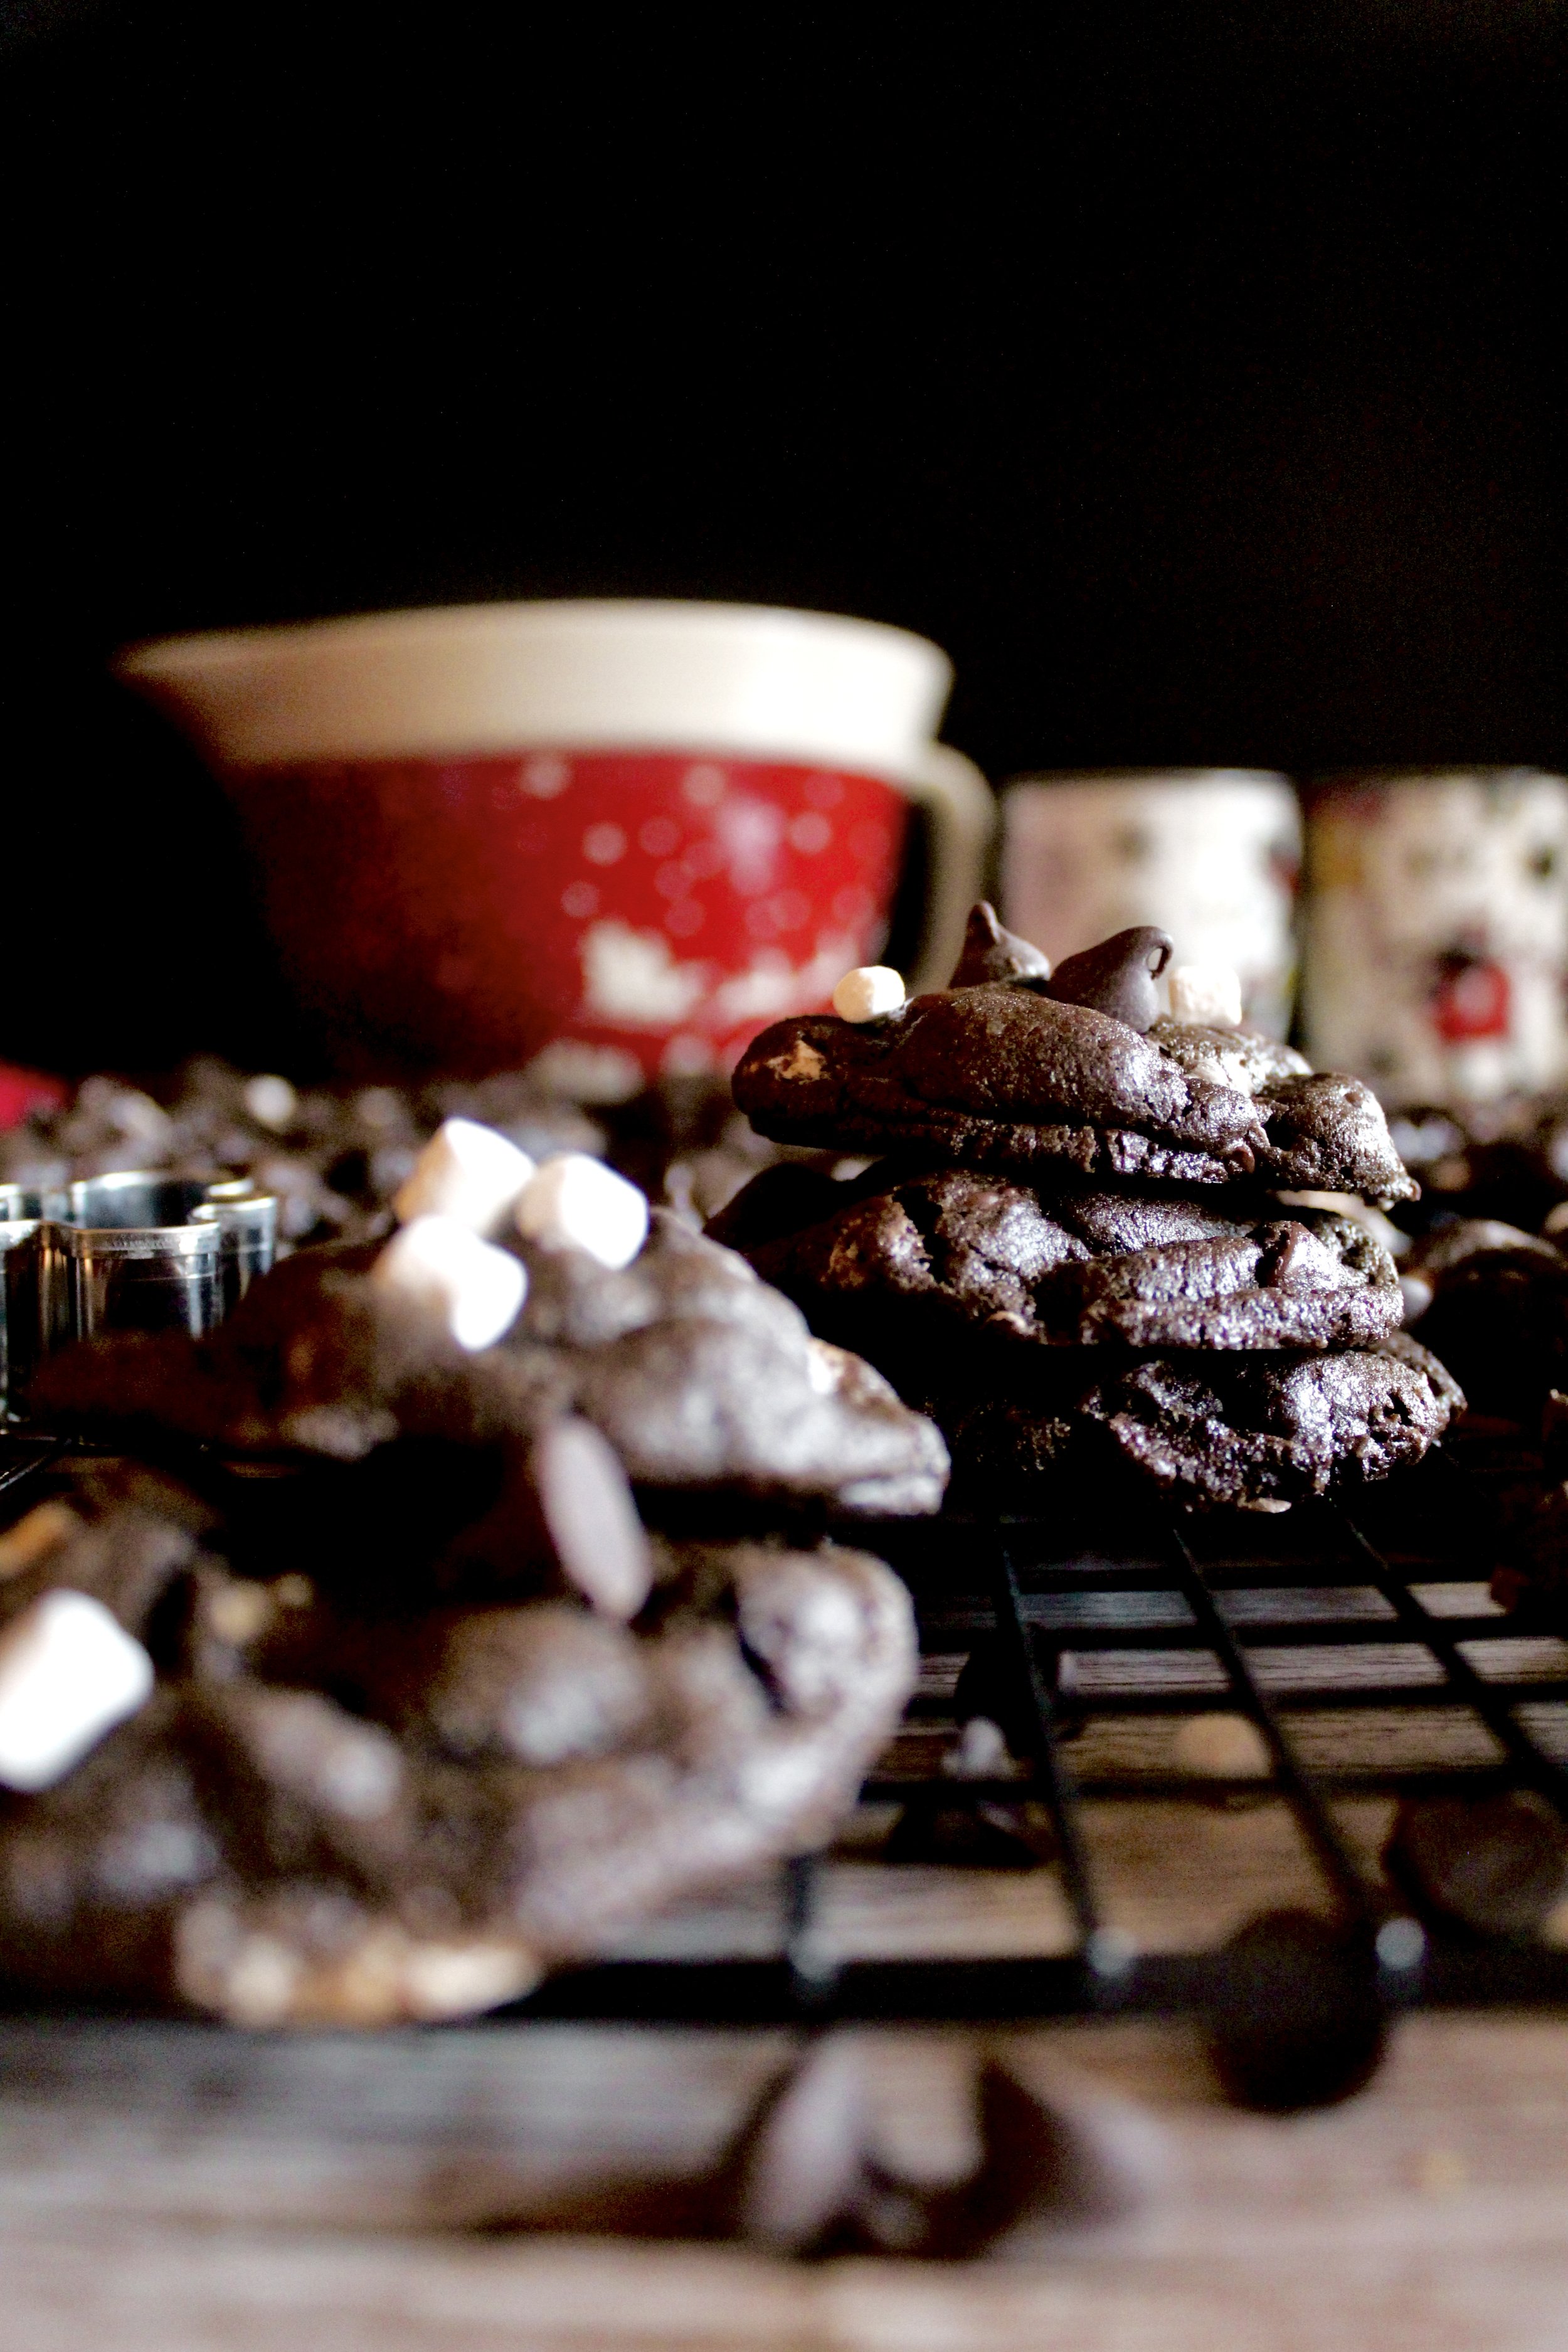
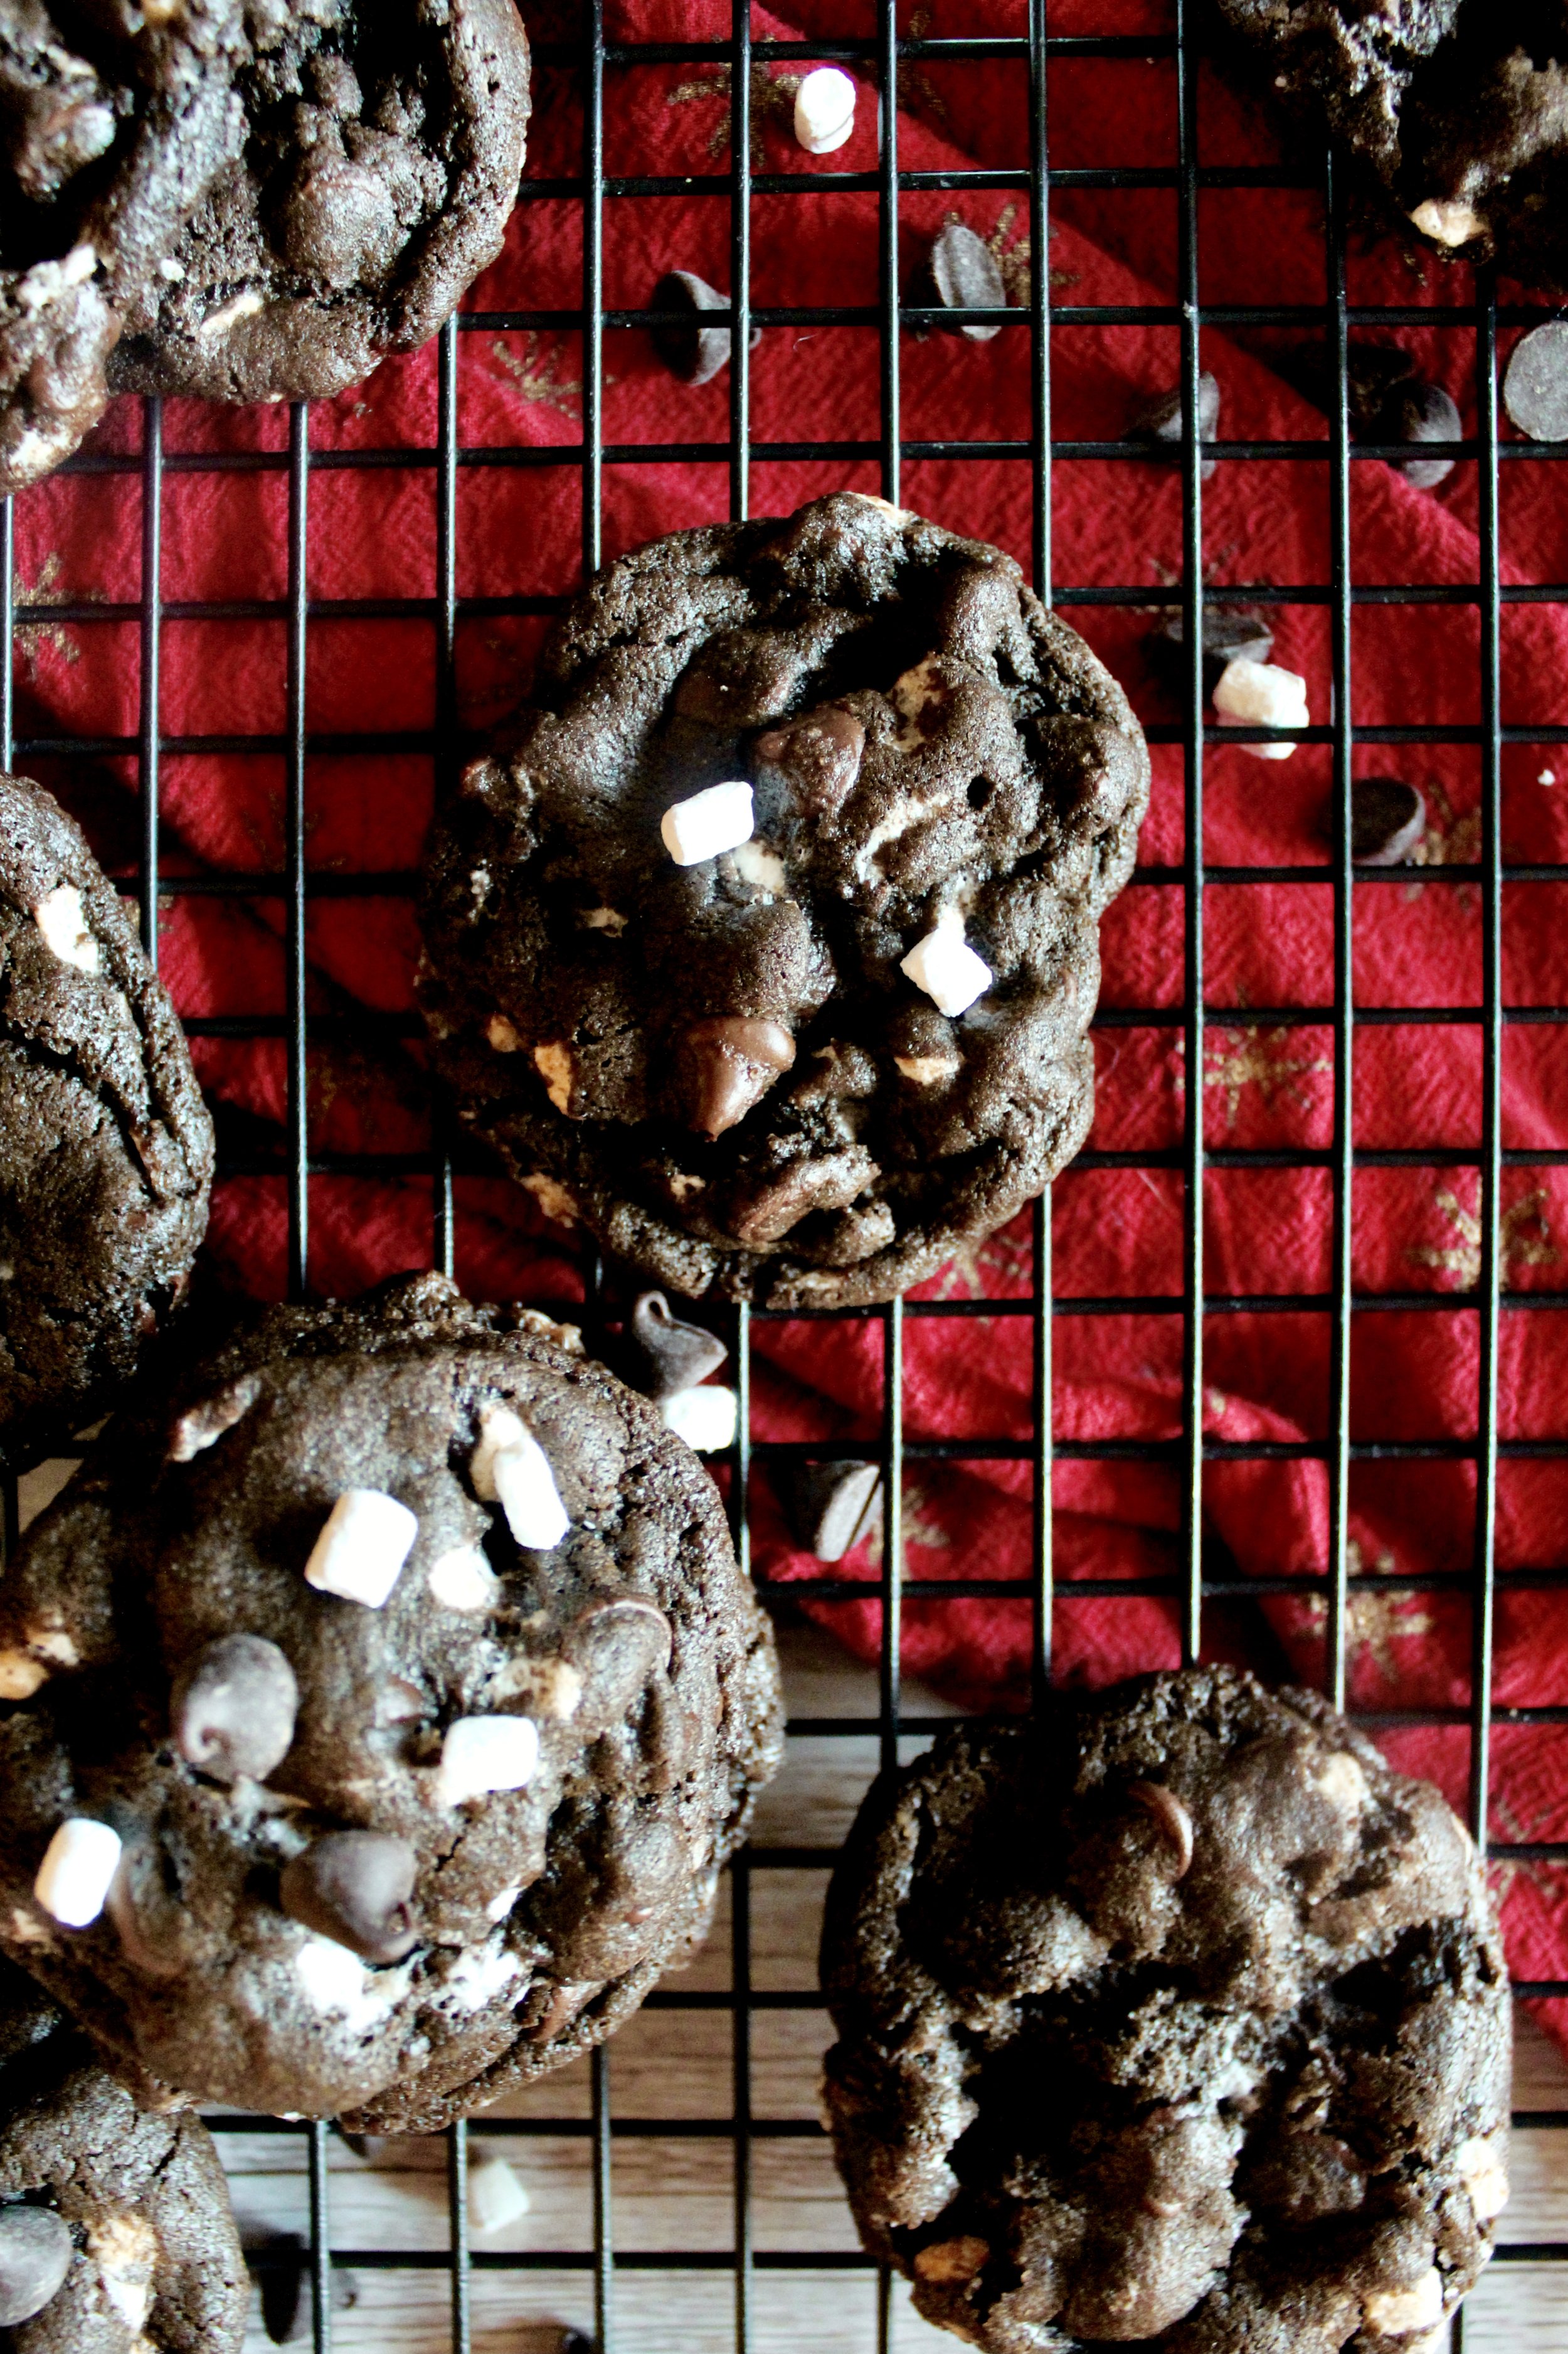
Boy, did I find it. These cookies are fudgy without falling flat. They’re rich in chocolate flavor but have brown sugar and cinnamon to give that “hot cocoa” flavor. And they’re filled to the brim with extra chocolate chips and marshmallow bits. Some of the marshmallow will melt a little, while others stay whole to give unique texture to each bit.

Key ingredients
Flour. Spoon then level it so you don’t pack in too much flour.
Unsweetened cocoa powder. I suggest sifting it.
Baking soda. Be sure it’s fresh so the cookies rise.
Cinnamon. Just a hint gives that “hot cocoa” taste.
Butter. Use European, if possible, as it has less water and makes a smoother dough.

Sugar and brown sugar. Using a larger proportion of brown sugar helps give a “hot cocoa” flavor as well as keep the cookies moist.
Eggs. Be sure they’re room temperature.
Vanilla. Use pure, not imitation.
Chocolate chips. Obviously!
Marshmallow bits. These are the perfect size to give that classic cocoa taste without altering the texture of the cookie.
How to make hot cocoa cookies
1. Whisk together dry ingredients. Sift your cocoa powder to avoid clumps.
2. Cream butter and sugars. Be sure to get it nice and fluffy.
3. Add eggs, one at a time, then vanilla. Mix well after each addition to keep the dough fluffy.
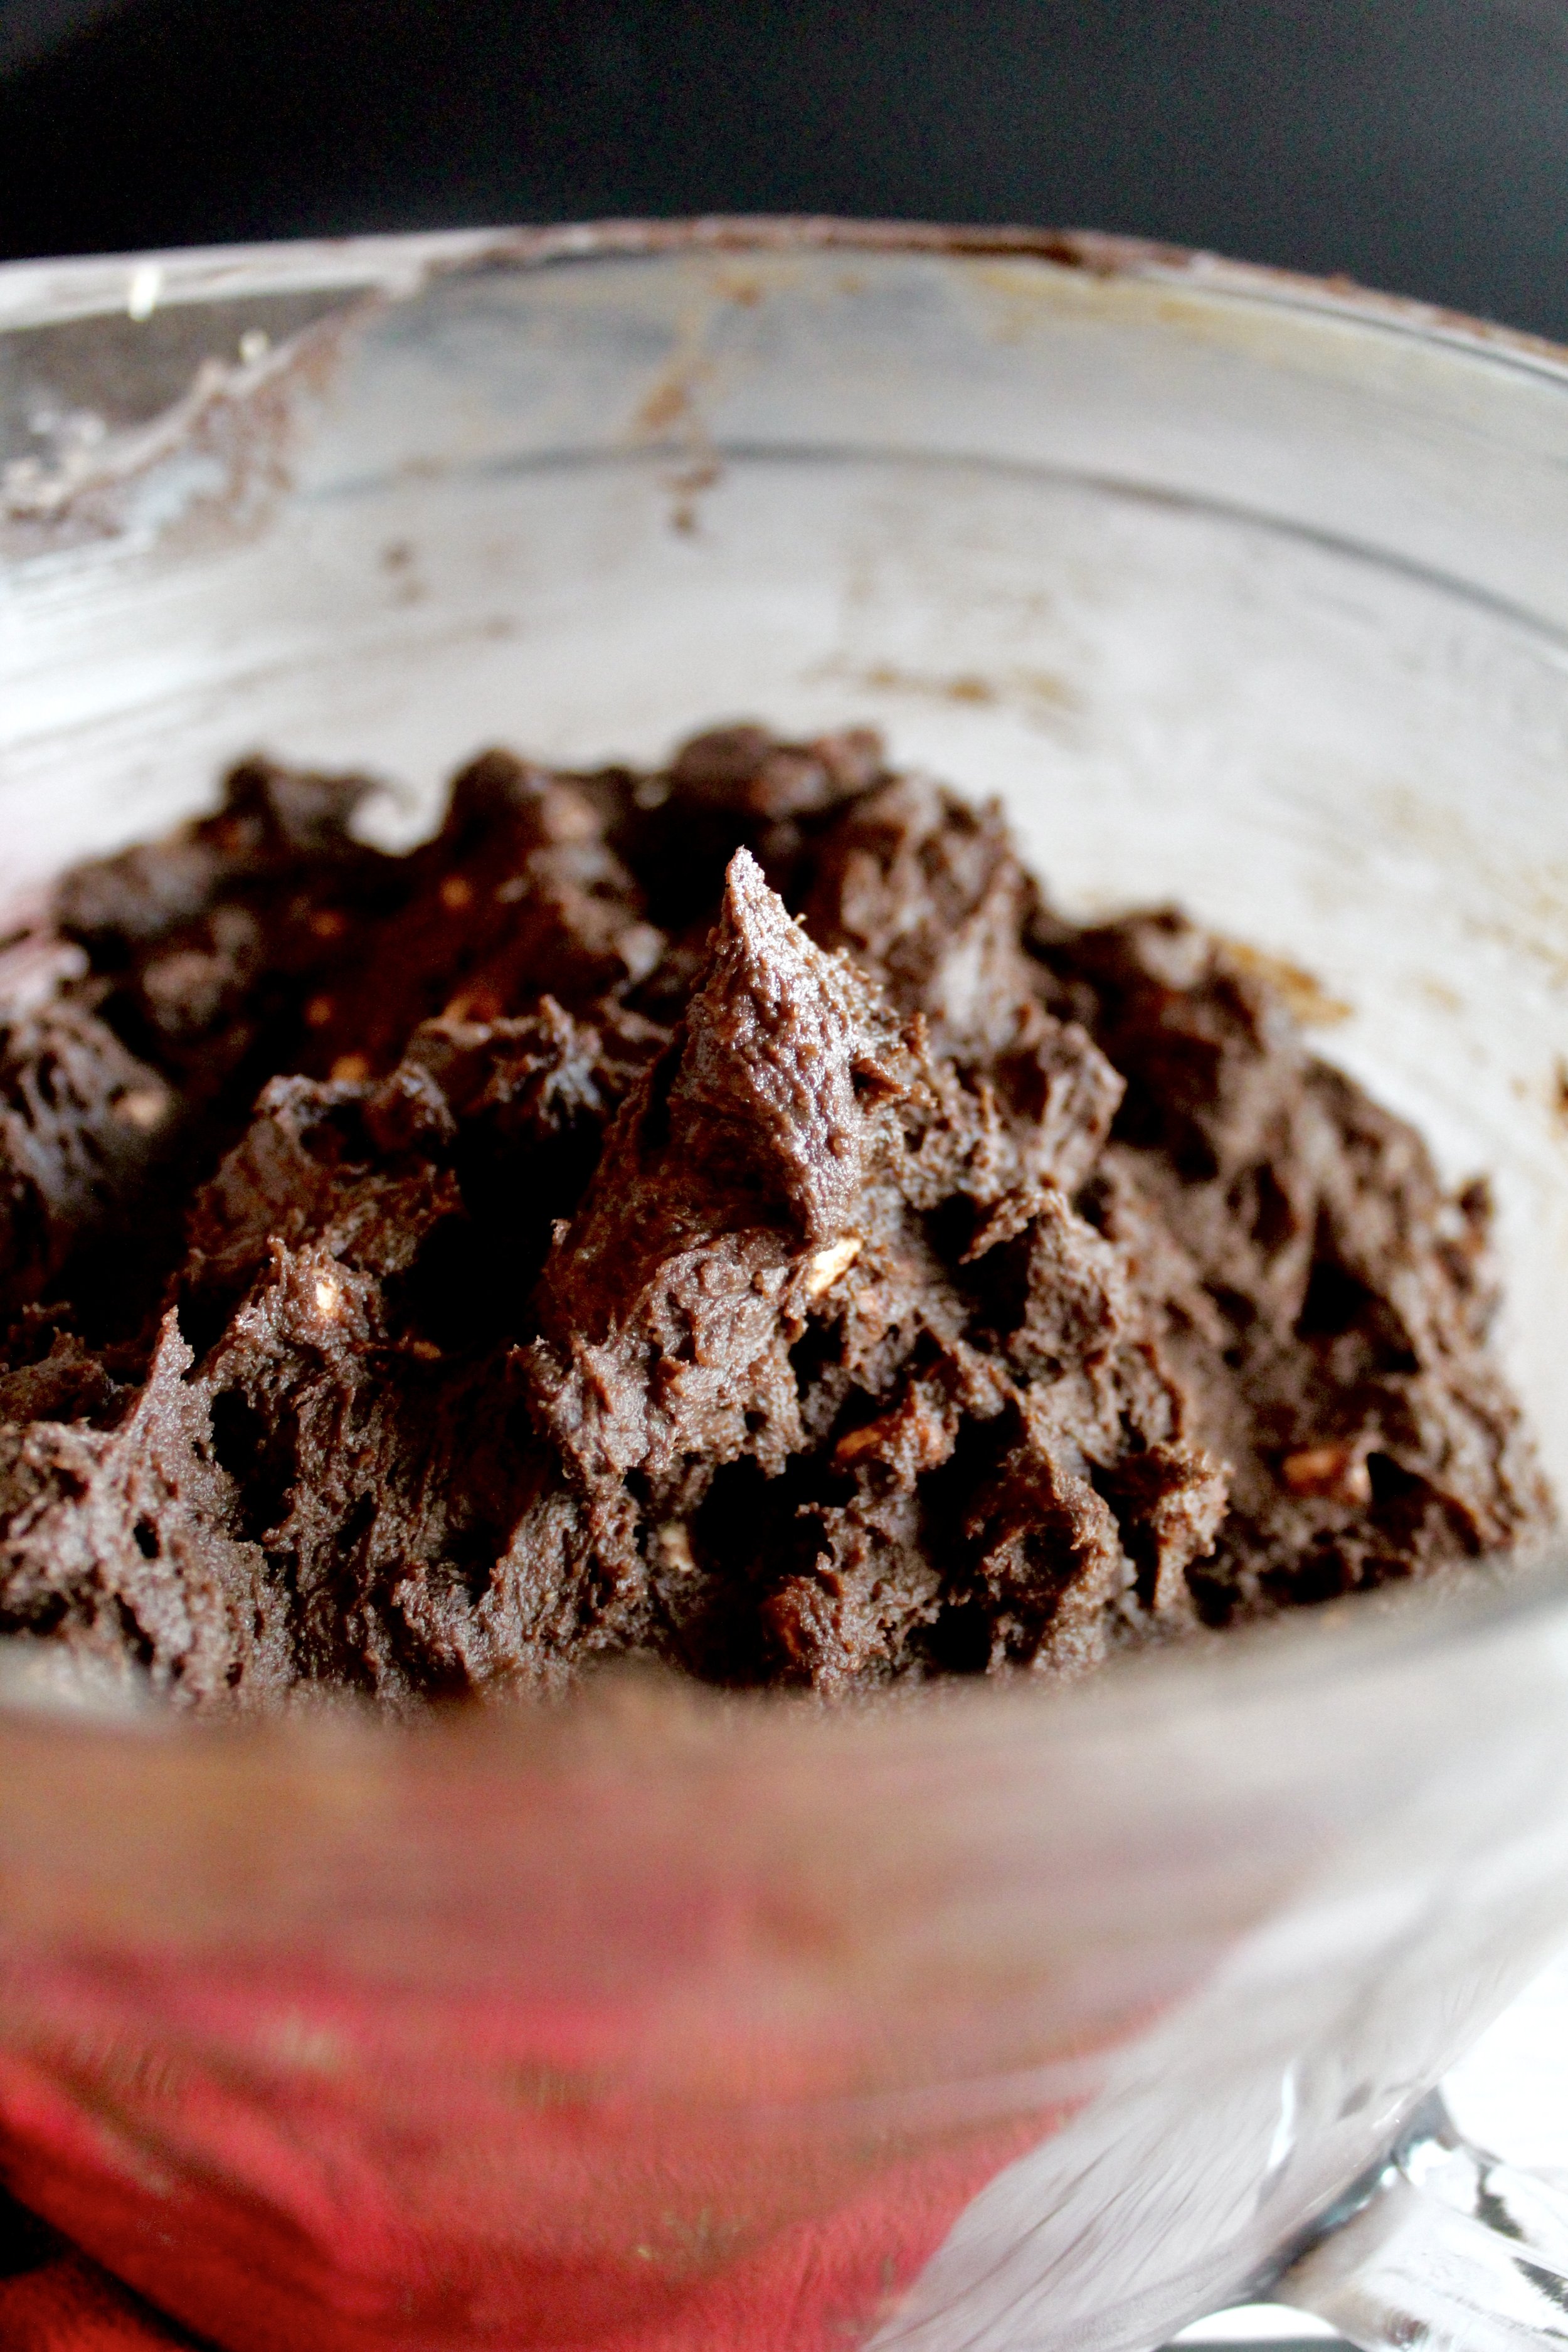
4. Add dry ingredients. Mix in on low and don’t worry about some streaks left over.


5. Stir in chocolate chips and marshmallows. You may want a wooden spoon to make this easier.
6. Chill the dough. This is key to help them bake up nicely.
7. Shape into balls then freeze. Freezing them for just a few minutes helps them keep their shape while baking, since they are a very fudgy cookie, which can often spread too thin.
8. Bake. Bake until they no loner look shiny and have puffed up a bit.
Enjoy!
Tips and FAQ’s for this recipe
Help! My cookies spread too thin
Be sure to measure the ingredients correctly. This dough uses a delicate balance of flour to butter. Too much or too little of either can lead to either dry, bread-y cookies or thin cookies that spread out and break easily. As well, be sure to chill the dough before shaping it then freeze after, so they are the right temperature for baking.

Where can I find marshmallow bits?
I found mine at our local grocery store, but if yours doesn’t sell it, you can order it online. You could also use mini marshmallows, but in my experience these are harder to work with and can cause the cookies to fall apart or could melt along the edges and caramelize (which can be delicious but also chewy or tough).

Can I make these ahead of time?
Yes! If you don’t have time to chill and bake them all in one day, or if you want to make a few cookies now and save the rest for later, you could optionally chill the dough until it’s no longer sticky and thus easier to form into a ball. Form into single cookie balls then place on a cookie tray and freeze for 10 minutes. Once firm, you can transfer the dough balls to an airtight, freezer safe container or bag and keep frozen for up to 2 months. You can bake them straight from the freezer!
How do I know when the cookies are baked?
Since this is a dark dough, it’s hard to tell when the cookies are baked. You’re looking for a matte appearance throughout. Even if they’re a little underdone, they’re still delicious!

What kind of chocolate chips should I use?
I always stick with classic semisweet, partly because we’re never without the Costco bag of them. But milk chocolate would actually give a more “hot cocoa” flavor, while dark would make a deliciously rich cookie. Use what you prefer!
Measure your ingredients correctly
Be careful with dry ingredients, making sure you spoon them into the measuring cup then level it off with a straight edge, like the back of a knife. If not, you’ll end up with too much flour or cocoa and your cookie will be dry and tough.

Use European butter!
I know this is splitting hairs, but I have noticed a huge difference in my baked goods made with European style butter. It has less water and thus is creamier. While it’s especially noticeable in frostings or cakes, I also notice in cookies that they are just a bit richer (but the same number of calories) if you use European butter. My favorite is Kerrygold!
My cookie making tools
Here are my must-have tools I use for making these cookies. Affiliate links provided.


Hot Cocoa Cookies
- prep time: 10-15 minutes
- chill time: 1 hour (or up to 2 days)
- bake time: 10-12 minutes
- total time: 1 hour, 25 minutes
servings: 36-48
Ingredients:
- 1 ¾ cups (238g) flour, spooned then leveled*
- ¾ cup (75g) unsweetened cocoa powder
- 1 teaspoon (5g) baking soda
- ½ teaspoon (3g) sea salt
- ½ to 1 teaspoon (1-2g) ground cinnamon
- 1 cup (227g) unsalted European style butter, room temperature**
- 1 cup (213g) brown sugar
- ⅔ cup (134g) granulated sugar
- 2 eggs, room temperature
- 1 tablespoon (13g) pure vanilla extract
- 2 cups (340g) chocolate chips (any kind)
- ¾ cup (39g) marshmallow bits
Instructions:
- First, whisk together your flour, cocoa powder, baking soda, salt, and cinnamon. I suggest sifting the cocoa powder if it tends to clump up, like mine does.
- In the bowl of your stand mixer fitted with the paddle attachment (or a large bowl, using a hand whisk), beat the butter on high until light and fluffy, about 1 minute.
- Add the sugars and beat on high for at least 3 minutes, until light and fluffy and most of the sugar is dissolved (some might still be grainy). Scrape the bowl as needed, at least once during this 3 minutes.
- Add the eggs, one at a time, and beat on medium until well blended. Add the vanilla and beat on medium until blended.
- Add the flour mixture and beat on low just until combined. Don’t worry if there are some streaks of flour, as the next step takes care of that.
- Using a sturdy spatula or wooden spoon, stir in the chocolate chips and marshmallow bits. If you don’t want quite a “fully loaded” cookie, you can use a little less chocolate chips and marshmallows.
- Now chill! Cover and chill the dough at least an hour or up to 2 days. I found that chilling overnight was perfect. If you’re in a rush, you could form them into balls and freeze them for at least 20 minutes, but they may still end up a little flat (but still delicious!).
- Once the dough is chilled, preheat oven to 325 and line a cookie sheet (or sheets) with parchment (or use a silicone mat to help reduce your carbon footprint!). Use a spoon or cookie scoop to form the dough into balls about 1 to 1 ½ inches in diameter. The dough should be stiff to the point that you really do need a scoop or a little elbow grease to scoop them. Place on your lined cookie sheet then freeze for 10 minutes while the oven finishes preheating.
- Bake for 10-12 minutes, until the tops of the cookies are no longer shiny (or there’s just a tiny bit of shine around the nuts and chocolate chips).
- Let cool on the pan about 10 minutes, then either enjoy or remove to a wire rack to cool completely.
Enjoy!
*Be sure to spoon then level the flour into your measuring cup OR weigh it to prevent packing it in and ending up with too much.
**European butter is best! It has less water and makes a better cookie, in my opinion.
