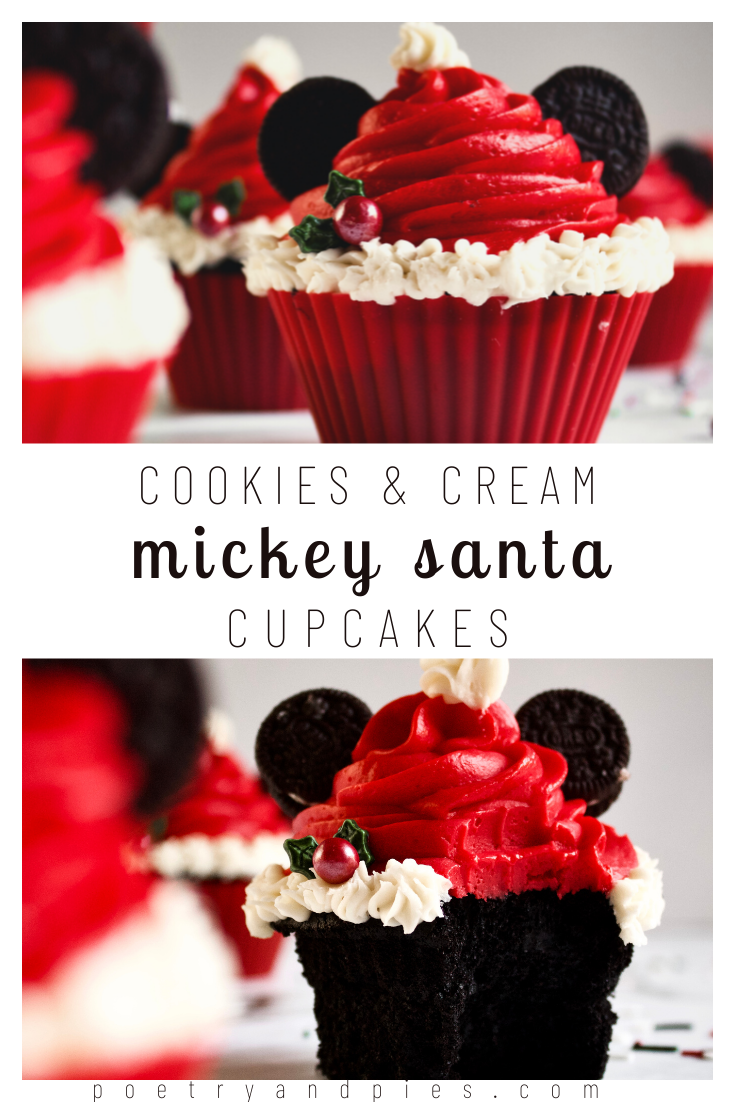
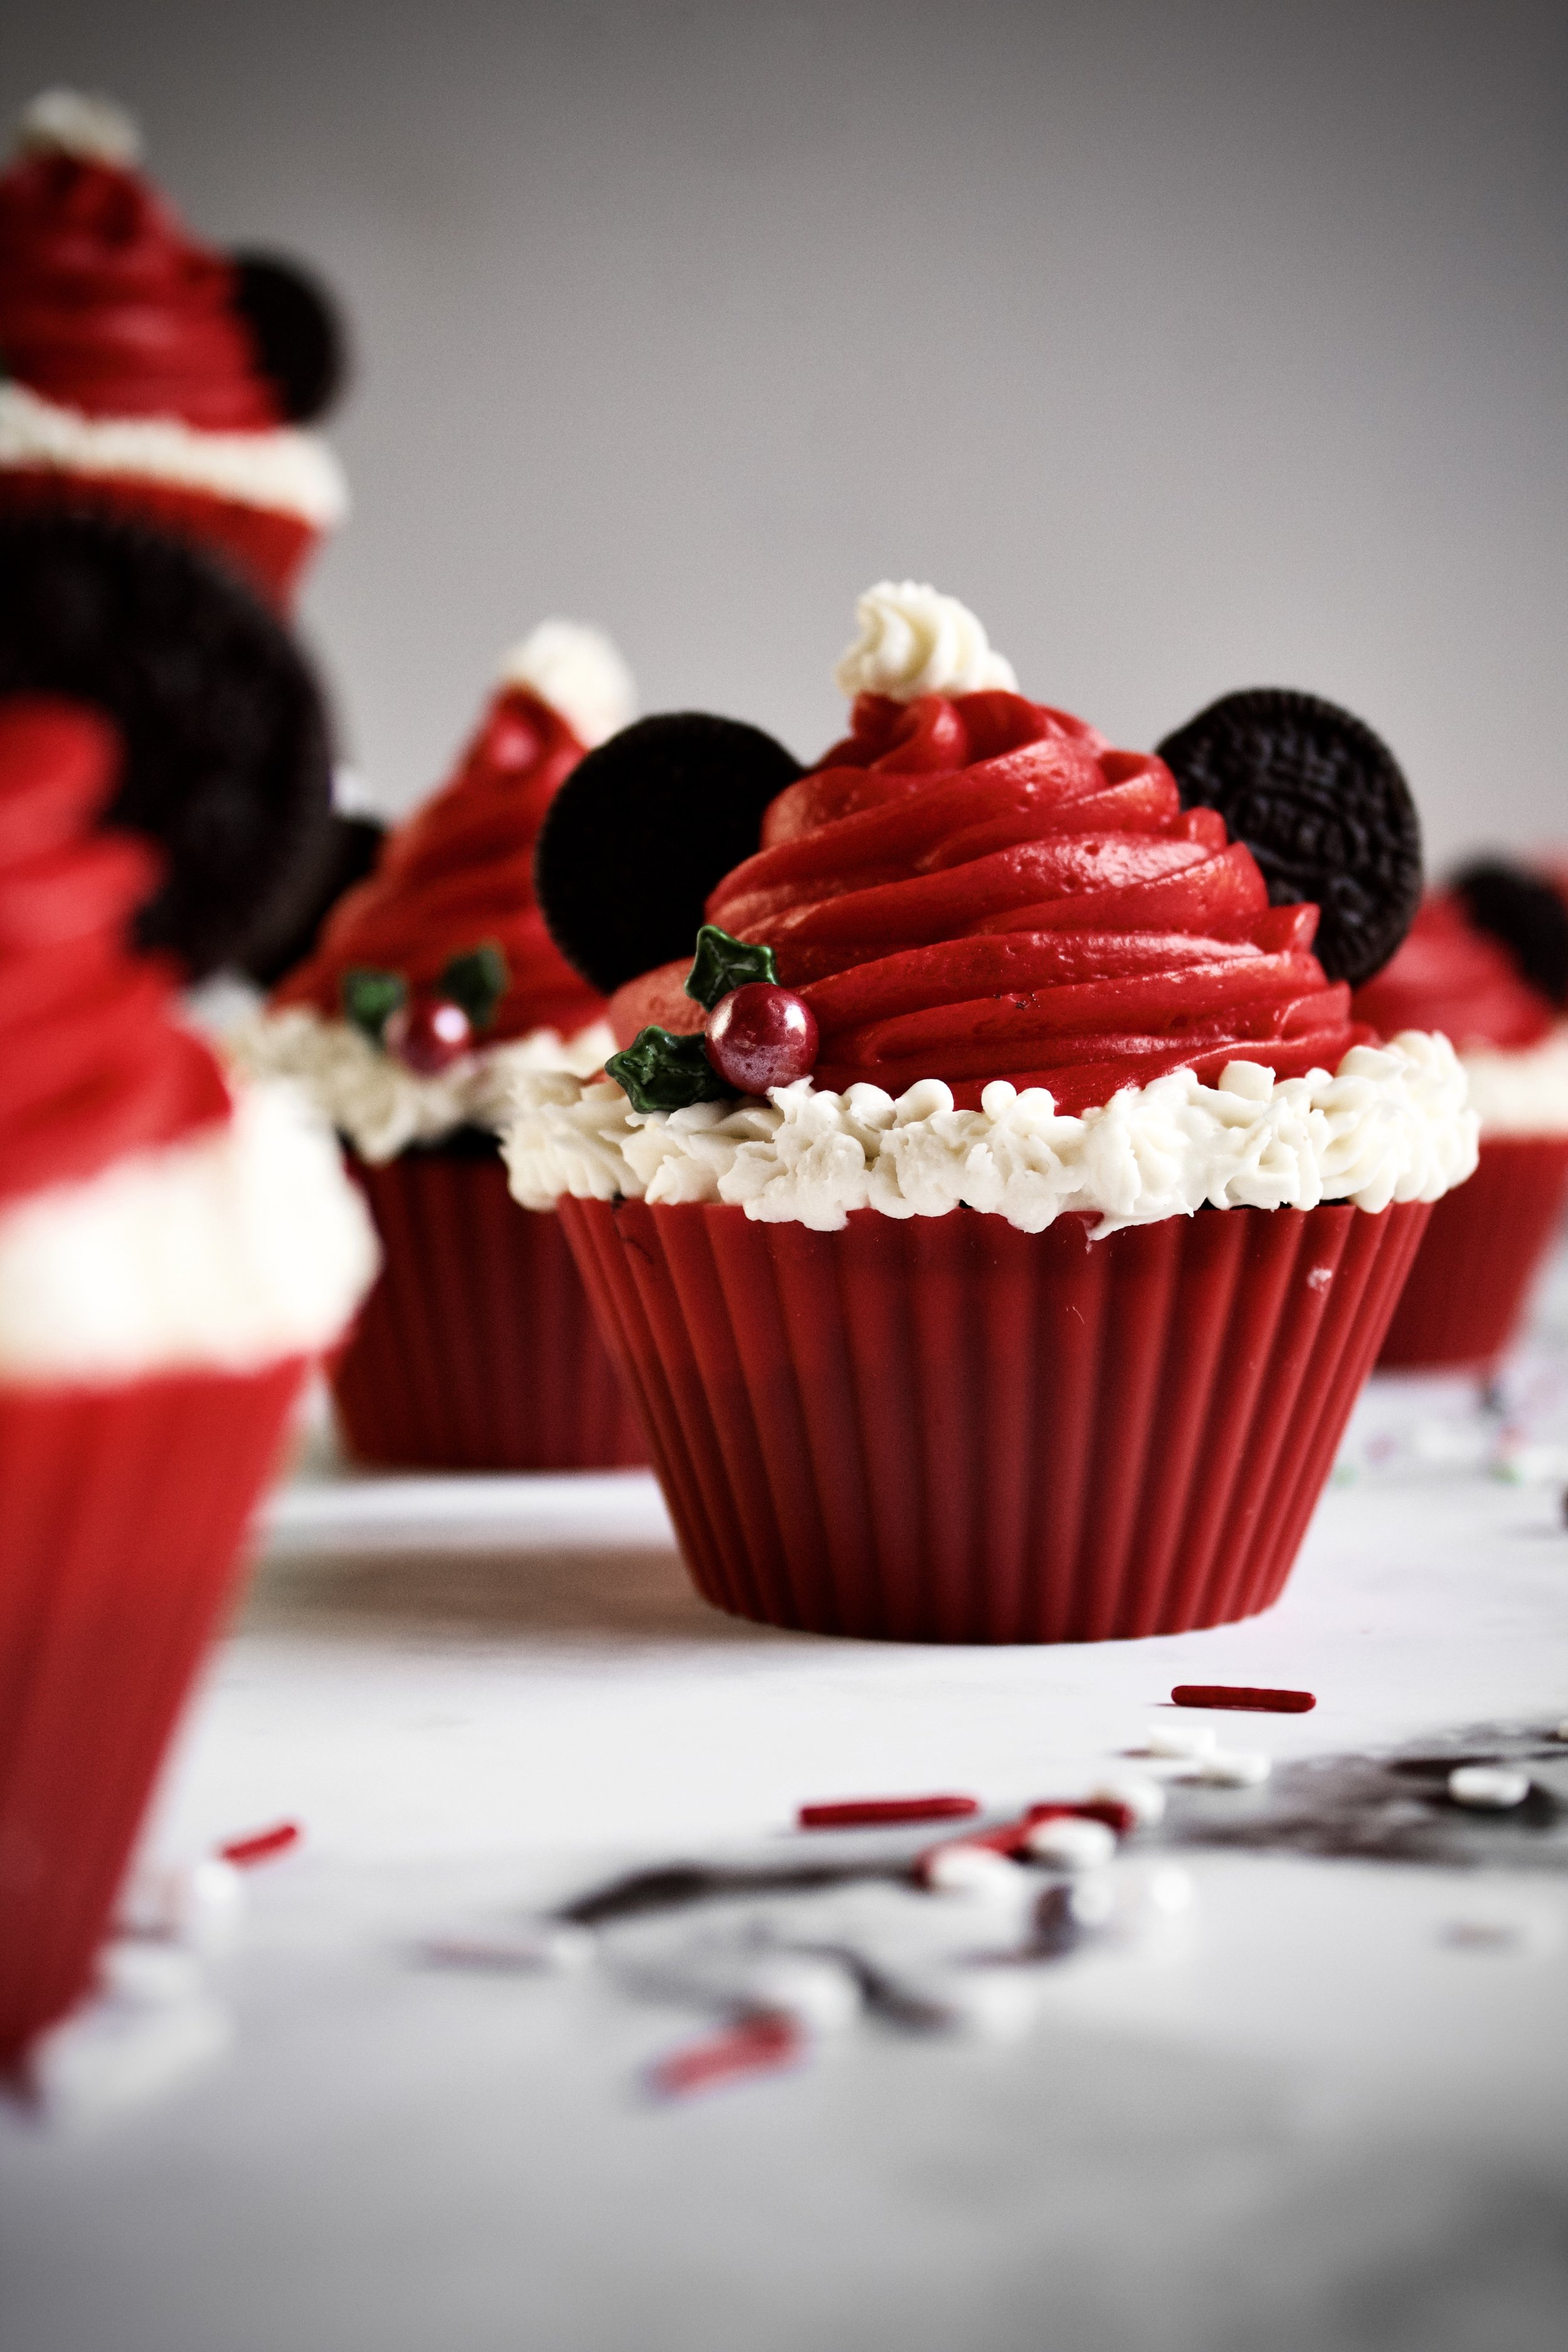
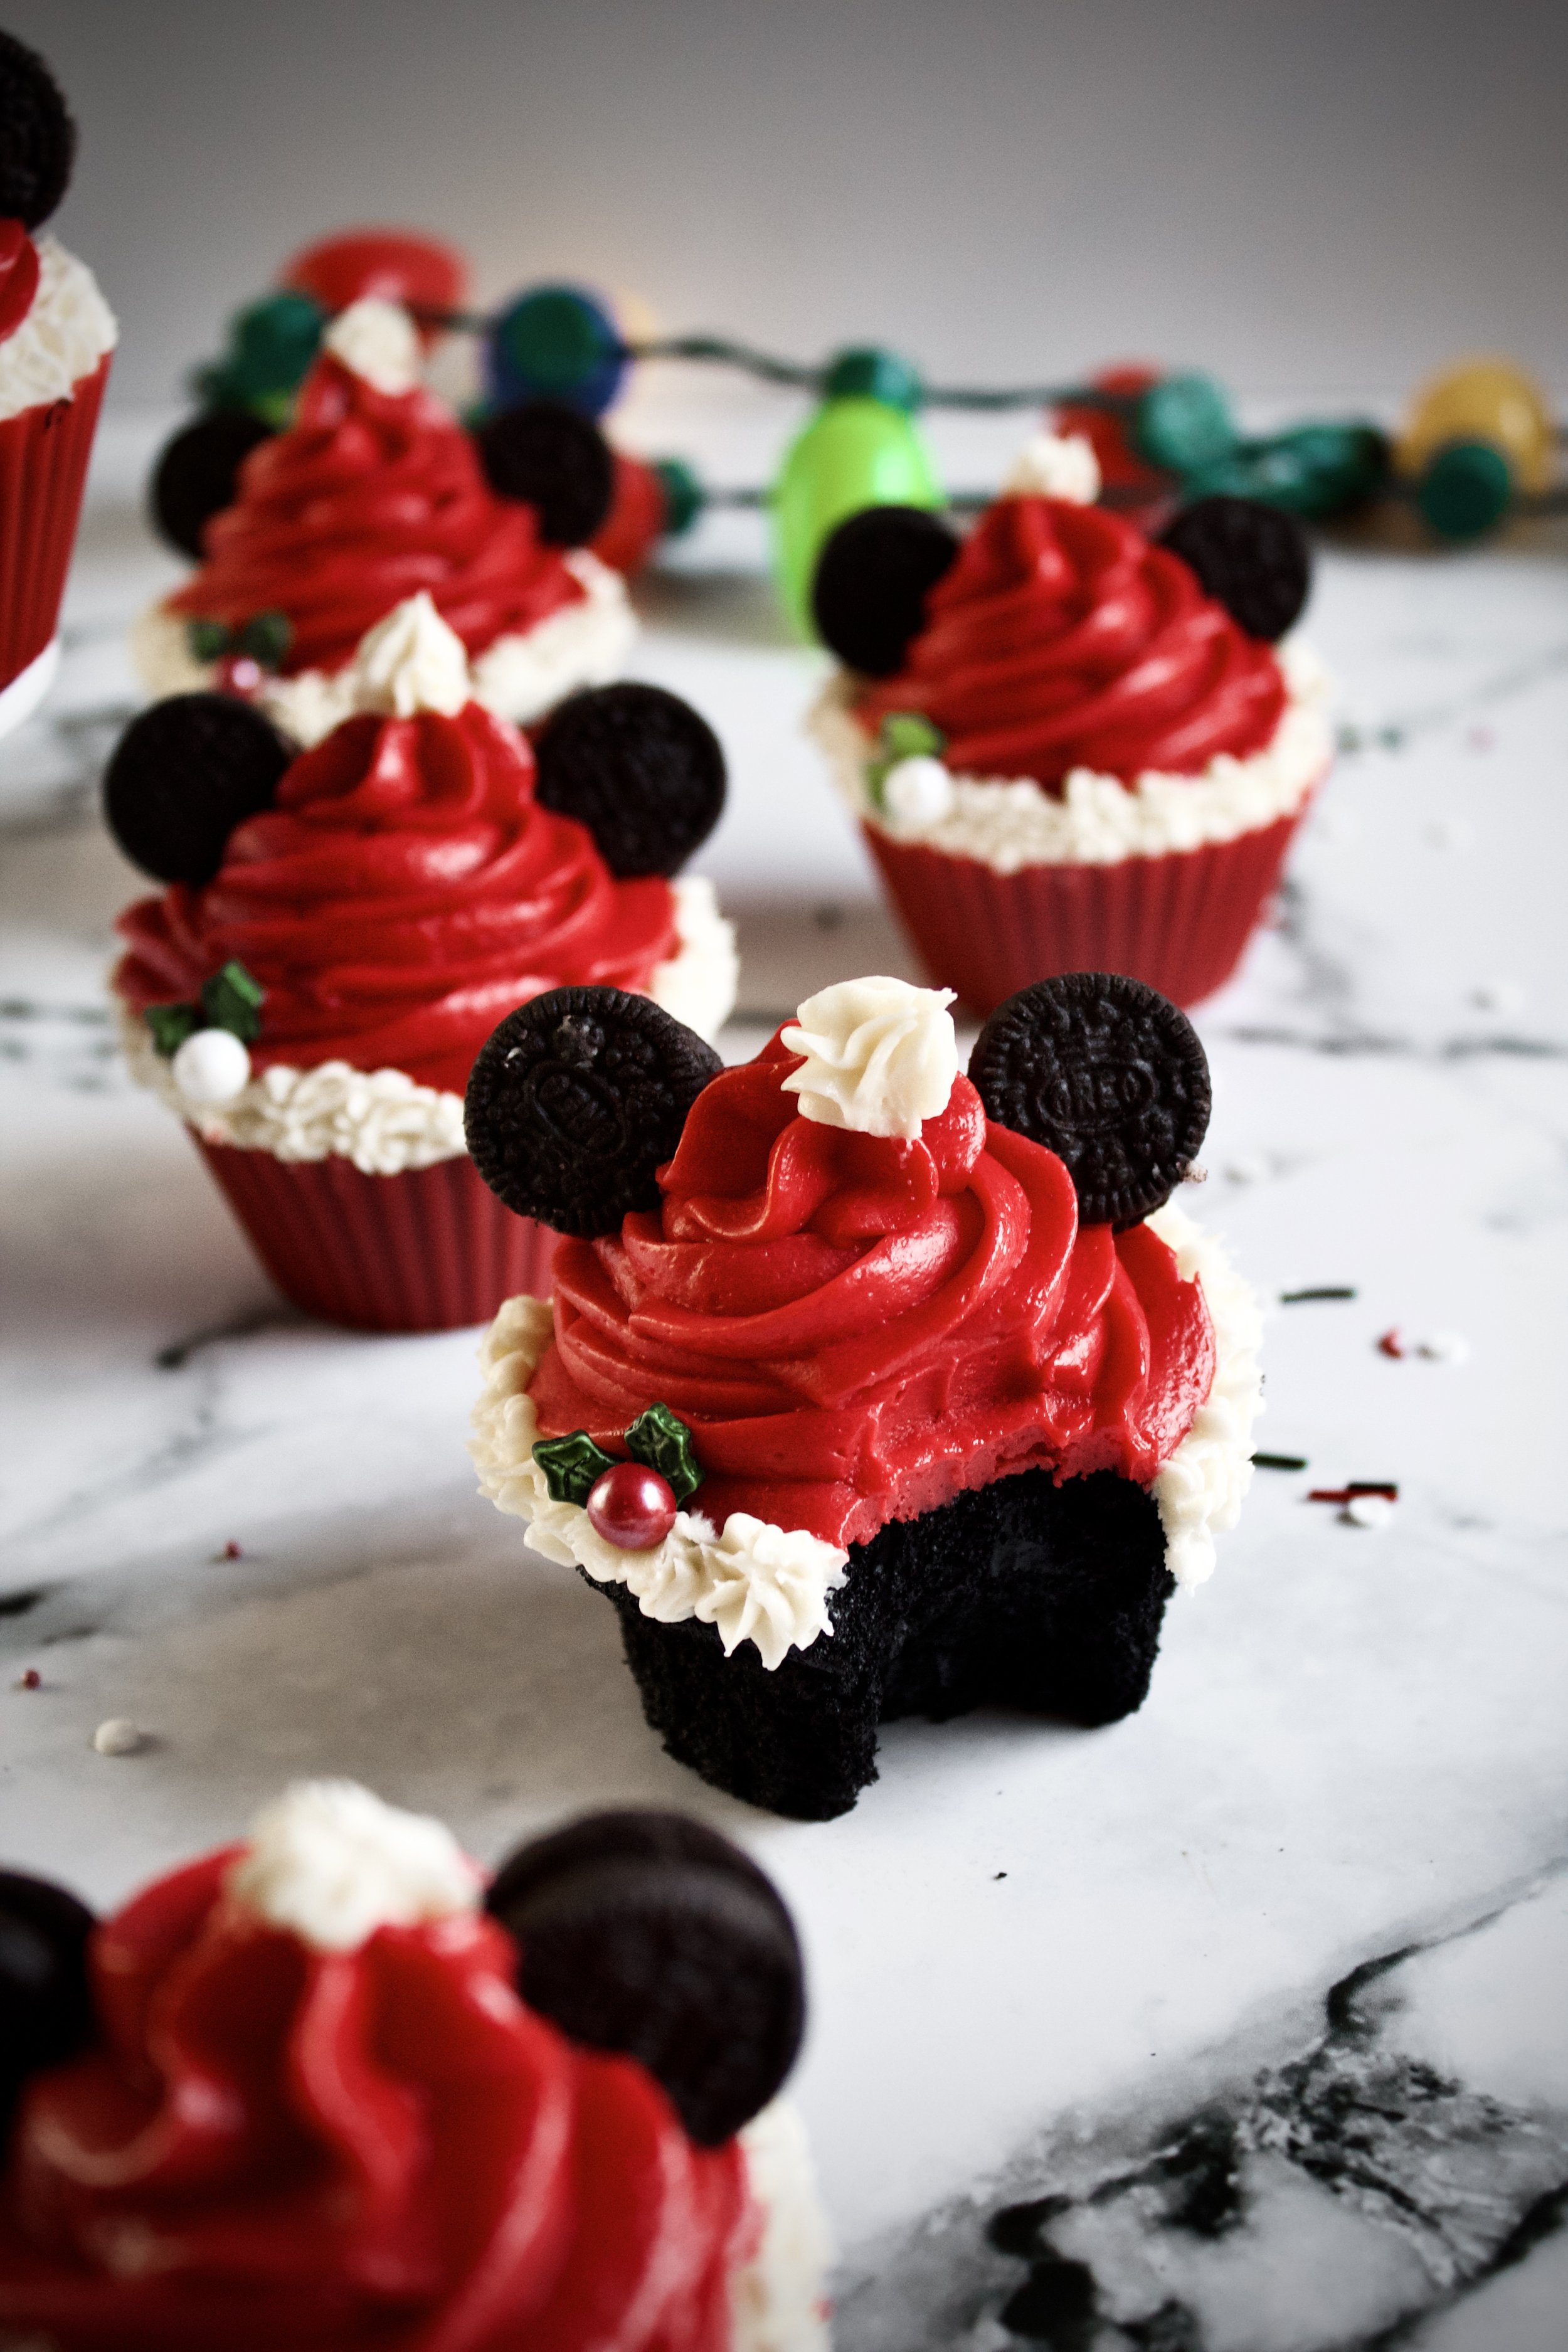
Cookies & Cream Mickey Santa Cupcakes
These festive Mickey Mouse Santa cupcakes taste as good as they look! Black chocolate cake, which tastes just like an Oreo cookie, is topped with red marshmallow buttercream “Santa Hats,” making the most amazing cookies and cream flavor. These cupcakes are always a hit with children and adults during the holidays!
This post may contain affiliate links from which, at no additional cost to you, I may earn a small commission to keep this site running. Only products I myself would or do use are recommended.
Okay, can I finally start celebrating Christmas openly, now??? Now that Thanksgiving is over, it’s all Christmas, all the time here.
So I can finally share what I made for Christmas in July!

These cupcakes started as Mickey cupcakes because I had some leftover mini Oreos. Then I got the idea for Mickey Santa cupcakes (because I’ve seen “Mickey Santa”, i.e. Mickey’s Once Upon a Christmas and Mickey’s Twice Upon a Christmas a few dozen times in the last two years). Then I realized it would be perfect to make cookies and cream flavored cupcakes to match the Oreo ears. Because why not?

Why this recipe works
First, the flavors! My blackout chocolate cake uses black cocoa, which makes it taste like the wafer part of an Oreo. The frosting is my marshmallow buttercream, which tastes a lot like the filling of an Oreo. Thus, the cupcake and Oreo cookie ears all taste amazing together.
For these cupcakes, I learned the hard way how to dye marshmallow buttercream. It’s finicky and doesn’t do well if it’s mixed too much (we’re talking several minutes, so don’t be afraid!). But getting frosting to be richly red can take time. I balanced this by adding the red before the marshmallow fluff. There’s still a small need for balancing the color afterward, but the bulk of the add and mix process is already done, making the frosting nice and sturdy to create adorable little Santa hats!


Key ingredients
Flour. Always spoon then level and sift your flour.
Sugar. This cake uses a minimal amount of sugar, since the frosting is rather sweet.
Black cocoa. Regular would work, too, but it won’t taste like an Oreo cookie.
Baking powder and soda. The combination helps give these some great rise.
Salt. Sea salt is my fav!
Oil. I prefer avocado (light, not the super fancy kind that’s still green), but grape seed is another lightly flavored oil that’s still “healthy”. Vegetable and canola will work just as well, but I’m on that hipster healthy fats train.
Eggs. Be sure they’re fresh and fully room temperature.
Buttermilk. Make your own by first leaving a cup of whole milk out for 30-60 minutes then adding 1 tablespoon white vinegar to it when you’re ready to bake, so it sits for 5-10 minutes.
Vanilla. Use pure, not imitation.
Hot coffee. Use a lighter, blonde roast or hot water.
Butter. European is best! It’ll make such a creamy frosting.
Powdered sugar. Sift if it’s become clumpy (humidity or not keeping it well-sealed can lead to this).
Marshmallow fluff. Homemade or store bought work.
Red gel food dye. Don’t use liquid! It’ll make the frosting soupy.
Accents: silicone piping bag, 1M piping tip, small star tip (anything that looks like a mini 1M), holly sprinkles, and mini Oreo cookies (at least 48 whole, unbroken cookies)

How to make Mickey Santa cupcakes
Make the cupcakes
1. Sift and whisk dry ingredients. This is necessary for a fluffy cake.
2. Whisk wet ingredients, except for coffee. Be sure it’s well-blended.
3. Slowly whisk in hot coffee. Do this carefully. You may need someone to hold the bowl so it doesn’t wobble around.
4. Mix wet ingredients into the dry. Do this on low until all combined, scrape the bowl, then mix on medium for exactly 2 minutes.
5. Pour into cupcake liners and bake.


Make the buttercream
6. Mix the butter and sugar. Reserve some frosting, to make the white fringe on the Santa hats.
7. Add the food dye. Get it darker than you think you’ll need.
8. Add the marshmallow. This will lighten the color a bit. Add more sugar, as needed. Also add in vanilla and salt.
9. Mix the reserved frosting until white. Add more powdered sugar and a splash of vanilla. Mix until fluffy so it’s nice and white.


Assemble
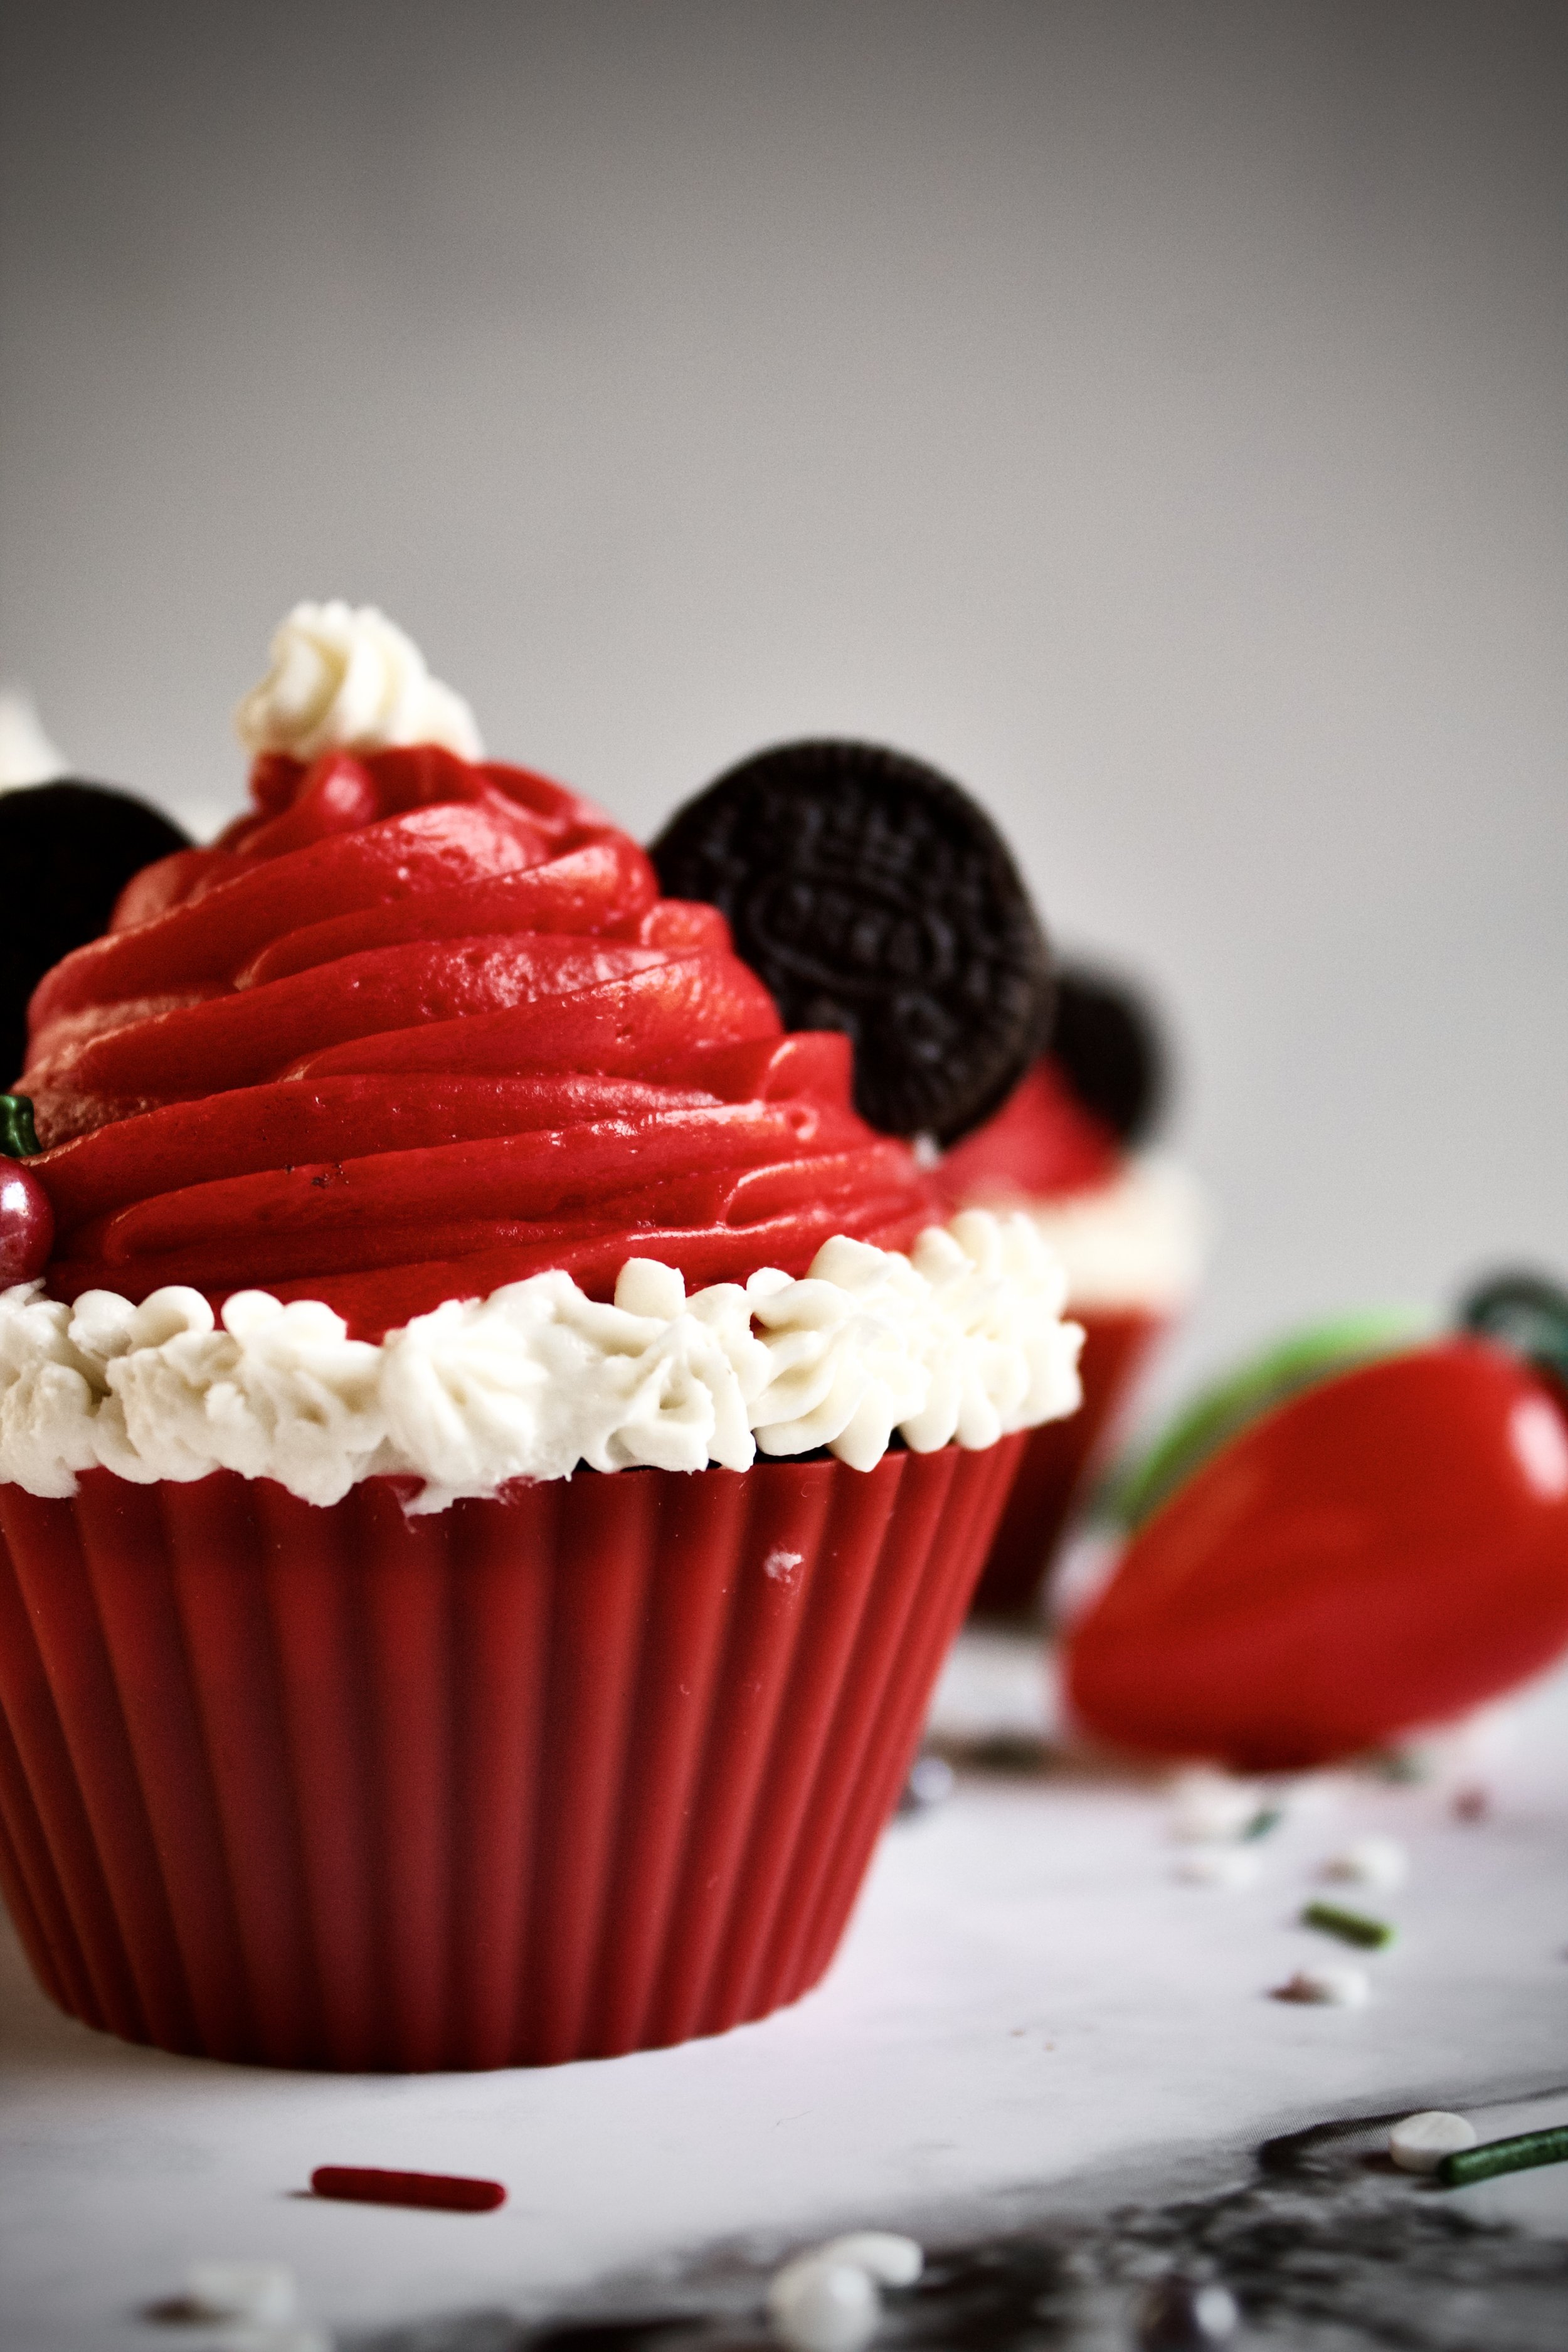
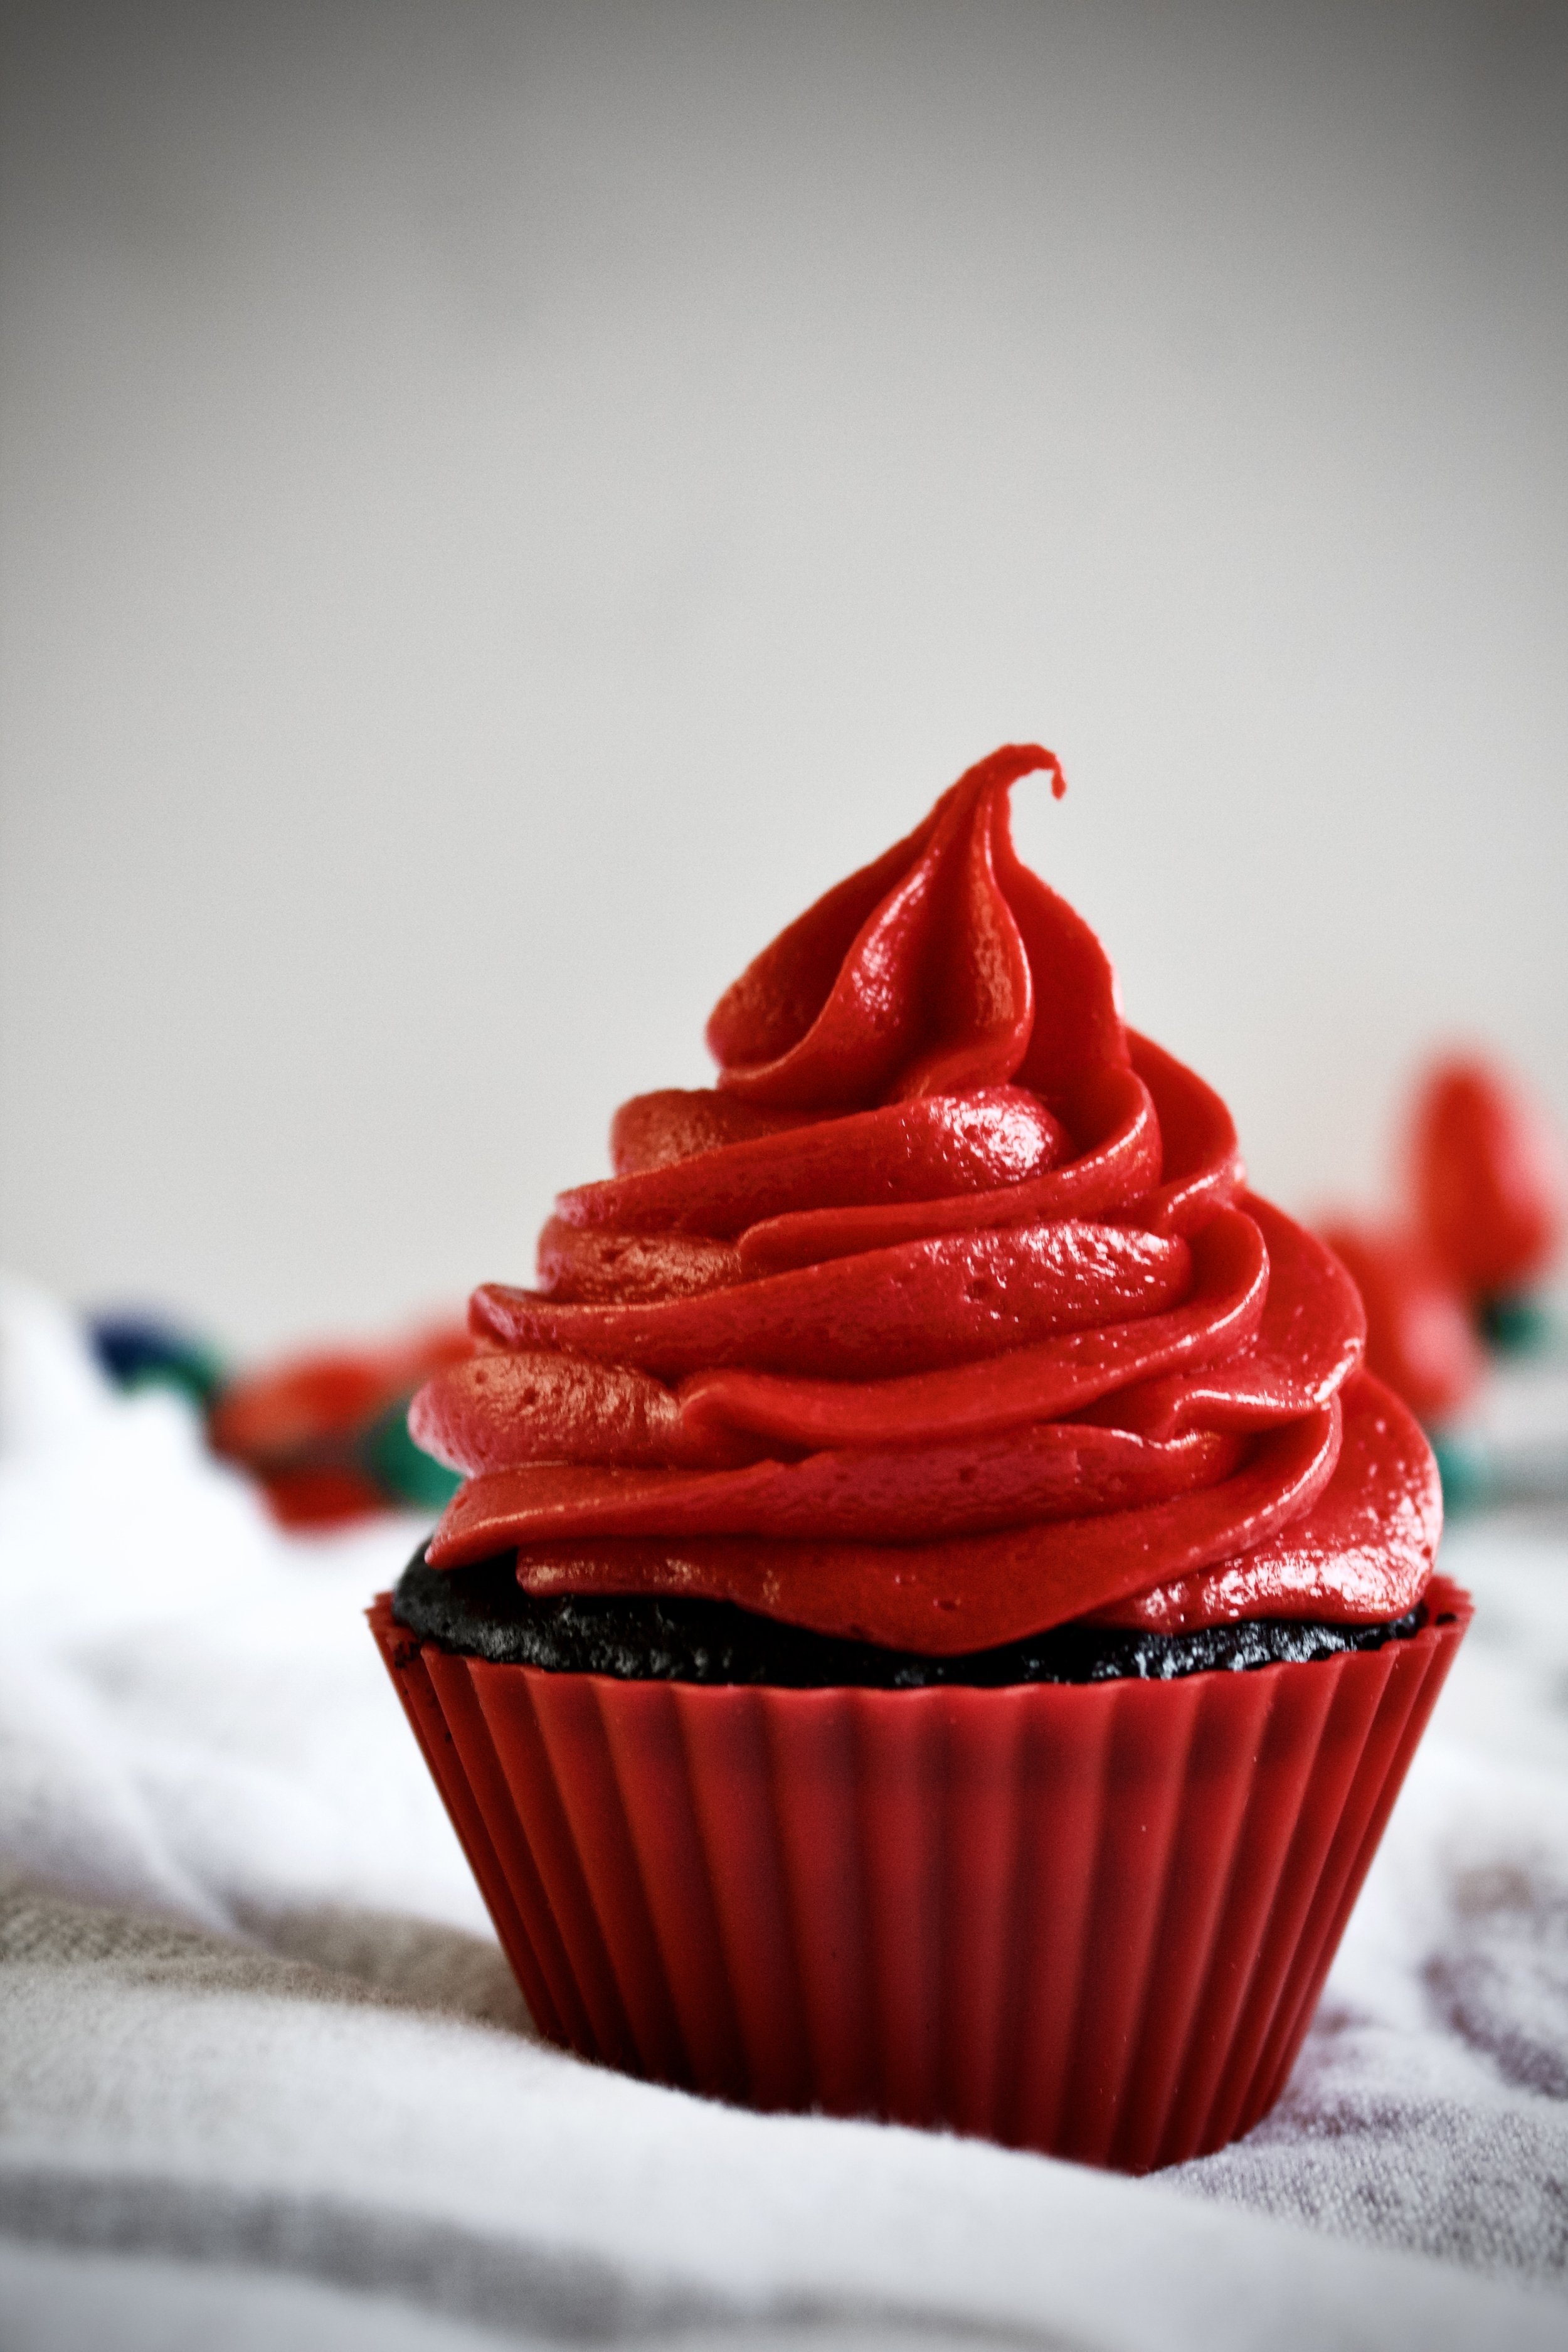
10. Using a 1M tip, pipe tall Santa hats.
11. Pipe white fringe and a white fluff ball on top.
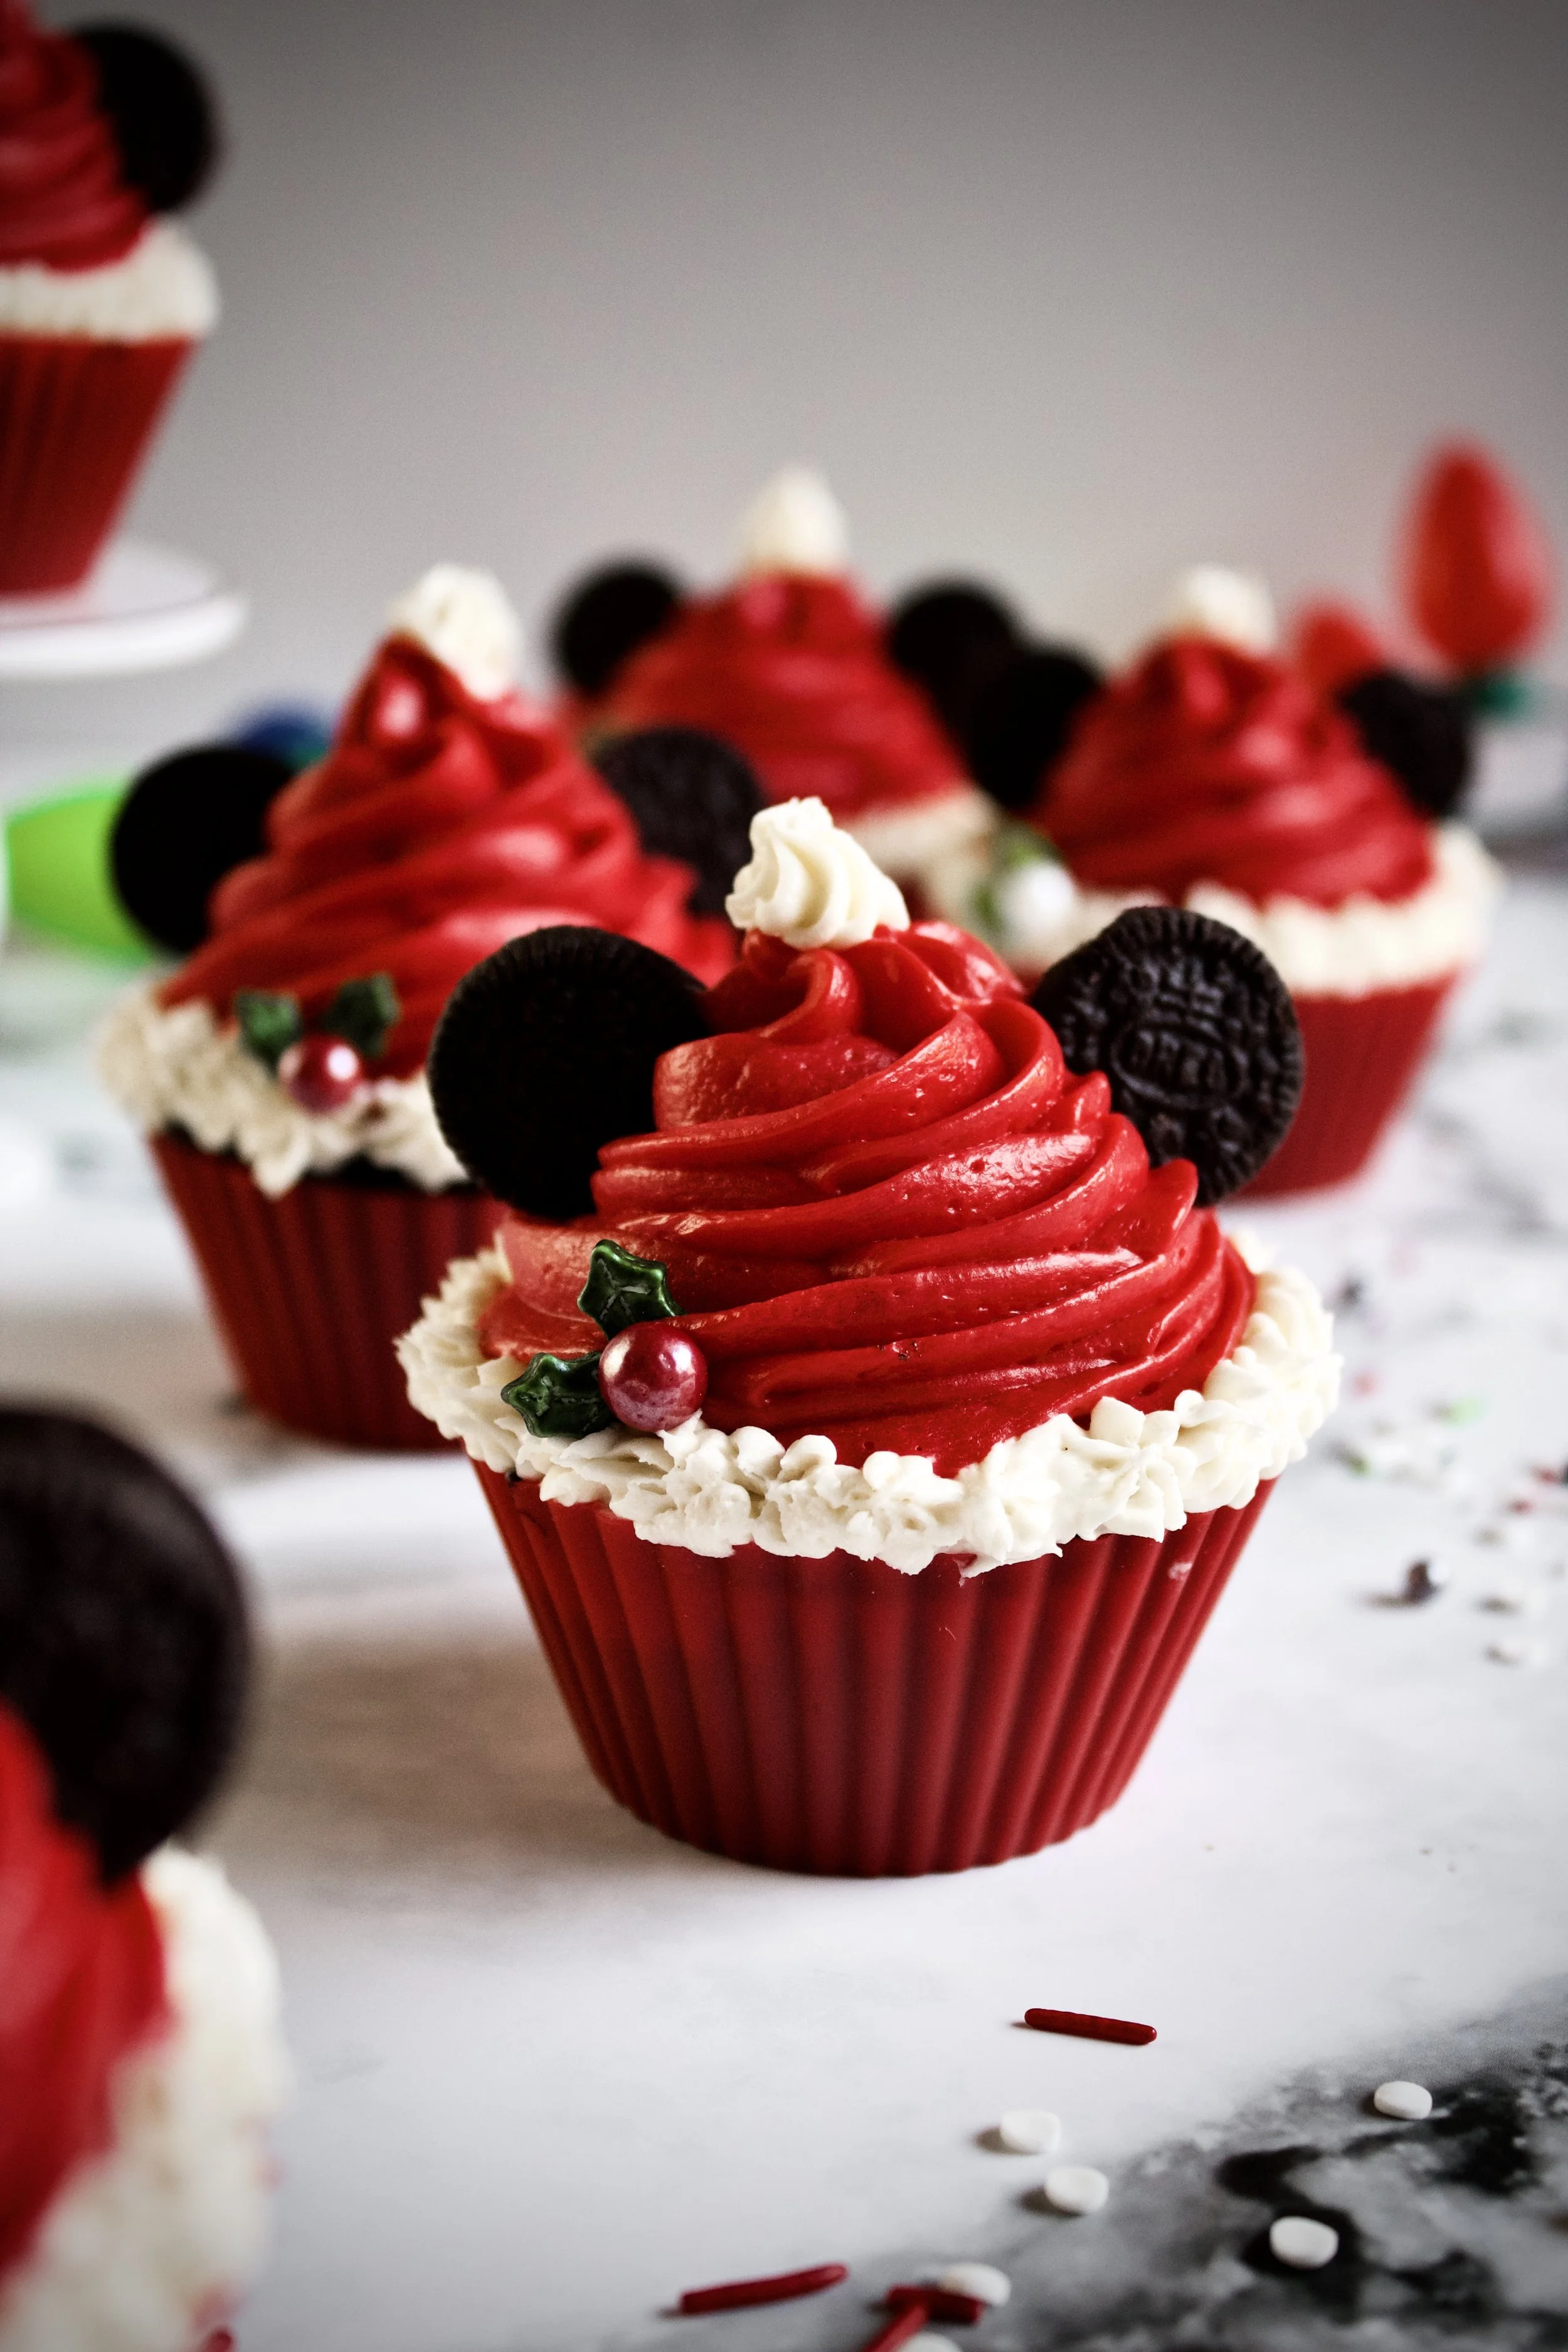
12. Decorate with holly sprinkles and Oreo “Mickey ears”.
Enjoy!
Tips and FAQ’s for this recipe
Follow the directions for the frosting
To avoid a gummy frosting, you want to do the bulk of the mixing before adding the marshmallow. Dye that frosting darker than you think you’ll need, as you’ll be lightening it up quite a bit with the marshmallow and extra powdered sugar.
And don’t forget to reserve some frosting before you add the dye! This will become the fringe.
Where do I get gel food coloring?
I’ve had good luck finding it at our local craft store, and I think our grocery store carries it, too. If not, you can order it online here.
How do I keep my cupcake liners red?
You really do need silicone or foil liners for these. The cake is dark, and flimsy paper liners just don’t hold their color with black chocolate cupcakes. I prefer silicone, since I can reuse them, but foil works well, too! Especially if you’re sharing these with people and won’t be able to retrieve the liners once they’re used.
Split up the work!
You can also make the buttercream ahead of time, chill it, then let it come to room temperature on the counter for 1-2 hours while you make the cupcakes, just be sure to give it a good stir if it was refrigerated longer than overnight. Refrigeration does deepen the red color, but you want to avoid mixing it too much because it can turn gummy.

My cupcake tools
Here are my must-have tools I use for making these cupcakes. Affiliate links provided.
1M piping tip and a small star tip (anything that looks like a mini 1M)
Reusable silicone piping bags (These are super easy to clean—just turn inside out, wear like a mitten, and wash! I stand mine like a cone hat on my tea kettle to dry.)
Mesh sieve (because sifting is KEY for a fluffy cake)
Cupcake pans (I’ve used many over the years and these are the most consistently successful.)


Cookies & Cream Mickey Santa Cupcakes
- prep time: 50-60 minutes
- bake time: 15-18 minutes
- total time: 1 hour, 20ish minutes (plus at least 30 minutes for the cupcakes to cool)
servings: 24
Ingredients:
for the black chocolate cupcakes
- red cupcake liners (foil or silicone are best to maintain red color)
- 1 ½ cups (350g) granulated sugar
- 1 ⅔ cups (226g) flour, spooned then leveled and sifted
- ¾ cup (75g) black cocoa powder, spooned then leveled and sifted
- 2 teaspoons (8g) baking powder
- 1 teaspoon (5g) baking soda
- ½ teaspoon (3g) sea salt
- 3 eggs, room temperature
- 1 cup (236g) buttermilk, room temperature*
- ⅓ cup (108g) avocado oil (can sub vegetable, grape seed, or canola oil)
- 1 tablespoon (13g) pure vanilla extract
- 1 cup (240g) hot, light roast coffee (or hot water)
for the red marshmallow buttercream
- 2 ½ cups (568g or 5 sticks) unsalted European style butter, softened
- 5-8 cups (650-1080g) powdered sugar
- one batch marshmallow fluff (or two 7oz jars store bought marshmallow cream)
- ½ teaspoon (4g) sea salt
- 1 teaspoon (4g) vanilla extract (optional)
- red gel food dye (do not use liquid)
- to assemble: piping bags, 1M piping tip, small star tip (anything that looks like a mini 1M), holly sprinkles, and mini Oreo cookies (at least 48 whole, unbroken cookies)
Instructions:
make the black chocolate cupcakes
- Preheat your oven to 325. Line one regular cupcake pan with red cupcake liners. Ideally, use foil or silicone so the cake color doesn’t bleed through and alter the “Santa” look. This is also a great time to set your coffee to percolate (unless using hot water or espresso and hot water, which is what I do).
- Whisk together the sugar, flour, cocoa powder, baking powder, baking soda, and salt in the bowl of your stand mixer or a large mixing bowl, sifting everything but the sugar (unless yours is fine enough to sift--go for it!). Set aside.
- In a separate medium mixing bowl, whisk the eggs, buttermilk, oil, and vanilla together until well-blended and fully emulsified, about 1 minute.
- Very, very slowly stream the hot coffee or water into the wet ingredients, whisking vigorously and constantly as you pour to avoid scrambling the eggs. Feel free to do this in segments if it’s easier. If you do scramble some of the eggs, you can run the mixture through your fine mesh sieve to remove the cooked egg bits.
- Using the paddle attachment, turn your stand mixer to low (or use a hand mixer) and slowly pour the wet ingredients into the dry. This should take about 30 seconds or so. The batter will clump up then thin out. Once you’ve poured all the wet ingredients, immediately turn off the mixer. Scrape down the bottom and sides. Beat on medium for exactly 2 minutes (set a timer).
- Evenly divide batter between 24 cupcake liners (they should be somewhere between ⅔ and ¾ full). I found an ice cream scoop or large cookie scoop helps with this.
- Bake for 15-18 minutes, until a toothpick inserted in a middle cupcake comes out with just a few moist crumbs (ideally not fully clean, as this could mean they’re over baked). Check early and rotate halfway if not using convection.
- Let cool 5-10 minutes in the cupcake pan then remove to a cooling rack to cool completely.
make the red marshmallow buttercream
- While the cupcakes cool, make the red marshmallow buttercream.
- If using homemade marshmallow fluff, make that first. You can immediately start on the buttercream once the fluff is done, but remove it to a separate bowl to cream the butter.
- In the bowl of your stand mixer fitted with the paddle attachment or in a large mixing bowl using your hand mixer, cream butter on high until smooth, about 1 minute.
- Scrape bowl with a rubber spatula then add in powdered sugar, 1 cup at a time. Blend on low then slowly increase speed to high and mix until smooth before adding more. After 4 cups, scrape the bowl, remove about ⅔ cup of the frosting to another bowl and set aside for later, then add in the gel food coloring to the remaining frosting. Make it darker than you’d like, as adding the marshmallow and remaining powdered sugar will lighten the color. If it seems to have thinned out a bit, either refrigerate it 5-10 minutes or add another cup of powdered sugar now so it’s nice and sturdy when you add the marshmallow. Optional: if the color isn’t getting to a deep “Santa” red, you can chill the mixture at this point, without the marshmallow, to deepen the color. Getting the color right can take a lot of mixing, so it’s best to do that before adding the marshmallow, as it doesn’t do well with too much mixing.
- Once it is nice and red, add the marshmallow fluff. Mix on high until well-blended, about 30-60 seconds. Add the salt and vanilla, if using. Before you mix that in, check color--if it’s too pink or light, add more dye along with the salt and vanilla, and blend until fully incorporated. It’s best to add the dye along with a needed blending step to avoid over mixing.
- At this point, taste to see if it needs more sugar. If so, add 1-2 more cups, until the taste is to your liking. Once taste is to your liking, scrape the bowl then mix on high for 20-30 seconds, just to ensure the color is even throughout. If it’s sweet enough but not holding its shape like in the photos, refrigerate 10-20 minutes.
- Place the 1M piping tip in a piping bag and place the red frosting inside it. Refrigerate it while you make the white frosting (but no more than 10 minutes).
- To the frosting you set aside, add another cup of powdered sugar and blend until smooth. Taste and add a little more sugar, if needed. Add a splash of heavy cream or milk, if needed, to smooth it out. Blend on high (a hand mixer works well for this) for 2-3 minutes, until light and fluffy and very white. You can also add a drop of white food coloring if it’s not white enough. Stir with a spatula for 1 minute to release air bubbles. Place the small star tip (tips 16, 17, and 18 are all good for this) in a piping bag and add the white frosting to it.
assemble the cupcakes
- Pipe the Santa hats by starting along the edge of a cupcake, piping in a swirl toward the middle, then move back outward and upward to create a cone shape. If it’s your first time piping like this, you can do a few test runs on a piece of parchment and swipe it back into the piping bag when you’re happy with the look. If it’s warm in your house, refrigerate the cupcakes as you pipe so they set (but no longer than 10-20 minutes or the cake will dry out).
- Once all cupcakes have their red cone, pipe dots of white frosting along the edges to make the Santa hat fringe then one dot right at the top for the poof ball.
- Carefully place holly leaves and berries along the edge of the white fringe.
Enjoy! If not serving right away, store in an airtight container until ready to eat. Cupcakes will last for 3-5 days. Avoid refrigeration for more than an hour, as this can cause them to dry out.
*You can make your own buttermilk by adding 1 tablespoon white vinegar with enough room temperature whole milk to equal 1 cup total. Stir and let sit 10 minutes while you prep the rest of the ingredients.