
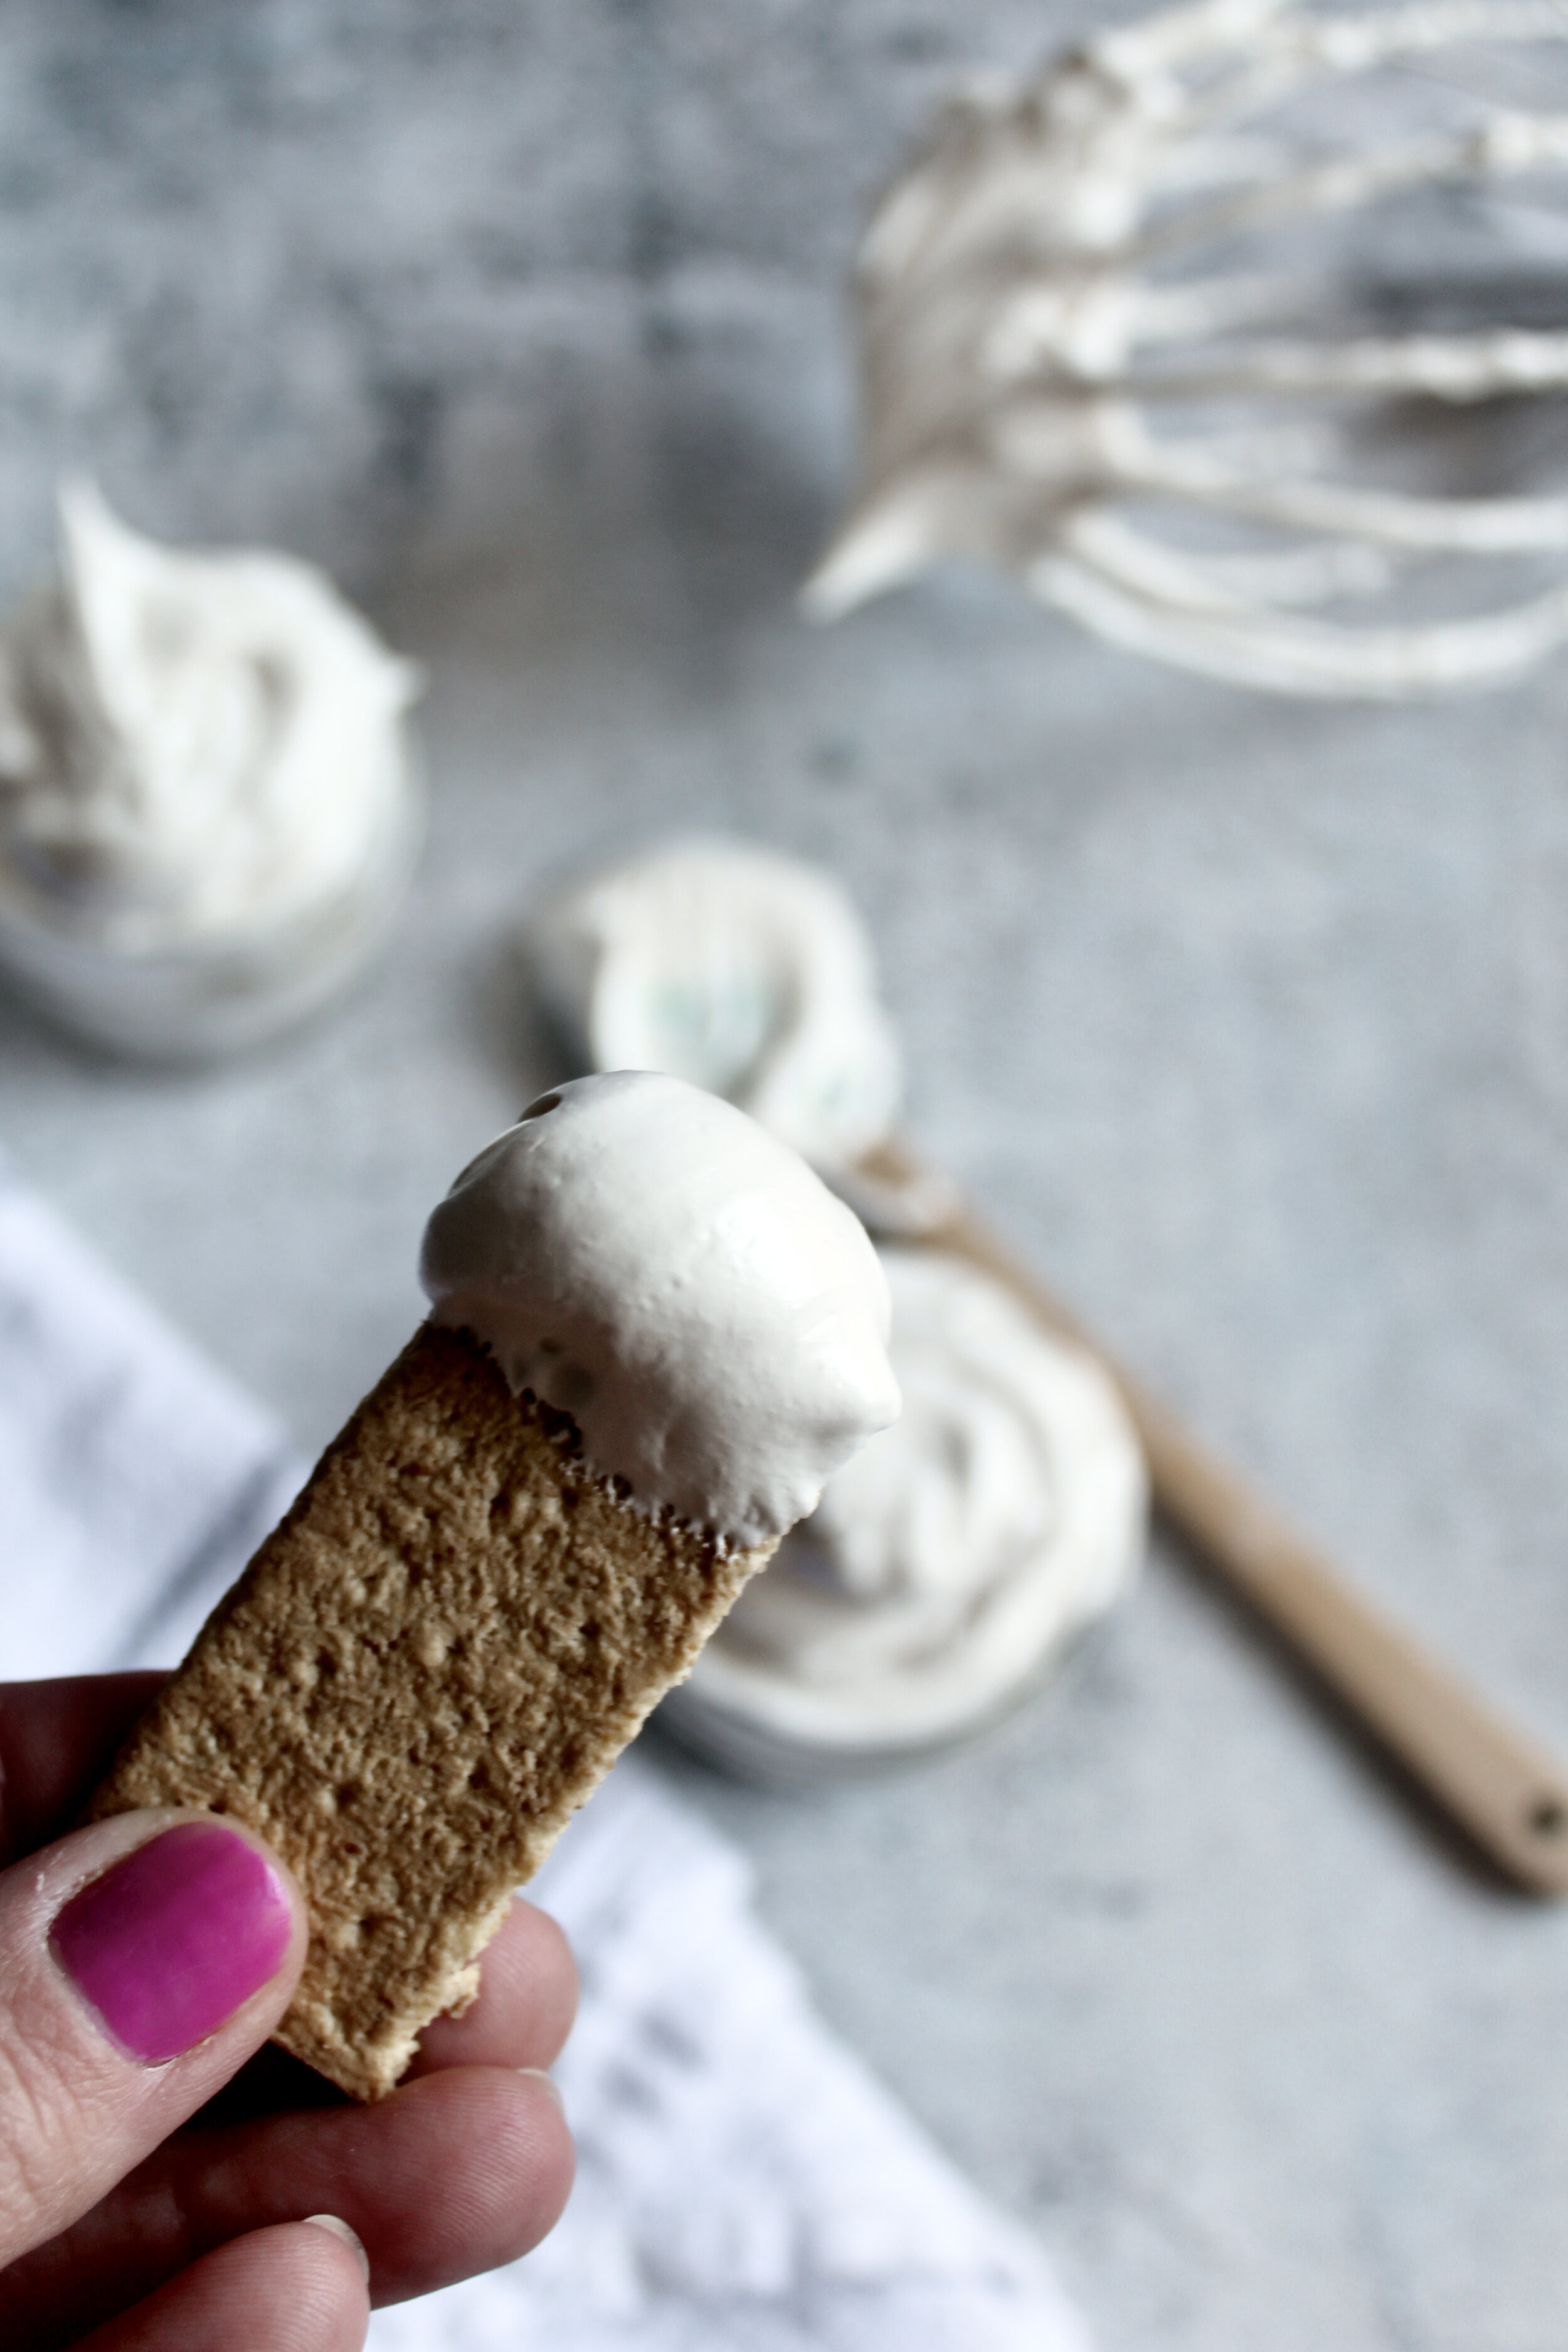
Homemade Marshmallow Fluff
Creamy marshmallow fluff made without corn syrup that comes together quickly and is sturdier than the jarred stuff. Whether you use this in a buttercream or on a pie or even just in a simple treat like a fluffernutter sandwich or s’mores ice cream sundae—this recipe is a game changer!
This post may contain affiliate links from which, at no additional cost to you, I may earn a small commission to keep this site running. Only products I myself would or do use are recommended.
First, I want to take a moment and acknowledge all the teachers out there! I just finished up my school year (like, officially locked up my room kinda done) and it feels so good!

Second, I want to give mad props to all of the mamas out there who survived potty training. I think I finally know why teenagers rebel—some part of them remembers the trauma of potty training and is getting back at their parents for it. Soooo…that’s how my summer break is going so far.
Third, I found a way to make marshmallow fluff at home and it’s so good and so easy and why didn’t I try it this way that time I made a cake filled with homemade marshmallow for my husband’s surprise 30th birthday that literally slid off itself during the party????

Sorry, I forgot to breathe there. But seriously, this recipe has changed my life. It’s essentially a variation of Italian meringue. But it’s easy. Like, why did I waste so many eggs and so much time trying to master Swiss meringue when I could have been making this the whole time? And it’s so delicious. So get ready for lots of Italian meringue buttercream and no-bake pies topped with Italian meringue.

This recipe is that much of a game changer.
Why use the Italian meringue method?
A quick baking tutorial: anything using whipped egg whites and sugar is (usually) some sort of meringue. You can have plain meringue, like in lemon meringue pie, where you cook the whole thing after whipping it up. Or you can heat it all up first then whip it until cooled/stiff. That’s called Swiss meringue and has quite literally made me cry.

Or, you can beat your egg whites while slowly streaming a hot syrup mixture into it. That’s the Italian meringue method. I’d always heard it was super hard and not for novice bakers.
It was so, so easy. I even made a few mistakes and it still came out just fine!
See? Game changer.

How to make marshmallow fluff
I do not have any photos or videos of this process, because it was my first try and also toddler mom life. But it’s simple!

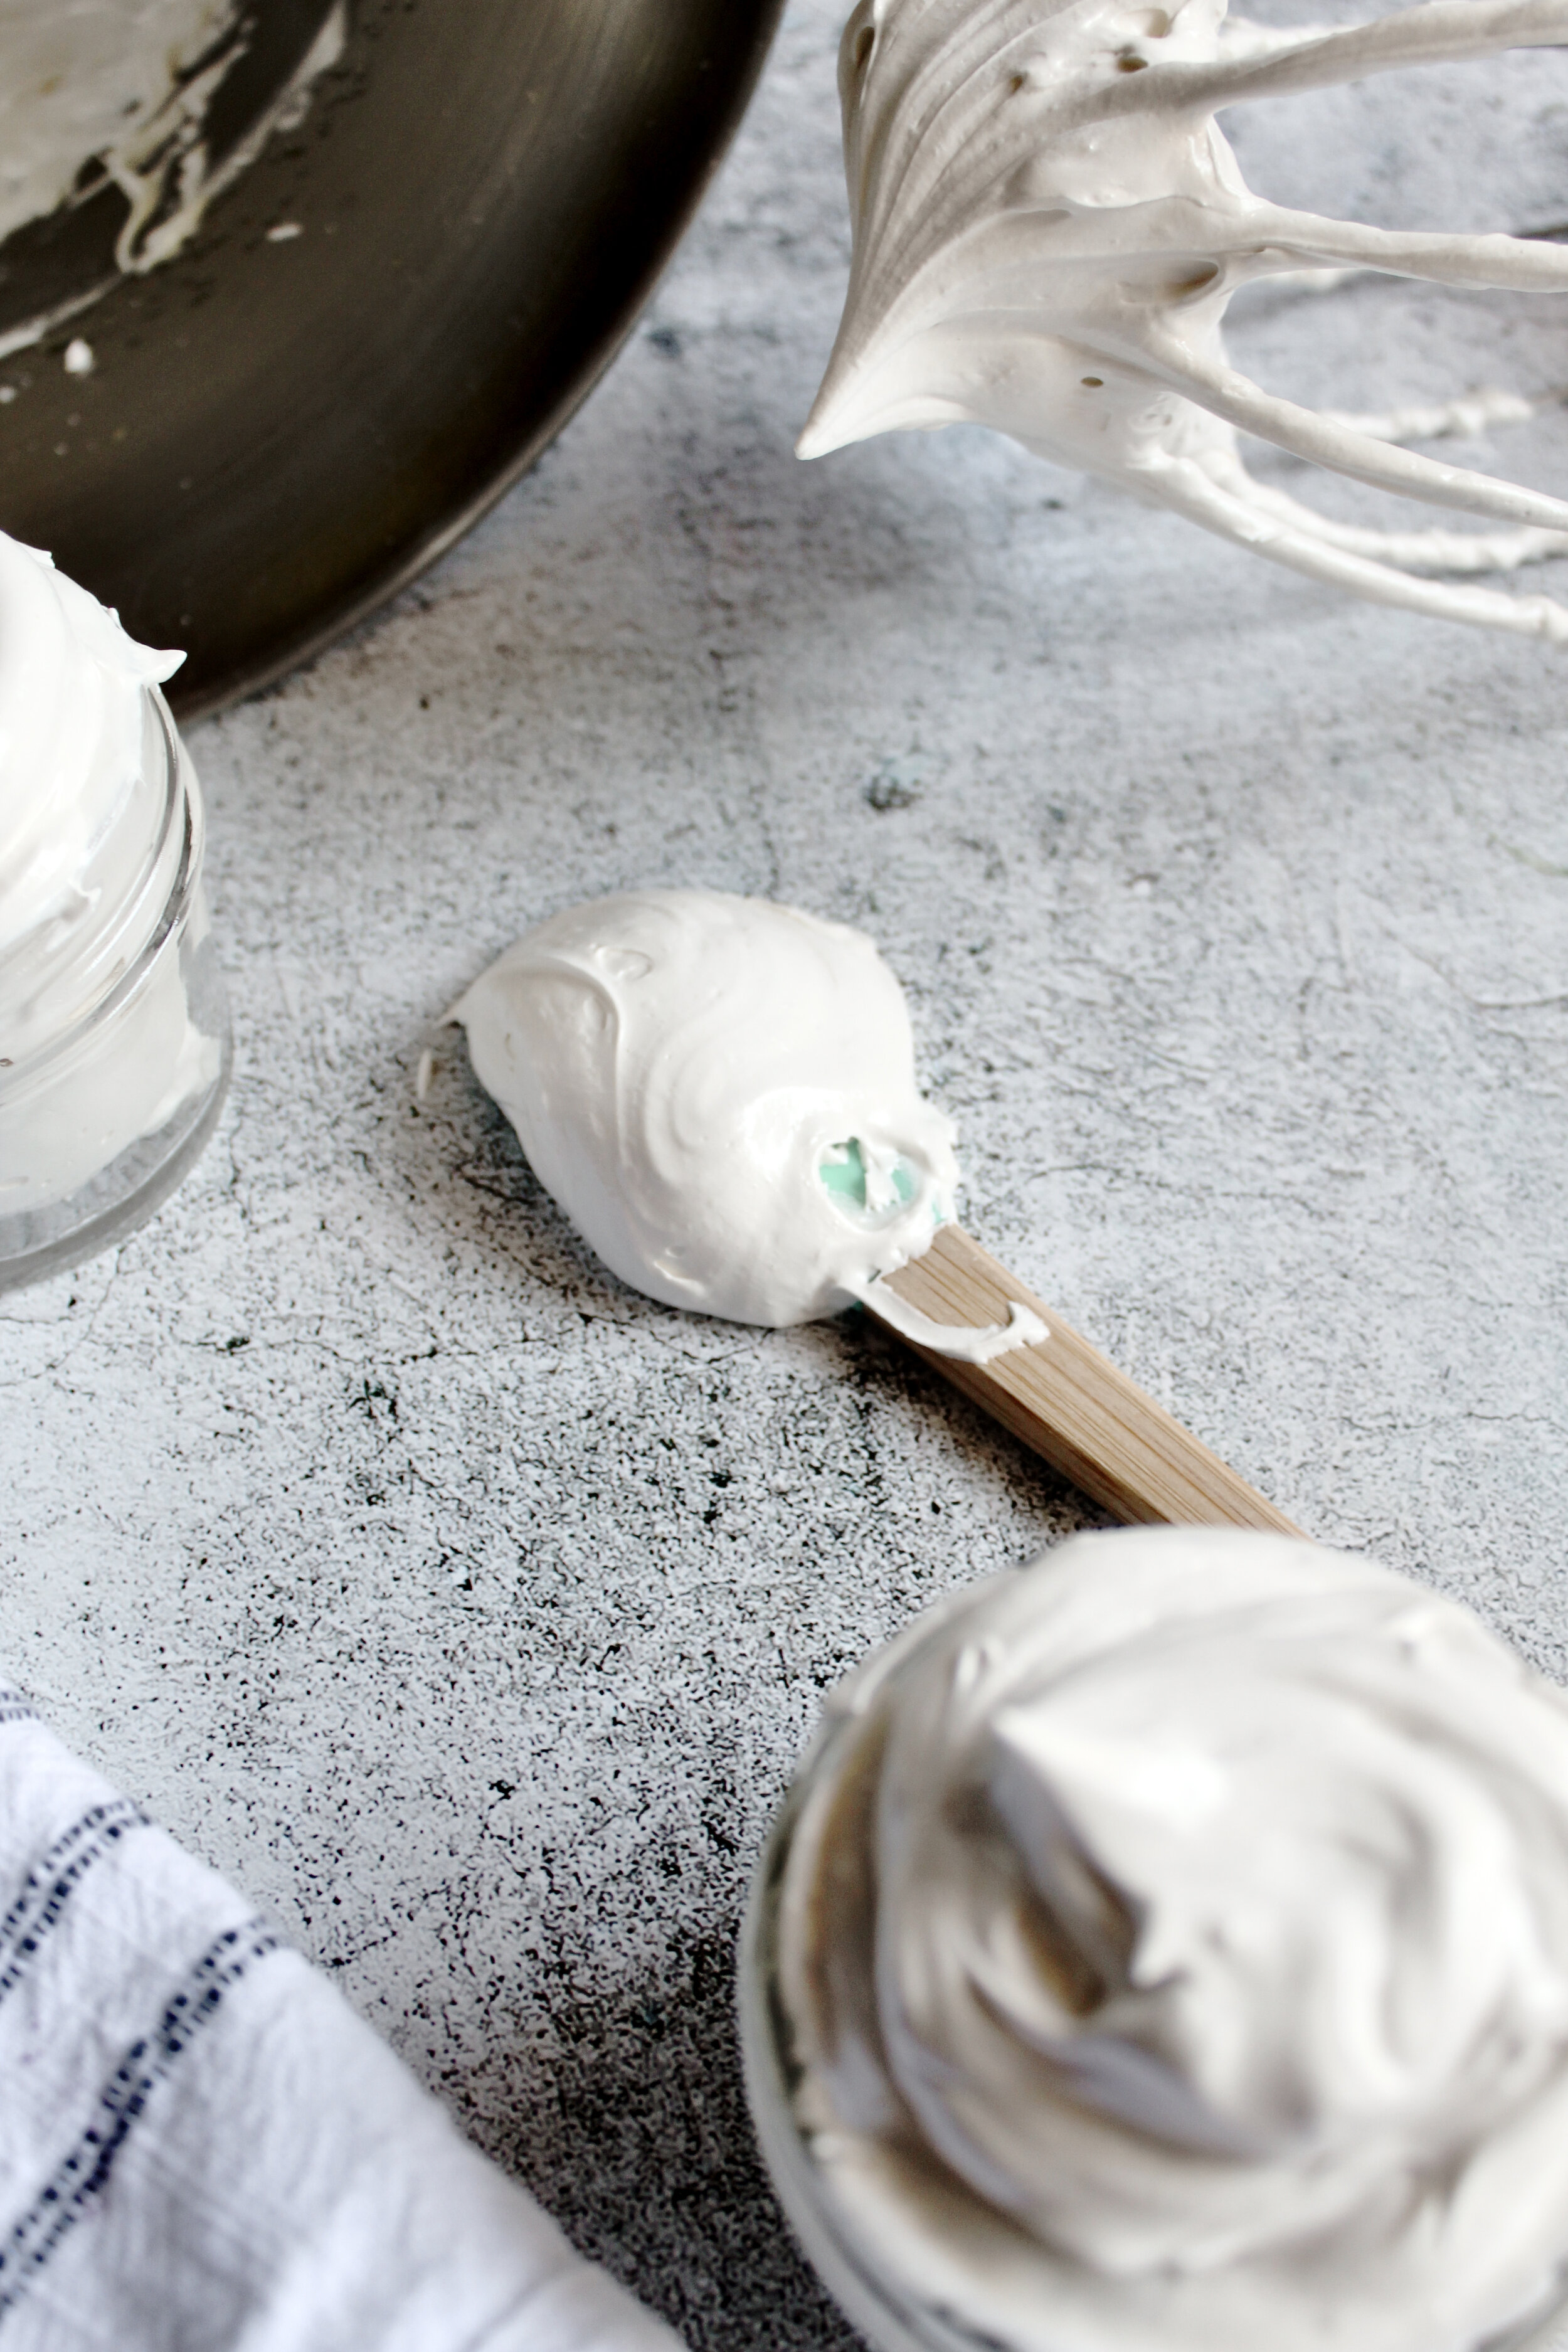
Get everything in place. Put the egg whites in your mixing bowl with the cream of tartar measured and nearby. Stir the water, sugar, and honey in a saucepan then heat until a thermometer reads about 220F/104C. Begin whipping the egg whites until soft peaks—which should be when the syrup reaches 240F/115C. Stream the syrup into the eggs while they whip up to stiff, glossy peaks. Add the vanilla then whip until cooled. Done!

Pairs well with
Seriously, this could go with anything! But some of my recommendations are:
Double Chocolate Cake (spread a thin layer in the filling—yum!)
Hot Cocoa Cake (use in place of whipped cream and use some in the buttercream!)
Black & White Oreo Cupcakes (fill them with this fluff for the ultimate Oreo flavor!)
Gooey S’mores Cookies (fill them with this to make for an extra gooey cookie!)

Tips and notes for this recipe
Mise en place!
This is French for setting up. You want everything measured and ready. It was so nice to just toss the tartar into the eggs and turn the mixer on while I continued to watch the boiling sugar syrup. Don’t start until you have everything in place—you’ll thank me!

Don’t stir the sugar syrup
After you combine the sugar, water, and honey, you are done stirring it. Be sure you haven’t allowed any sugar to gather along the sides of the pan while doing your initial stir. But once you start cooking it, do not stir! It will form sugar crystals. If you end up creating a few crystals, it will probably be okay, but if you see more than a few, you will need to start over. The same goes for if you burn the syrup (I did—because life). If you see a few dark specks, that’s fine, but beyond that, start over on the syrup.

Stream the syrup slowly along the edge
The two keys to adding the syrup to the egg whites are 1) go slowly and 2) pour at the right spot The first one is obvious, but the second is a little harder. You want to pour along the very edge of the egg whites, where the stream of syrup won’t be hitting the whisk. If it does, it will splatter along the sides of the bowl and will harden. However, you don’t want it to pour along the edge of the bowl, either. I found that pouring very close to the side of the bowl, so that a small amount dribbled on the sides but quickly mixed into the egg whites, was perfect. As the whites expanded, they rose to absorb the small streak along the side of the bowl and all was good.

Don’t skip wiping down EVERYTHING
This is KEY. If there’s even a hint of fat residue, this recipe won’t work. Be sure to thoroughly follow the directions about wiping down all of your equipment—every item that you even think might come into contact with this. I decided to do so twice. I wiped each item down with white vinegar, rinsed it, then wiped it down again with vinegar on a fresh paper towel then rinsed it again. You don’t actually have to rinse it, but I was worried there’d be a vinegar taste. Only later did I learn that vinegar (or lemon juice) can actually help the eggs fluff up and stay stiff. Luckily, cream of tartar does that as well, but just know that if you don’t rinse it off, you’ll be fine.
Also, be very careful separating the eggs. If the yolk breaks, I suggest saving that egg for another use and starting over, since even a hint of yolk will cause this not to fluff up. And you kinda need marshmallow fluff to…ya know, fluff.


Homemade Marshmallow Fluff
- prep time: 10-15 minutes
- cook time: 5 minutes
- total time: 20 minutes
yields: about 4 cups
Ingredients:
- ¼ cup (59g) water
- ⅓ to ½ cup (112-168g) honey, to taste (can sub light corn syrup)
- ½ cup (100g) sugar
- 2 egg whites, room temperature
- ½ teaspoon (3g) cream of tartar
- 1 teaspoon (13g) vanilla extract (use clear for a purer white fluff)
- equipment: candy thermometer
Instructions:
- First, ensure all equipment--saucepan, mixing bowl, whisk, spatula(s), candy thermometer, etc.--is free and clear of ALL traces of fat. Clean everything thoroughly, then wipe everything down with white vinegar (I dab some onto a paper towel and give each item a wipe down, rinsing, another wipe down, then a final rinse followed by air drying or drying with a clean paper towel). In addition, be very careful not to crack the egg yolk when separating the eggs--even a trace of yolk will ruin the fluff.
- Place the egg whites in the (cleaned) bowl of your stand mixer fitted with the paddle attachment. Have the cream of tartar in a prep bowl ready to go so you can work quickly when the syrup is ready.
- Place the water, honey (use ½ cup if you like a sweeter, traditional marshmallow fluff), and sugar in a saucepan with a rounded edge or pour spout. Stir very gently to combine, careful not to create bubbles or slosh the sugar up the sides. Place the candy thermometer in the pan (if it won’t stand upright in the pan, then be extra vigilant watching and checking the temperature). Cook over medium-high heat, without stirring, until it begins to bubble.
- When the temperature reaches roughly 220-225F/104-107C, add the cream of tartar to the egg whites then mix on high. They should begin forming soft peaks right as the syrup reaches 240F/115C, so check the temperature frequently. Once the syrup reaches 240F/115C, very slowly and carefully stream it into the egg whites. You want to avoid hitting the whisk attachment, so err on letting it gently hit the edge just above where the egg whites are mixing. Since the whole thing will expand, it will eventually absorb any streaks of syrup from the sides of the bowl.
- Continue streaming the syrup into the egg whites very, very slowly and carefully. This should take a few minutes. Once it is all combined, continue beating the fluff until it is thick and glossy (this could take up to 5-6 minutes more, but could be faster).
- Once the fluff is thick and very glossy, turn off the mixer, add the vanilla, then beat on high until fully combined and the sides of the bowl feel cool to the touch. This should only take a minute or two.
Enjoy!
Use right away or store in an airtight container up to 2 weeks. I’ve heard you can store it at room temperature, but I’m one of those who just won’t take that chance and I store mine in the fridge.
Note: if using for a dessert, such as a cake filling or pie topping, do not make in advance. Only make in advance if you are using it for something like rice crispy treats or ice cream topping.
