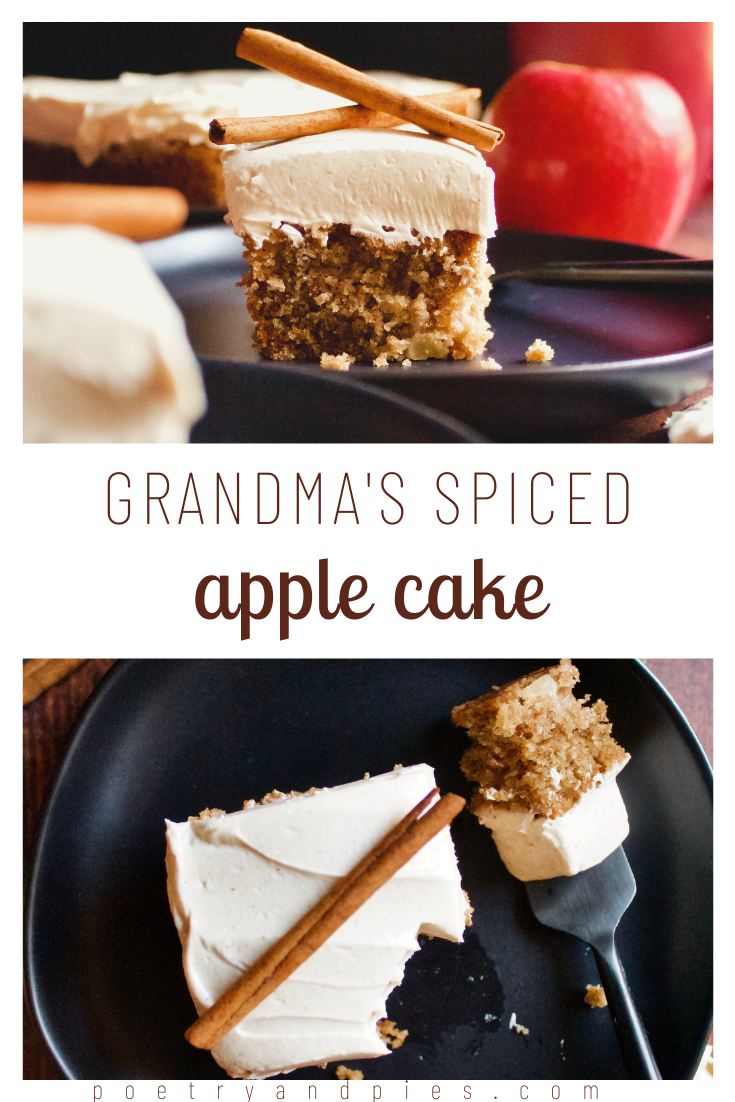
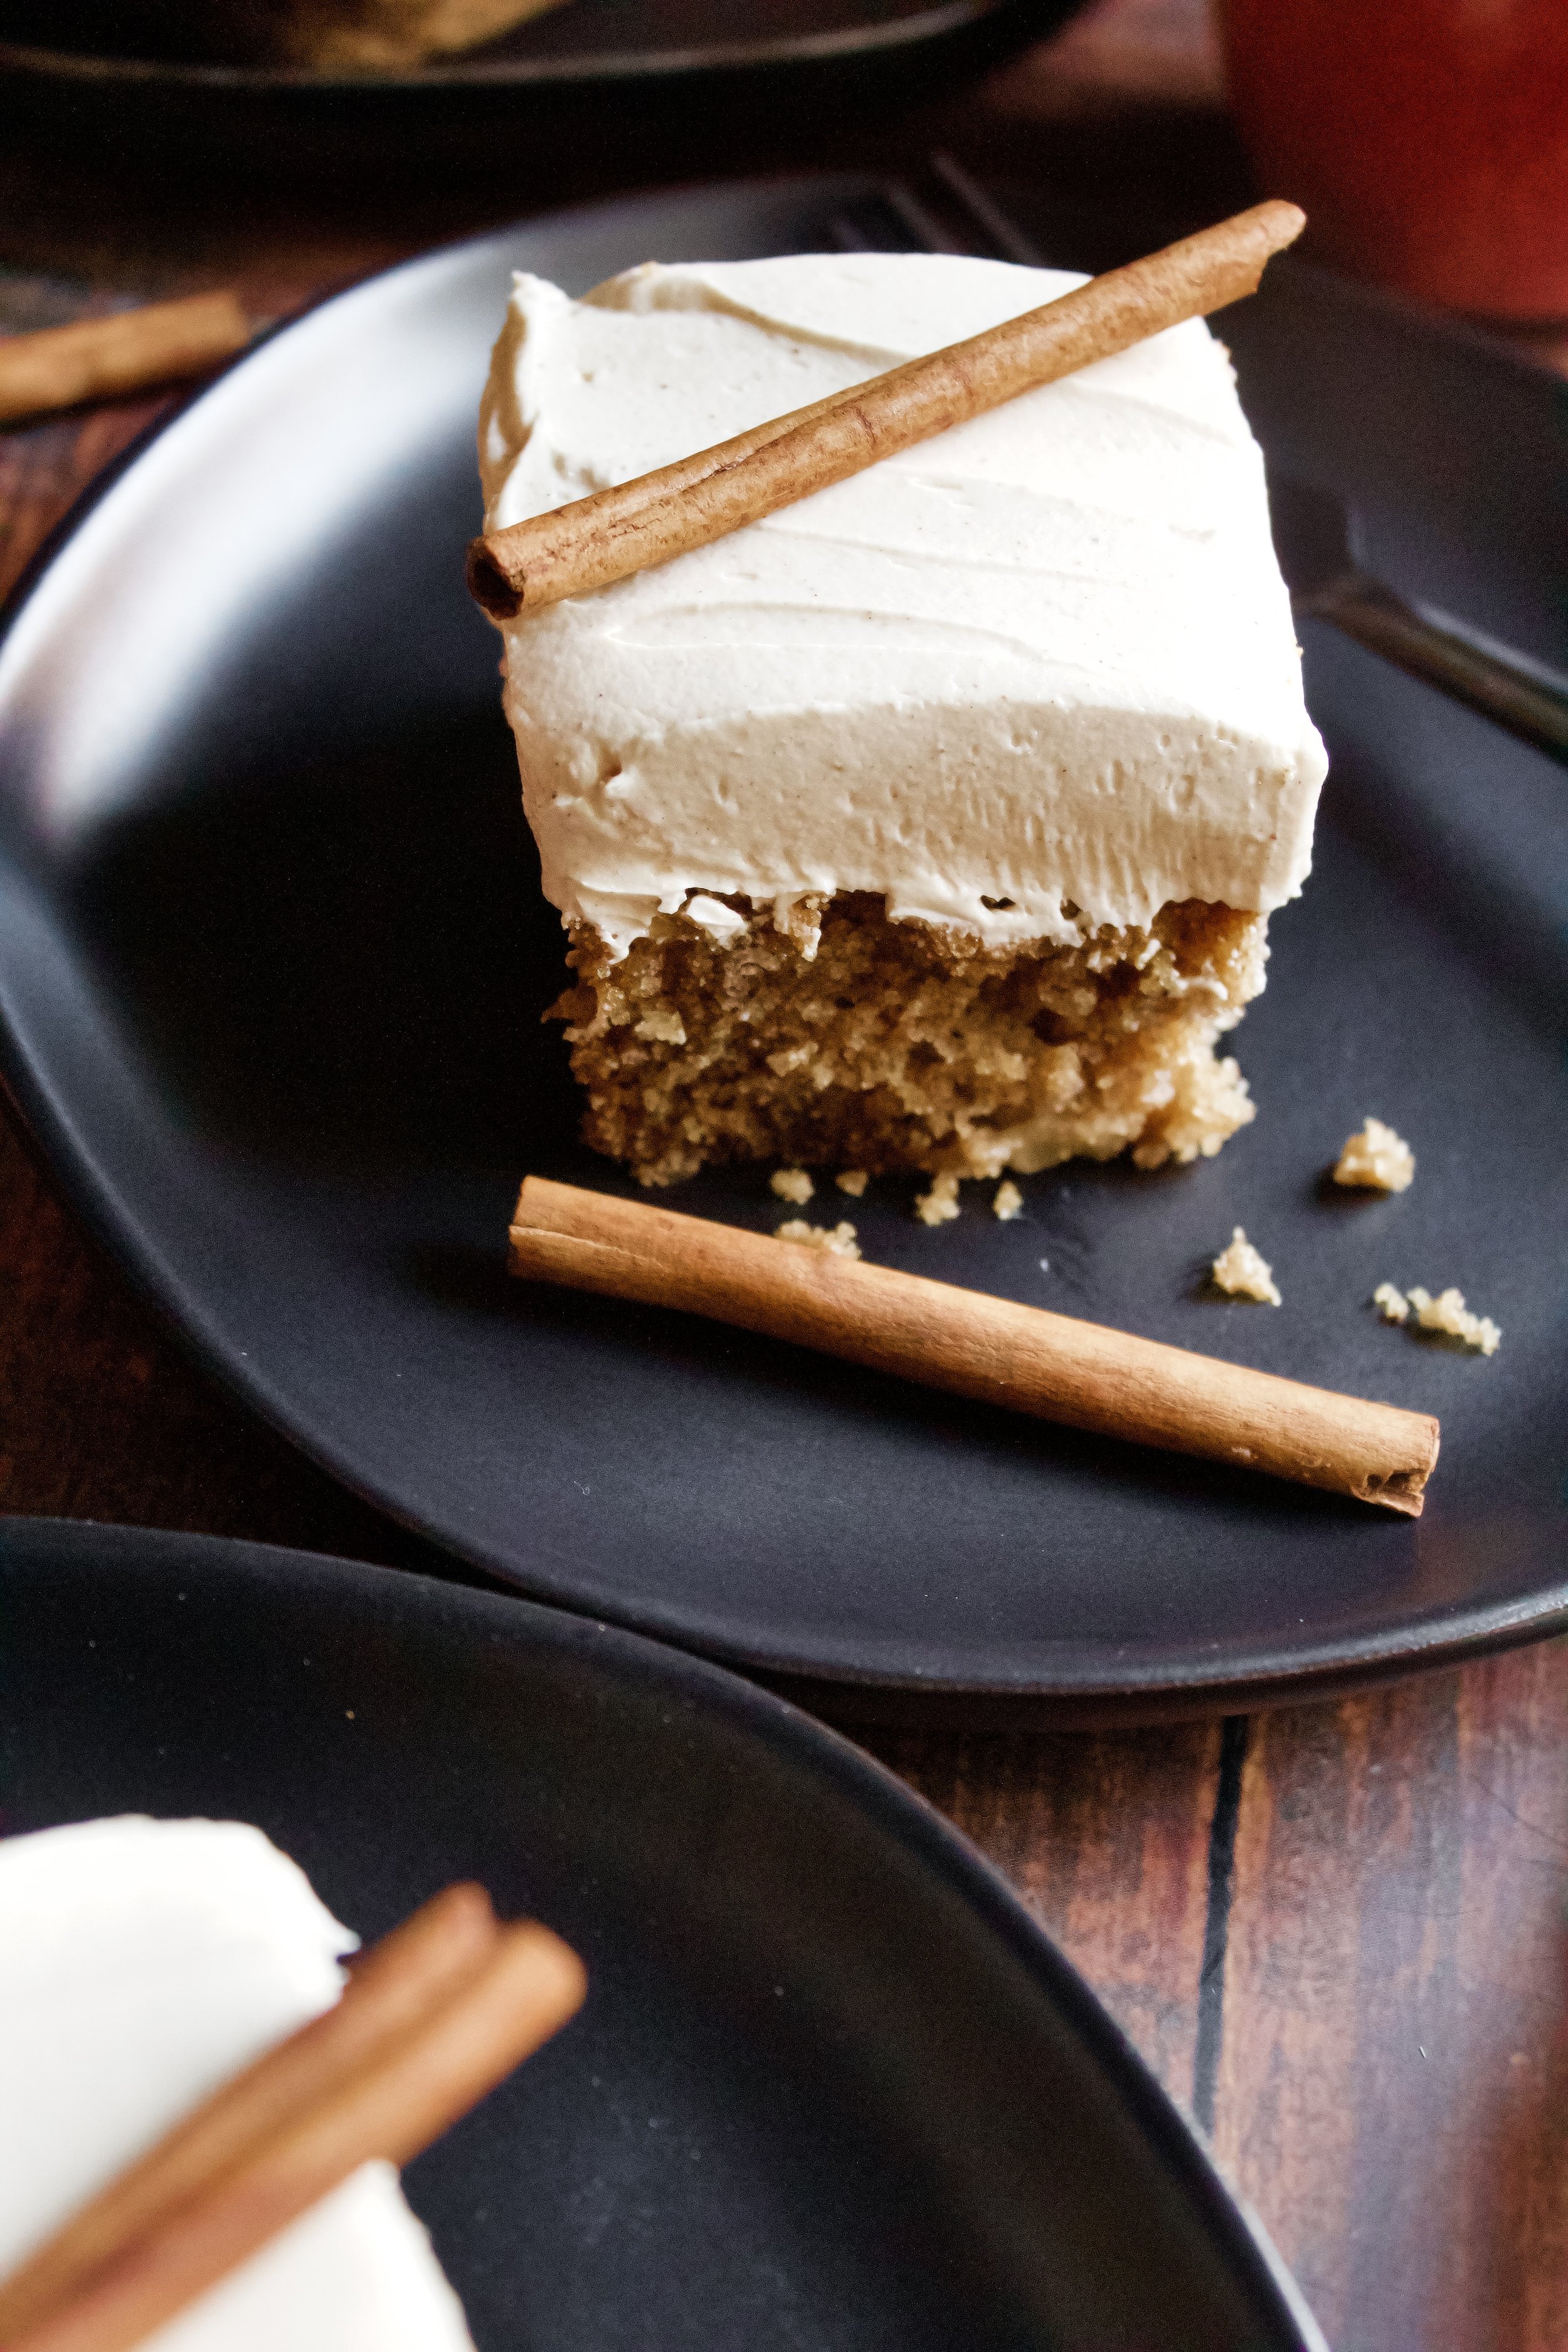
Grandma's Spiced Apple Cake
Moist, spiced apple cake topped with maple cream cheese frosting: this cake is surprisingly good for how little effort it takes.
This post may contain affiliate links from which, at no additional cost to you, I may earn a small commission to keep this site running. Only products I myself would or do use are recommended.
The story
I’ve changed the title of this recipe several times, because I feel there’s something nostalgic and innately trustworthy about where I got it. It’s not actually from my grandma. But it is from a cousin’s grandma whom I’m not related to but see frequently and adore. And she got this recipe from a newspaper years ago. I don’t know the decade, but I feel 50’s Apple Cake is also a fitting, homey name for it.
So, whatever name you want to call it, this cake is ah-mazing.
It’s one of those cakes where people take a bite and immediately ask for the recipe. I did. Half my coworkers did. This cake very well might make you the “cake person” wherever you bring it.
Why this recipe works
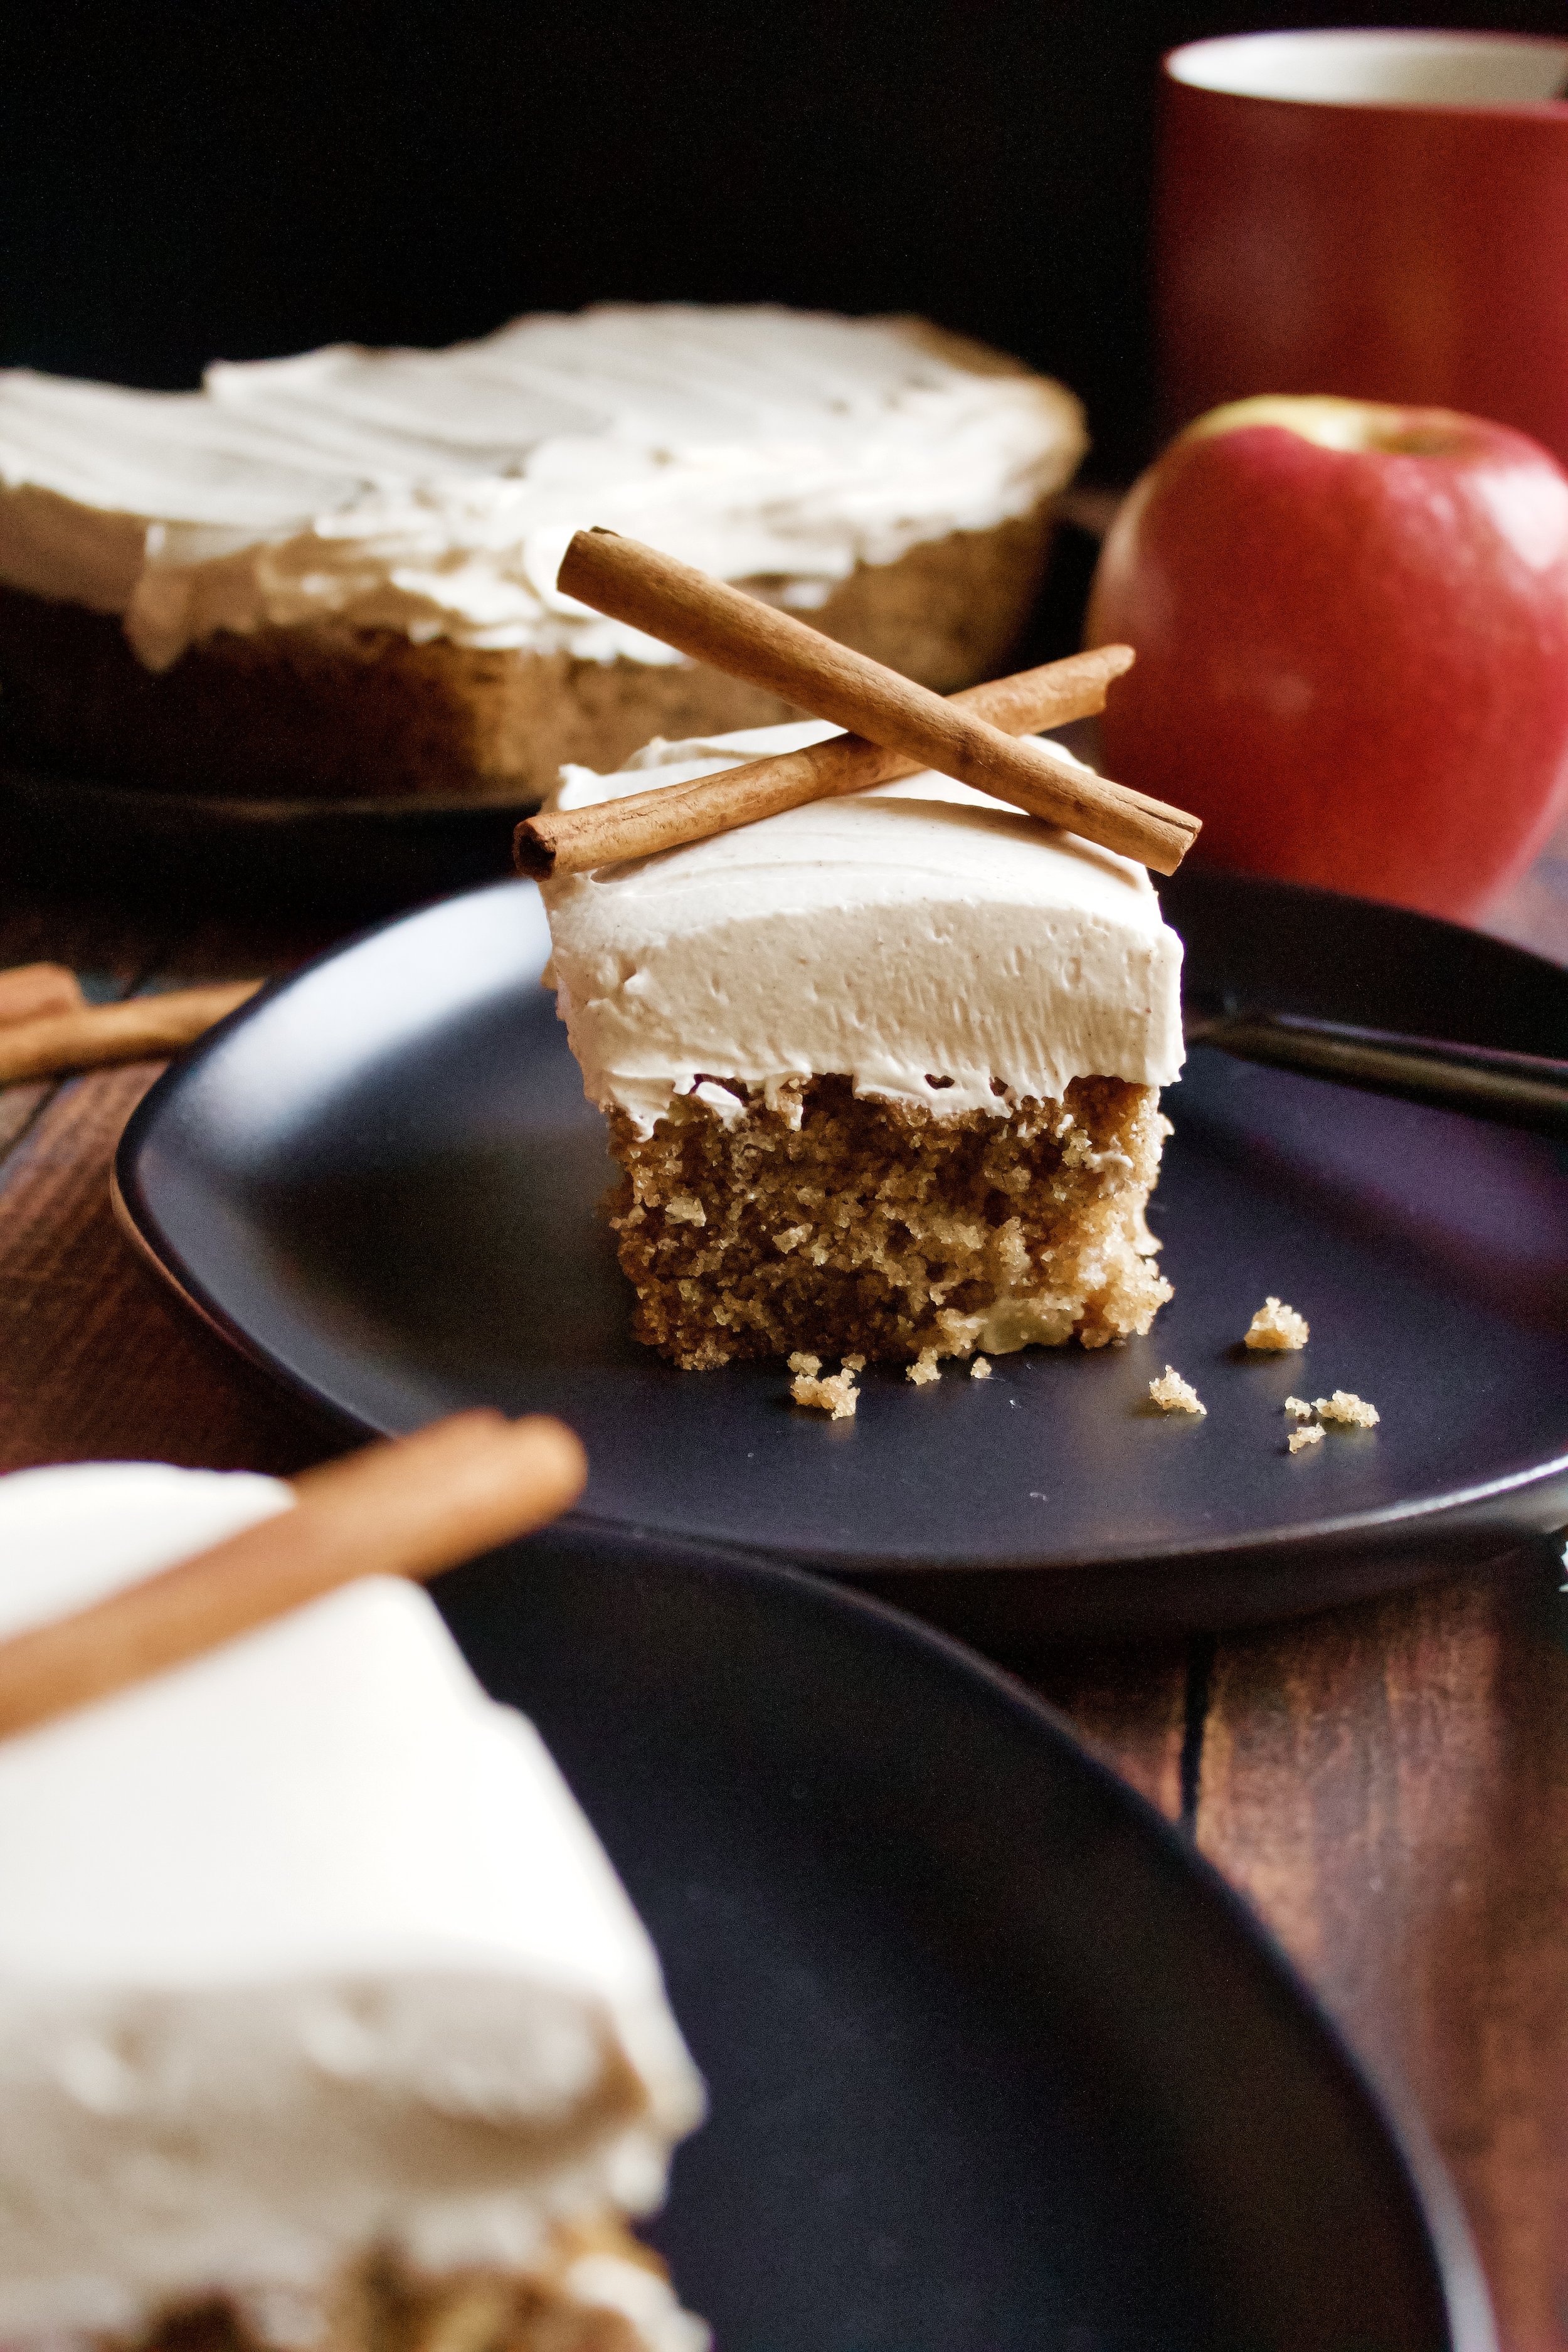
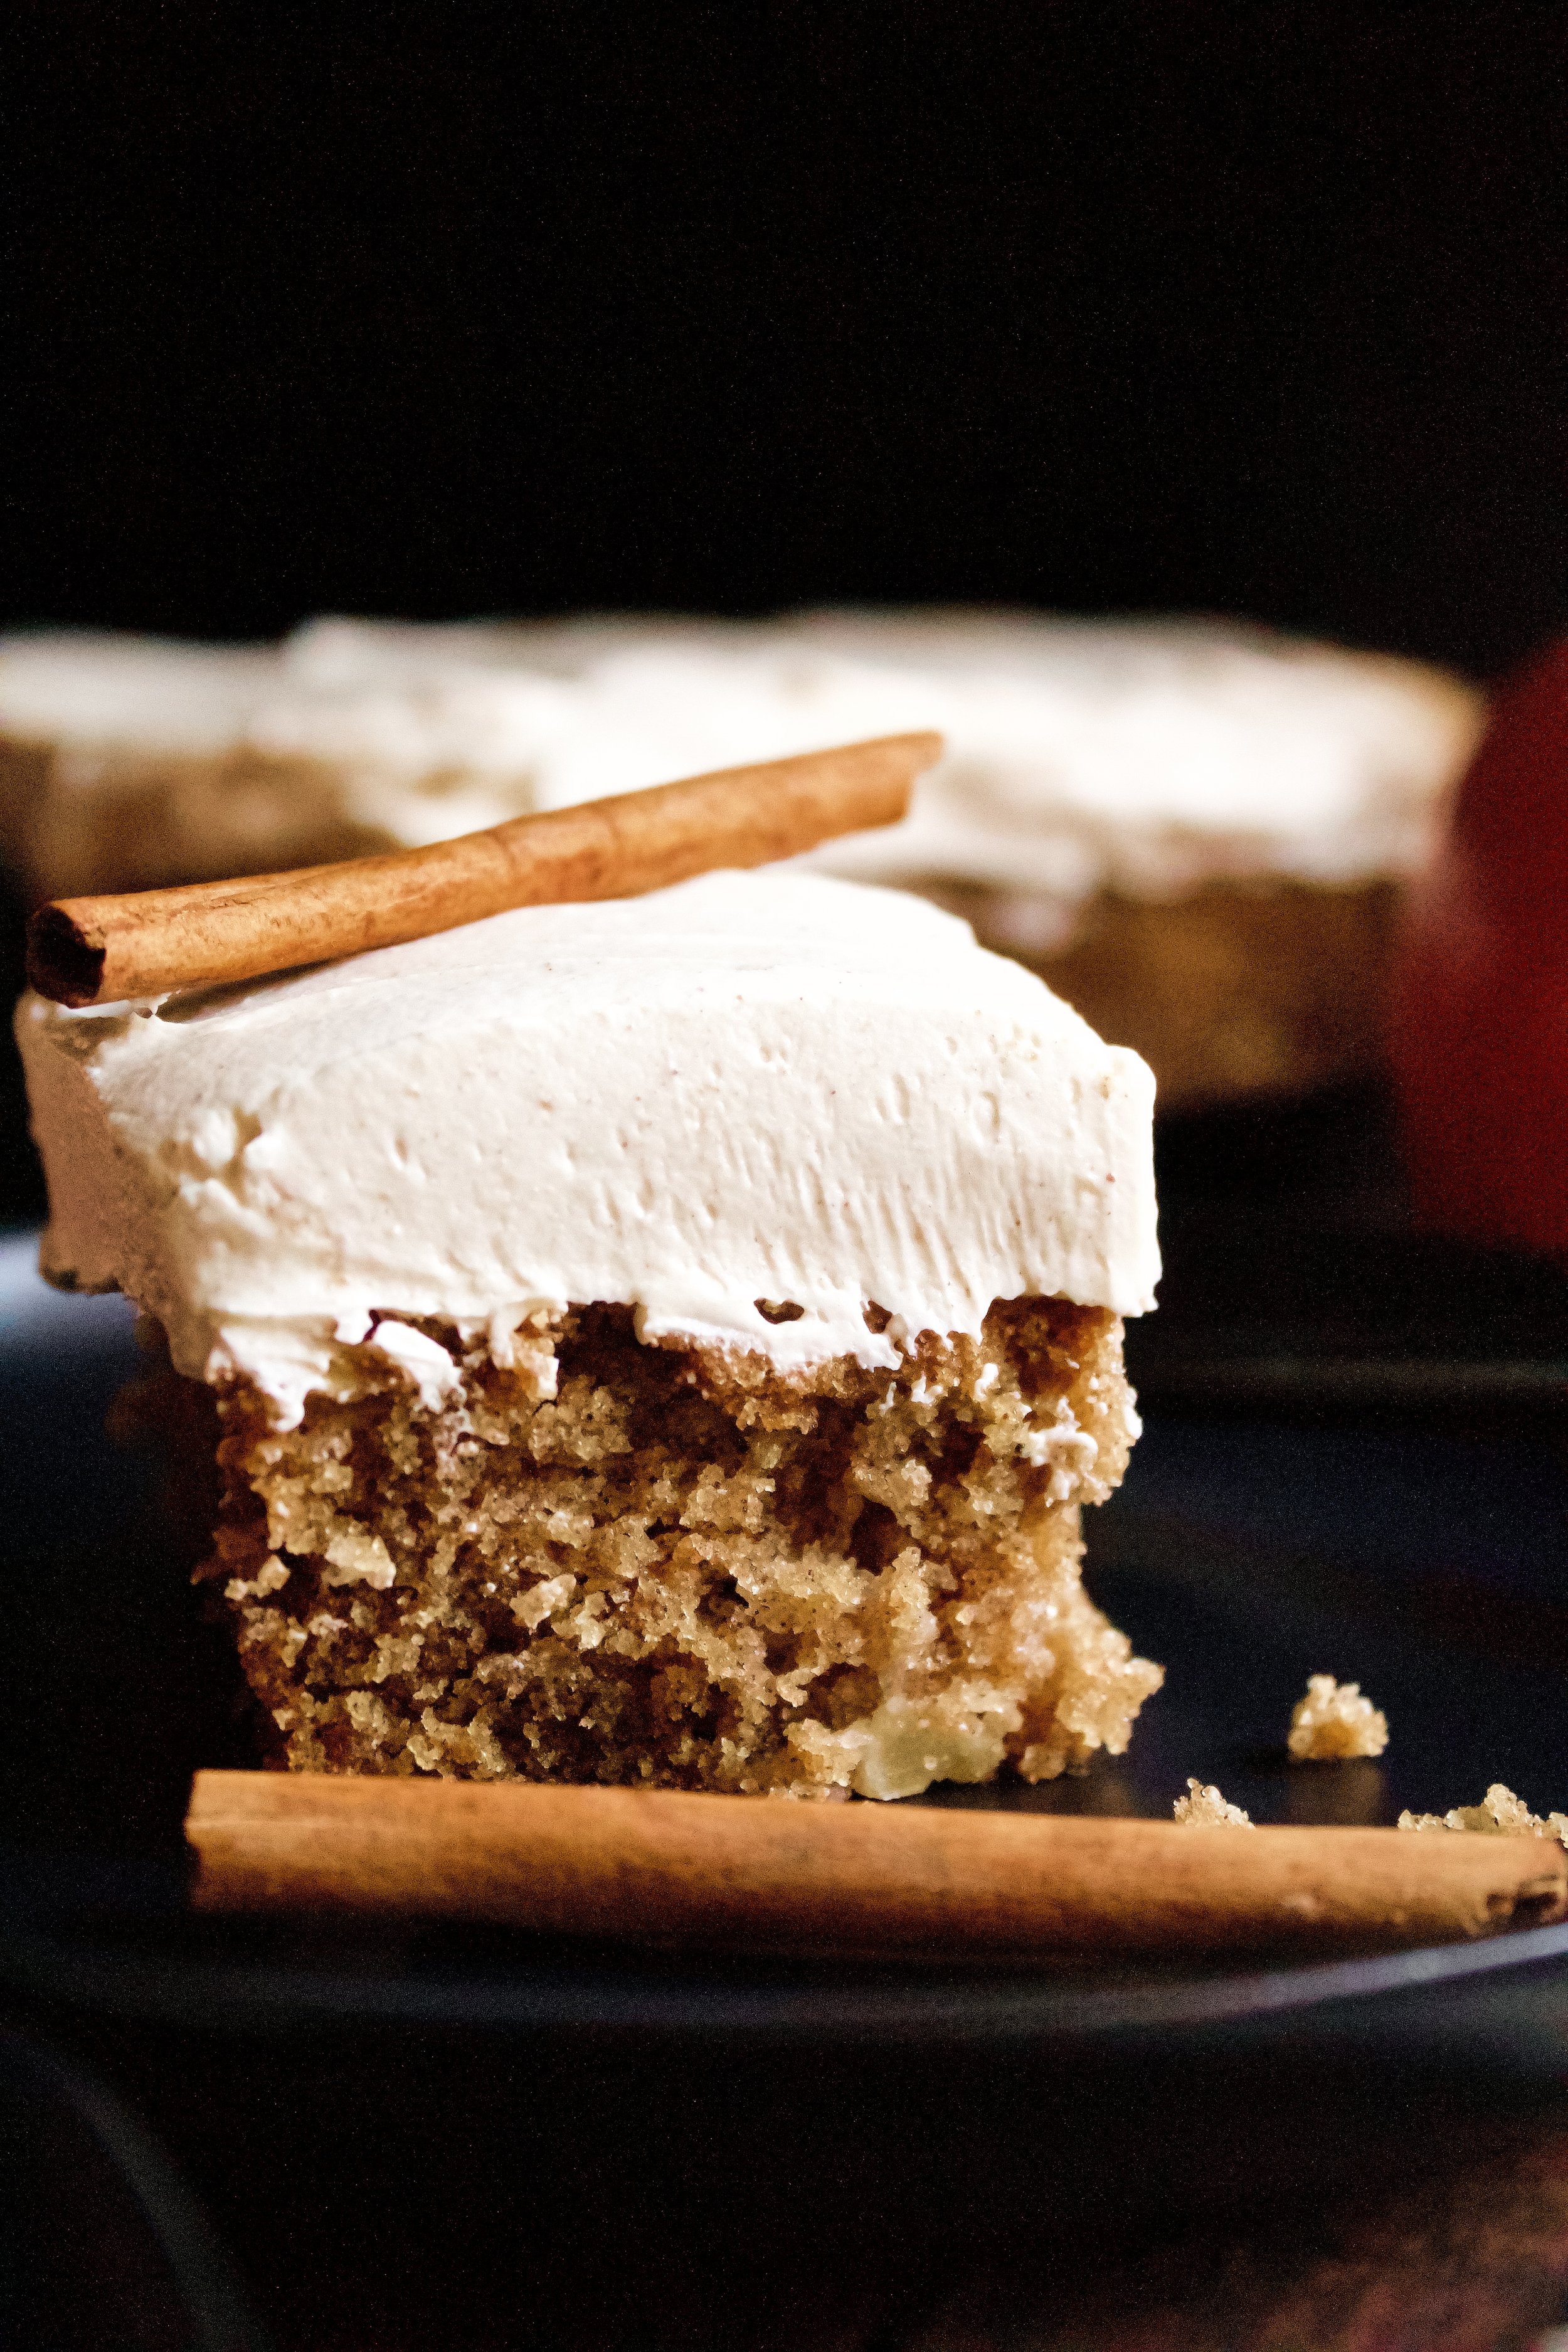
I’ve had more requests for this recipe than most others. I’m assuming that’s partly due to the unique flavors of apple, cinnamon, and maple. It’s heartwarming and perfectly sweet and spicy. Plus, it’s a very, very moist cake, despite the fact that you need to store it in the fridge (which typically dries out a cake).
Plus, it’s EASY to make. Seriously. If I can make it while also caring for a toddler and actually come out saying it’s easy, you know it’s easy.
In fact, I highly suggest trying it out for a holiday gathering! Those lovely, obligatory holiday parties that always fall on a weeknight when you have to rush home, find something to bring, and then wonder how early you can get away with leaving? Yeah, those parties call for this cake.

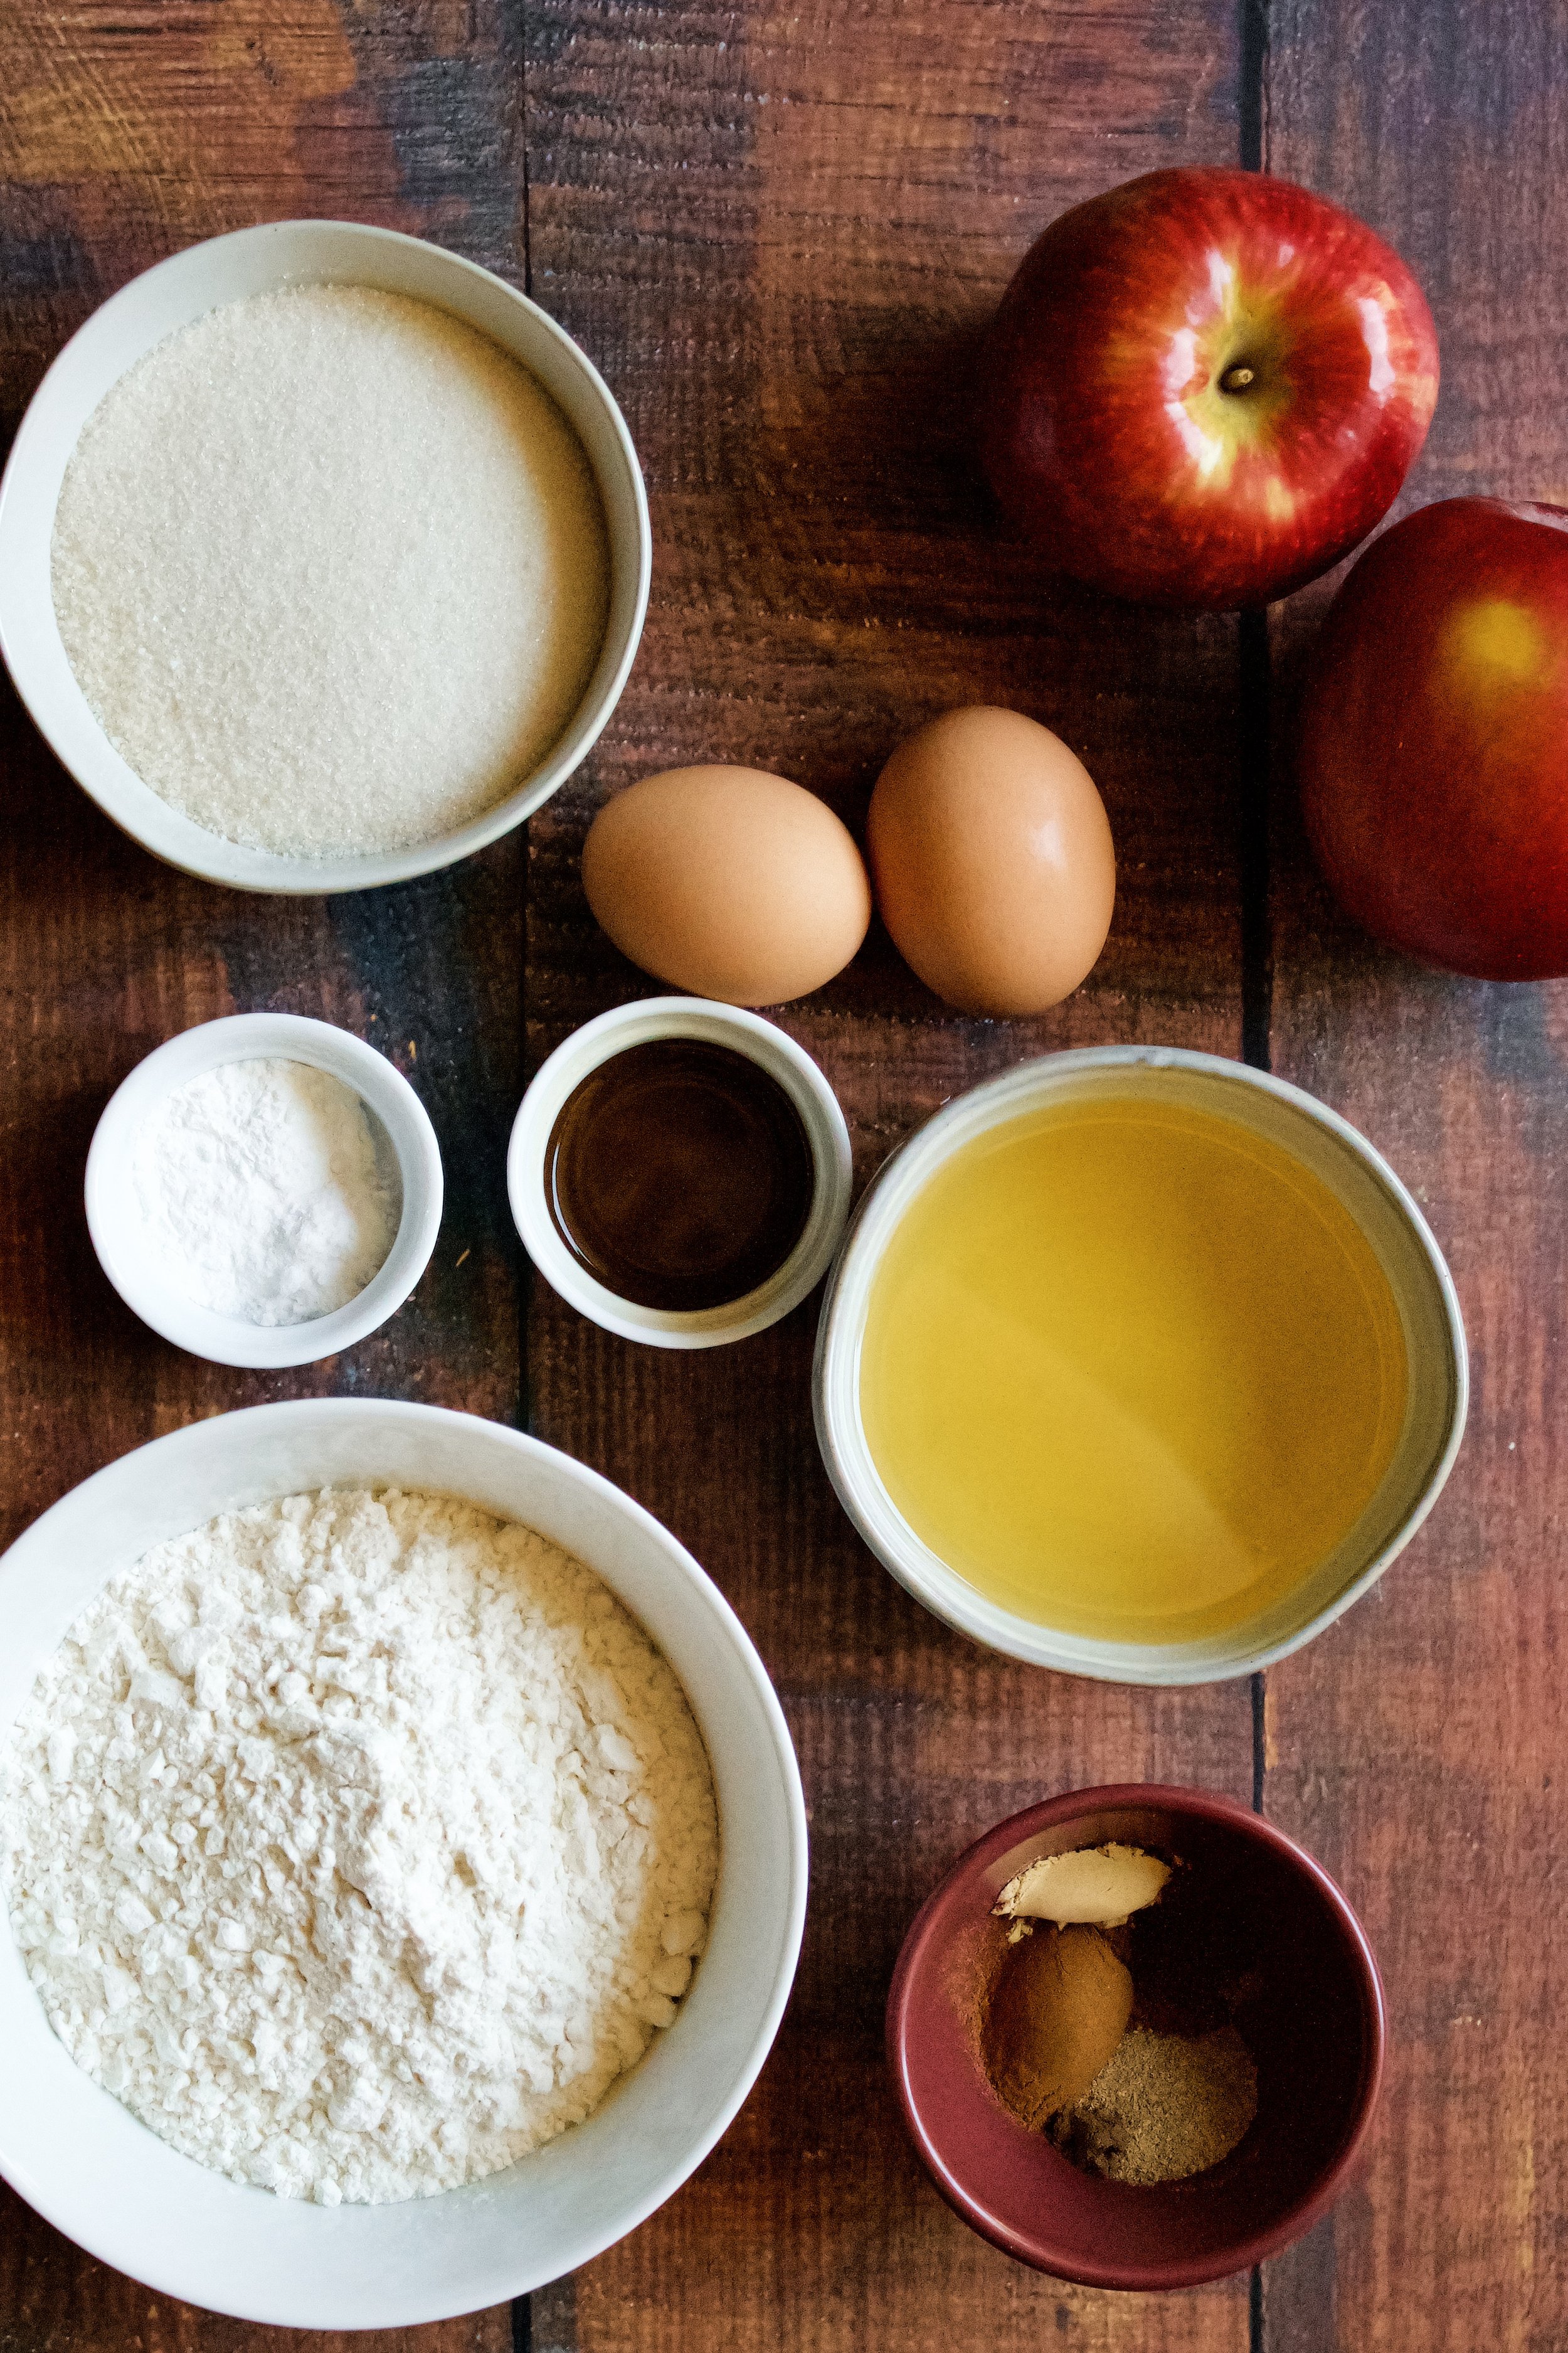
Key Ingredients
Apples. Use any kind you like, or a combination of varieties. I like Pink Lady for this recipe.
Sugar. Use granulated sugar. Brown sugar can be substituted, but it has more moisture and will alter the consistency and bake time.
Oil. I prefer avocado or grape seed oil, but you can use vegetable or canola.
Eggs. Use fresh, room temperature eggs.
Vanilla. Use pure extract, not imitation.
Flour. Be sure to spoon then level your flour so you don’t pack it in.
Baking soda. Be sure to use fresh baking soda that is kept sealed and that hasn’t been open longer than 6 months (regardless of the “expiration” date).
Salt. Use sea salt, if possible.
Spices. I used cinnamon, cloves, nutmeg, and allspice. You can just use cinnamon or can use your favorite apple pie spice combo.

Raisins. These are optional but add a bit of texture to the cake.
Cream cheese. Use full fat—there’t not much here and the flavor difference is noticeable!
Butter. Use European butter for a better, creamier frosting.
Powdered sugar. Also called confectioner’s or icing sugar. Be sure to sift if it’s clumpy or if you live in high humidity.
Maple extract. This is optional, but it goes so well in the frosting! Such a winning combo!

How to make grandma’s spiced apple cake
1. Peel, core, and chop apples. You can sprinkle them with some lemon juice so they don’t brown as you work, just discard it before adding them to the cake.
2. Sift and whisk dry ingredients. Sifting is key to getting a soft, fluffy cake.
3. Whisk wet ingredients. You want the sugar to begin dissolving, so whisk about 30-60 seconds.
4. Stir in apples. You could theoretically peel and chop them at this point, but I think it’s easier to have everything ready to go once you start mixing.


5. Fold in dry ingredients. You don’t want any dry clumps of flour, but don’t worry about some lumps—you don’t want to over mix the batter.
6. Bake. Bake until a toothpick comes out with just moist crumbs (not fully clean—that’s over baked).
7. Make maple cream cheese buttercream. While the cake cools, make the frosting. You can also make this ahead of time—just let it soften on the counter while you make the cake so it’s easier to spread.
8. Frost and enjoy! Be sure to frost all the way to the edges so the cake is “sealed” since you have to refrigerate it (due to the cream cheese frosting). You don’t want it drying out in the fridge.


Tips and FAQ’s for this dessert
Store in the fridge!
I’ve included this in the recipe, but I think it bears saying twice. Years ago, my friend, my mother, and I all got food poisoning from eating a delicious TARDIS blue velvet cake that hadn’t been kept in the fridge. It had cream cheese frosting. I learned my lesson.
Most cakes do just fine on the counter (but in an airtight container) for few days. Butter is perfectly safe at room temperature for a few weeks, and the heavy cream in most frostings is either cooked or so minimal that a few days won’t make a difference. (Plus, milk used to be stored at room temp.) My chocolate cake is so moist it can last almost a week if sealed well.
But cream cheese frosting isn’t shelf stable. Keep this in the fridge (if it lasts long enough to be kept at all!).
Frost all the way to the edges
One key to frosting a cake is to seal it before refrigerating it. That can mean with plastic wrap, a crumb coat, or fully frosted. I only put a non-frosted cake in the fridge for a few minutes when I’m letting the filling set up before adding another layer of cake. Beyond about 10 minutes or so, you need to make sure your cake is sealed before it goes in the fridge. So don’t skimp on the frosting!

Raisins are optional
I used a combination of golden raisins and dried apricots to reach a little less than 1 cup chopped up dried fruit. In fact, it kinda looks like carrot or fruit cake in a few photos. Whatevs, it tasted amazing and you don’t even taste the dried fruit, it just helps add a touch of sweetness and health.

Don’t let the apples brown
In my recipe I recommend stirring in lemon juice if it’s taking awhile to chop the apples. But I’m pretty sure the first time I made this I actually mixed the wet ingredients then added my apples to that as I went. It’s just very important not to let them brown more than that slight tinge you’ll get after about 0.5 seconds.

Spices are a personal choice
Okay, that sounded way more serious than it is. All I did was add extra cinnamon and the cloves, allspice, and nutmeg. You can adjust as you’d like or even use pumpkin pie spice. I do recommend ensuring you have predominately used cinnamon, as that’s the main flavor you want coming through.

You can use a glaze or vanilla buttercream instead of my maple cream cheese frosting
I like it with cream cheese frosting, which isn’t even something I usually enjoy, just because it’s how I first had this cake and I feel it works well with the sweetness of the cake. But vanilla buttercream, a glaze, or just a dusting of powdered sugar would work, too. If you love fall spices, my cinnamon vanilla bean buttercream would pair perfectly with this, especially if you wanted to make a stacked cake and needed more stability than cream cheese frosting. Or, you could use my actual grandma’s plain cream cheese frosting, without the maple extract.
In fact, I think plain with a scoop of ice cream or a vanilla whipped cream would make it perfection! Let me know if you try it that way. :)

You can make a round, layered cake…at your own risk
This cake would work in two round layers stacked together, but you’d need to at least double the frosting. Additionally, you’ll need to be sure you don’t under bake or overdo it with the amount of apples. It shouldn’t have issues cracking or sliding, as refrigeration will set the frosting and keep it upright. However, slicing this as a layered cake might get a little messy. Use a very sharp knife and don’t let it warm up too much, and you should be fine!

My tools
Here are my must-have tools I use for making this cake. Affiliate links provided.
Mesh sieve (because sifting is KEY for a fluffy cake)
All-rubber spatula (this makes scraping the bowl easier so the batter and frosting doesn’t get all over a wooden handle!)
Offset spatula for frosting the cake
Vegetable peeler and apple slicer and corer
Or, use this apple peeler, corer, and slicer


Grandma’s Spiced Apple Cake
- prep time: 15-20 minutes
- bake time: 45-50 minutes
- total time: 1 hour, 10 minutes (plus cooling time)
servings: 12-24 (depending how you slice it)
Ingredients:
for the apple cake
- 4 cups chopped apple (4 - 5 apples)
- 1.5 cups sugar
- 1 1/4 cup avocado or grapeseed oil (melted and slightly cooled butter could work, too, but will have a denser texture)
- 2 eggs
- 1 tablespoon pure vanilla extract
- 3 cups flour
- 2 teaspoons baking soda
- 1 teaspoon salt
- 1 tablespoon cinnamon
- ½ teaspoon cloves, optional
- ½ teaspoon nutmeg, optional
- ¼ teaspoon allspice, optional
- 1 cup raisins, optional
for the maple cream cheese frosting
- 4 oz. cream cheese, room temperature
- ¼ cup (½ stick) butter, room temperature
- 1 teaspoon pure vanilla extract
- ⅛ to ¼ teaspoon maple extract
- few dashes cinnamon, optional
- 2-3 cups powdered sugar
- pinch sea salt
Instructions:
make the cake
- Preheat oven to 325F/165C. Grease a 9x13 cake pan with baking spray or butter and flour. Don’t line with parchment, as you’re serving straight from the cake pan.
- Peel, core, and chop the apples. I was lazy and didn’t peel them very well. And I diced them into about ¼ inch pieces. If it’s taking you awhile to do this (small apples, distractions, etc. can make this process take awhile!), squeeze some lemon juice on the apples to keep them from browning.
- Using a large fine mesh sieve, sift and whisk dry ingredients (flour through allspice) in a bowl. Set aside.
- In a large mixing bowl, whisk together sugar, oil, eggs, and vanilla until well combined and sugar granules begin to dissolve (not fully, just not as large as you started with--about 30-60 seconds of whisking).
- Stir in apples to the wet mixture, discarding any lemon juice used or any juices that gathered at the bottom of the bowl.
- Gently fold in flour mixture. Spread evenly in cake pan. Bake on middle rack for 45-55 minutes, or until a toothpick inserted in the middle comes out with just a few moist crumbs. Set the pan on a baking rack to cool. make the frosting
- While the cake is cooling, make frosting. In a medium bowl or in the bowl of your stand mixer with the paddle attachment, blend cream cheese and butter on high until smooth.
- Add powdered sugar, ½ cup at a time, blending until smooth each time. Halfway through the sugar, add the vanilla, maple extract, salt, and cinnamon, if using. Taste frosting and use more powdered sugar if desired.
- Frost completely cooled cake, being sure to get all the way to the edges to prevent it drying out.
Enjoy!
Store covered in the fridge, but leave out 10 minutes before serving.
*I highly recommend European style butter, as it has less water. Also, be sure the butter is still matte in appearance. If it has become shiny, place in the fridge 5-10 minutes to firm it up a little.