
The Very Best Scones
Perfectly flakey, buttery scones that will melt in your mouth and leave you wanting more. These are my go-to for any breakfast or brunch themed party but are a hit at any type of event. You can even make a big batch to enjoy with throughout the week with your morning tea or coffee! Because trust me, you’ll want to keep some back for yourself.
This post may contain affiliate links from which, at no additional cost to you, I may earn a small commission to keep this site running. Only products I myself would or do use are recommended.

I’ll be perfectly honest: when someone labels a recipe as “perfect” or “the best”, I usually scroll along. Anyone can call their recipe the best. Plus, I’m as stubborn as the rest of my generation and usually think, “Don’t tell me what to think of this. I’ll judge that for myself.” We really are as annoying as people say we are.
But this recipe really is the very best scone I’ve ever had and is equally as easy to make. No special ingredients or equipment. No mysterious methods or special skills needed.
And the best part is how flawlessly it turns out. Flakey, buttery, perfectly crumbly. There’s a hint of sweet that goes perfectly with any number of jams or curds or creams.
No more dry bricks—these really are the best scone.

Why this recipe works
Honestly, I don’t even quite know. This recipe was passed on to me by one of my old high school teachers who later became my coworker. She used to host these wonderful ladies teas at the end of the school year and would always make these. I’d heard the recipe was a secret, but when she retired, she was more than happy to give it to me. I regret not asking for it sooner!
Anyway, the biggest key here is the butter. You use your fingers to blend it, creating long bits of butter, similar to when making pie crust. Then the cream helps make these luscious and moist. The ingredients are perfectly balanced to hold together without being dry or dense.

Key ingredients
Flour. This is key. Be absolute certain that you spoon then level the flour so you don’t pack it in. I’ve adjusted the original recipe because it came out wrong the first few times. Turns out it was written with the “just dunk and eyeball it” method of measuring flour, which packs in more flour than the gentle spoon-then-level method. So you can either weigh this or just measure carefully and gently.
Sugar. This is just enough to make these a little sweet so you can pair them with any topping.

Baking powder. Make sure it’s fresh. This helps create a bit of rise without making these a cookie.
Salt. Sea salt is ideal!
European style bitter. This has less water than sweet cream, so it’s ideal for a flakey scone. Be sure it’s nice and cold, and follow the notes about what to do if it gets too warm when you blend it in.
Heavy cream. Nope. This is not a health food. But also, does that really matter? When you taste these, you’ll agree.

How to make the very best scone
1. Blend dry ingredients. This can be done with a whisk. I also suggest sifting them, even though it’s not in the original recipe. I think it gives a softer texture and helps the baking powder distribute better.
2. Cut in very cold butter. Use unsalted, European style here. If the butter becomes warm (especially if it feels greasy), put the whole bowl into the fridge for 10 minutes to help re-chill the butter.


3. Stir in cream. Only mix until you see no more dry bits of flour. And be sure the butter is nice and cold still when you add this.
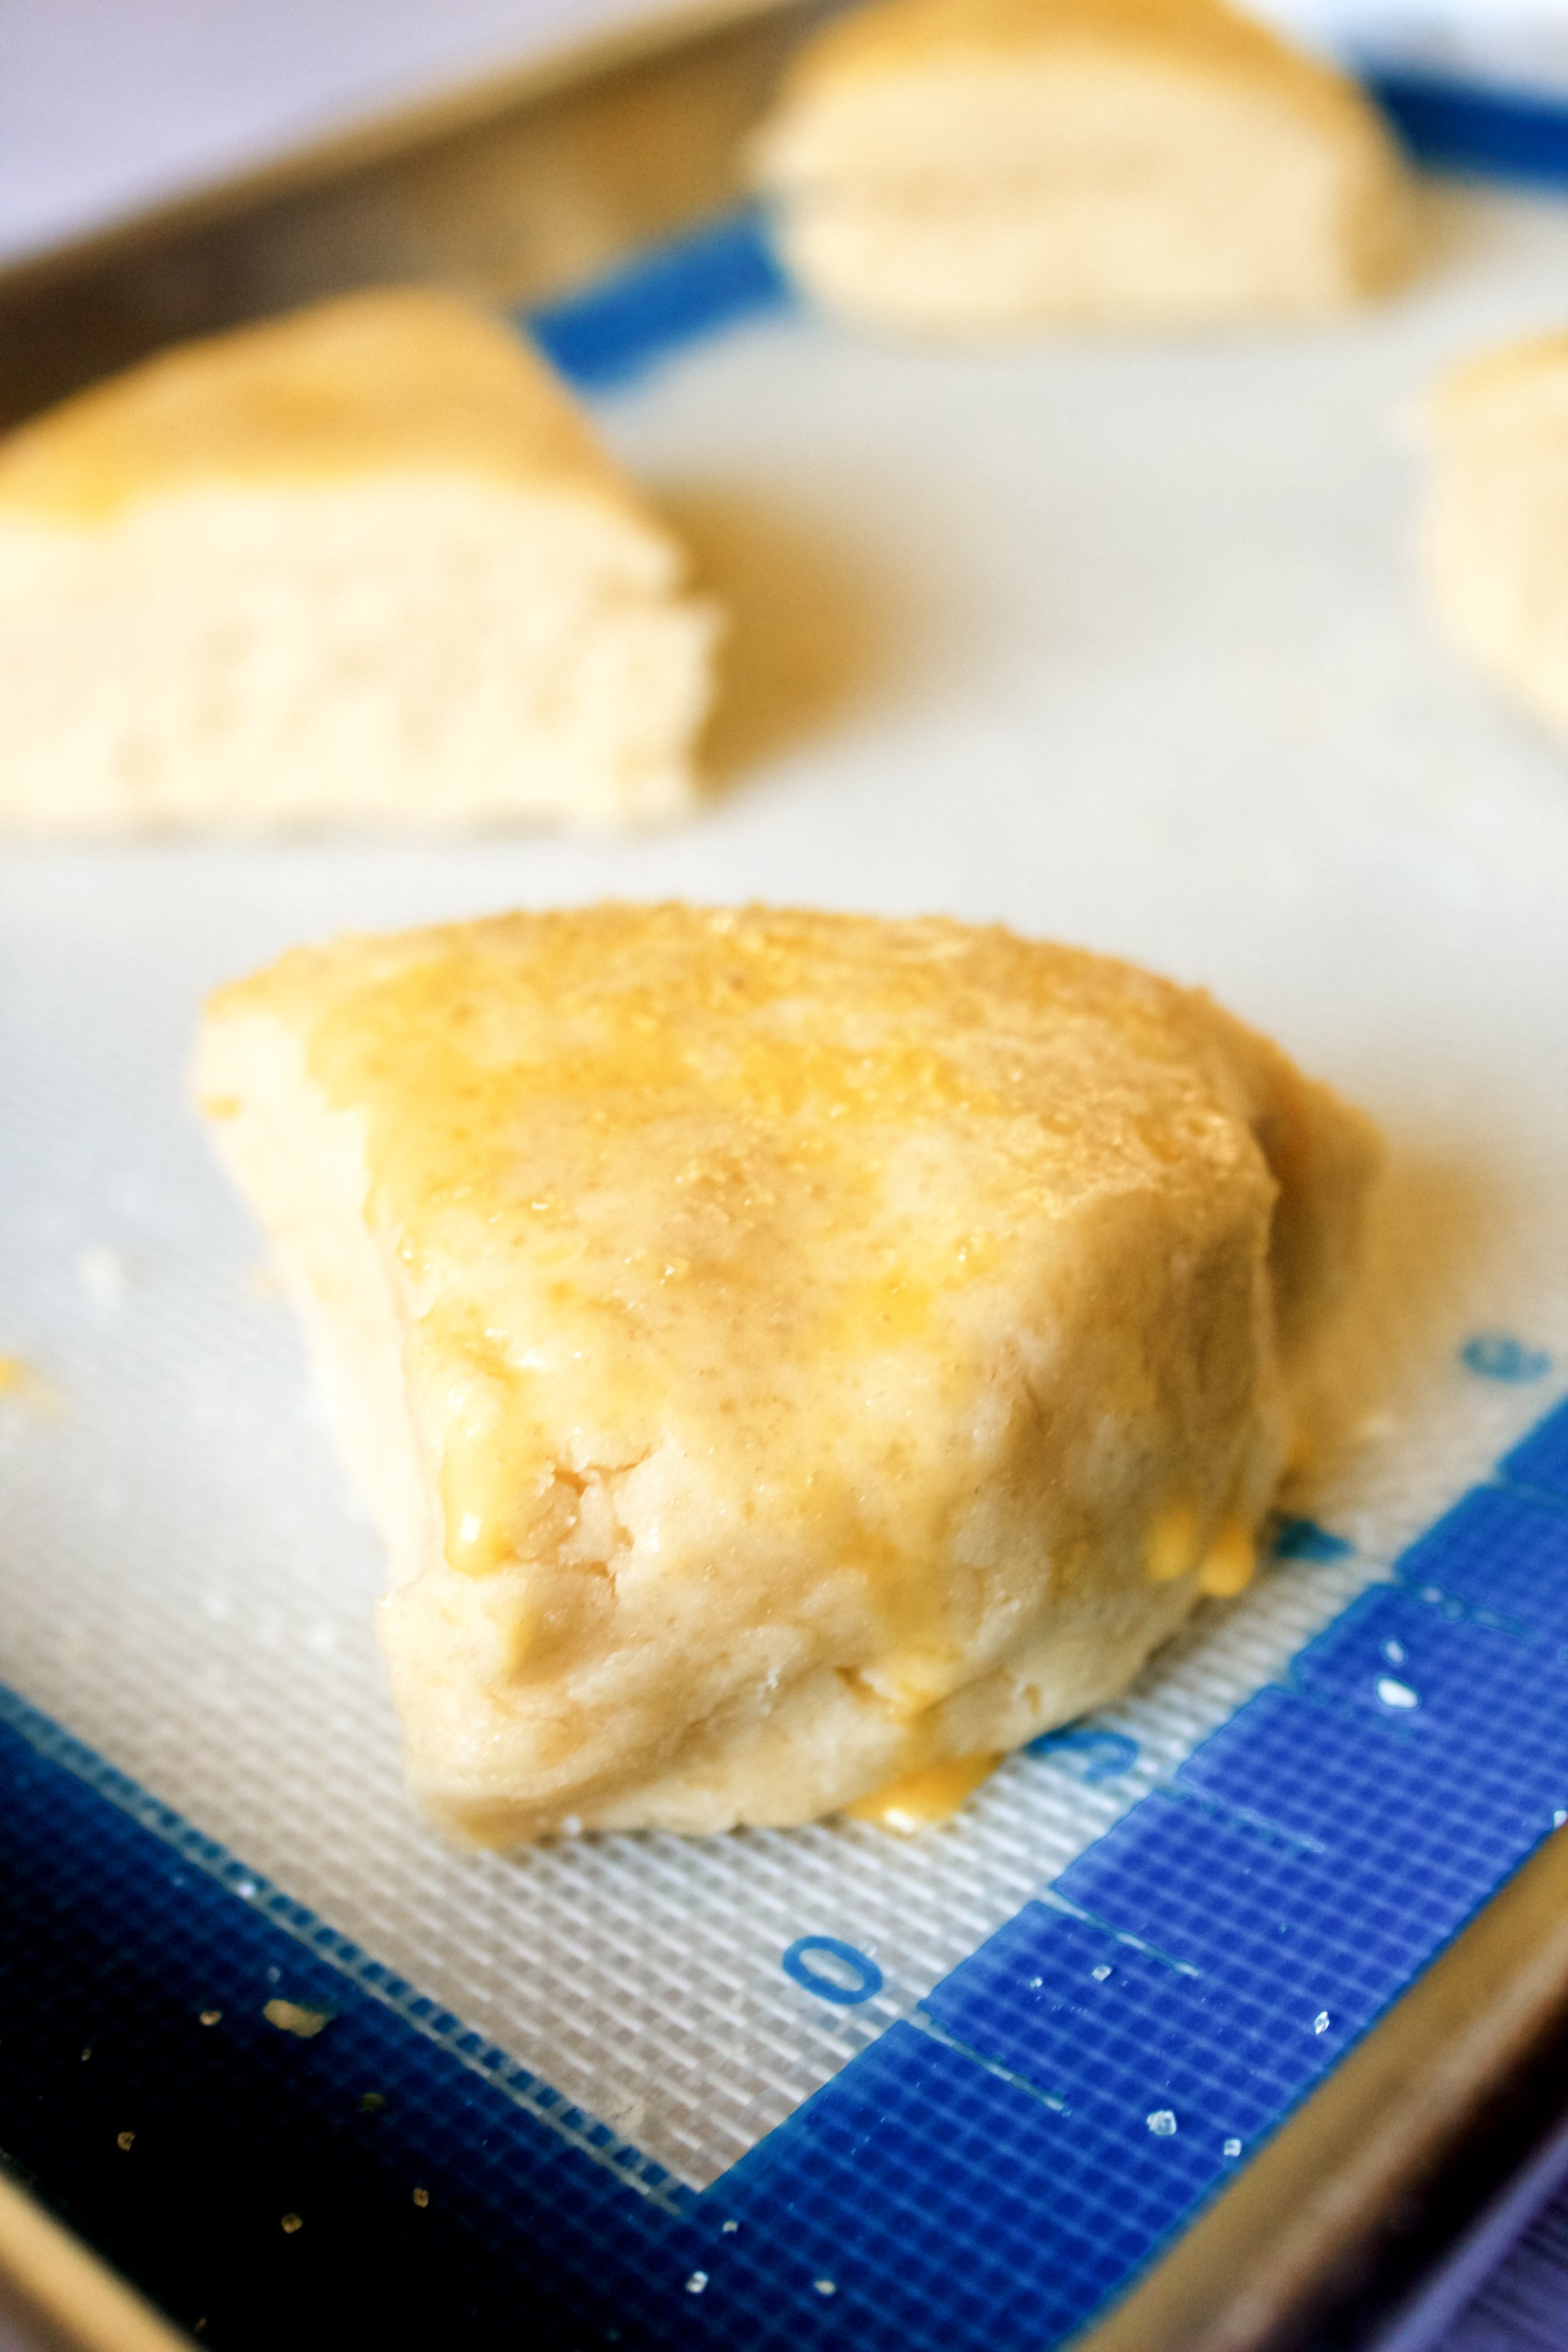
4. Shape and bake. Pat into a 6” flat disc then cut into 6 triangles. You can also make this into a rectangle and make 6 square scones, but I like the traditional triangle that I’m used to.
Enjoy!

Tips and FAQ’s for this recipe
Do I have to use my hands?
No, but I do think it makes a noteworthy difference in this recipe. I add in a freezing step to account for the warmth of your hands melting the butter slightly. If you do use a pastry blender or other butter blending method, just be sure you don’t blend the butter too small (the dough should not resemble wet sand—that means you’ve over-mixed the butter).
Can I add mix-ins?
Yes! I’ve used 1 tablespoon lemon zest or 1/2 cup chocolate chips in these, and the original recipe calls for lemon zest and 1/2 cup dried currants. It’s entirely up to you. I also have some amazing options in mind that I will be sharing in the future!

How do I know if the butter is too warm?
If the butter is greasy or shiny or soft, it’s too warm. It should be very cold when you use it, which is why I have you leave it in the fridge until needed. If your butter got too soft while blending, you can freeze it a few minutes longer, until it’s very firm once again.
Do I have to use the egg wash?
No! I’m actually not an egg wash fan. I’ve used milk and also just nothing for these (and most of my desserts), so it’s up to you. If you’re not an egg wash fan and don’t care about that shiny top, then feel free to leave it off. The same goes for the sugar sprinkled on top, although I think that’s pretty key.

Can I cut the disc into more pieces?
Sort of. Six wedges is ideal, but you could do 8 (it is easier to divide evenly that way). But avoid cutting these into more wedges, as they won’t bake the right way.
I have made these into mini scones, but that requires two slightly shorter discs that are also cut into 6 pieces. If you do want to go that route, make two equally sized discs of about 3/4 inch tall. Cut them into 6 pieces (not 8—this will not work). Also be sure to freeze the dough at least 10 minutes before adding the heavy cream, as mini scones are prone to spreading.

Pairs well with:
Most of my sauces or spreads would go well with these, but my favorites are:


The Very Best Scones
- prep time: 15-20 minutes
- bake time: 25-30 minutes
- total time: 50 minutes
servings: 6
Ingredients:
for the scones
- 2 ¾ cups (374g) all-purpose flour, spooned and leveled
- 2 teaspoons (10g) baking powder
- ½ teaspoon (3g) salt
- ½ cup (100g) granulated sugar
- 12 tablespoons (168g) very cold, unsalted European style butter, cut into cubes
- 1 cup (232g) cold heavy cream
*to finish
- 1 large egg, room temperature
- 1 tablespoon (14g) water
- coarse or granulated sugar
Instructions:
- Preheat your oven to 375F/190C. Dice your butter and place back in the fridge until ready to use.
- Sift and whisk together the flour, baking powder, and salt in a large bowl. Sifting isn’t necessary, but it helps create a more tender crumb. Whisk in the sugar.
- Using your (clean) fingers (or a pastry blender, but I think fingers work best here), blend the butter in, smashing the cubes into the flour. You want the pieces to be no larger than small peas or shredded parmesan cheese–but a lot of the butter will be even smaller by this point. Use a rubber spatula to scrape any large bits of dough or butter stuck to your hands back into the bowl.
- At this point, freeze the dough for 5-10 minutes. This is my own little addition to the recipe, but it really makes a difference. Smashing the butter with your hands or even a pastry blender still warms it up. Freezing the dough for just a few minutes resolidifies the butter and ensures it won’t melt too quickly or cause the dough to spread during baking.
- Stir in the cold heavy cream. Be very careful to only stir until the flour is combined. If you see a few bits of dry flour, you can pat those into the dough in the next step.
- Turn the dough out onto a clean surface and gently pat it into a disc at least 1” thick (avoid having it significantly thicker though). Cut into 6 wedges. You can cut it into 8, but should do no more than that. Double the recipe if you’d like to make a larger batch.
- Arrange the wedges on a parchment lined baking sheet, at least 2” apart.
- Whisk together the egg and water and gently brush each scone with some (you won’t use all of the wash unless you double the recipe). Sprinkle with some coarse sugar.
- Bake for 25-30 minutes (less if you cut your disc into 8 pieces), until matte in appearance and the tops begin to turn golden.
- Cool briefly and serve warm.
Enjoy with your morning coffee!
Store leftovers in an airtight container. They should last 3-5 days, if well-sealed. It’s highly recommended to warm leftovers in an oven or toaster oven.
