
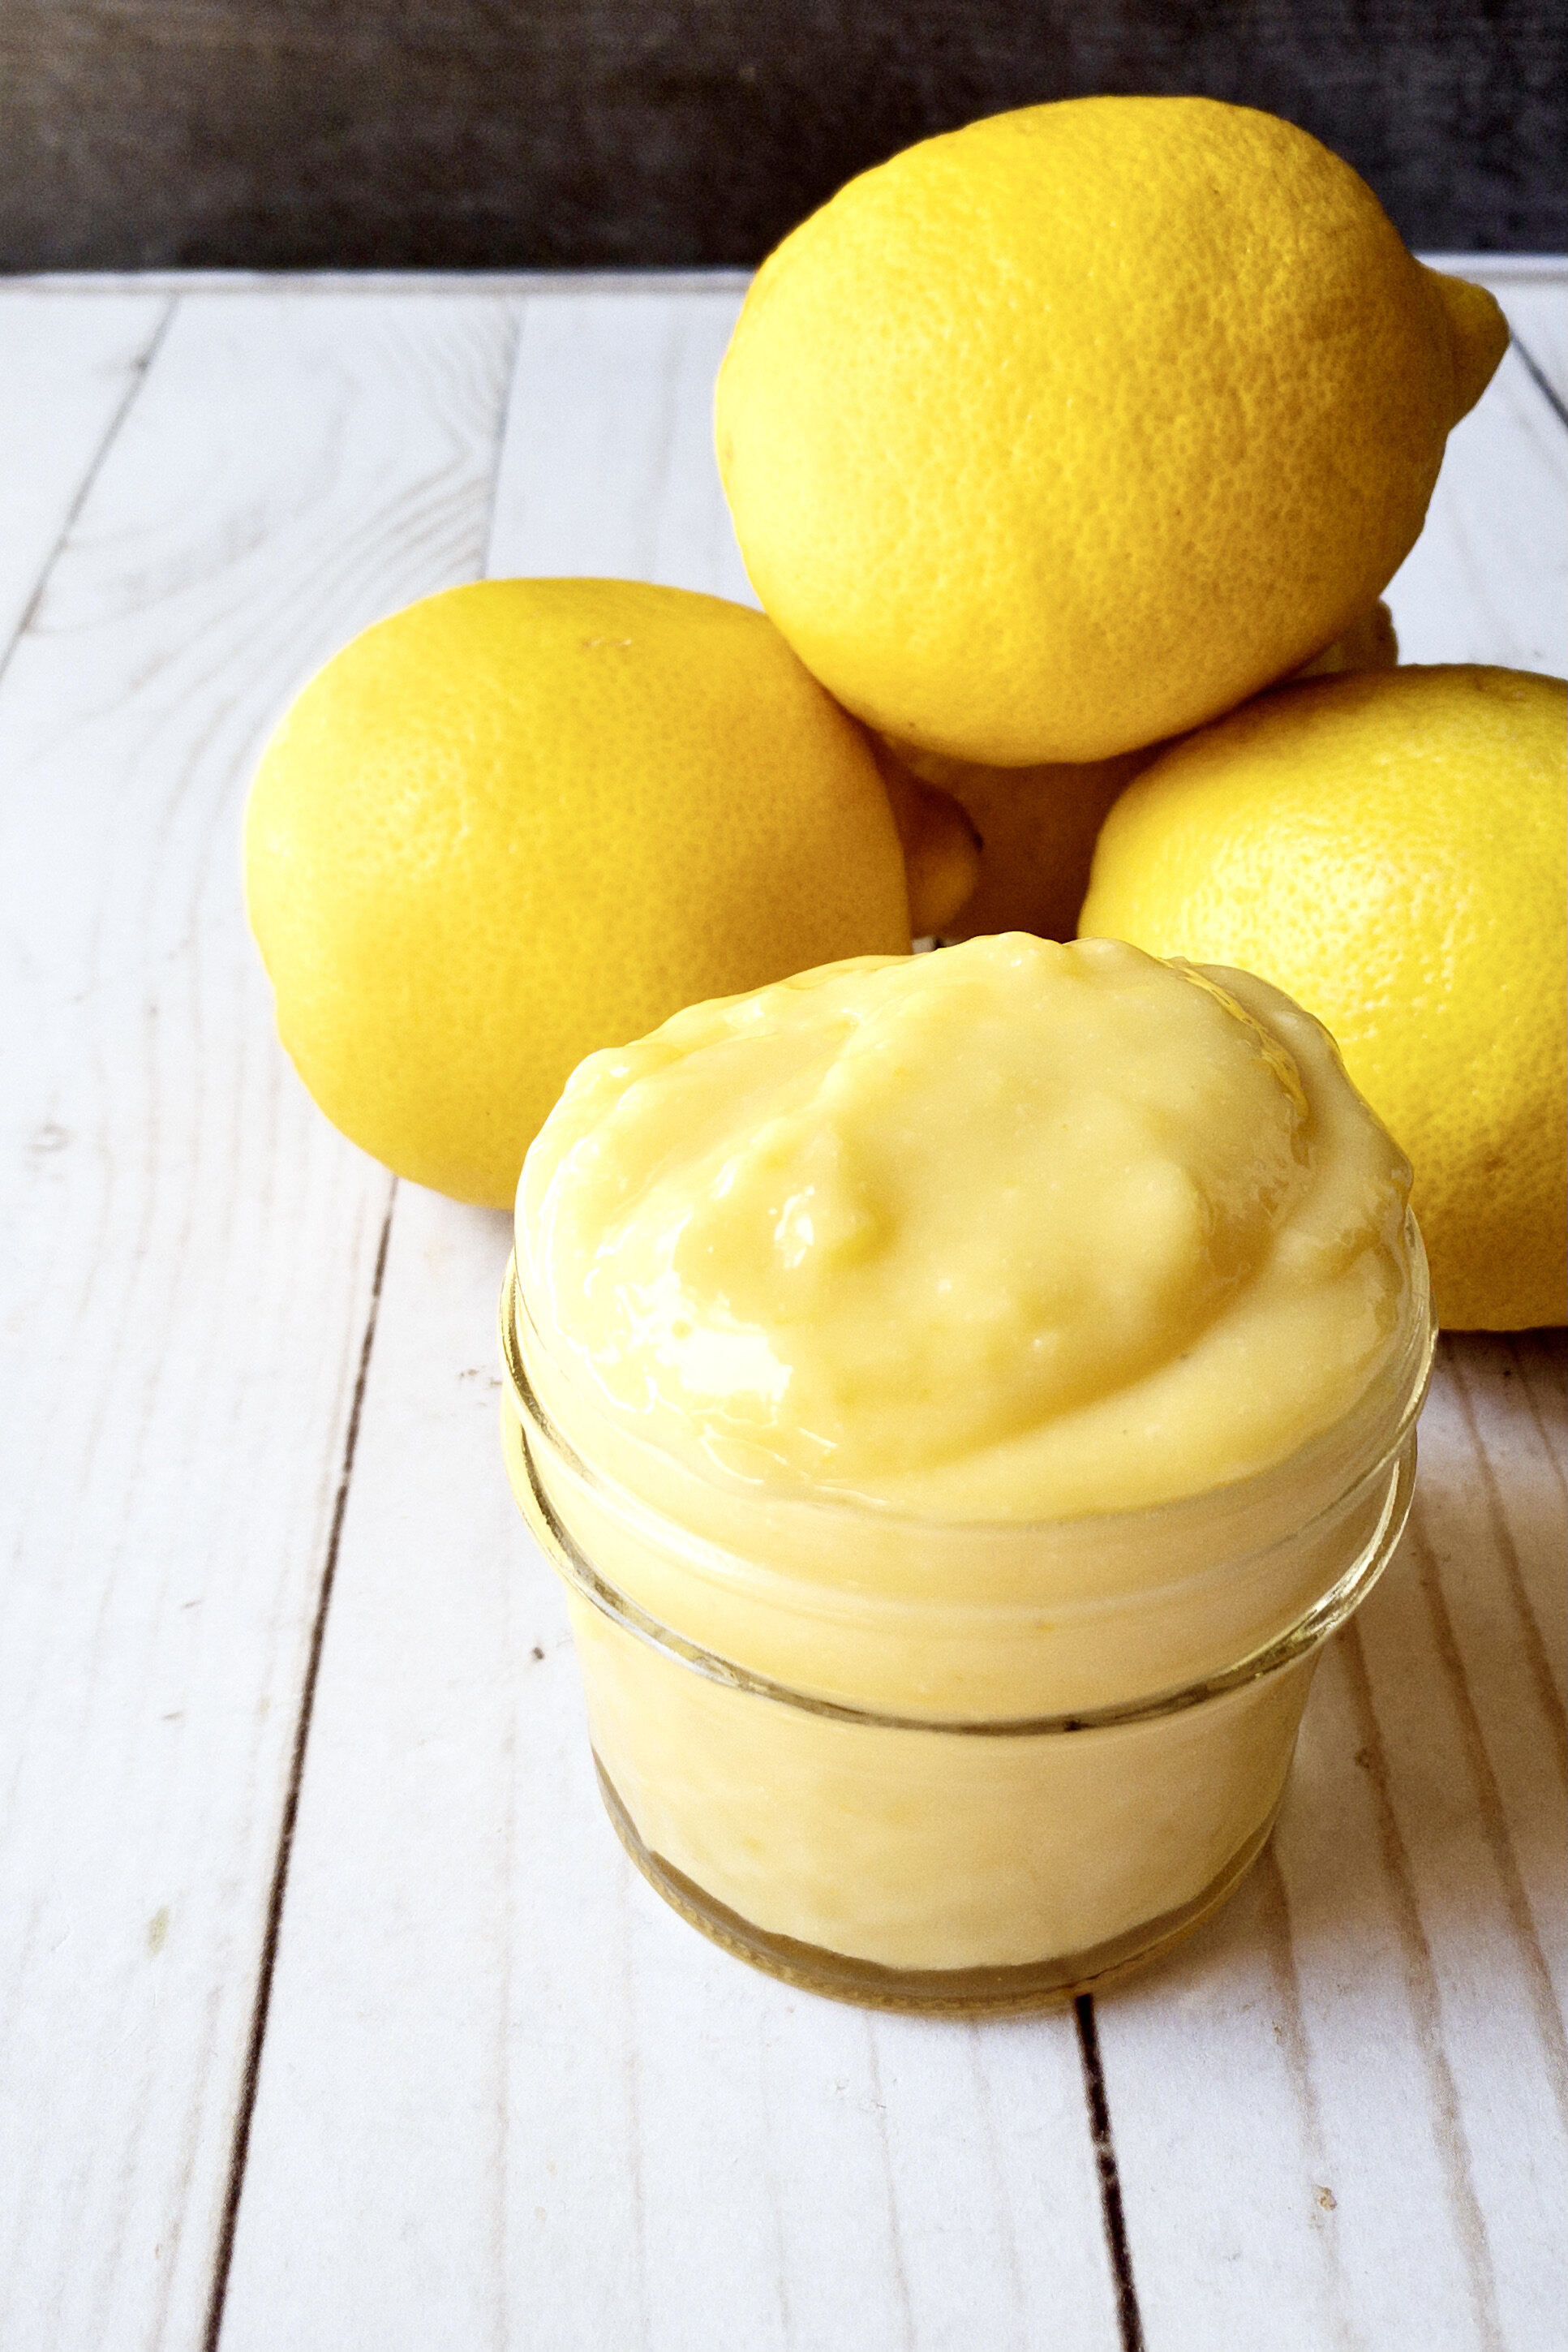
Tart & Creamy Lemon Curd
Lemon curd that is both lemony-tart yet smooth and creamy. I walk you through how to make this without going crazy—plus you’ll have plenty to savor for a long time! This is the perfect filling for a pie or tart and is a MUST for scones!

The story
Guys, I’m back at school and SO tired. I haven’t even done anything yet. I’m Zooming into a meeting from my classroom. We had a short department meeting yesterday to troubleshoot various Zoom features (since we’ll be starting with distance learning). And yet I’m exhausted. Is this what normal life was like? Paying attention to one thing for hours on end? How did I do this all the time back in my old life?!?!

Joking aside, I hope I get back in a groove, because I know my sense of calm, control, and confidence set the tone for my classes. I’m determined to own this year despite how weird it will inevitably be!

Tart & Creamy Lemon Curd
This recipe is one of my favorites. There’s something so refreshing and cheery about lemon curd. Plus, I married a Greek. If you know Greeks, you know they love lemons. In fact, at our wedding, we had a lemon layer on our four tiered cake. Our baker convinced us to make lemon the smallest layer because “it’s not that popular.” He don’t know Greeks. Greeks like lemon. A lot.
Lemon was the first flavor gone and I never got a piece. 😩

Anyway, I fell in love with lemon curd while having tea in Stratford upon Avon when I was 17. I never knew I was a scone girl until I discovered the world of clotted cream, lemon curd, and jam. I could eat scones all day long, piling on all three toppings then trying each one individually then starting all over. If you think I’m crazy, you should try this lemon curd on a scone and you will understand.
Or, just eat it with a spoon.

Types of lemon curd
There are various ways to make lemon curd. My favorite store brand uses pectin to thicken it, but that’s not something I keep on hand. You can use gelatin, but that will yield more of a jelly texture (hence, the gel in gelatin). And some recipes just let the eggs thicken it, but I’ve never found a ratio I liked that yielded the right thickness, lemon-ness, and creaminess. Plus, I like that
I like to use cornstarch, since you can control the thickness better. It thickens as it cooks, so you don’t have to guess how thick it’ll be in the end. This technically is how lemon meringue pie filling is made, but I’ve found I like it as a plain curd as well.

I also use a lot more lemon than most people and I only strain the zest if really necessary. It’s what makes it nice and lemony-tart, while the eggs and butter give structure and creaminess.

Uses for lemon curd
Aside from eating it straight from the jar (no shame if you do), you can do so much with lemon curd. Channel your inner Brit and have tea and scones. Some other ideas are:
Folded into whipped cream for lemon mousse
Spread on a crepe with some berries and whipped cream
Use on pancakes as a fresh, summery alternative to maple syrup
Use as a poke cake filling (pour over cake immediately after stirring in butter)
Fill a vanilla cake or cupcakes with it (and top with berries!)

How to make lemon curd
There’s genuinely no reason to be scared of making your own lemon curd. Just be prepared to whisk constantly, don’t turn the heat too high, and remove from heat for a moment if it’s cooking too fast. Start by getting everything ready.

Whisk the egg yolks in a medium bowl (save the whites for a healthy omelette so you can justify having it with a side of scone and lemon curd 😉).

Whisk the cornstarch and 1/2 cup water (only 1/2 cup, even if you’re replacing some of the lemon juice with water—that goes in later). Once smooth, add sugar, lemon juice, lemon zest, and salt. Cook over medium heat until thickened. Watch carefully and adjust heat or remove from heat if it’s cooking faster than you can keep up with.

Temper eggs by slowly streaming half of the hot liquid into the yolks, whisking constantly. Pour all of it back into the saucepan and continue cooking until it bubbles, then cook another 1-2 minutes to help it thicken. Remove from heat and whisk in butter until smooth. You can strain it through a fine mesh sieve if you’d like, but I only do this if I notice bits of scrambled egg. I don’t mind the lemon zest bits.
Store in a jar or use to fill your favorite lemon pie or cake!

Tips for this recipe
Adjust lemon juice to your liking
The recipe calls for 2 cups total liquid. You can adjust how much of that is lemon juice versus water, just be sure to end up with a total of 2 cups so you don’t have a runny curd.

Increase sugar to taste
To keep this lemony-tart, I chose to do a little less sugar than others might use. I was also planning to use this as cake and pie filling, so I wanted to let the lemon pop and had other sweet elements to balance that. If you want this as a straight curd to go on something less sweet like toast, then you can increase the sugar to 1 cup.

Watch carefully
This recipe requires your attention, but it’s not hard to make and doesn’t require chef-level skill. If you notice, I have very few process photos, because it’s impossible to stop whisking a thickening curd so I can run to the living room and take a photo. And yes, that’s where I take photos. Because the lighting is terrible in our kitchen.


Tart & Creamy Lemon Curd
- prep time: 5 minutes
- cook time: 10 minutes
- total time: 15 minutes (plus chilling time, as needed)
Yields: about 2 cups
Ingredients:
- 6 egg yolks
- ¼ cup cornstarch (increase to ⅓ if using as a pie filling)
- ½ cup water
- ¾ cup sugar
- 1 ½ cups fresh lemon juice, about 6-8 lemons (see note)
- 1-2 tablespoons lemon zest, to taste
- ¼ teaspoon sea salt
- 2 tablespoons unsalted butter
Instructions:
- Whisk the egg yolks in a medium, heatproof bowl until slightly frothy and set aside.
- In a medium saucepan, whisk cornstarch and ½ cup water until smooth. Add in sugar, lemon juice (or 1 ½ cups lemon juice and water, so you now have 2 cups total liquid), lemon zest, and salt and whisk. Cook over medium heat for 3-5 minutes, whisking constantly and getting all the way to the corners and sides.
- Once thickened (a little thicker than you want the finished product--it thins out as you add the eggs and butter), begin to pour a tiny amount into the egg yolks, whisking the yolks quickly and constantly. After you’ve added about half the hot liquid or so, whisk for about 30 seconds then add all of the egg mixture back to the saucepan and cook until it begins to bubble (you’ll want to stop whisking from time to time to check for bubbles). Cook, whisking constantly, another 1-2 minutes.
- Remove from heat and whisk in butter until smooth. Pour into a clean jar, pie or tart crust, or clean bowl if you need it to cool before using for something else. If using the last option, place a piece of plastic wrap directly on the surface of the curd to prevent a film.
Enjoy! Store in the fridge. Leftovers will last in a jar in the fridge for 1-2 months or for 3-5 days as a filling.
