
Graham Cracker Pie/Tart Crust
Quick, simple, versatile pie or tart crust made from just three ingredients likely already in your kitchen. Perfect for any no-bake or baked pie. Never settle for a stale, cracked, crumbling store-bought crust again!

The story
Anyone else struggling to remember how to do my makeup after all these months in quarantine? No? Just me?
I had this wild idea that I’d do my makeup every day on our RV trip. I mean, people would see me and photos would be taken. That merits makeup, right? But the very first day I literally struggled to get my most basic makeup routine to look right. I’ve been rocking this routine for several years now. Why did it take just a few months for that muscle memory to die???
Oh well, luckily the just tinted sunscreen and mascara look works in campgrounds. Plus, this whole #challengeaccepted thing has really had me thinking I need to not just acquiesce to days when I don’t have time for makeup. If I want to model female empowerment for my daughter, I need to embrace and celebrate the face (and body) God gave me. This face makes my little girl smile and laugh every day. This body carried her and brought her into this world. If I can have such immense respect for all the women in my life, I need to have that same respect for myself.

Graham cracker pie and tart crust
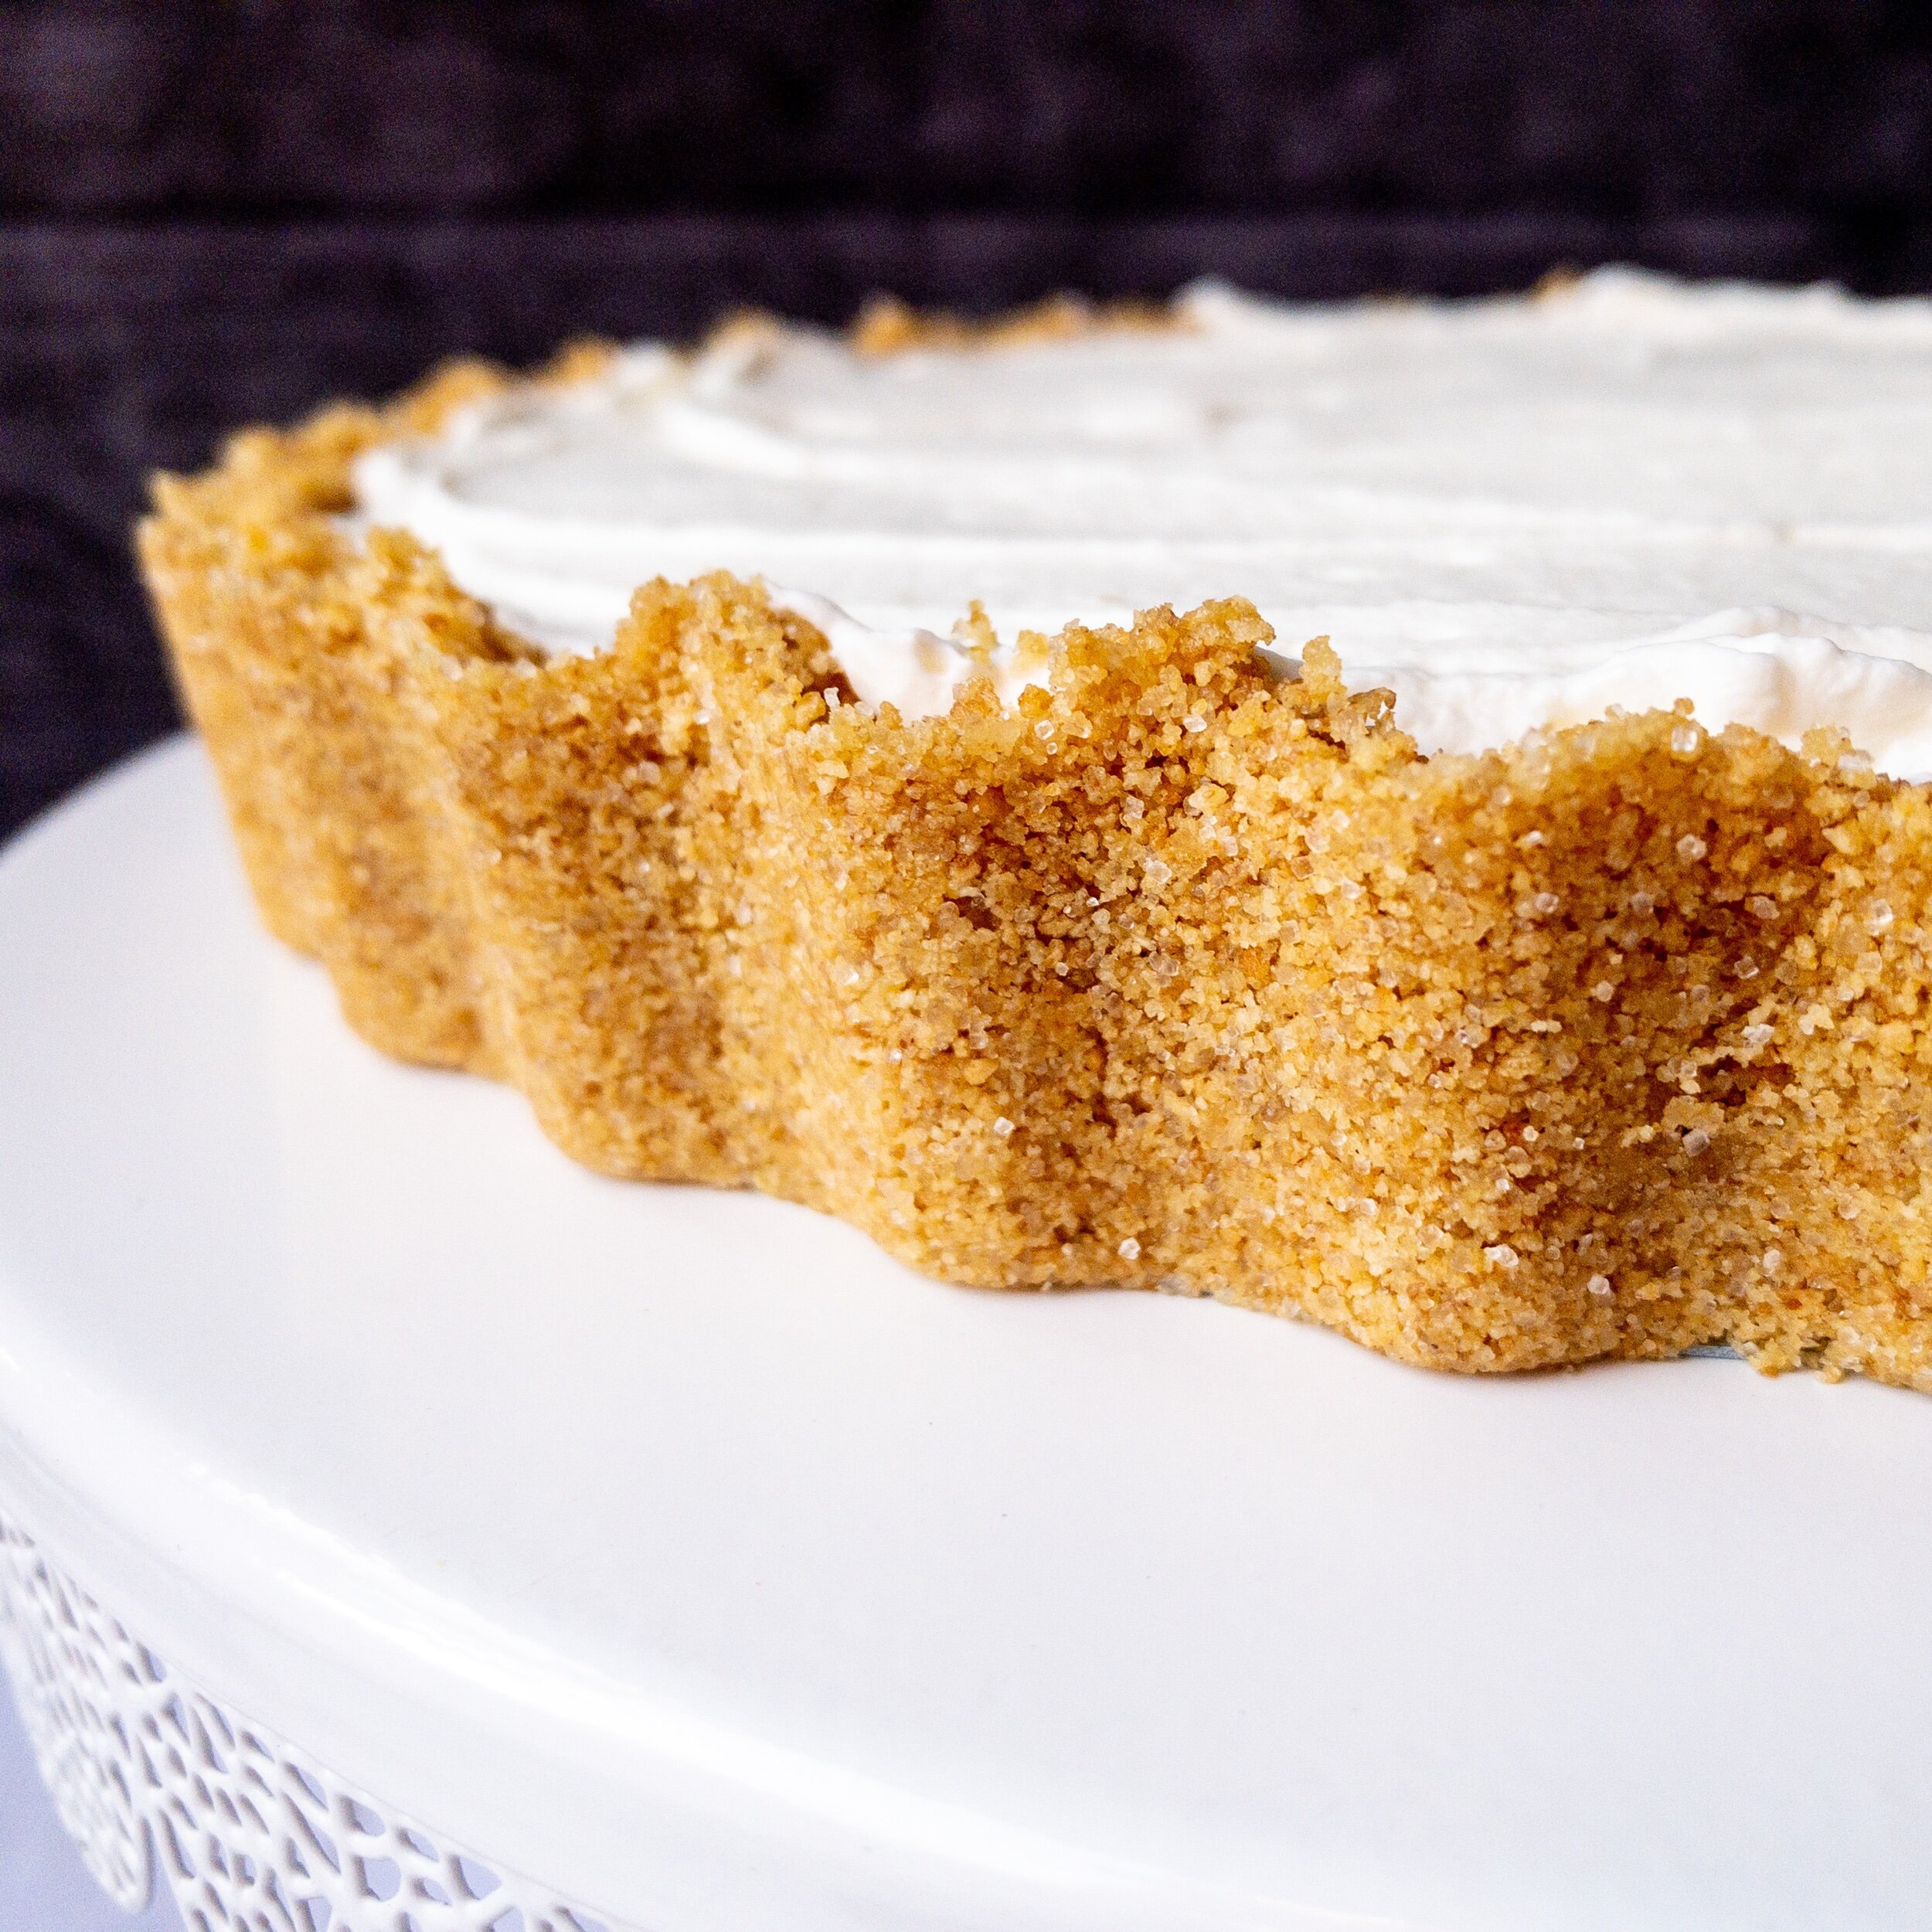
So this crust. It’s one of my favorites. Graham crackers are an essential part of s’mores, and s’mores are tied for my favorite dessert (along with ice cream and chocolate cake).
You can do so much with this crust, and it’s pretty foolproof. And fast. Seriously, why buy a stake crust that’s likely to crack when you can make it so quickly?? You can use it for baked or no-bake desserts. I prefer it for no-bake, because there’s something so yummy about that chilled graham cracker crust taste. But you can bake it, too!
For any baked pie, pre-bake it at 350 for about 5-7 minutes, then fill and bake as directed. This will help the sugar melt and create a solid foundation for your filling. Similarly, if you’re doing a no-bake recipe, be sure to chill it at least an hour (or 30 minutes in the freezer) to help it set before filling it.

How to make this recipe
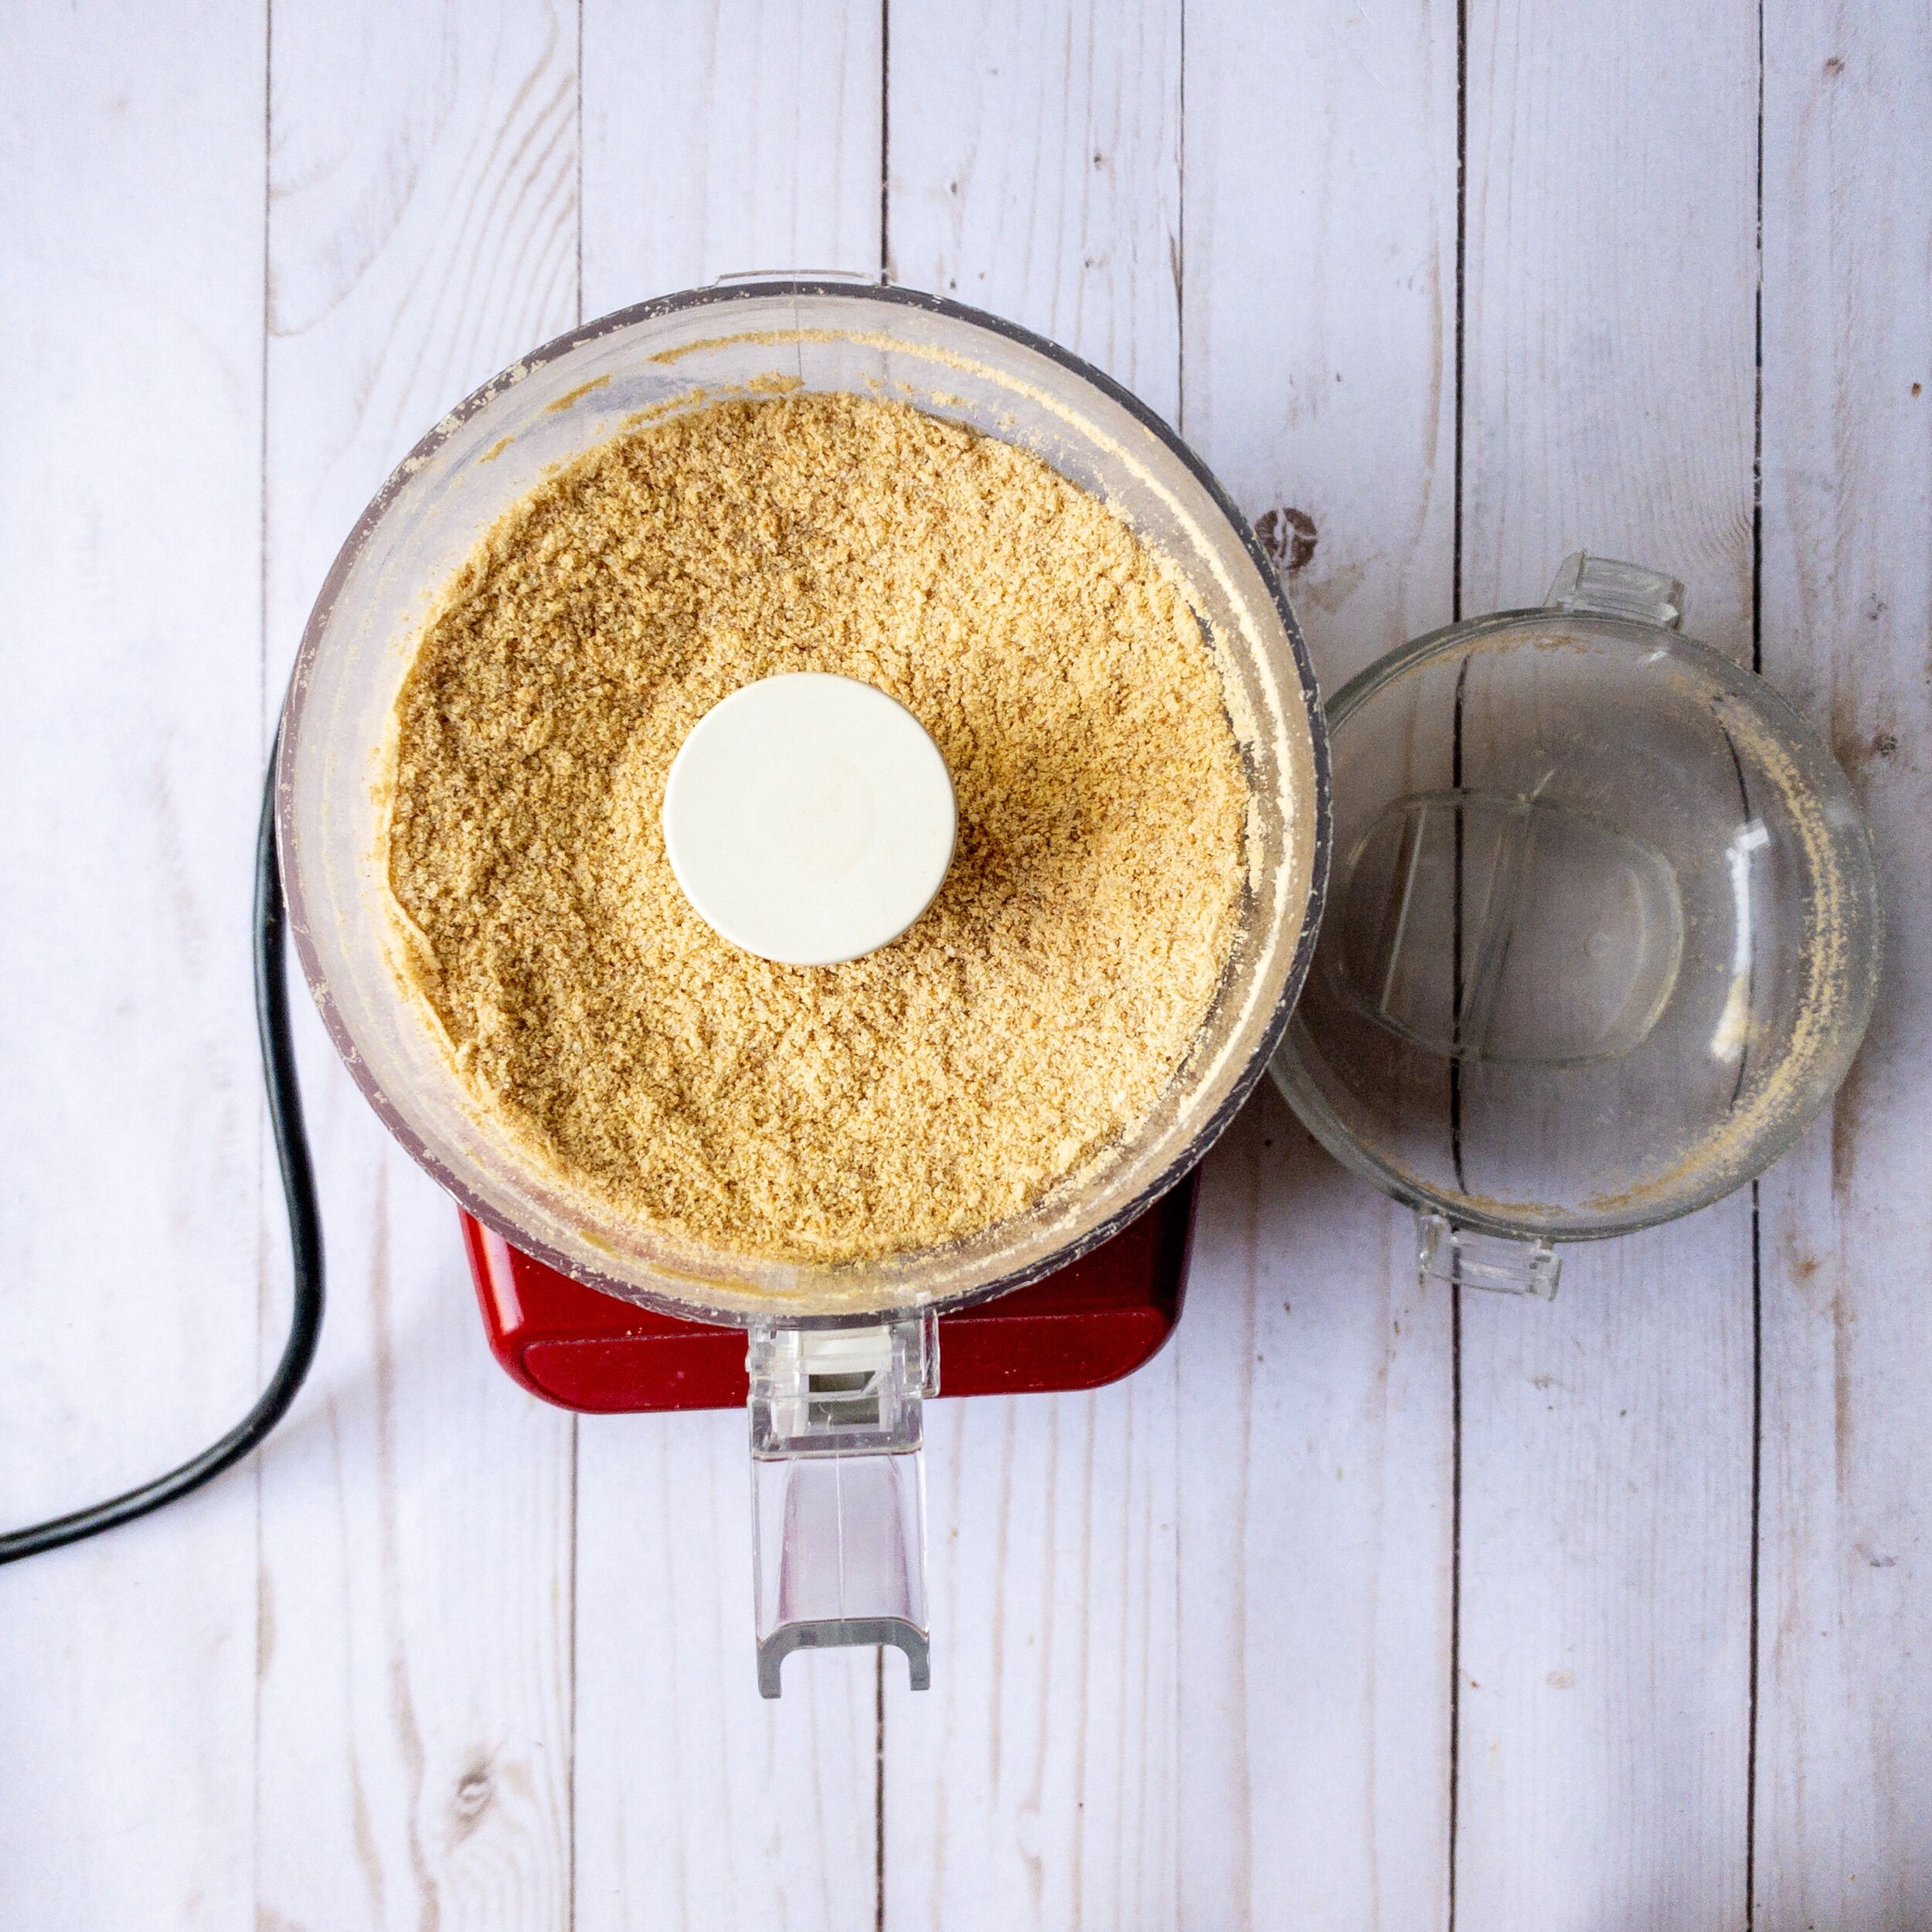
Like my Oreo cookie pie crust, you can make this quickly with three ingredients you probably already have on hand. Just grind about 9 or 10 crackers (see below if you’re making a larger pie or using a deep pan) along with 1/4 cup sugar.

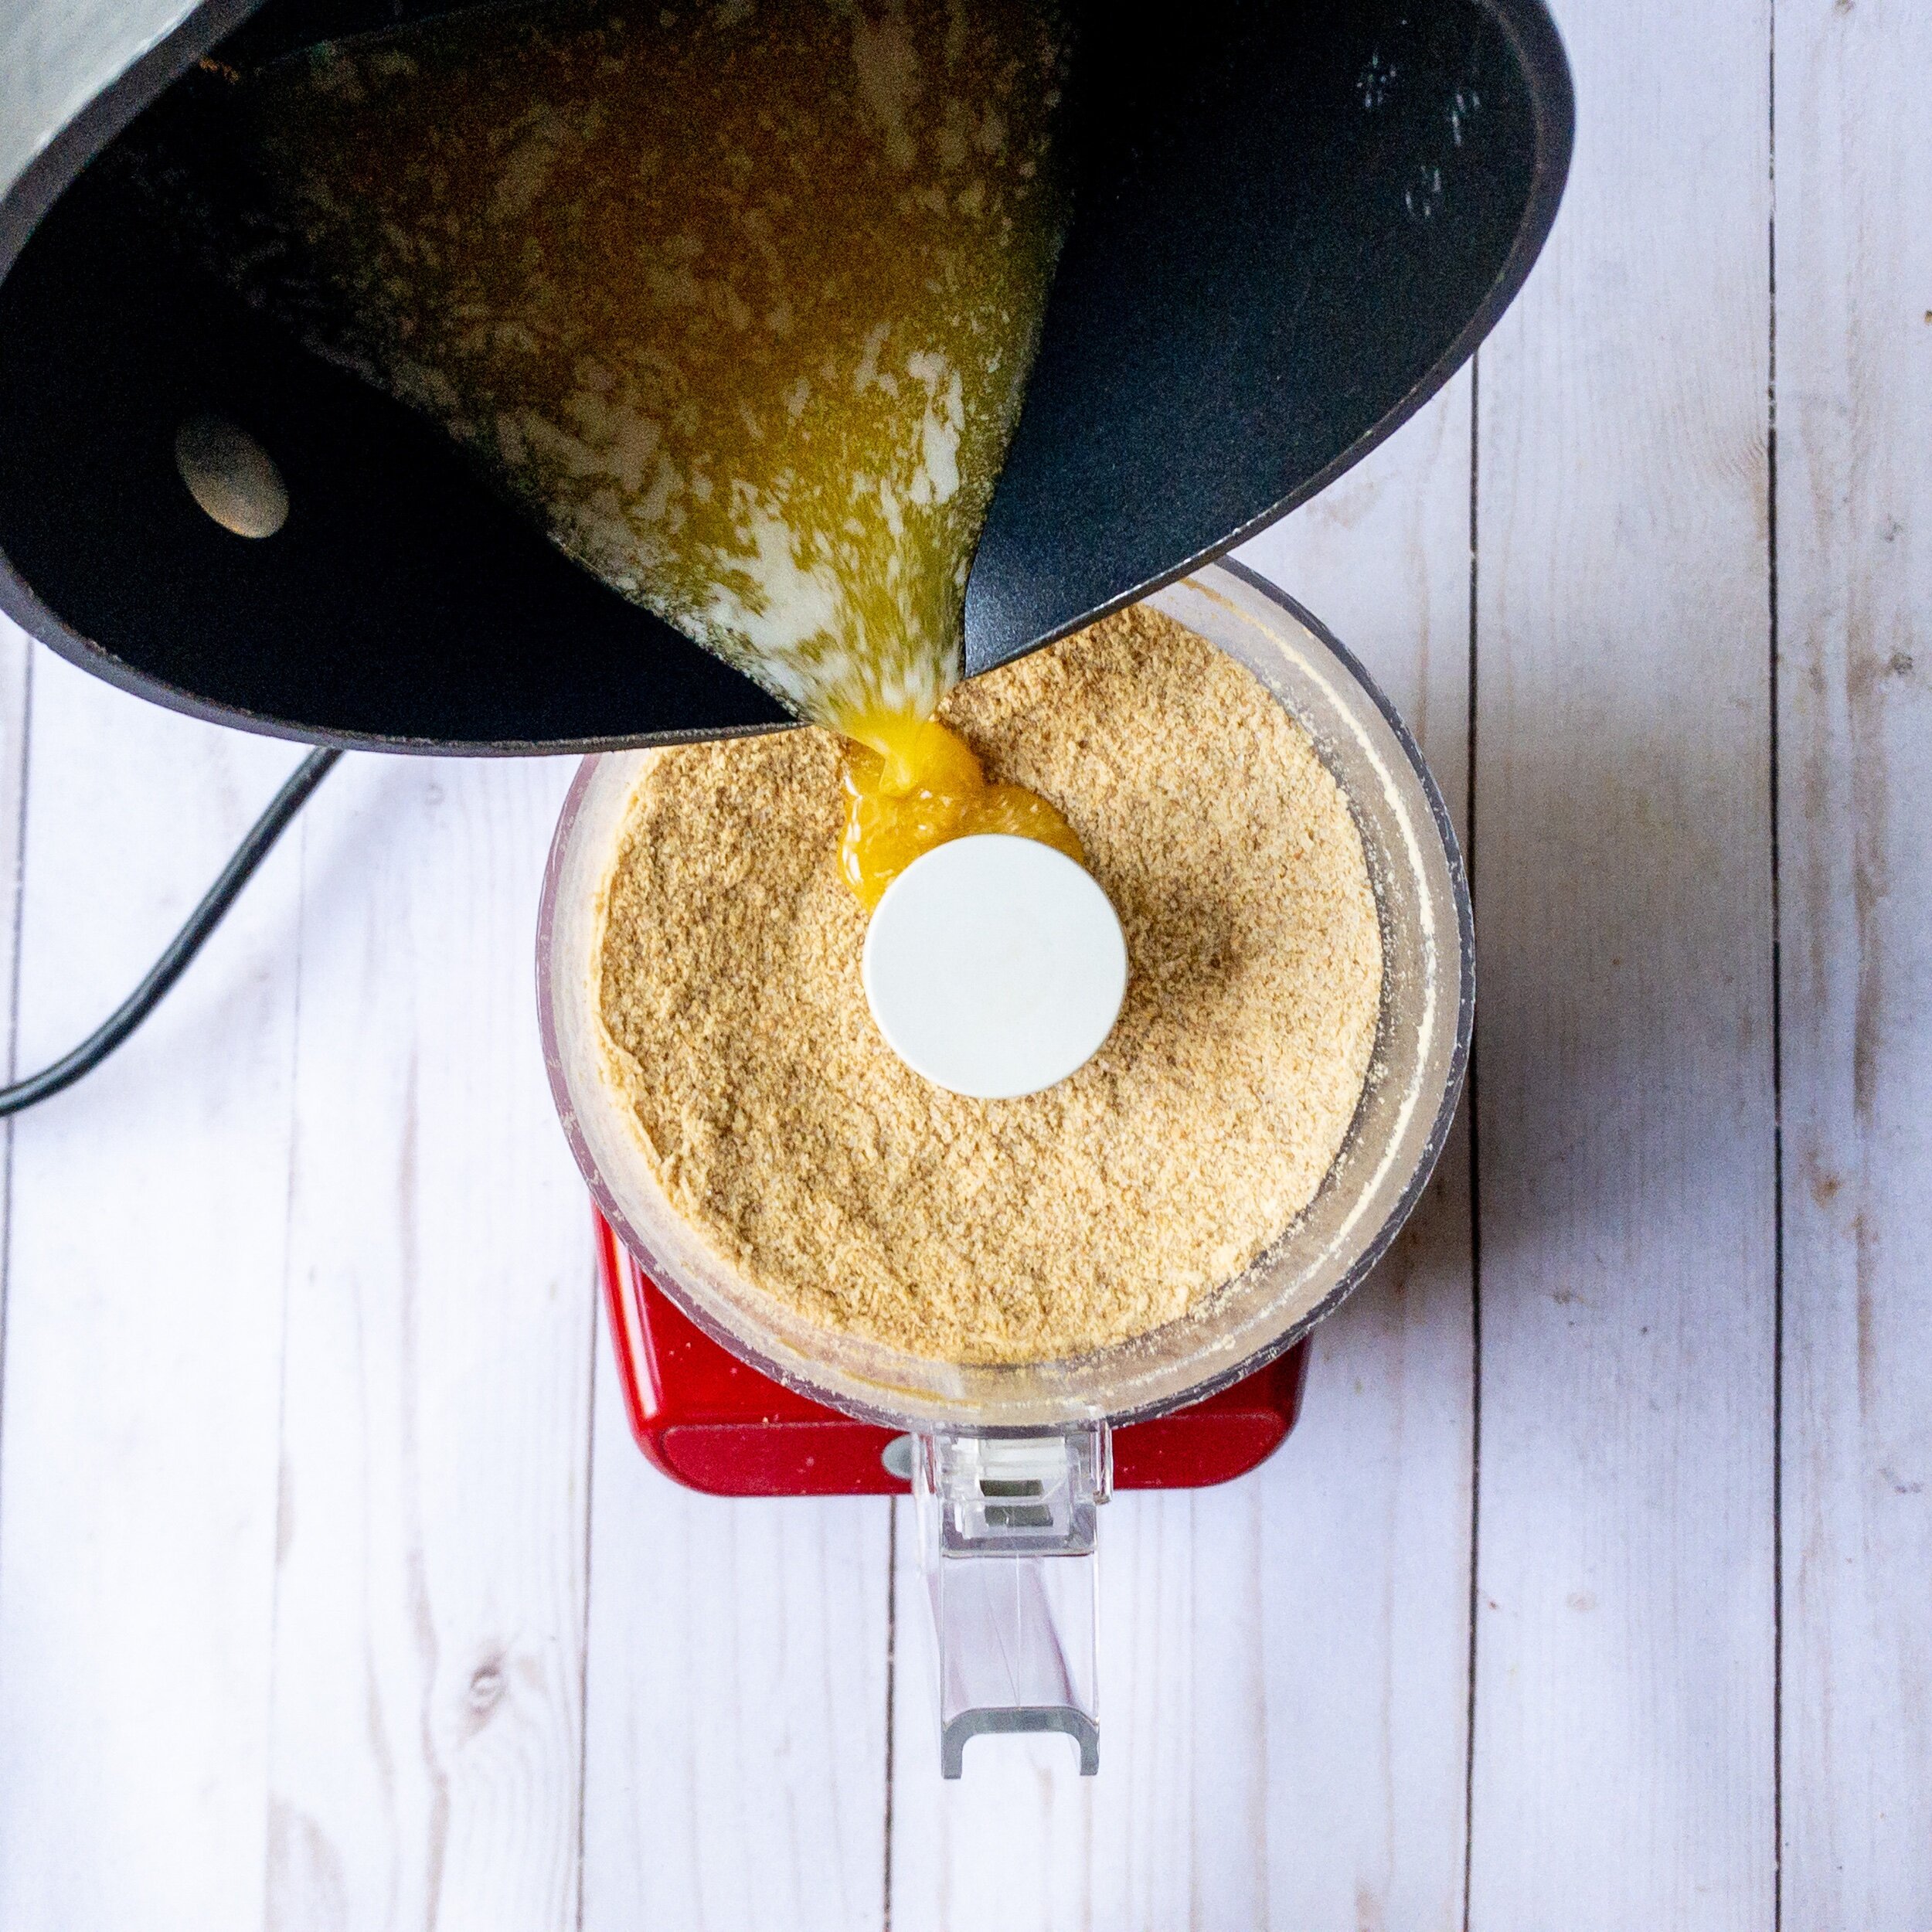
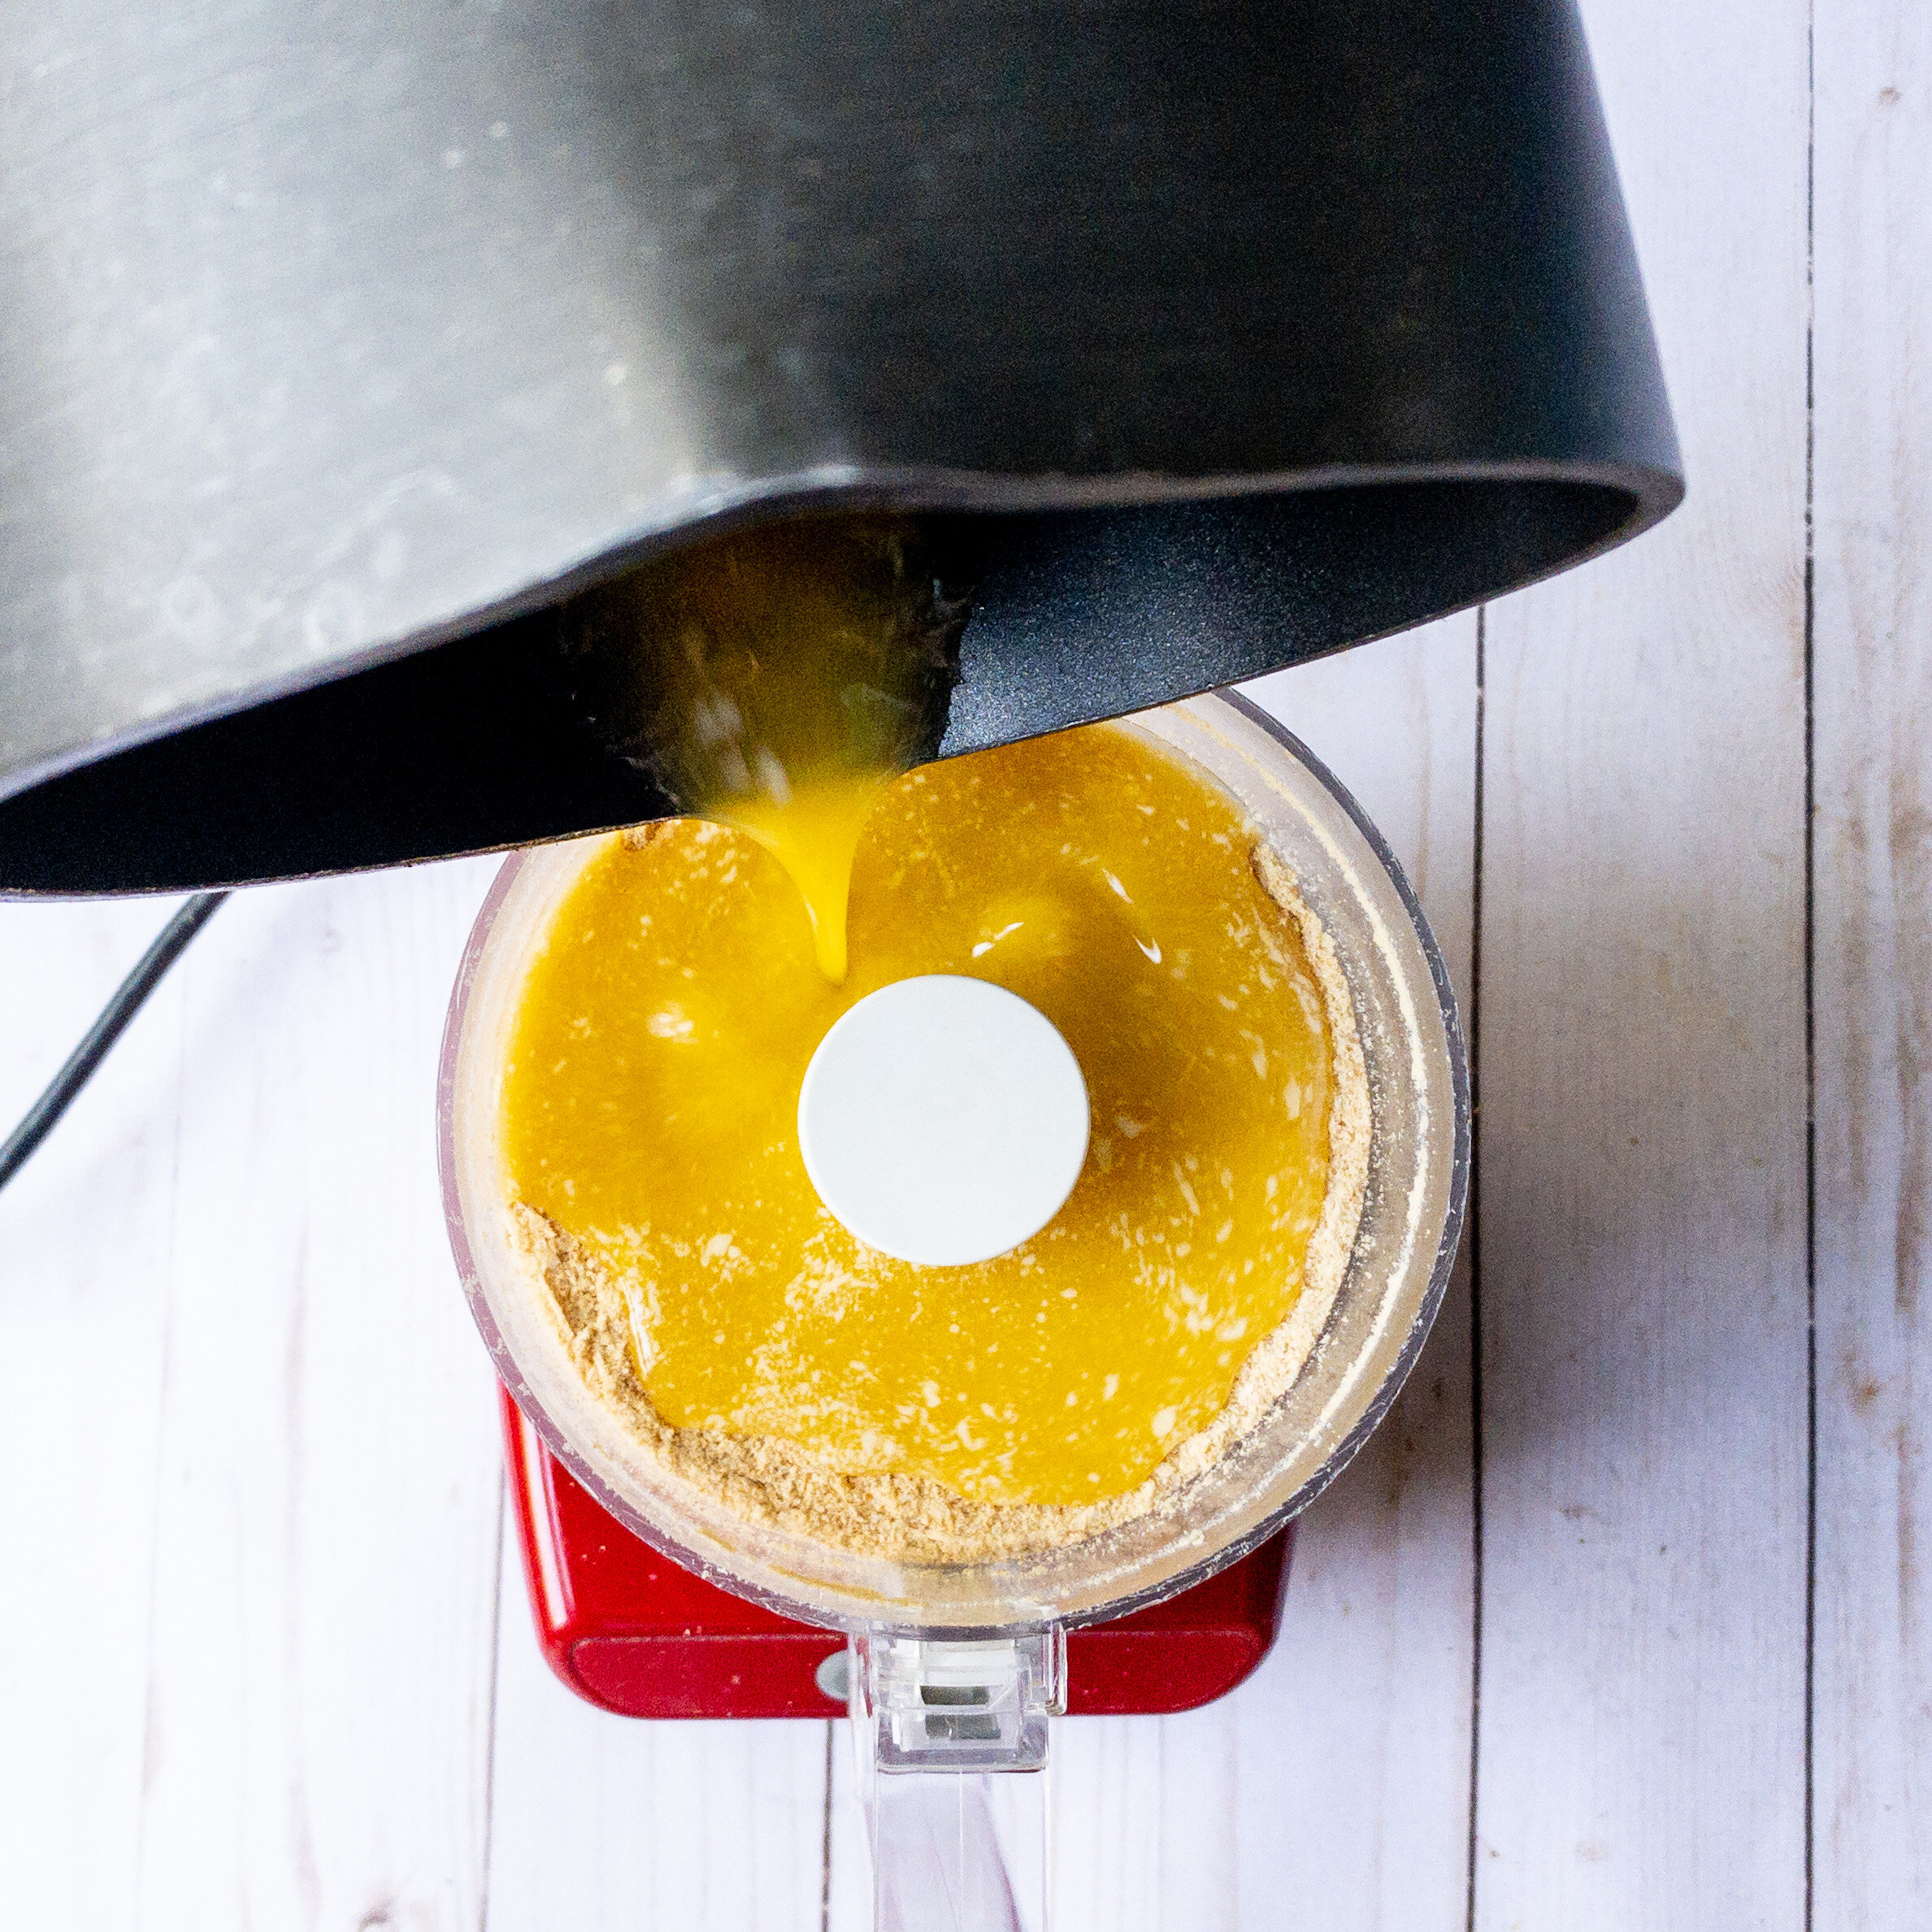
Once it’s finely ground, add melted butter.
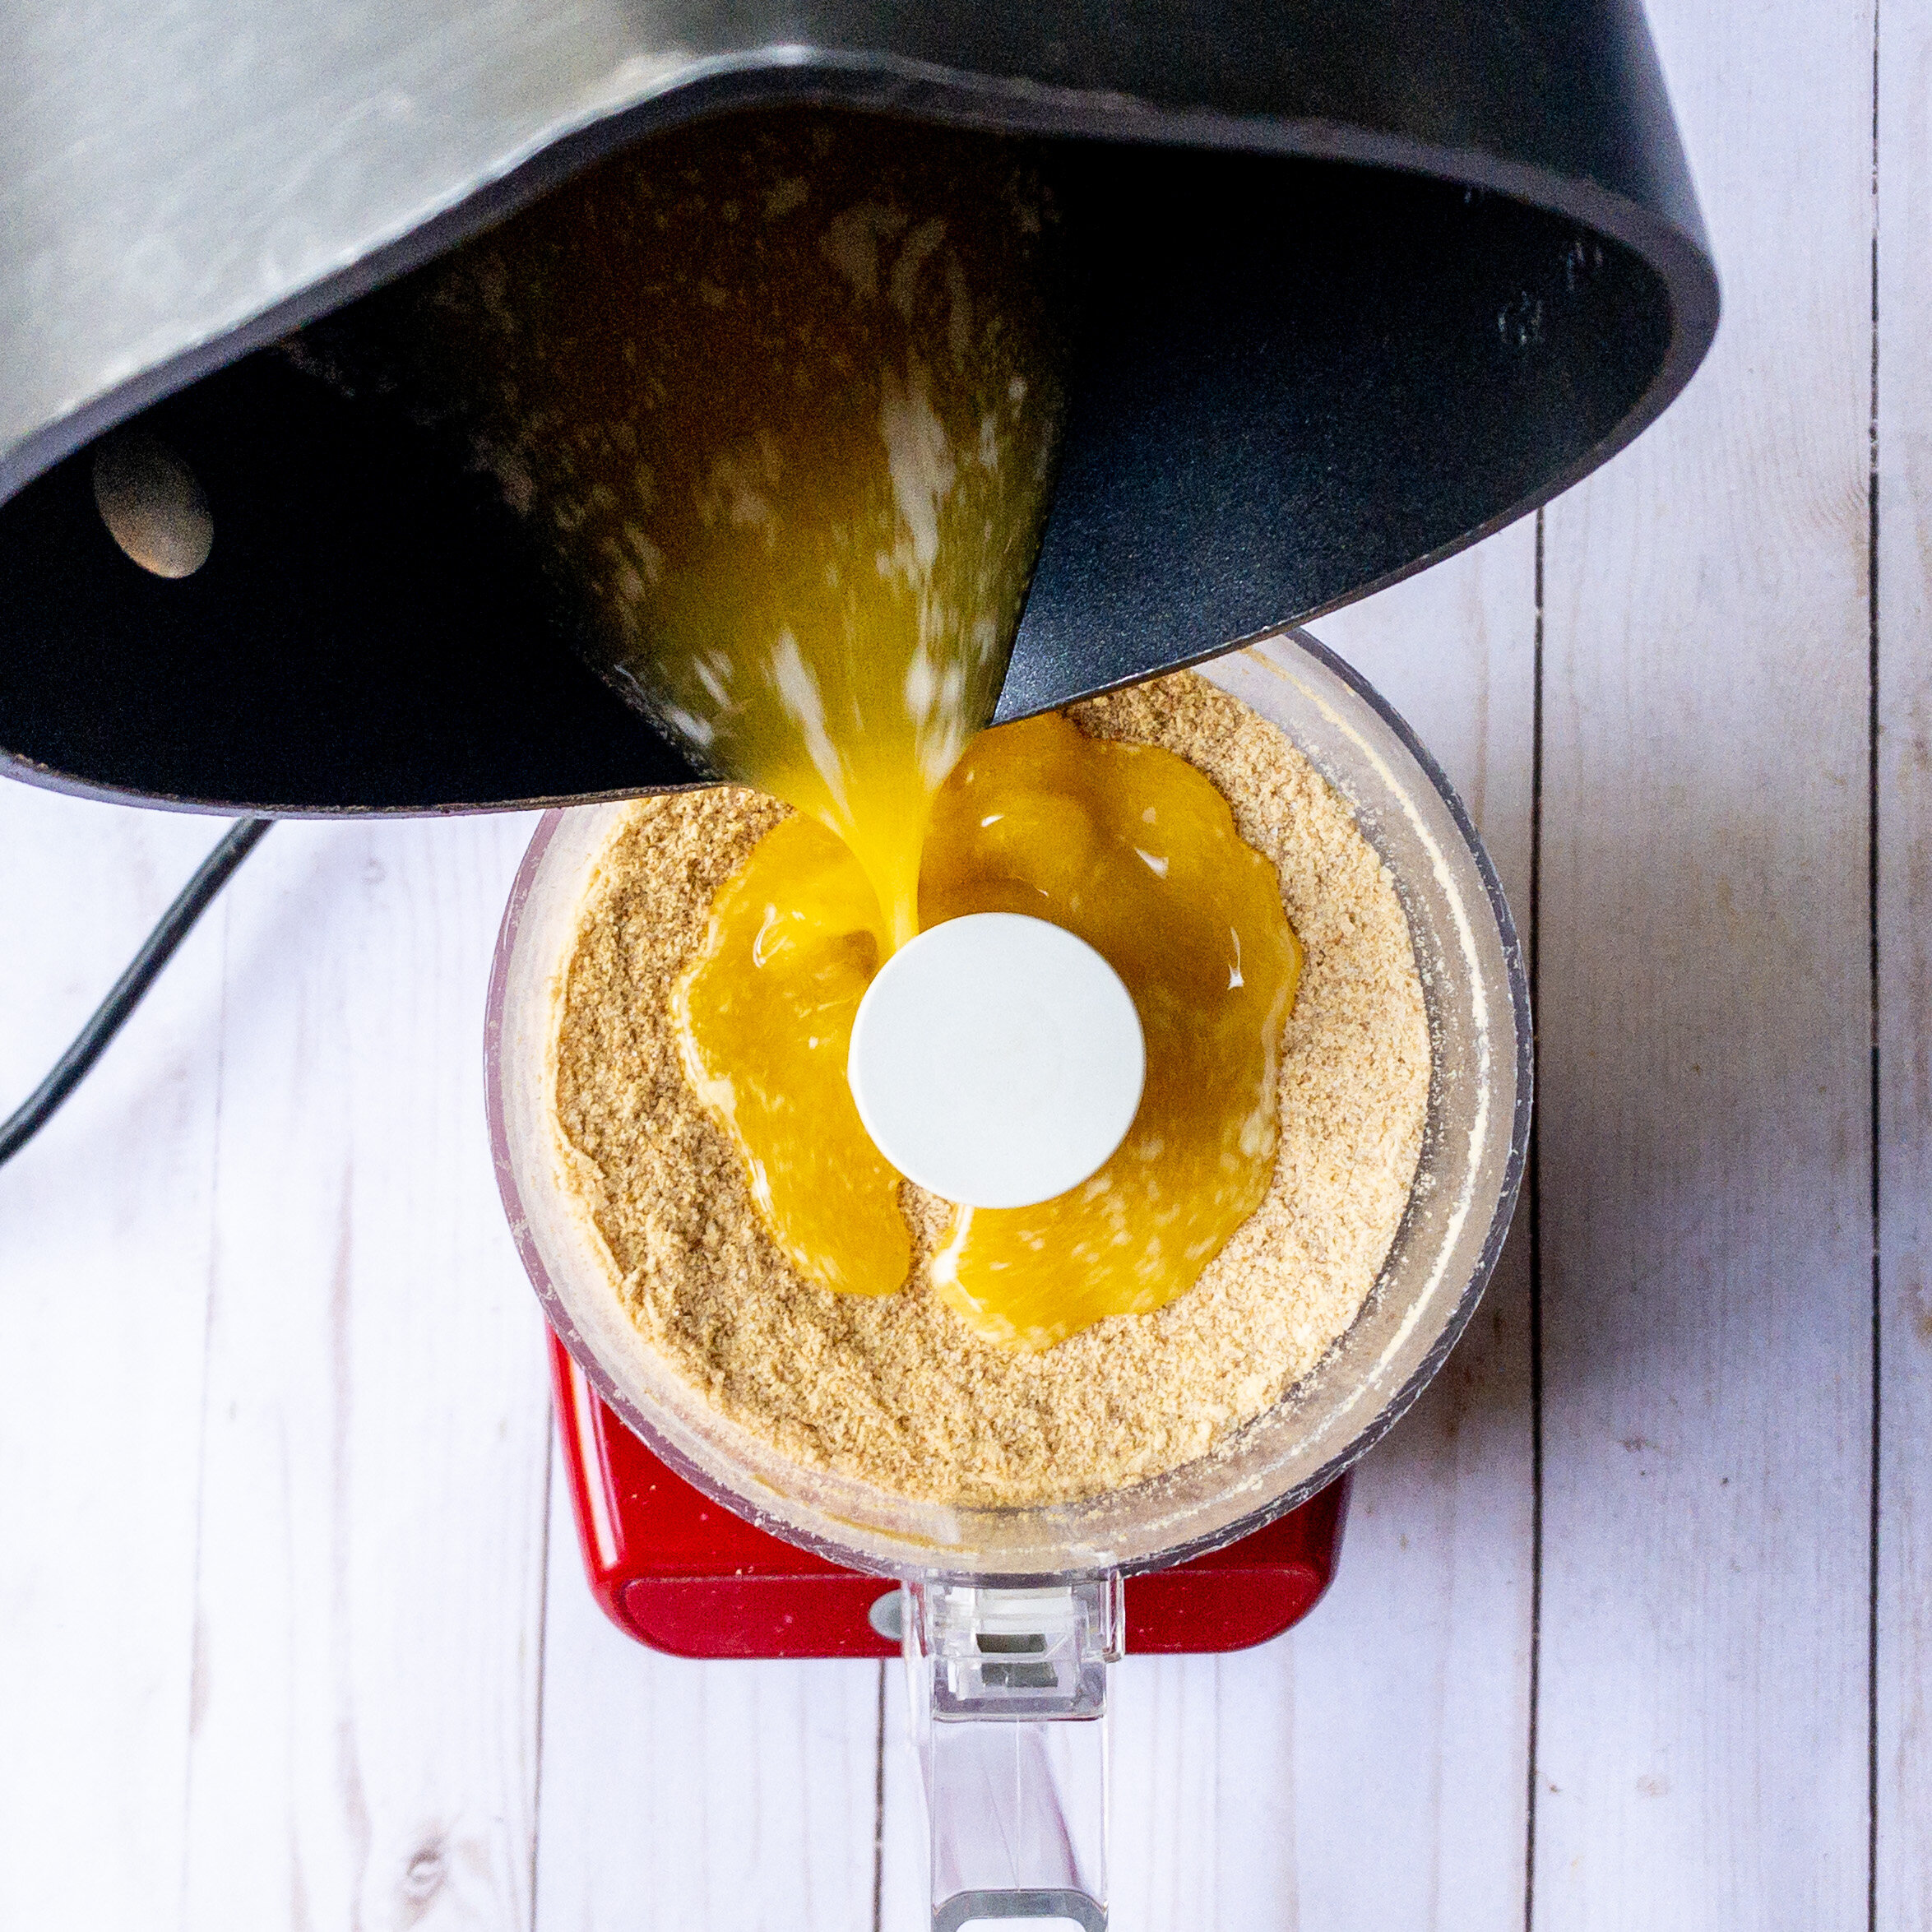
You can pour it all into a bowl and stir it, but I’m lazy. I just pulse it a little more in my processor, stir it around a bit, then pulse a few more times.

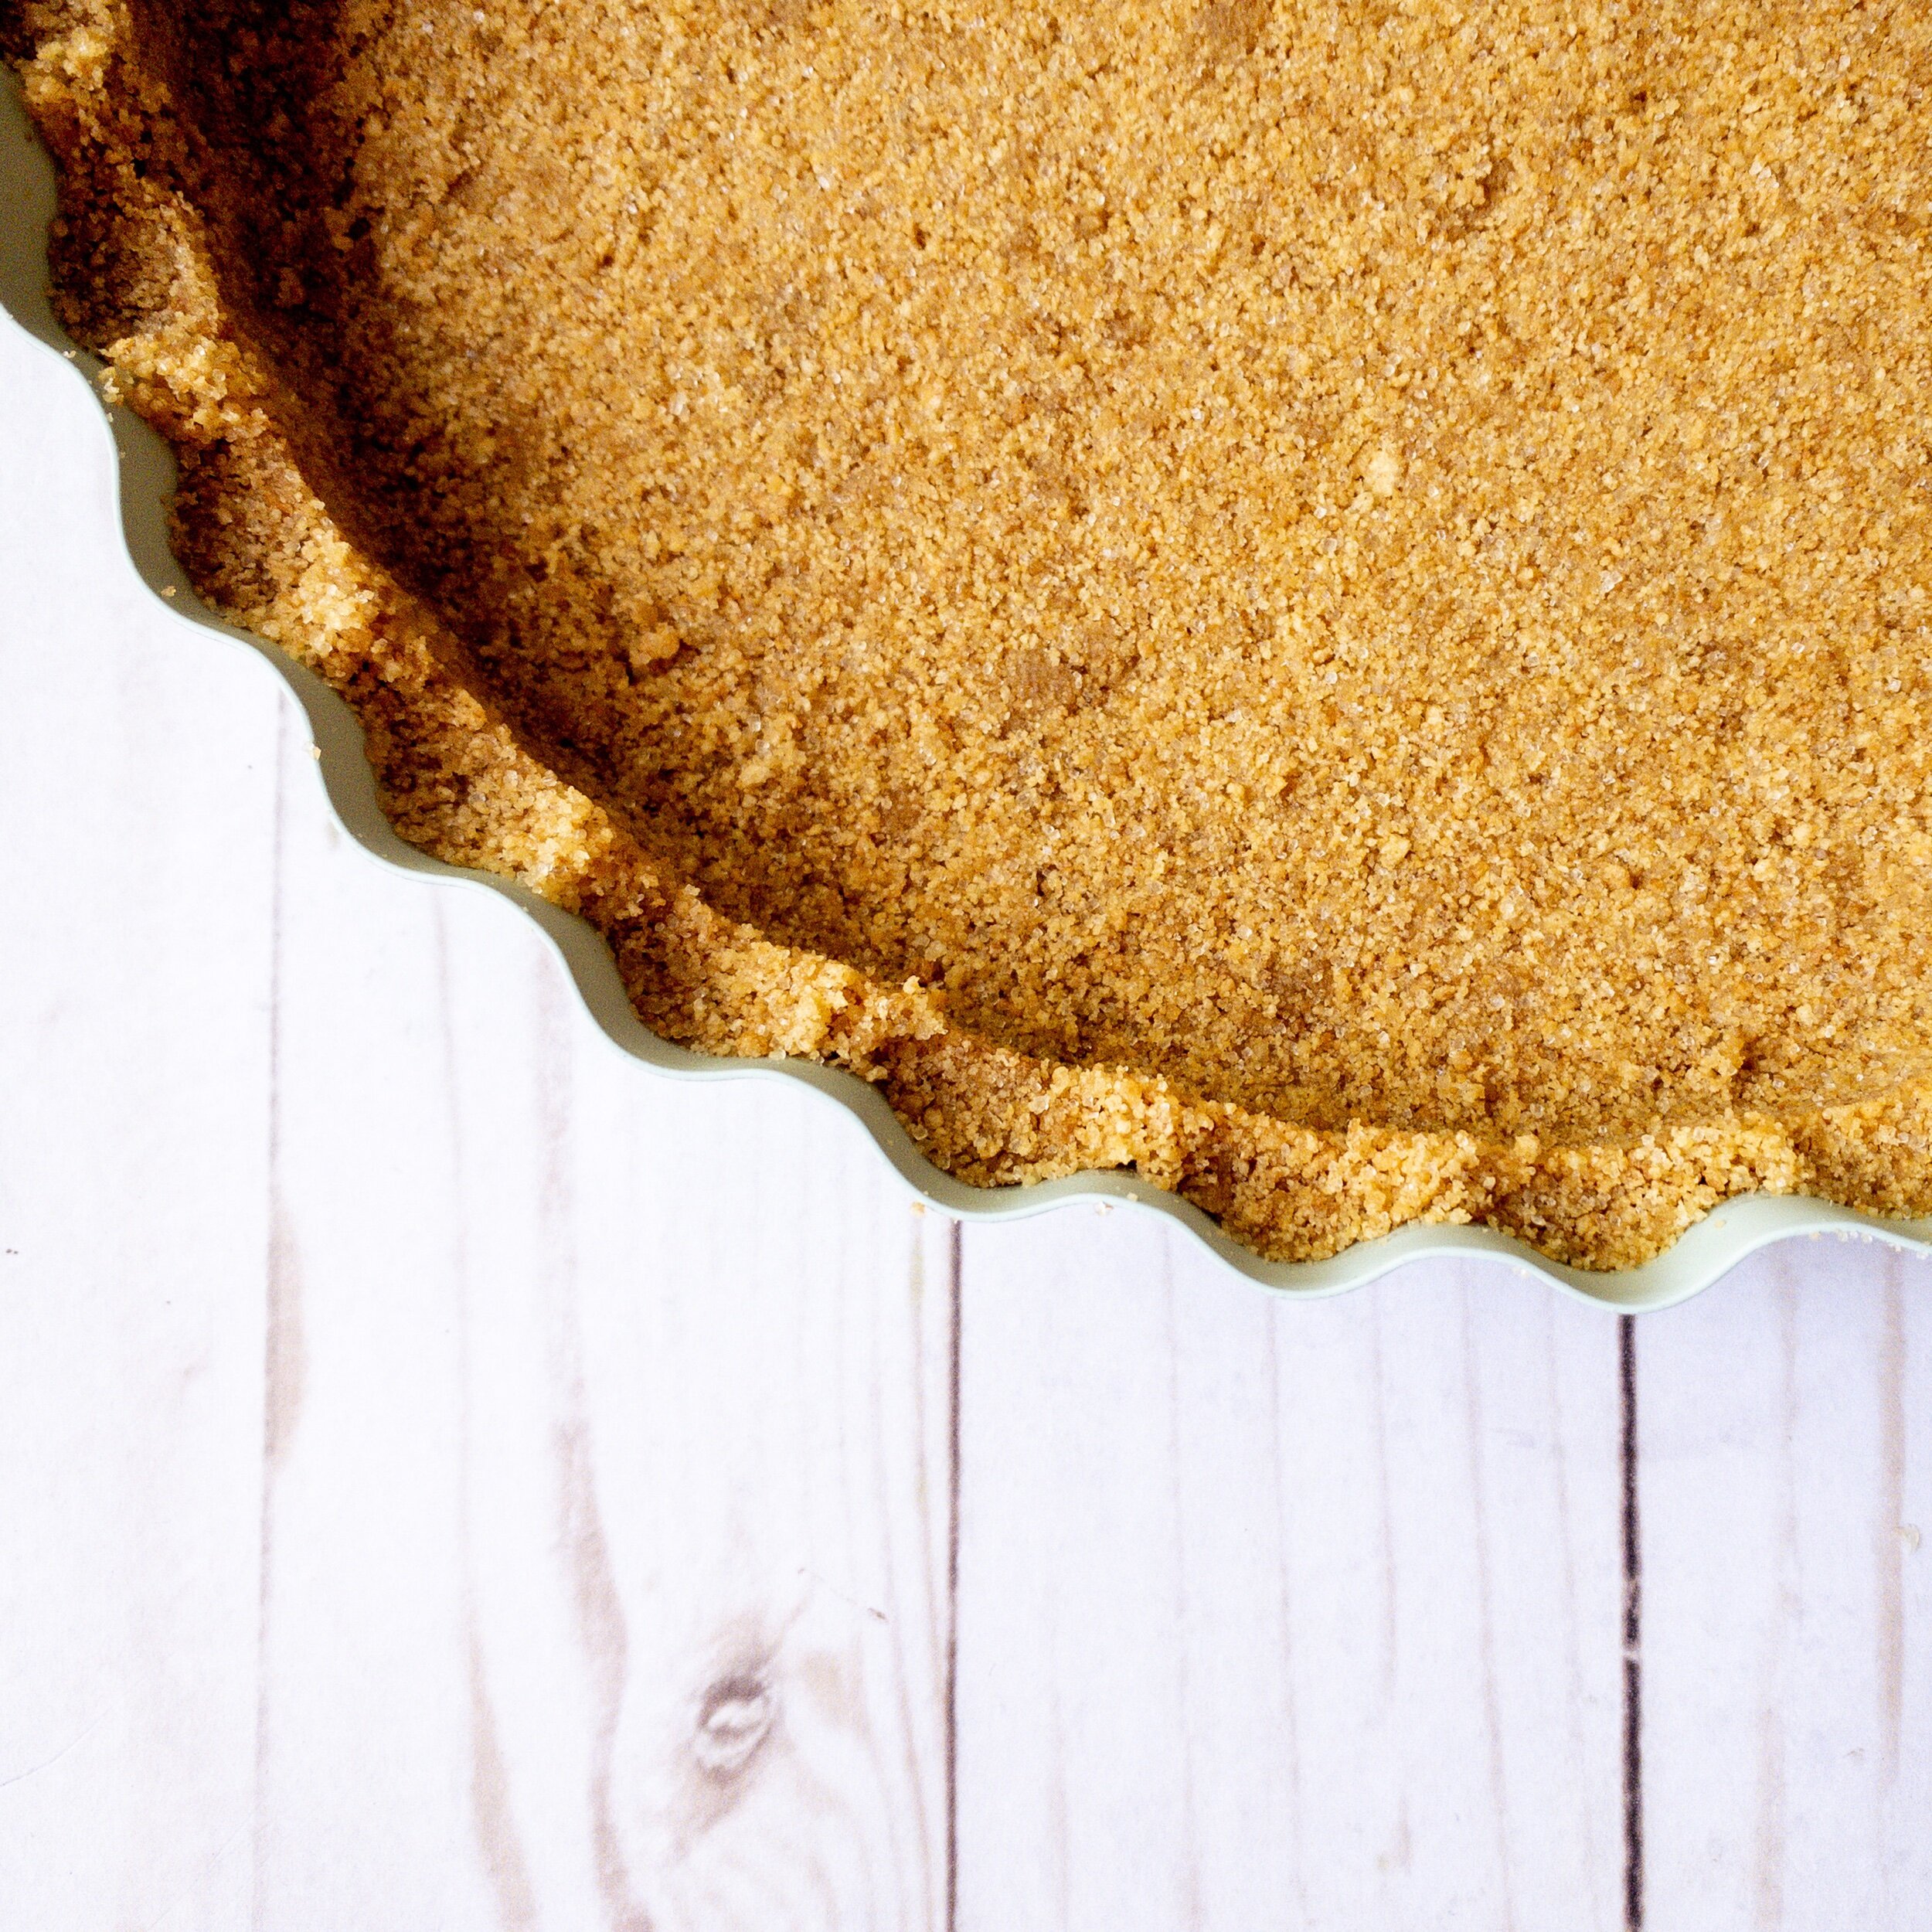
Pour into pie or tart pan and stir a bit for good measure.

Spread it around evenly before you begin pressing it down.

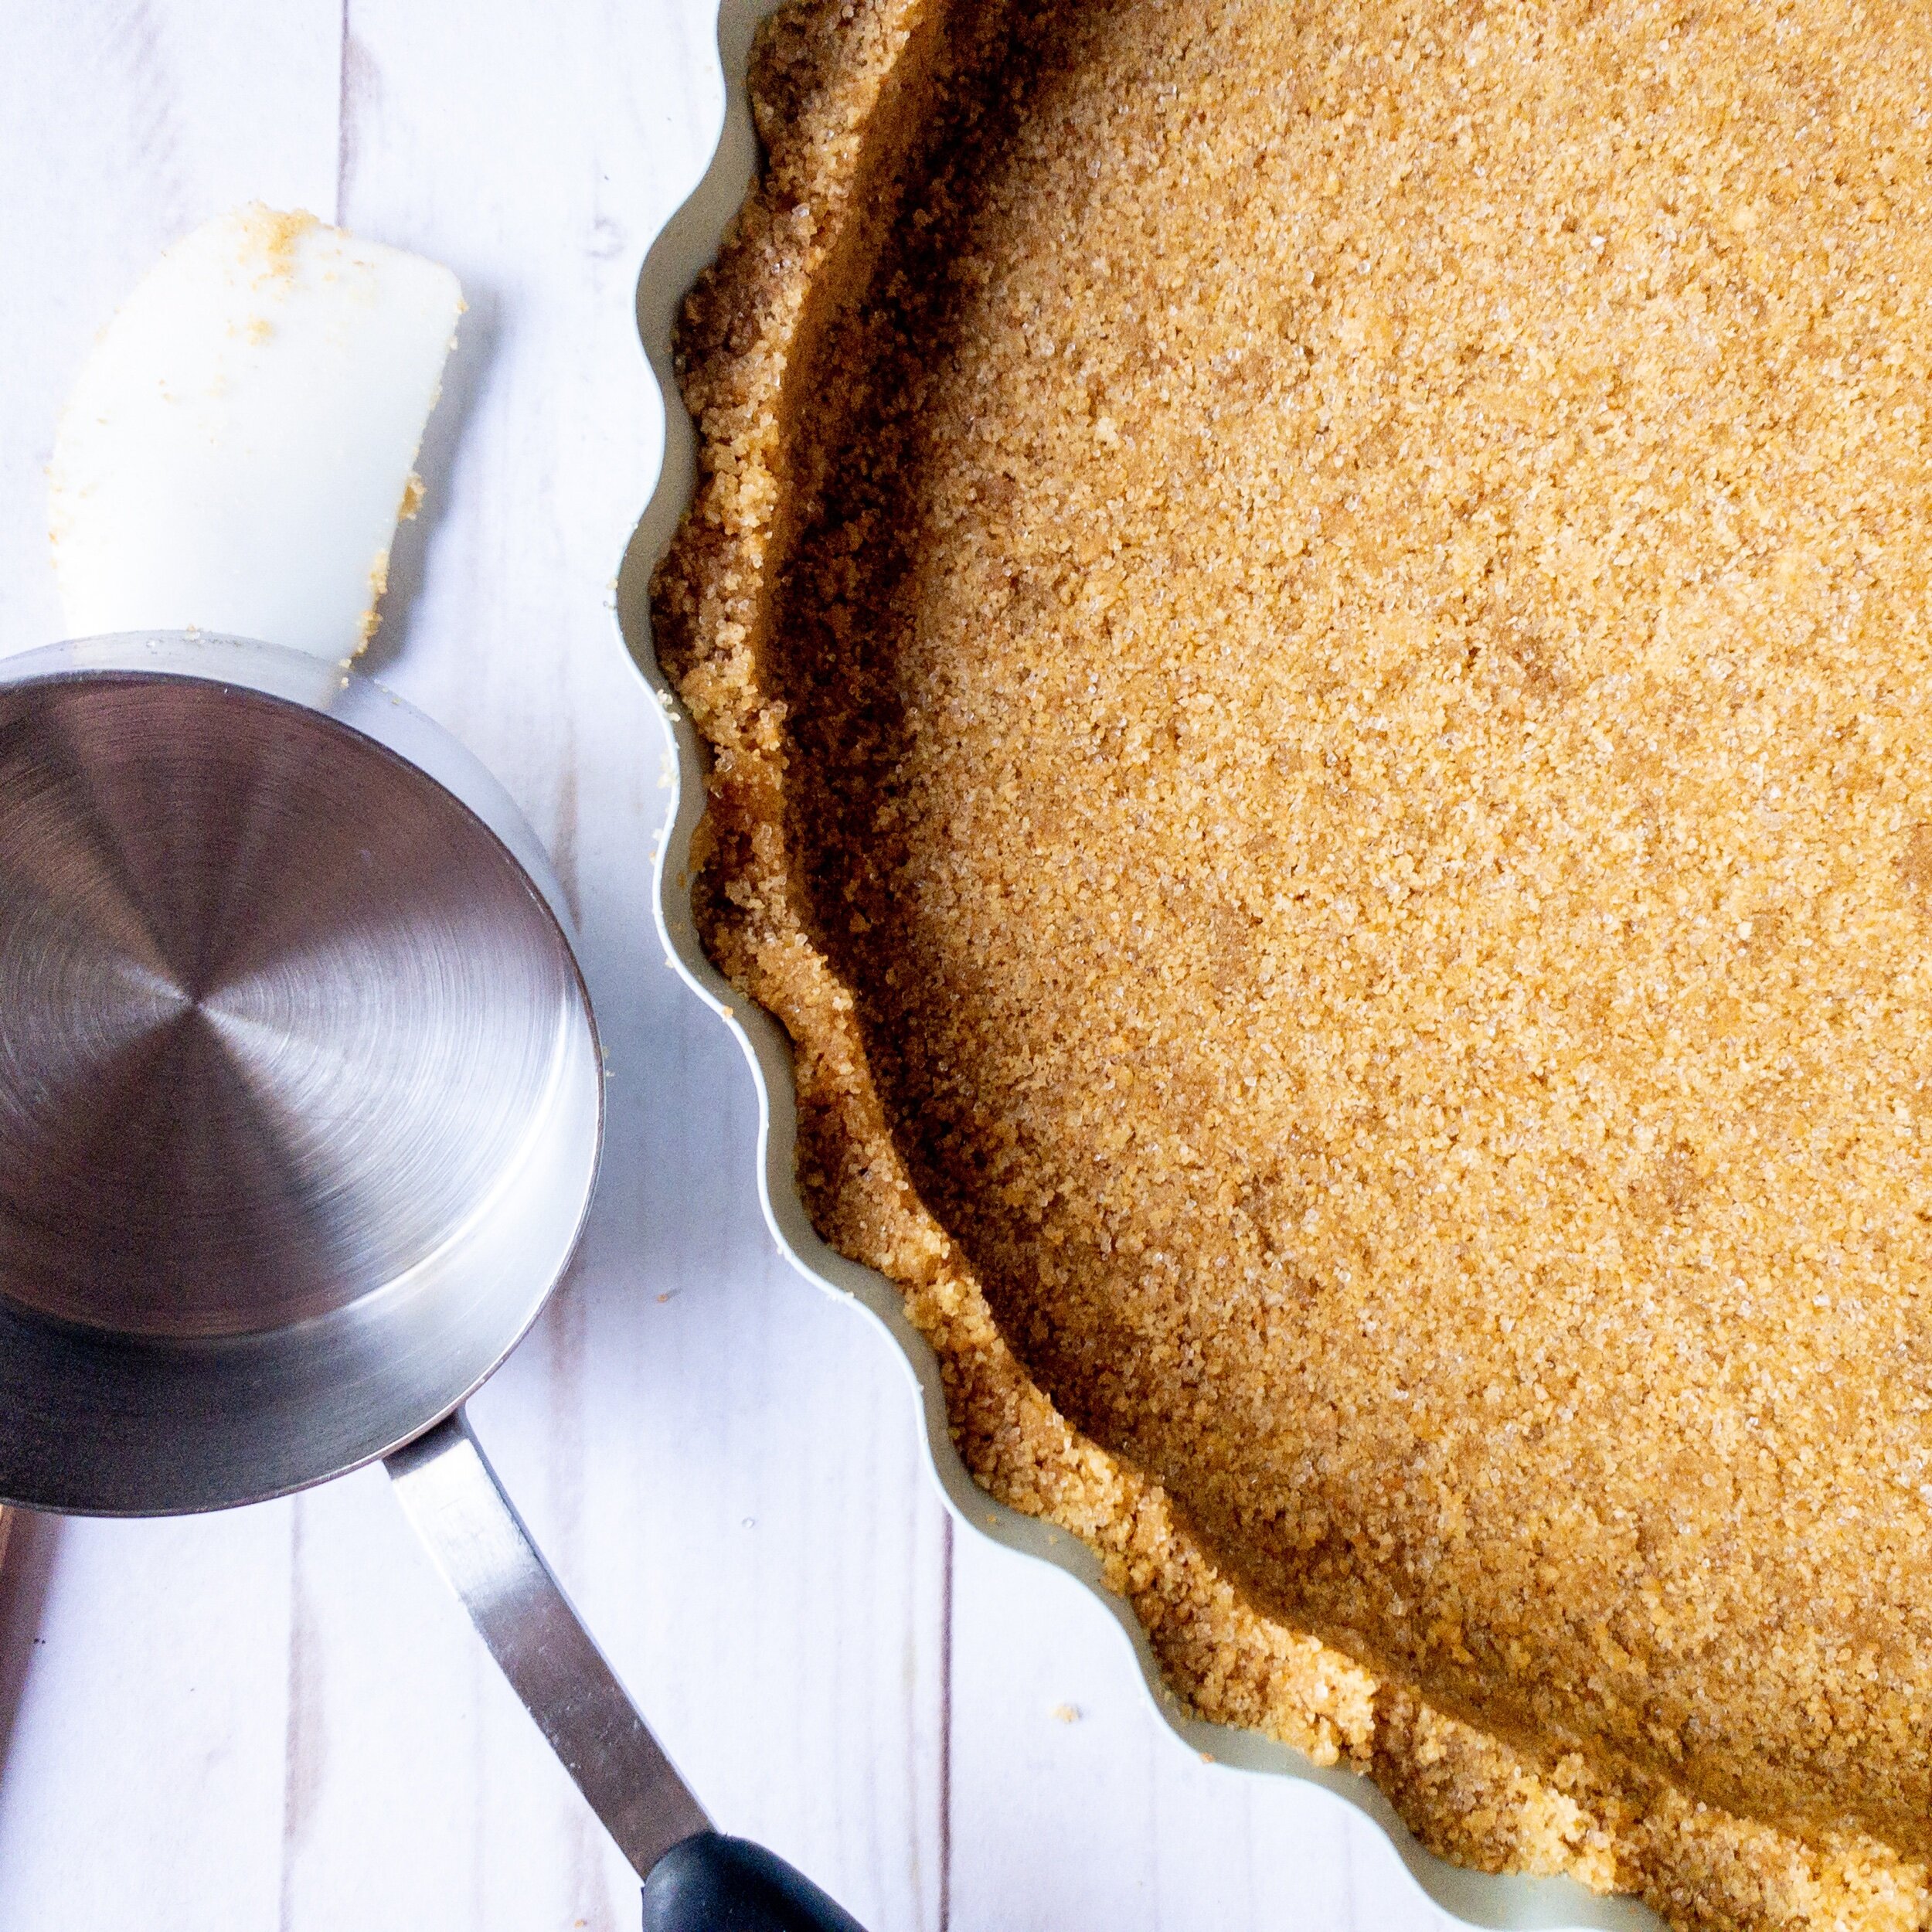
Using a flat cup or measuring spoon or your (clean) fingers, press firmly into the pan. We’re talking firm. You can rotate as you go to make sure you have it even all the way around.

The sides are the hardest part, so I like to use the cup and my hands to pin it in place.
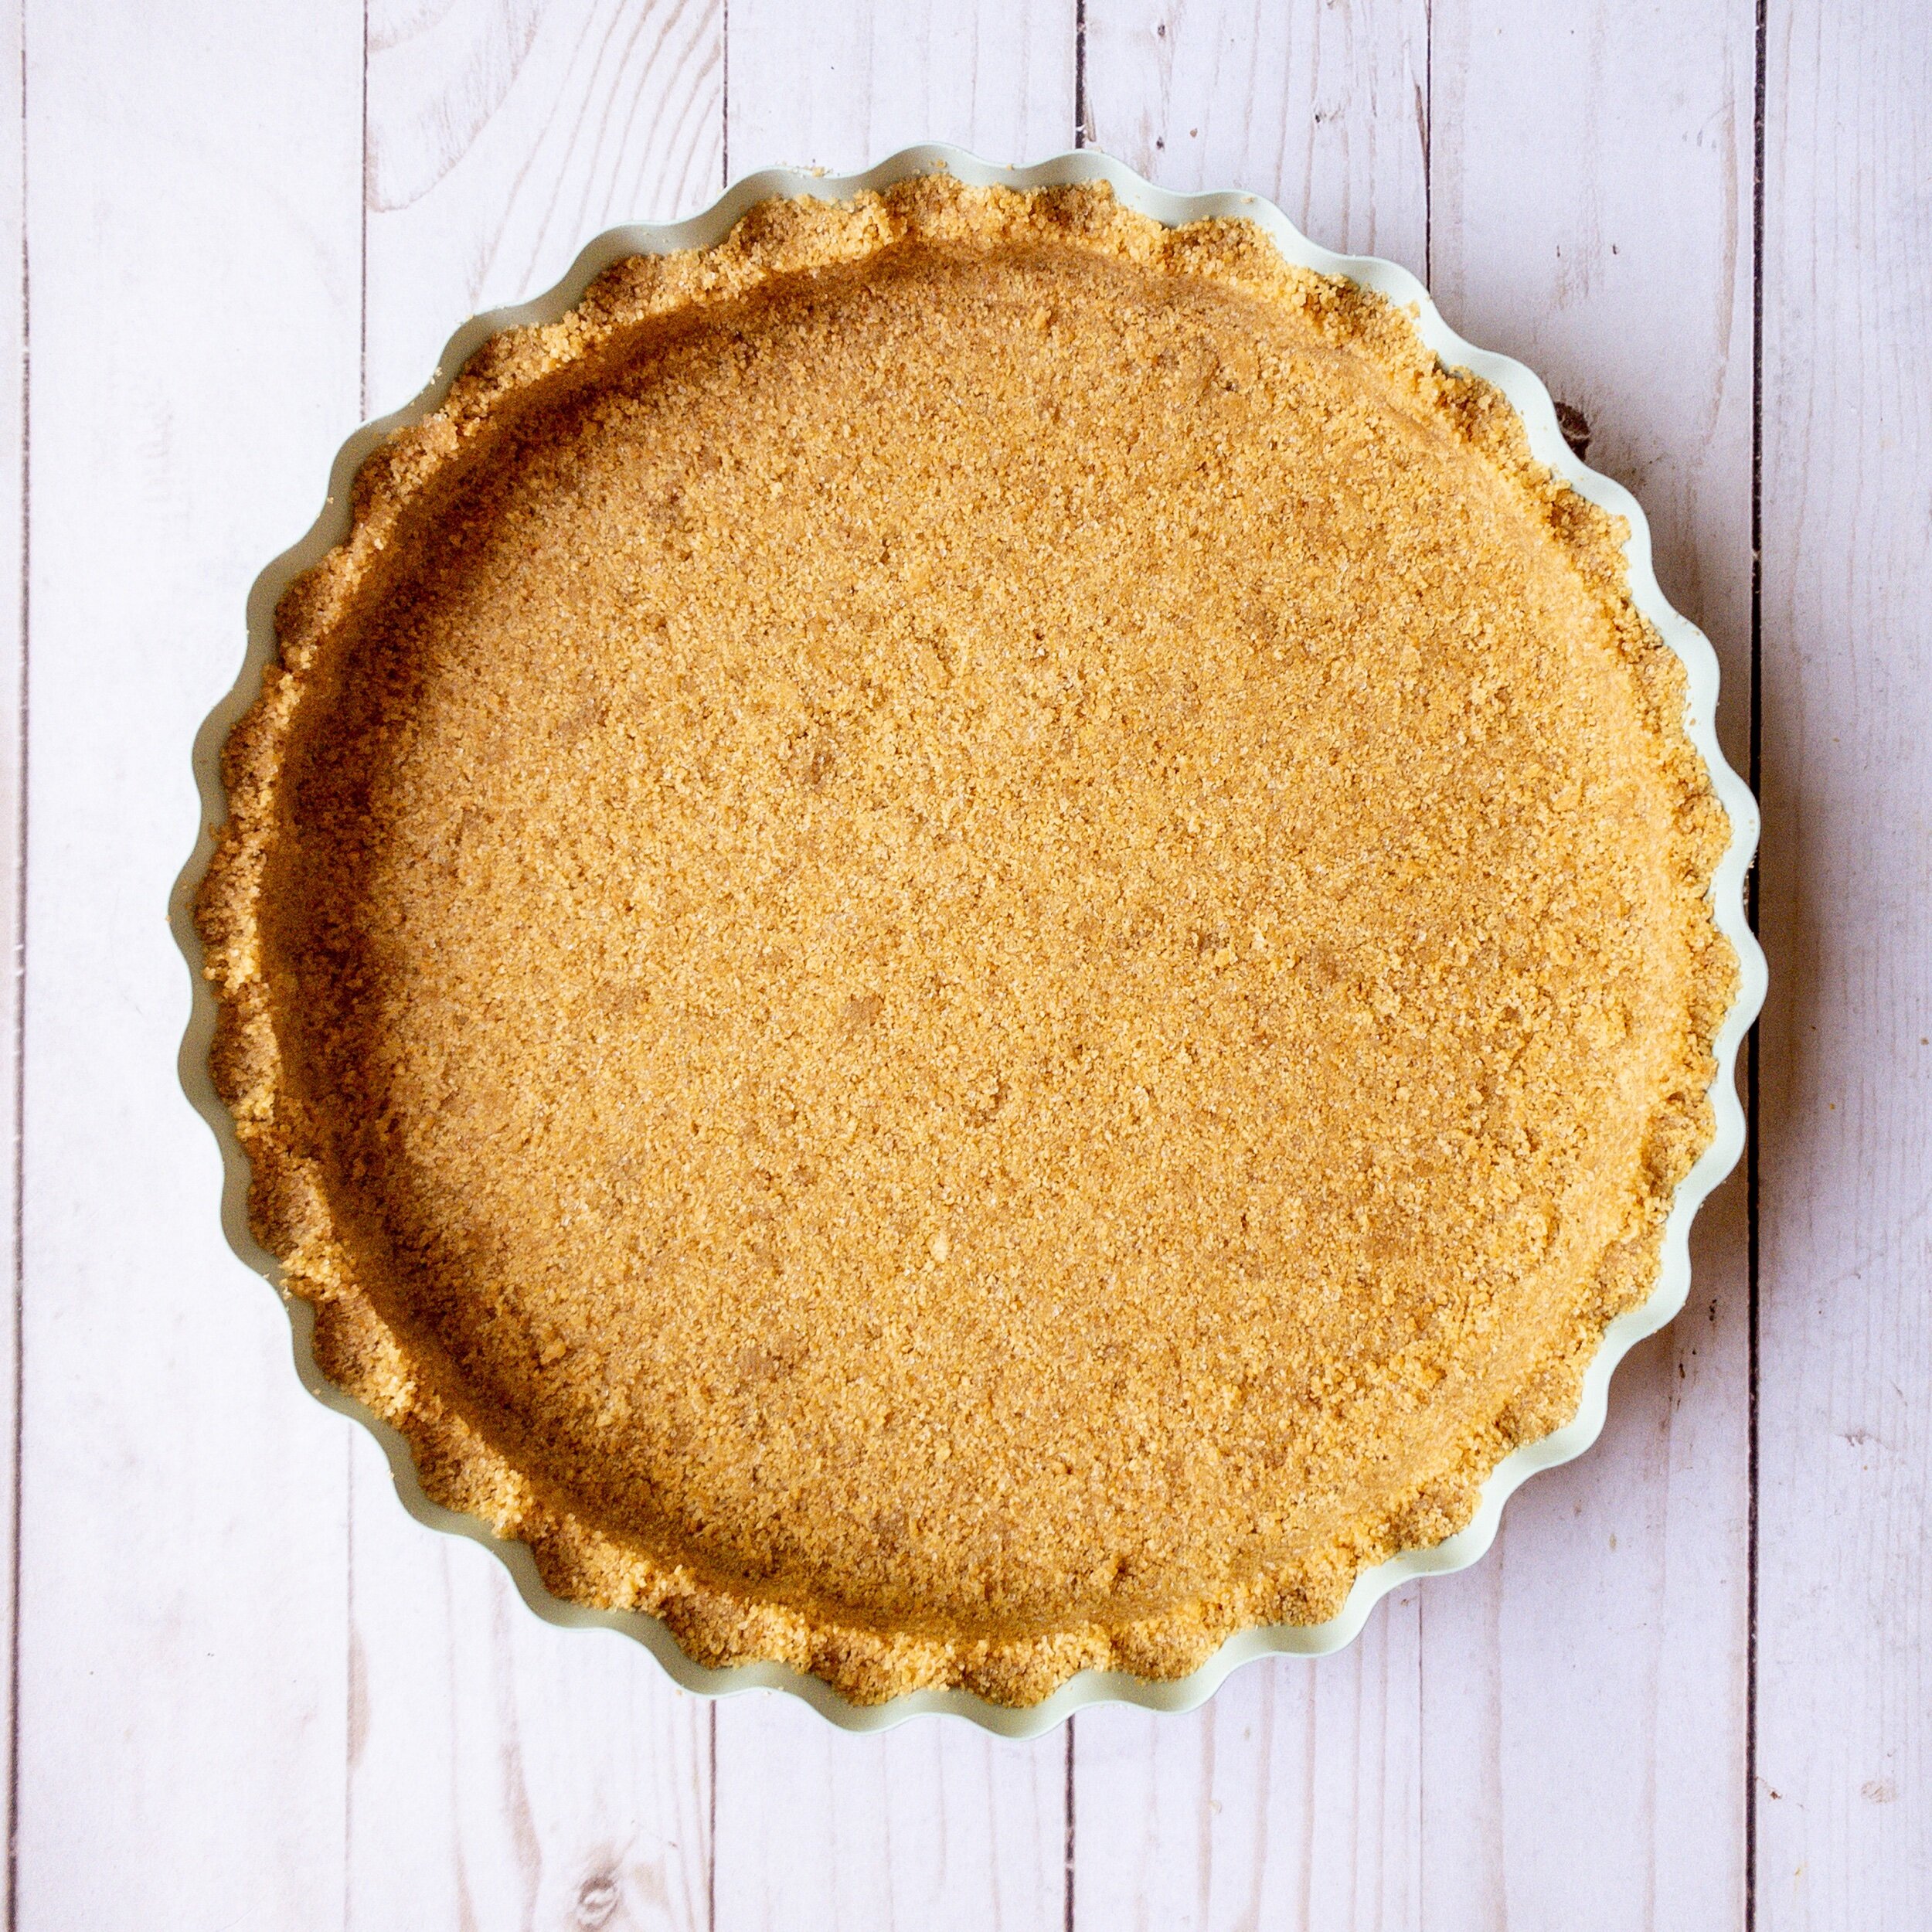
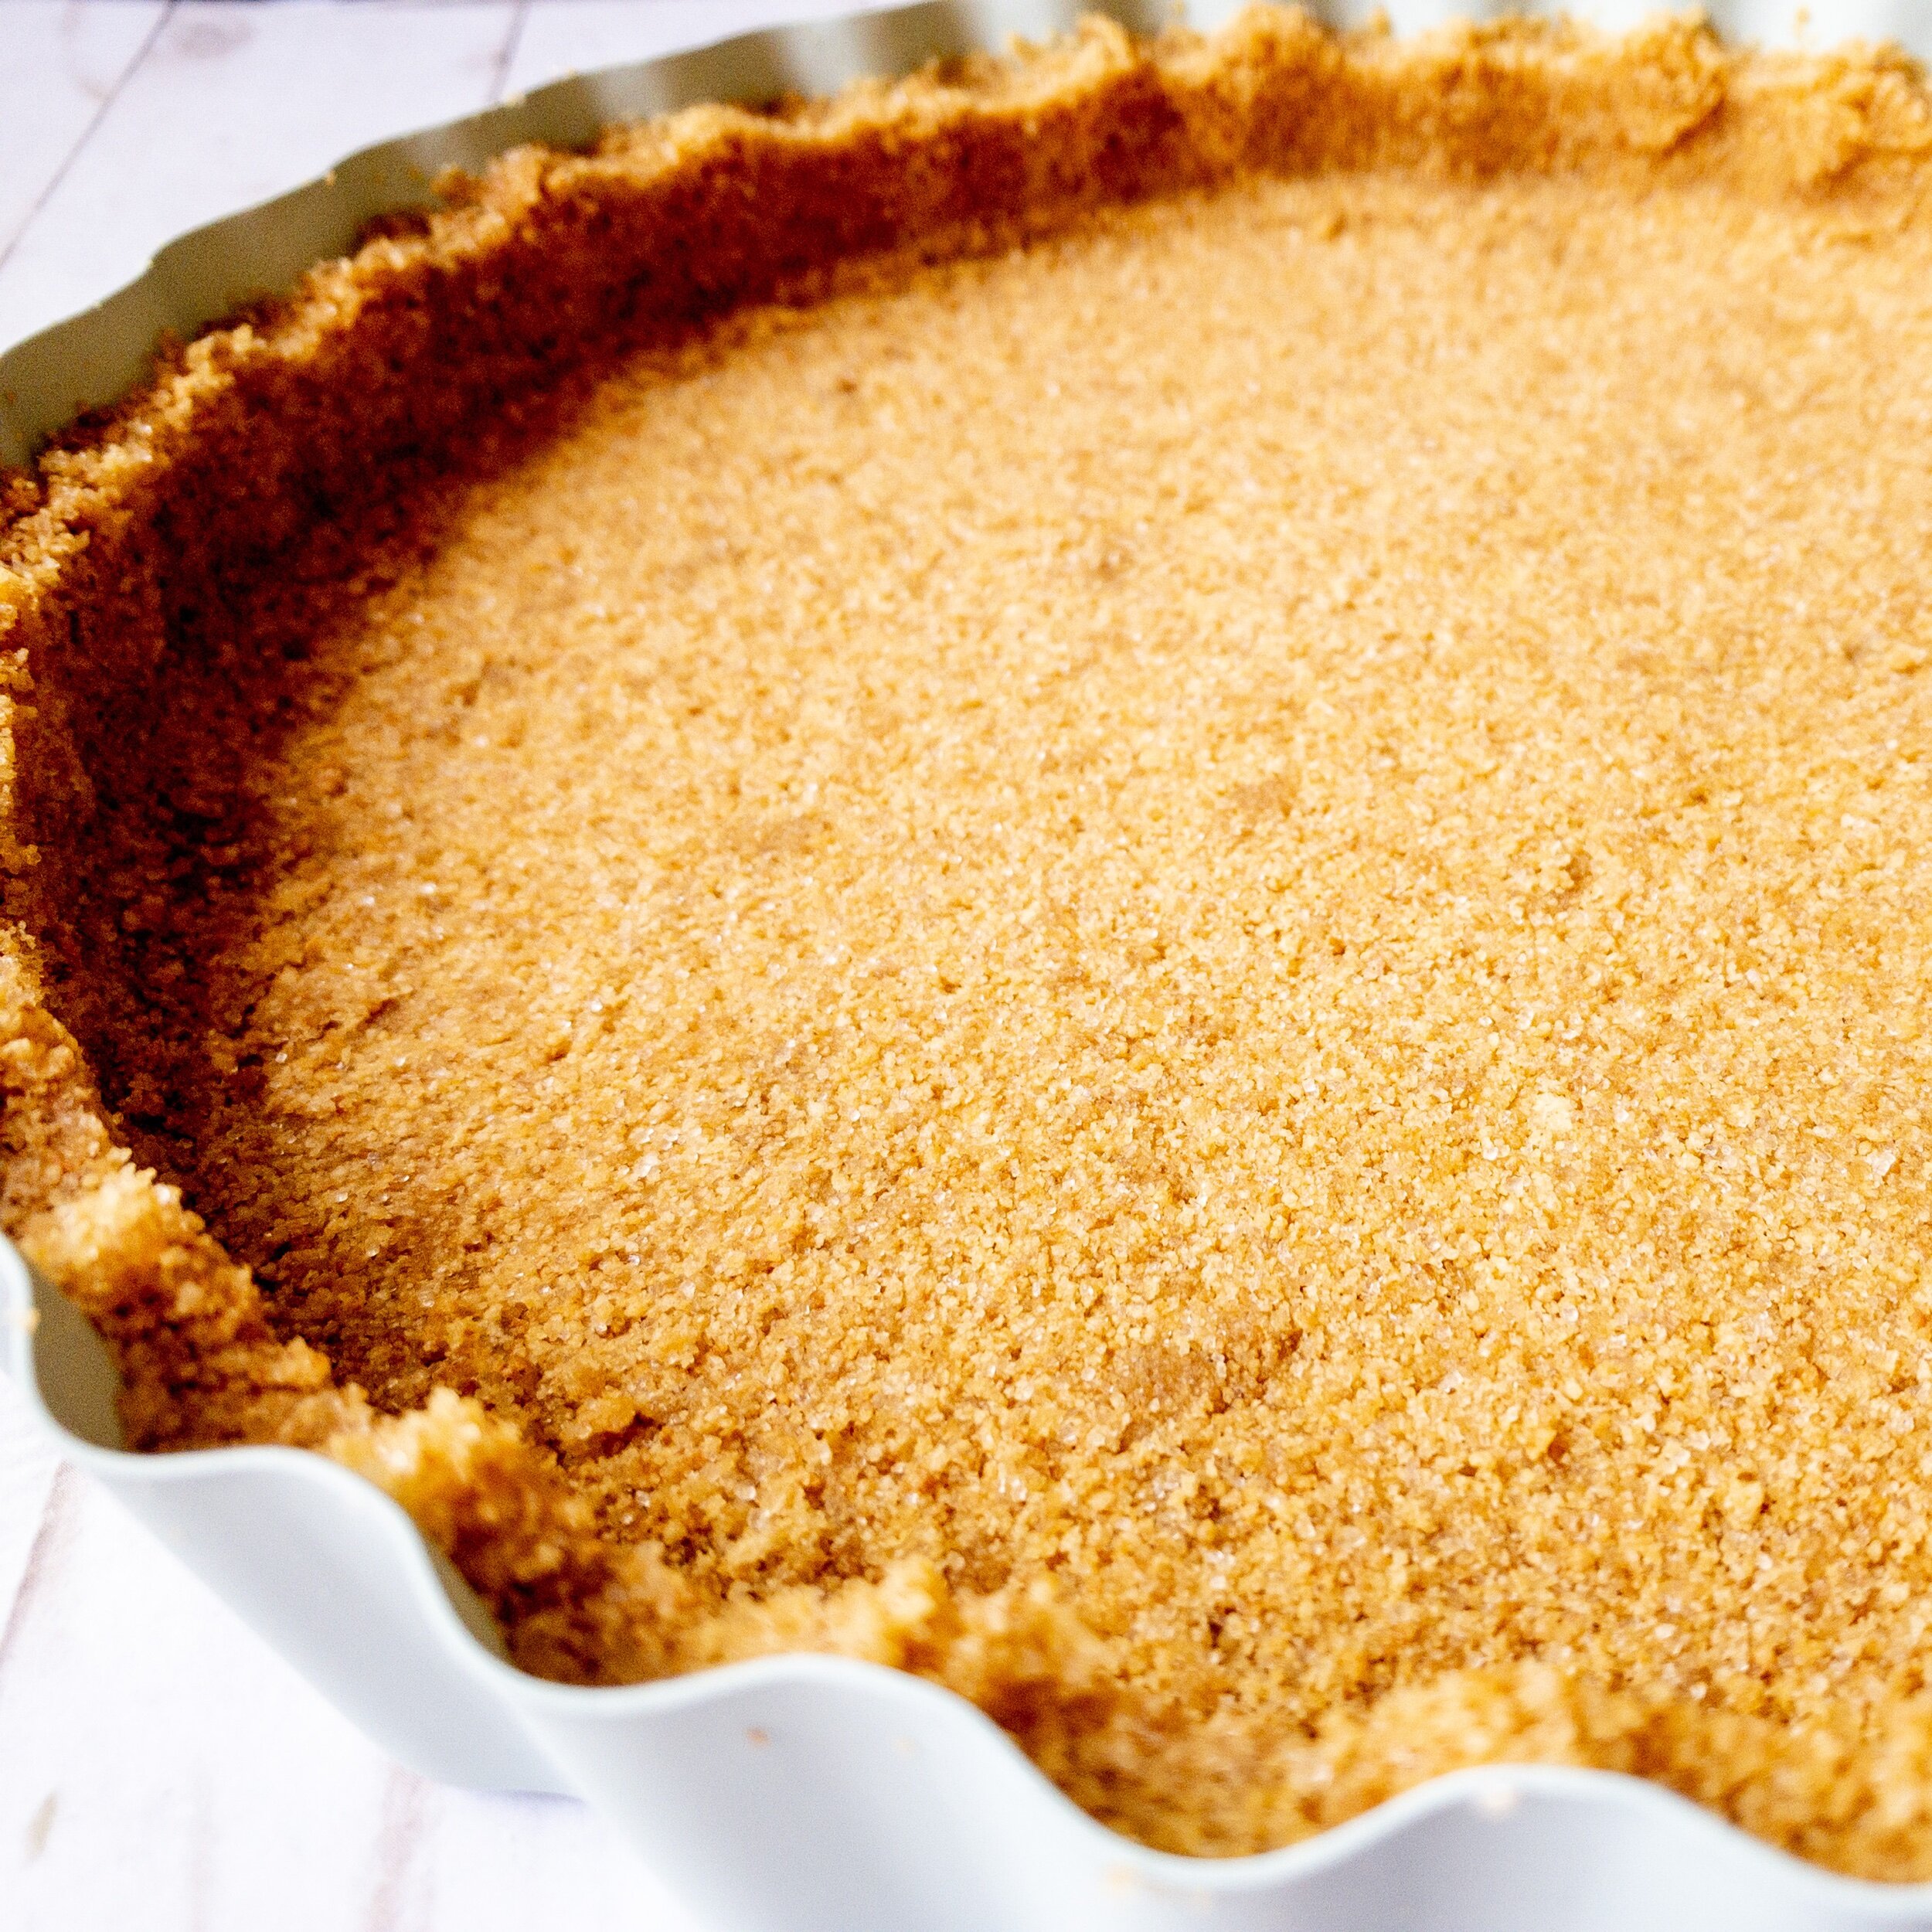
For baked pies, bake at 350 5-7 minutes before filling and baking according to pie recipe. For no bake pies, chill in the refrigerator 1-2 hours or the freezer 30 minutes before filling.

Chilled pies may require a fairly sharp knife if chilled overnight or frozen, per the recipe.
Tips for this recipe
Increase proportionately
Most people suggest using 10 full crackers (a full cracker or “sheet” has 4 small rectangles you can break off). I tend to just use the 9 that come in a sleeve, mostly because opening a second sleeve always meant the rest would go stale. But with a toddler around, it’s less of a concern for me. Instead, I base it on how big my pan is. My new fancy Jamie Oliver tart pan is pretty big (10”) and deep. So I used about 12 crackers (snacking was involved and I lost count 😳). The rule of thumb is roughly 1 tablespoon butter and 1/2 tablespoon sugar for every 1.5 full sheet crackers. I sometimes switch that up if I’m using it differently, like unpressed in my mini key lime pies or in bits in my s’mores cookies. But in general that’s my favorite ratio to get a buttery crust that’s not overly sweet.
Grind grahams finely
If you have too large of pieces, you’ll end up with a crumbly, cracking crust that won’t stay together when you serve it. Be sure to grind up those crackers (and sugar, see below) well.
Grind the sugar with the grahams
Most recipes don’t call for this, but I started doing it when we switched to Costco’s giant bag of organic sugar. It comes in larger granules, and it made my crust too crumbly (see above about that).
Don’t fill freshly pressed crust
You need your crust either well-chilled or slightly baked to make it stay put when you fill it. Trust me. You might luck out with light, fluffy fillings. But most fillings will leak through an unbaked or un-chilled crust. That’s no bueno.
Sub cinnamon or gluten free grahams
You can create such variety with this crust! You can use cinnamon graham crackers and/or add 1 teaspoon cinnamon for a warm, spicy crust. You could throw in some lemon zest (before grinding so the zest is ground well). You could even throw in a few pieces of dried lavender for a floral taste. And, if needed, you can use gluten free crackers. I’ve found very little difference with using gluten free graham crackers in all of my baking. In fact, many brands of gluten free graham crackers have a nice caramelized taste that’s delicious.
Graham Cracker Pie or Tart Crust
- prep time: 5
- cook time: 5-7 minutes (or 1 hour chill time)
- total time: 15 minutes (or 1 hour, 5 minutes)
Yields: 1 9” pie or tart crust
Ingredients:
- 9-10 graham crackers (full sheets with 4 small rectangles each--see note for subbing other flavors or making this gluten free)
- 6 tablespoons salted butter, melted
- ¼ - ⅓ cup sugar (can sub brown sugar)
Instructions:
- Place graham crackers and sugar in a food processor or blender. Grind until the size of cornmeal (ish—there’s a point where it just doesn’t get finer unless you grind it for a few minutes).
- Add the melted butter. You can combine both in a mixing bowl or save some dishes and just add the butter to the processor or blender and pulse a few times, stir as best you can, then pulse a few more times. You’ll also want to stir it a bit when you turn it out into the pie dish if you use this method.
- Pour into a pie or tart pan. You can grease the pan if needed, but I rarely do this. Spread the crumbs around somewhat evenly. Press into the pan using the bottom of a flat cup or measuring cup (pictured). Or, use clean fingers. Press the entire thing evenly, then go back over it and press down firmly. This ensures you made it even the first time around, as the firm pressing can skew the evenness of the crust. Be sure to get the edges pressed in firmly. I find the using my fingers and the edge and bottom of the cup or measuring cup helps.
- If making a baked pie, pre-bake at 350 for 5-7 minutes to help set the crust before adding any filling. If making a no-bake pie, chill in the fridge for 1-2 hours or the freezer for 30 minutes to set the crust before filling it.
Enjoy! If making crust ahead of time, tightly seal and store in the fridge for 3-5 days. Much longer leads to strange fridge smells leeching unto the crust, so don’t make too far ahead.