
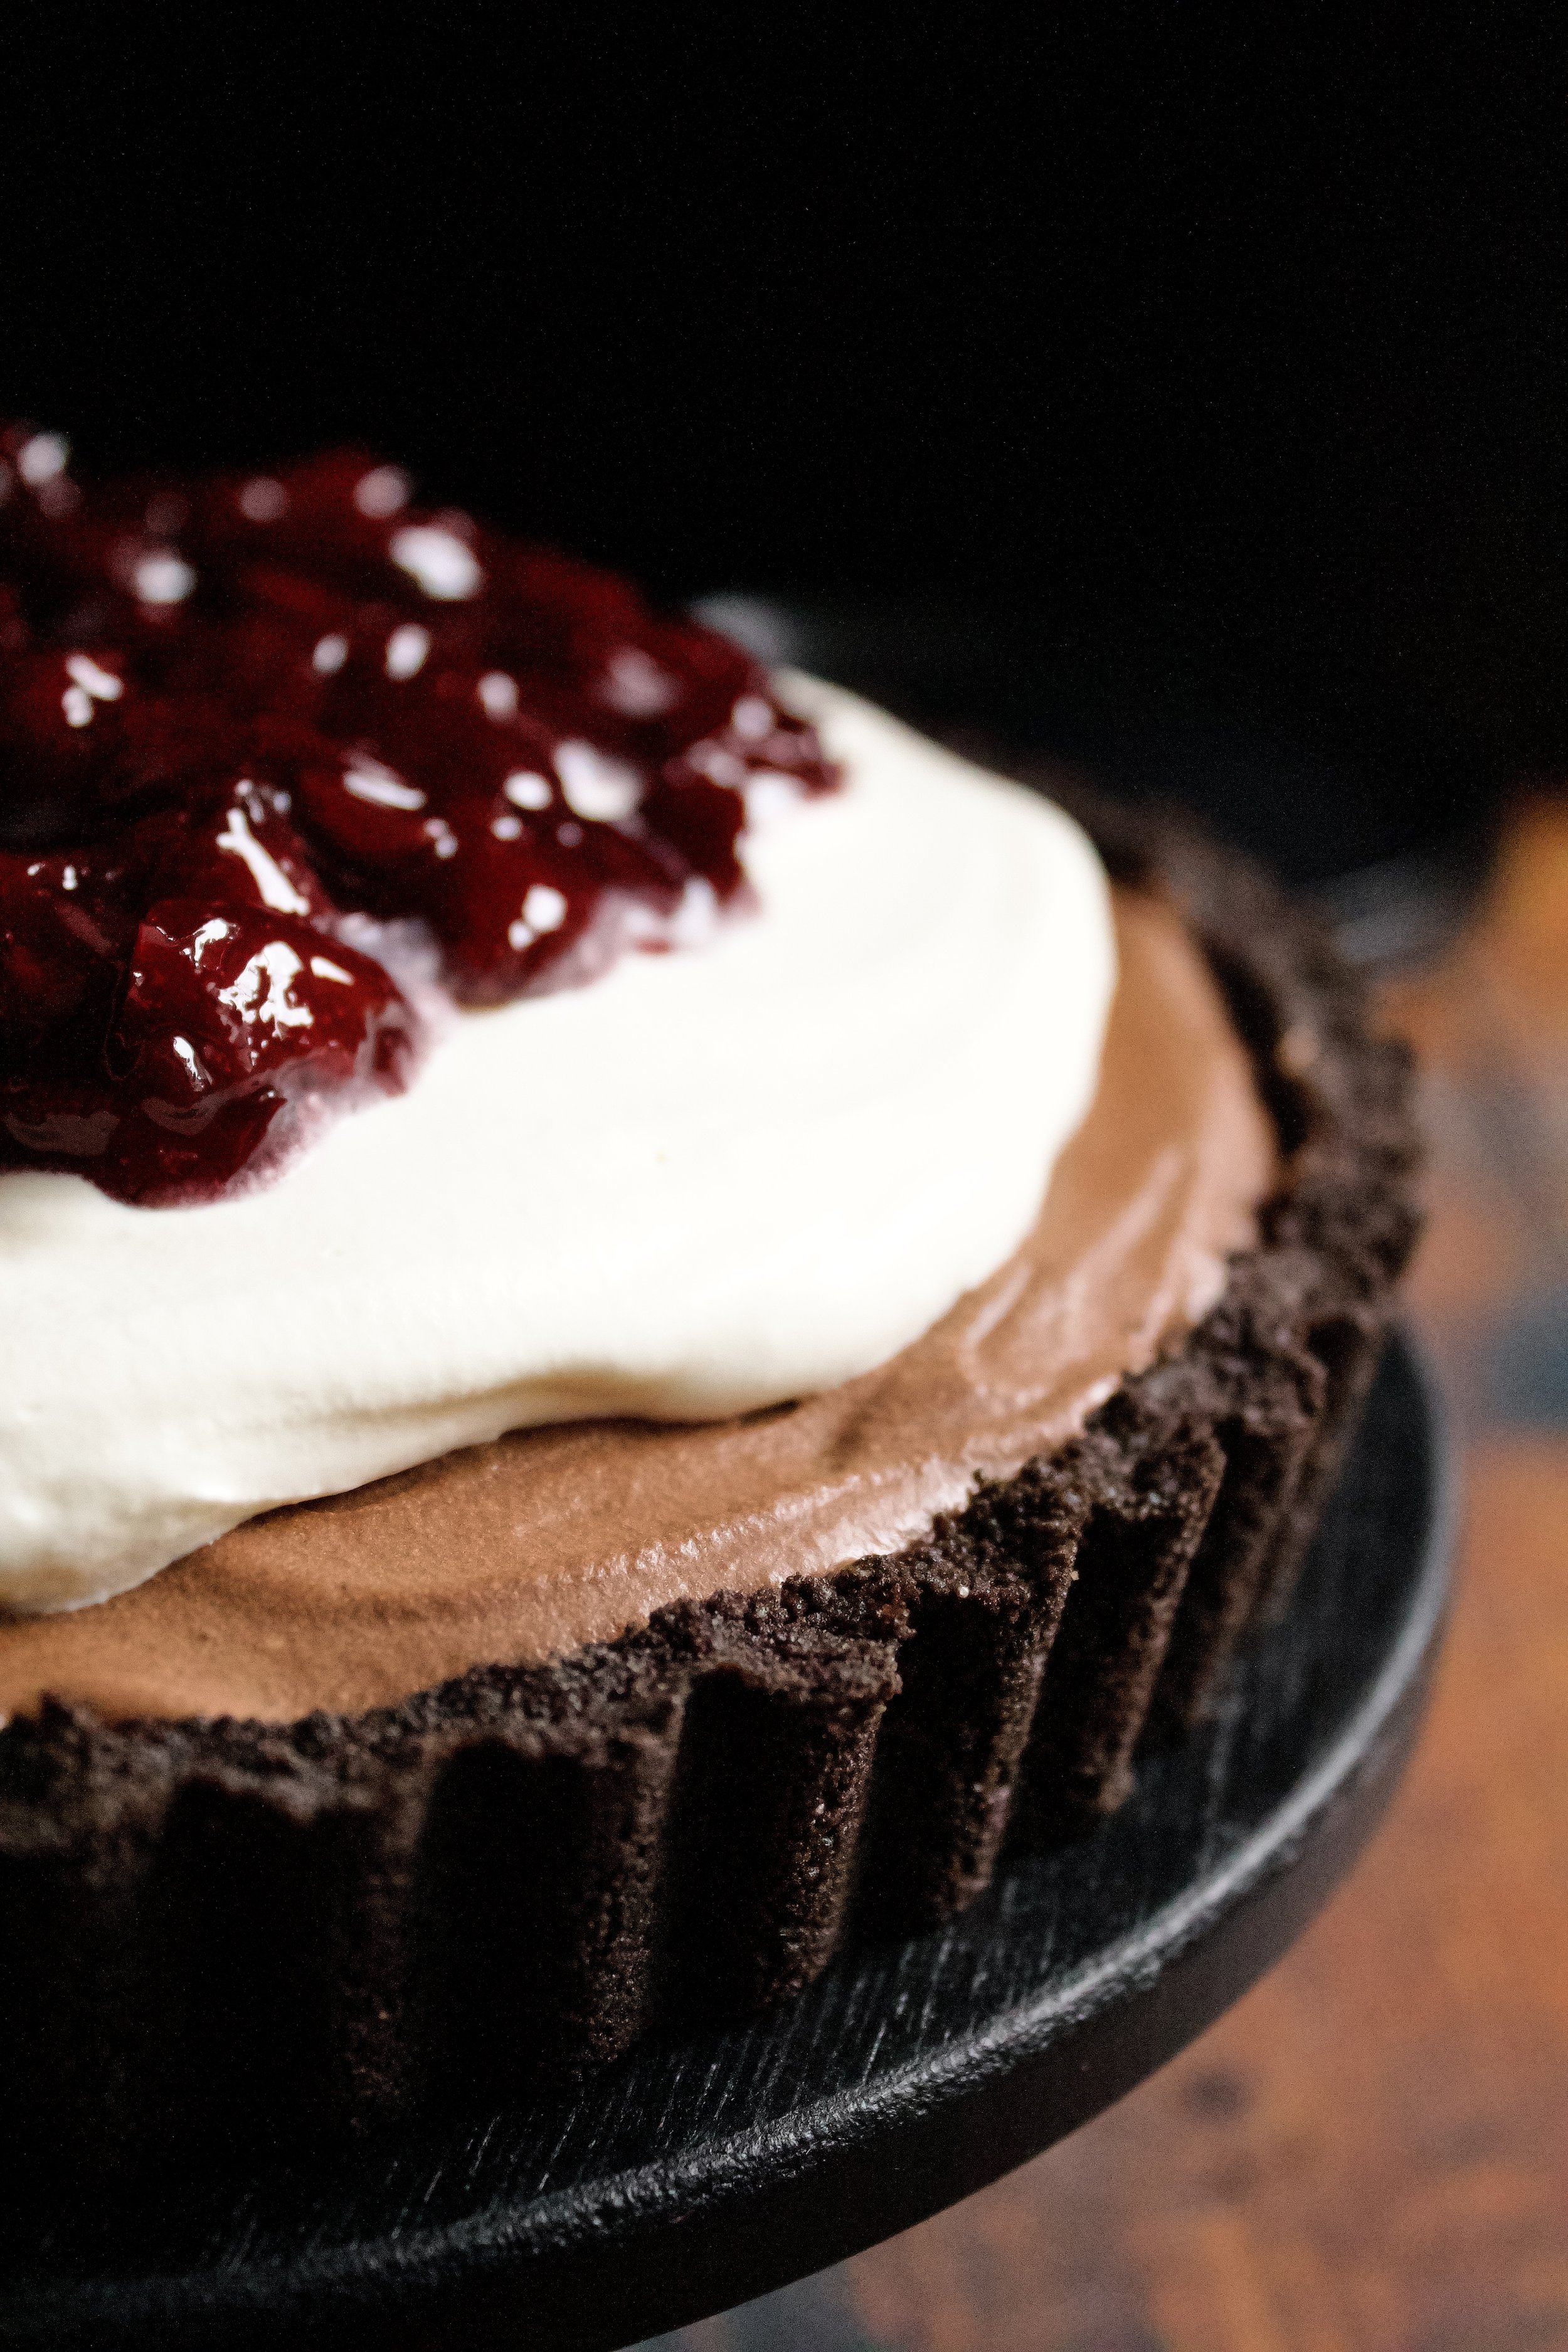
Oreo Cookie Pie Crust (gluten free option!)
Quick and simple, this two ingredient chocolate cookie pie crust is the base for endless pie possibilities. Make it gluten free by subbing in any number of (non-Oreo brand) gluten free cookies. You’ll never need to bother with store-bought chocolate crust again!

The story
First, I have to share this amazing open letter by Lonnie Chavis (he plays young Randall on This is Us). I love him, I love that show, I love his honest words. It breaks me that someone so young has experienced far more than I ever will. I encourage you to read and take to heart his letter and his experiences. It’s a simple way change can begin to happen.

Second, Oreos. In the words of Robert California, “They haven’t really improved on the Oreo, have they?” There’s something about Oreos. I’m a sucker for just about anything cookies and cream. That goes extra for Oreo pie crust. It’s more foolproof than regular pie crust. And it’s chocolate. Chocolate, guys. Chocolate pie crust.
And it’s easy.
Honestly, this is almost a non-recipe. It’s two ingredients and takes 5 minutes to make. But since it’s the base for so many wonderful desserts, I felt it merited its own post.

How to make this recipe
Here’s where I feel like a cheat. It’s beyond simple—and quick—to make this pie crust (which is why I don’t see any reason to buy one). Just grind chocolate sandwich cookies (Oreos, gluten free Joe-Joe’s, etc.) until finely ground. Be sure to stir a little if some pieces are trying to hover around the top and stay whole.

Melt butter.

Add to the ground cookies (in a separate bowl or in the food processor).

Pour into your pie pan and spread around evenly with a spatula or clean fingers.

Once it’s even-ish, press into the pan to get it nice and tight so it doesn’t crumble when you serve it. You can use the bottom of a glass or a measuring cup to help with this.

Or just your fingers (which is easier on the sides).

Chill an hour or freeze twenty minutes then fill with whatever you’d like!

P.S. if you have extra cookie mix (you don’t want it too thick or it will be impossible to slice), you can save it in the fridge and use it as ice cream topping. You’re welcome.
Tips for this recipe
Amount needed varies by pie pan
I made a small batch and still had extra cookie crumble leftover, because I used a small pie pan (one leftover from a pie we bought years ago). But my nicer pie pans are deeper and wider across, meaning they’d require more crust. Generally, if using the disposable, tin pans like I did, you’ll need 18 cookies and 3 tablespoons butter. If using a more traditional sized pan, use 24 cookies and 4 tablespoons butter.

Use any brand cookie—but not Oreos if you want gluten free
It’s easy to make this gluten free. I used gluten free Joe-Joe’s from Trader Joe’s. They’re surprisingly delicious and taste almost exactly like regular Joe-Joe’s. If you don’t have a Trader Joe’s nearby, any gluten free chocolate sandwich cookie will do (although actual Oreos do not come GF).

Process the cookies whole
In my OMG cake, I went to the trouble of removing all the filling from Oreos. Now I know it’s best (and easiest) to leave them whole, filling and all. You get the true Oreo taste by including the filling. Plus, it acts as a binder for the crust, so you need less butter to get a stable crust.

Freeze if you’re in a hurry
It’s best to chill the crust for at least an hour before filling it so it has time to set and doesn’t bleed into your filling. But, if you’re pressed for time, freezing it for 20 minutes while you make your filling will do.
Freezing is also an ideal choice if you plan to fill it with something frozen, like ice cream.

You might also like…

Oreo Cookie Pie Crust
- prep time: 5 minutes
- chill time: 20-60 minutes
- total time: 1 hour, 5 minutes
Servings: 6-10 (varies by pie pan size)
Ingredients: (see note for amounts you’ll need based on your pie pan)
- 18-24 chocolate sandwich cookies, like Oreos or gluten free Joe-Joe’s
- 3-4 tablespoons melted butter
Instructions:
- Place whole cookies in a food processor or blender. Blend until completely ground and no chunks remain. It will be a dry, Sandy texture.
- Melt butter in a microwave safe bowl at half power in 30 second intervals or in a small saucepan over medium-low heat.
- Add freshly melted butter to the cookie grounds, either in a mixing bowl or straight into your food processor. Stir or pulse until fully blended. You may need to scrape the sides once if doing this in the processor, or you can stir it briefly in the pie pan to ensure it’s evenly mixed.
- Pour into pie pan and spread around and up the sides with a spatula or clean fingers, ensuring it’s evenly spread to avoid a section that’s too think and breaks or that’s too thick and can’t be sliced.
- Once evenly spread, press firmly into pan. You can use clean fingers, the bottom of a glass cup, or the bottom of a measuring cup (pictured above). The sides are usually easiest using your hands. The edges may take some practice, but the goal is simply that it’s all tightly packed so it will stay together when served.
- Chill in the fridge for 1-2 hours or the freezer for 20-30 minutes, until firmly set. Fill with mousse, custard, ice cream—anything goes!
Enjoy! If not using right away, store in the fridge (or freezer) tightly covered in plastic wrap or foil, to avoid it absorbing the smells of your other food (not that your food is smelly, it’s just a fact of fridges and freezers!). Most of the common fillings for this crust require refrigeration, but it can be kept at room temperature for 2-3 days if need be.