
Malted Milk Chocolate Robin's Egg Cake
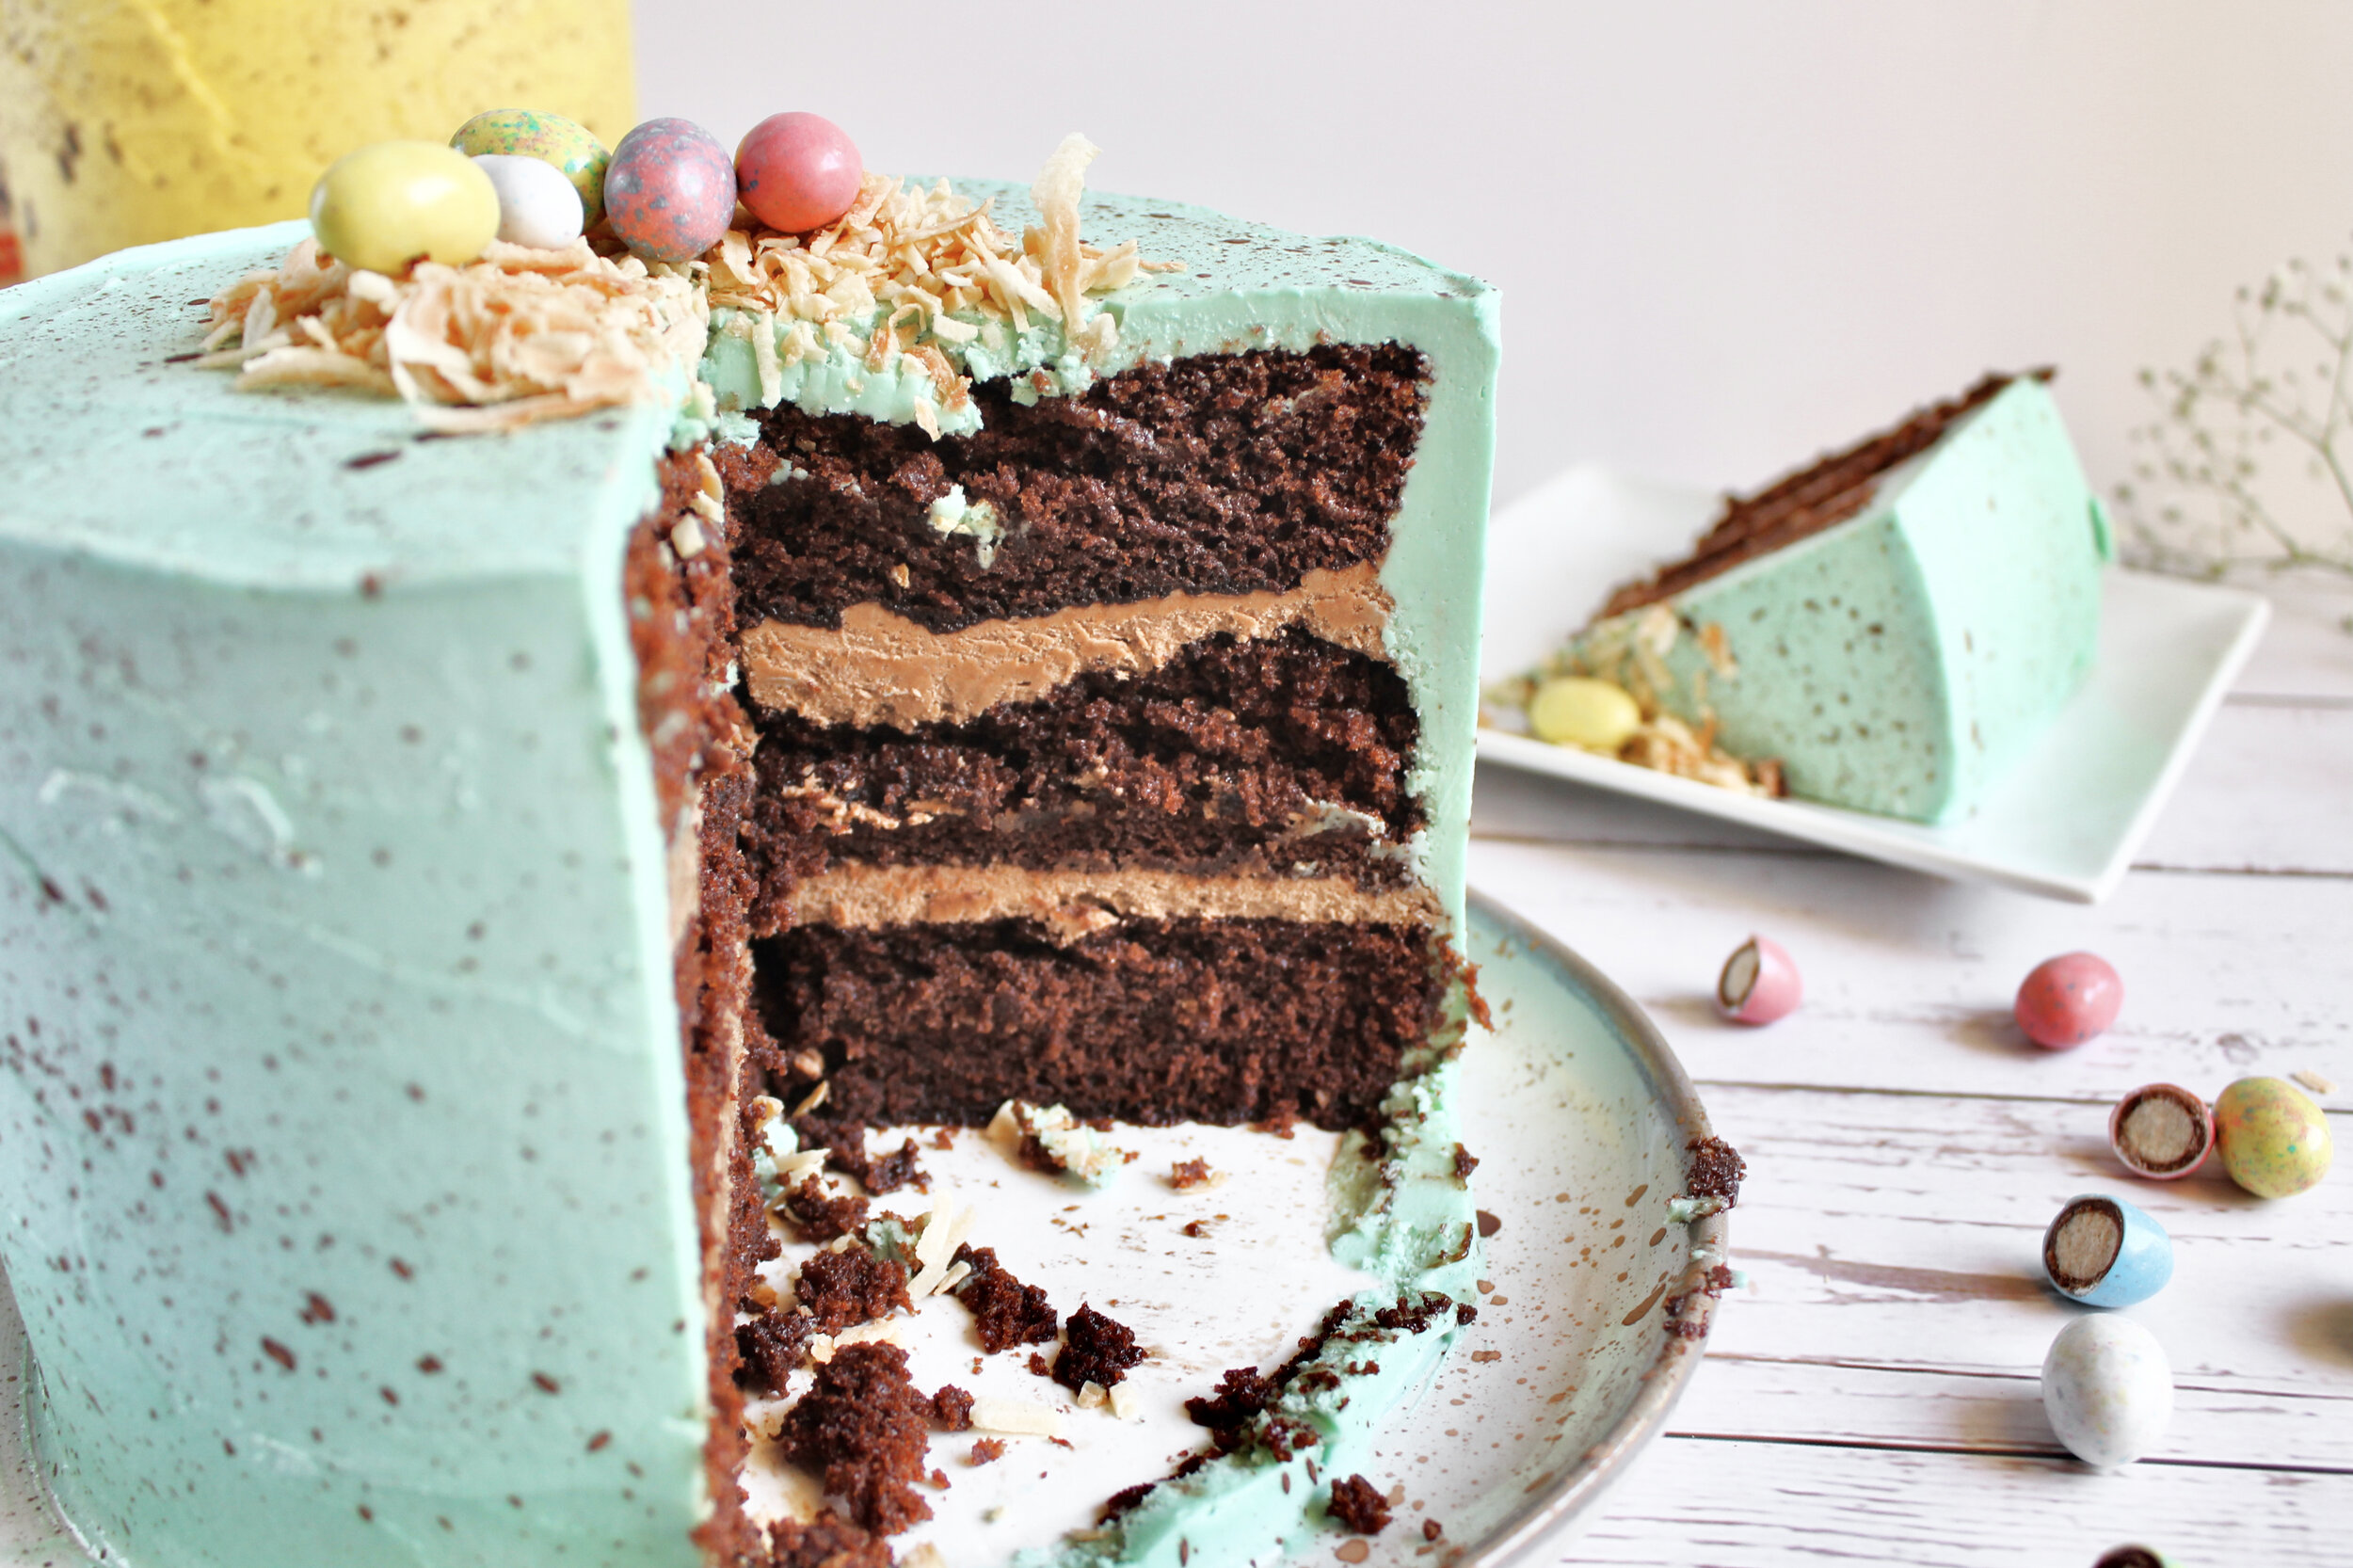
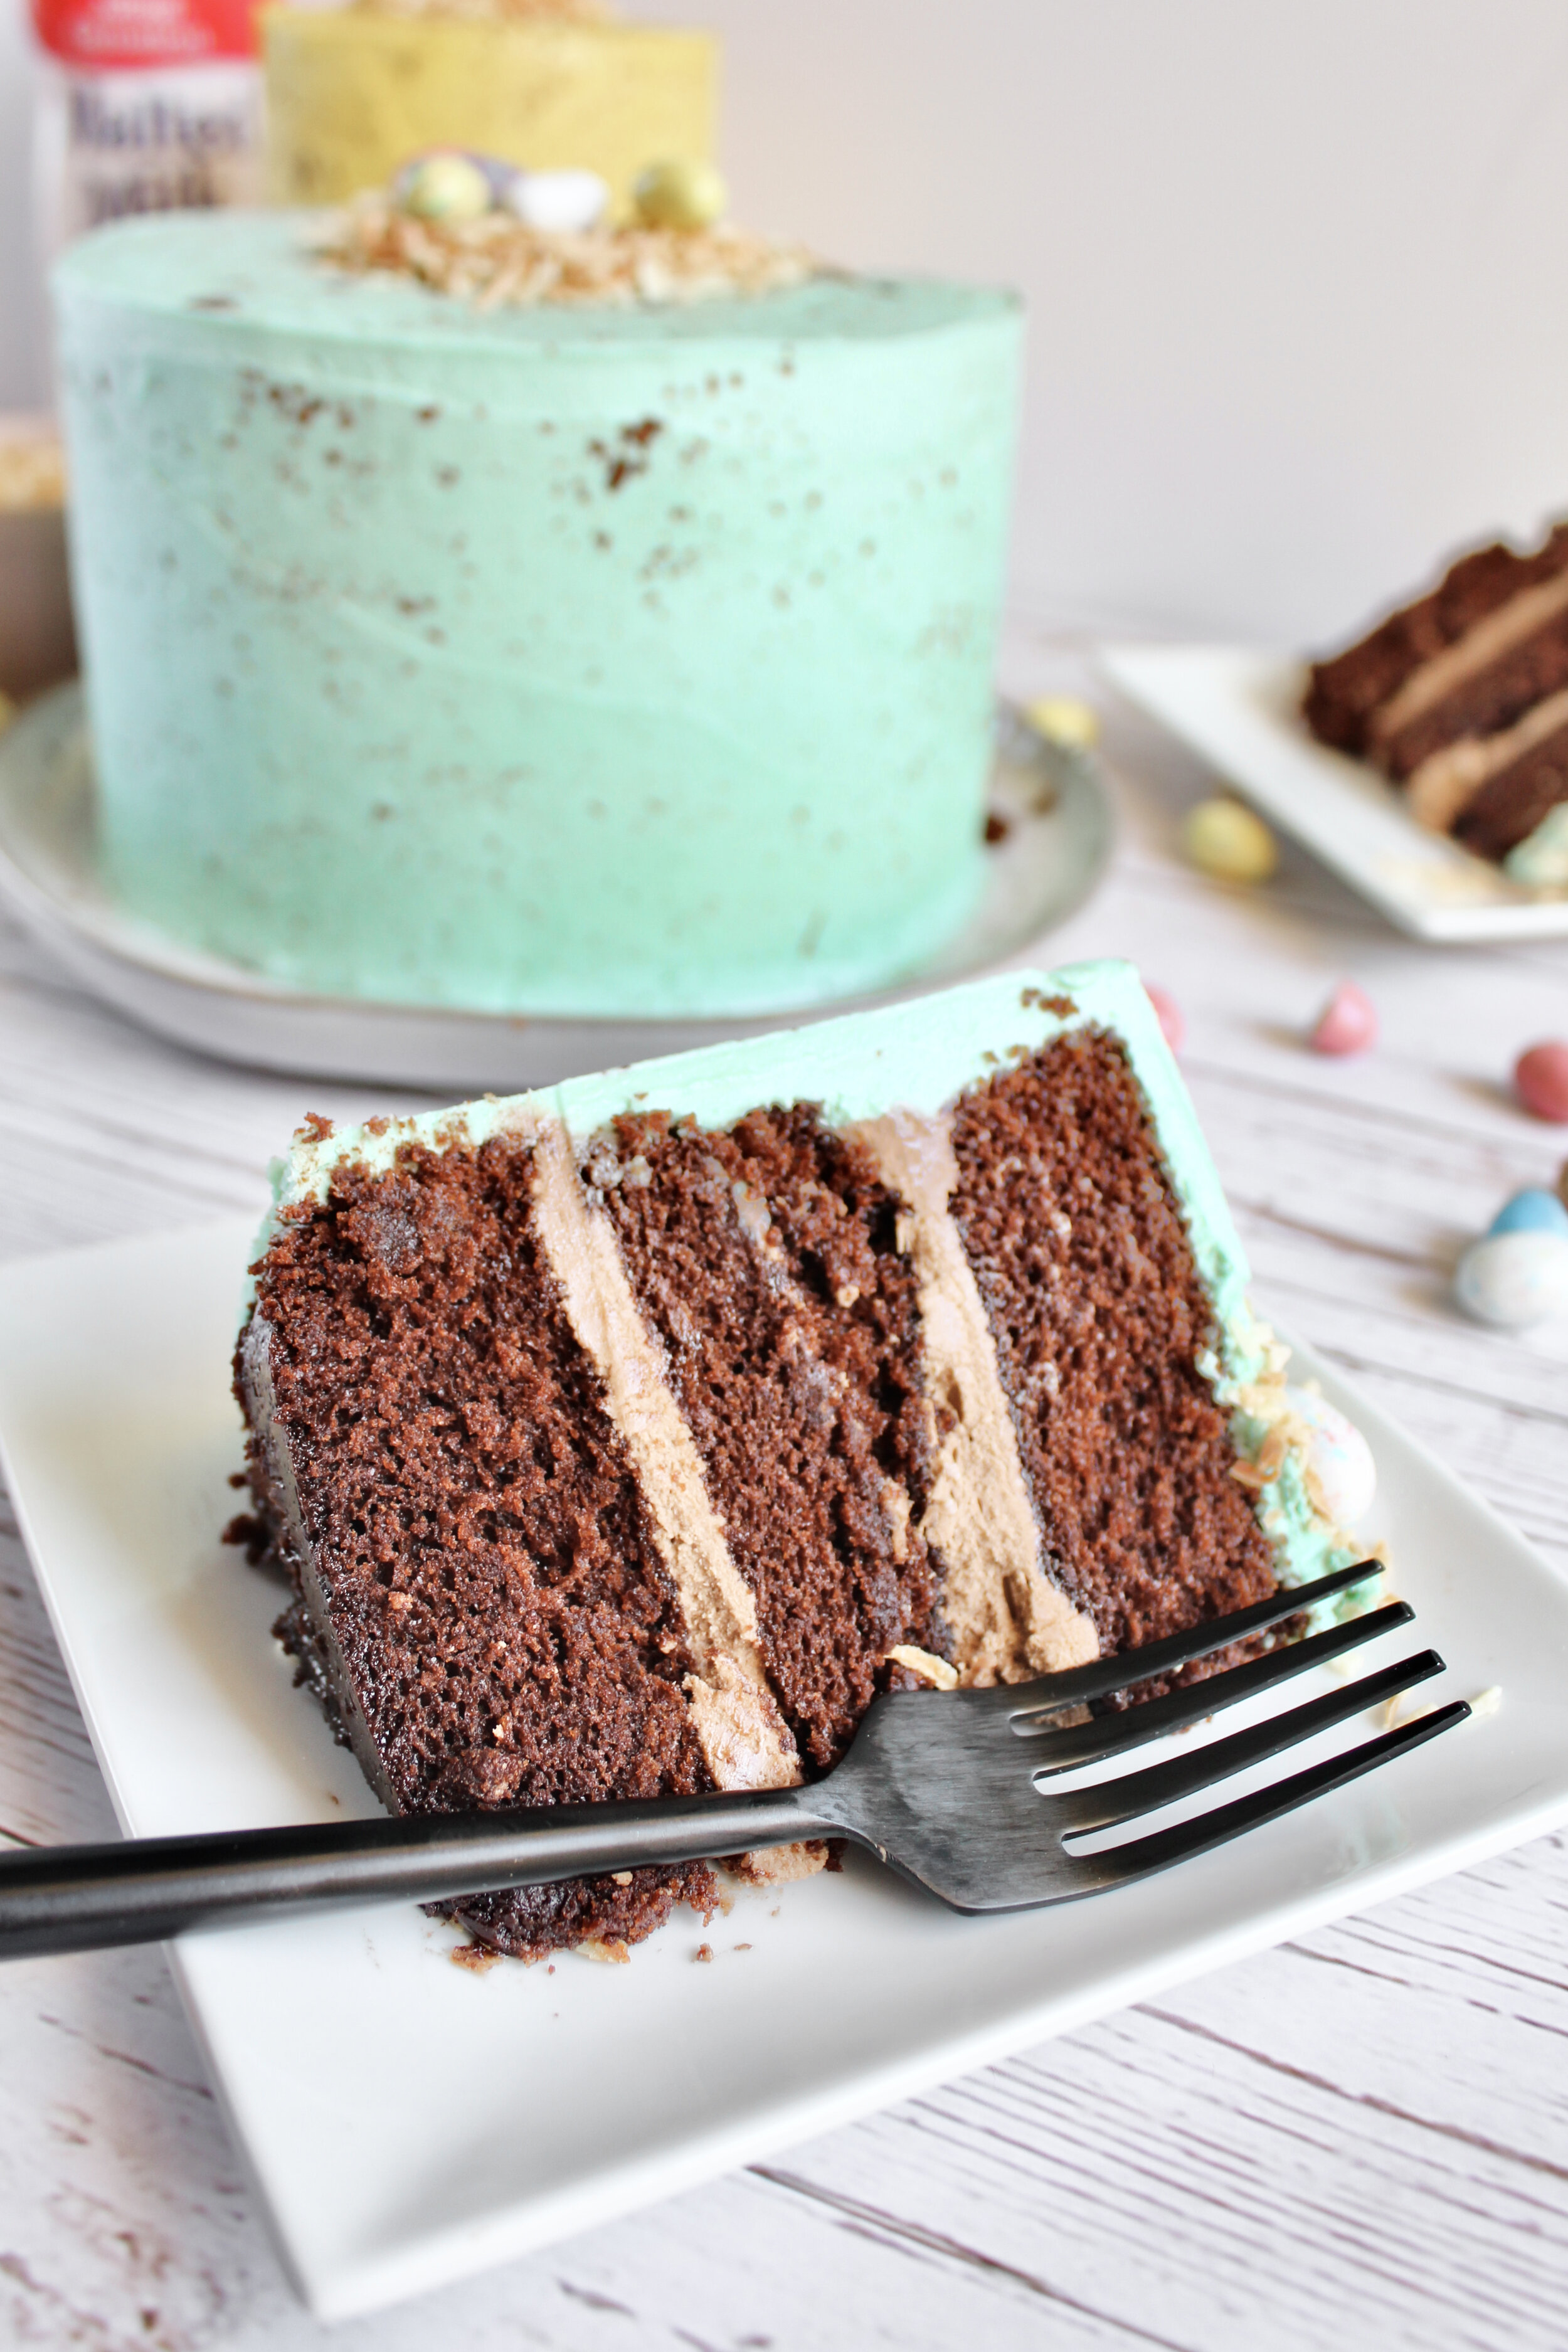
Fluffy chocolate malt cake filled with malted milk chocolate buttercream and frosted in a robin’s egg blue vanilla malt buttercream. Add some speckles and a coconut and candy bird’s nest and you have the cutest, most delicious Easter or spring cake there ever was!
This post may contain affiliate links from which, at no additional cost to you, I may earn a small commission to keep this site running. Only products I myself would or do use are recommended.

First, forgive me for including so many photos. I just loved how these two little cakes turned out and couldn’t help myself! This really was the PERFECT bake to usher in spring!
Anyone here like those Robin Egg candies?? I always loved them at Easter! Candy coating, milk chocolate, and crunchy malt filling? Yes, please!
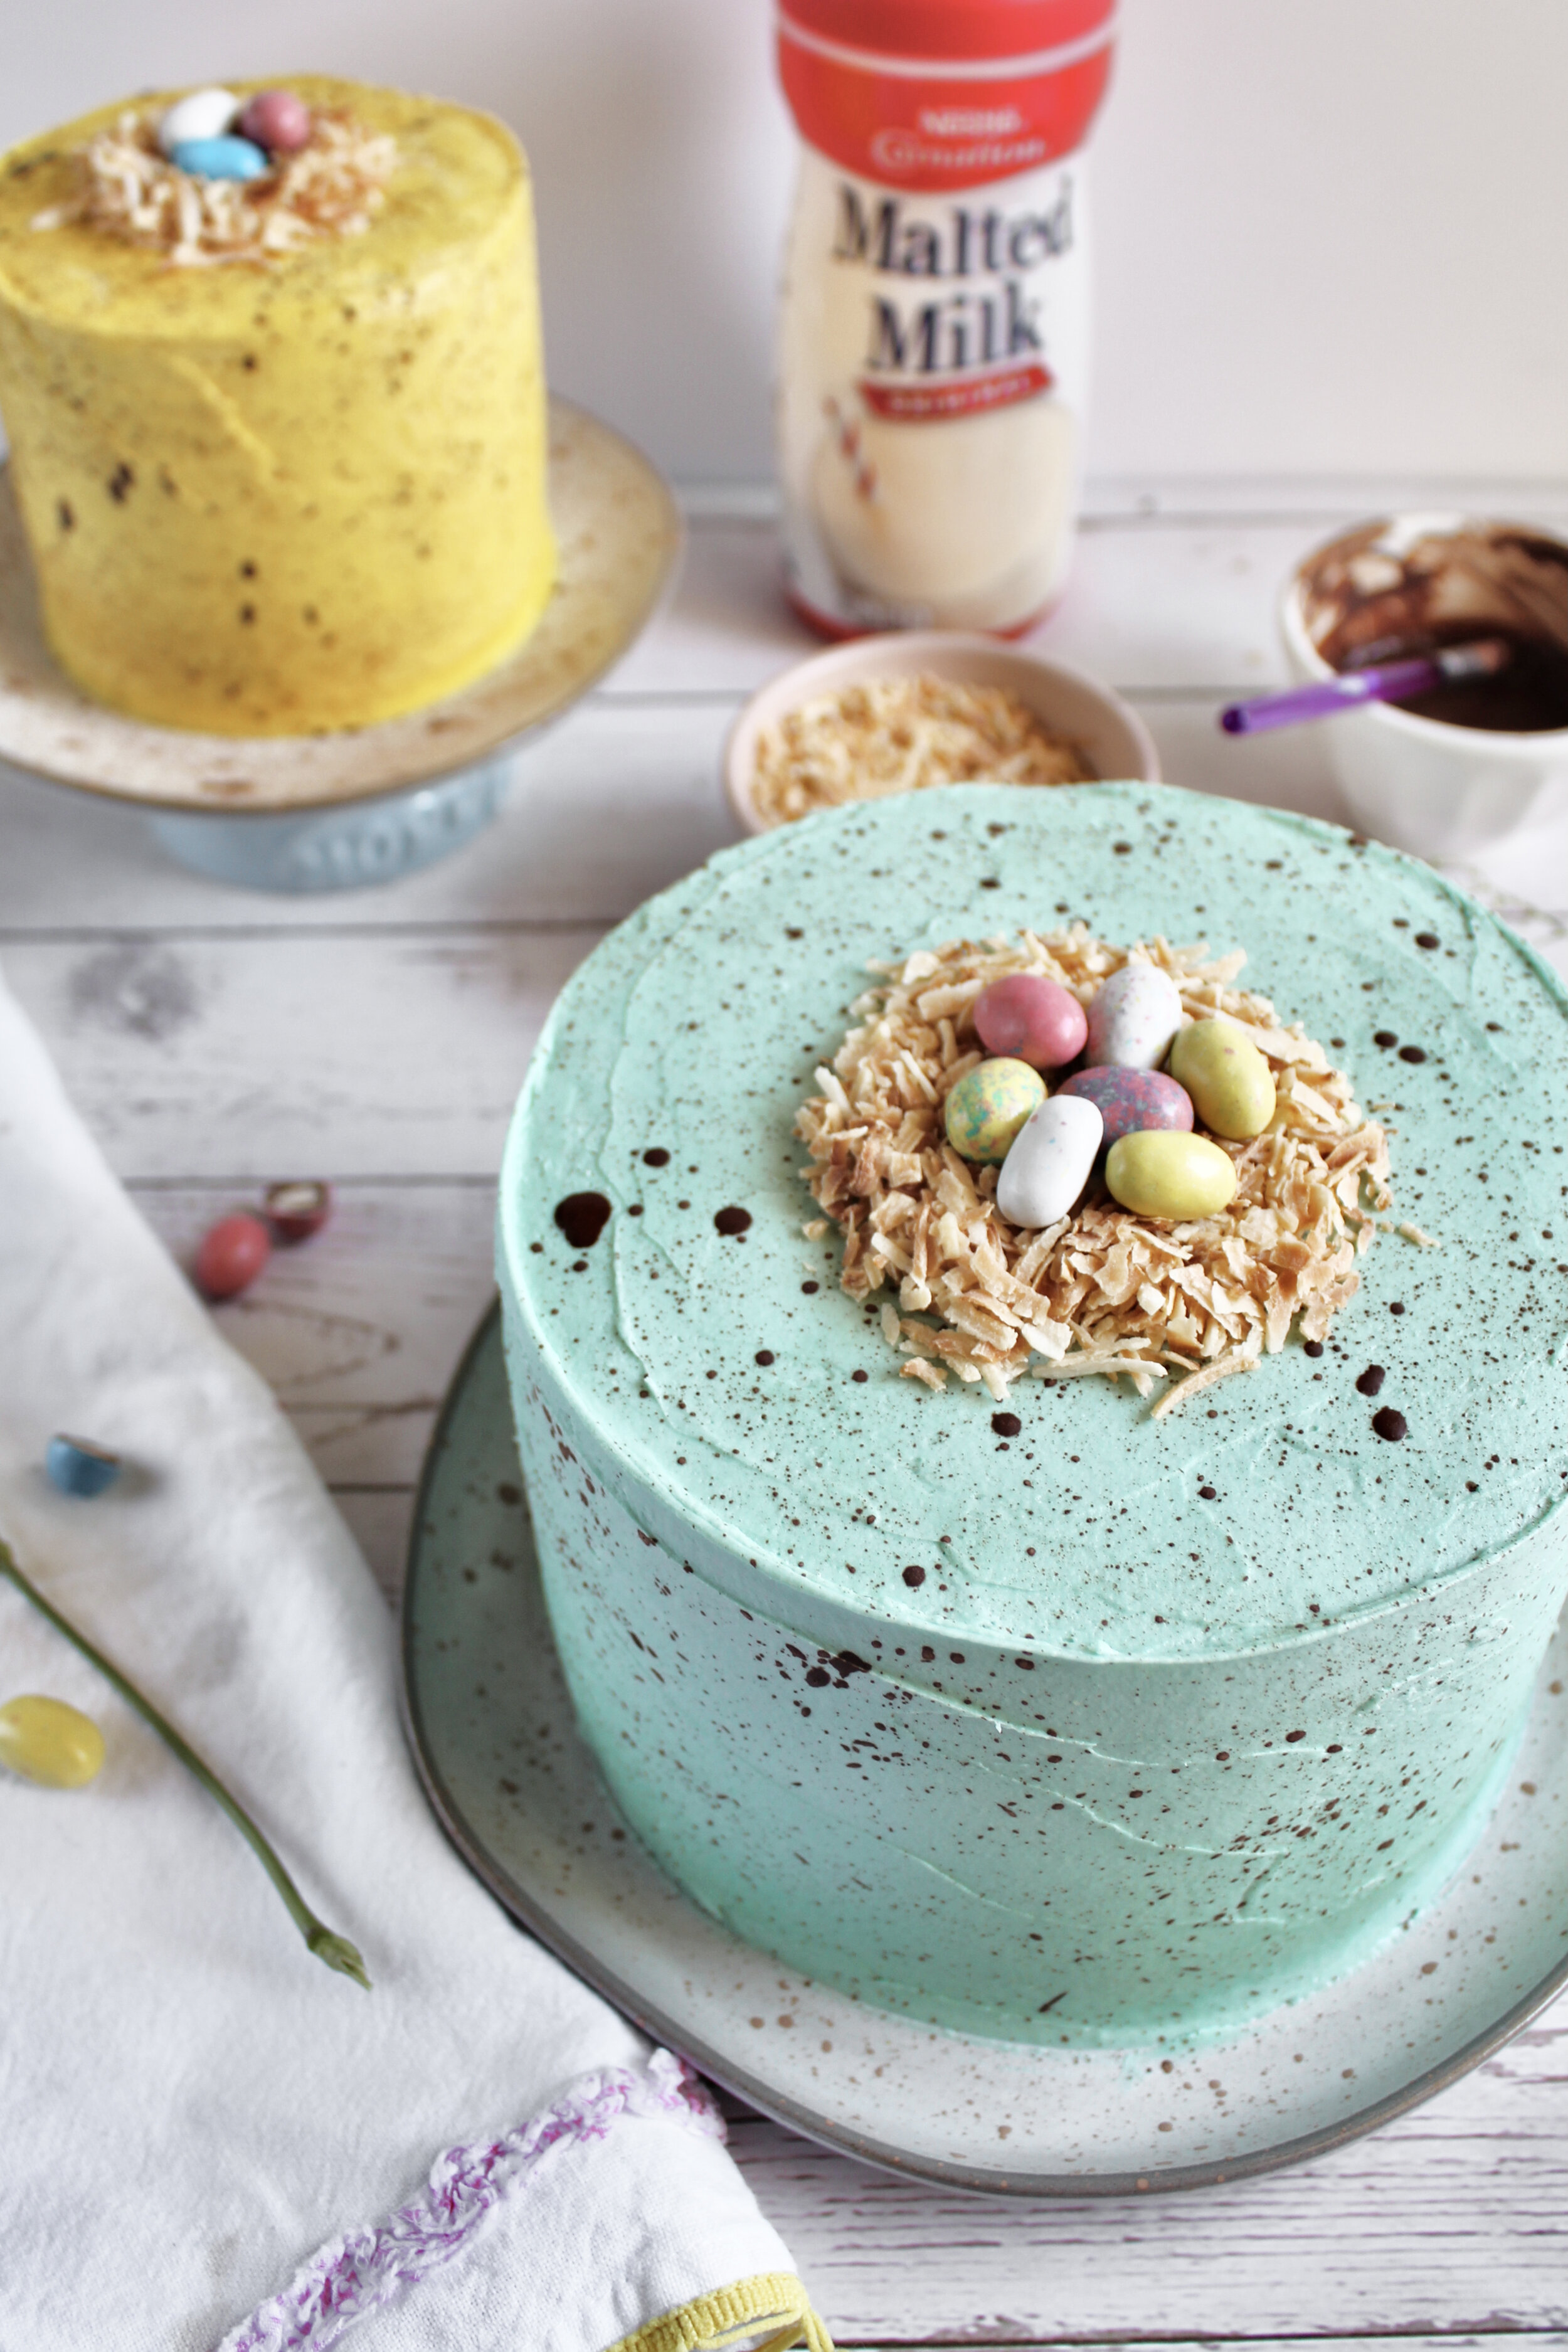
So when I started brainstorming for an Easter dessert this year, I had an idea to make a cake version of those Robin Eggs. And of course that led me to the decision to decorate the cake as a robin’s egg, because how cutesy is that?

Oh, and fun fact, this ended up being the fluffiest, moistest cake I have ever made. :)

Malted milk or chocolate malt?
I chose to use plain malted milk powder for a few reasons. One, I knew I wanted a plain malt buttercream on the outside, because that would be the easiest to dye robin’s egg blue. Two, I wanted to be able to control the amount of chocolate on the inside. I knew I wanted to work from my favorite chocolate cake recipe, which is already fairly rich, so I didn’t want to add any more chocolate to that. Three, I wanted to make sure the malt flavor didn’t get lost during baking, so I went for straight malt to maximize the flavor.

Many malt cake recipes call for chocolate Ovaltine or the like, which is perfectly fine. And you are absolutely free to use that instead! Just be aware that the malt may not be as strong and the cake may be more chocolate-y than malted milk chocolate-y.

You should be able to find malted milk powder at your local grocery story, but if not, you can order it online here.
How to make malted milk chocolate robin’s egg cake
I recommend making and dying the vanilla malt buttercream the day before to split up the work and also allow the color the deepen in the fridge overnight.

Before you dye it, reserve 1/3 of the frosting and mix with 1-2 tablespoons cocoa powder (optional, but so good!).

Make the cake layers. Sift then whisk together the dry ingredients.

Whisk the wet ingredients (except for coffee).

Slowly add in the coffee to the wet ingredients, whisking vigorously.

Mix the wet ingredients into the dry with the mixer on low. Scrape the bowl then beat on medium for exactly two minutes. Divide between prepared pans. Bake until a toothpick comes out with a few moist crumbs (not fully clean—that’s over baked).

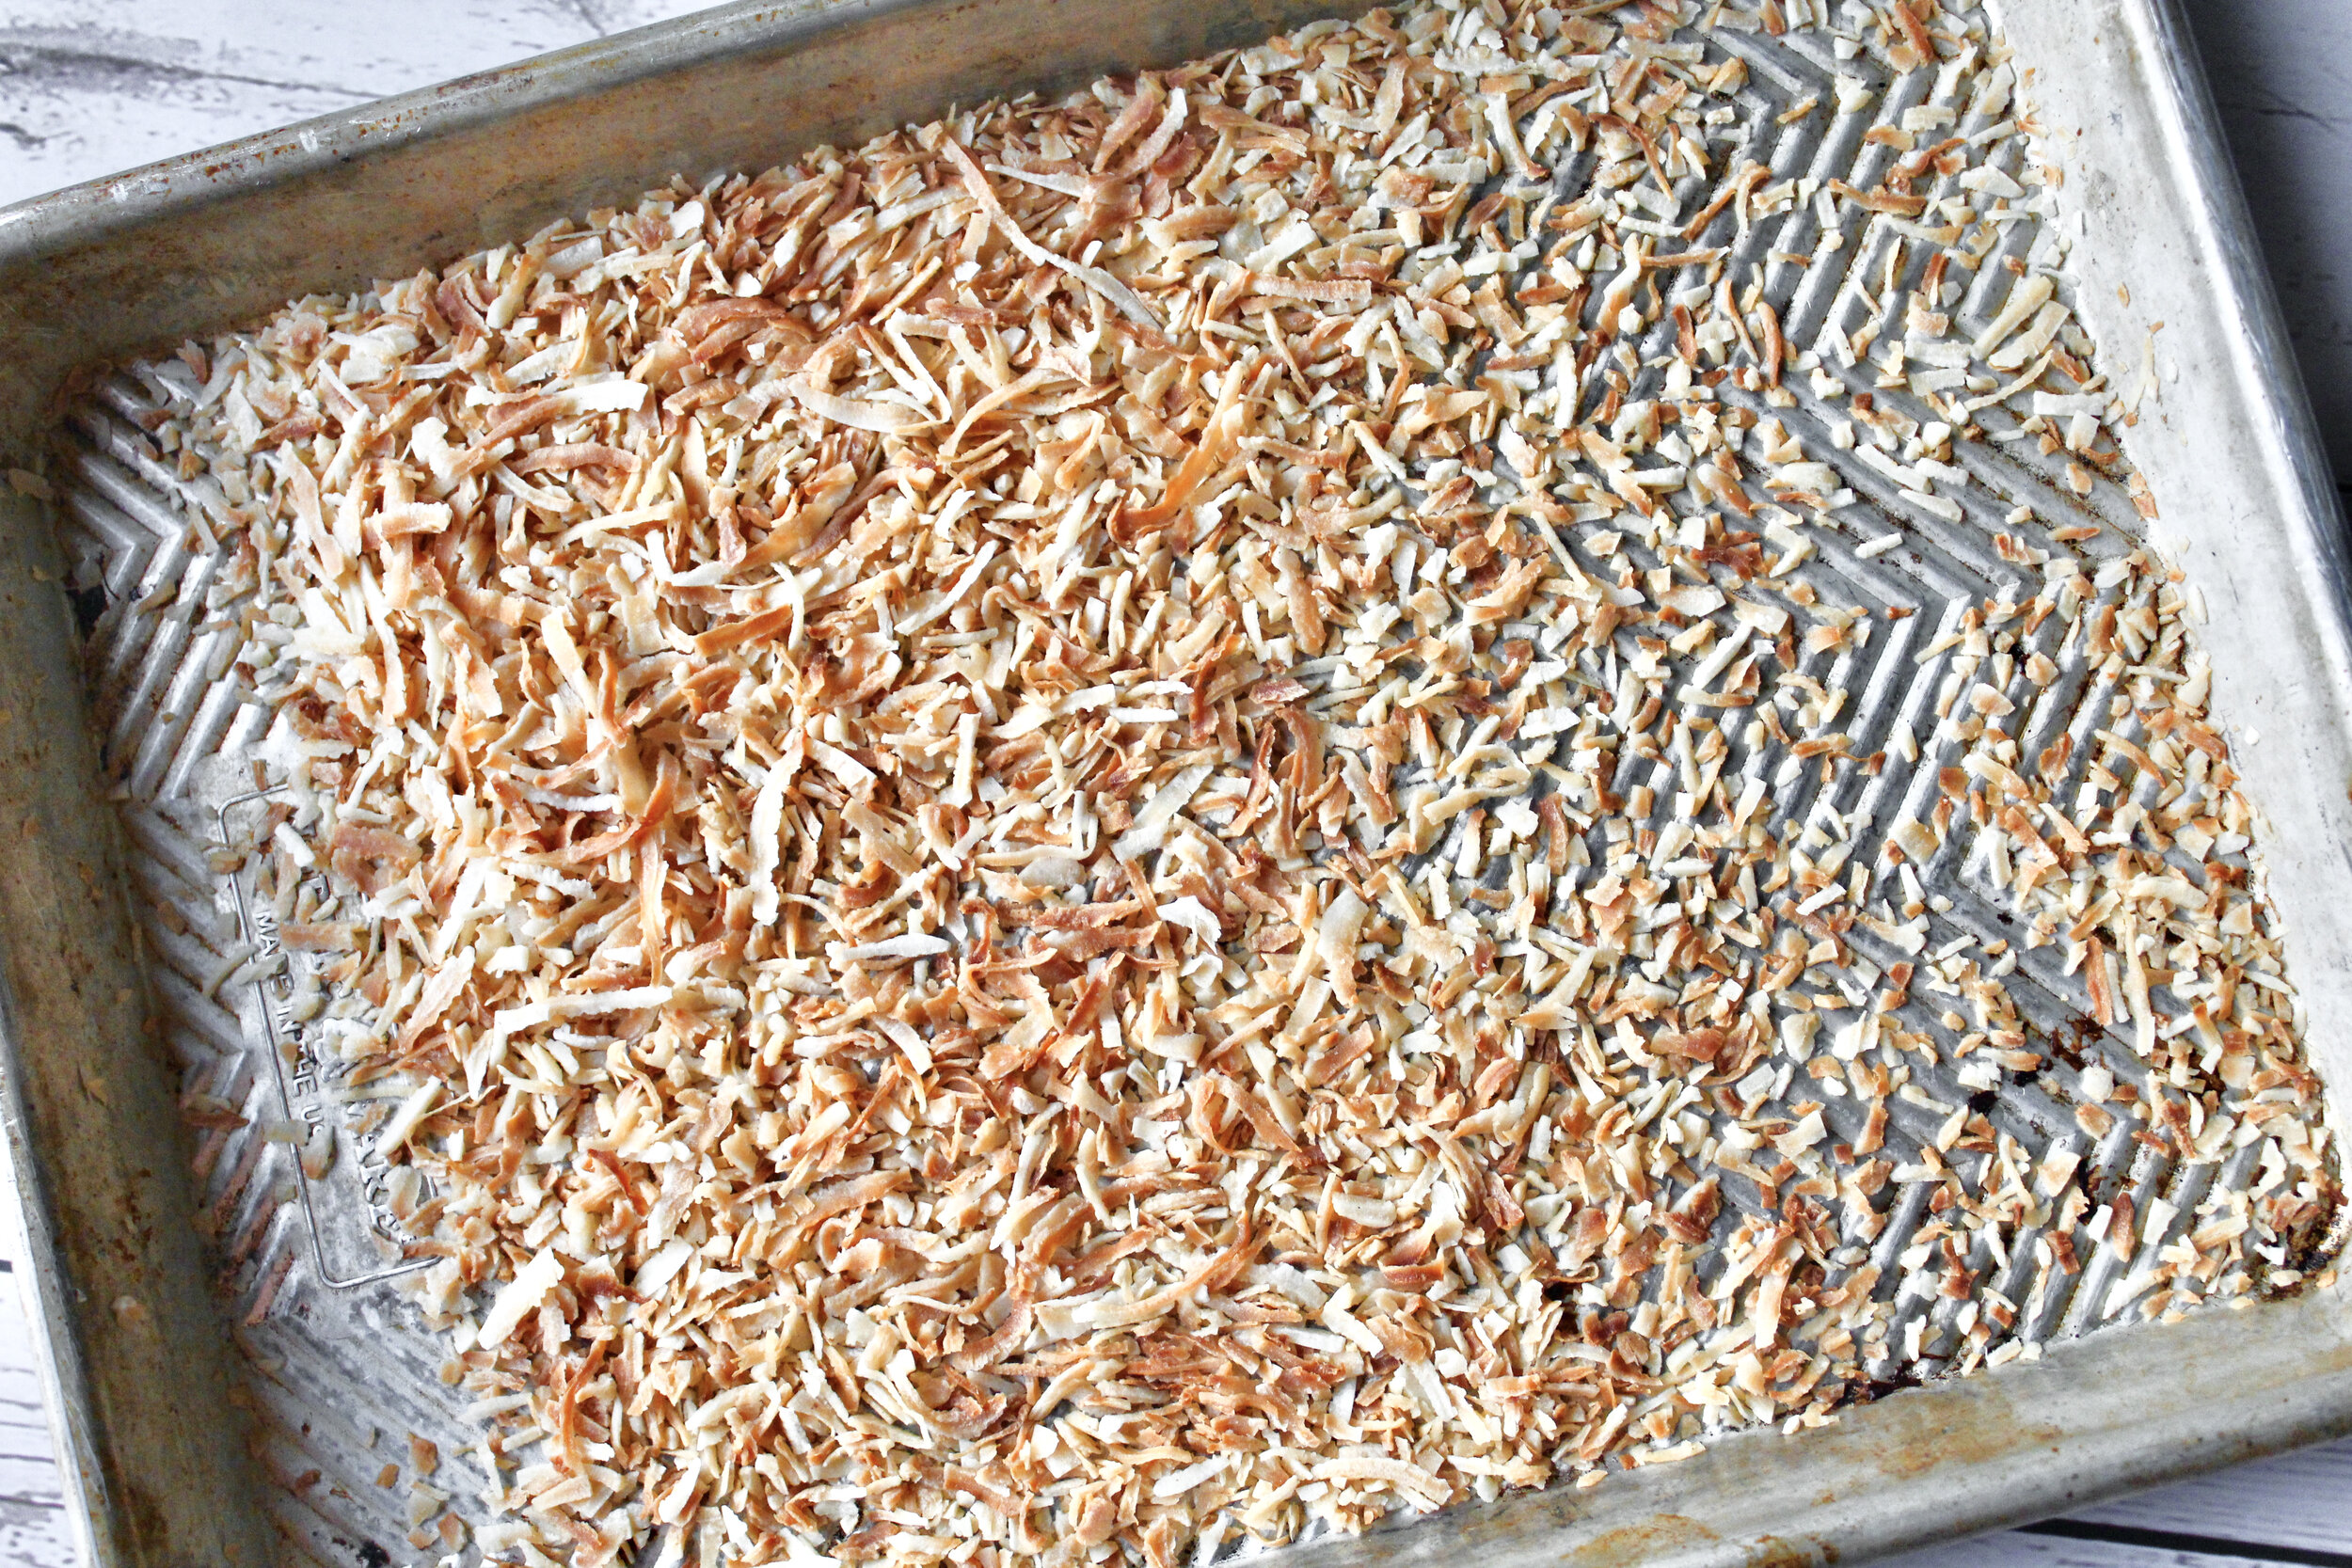
While you wait for the cakes to cool, toast some flaked coconut.
Fill the cake with the chocolate frosting. Crumb coat the cake, chill, then frost to desired thickness. Chill again.

Then speckle the cake! Mix cocoa and vanilla extract. Use a clean paint brush and run your finger over the bristles, basically flinging droplets of cocoa onto the cake. (I highly suggest practicing in your sink, first.)


Top with a small pile of toasted coconut, adding a small amount at a time and making a hole in the middle (this helps keep a nest-like shape to it).

Fill with mini Robin Eggs.

Tips and notes for this recipe
Spoon and level your flour
A top priority with cake making is getting the correct amount of ingredients. I used to just dunk my measuring cups into my flour like a pleb. Now I know how important it is to spoon your flour into the measuring cup then use the back of a knife to level it off. You can also weigh your flour to make it easier. This ensures your cake isn’t dry or dense.
Split up your baking
Making the buttercream ahead of time not only makes for less work later, it also gives your frosting a chance to 1) deepen in color and 2) smooth out. I also made my toasted coconut the night before, which isn’t a difficult step, but it was nice to have less to do the day-of. You can also bake your cake layers ahead of time. They can be double wrapped in plastic wrap and refrigerated up to 1 week or frozen up to 1-2 months (depending on your freezer). I’ve also been known to leave them on the counter overnight, but never longer than 12 hours.

On the flip side, if you’re baking this all in one day, you can put the cake layers (pan and all) in the freezer for about 10-15 minutes after they’ve cooled for 5-10 minutes.

Try different colors!
I had so much fun with the blue and yellow, but I also wish I’d tried pink and pastel green. There are so many spring and Easter colors to choose from, so feel free to pick your favorite!


Malted Milk Chocolate Robin’s Egg Cake
- prep time: 25-30 minutes
- bake time: 25-30 minutes
- decorating time: 15-20 minutes
- total time: 1 hour, 20 minutes (plus time for the cakes to cool)
servings: 12-16
Ingredients:
- one batch vanilla malt buttercream
for the malted milk chocolate cake layers
- 1 ⅔ cups (335g) sugar
- 1 ⅔ cups (238g) flour, sifted
- ⅔ cup (65g) unsweetened cocoa powder, sifted
- 1 cup (112g) malted milk powder
- 2 teaspoons (10g) baking powder, sifted
- 1 teaspoon (5g) baking soda, sifted
- ¼ teaspoon (3g) sea salt (or 1 teaspoon table salt)
- 2 eggs, room temperature
- 1 cup (240g) buttermilk, room temperature
- ½ cup (106g) avocado oil (can sub vegetable or canola oil)
- 1 tablespoon (13g) vanilla extract
- 1 cup (236g) hot, light roast coffee (or hot water)
for the malted milk chocolate filling
- 1 cup vanilla malt buttercream
- 1-2 tablespoons (7-14g) unsweetened cocoa powder, sifted
to decorate
- handful flaked coconut (sweetened or unsweetened)
- 1 tablespoon (7g) cocoa powder
- 1 teaspoon (4g) vanilla extract
- ¼ cup mini Robin Egg candies
Instructions:
- If possible, make the vanilla malt buttercream ahead of time. Reserve ⅓ of it to mix with cocoa for the filling. Dye the rest sky blue (or desired color) using 2-3 drops gel food coloring, before the final whip stage. Refrigerate overnight to smooth the frosting and deepen the color. Let come to room temperature on the counter then stir before using.
make the malted milk chocolate cake layers
- Preheat oven to 325. Prepare two 8” or 9” cake pans by greasing lightly with butter and flour or using baking spray. Line with parchment paper. (You can also use three or four 6” pans or even three 8” or 9” pans to make room for extra filling).
- In the bowl of your stand mixer (or a large mixing bowl), whisk together the sugar, flour, cocoa, malted milk powder, baking powder, baking soda, and salt, sifting as directed. Set aside.
- In a medium to large mixing bowl, whisk together the eggs, buttermilk, oil, and vanilla extract until well-blended, about 30 seconds. (I like to make my coffee at this point so it’s very fresh.) Very slowly stream the hot coffee into the egg mixture, whisking vigorously as you go so you don’t scramble the eggs. Do this in segments if needed so you can whisk well.
- With the paddle attachment (or a hand mixer) on low, slowly pour the wet ingredients into the dry. This should take at least 30 seconds, and the batter will clump up then thin out.
- Once all the wet ingredients are added, immediately turn off the mixer. Scrape down the sides and bottom of the bowl. Beat on medium for exactly 2 minutes (set a timer).
- Divide batter evenly between prepared pans. Firmly tap each pan on the counter twice to release the larger air bubbles. Bake for 25-30 minutes (less if using more than two pans), until a toothpick inserted in the middle comes out with a few moist crumbs (avoid waiting until it comes out perfectly clean--that usually means it’s over baked). Check early, as bake times vary by oven and climate. Rotate pans halfway if not using convection.
- Let cakes cool in the pan 5-10 minutes then remove to a cooling rack until completely cool. See note about using the freezer to speed up the cooling process.
assemble and decorate
- While the cake is chilling, or when ready to assemble, toast the coconut flakes by spreading in a thin layer on a rimmed baking sheet. Bake at 350 for 10 minutes, gently shaking the pan to toss the coconut halfway through. Watch carefully, as coconut will burn quickly. Let cool while you frost the cake.
- To the buttercream you reserved, add 1-2 tablespoons cocoa powder and stir well or beat with a hand mixer until smooth. Taste, adding more cocoa as desired.
- Remove any domed cake tops with a serrated knife. Fill the cake with the malted milk chocolate buttercream. (Pro tip: if you cut off domed tops, place that face-down so you are spreading frosting onto the bottom side of the cake, which will not create as many crumbs.)
- Spread a thin coat of the dyed vanilla malt buttercream on the top and sides of the cake. Chill for at least 10 minutes, until the crumb coat is stiff to the touch. Spread the remaining frosting (or desired amount) on the cake, getting it as straight as possible (going slowly and using a cake turner helps). Chill until the frosting is firm.
- Make the robin egg spackle by mixing the cocoa powder and vanilla extract until a thin consistency.
- Using a pastry brush or clean paint brush (I use cake paint brushes), splatter the cocoa onto the cake by holding the brush a few inches from the cake and running your finger over the bristles and away from the cake. It can help to practice this by splattering it into the sink a couple times to get a feel for it. Spackle until your desired look is achieved.
- Once spackled, create your egg nest by spreading a teaspoon of toasted (and cooled) coconut in the center of the cake. Create a hole in the middle with your finger. Keep adding small amounts and re-forming that middle hole each time, which will help build up rounded edges for the nest. Once you are happy with how big the nest is, fill with mini Robin Eggs candies.
Enjoy!
Leftovers should be stored with a piece of plastic wrap directly touching and covering all cut edges then the entire cake should be covered well in plastic wrap or placed in an airtight container. Cake will last for 3-5 days.
