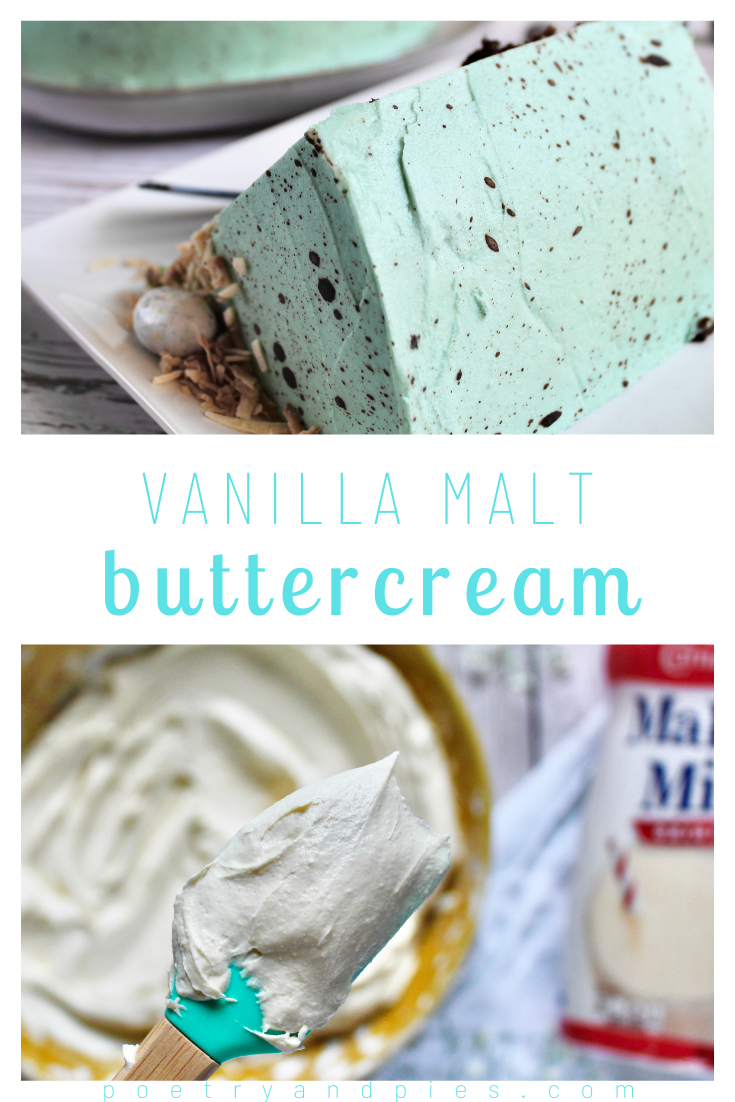
Vanilla Malt Buttercream
Creamy vanilla frosting with a pop of malted milk flavor reminiscent of malted milkshakes. Inspired by old fashioned shakes and robin egg candies, this frosting is versatile and perfect for malt lovers yet still great for anyone, with the mellow, smooth flavors balancing each other perfectly.
This post may contain affiliate links from which, at no additional cost to you, I may earn a small commission to keep this site running. Only products I myself would or do use are recommended.

Do you have those foods that make you think of being a kid? I’ve found that malt is a common one. It reminds people of their grandparents (which makes me feel old for liking it) or old fashioned malted milkshakes or of getting Whoppers on Halloween. And I found people either loved or hated Whoppers. I was always happy to trade for them.
I always felt so grownup having candy like Whoppers or Robin Eggs, because it’s what my mom liked and I didn’t know any other kids who liked it. Ah, but then I tried malted milkshakes. We had a Johnny Rocket’s at our mall and my mom and I would go there for special dates. It’s what really made me a huge fan of malts. Again, they seemed old fashioned. Sophisticated.
Where do you stand on the malt debate? Yay or nay?
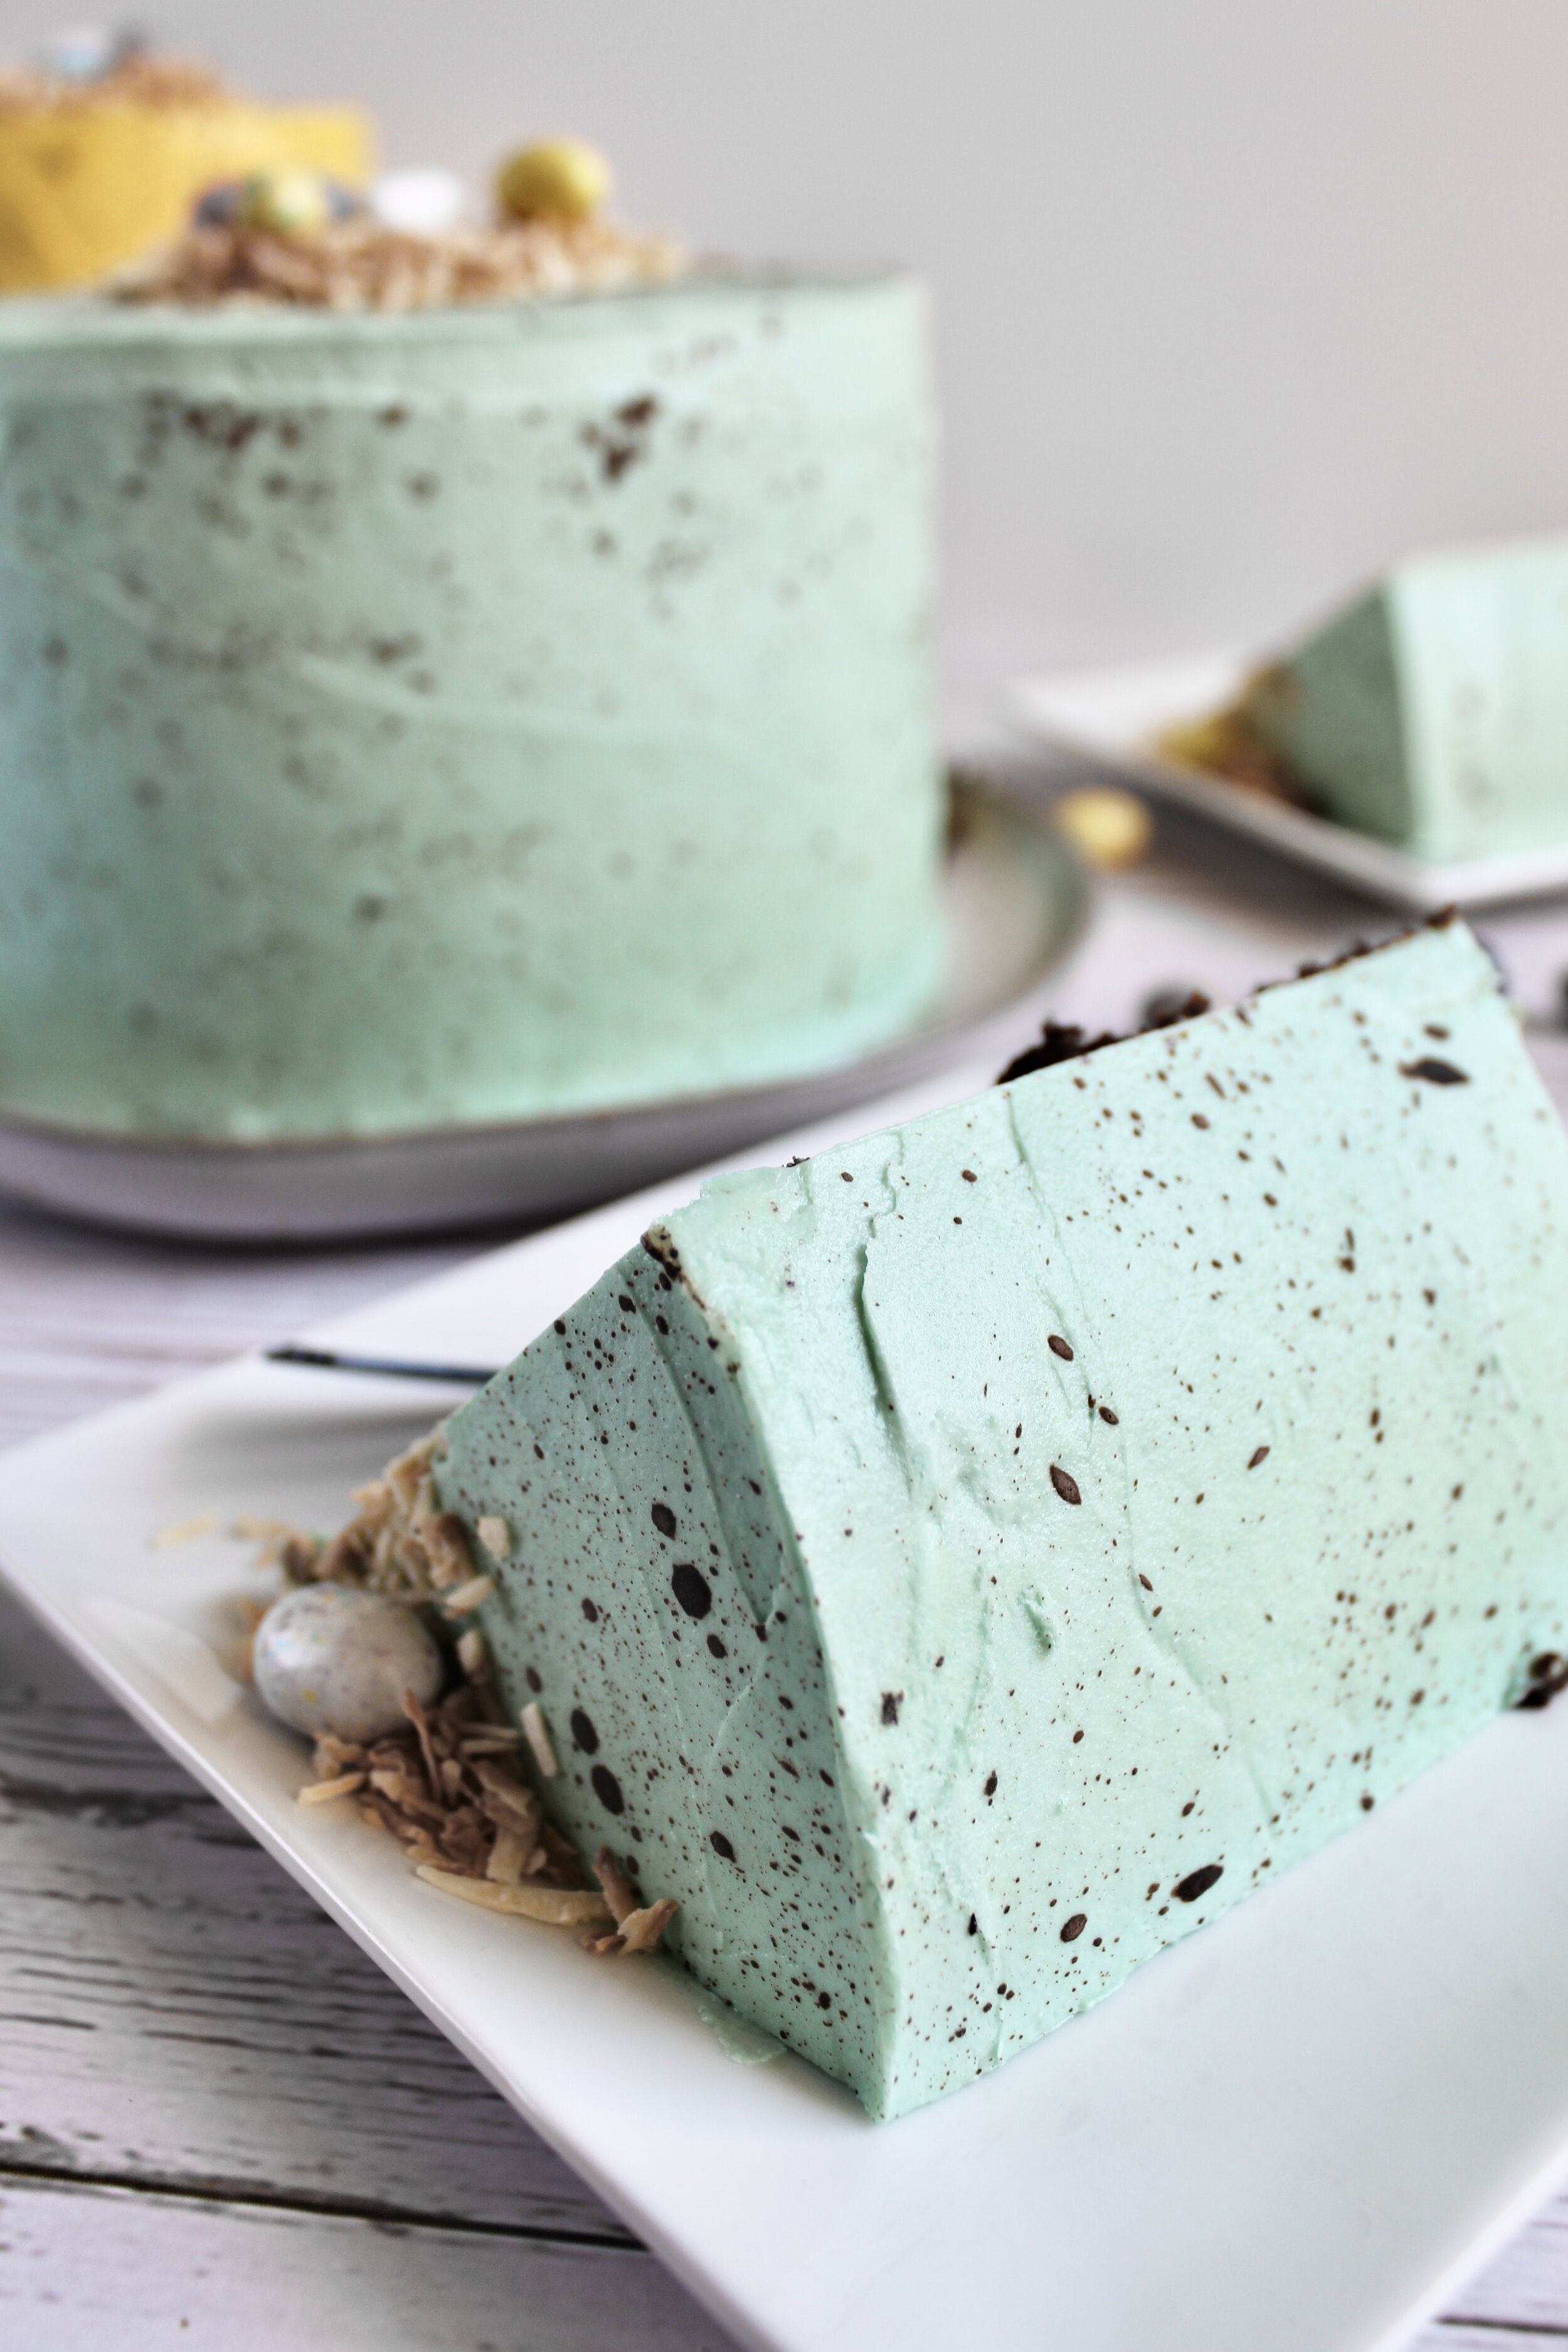
For Easter this year, I chose to make vanilla malt buttercream to mirror the inside of a Robin Egg. I chose plain vanilla to go with it because I really wanted the malt flavor to shine. This buttercream really does highlight the two flavors of vanilla and malt. And for malt lovers, it’s perfection.

Fun fact: the malt powder you get at the store is made from the same grains that make beer and whiskey.
How to make vanilla malt buttercream
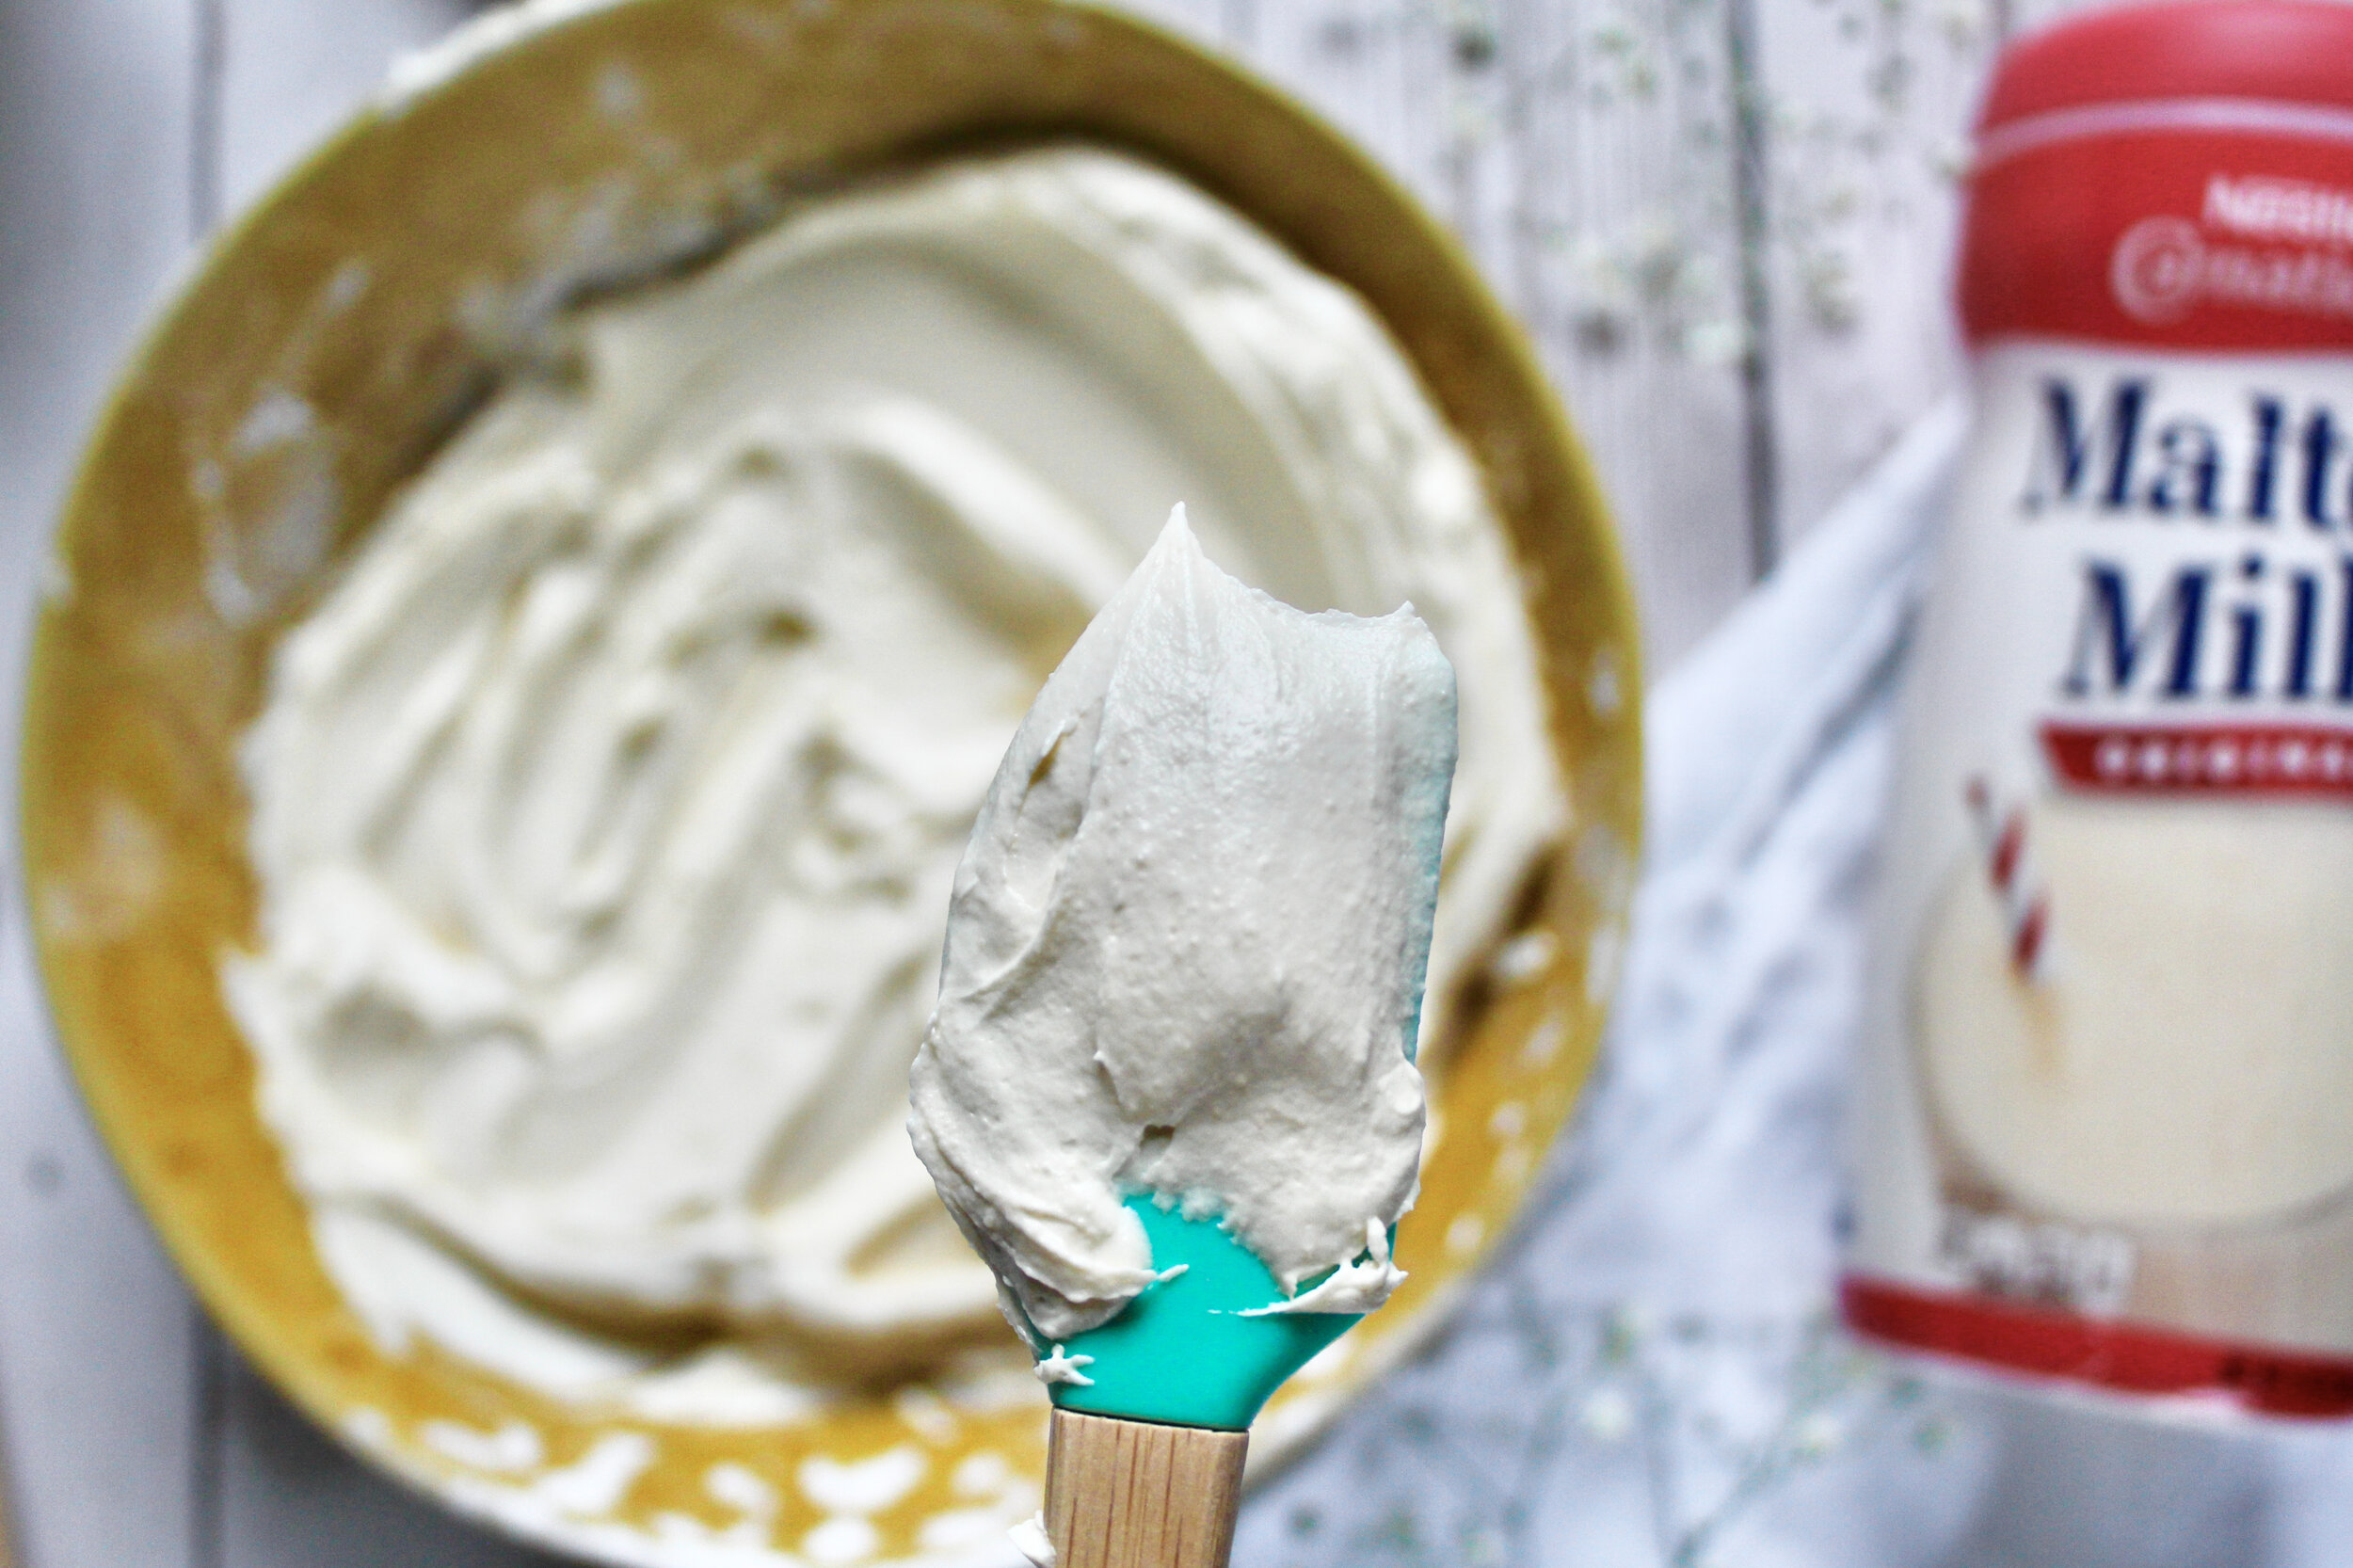
First, cream the butter and malted milk powder. The one part of this frosting that’s persnickety (see? talking about malt makes me my grandpa) is the order in which you add the malt powder. You want to cream it with the butter before adding any powdered sugar. You can add extra later if the flavor isn’t strong enough, but the bulk of it should be added at the beginning so that it can blend smoothly.

Next, add in the powdered sugar, one cup at a time, beating until smooth each time and scraping the bowl as needed.

Add in the vanilla and heavy cream (optional). Taste. Only add salt if truly needed, since the malt powder already has sodium in it. At this point, add more malt if needed, as well.

Beat on high for 3-5 minutes, scraping the bowl as necessary. This part is non-negotiable, as it really helps make the frosting smooth. Stir for a couple minutes to release the air bubbles. You can also dye it at this point, too!

Pair this with:
The options are endless! But I happen to think this pairs well with any of my chocolate cakes.
My signature Chocolate Cake
The Dark Chocolate Cake layers in this cake are perfect to complement the mellow malt!
Fluffy Vanilla Cupcakes would pair well with the vanilla in the malt buttercream!
Tips and notes for this recipe
What kind of malted milk powder to use
I feel like Ovaltine is probably the most famous type of malt powder. However, Nestle was on sale at our Safeway, so that’s what I went with. I’m not exactly a malt connoisseur (is there even such a thing?), but I feel like most brands are similar, as long as it’s a brand you trust. Most grocery stores carry it, usually near the hot cocoa mixes. Thankfully, that’s in the same aisle as the baking goods at our store, which means it’s my #1 most visited aisle…

Refrigerate overnight if possible
When you refrigerate buttercream, it helps smooth it out quite a bit. Plus, it helps the flavors deepen. Since each brand of malt powder is different, you may feel like your buttercream is grainy. Covering it and putting it in the fridge overnight then giving it a good stir once it comes to room temperature is really helpful in smoothing out any remaining graininess.
Follow the directions to get a smooth buttercream
I sound like such a teacher, but it’s true! I’ve read a lot of malt buttercream recipes, and some people just add the malt at any point in the process. Usually, that’s fine. But sometimes, like with my marshmallow buttercream, you need to add in your unique ingredient with the butter, as opposed to my chocolate hazelnut buttercream, which does best with the chocolate hazelnut spread added after the powdered sugar.
Also, don’t skip the 3-5 minute beating at the end. It makes a world of difference in getting things smooth.
My buttercream tools
Here are my must-have tools I use for making this buttercream. Affiliate links provided.


Vanilla Malt Buttercream
- total time: 10-15 minutes
yields: about 3 cups (enough to thickly frost a 2-3 layer cake or 24 cupcakes)
Ingredients:
- 2 cups (16oz) unsalted European style butter, softened
- ½-⅔ cup malted milk powder (to taste)
- 5-6 cups powdered sugar
- 1 tablespoon pure vanilla extract
- 2-4 tablespoons heavy whipping cream (optional)
- pinch sea salt (optional--use only if needed)
Instructions:
- In the bowl of your stand mixer, beat butter on high until smooth, about 30 seconds. Add in ½ cup of the malted milk powder and beat on high until light and fluffy, 1-2 minutes, scraping the bowl as needed.
- Scrape the bowl with a rubber spatula. Add in powdered sugar, one cup at a time, beating on low then increasing speed to high for 1 minute, until smooth. Scrape the bowl as needed. Taste as you go and only add as much powdered sugar as needed.
- Add in the vanilla extract and beat until smooth.
- Taste buttercream. Add in more malt powder or powdered sugar, to taste, and beat well before proceeding. Only add in salt if it truly needs it for flavor, as the malt powder has sodium.
- If it’s too thick, add in heavy whipping cream, one tablespoon at a time, until spreadable. Don’t worry if it’s grainy--the next step will help with that. Don’t add too much cream, as it’s impossible from recovering from making it too loose.
- Once the flavor is well-balanced and to your liking, scrape the bowl then beat on high for 3-5 minutes, stopping once to scrape down the bowl. This will smooth it out quite a bit. Stir vigorously for a minute to release the air bubbles. Note: if, after beating for 5 minutes and adding some heavy whipping cream, it’s still too grainy, you can refrigerate it for a few hours or overnight. This helps smooth out most frostings. Just remember to let it come to room temperature on the counter then stir well.
Enjoy!
Frosting can be made ahead and stored in the fridge in an airtight container for up to 2 weeks or in the freezer for up to 2 months.