
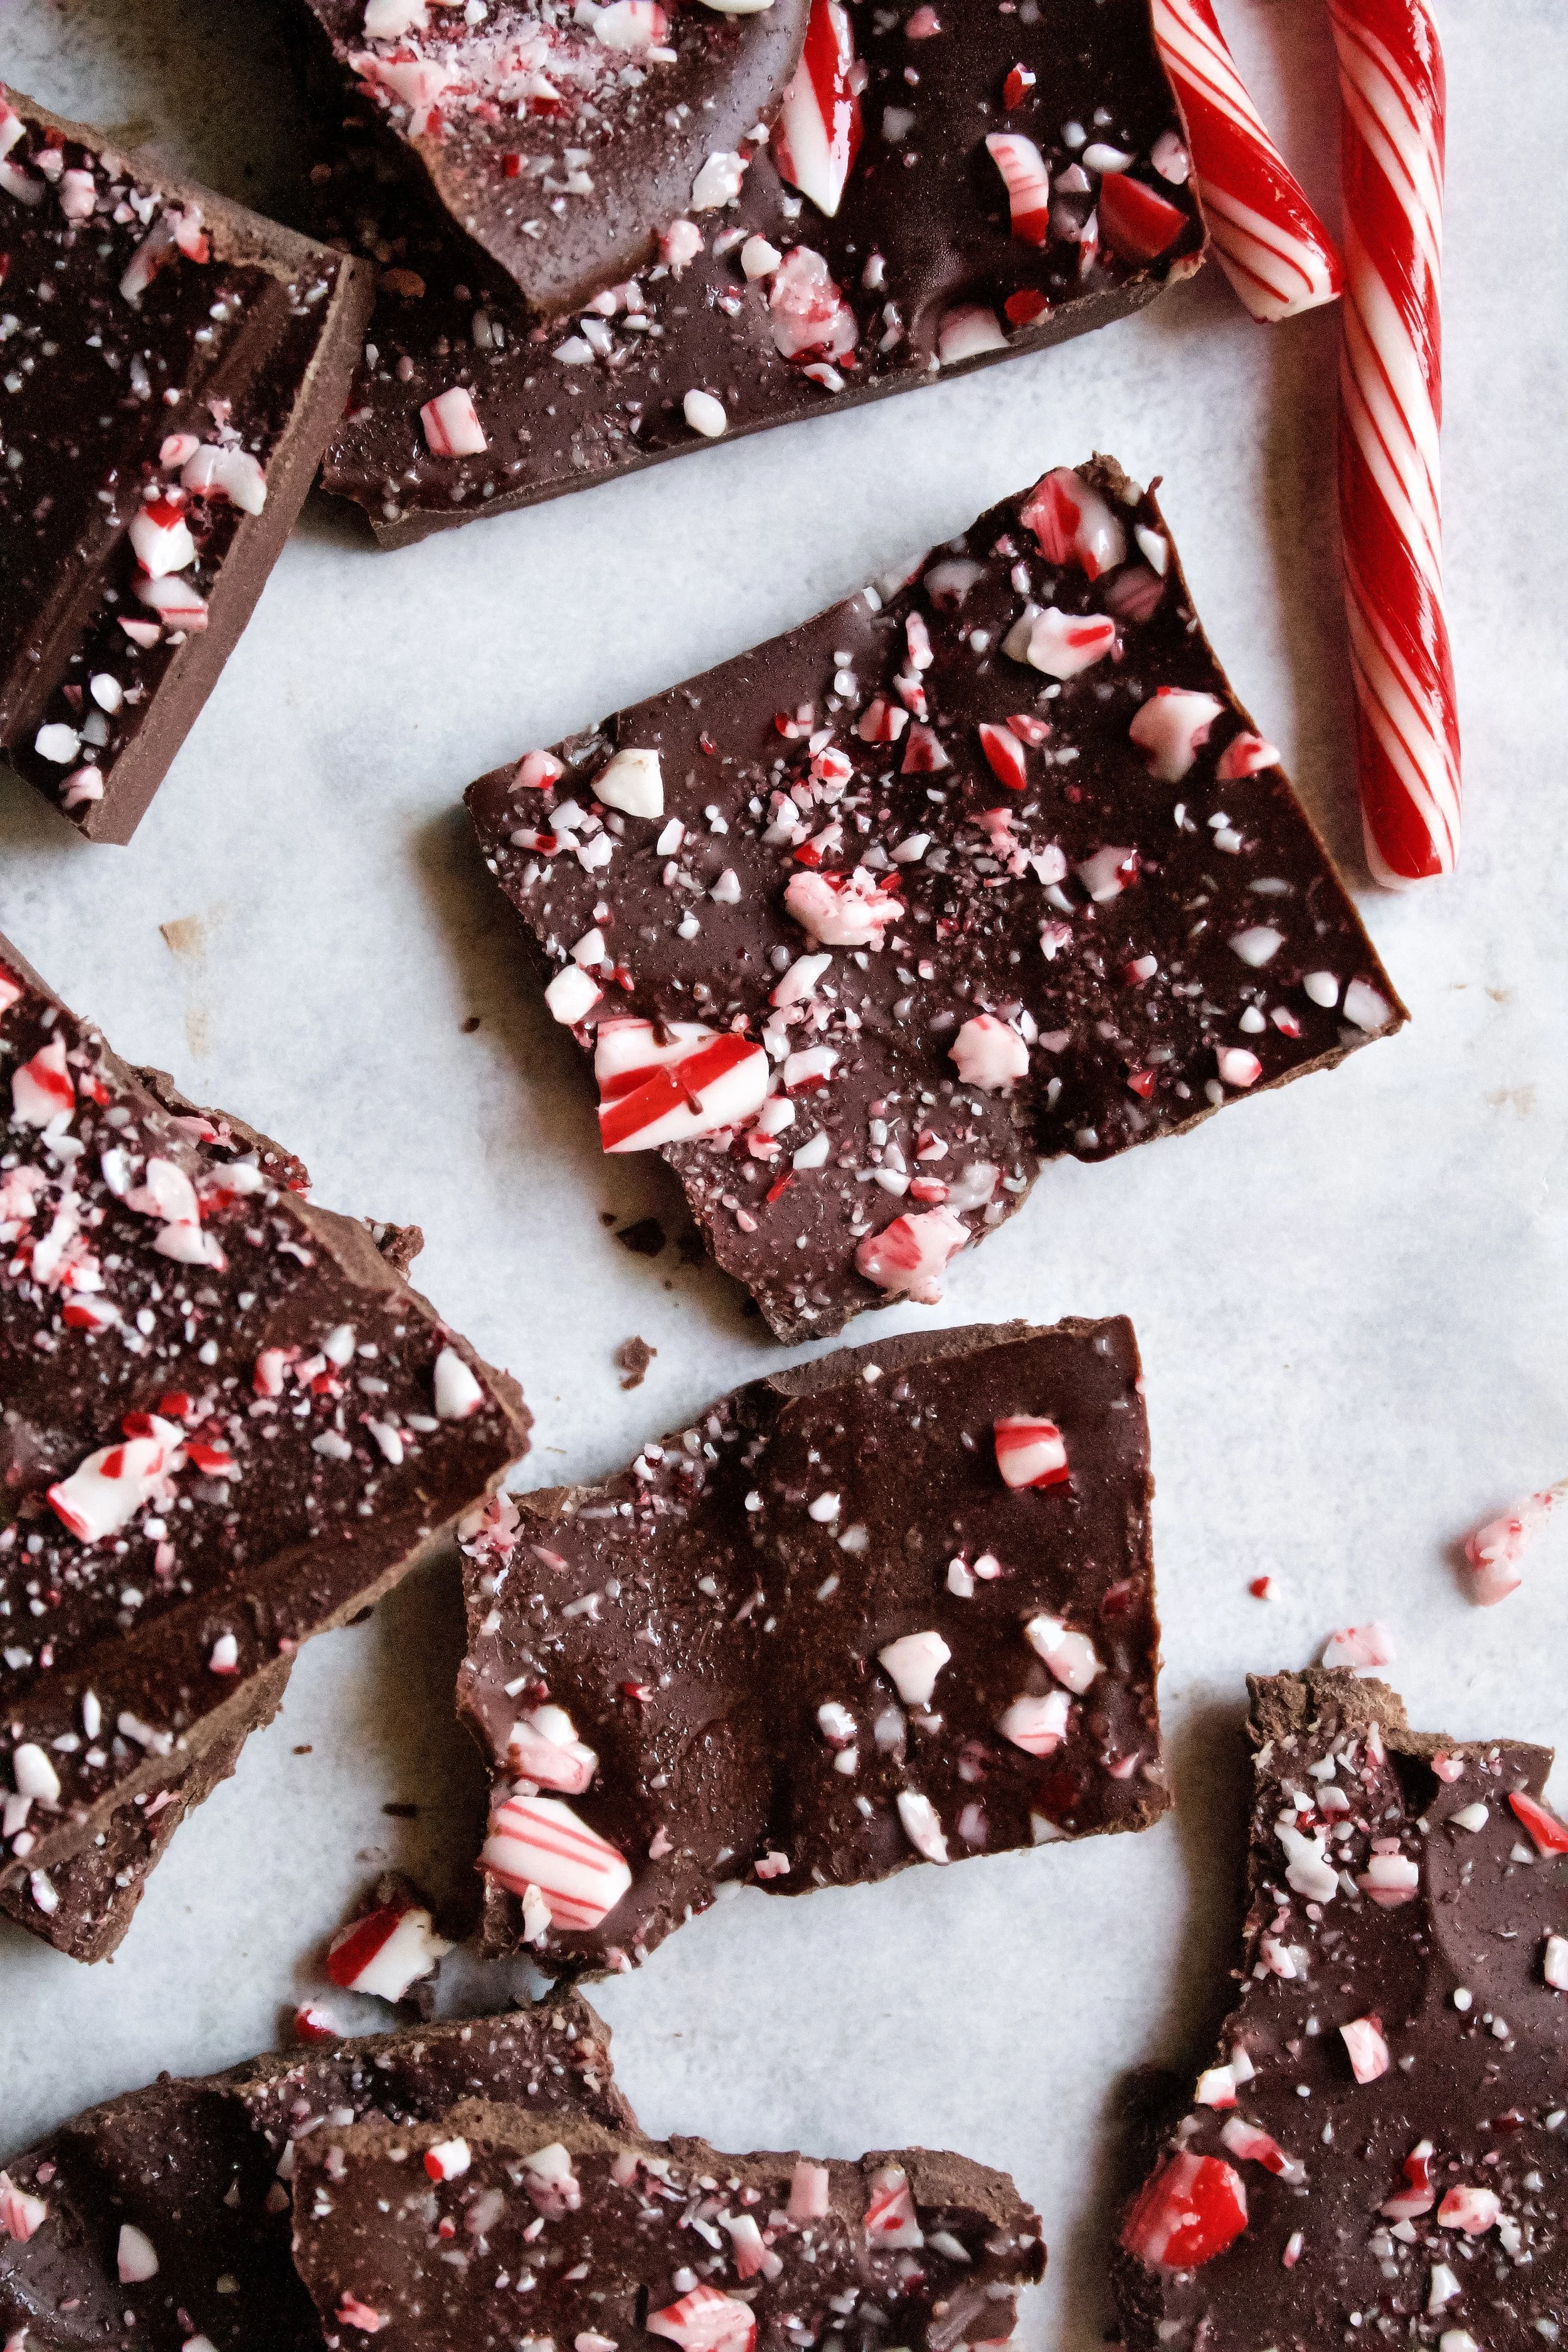
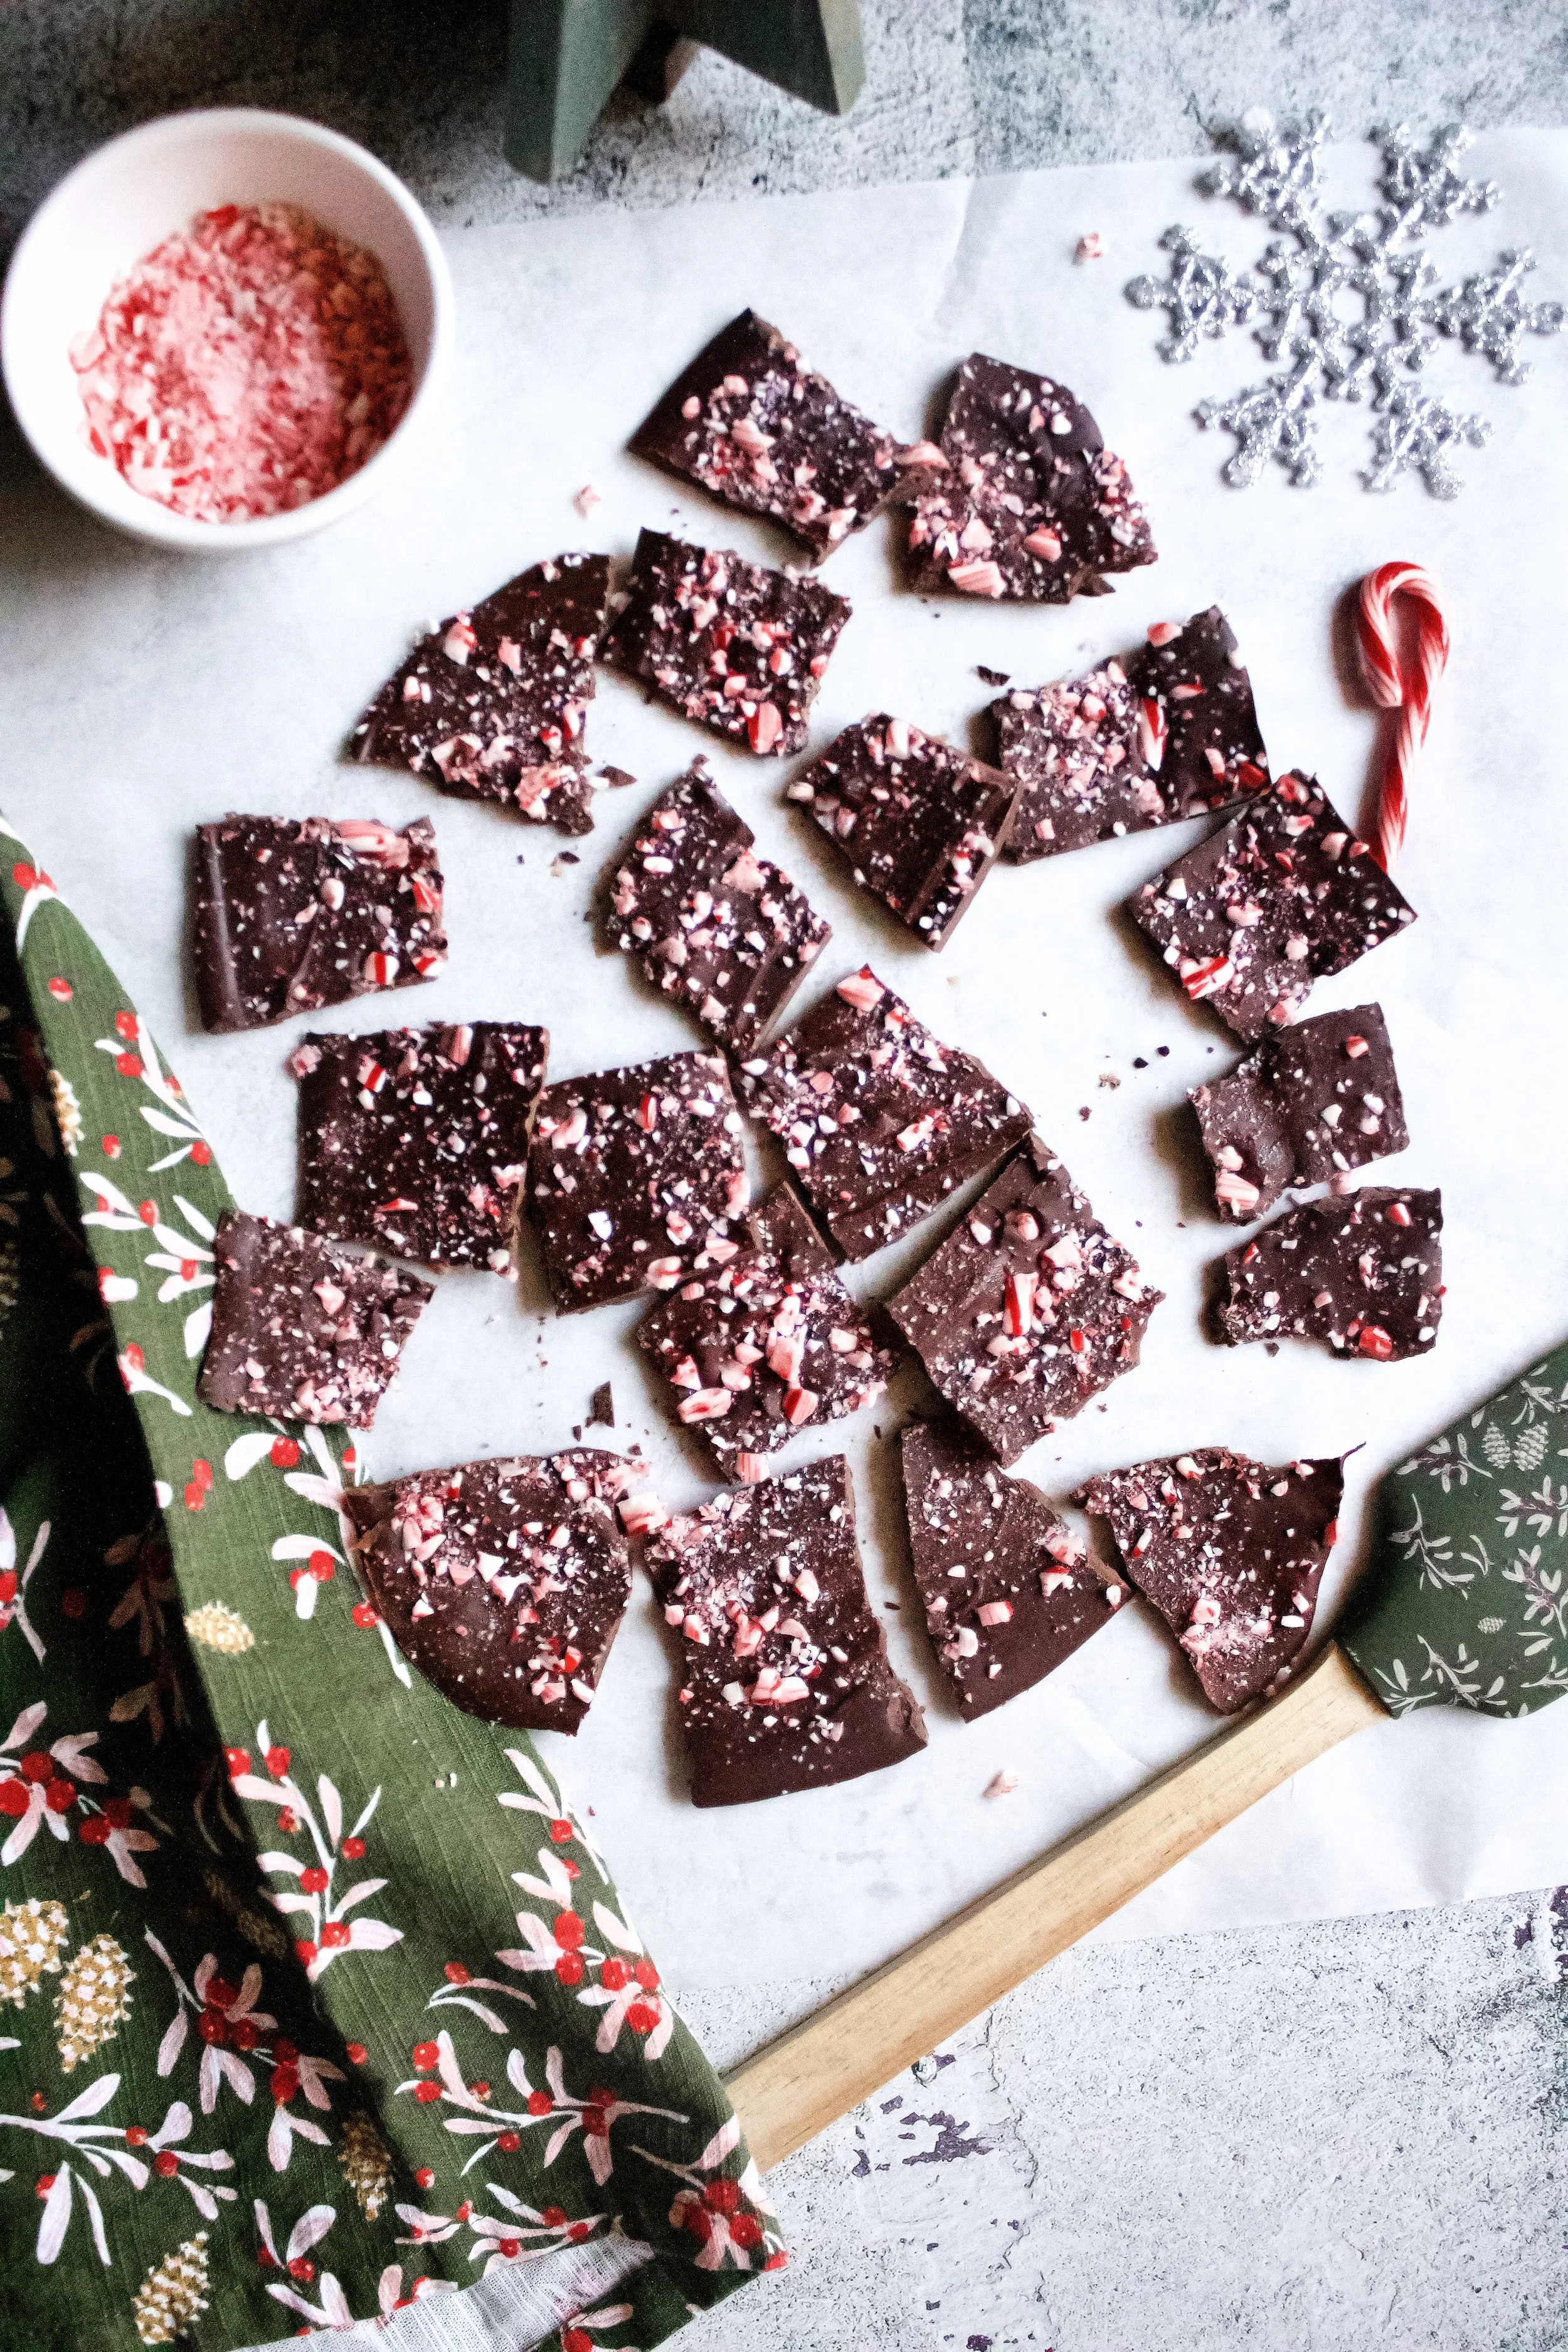
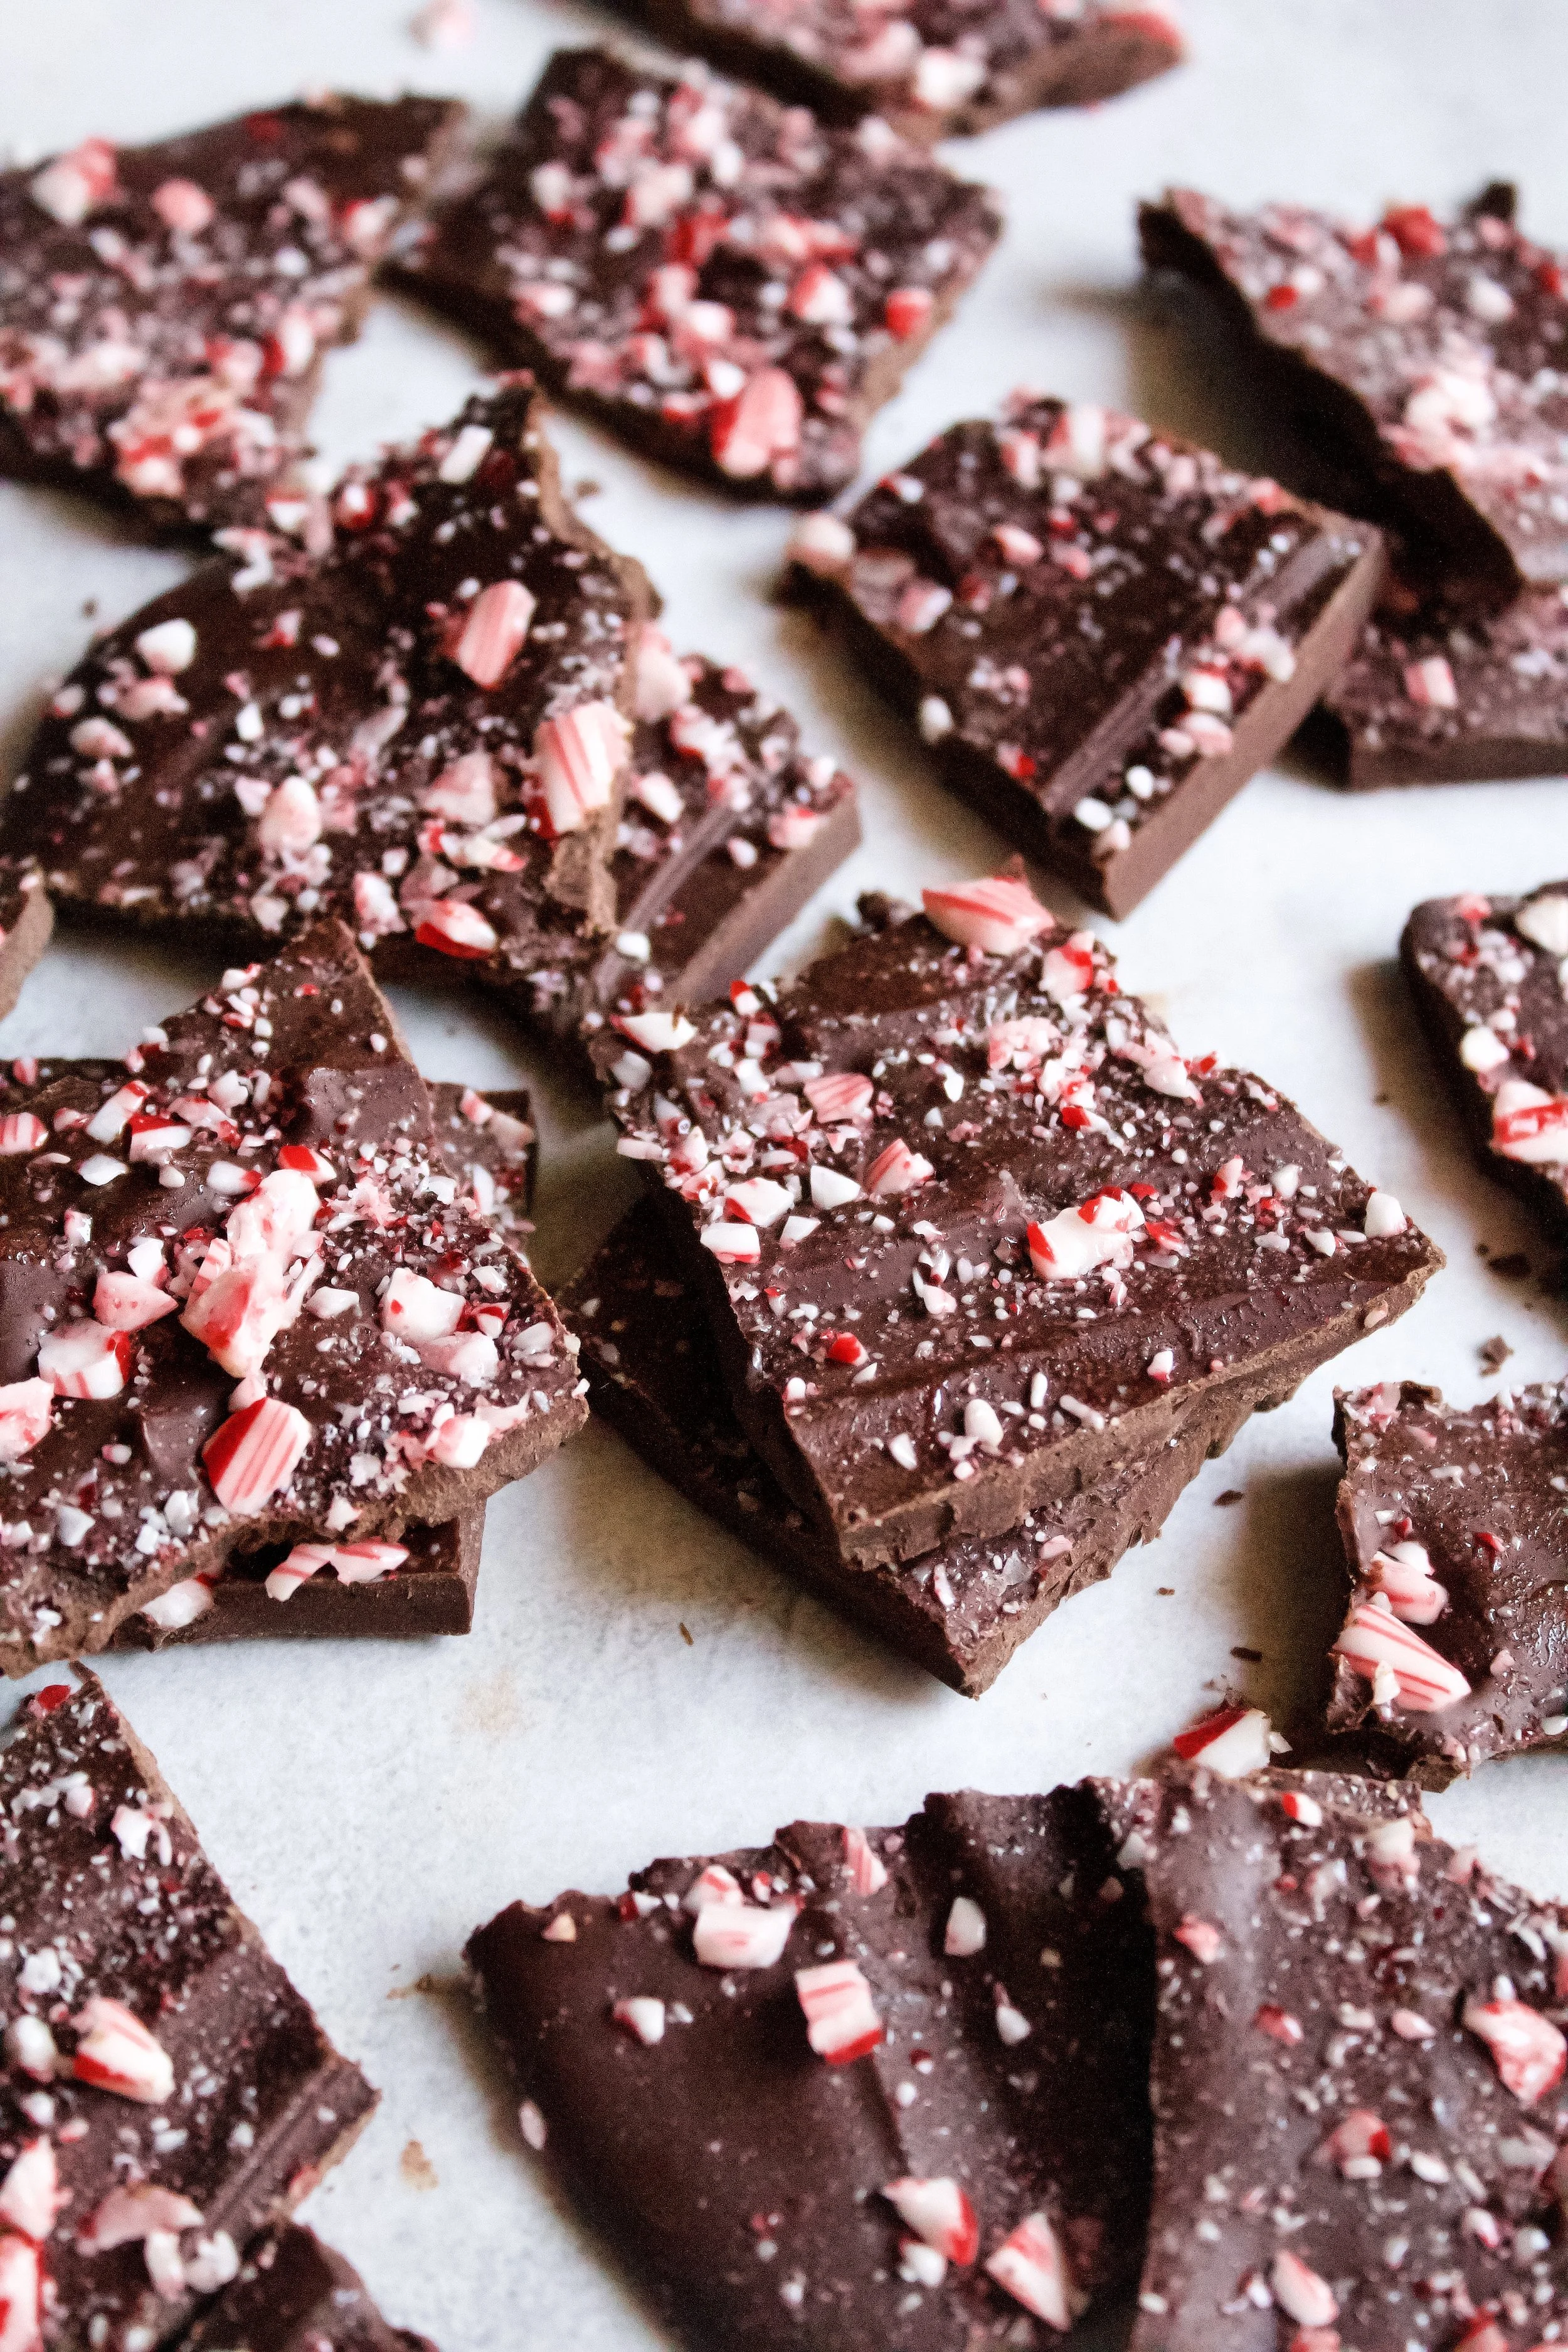
Dark Chocolate Peppermint Bark
An extra chocolatey twist on the classic candy, this candy is simple to make and even easier to eat! Top holiday cupcakes with a piece, bring it as a last-minute dessert to a party, or just make a batch to munch on all season long!
This post may contain affiliate links from which, at no additional cost to you, I may earn a small commission to keep this site running. Only products I myself would or do use are recommended.
Greetings from the house of sickness. Which I suppose is gauche to talk about, but it’s the truth. I managed to avoid it for a solid week while everyone else was out, and now it got me, too.
I’m just hoping double crossed fingers that I’m better by my birthday in a few days. Not that I mind an excuse to stay in bed all day. That certainly sounds nice.
So another way I’m taking it easy to day is writing about a SUPER easy recipe. Like, not really even a recipe, but still worth sharing. Plus, there are so many uses for this bark. I’ve topped cakes and cupcakes with it. And I also love crushing it over ice cream, because ice cream is for all year long, even when it’s freezing out. Just eat it in front of a fire and you’re good!
I’m a bit obsessed with bark candies. They’re soooo easy to make, but you can still make them fun and unique and always delicious. It all started with white chocolate peanut butter monster bark. I couldn’t believe how simple yet delicious that recipe was. From there I made cranberry bliss bark and unicorn bark, with a few failed attempts at pumpkin bark here and there. But the possibilities are endless!
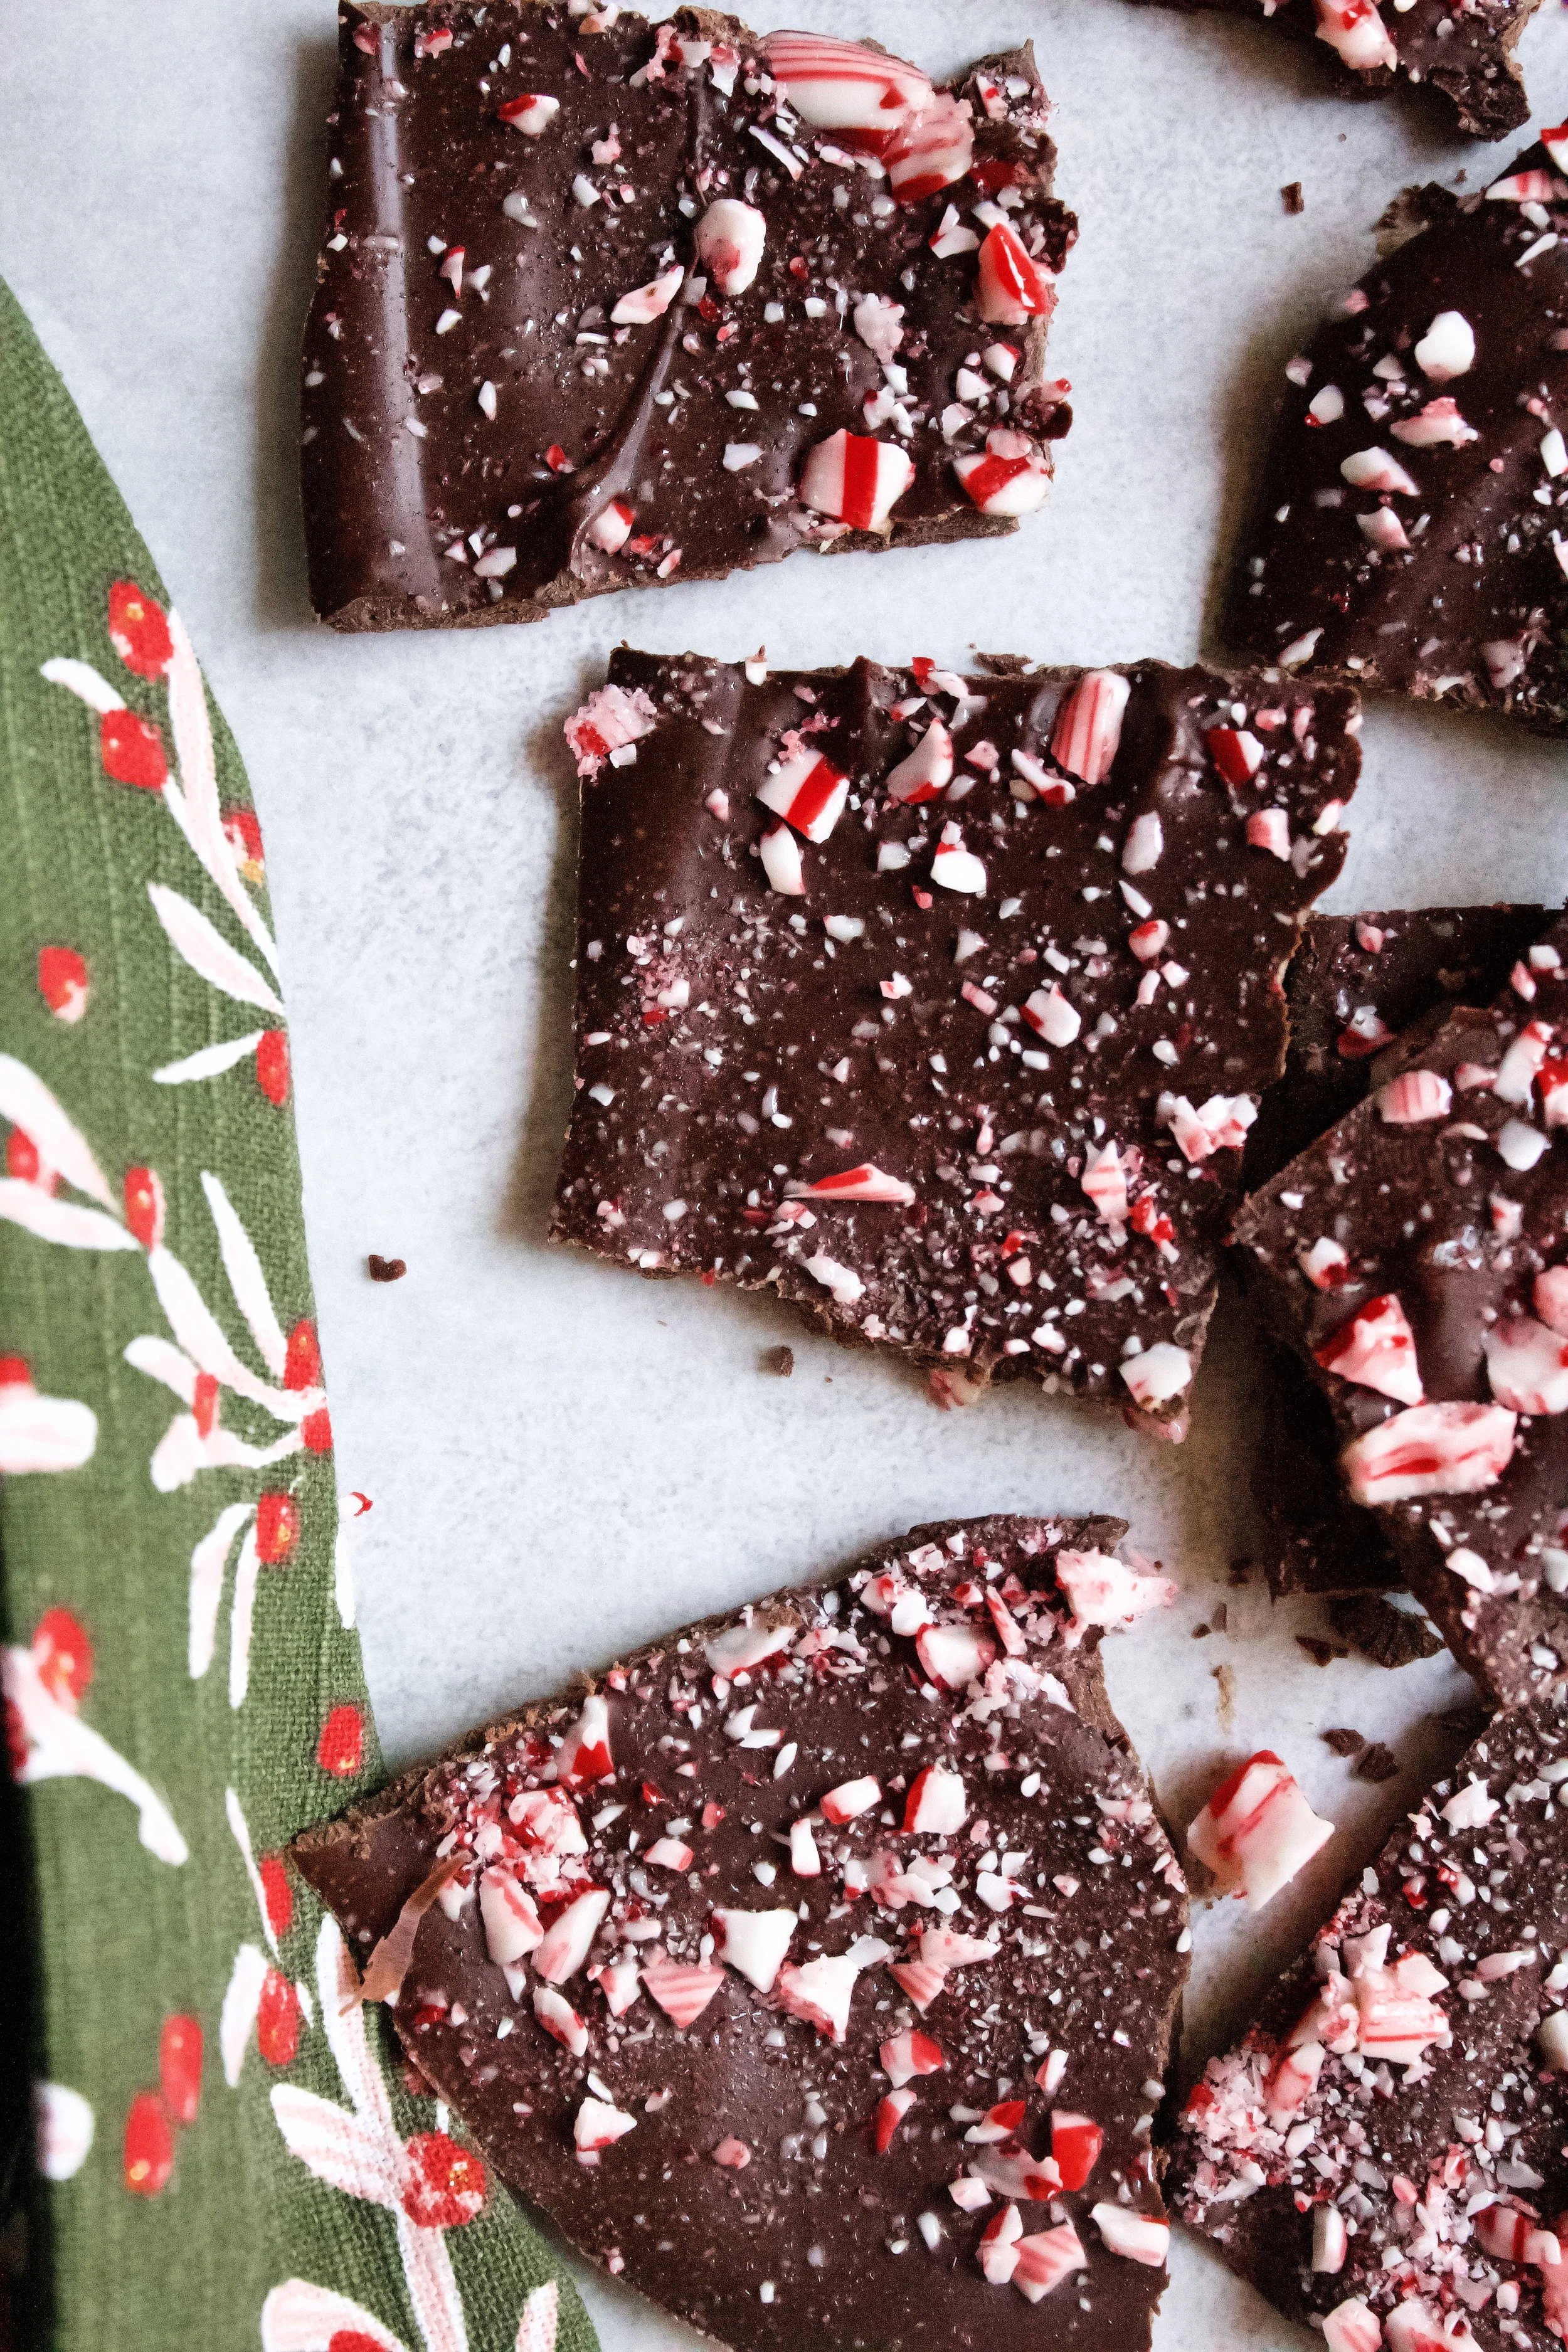
Whether you just love peppermint bark or need a simple treat to round out a holiday treat box, this recipe should definitely be in your holiday rotation!
Why this recipe works
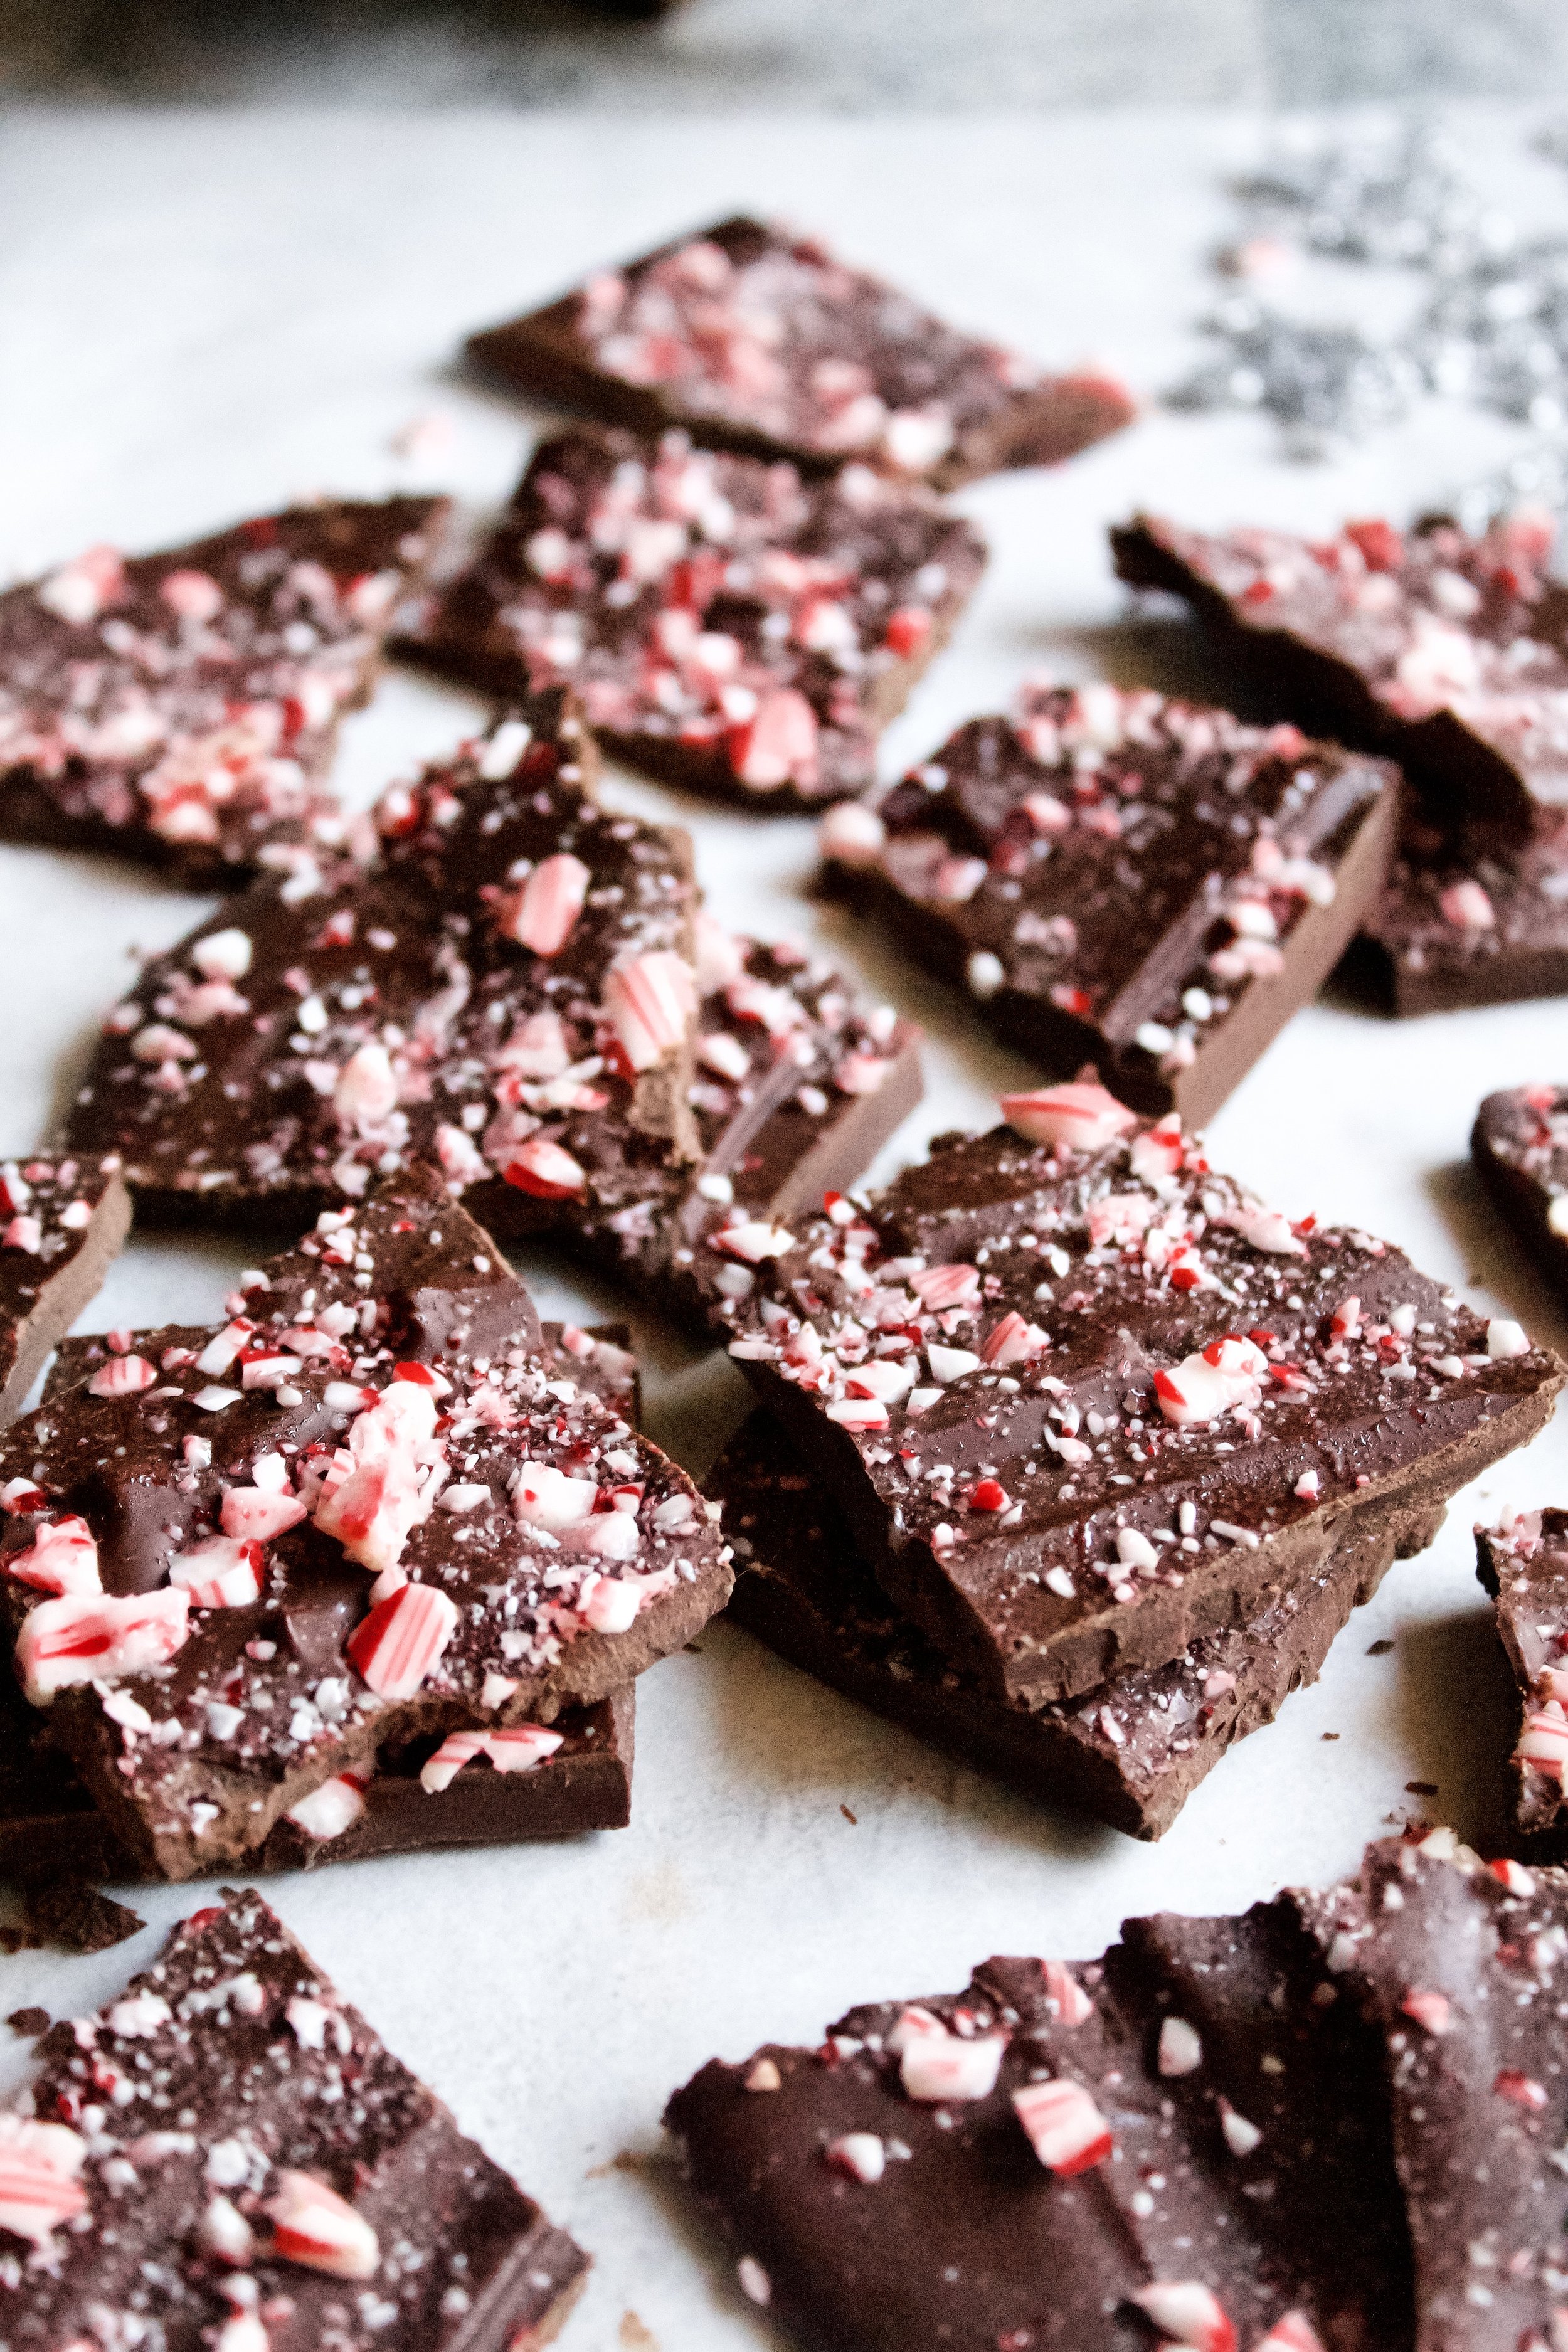
This recipe is so very simple. The key is to use good quality chocolate—spring for the expensive kind! It will make a dramatic difference. Using only dark chocolate creates that lovely contrast of rich dark chocolate and fresh candy canes.
One key to this recipe is tempering the chocolate carefully so that it is smooth and shiny yet still holdable (for lack of a better term—we don’t want it melting all over our hands!). By using a double boiler (or makeshift double boiler), you can control the heat and keep the chocolate from being ruined. Low and slow the key!
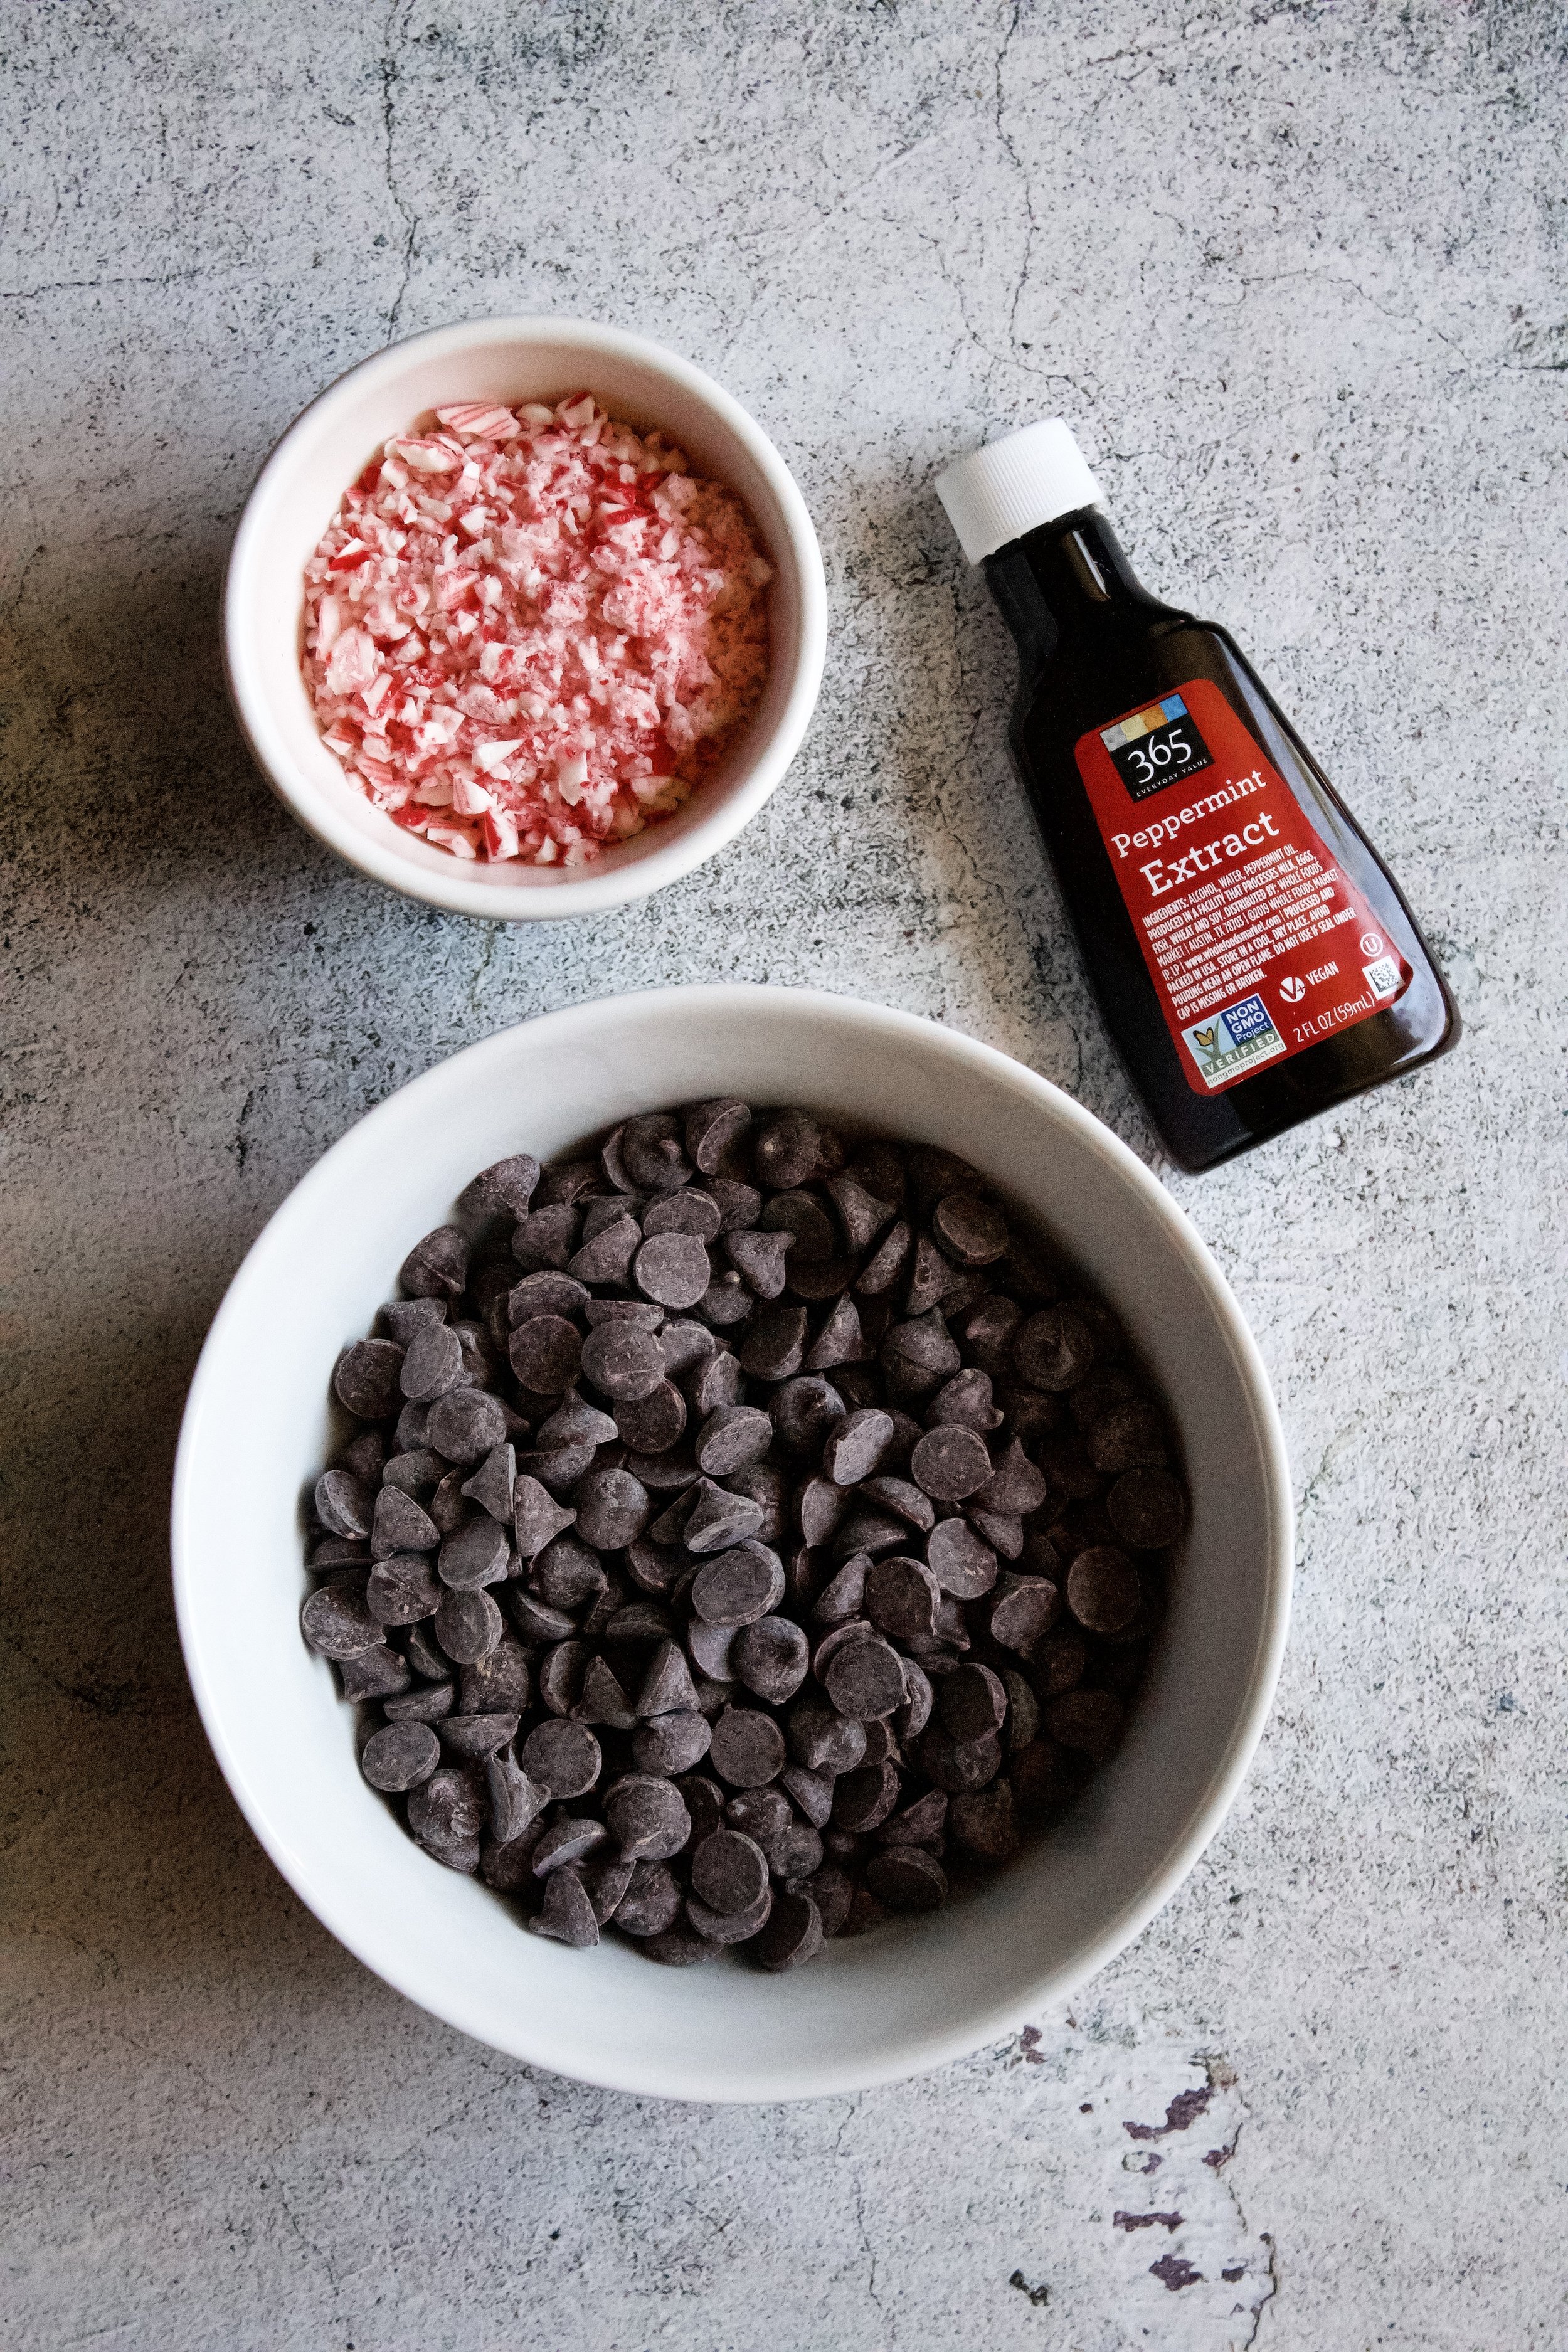
Key ingredients
Dark chocolate. Use high quality dark chocolate. I used Ghirardelli for this batch, but Scharffen Berger and Guittard are other good options (and Guittard is vegan!).
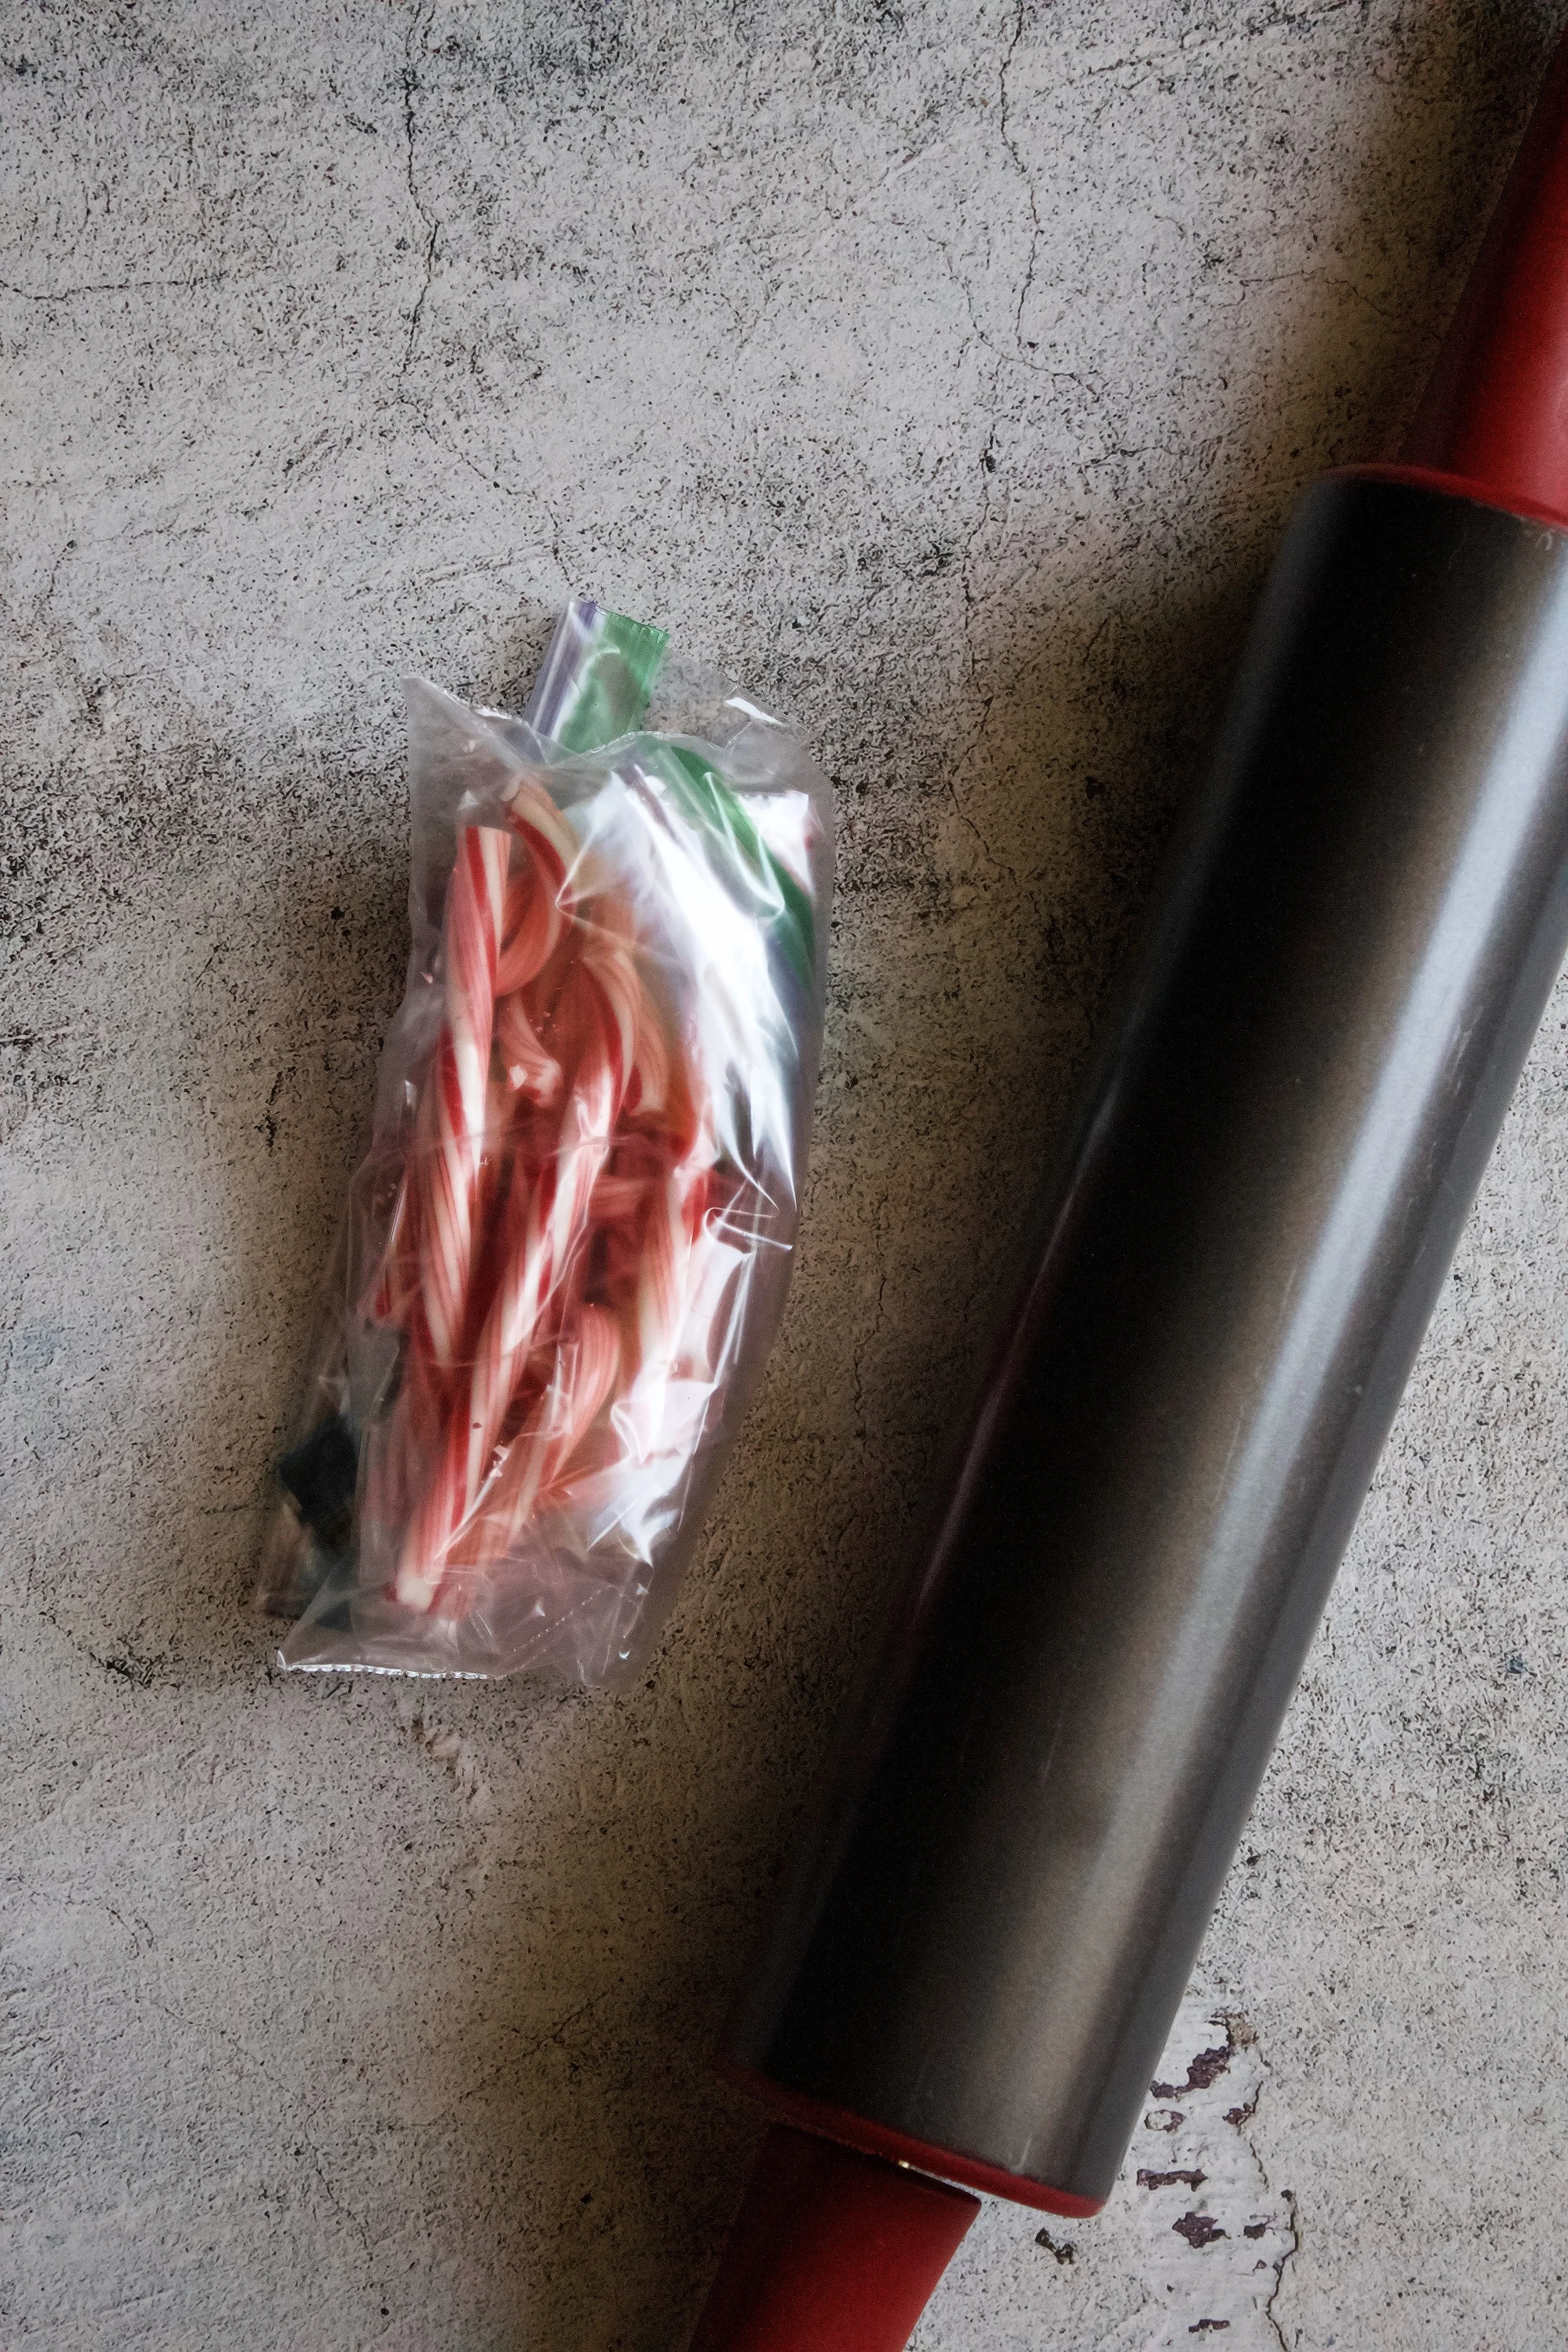
Crushed candy canes. You can buy these or make your own. Make them by placing a few candy canes in a couple freezer proof plastic baggies (one inside the other) and whacking them with a rolling pin until crushed.
Peppermint extract (optional). This is for peppermint lovers. I don’t usually add any, but you are welcome to if you want it to be very minty.
Coconut oil (optional). If you have especially stubborn chocolate or it is giving you issues, you can add a half a teaspoon of coconut oil to make it shiny and smooth.
How to make dark chocolate peppermint bark
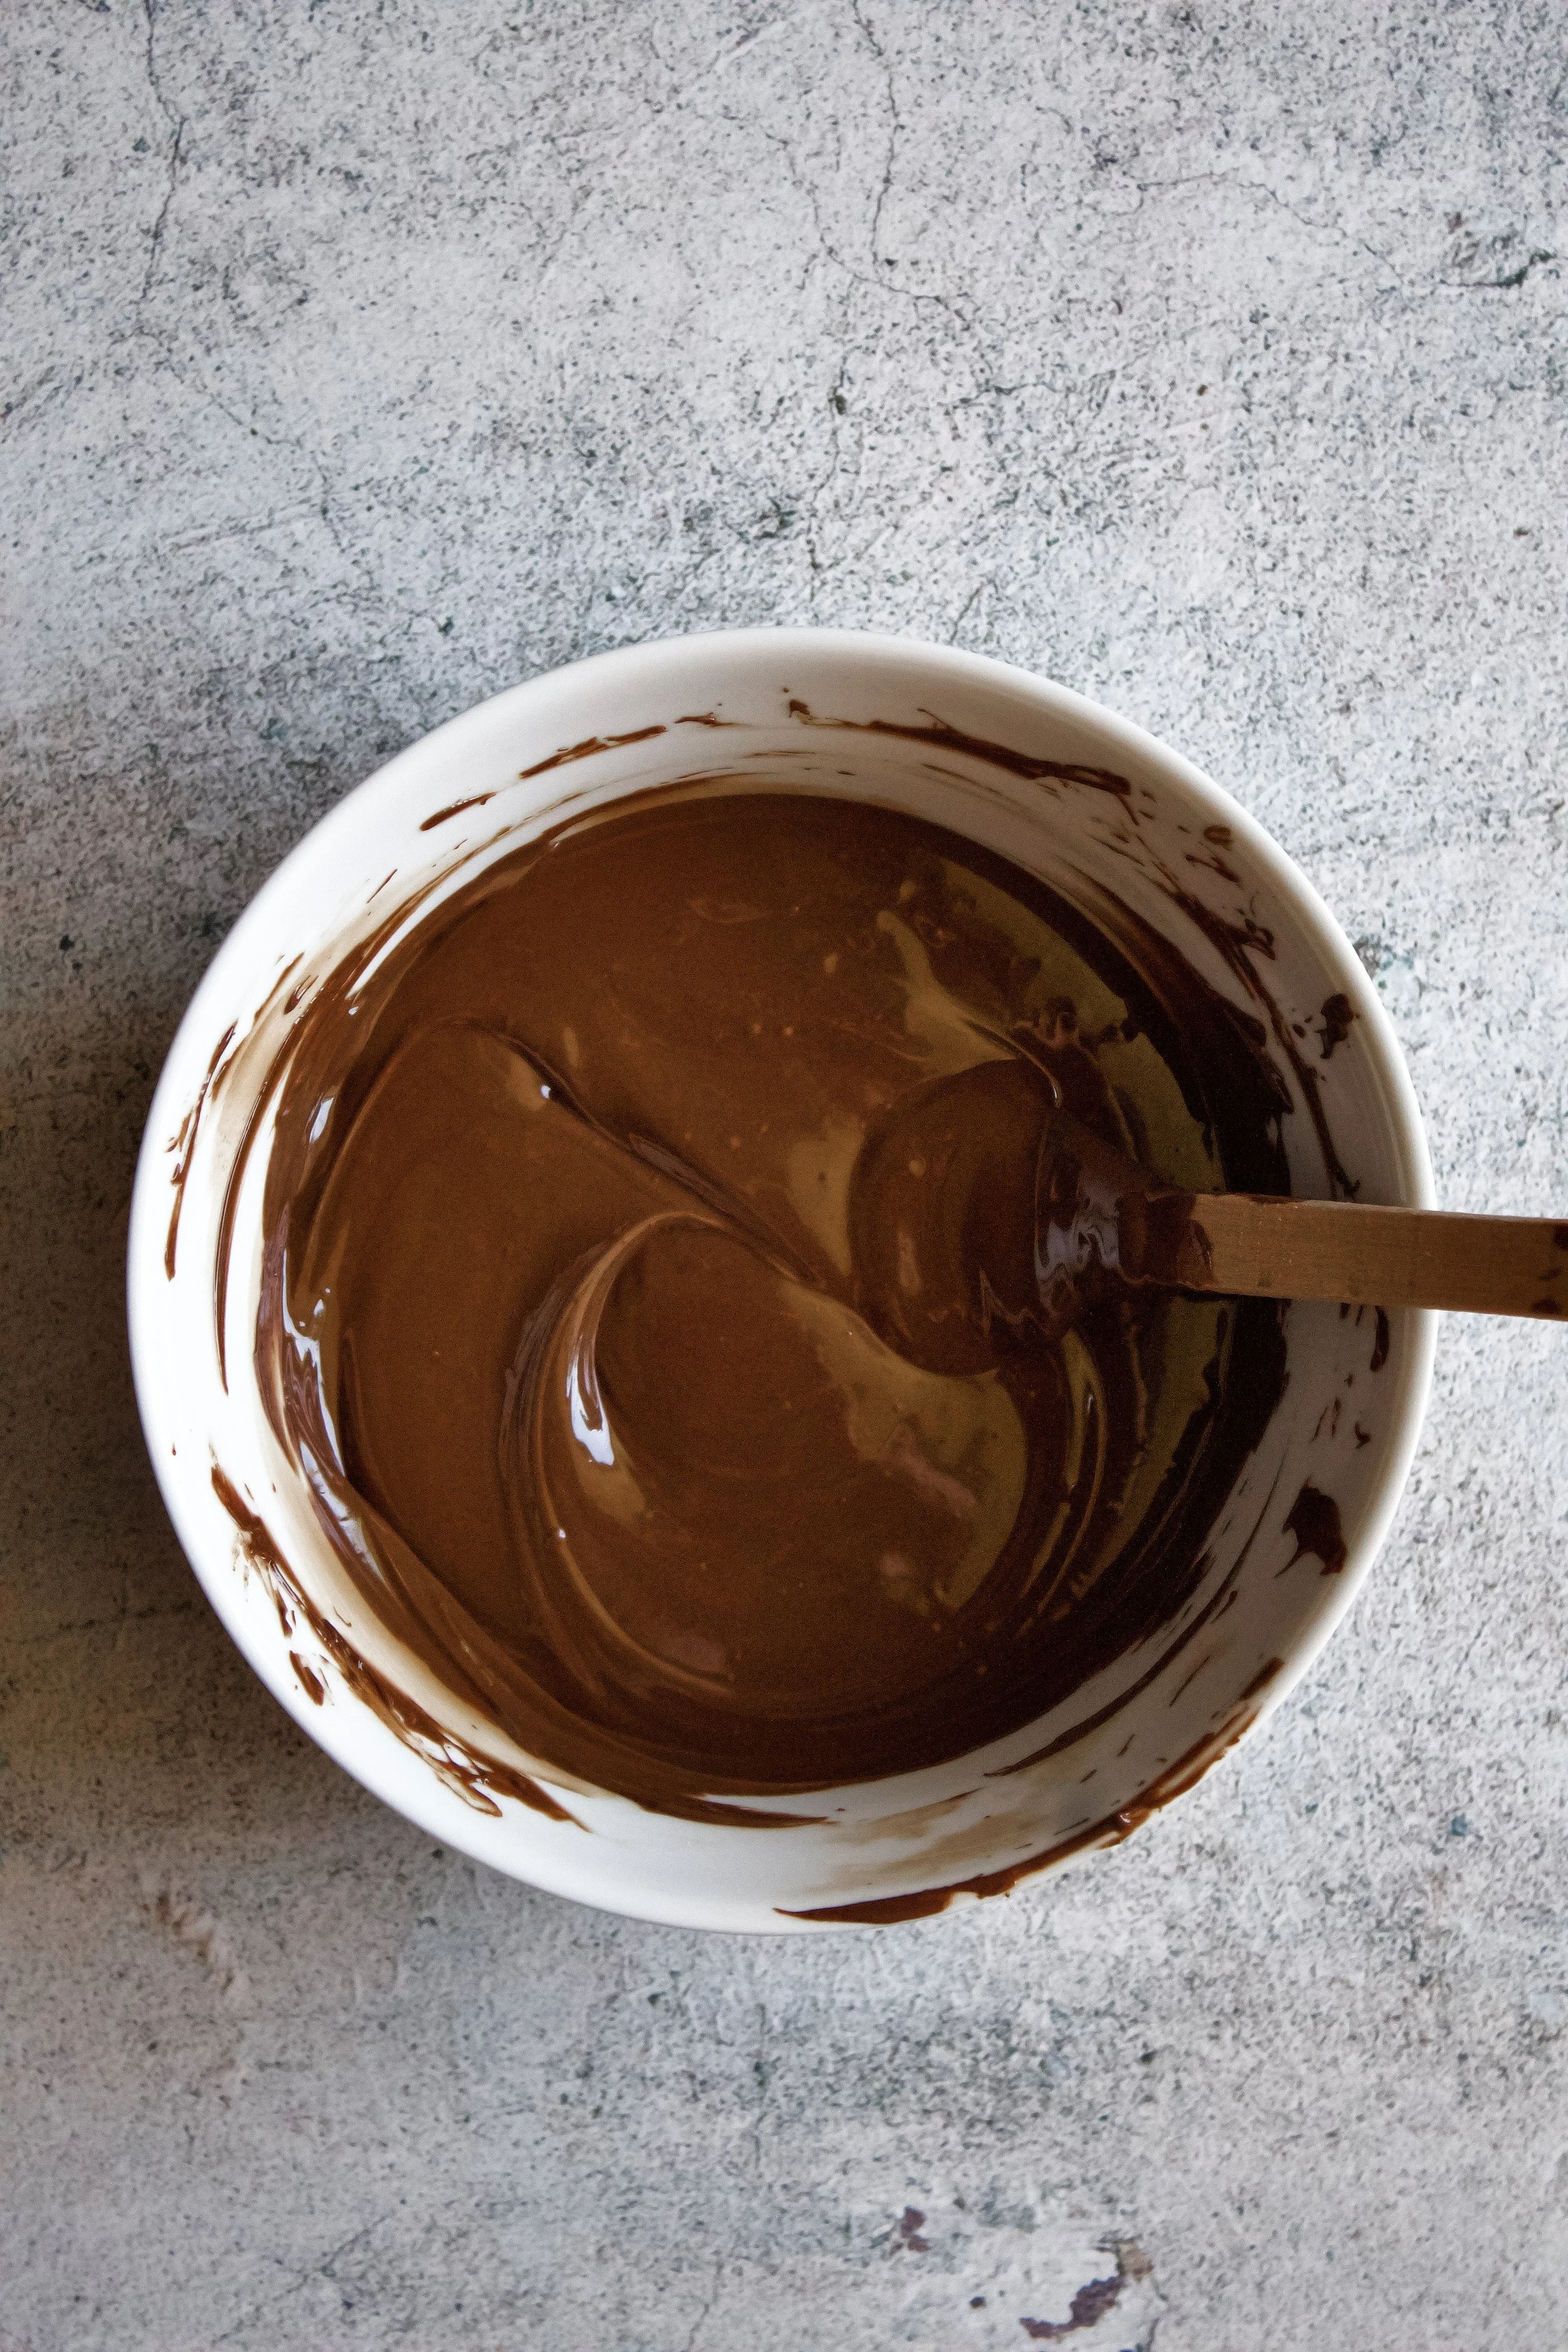
1. Melt chocolate in a double boiler. This is the preferred method for this recipe, as it ensures you won’t overheat the chocolate. Bring 2” water to a boil in a medium saucepan then turn heat to low. Set a bowl with your chocolate over the pan and stir constantly, until 75% melted. Remove bowl from heat and stir until fully melted.
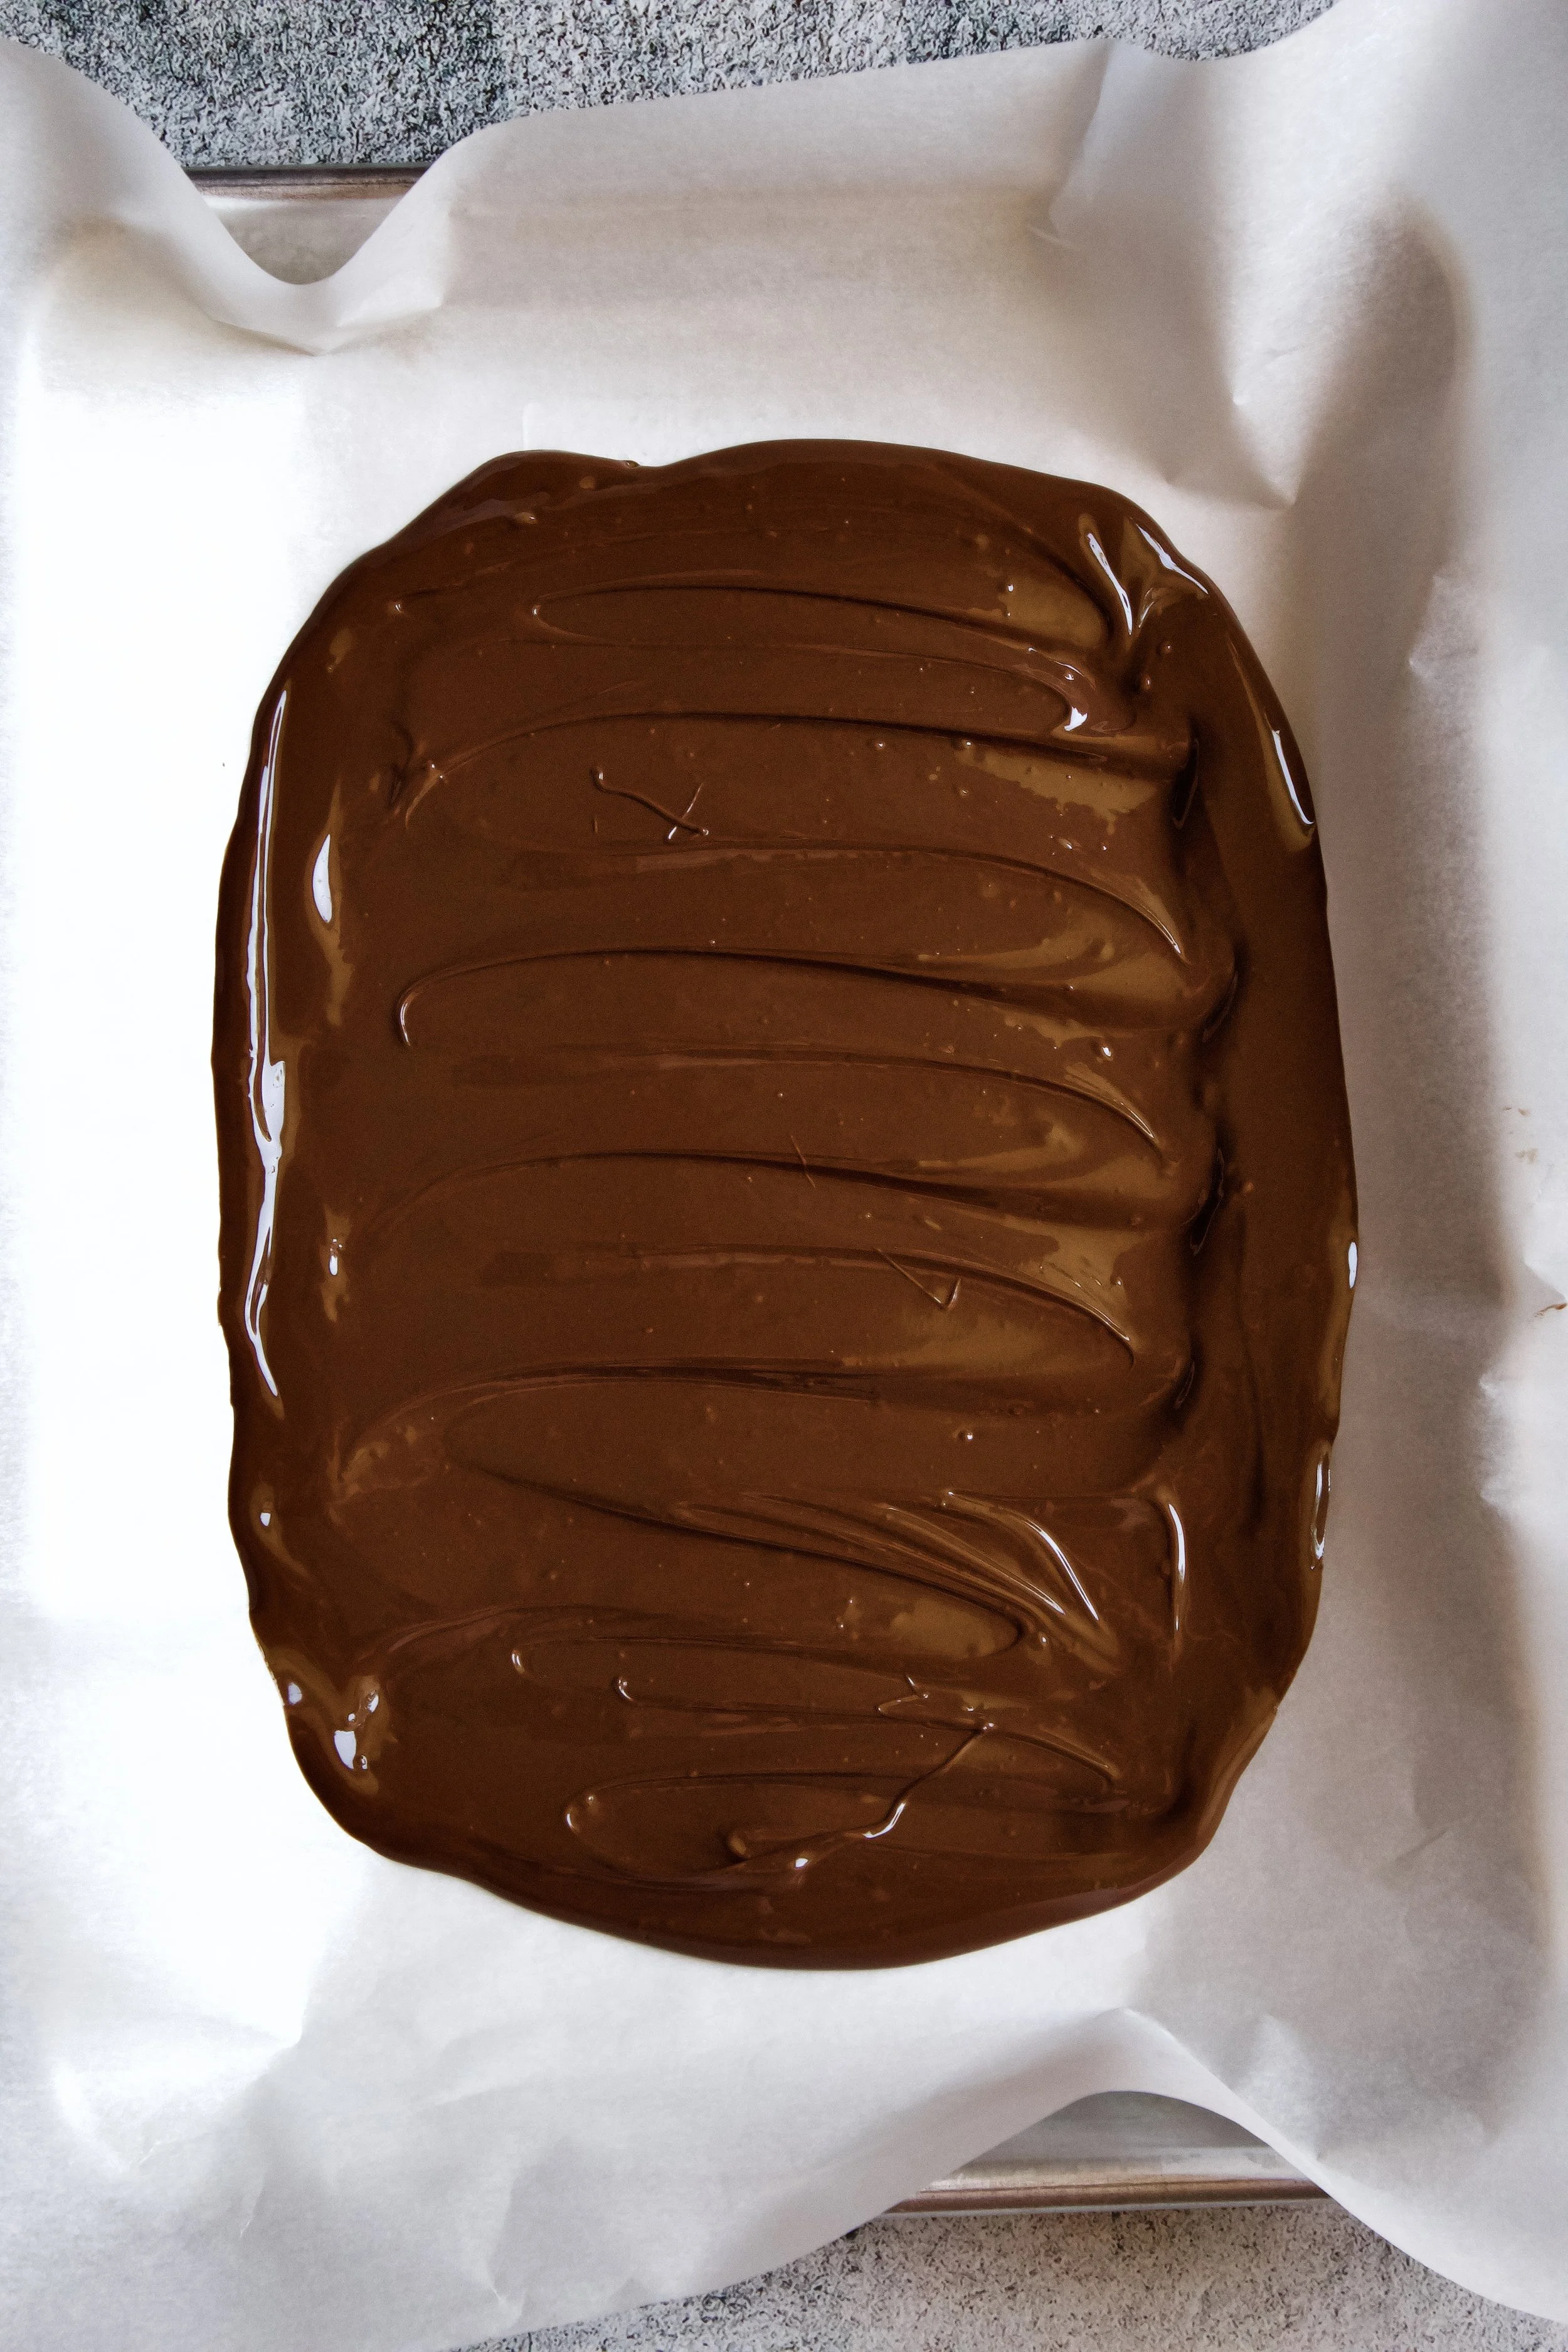
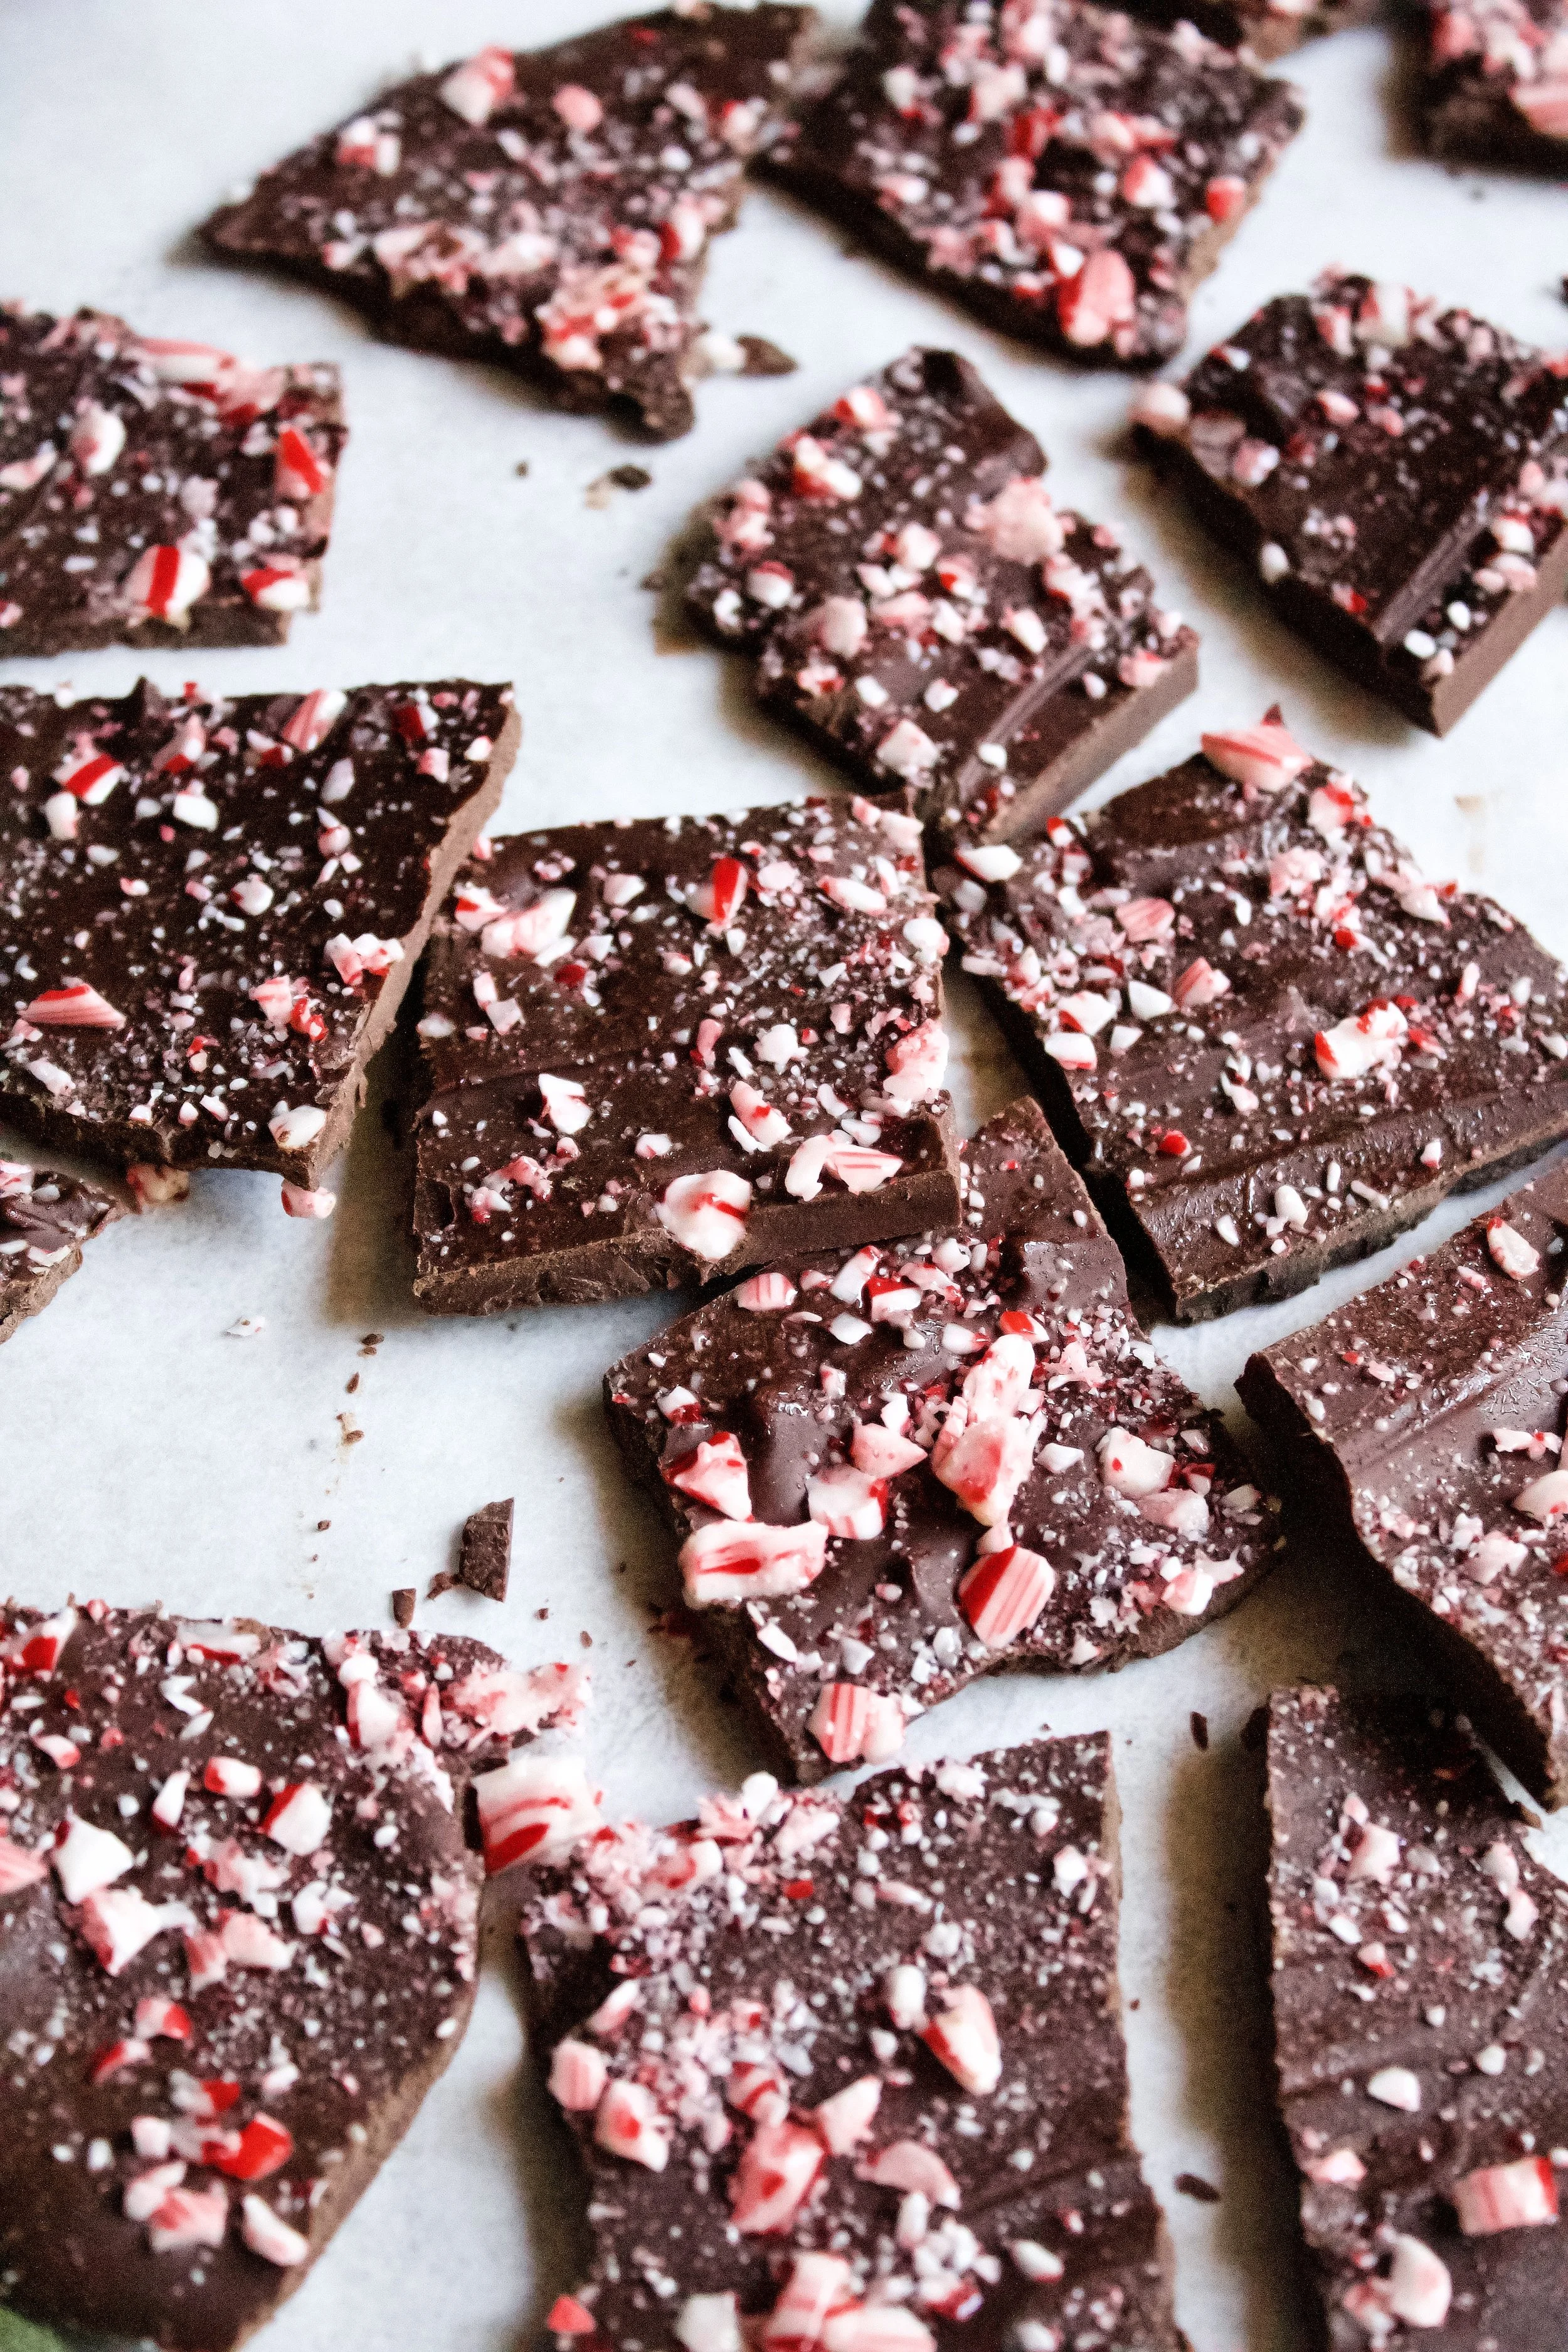
2. Spread on parchment. I like to line a rimmed cookie sheet with parchment to keep from spreading the chocolate too thin.
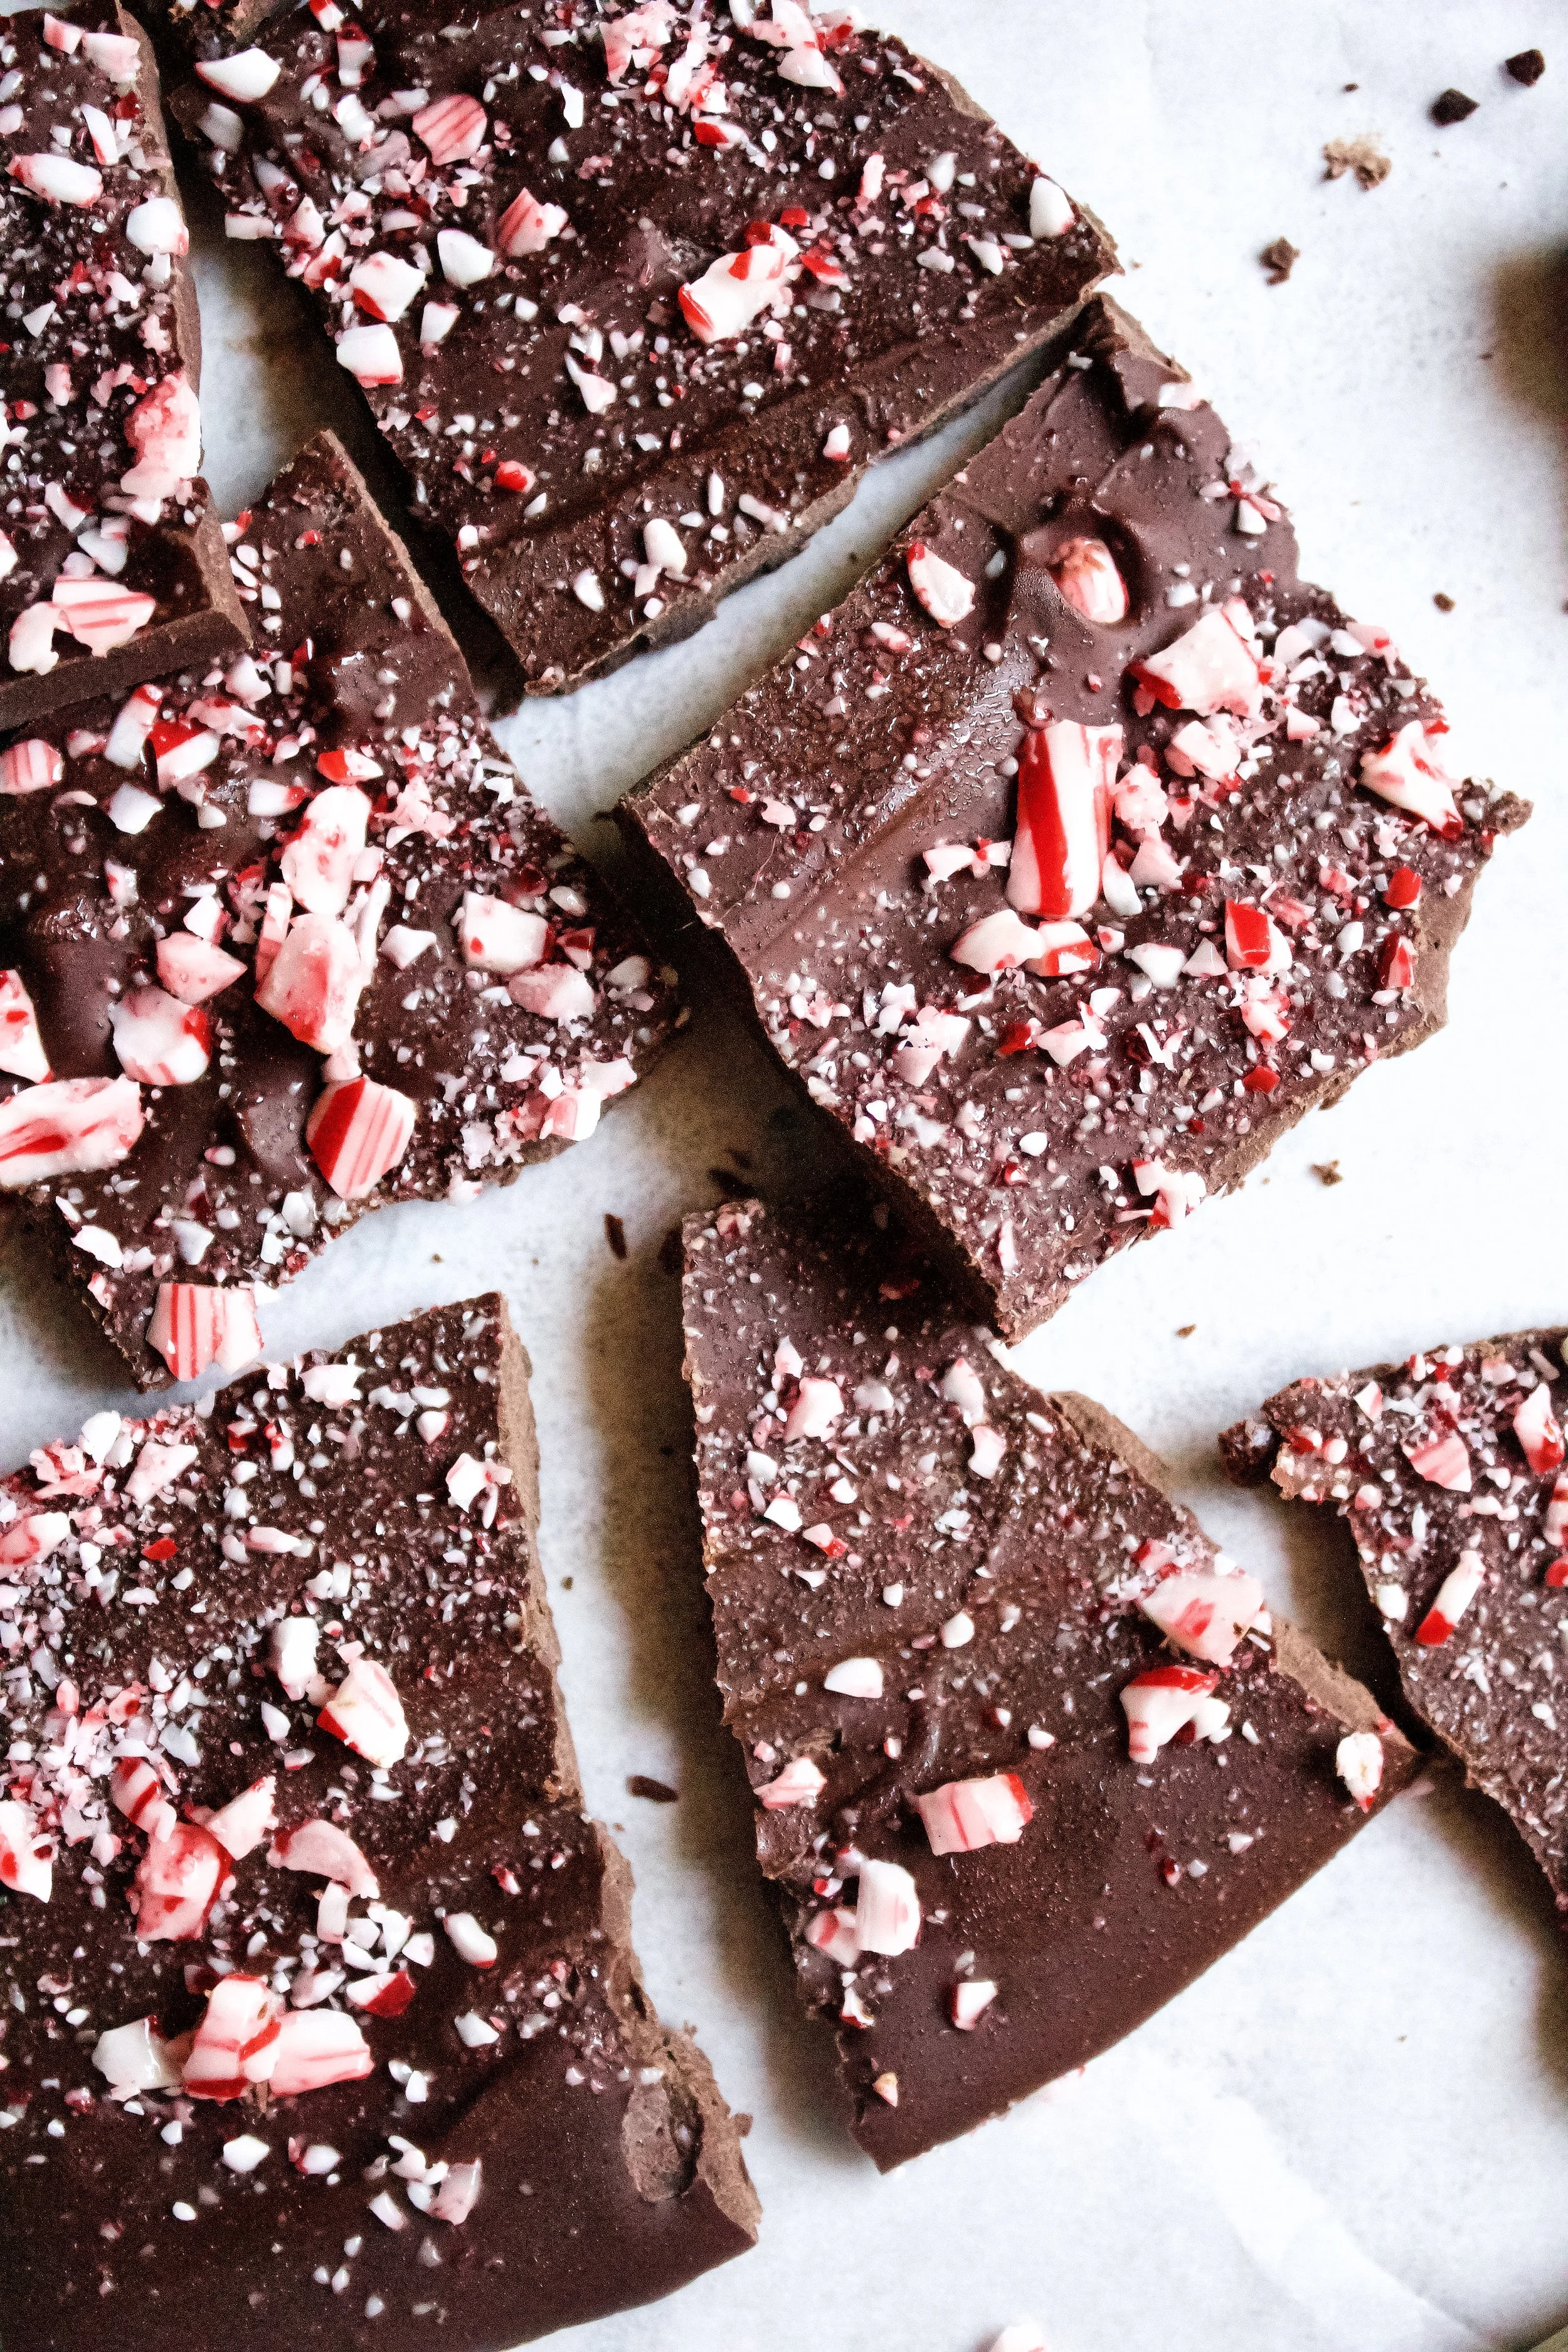
3. Sprinkle with crushed candy canes. Press gently into the chocolate so they adhere well.
4. Refrigerate until solid. You can freeze it to speed this up, but it will be hard to break up.
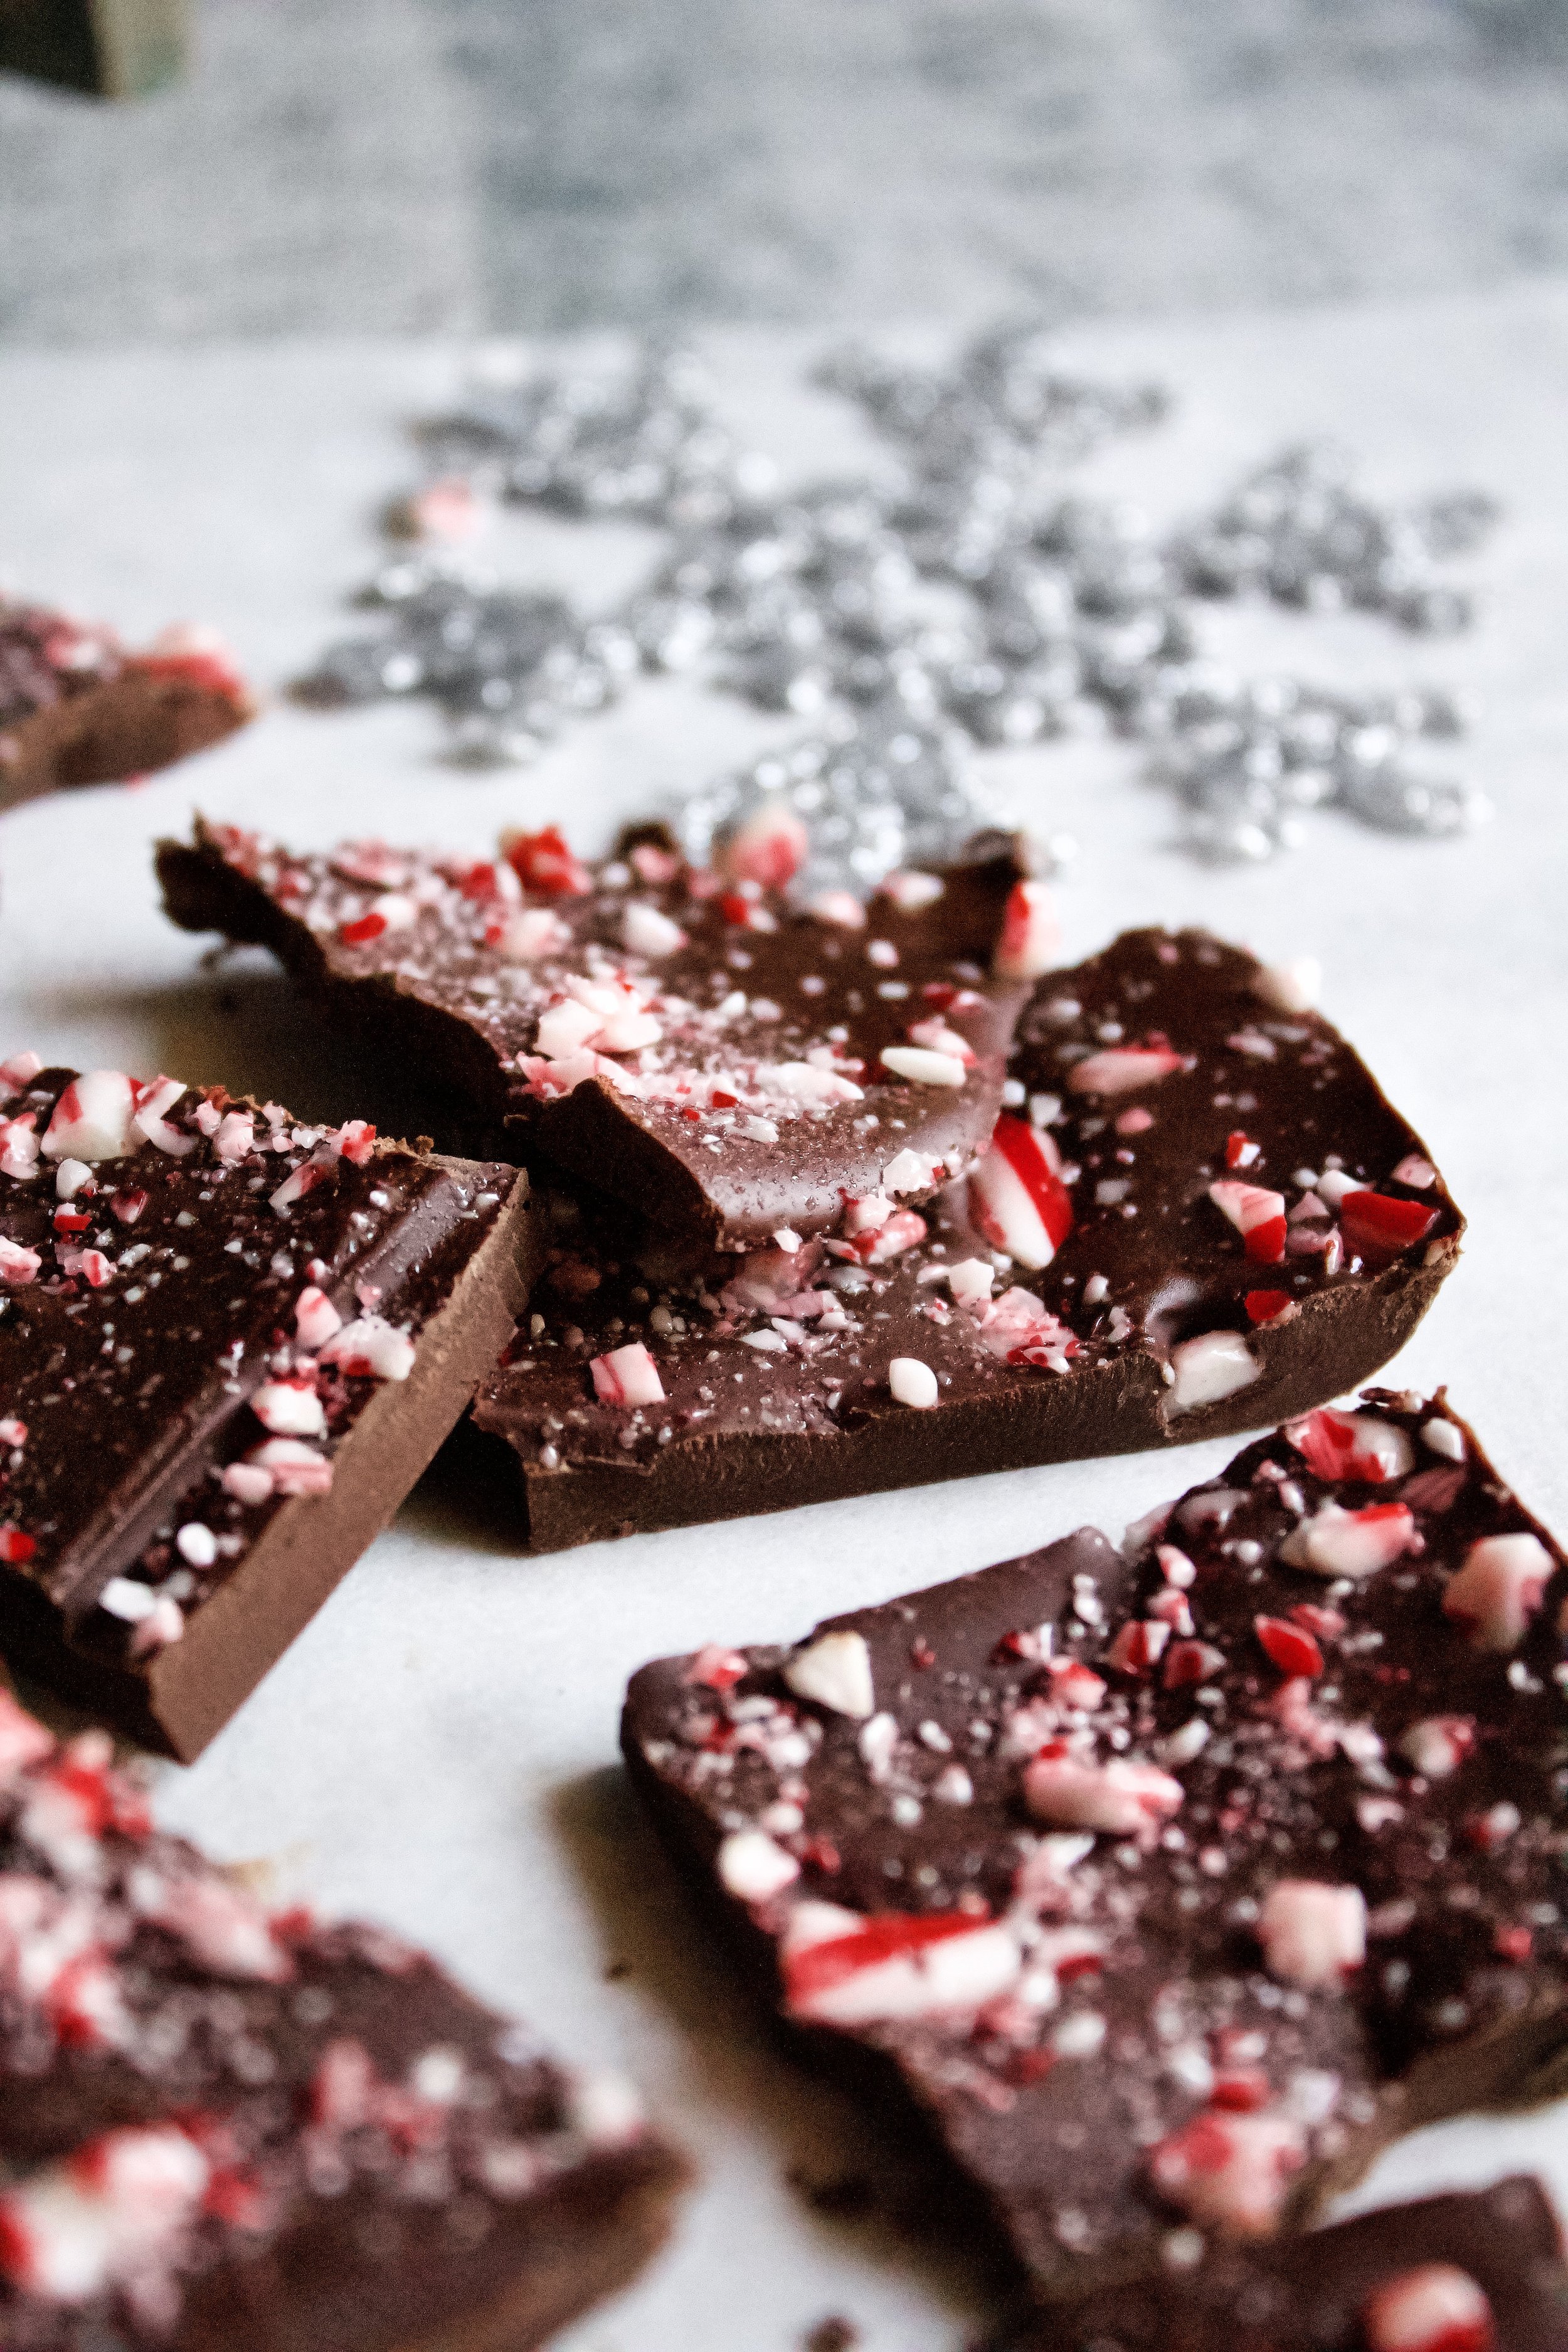
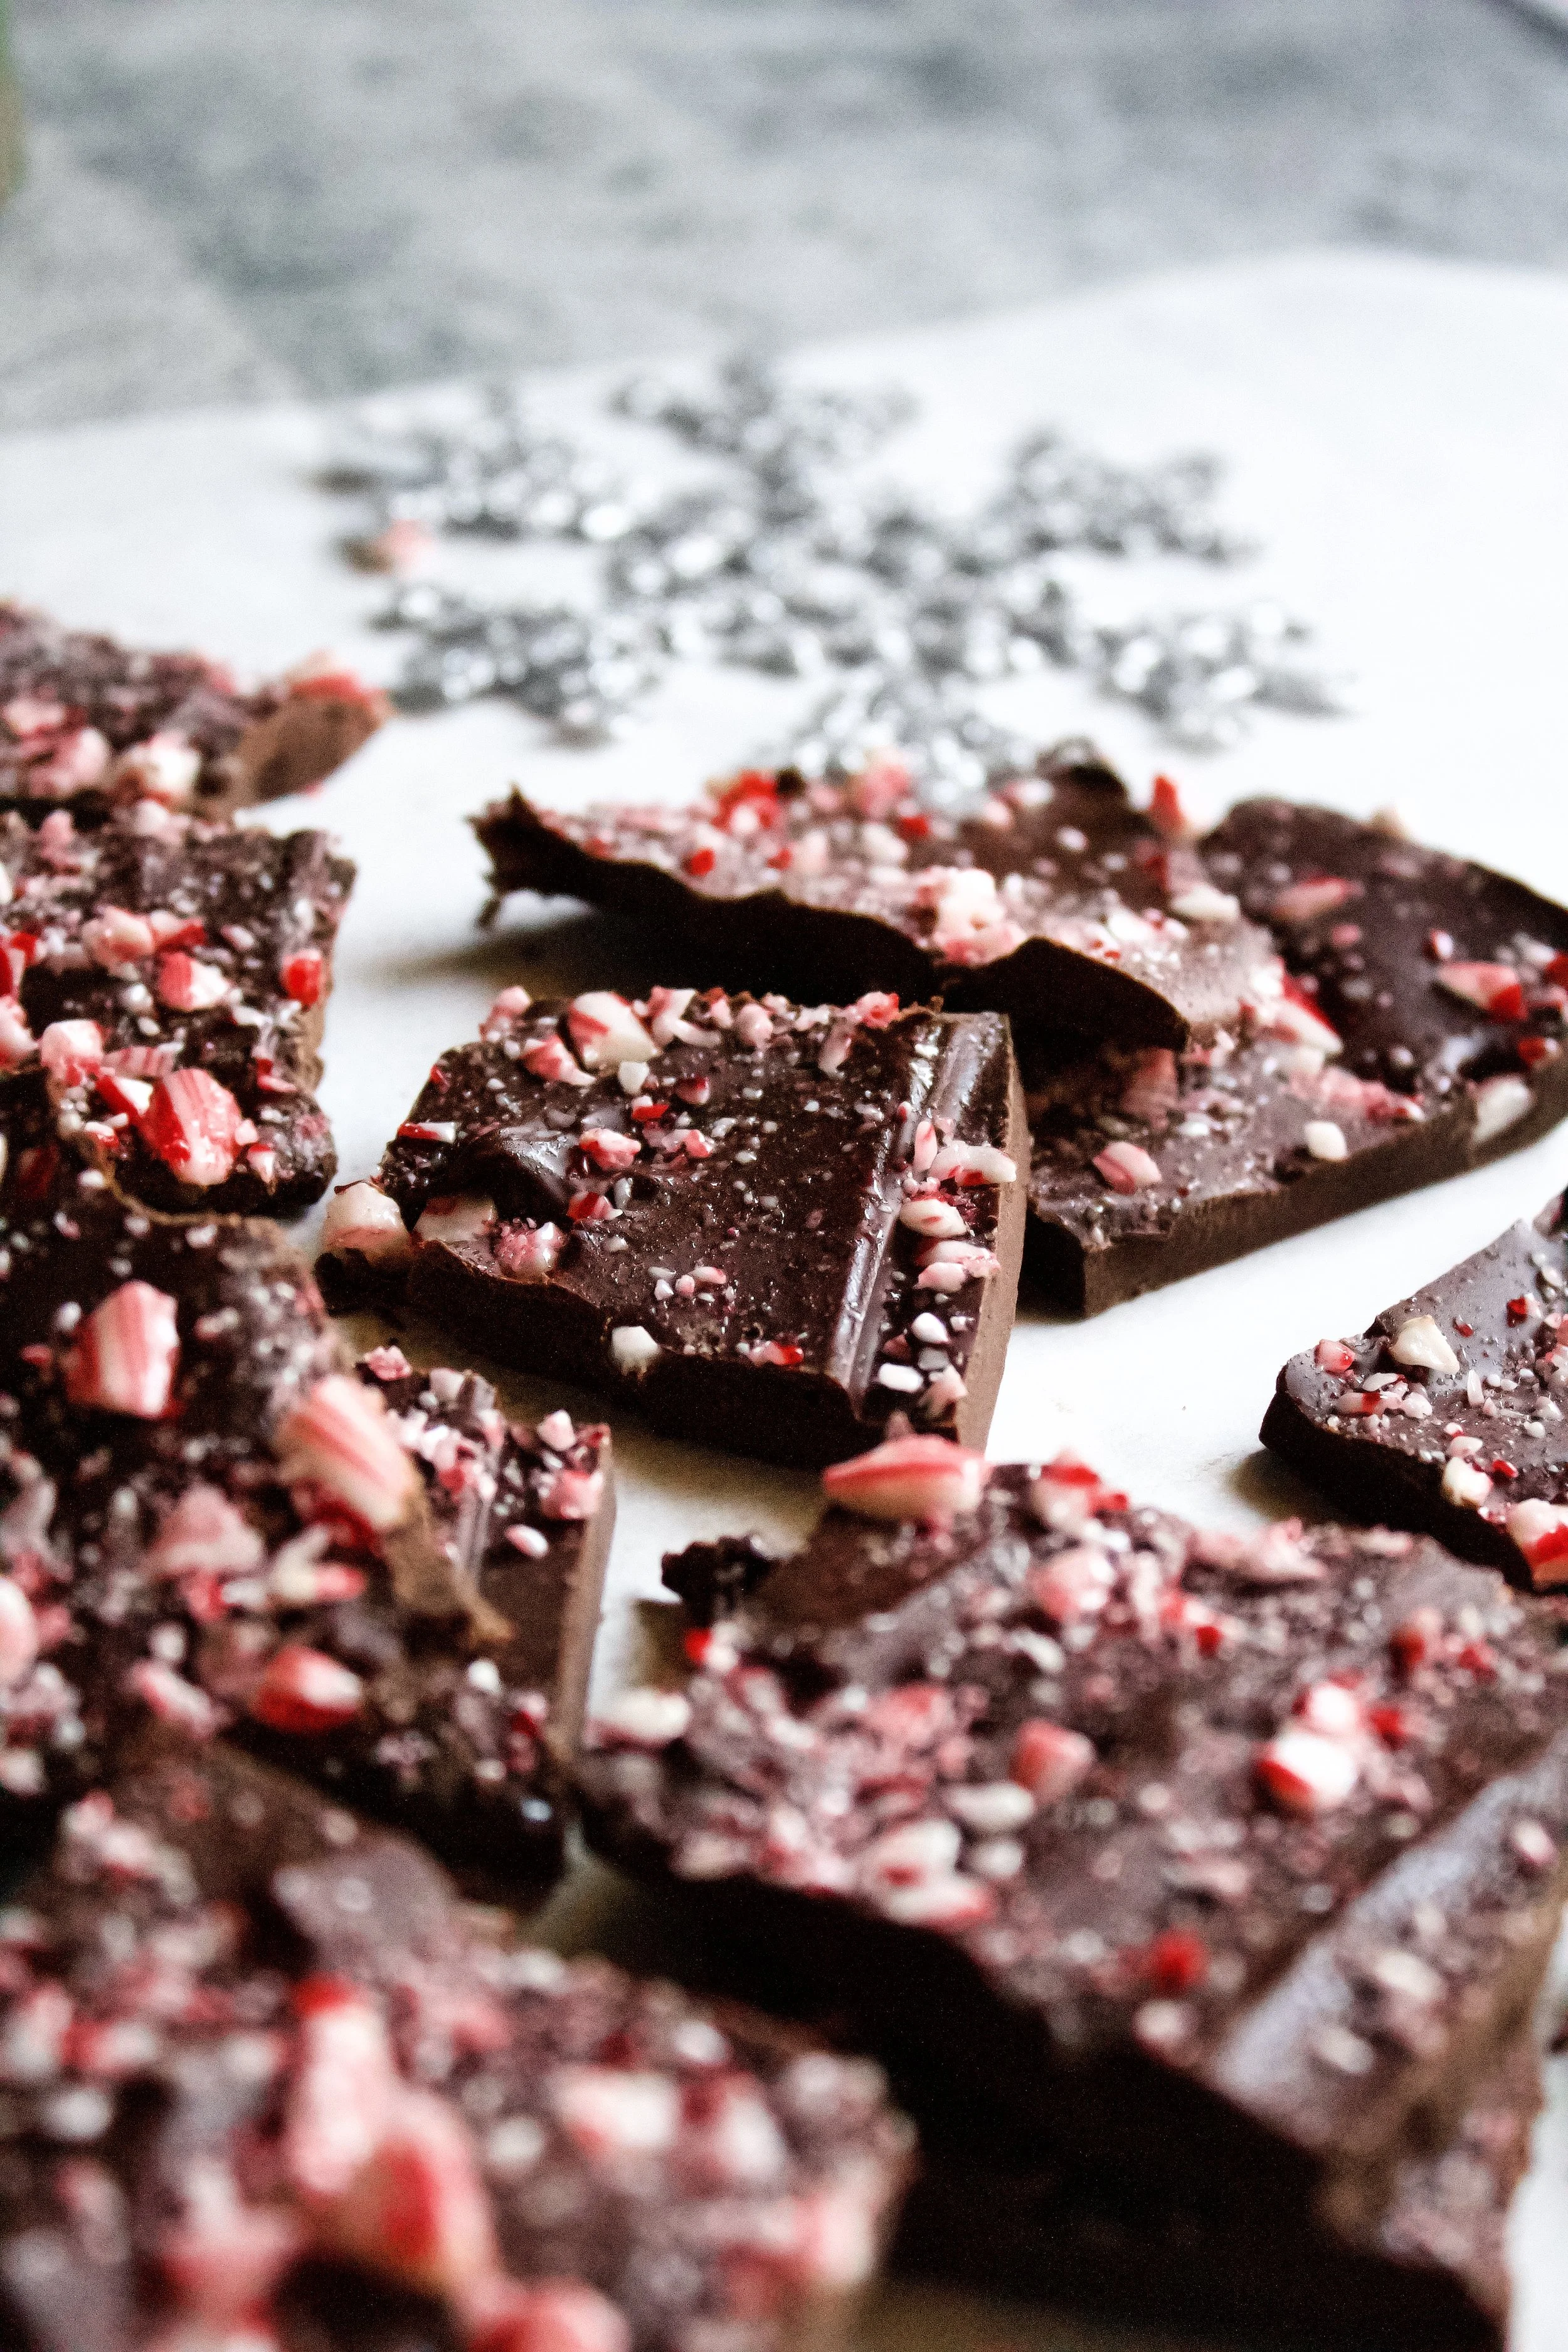
5. Break into pieces. You can use a knife or your hands (or palms, really). I wasn’t concerned about perfectly sized pieces, so I just used my hands.
Enjoy!

Tips and FAQ’s for this recipe
Does the peppermint brand matter?
If you’re going to add peppermint extract, the brand matters. McCormick is a pretty reliable brand, but it can taste like toothpaste if you use too much. I’ve also weirdly had good luck with the Whole Foods 365 peppermint. Nielsen-Massey is another one I’ve had pretty good luck with, but I haven’t tried their peppermint. The key is starting small and adding more as needed. Also, the flavor WILL intensify over time—especially in the fridge, so if you plan to make this ahead of time or more than a few hours before serving your dessert, err on the side of “that’s just right” rather than “yeah I taste that peppermint.”
What kind of chocolate should I use?
You can use any kind, but the fancier the better. Well, actually, the yummier the better. Which usually means a higher end brand. This doesn’t have to break the bank, but the nicer chocolates have a better taste, melt better, and will solidify better as well (meaning less melted chocolate all over your hands). Some brands I like are: Guittard, Valrhona (this is a large batch for if you bake a lot), Scharffen Berger (another bulk pack), and Ghirardelli (this is a great mild choice—not too dark, but still plenty chocolatey).

Follow directions to temper the chocolate
Making any kind of melted chocolate requires care and time, but especially when making candy like this. If you overheat the chocolate it can turn white and cloudy or even seize if heated high enough. Low and slow is the key here, with lots of stirring. If, when you remove the chocolate from the heat, the last bit of chocolate just doesn’t melt, you can always return it to the heat for a few seconds to help it along.
Use peppermint extract sparingly
I don’t usually add this, but it’s an option. You will add it once the chocolate is fully melted, and just a little at a time so it’s not overpowering or toothpaste-y. Remember that the candy canes add lots of flavor, so avoid getting all the flavor from extract.
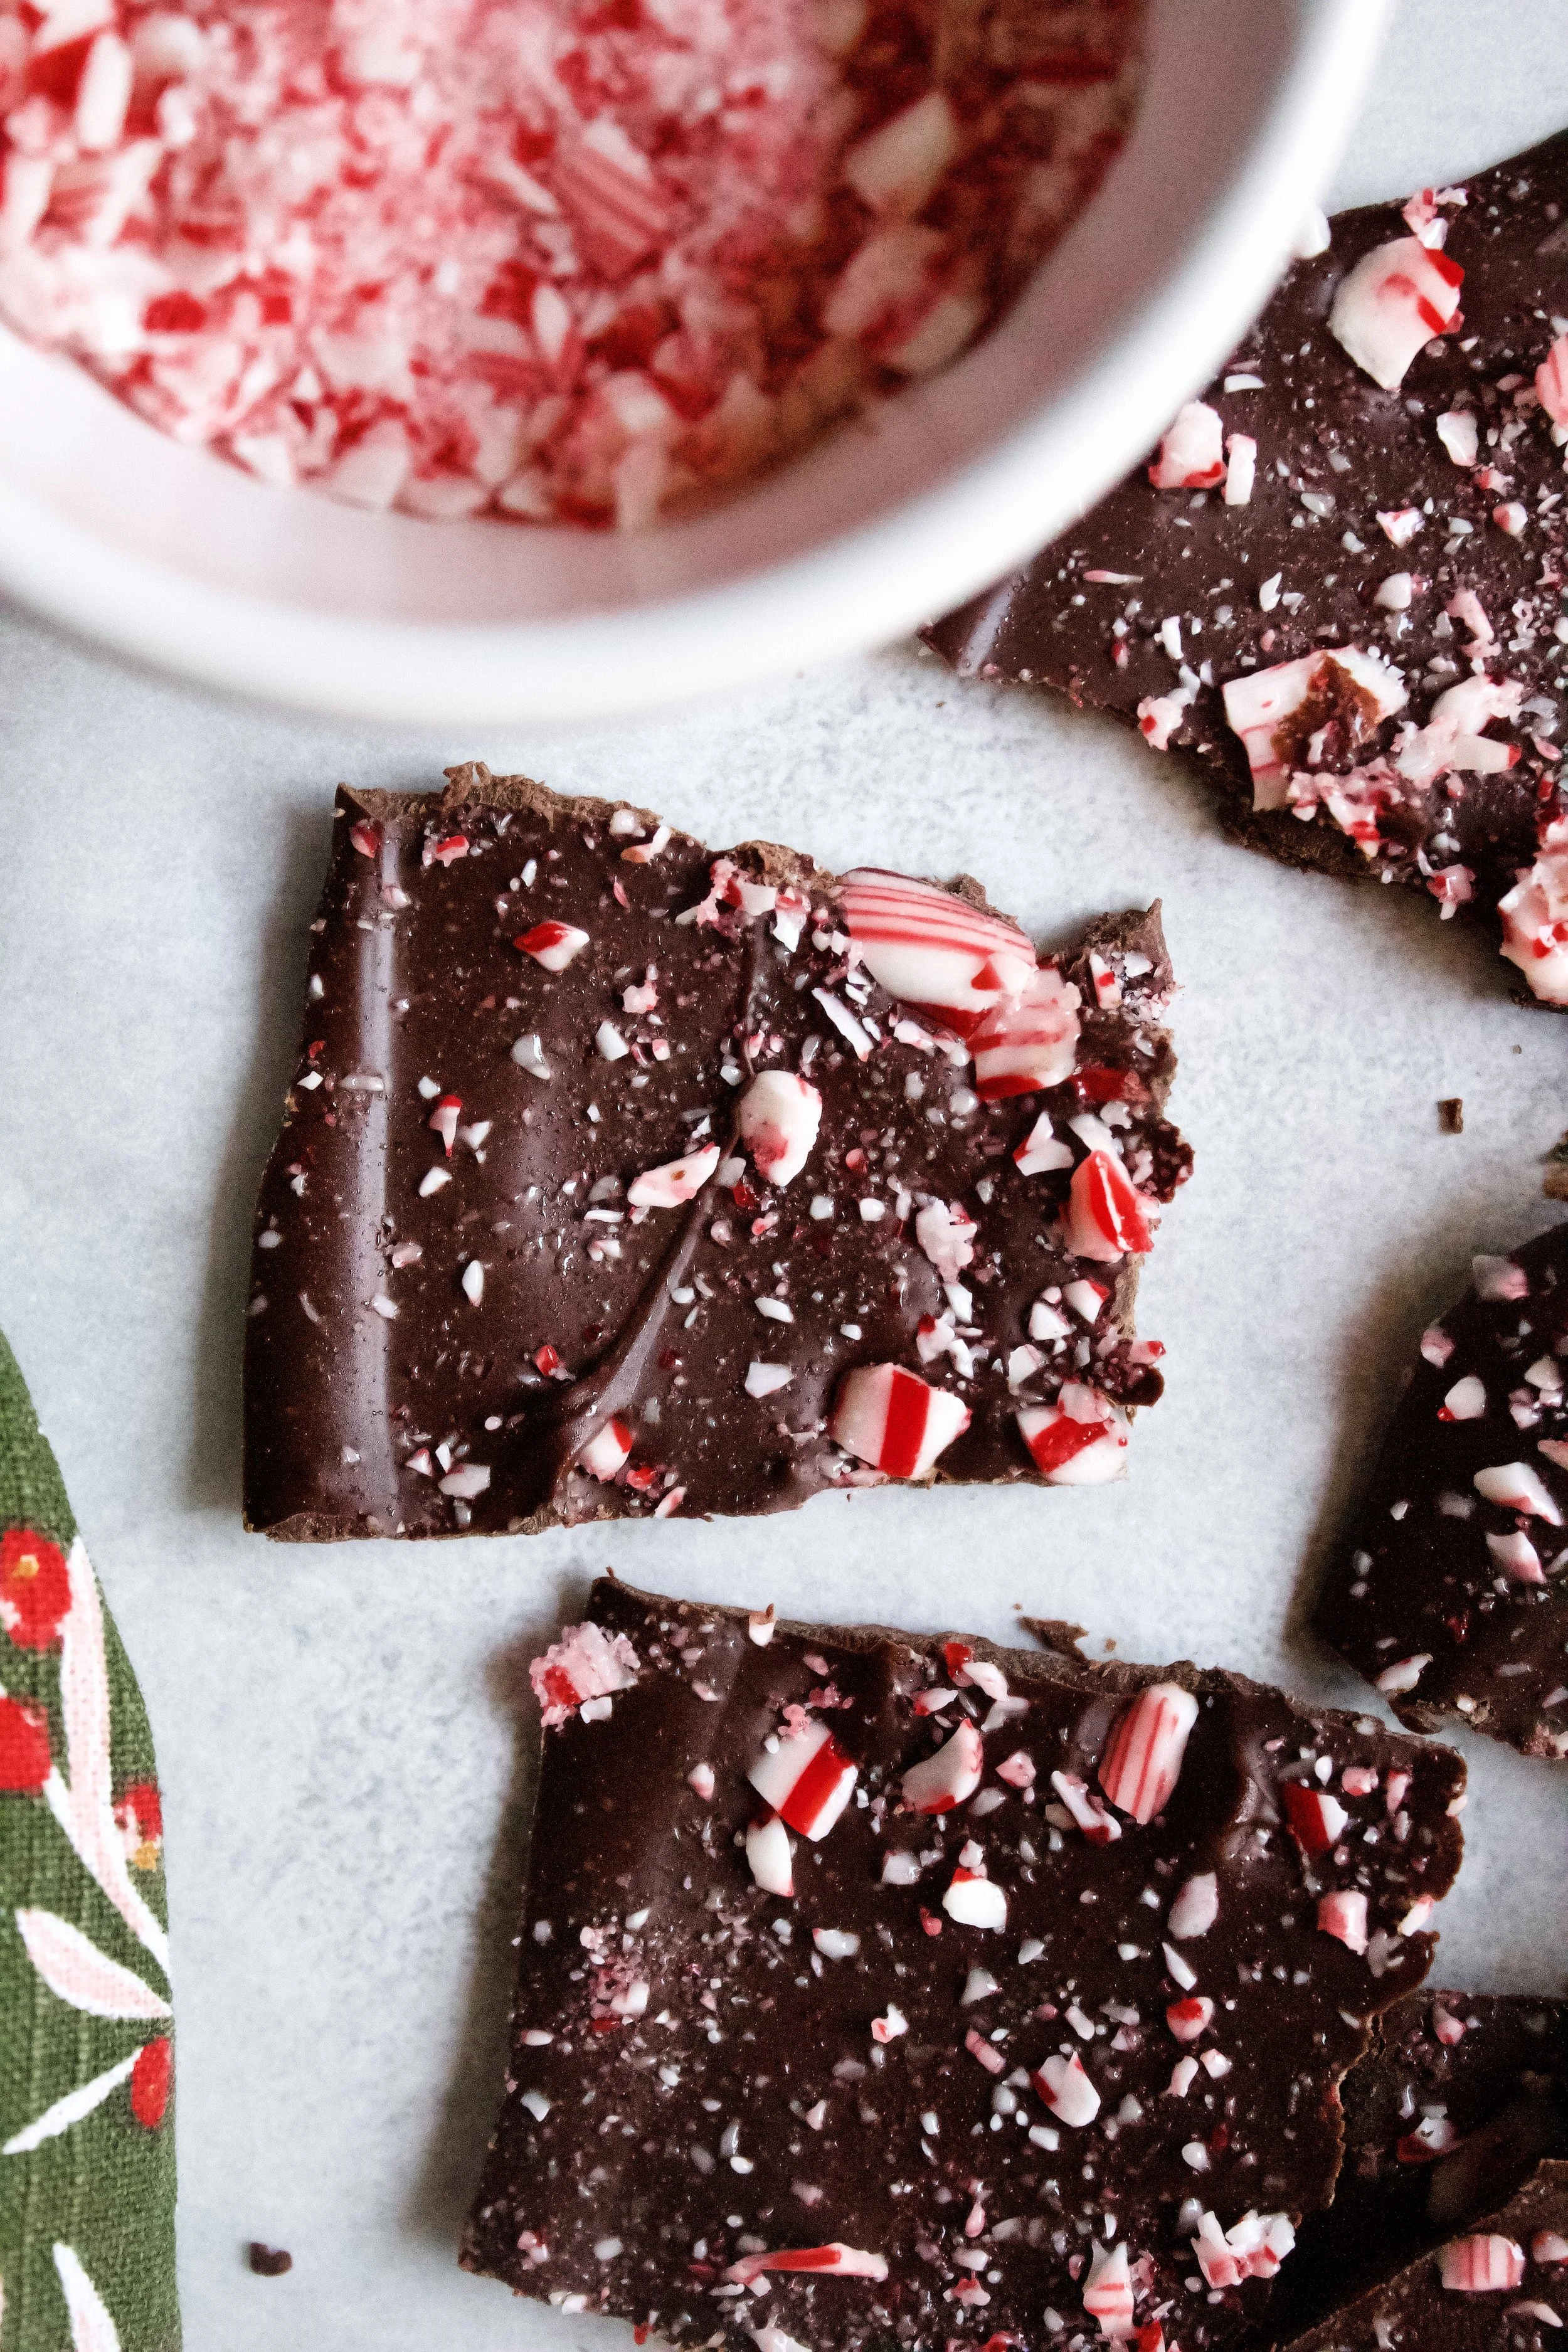
Crush your own candy canes
Sure, you can buy crushed candy canes. But I’ve always found they become soggy and stuck together after one use, and you don’t need an entire bag for this recipe. Instead, take just 3-4 candy canes, put them in a freezer safe plastic baggie, then double bag that (or even triple bag it). Use a rolling pin to whack them until crushed. It’s very therapeutic.
My tools
Here are my must-have tools I use for making this bark. Affiliate links provided.
Dark Chocolate Peppermint Bark
- prep time: 5-10 minutes
- chill time: 1 hour
- total time: 1 hour, 10 minutes
servings: 16-24
Ingredients:
- 12 ounces (340g) high quality dark chocolate
- 3-4 candy canes, crushed
- ¼ teaspoon (1g) peppermint extract (optional–only use if you really like peppermint)
- 1 teaspoon (4g) coconut oil (optional–only if your chocolate is dull and cloudy or refusing to melt smoothly)
Instructions:
- Set out a piece of parchment paper that’s about 12x18. Mark out an 8x10 section on it in pen or marker then flip it over so you can see the markings through the paper (but they’re not on top where they can bleed into the chocolate). You can also place this on a rimmed cookie sheet to keep yourself from spilling over the line.
- Add the chocolate to a medium heatproof bowl. Fill a medium saucepan (large and deep enough for the bowl to sit over it) with 1-2” water. Be sure the bowl can’t touch the water. Bring the water to a boil then turn down to low. Place the bowl with the chocolate over it. Stir frequently, until the chocolate is about 75% melted.
- Once the chocolate is about 75% melted, remove from heat and stir vigorously until fully melted and smooth. If needed, return to heat for about 30 seconds to melt it a little more. If the chocolate is not melting or looks cloudy when solid (usually from getting to hot while stored), you can add up to 1 teaspoon coconut oil.
- Optional: Once the chocolate is fully melted and smooth, stir in the peppermint extract, but do so sparingly and taste to ensure it’s not too much. You can also optionally stir in a few tablespoons of the crushed candy canes at this point.
- Spread the chocolate evenly on your prepared parchment, filling in the marked out area so the chocolate is even.
- Sprinkle the crushed candy canes evenly over the bark. Gently press them in with your palm to ensure they won’t fall off once it’s set.
- Refrigerate the bark for at least 1 hour, or until set. You can also freeze it for about 30 minutes, but keep an eye on it to ensure it doesn’t freeze too much (this can cause it to get white streaks or look cloudy.
- Once set, break the bark into pieces. I suggest doing this on the parchment (it should pull away easily once set) so you can catch any tiny pieces that break away and save them for ice cream toppers. :)
Enjoy!
Store bark in an airtight container. If your home is on the warm side, it may be wise to keep it refrigerated, as it may turn soft and lose that bark “crisp” in warm or humid climates.
