
White Chocolate Unicorn Bark
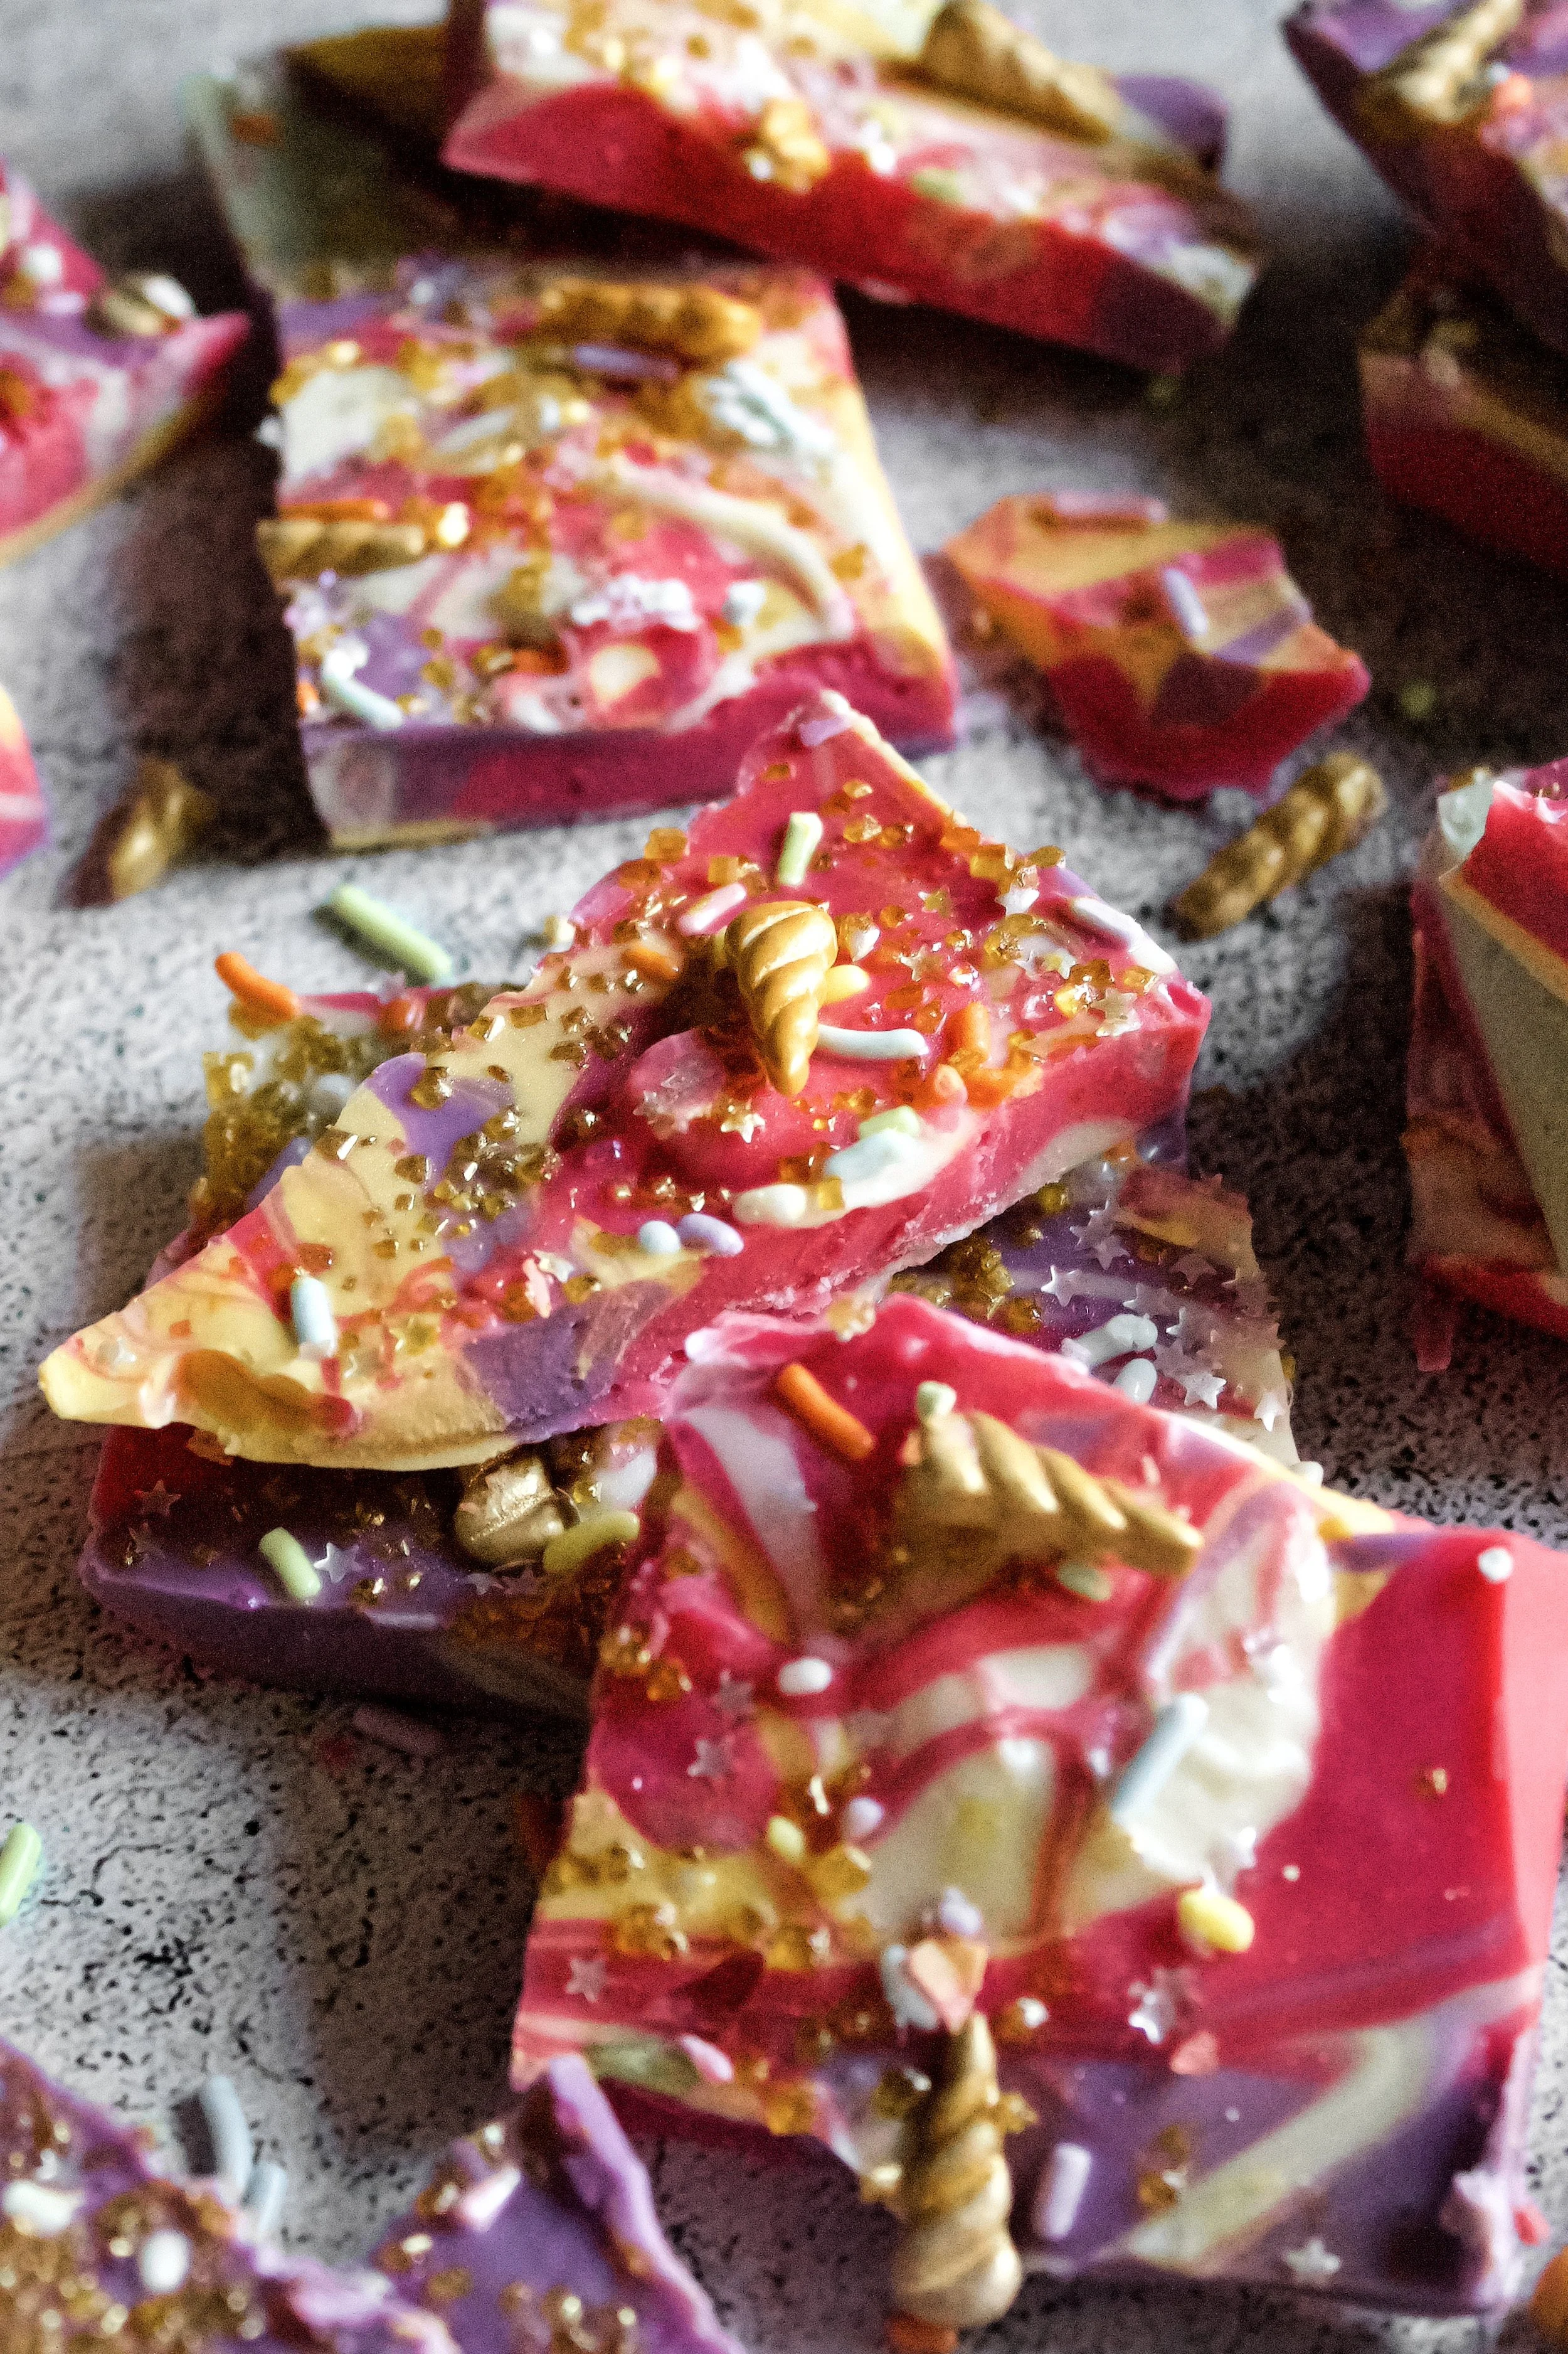
Simple yet beautiful and delicious, this candy bark is an easy swirl of colored candy melts topped with your favorite unicorn themed sprinkles. A perfect recipe to make with your favorite unicorn fan!
This post may contain affiliate links from which, at no additional cost to you, I may earn a small commission to keep this site running. Only products I myself would or do use are recommended.
This recipe has been months in the making. I promised my daughter we could make something unicorn themed back when my best friend sent her unicorn sprinkles for…Easter? I hope it was Easter and not some earlier holiday. Otherwise, sorry for the delay, kid.
Anyway, we finally had time to use them and tried making unicorn cookies. They were delicious! And a complete mess. We used a few too many sprinkles, which added too much sugar (i.e. liquid during baking) and they baked into lovely little unicorn pancakes.
Luckily, three year olds don’t care if a cookie is Insta-worthy. They just care about the taste. It’s why she’s my perfect taste-tester.
So, when I knew I’d have some extra vibrantly colored candy melts after a couple of parties I was baking for (cake pops, anyone???), I made plans to turn the excess candy into unicorn bark.
I couldn’t believe how simple it was to save and reuse the leftover melted candy. Even more, I had no idea how easy it would be to make adorable unicorn candy! In fact, I let my daughter do about half of the work (except for stirring over double boilers—she’s still only three feet tall). So, so simple and so fun to do with my girl.
Why this recipe works
Okay, so technically the only true white chocolate in this candy were the white streaks, since the candy melts taste like white chocolate but are fake. Depending on the brand, “white chocolate” isn’t always actually white chocolate, either. Unless you get the expensive kind that uses actual cocoa butter, you’re not getting true white chocolate. And while I always use real white chocolate in my white chocolate buttercream, I feel no shame using pre-dyed candy melts here. They taste and function the same, and it’s much easier to get the color you want with melts than by dying melted white chocolate.
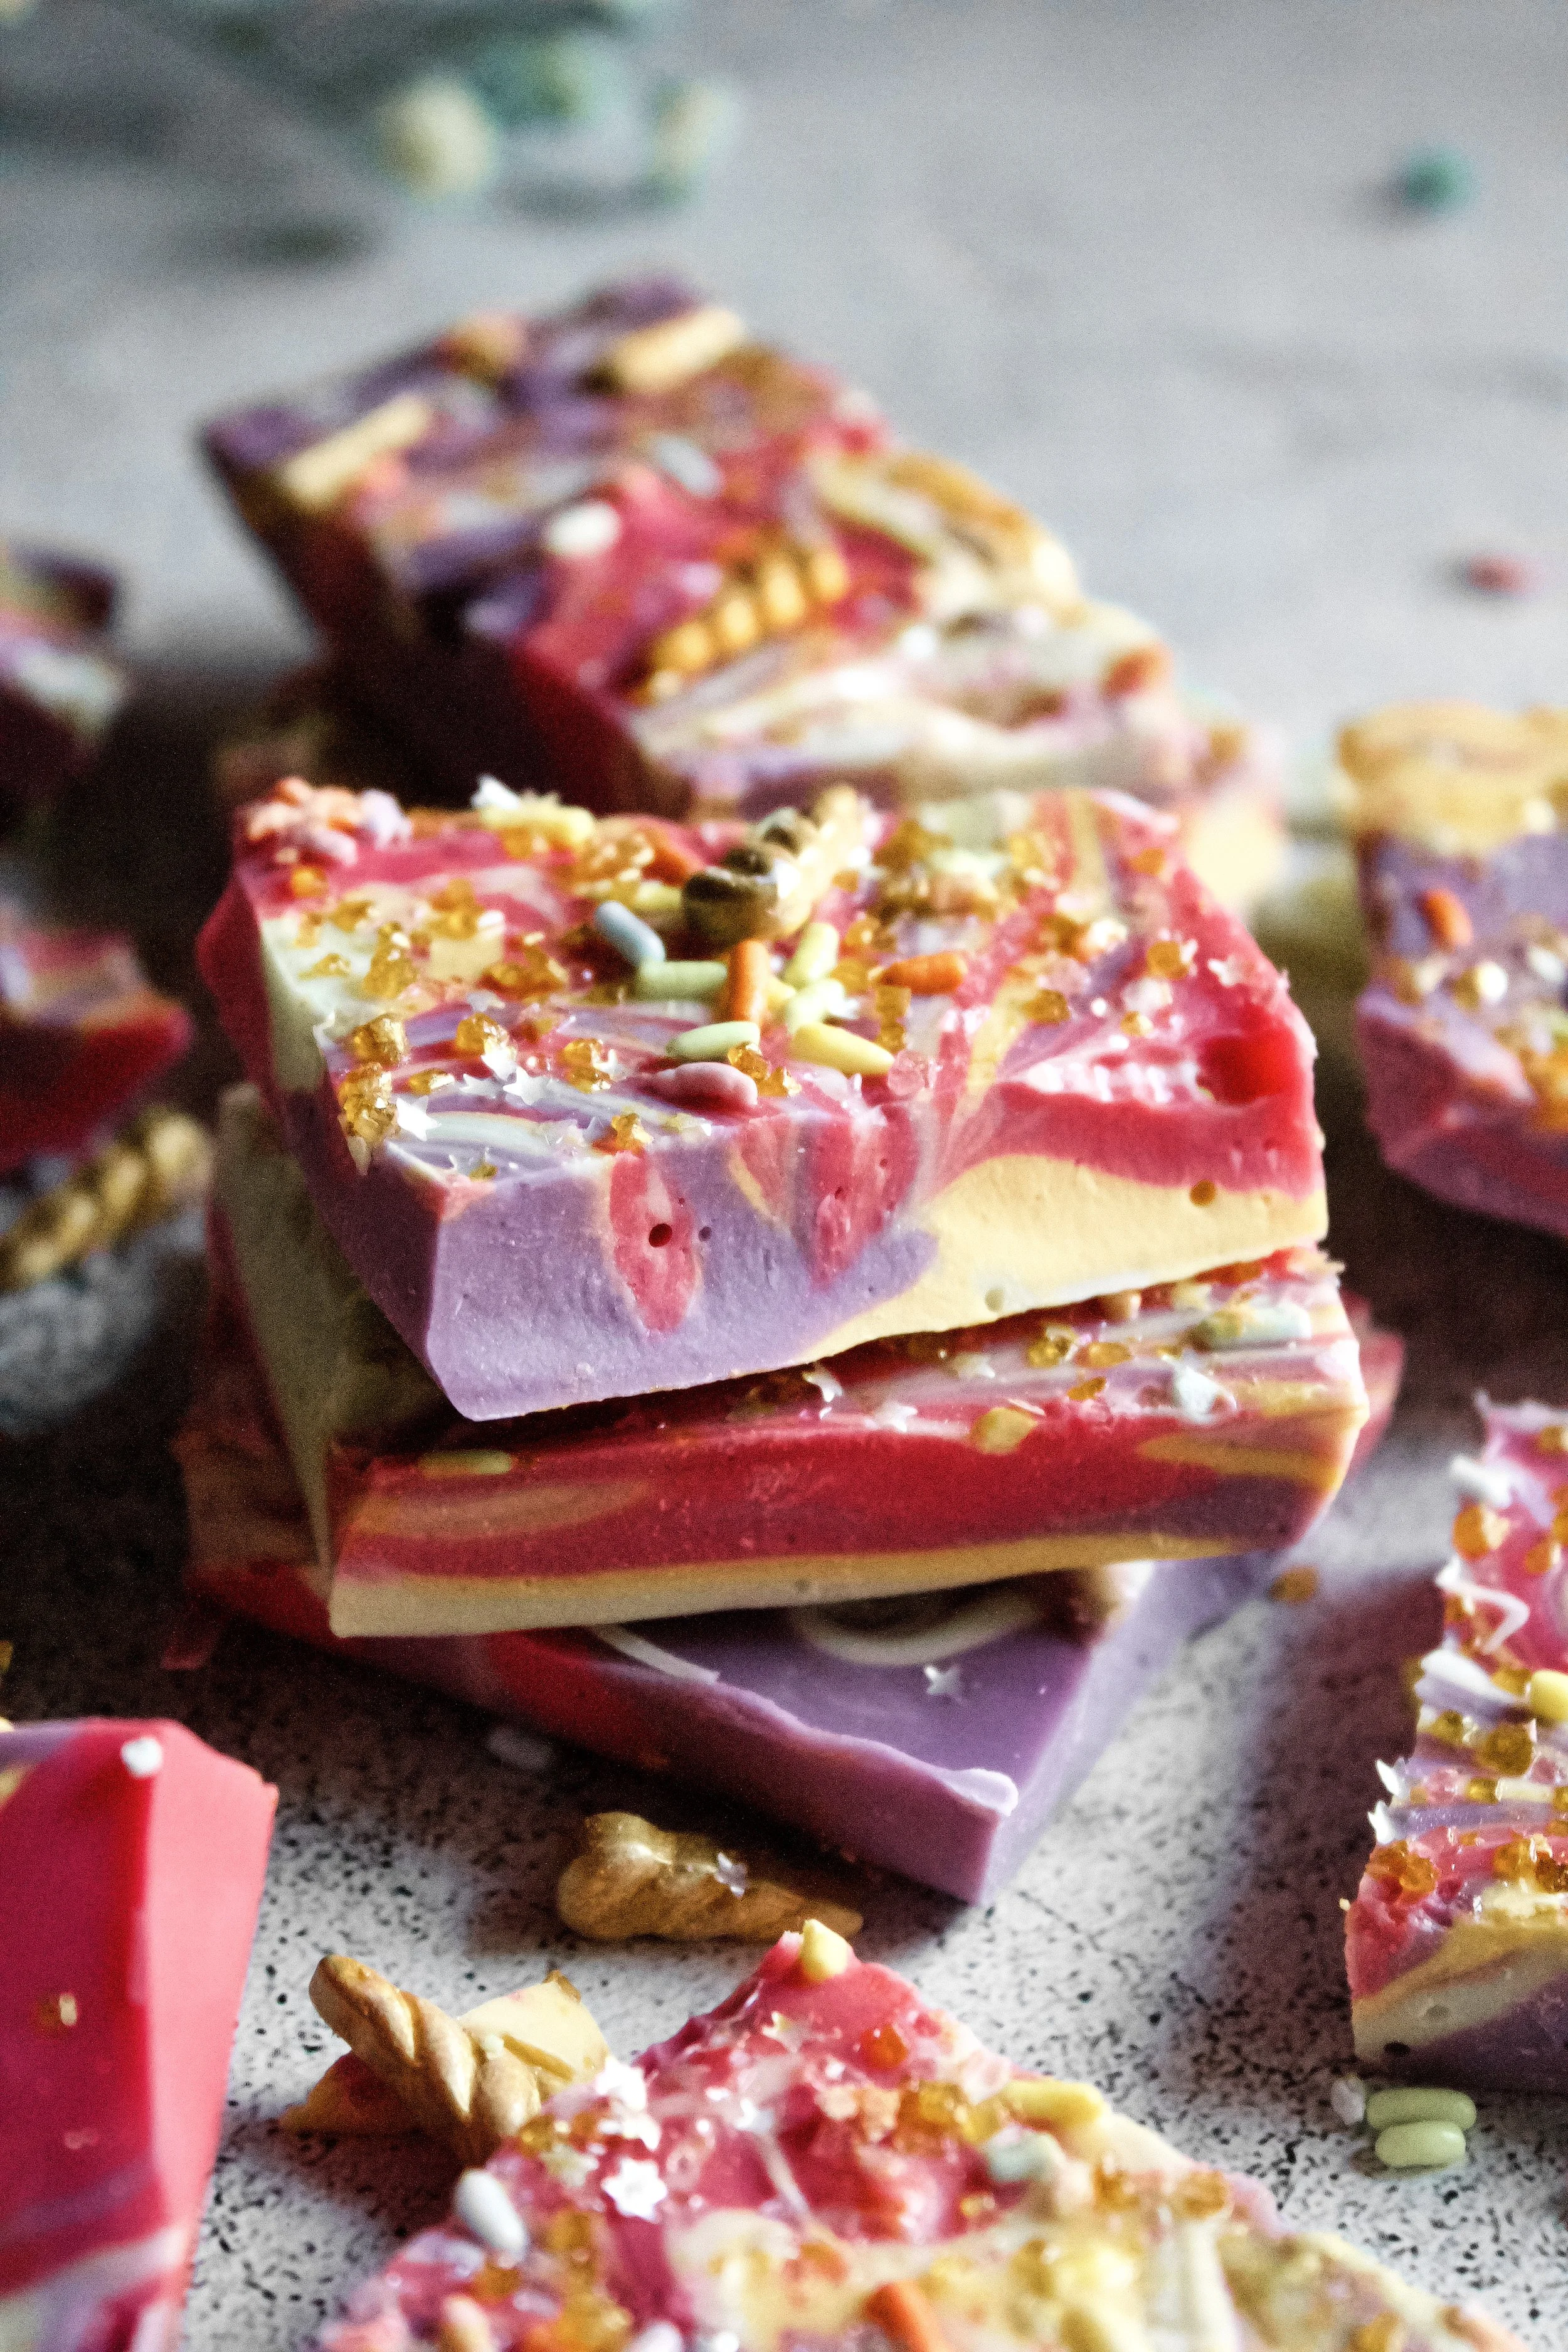
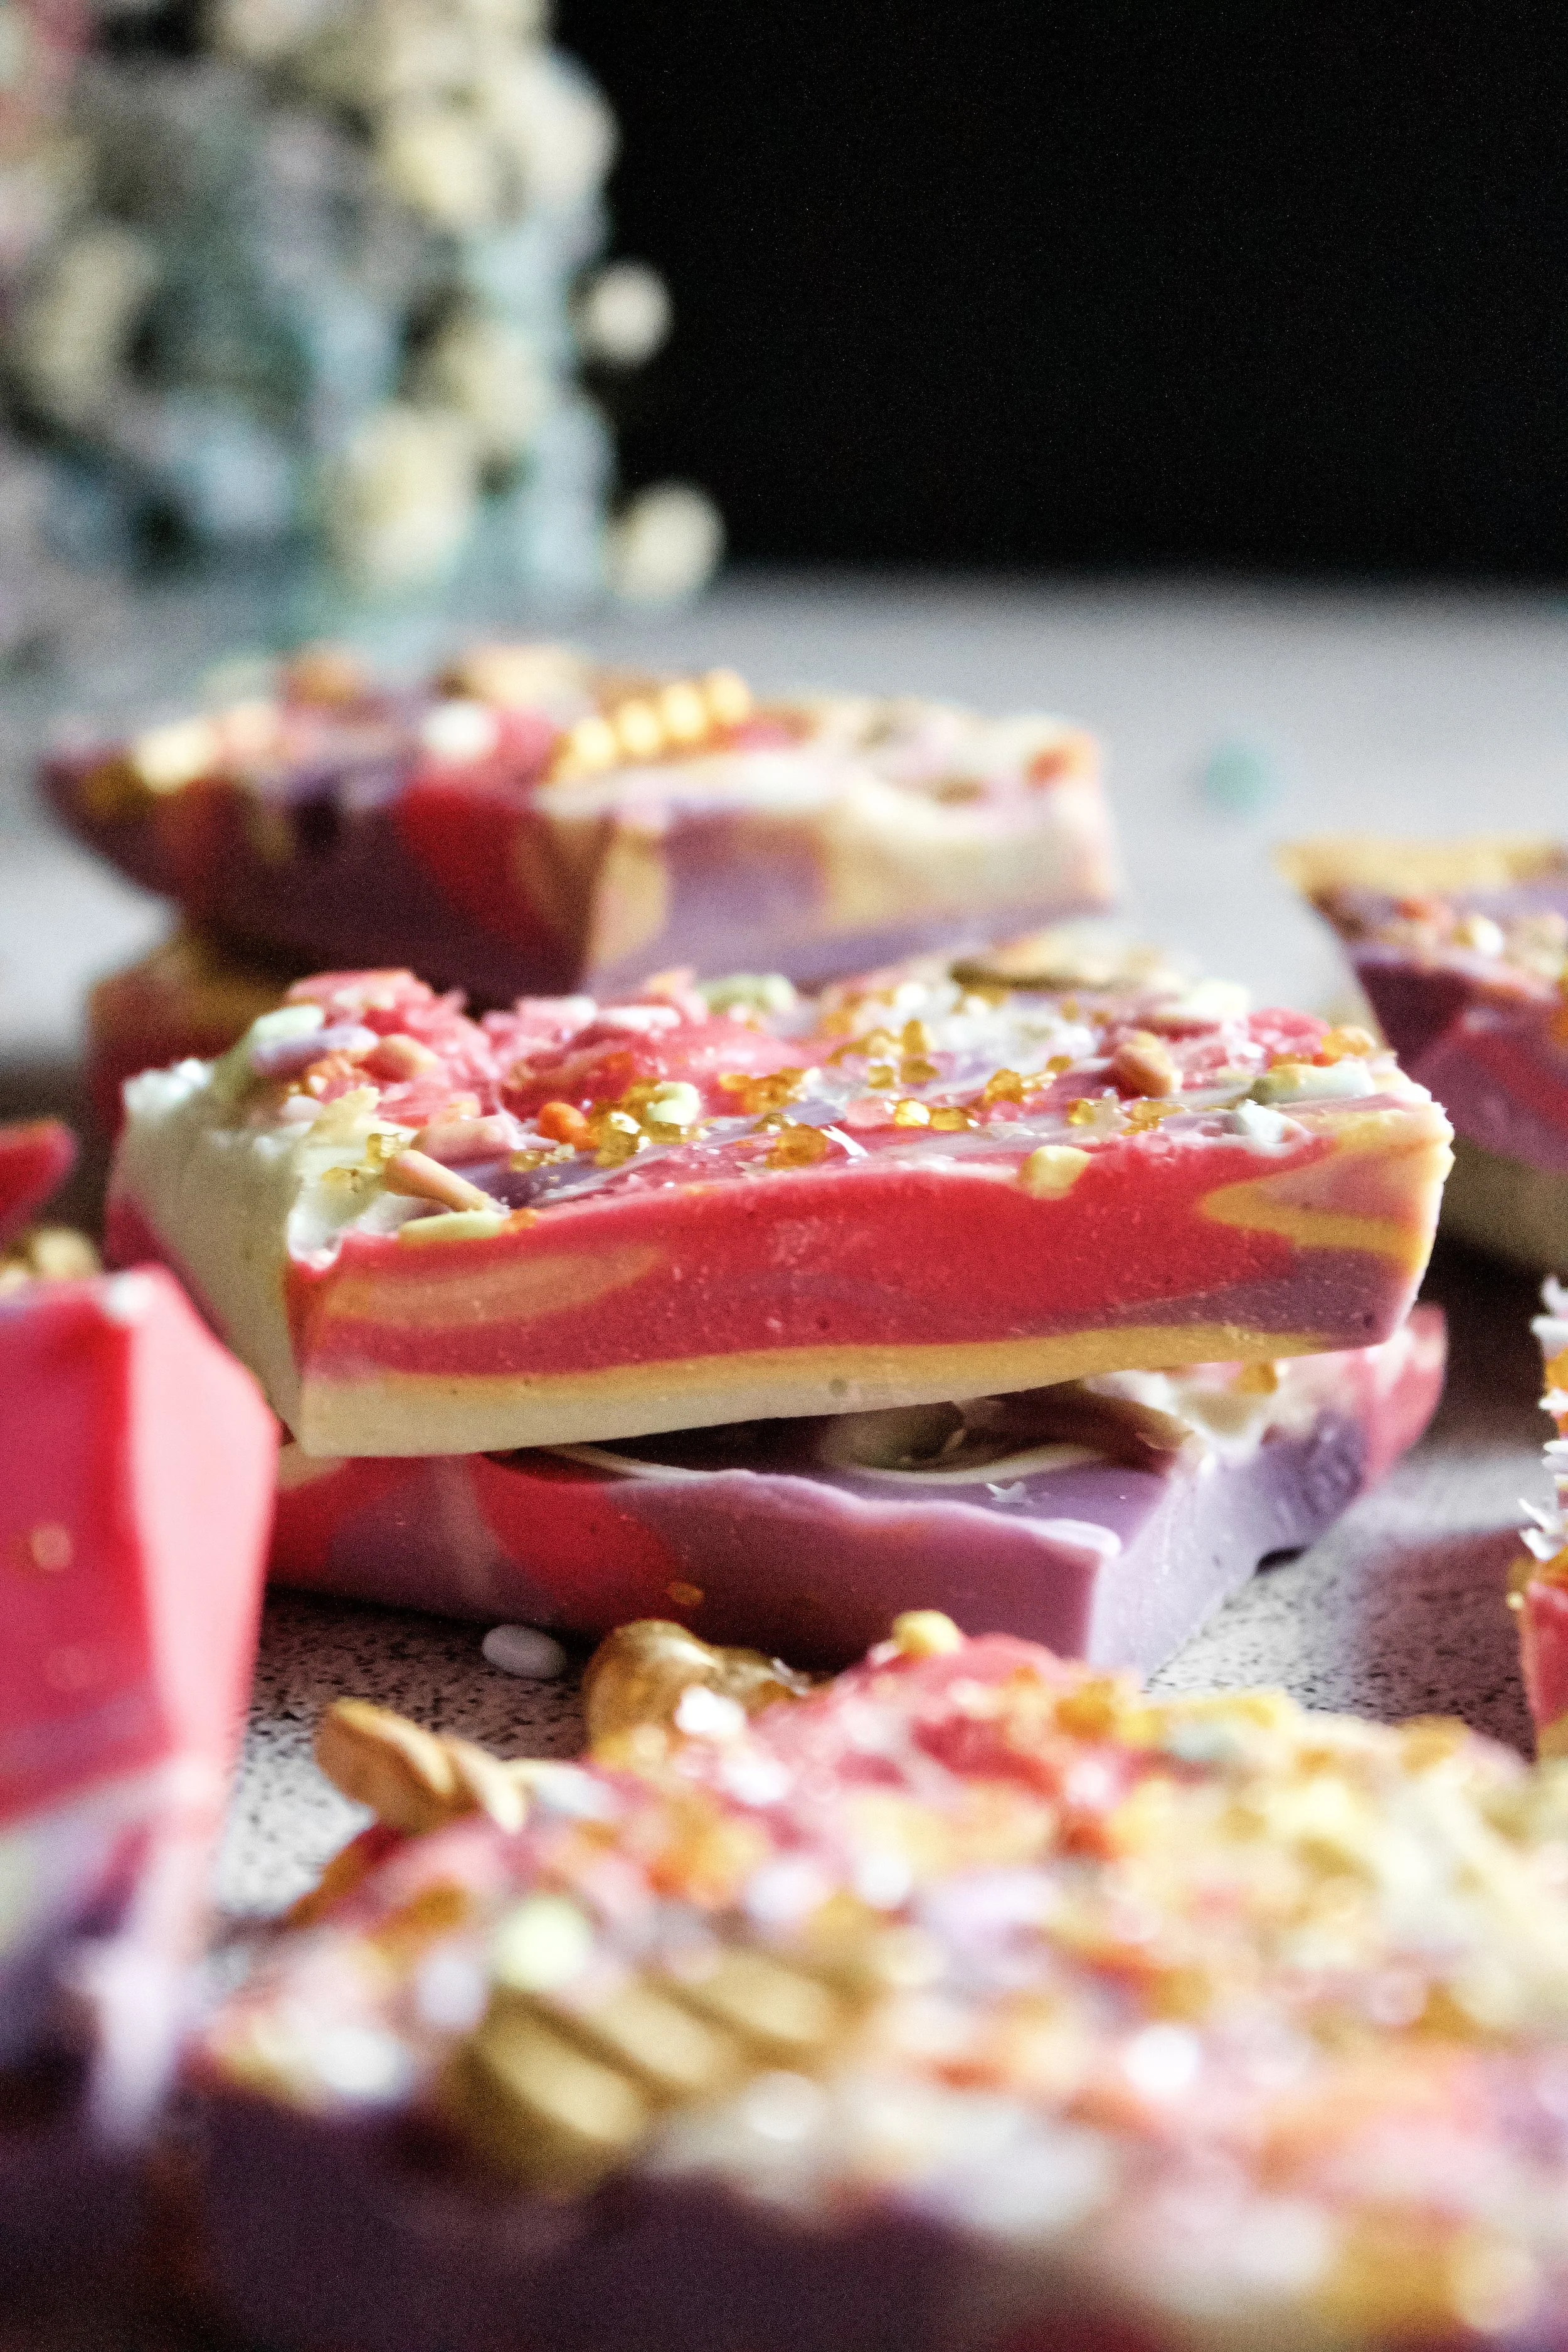
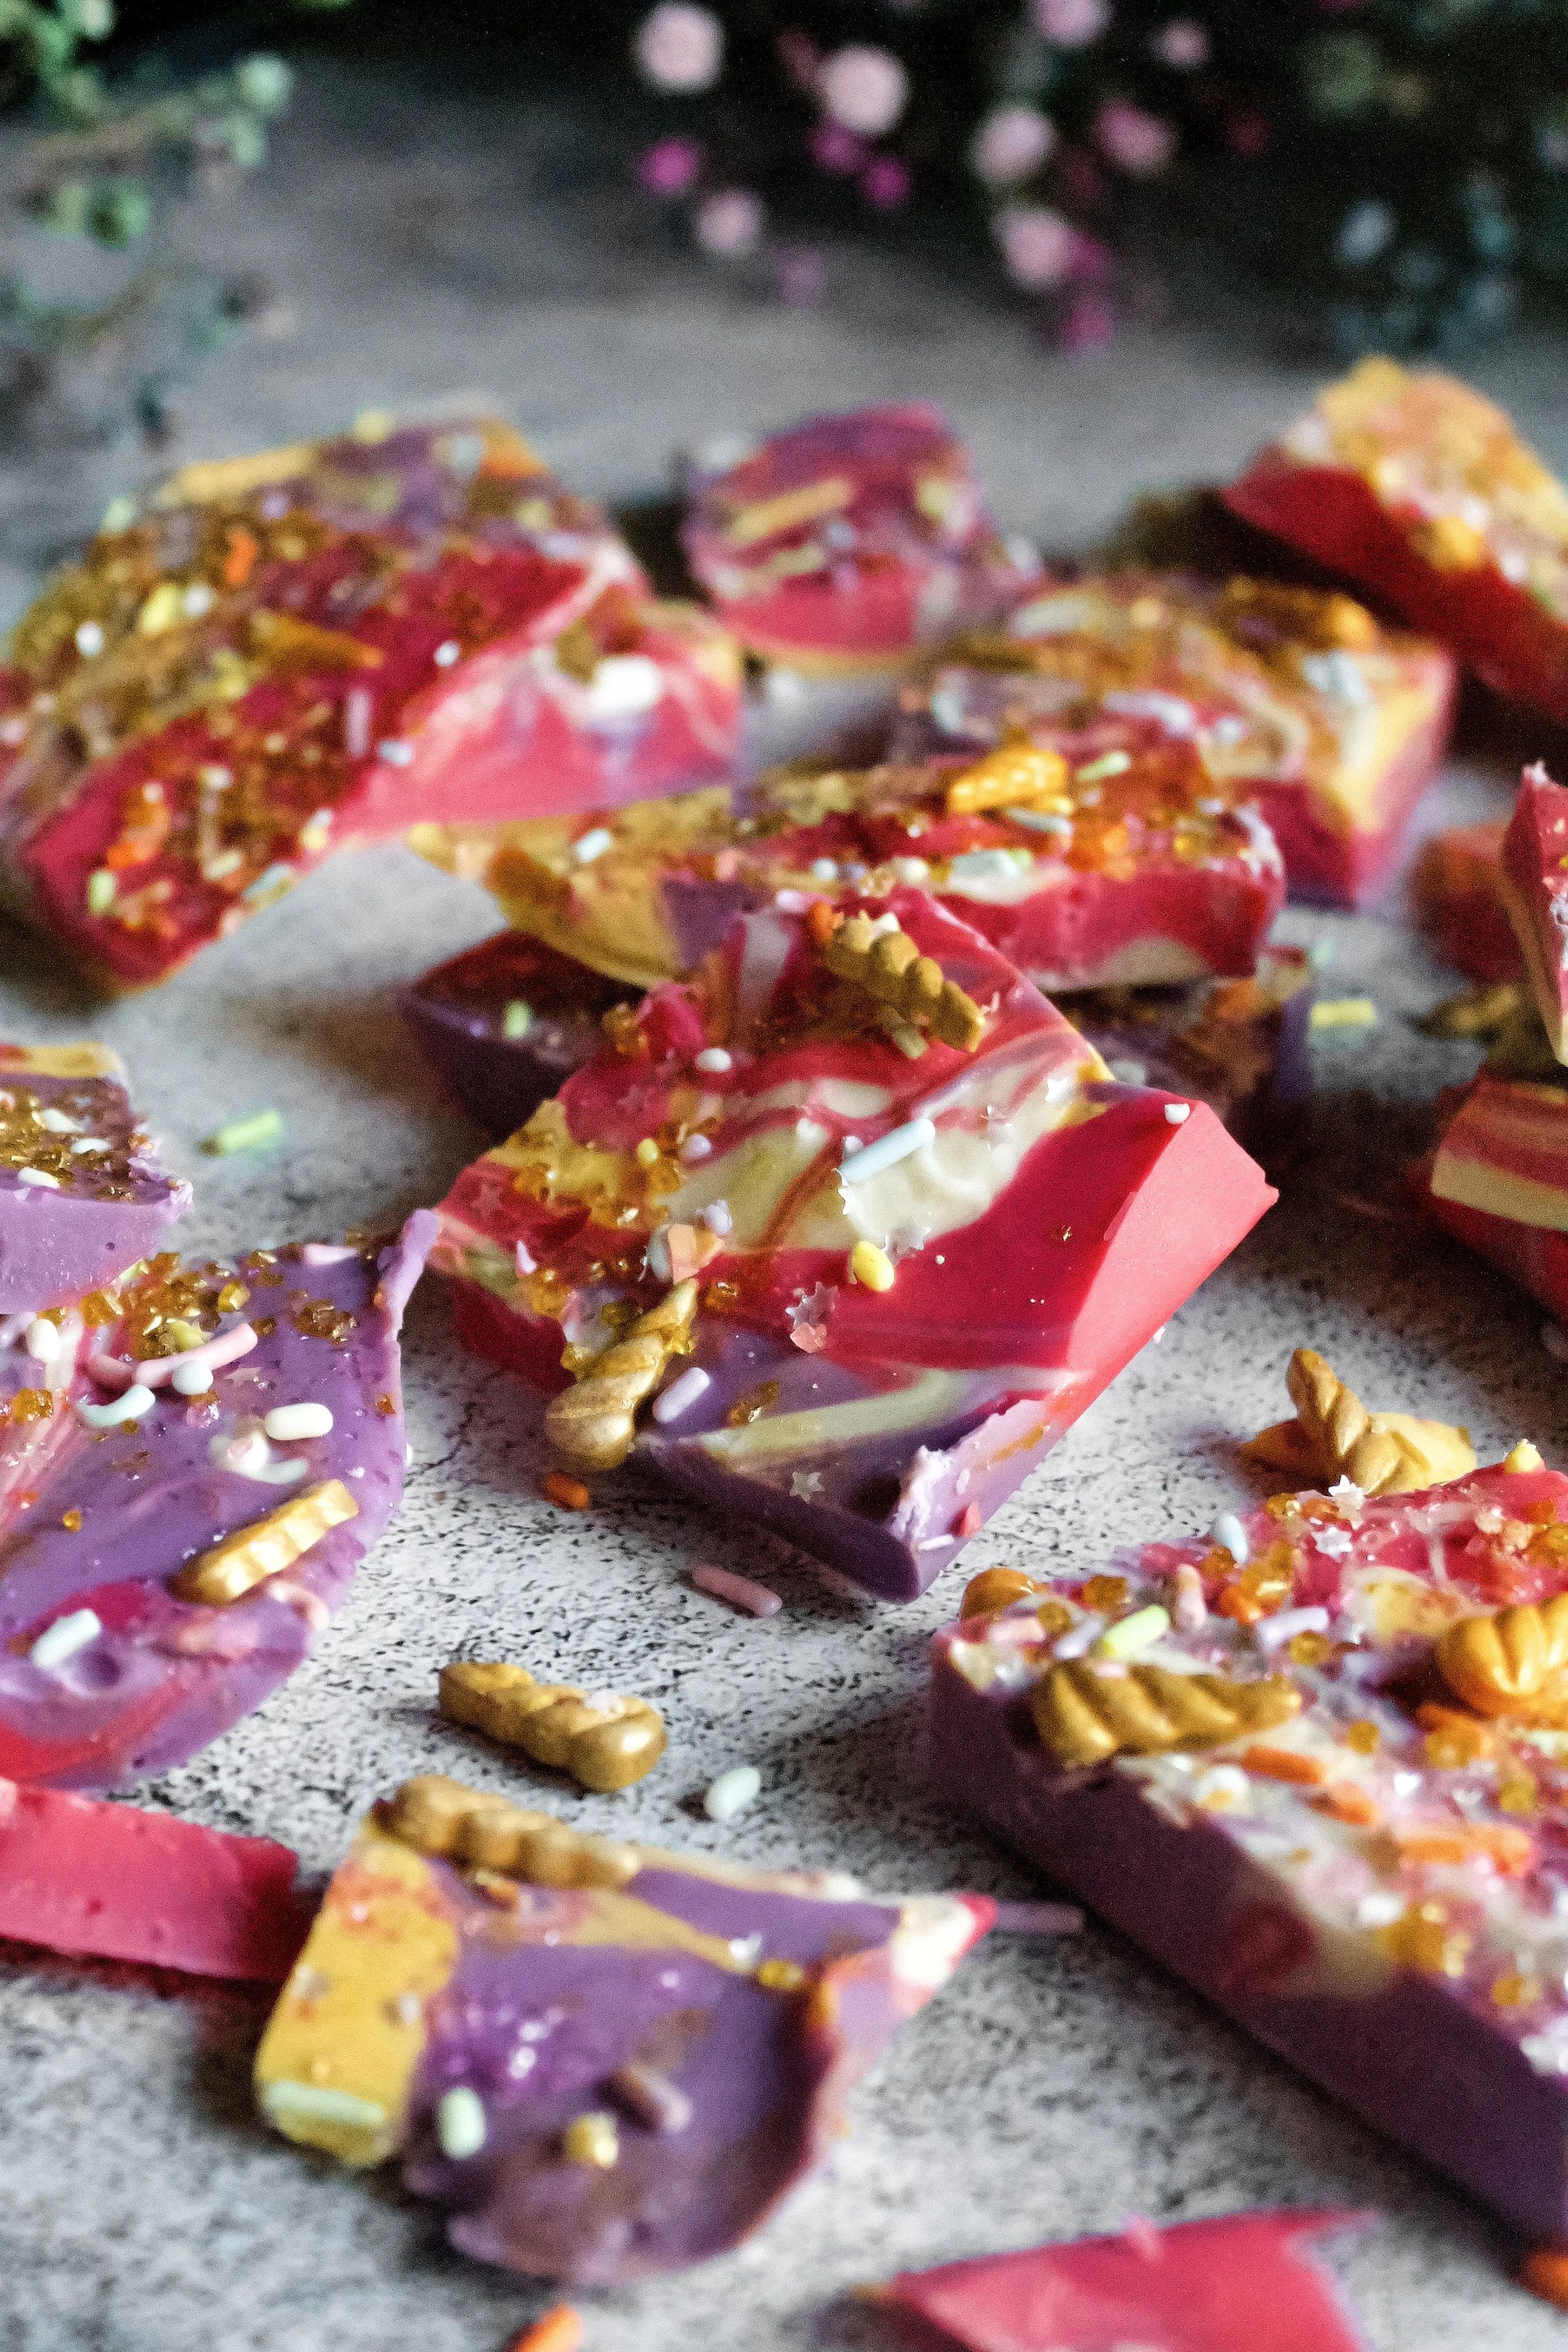
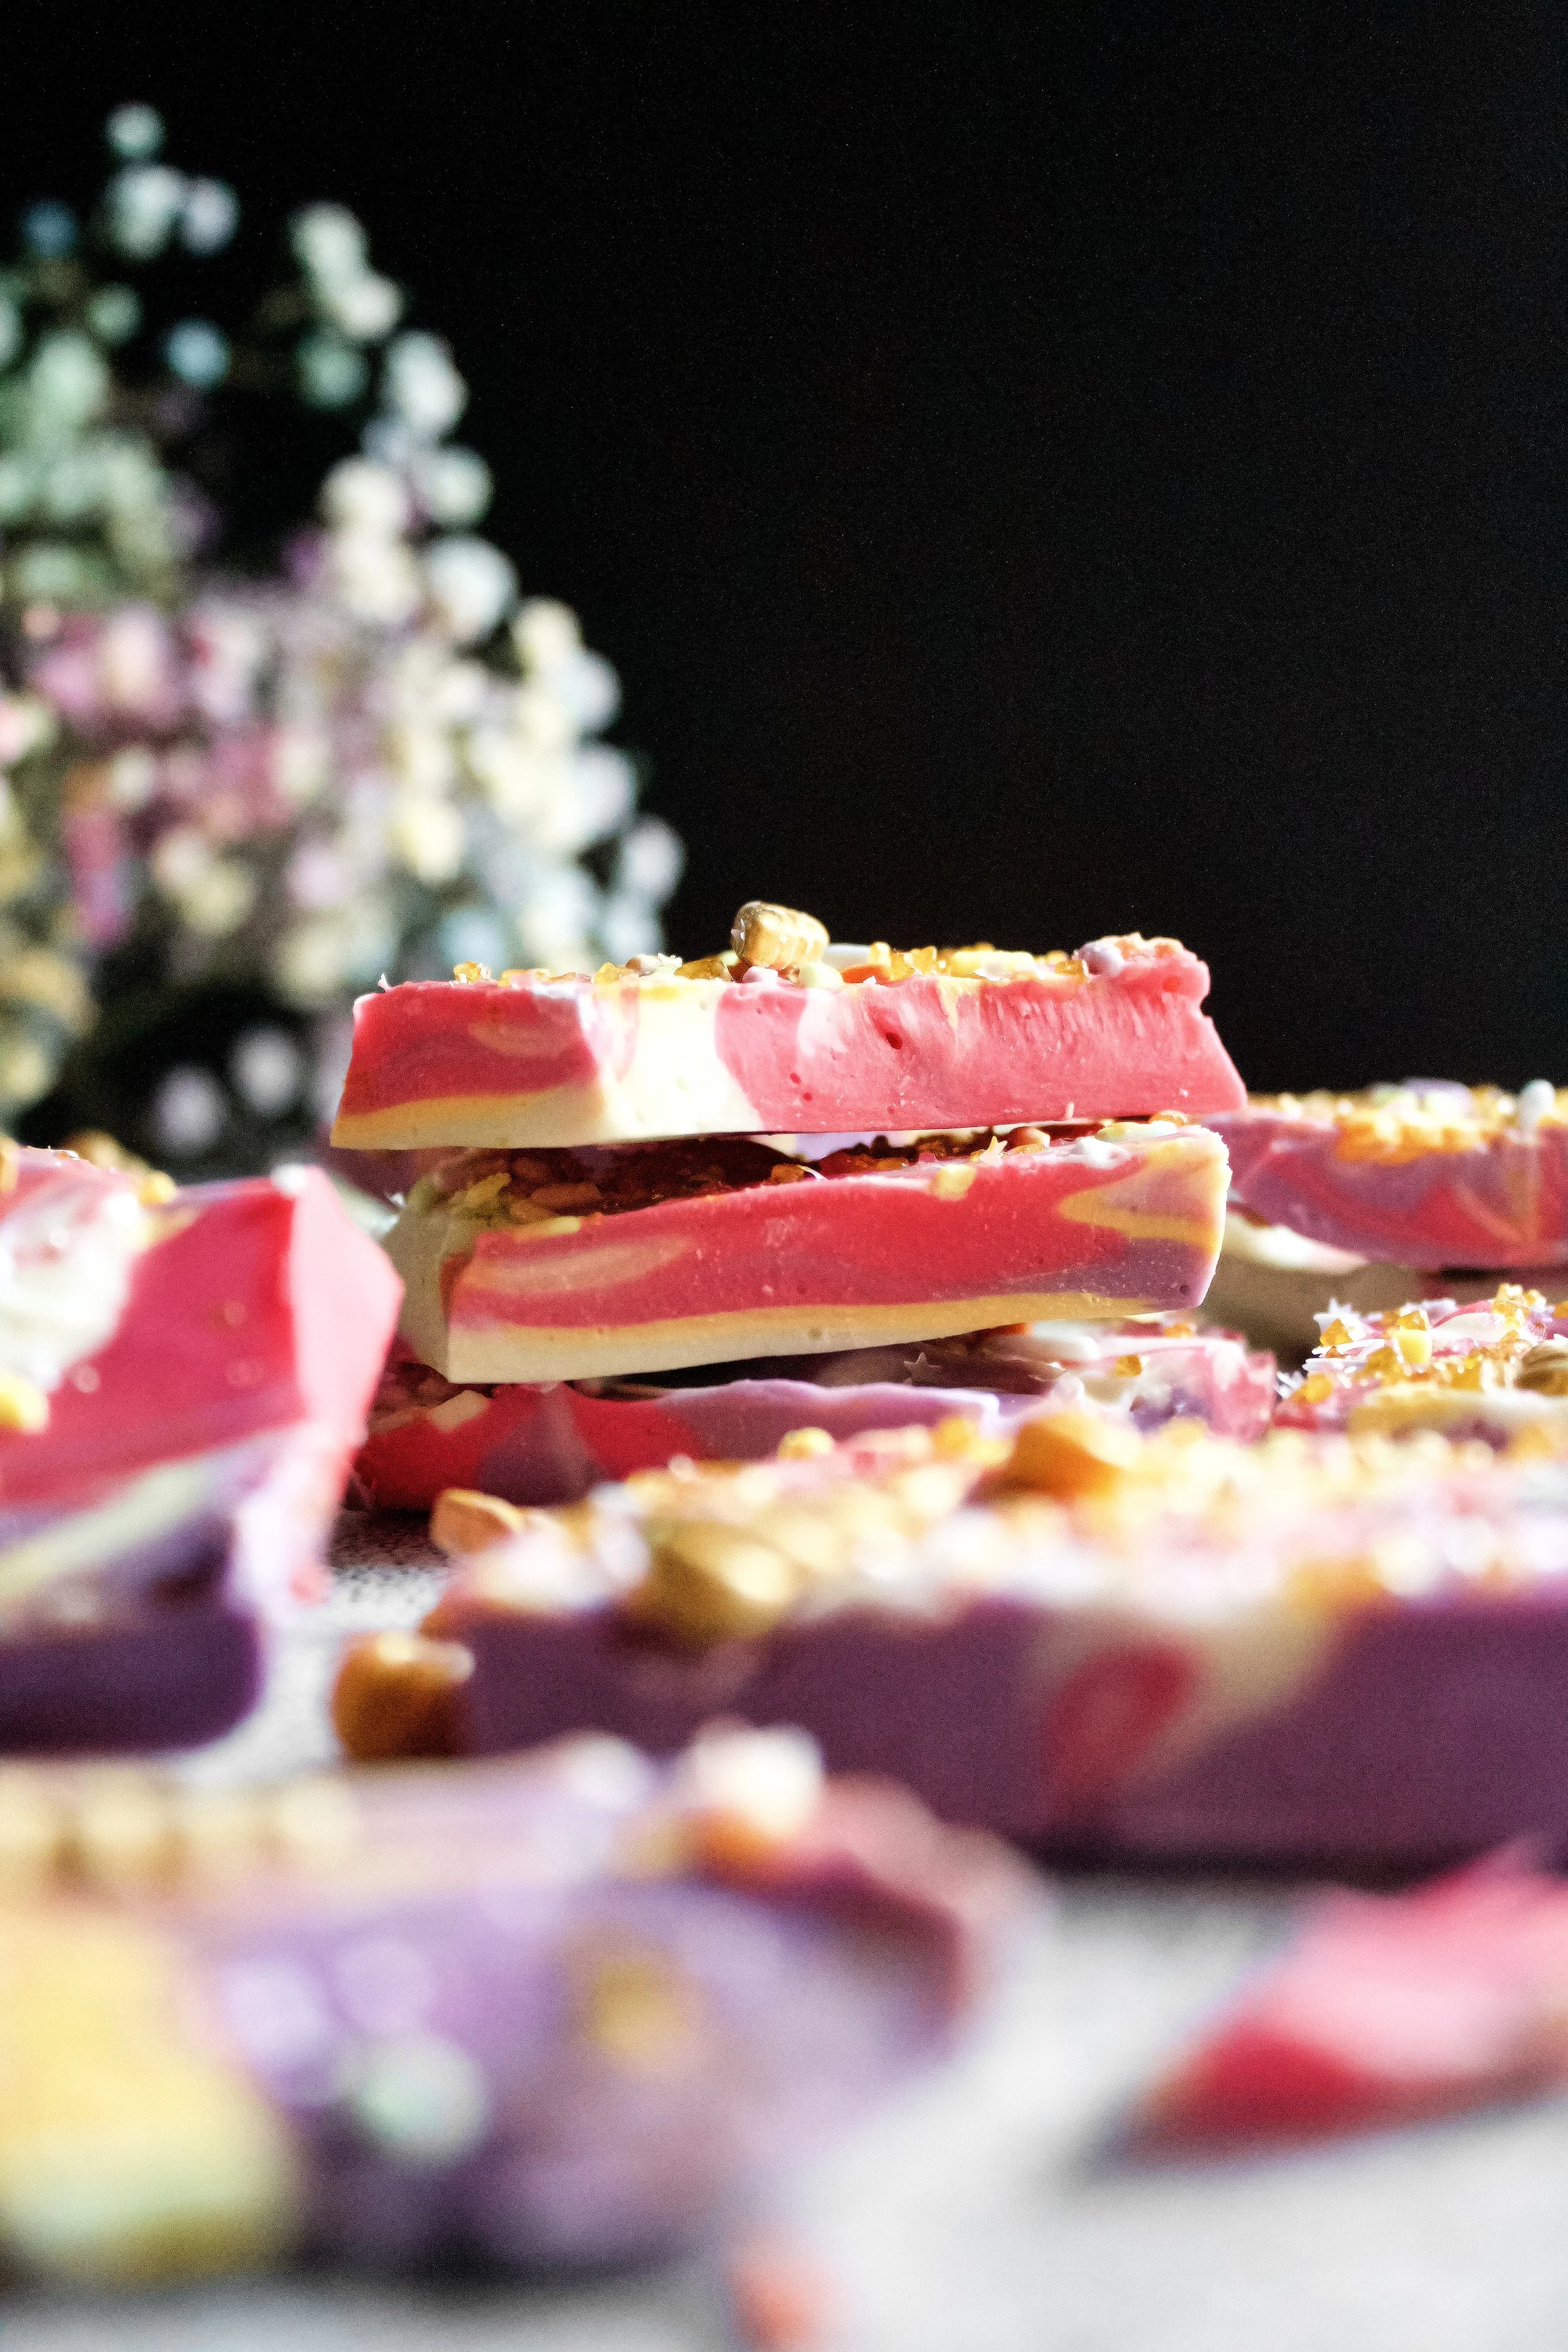
By dropping spoonfuls of the melted chocolate onto the parchment then gently running a knife through it, you get lovely rainbow-ish swirls rather than a mucky brown color. As well, adding the sprinkles while the melts are still warm helps them stick better, which can become an issue when breaking up the bark. And finally, using a variety of unicorn-inspired sprinkles adds not only a fun look but a nice variety of texture, too!
Key ingredients and equipment
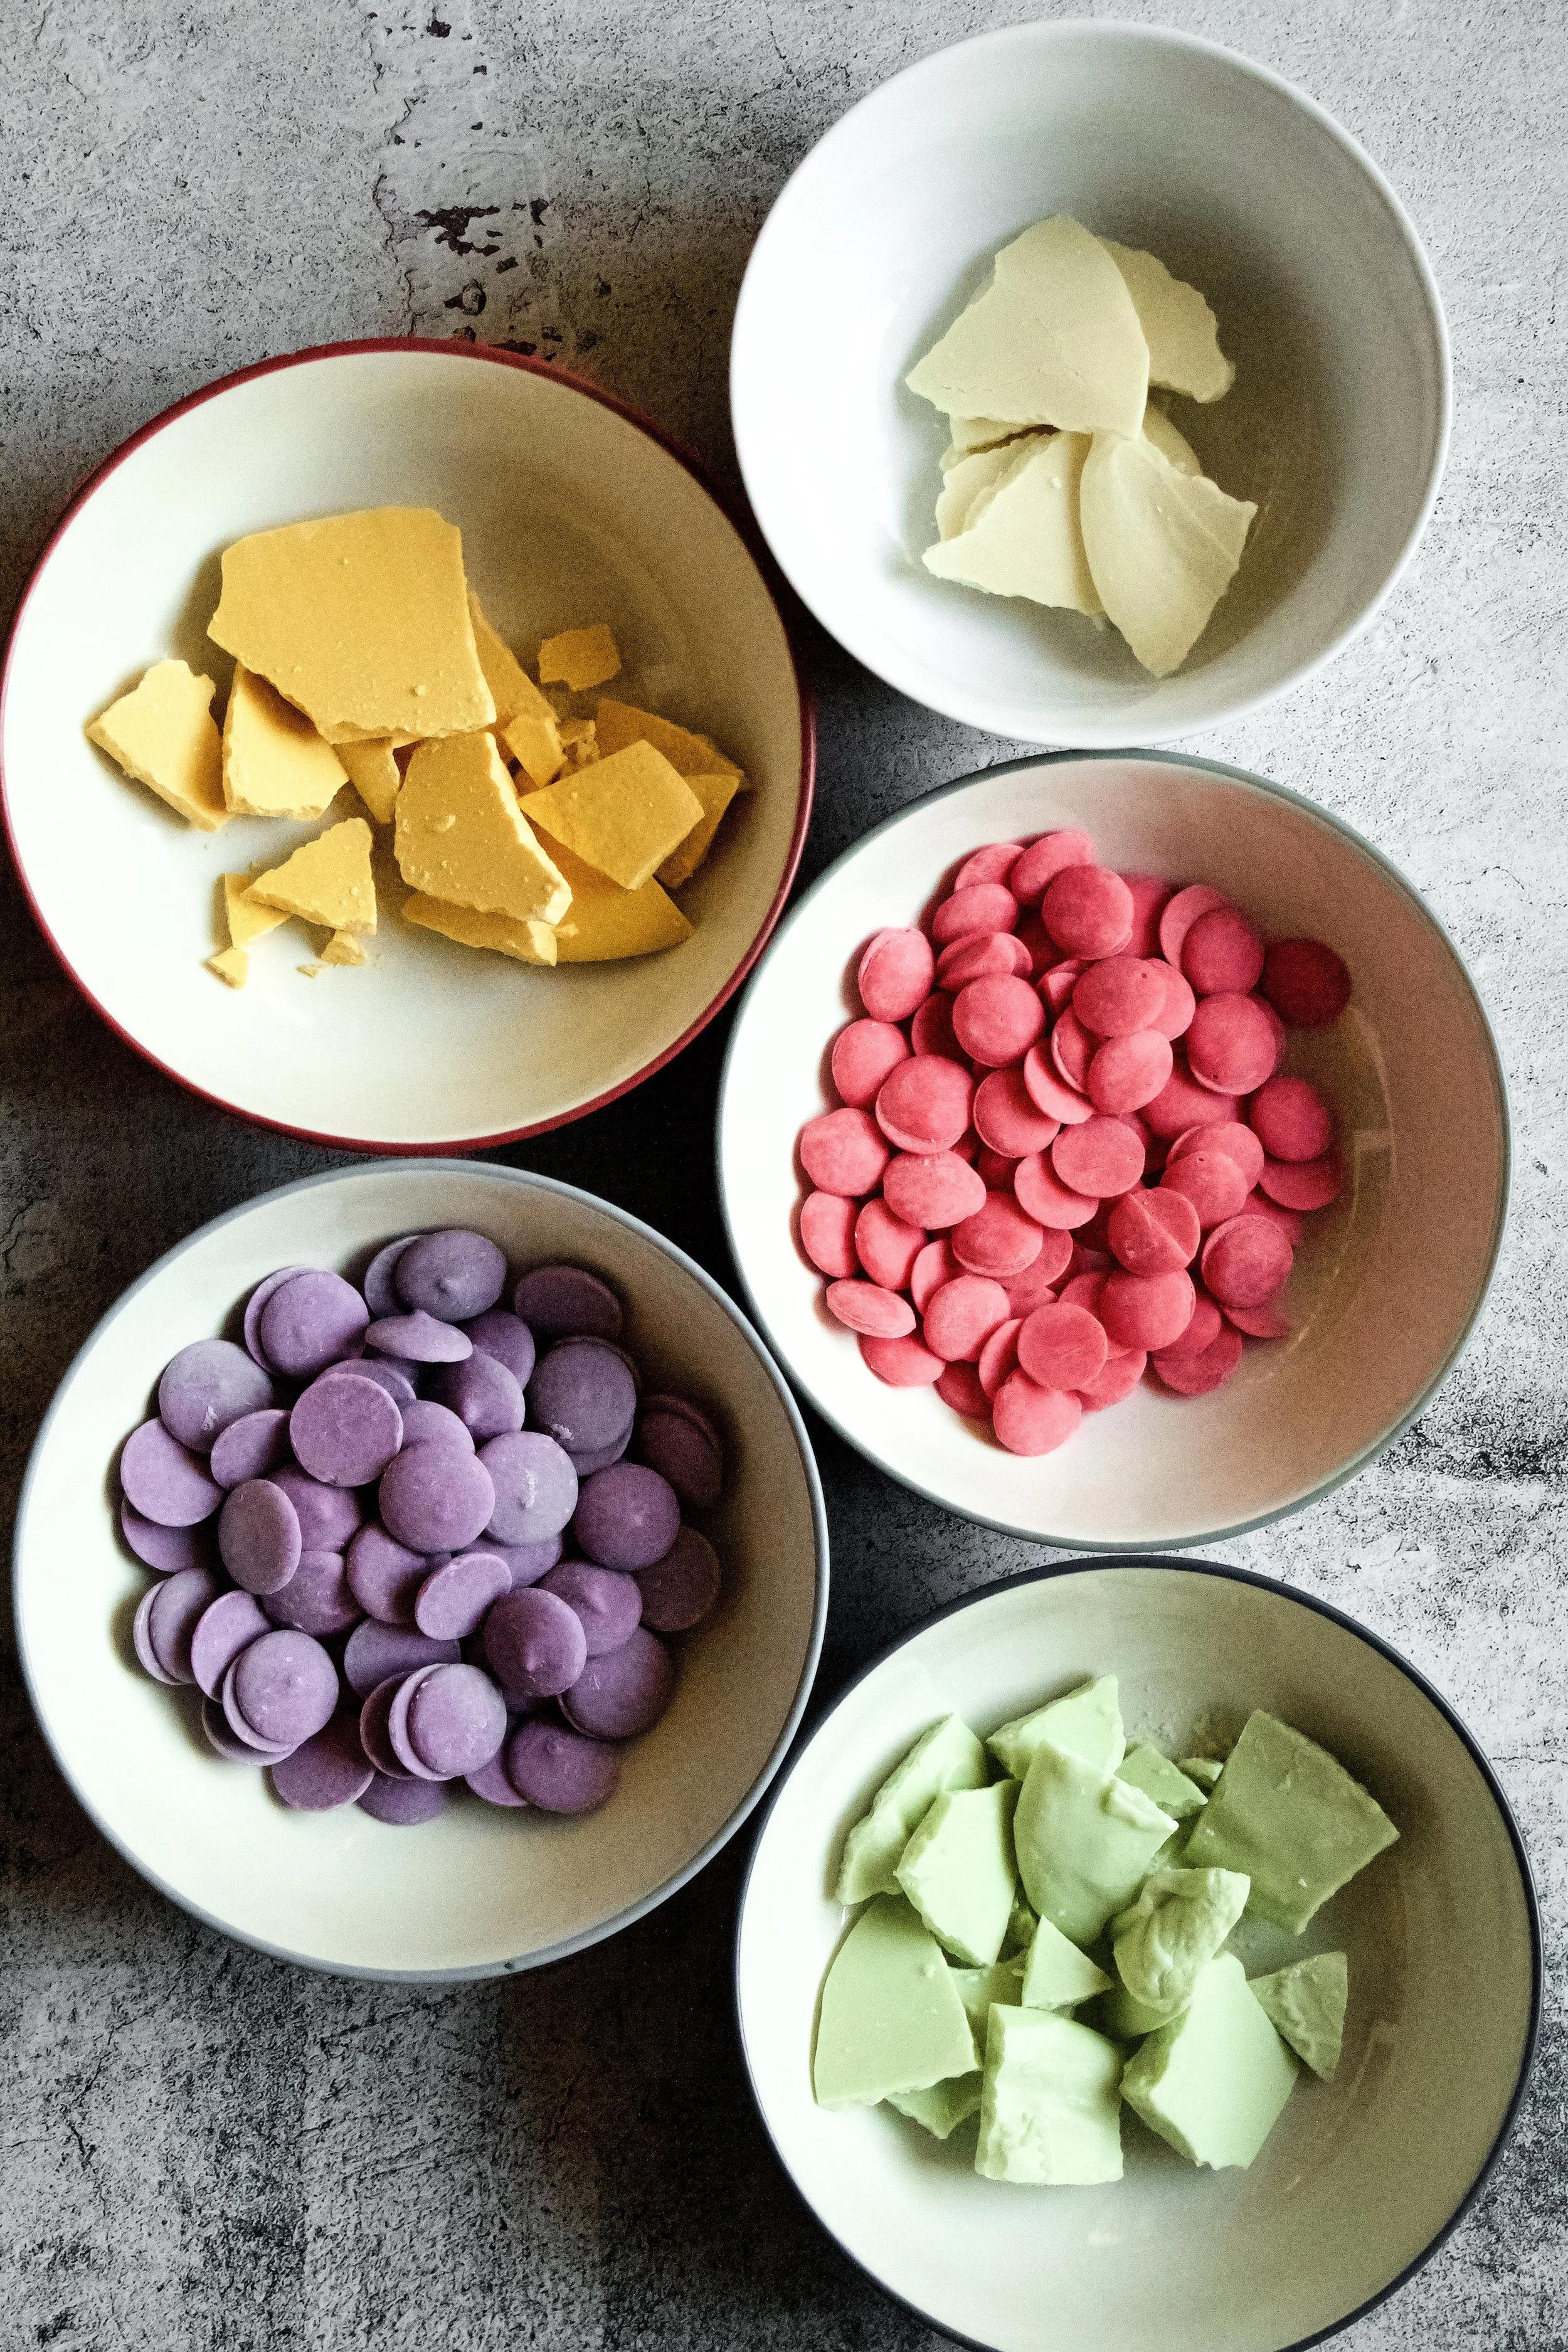
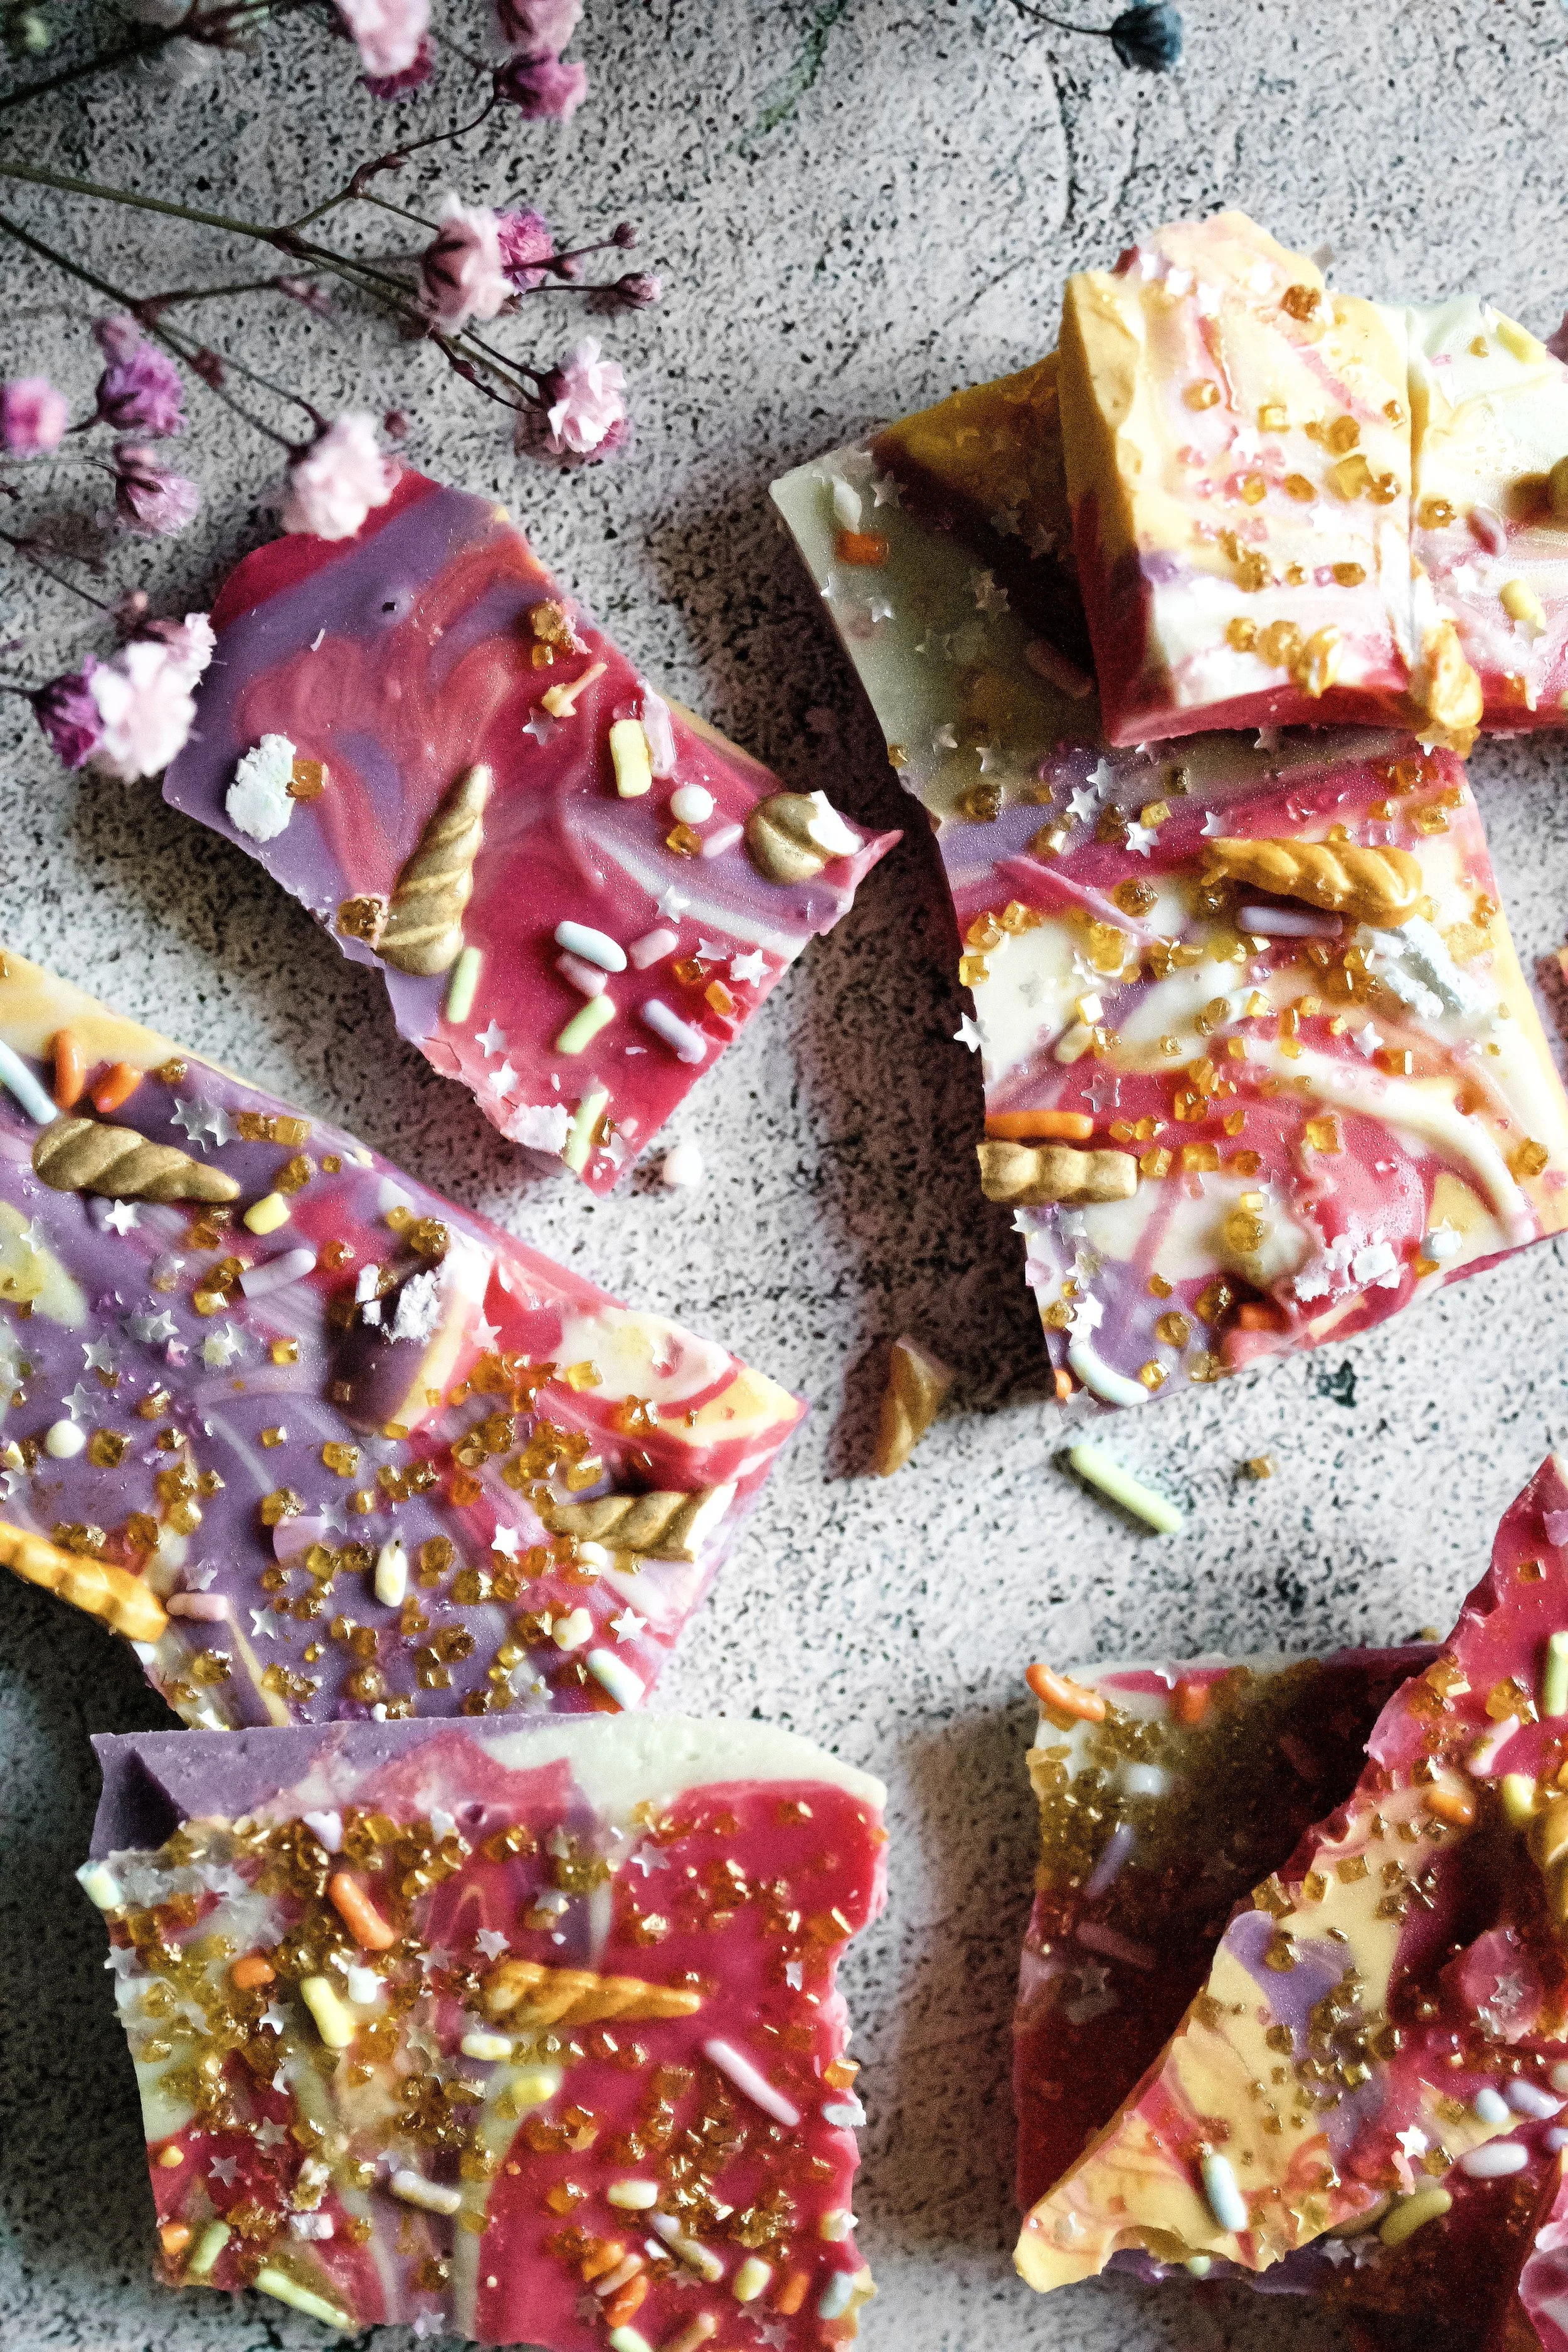
Candy melts in varying colors. I used pink, purple, pale green, yellow, and (real) white chocolate. You can use any combination you want, just don’t do too many colors and try to keep it all within a “unicorn” color scheme.
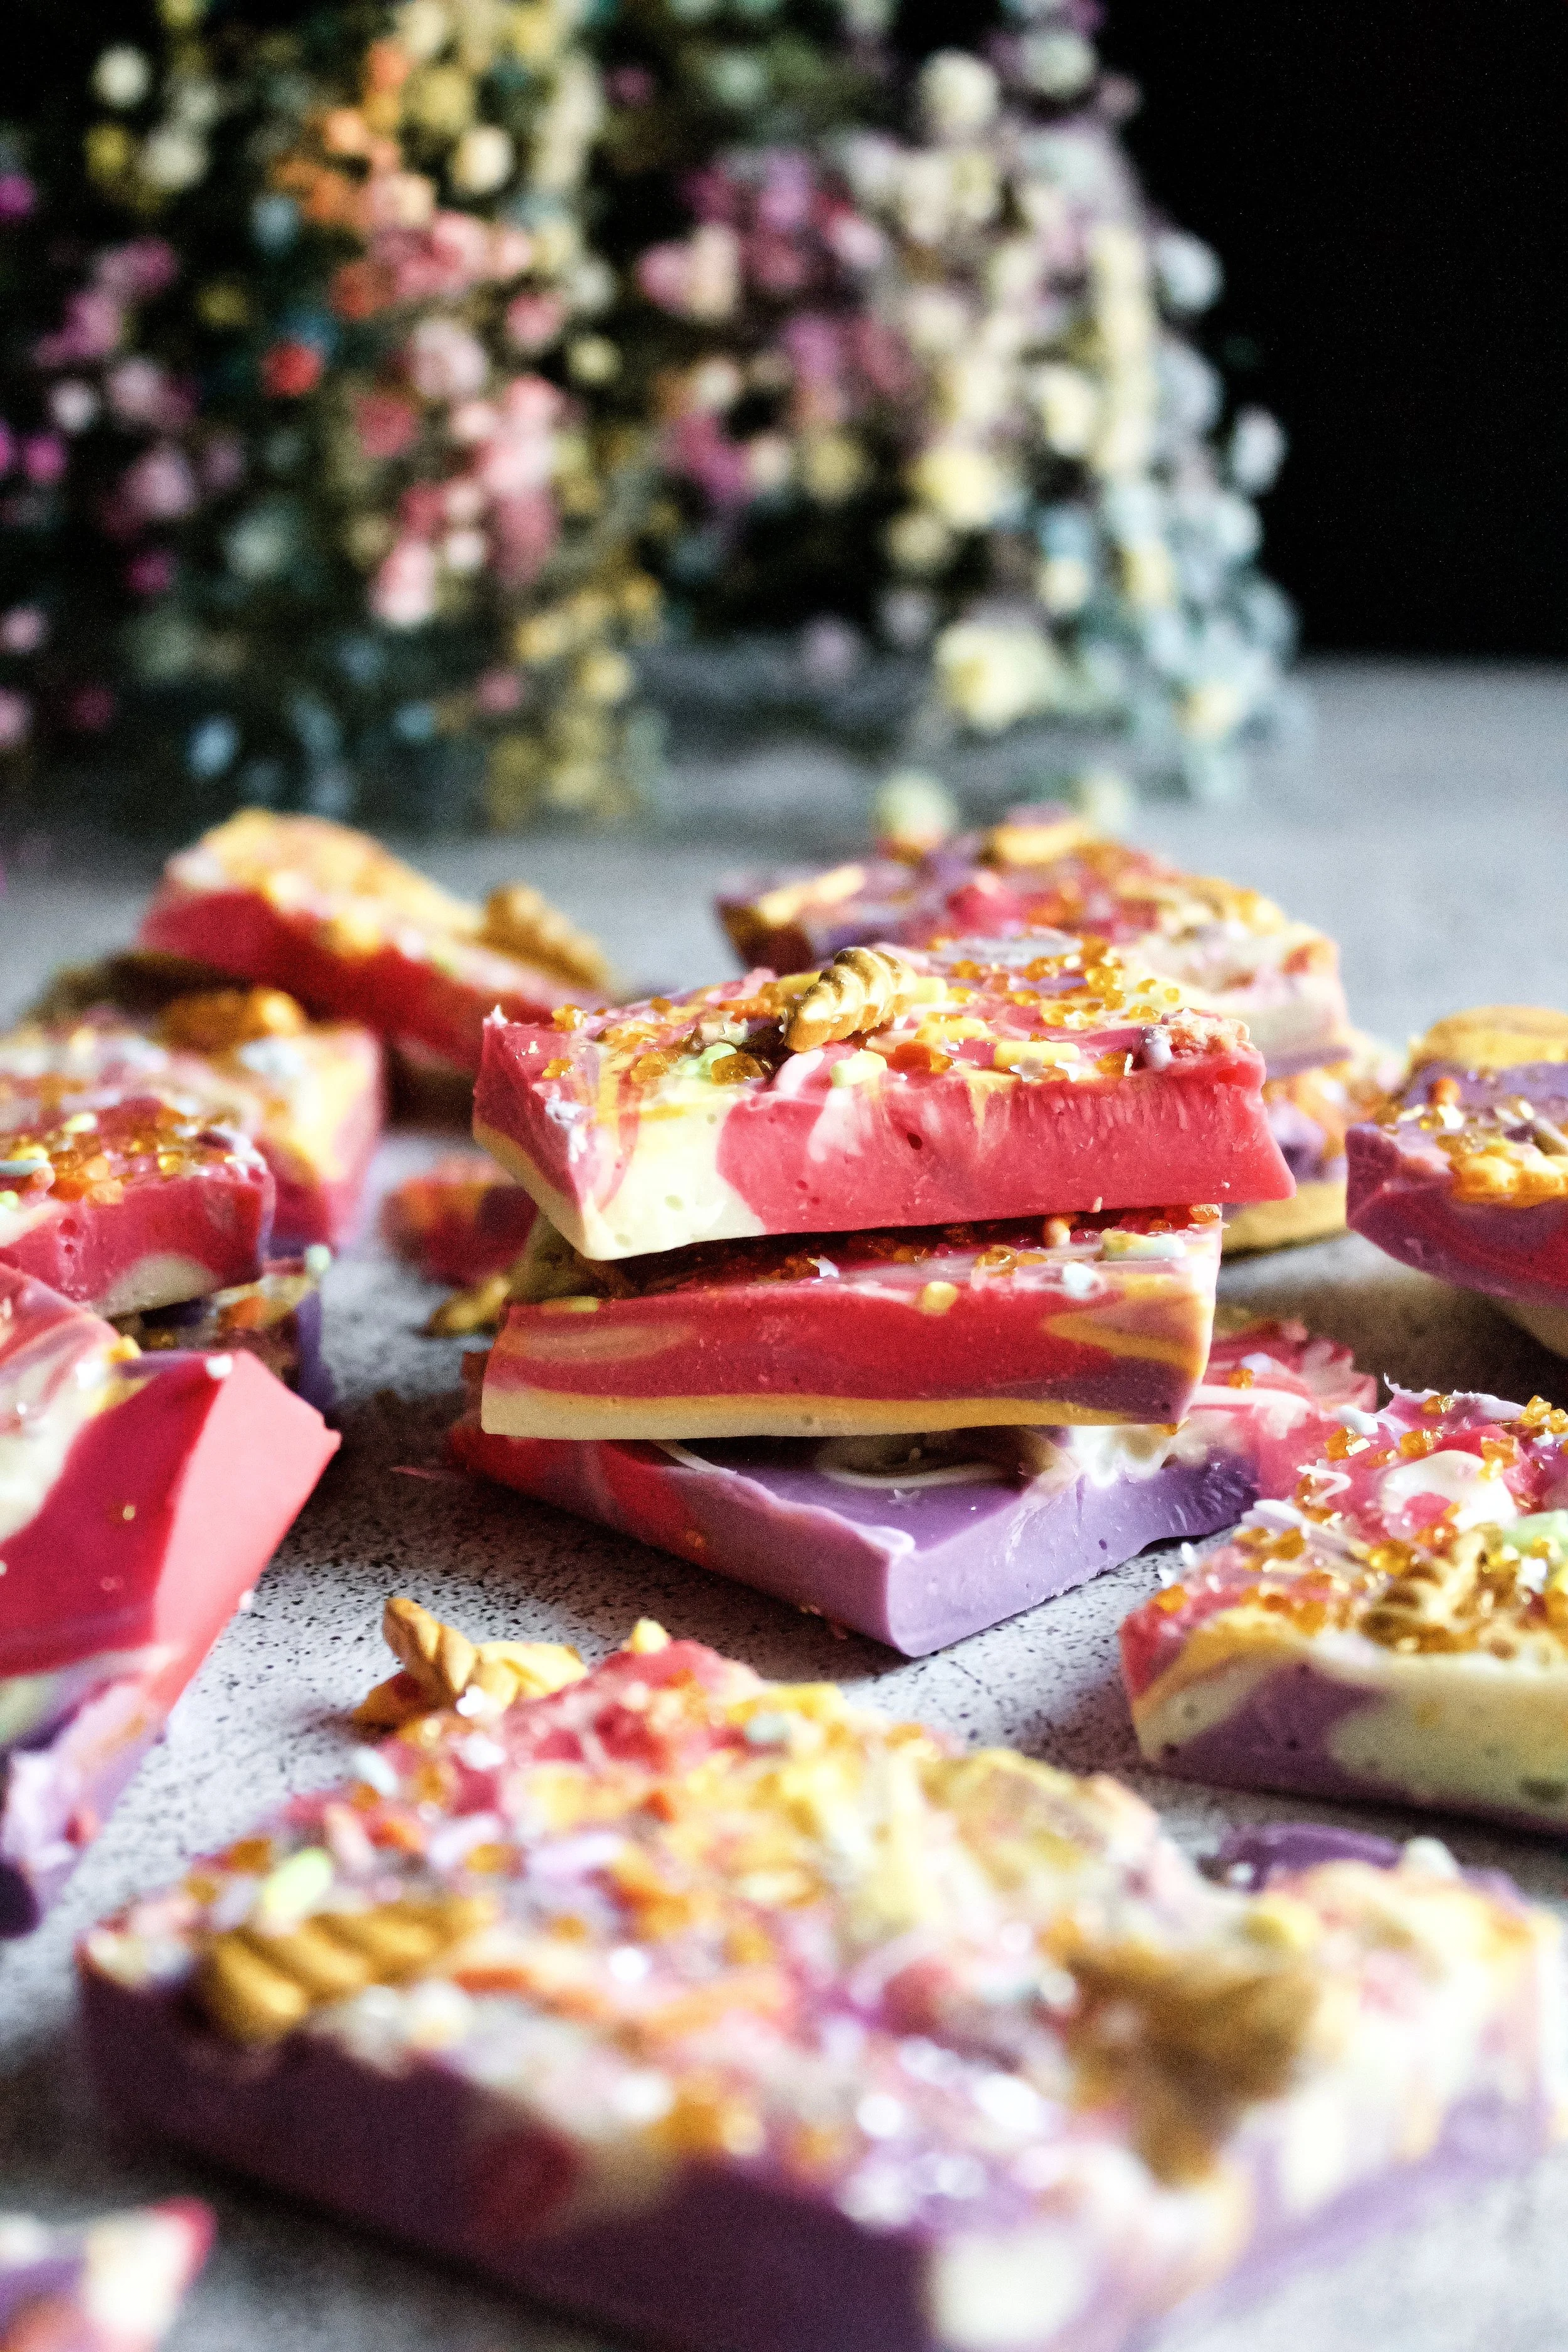
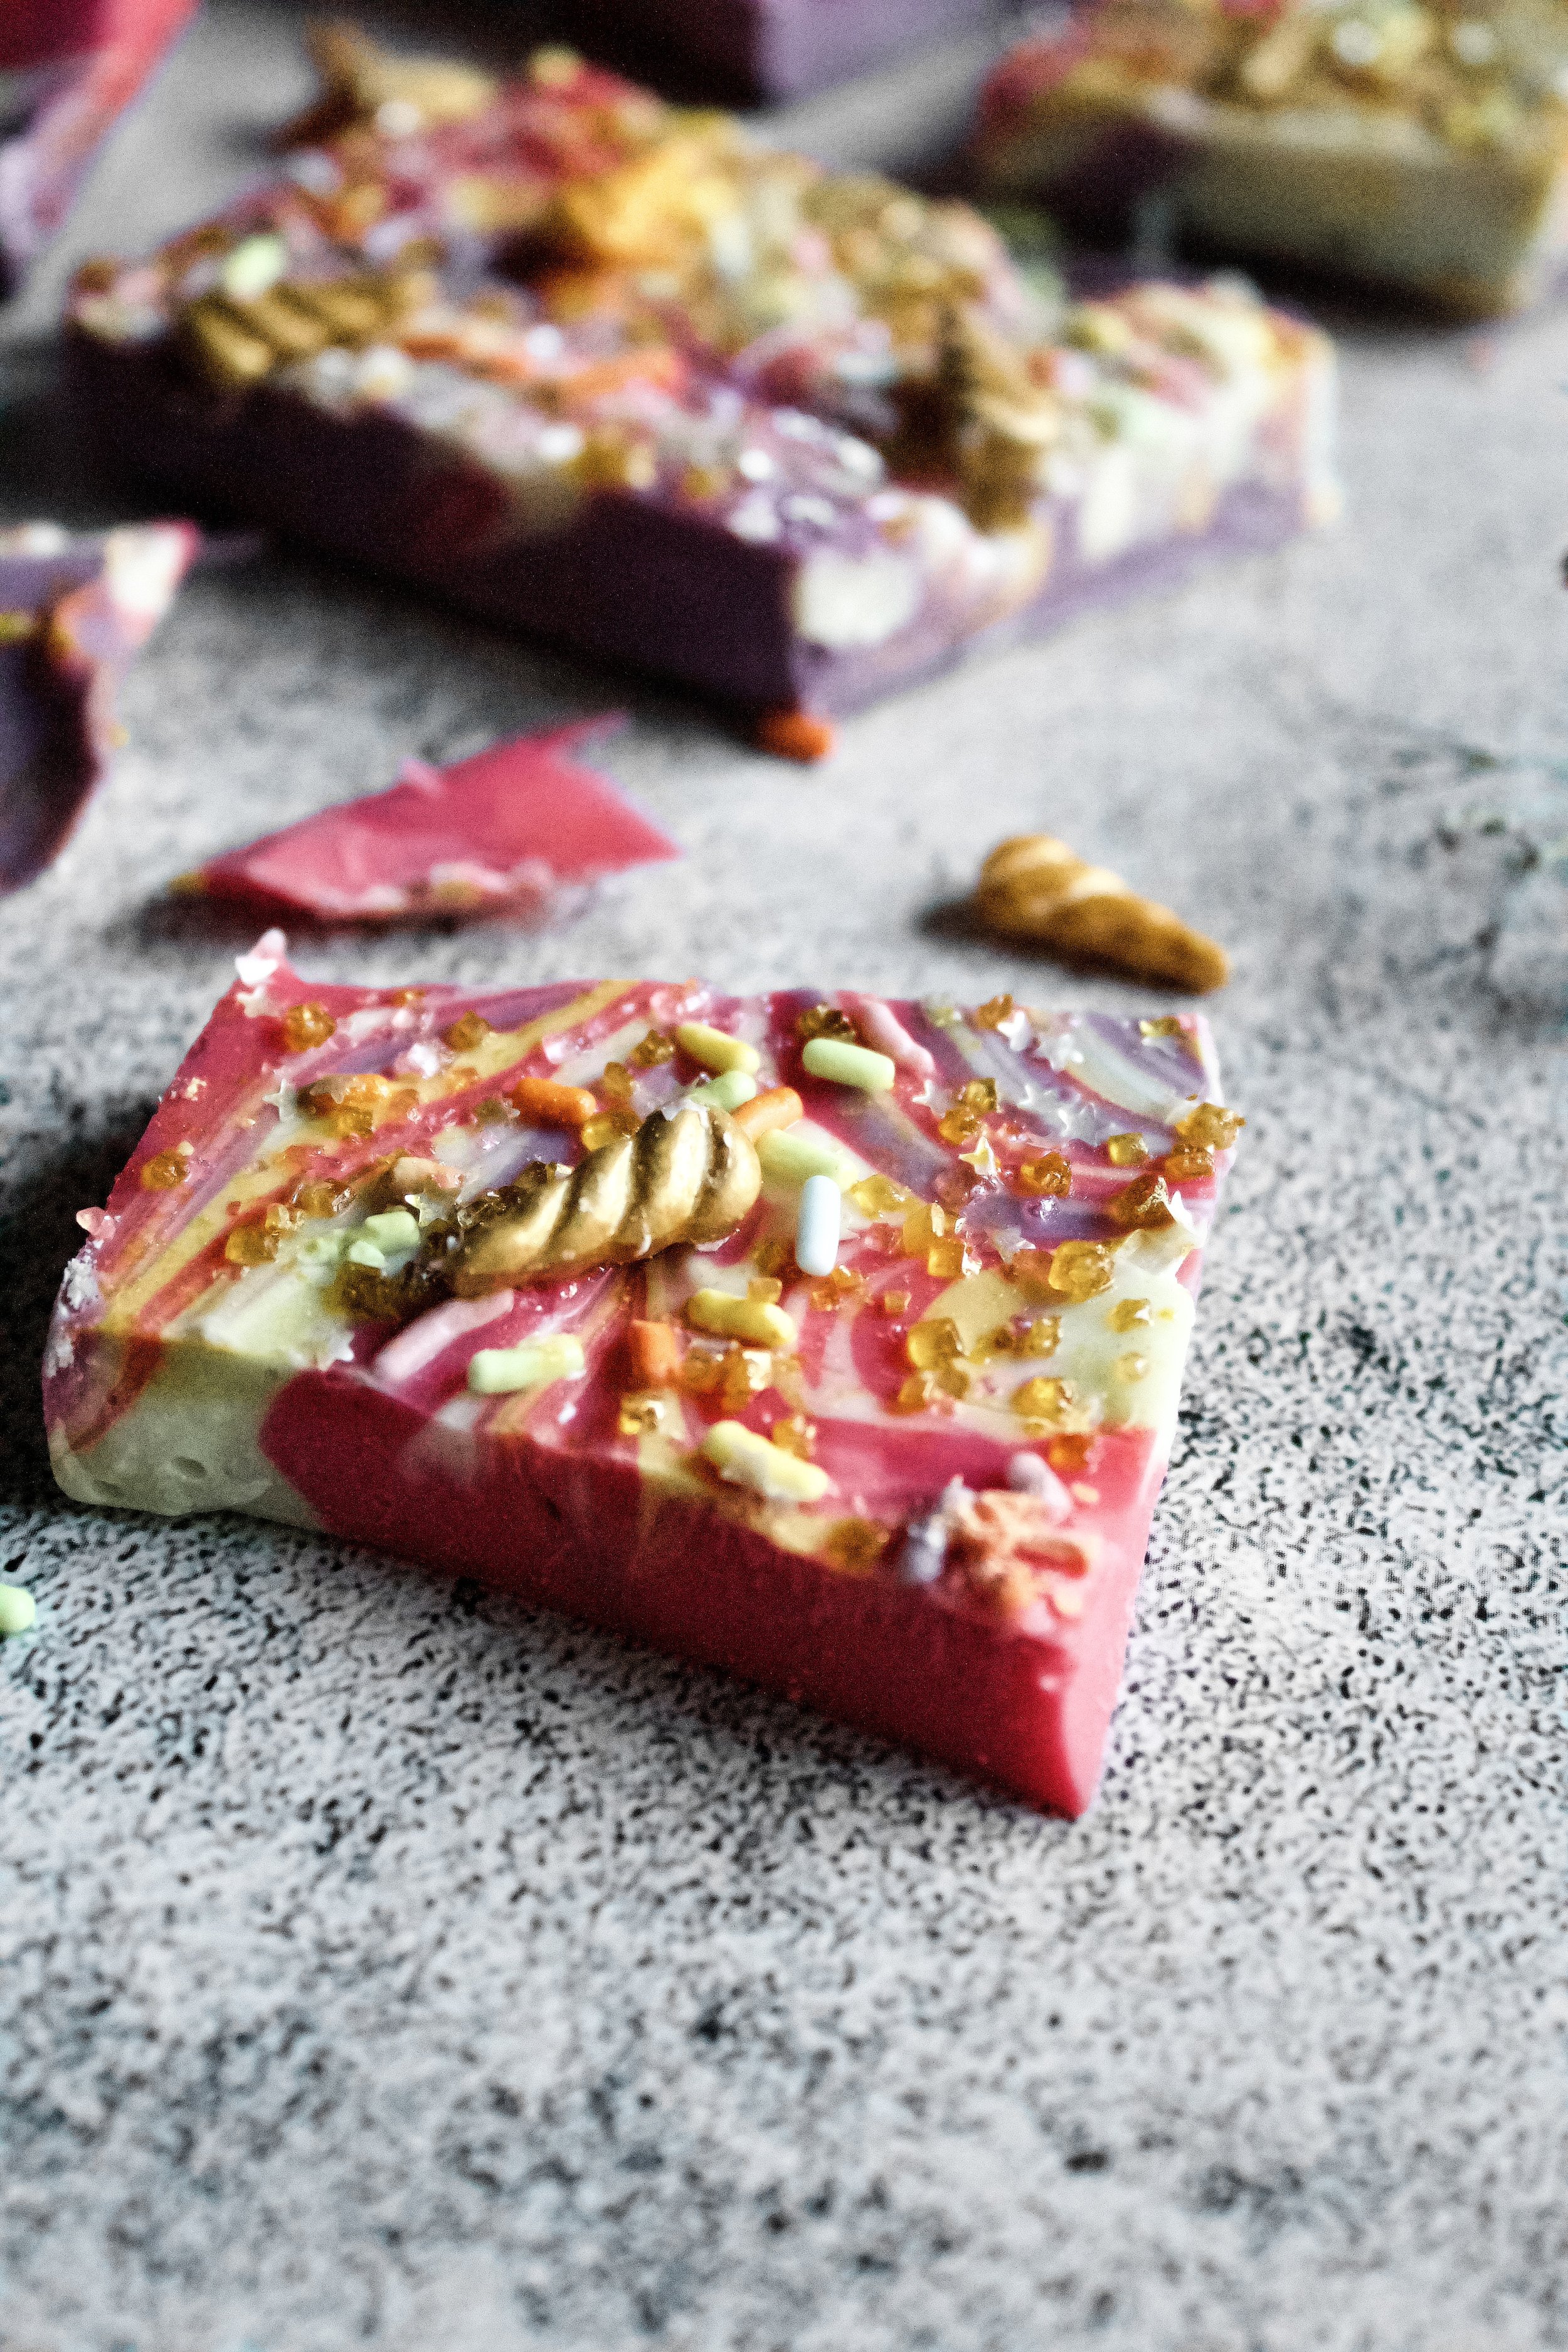
Sprinkles of varying kinds. I stuck with just one set of pastel rainbow jimmies then added actual unicorn horn sprinkles along with gold and pink sanding sugar and sprinkle stars. There are also unicorn sprinkle combo sets with all different types of sprinkles in one, but I wanted more control over the specific colors. Just be sure your sprinkles stick with the color scheme of your candy.
Several heatproof bowls. You’ll need a bowl for each color you plan to use.
Several rubber spatulas. You’ll want to stir each one with its own spatula to prevent mixing the colors (before you’re ready to).
Parchment. You can also use a silicone mat, but I found parchment easier because it an overhang your pan and prevent a mess.
Rimmed cookie sheet. This is optional, but it helps prevent the bark spilling out over the edge of the parchment and keeps it all in one spot while it cools.
How to make white chocolate unicorn bark
1. Melt candy melts in separate bowls. The microwave is ideal for this, as you can get a few bowls in there at the same time. I, in my hipster cool, don’t-own-a-microwave life, had to simultaneously stir three bowls set over simmering water (makeshift double boilers), and it was sooooo stressful, especially with a three year old standing by wanting to help with all the things that could severely burn her.
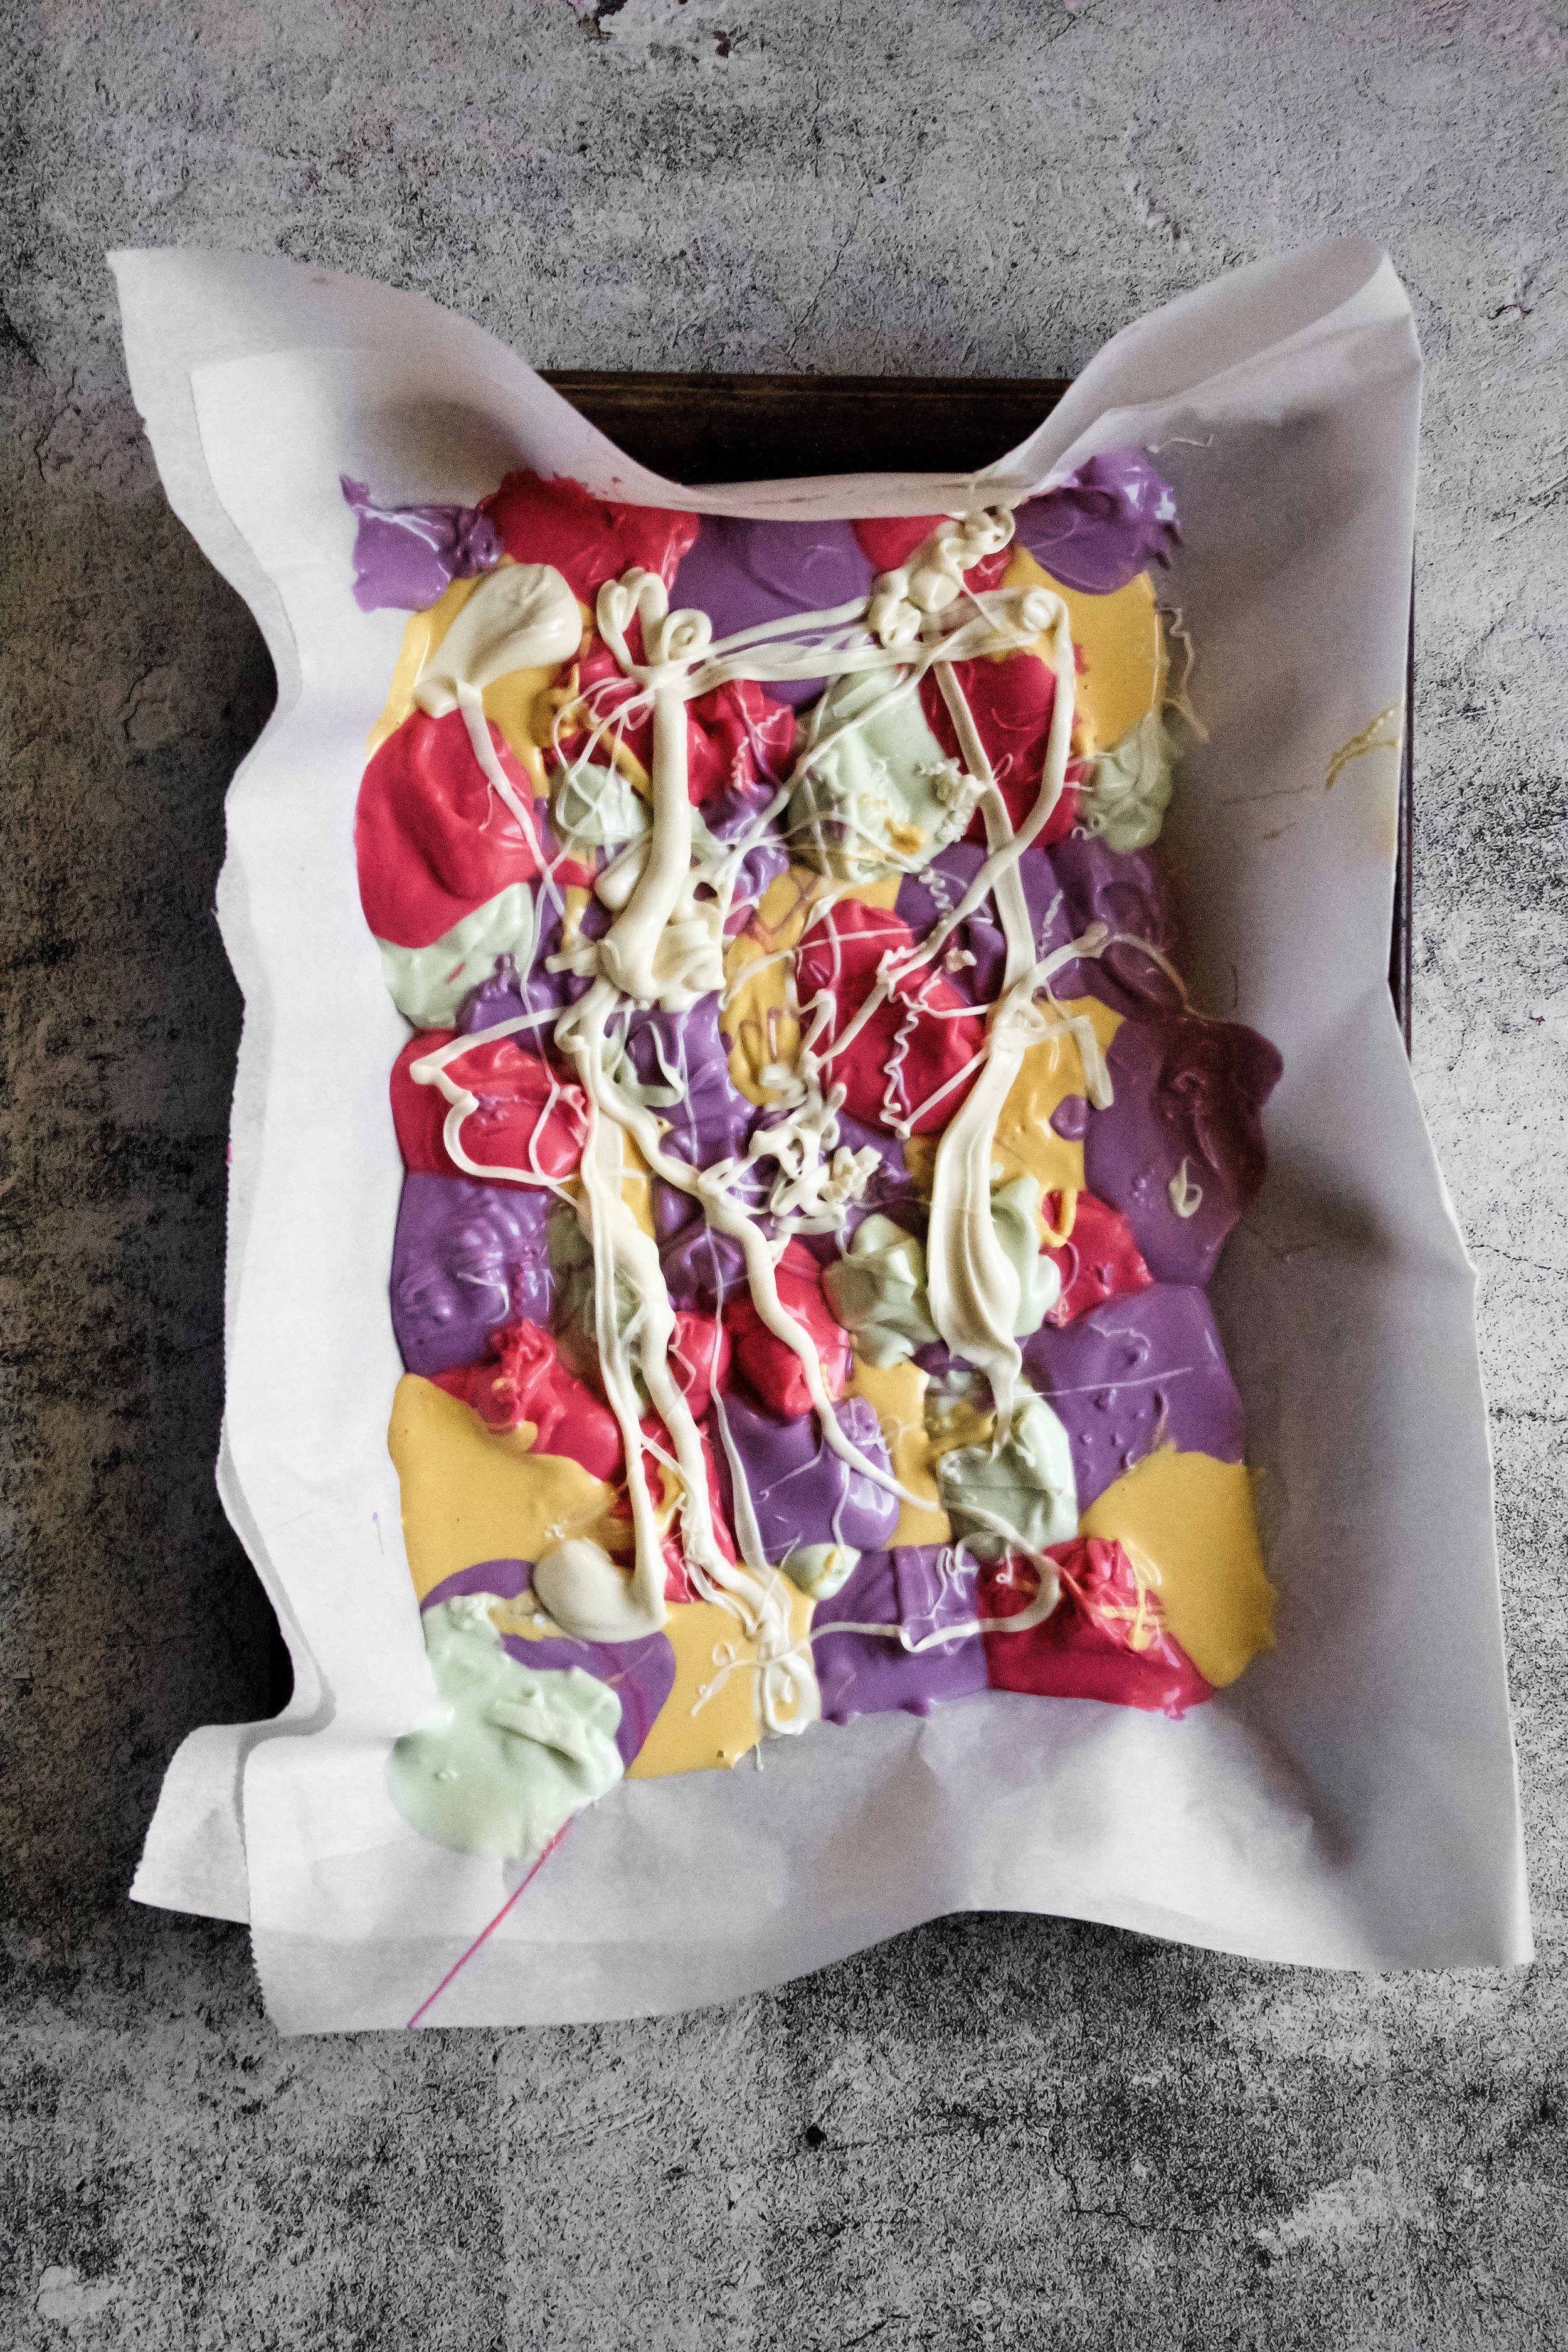
2. Drop spoonfuls onto parchment. Follow your heart and just plop the colors creatively around. Don’t use up one whole color at once, but drop a few spoonfuls of one color then move on to another, so you get a bit of a rainbow effect.
3. Swirl with a knife. Do this in a chevron-style motion, going back and forth lengthwise then back and forth width wise (just a few passes each time to swirl, not stir).
4. Top with sprinkles. Press gently into the candy to help it adhere well.
5. Chill. You can use the fridge or freezer for this, but don’t freeze too long or you’ll be unable to break it up until it thaws.
6. Break into pieces. Use the palm of your hand to do this. I suggest turning it over so you don’t get sprinkles stuck to your hands like I did. It was a glittery gold mess.
Enjoy!


Tips and FAQ’s for this recipe
Can I make this non-unicorn?
Absolutely! I have a three year old who’s into all things rainbow, princess, and unicorns (along with Spiderman, cars, and rough and tumble playing on the playground—we’re well-rounded here!). So the leftover pink candy melts were pretty much obligated to become unicorn bark. You could to any theme you want. Just pick 3-5 colors in that scheme and look for sprinkles that complement or represent that theme.
Can I make this with real white chocolate?
Of course! I’d never discourage someone using a real, natural ingredient. You’d just be adding a step that I didn’t feel like making. To make this with real white chocolate, you’d follow all the directions the same, simply adding a few drops of gel food coloring to each bowl after it’s melted.

Help! My candy melts/white chocolate seized/separated!
Unfortunately, you will likely need to start over. You can sometimes fix this by adding a teeny tiny bit of shortening (1 teaspoon per 12 ounces candy melts). If you used real, authentic white chocolate, you could add shortening, coconut oil, or butter, but only the tiniest bit. Usually, you use 1/2 teaspoon of this per 12 ounces of white chocolate. It’s easiest to prevent seizing or separating. To prevent this, be sure your microwave is at half power (or your stove is turned to low) and that you stir frequently.

Can I make it vegan?
Yes! There are vegan a few vegan candy melt and even “white chocolate” options out there (since vegan white chocolate is supposedly not real white chocolate). Depending on the brand, you may need to adjust the cooking time or temperature so it doesn’t seize, but it should work just fine. You may also want to double check your sprinkles, as they may not satisfy vegan diets depending on the use of things like honey.
What if I don’t have a rimmed baking sheet?
You can use a 9x13 pan (although the parchment might fit in it awkwardly) or even just a plain cookie sheet. If you don’t use something with a rimmed edge, be careful when you spread the melted candy/white chocolate, as it could spread too thin and no longer support the candy on top. Marking out a 9x13 rectangle (on the under side, so the pen doesn’t transfer to the chocolate) can help keep things even.
My tools
Here are my must-have tools I use for making bark candy. Affiliate links provided.

White Chocolate Unicorn Bark
- prep time: 10-15 minutes
- chill time: 1 hour
- total time: 1 hour, 15 minutes
servings: 16-24
Ingredients:
- about 24 ounces (680g) total of candy melts in 3-5 unicorn themed colors*
- ½ cup (about 150g) total various kinds of unicorn themed sprinkles
- rimmed cookie sheet
- parchment paper
- 3-5 heatproof bowls
- 3-5 rubber spatulas
Instructions:
- Line a 9x13 rimmed cookie sheet (also called a quarter sheet pan) with parchment paper that overhangs the sides a bit. Press it down into the corners, folding it if necessary to mark out the corners more clearly.
- Add about 5 ounces (140g) of each color to separate bowls. The goal is to have about 24 ounces total. (If only using 3 colors, add about 8 ounces (227g) of each color. If desired, you can use a little more of one color and a little less of another–I used more pink and purple than any other color.)
- Melt the candy in the microwave at half power in 30 second increments, stirring after each time, until mostly melted. Alternatively, you can melt them in a double boiler or with the bowl set over a saucepan with 1” simmering water on low heat. However, you’ll need at least two saucepans going at the same time for this method so the first bowl doesn’t harden by the time you melt the last bowl.
- Once the candy is mostly melted, remove from microwave/heat and stir until fully melted and smooth.
- Spoon or carefully pour spoonful size portions of each color around the parchment. The idea is to spread out the spoonfuls of each color to make the bark colorful. Eventually, the colors will be spooned on top of each other, which is fine. Just do not stir once the candy is on the parchment.
- Once all colors are used up, quickly take a knife and run it lengthwise back and forth a few times through the candy, then a few times width wise. This should look similar to creating a chevron pattern. The idea is to swirl it without stirring it, and this method works well.
- Sprinkle with whatever decorations you’ve chosen. I used rainbow jimmies, unicorn horn sprinkles, gold and pink sanding sugar, and sprinkle stars. Start with a small amount of each one, then continue to layer the sprinkles on until they pop visually but are not overwhelming the rainbow candy.
- Gently press down any large sprinkles so they stick to the candy well.
- Refrigerate the bark for at least 1 hour, or until set. You can also freeze it for about 30 minutes, but keep an eye on it to ensure it doesn’t freeze too much.
- Once set, break the bark into pieces. I suggest doing this on the parchment (it should pull away easily once set) so you can catch any tiny pieces that break away and save them for ice cream toppers. :)
Enjoy!
Store bark in an airtight container. If your home is on the warm side, it may be wise to keep it refrigerated, as it may turn soft and lose that bark “crisp” in warm or humid climates.
*Note: you can alternatively melt 24 ounces of real white chocolate, divide it into separate bowls, and dye each one with gel food coloring. Work quickly, as the chocolate can melt fast.
