
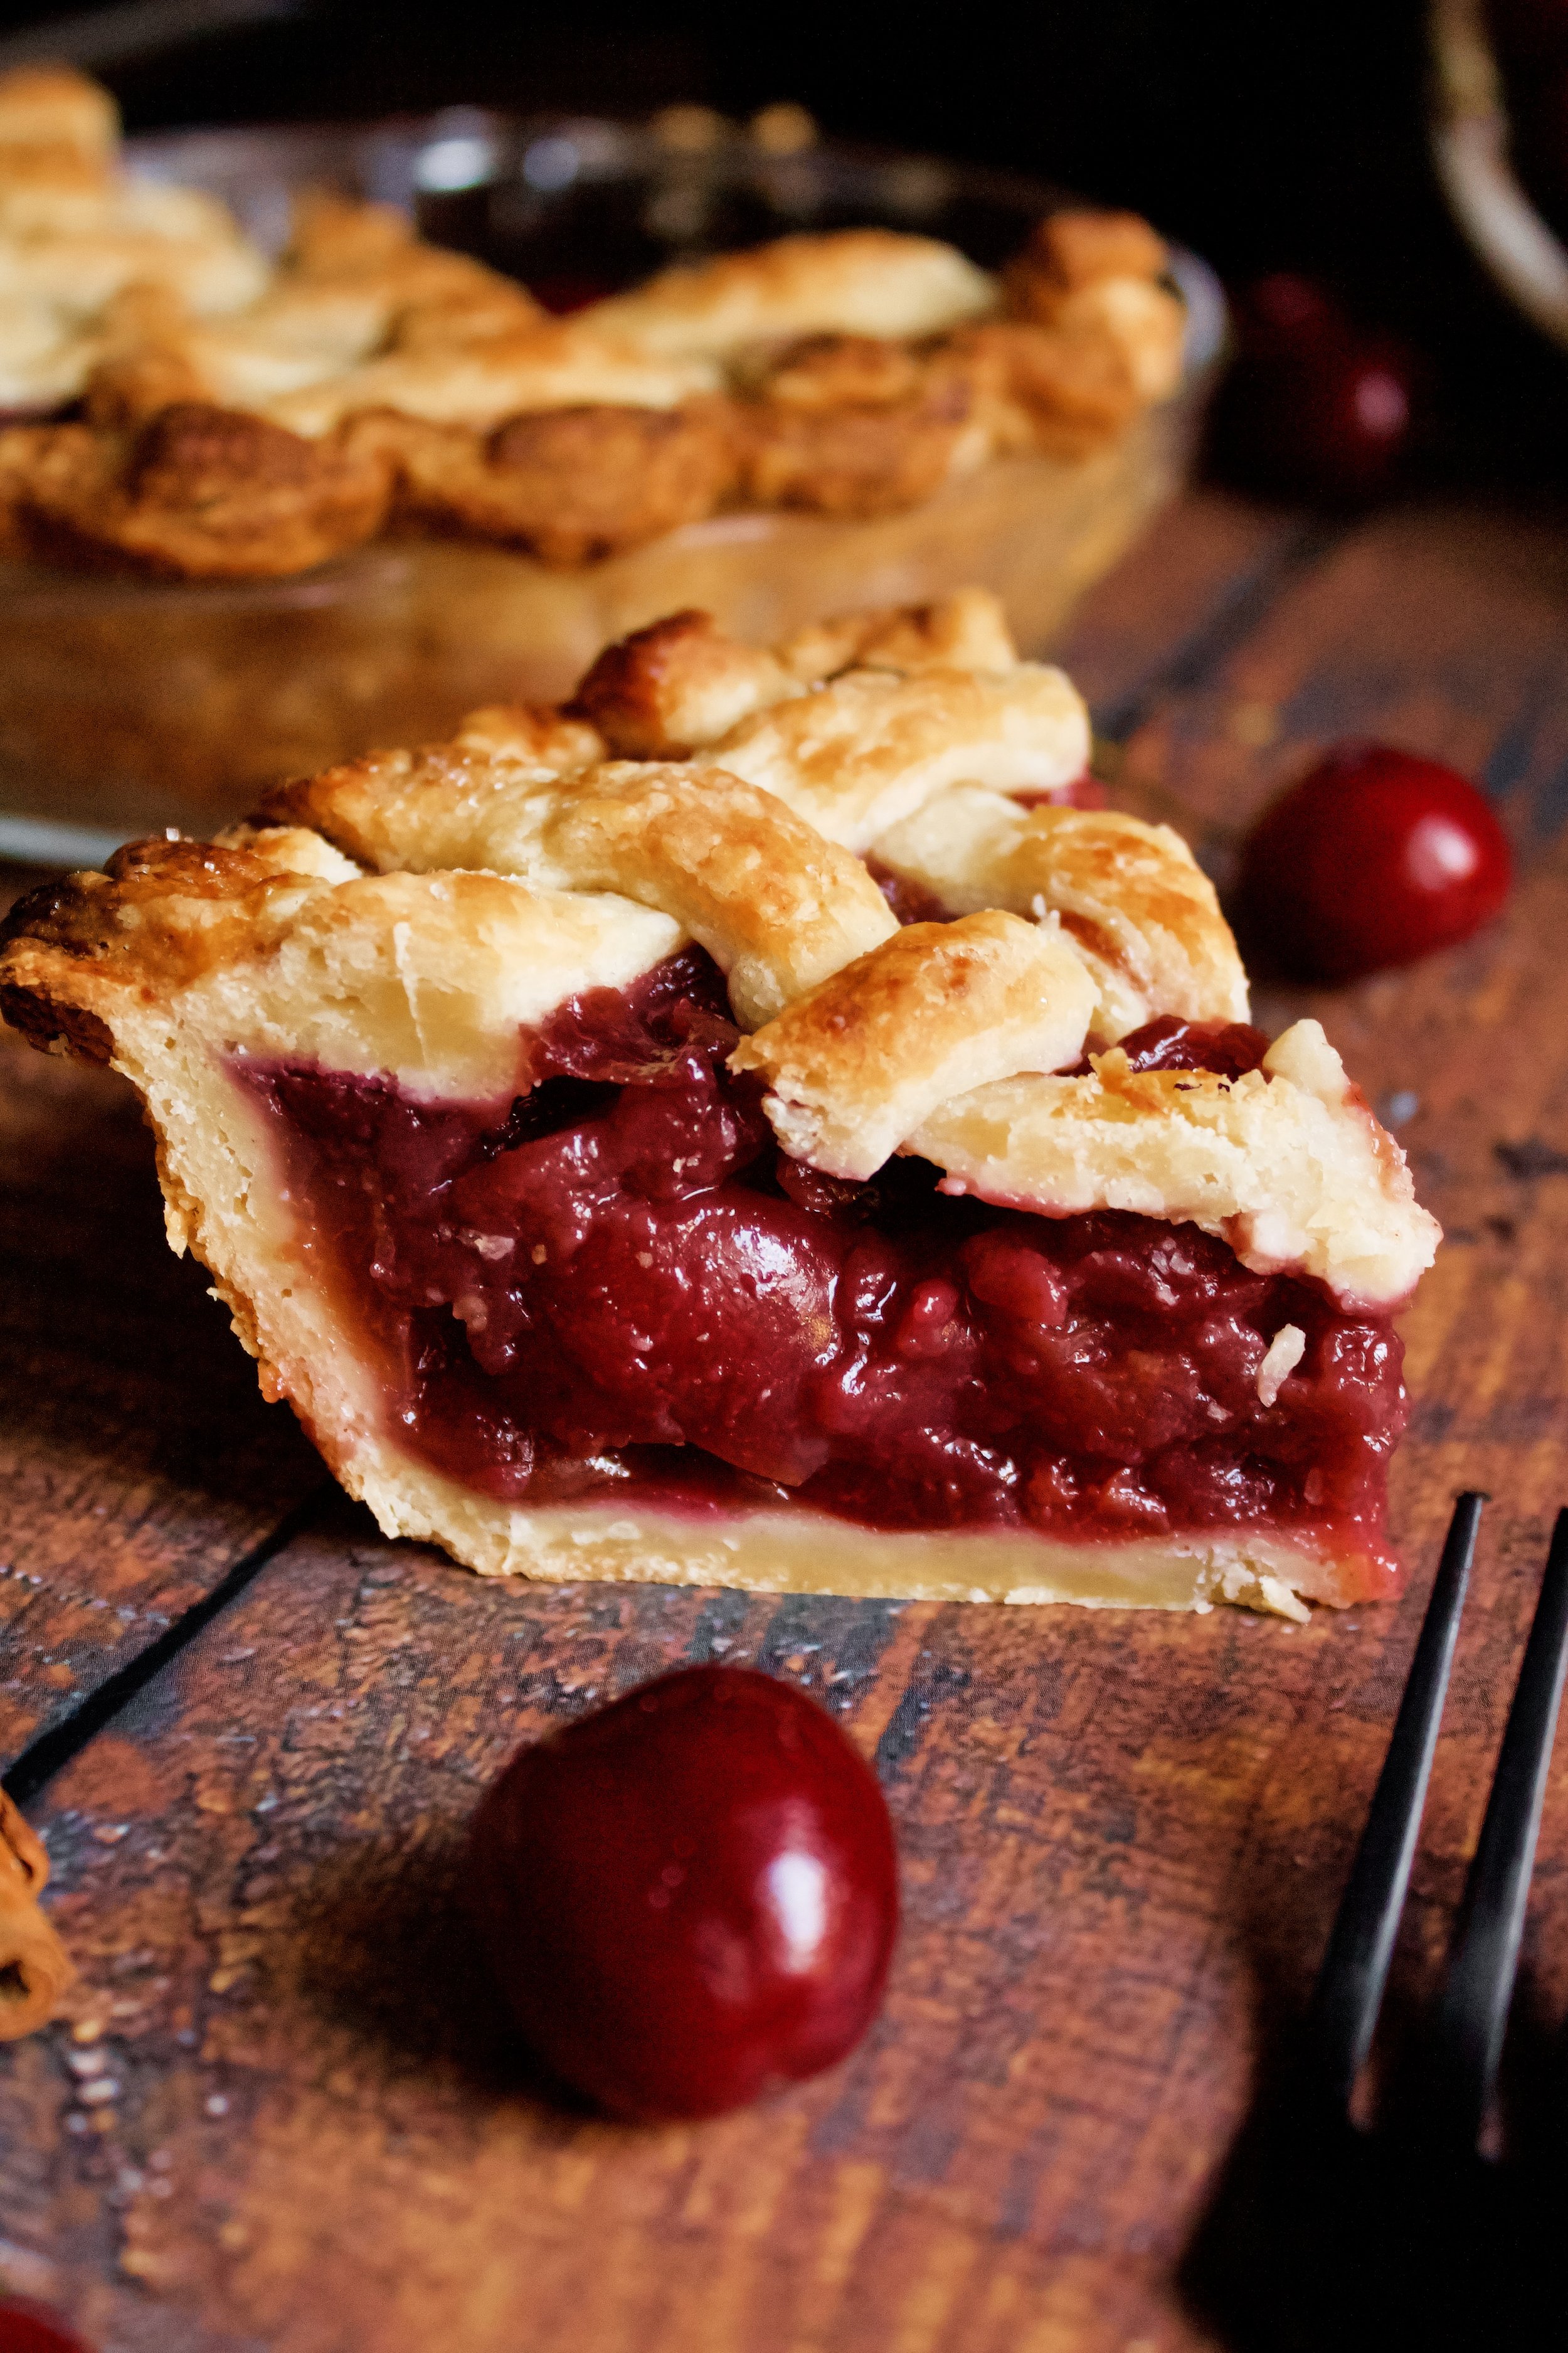
Mulled Cherry Pie
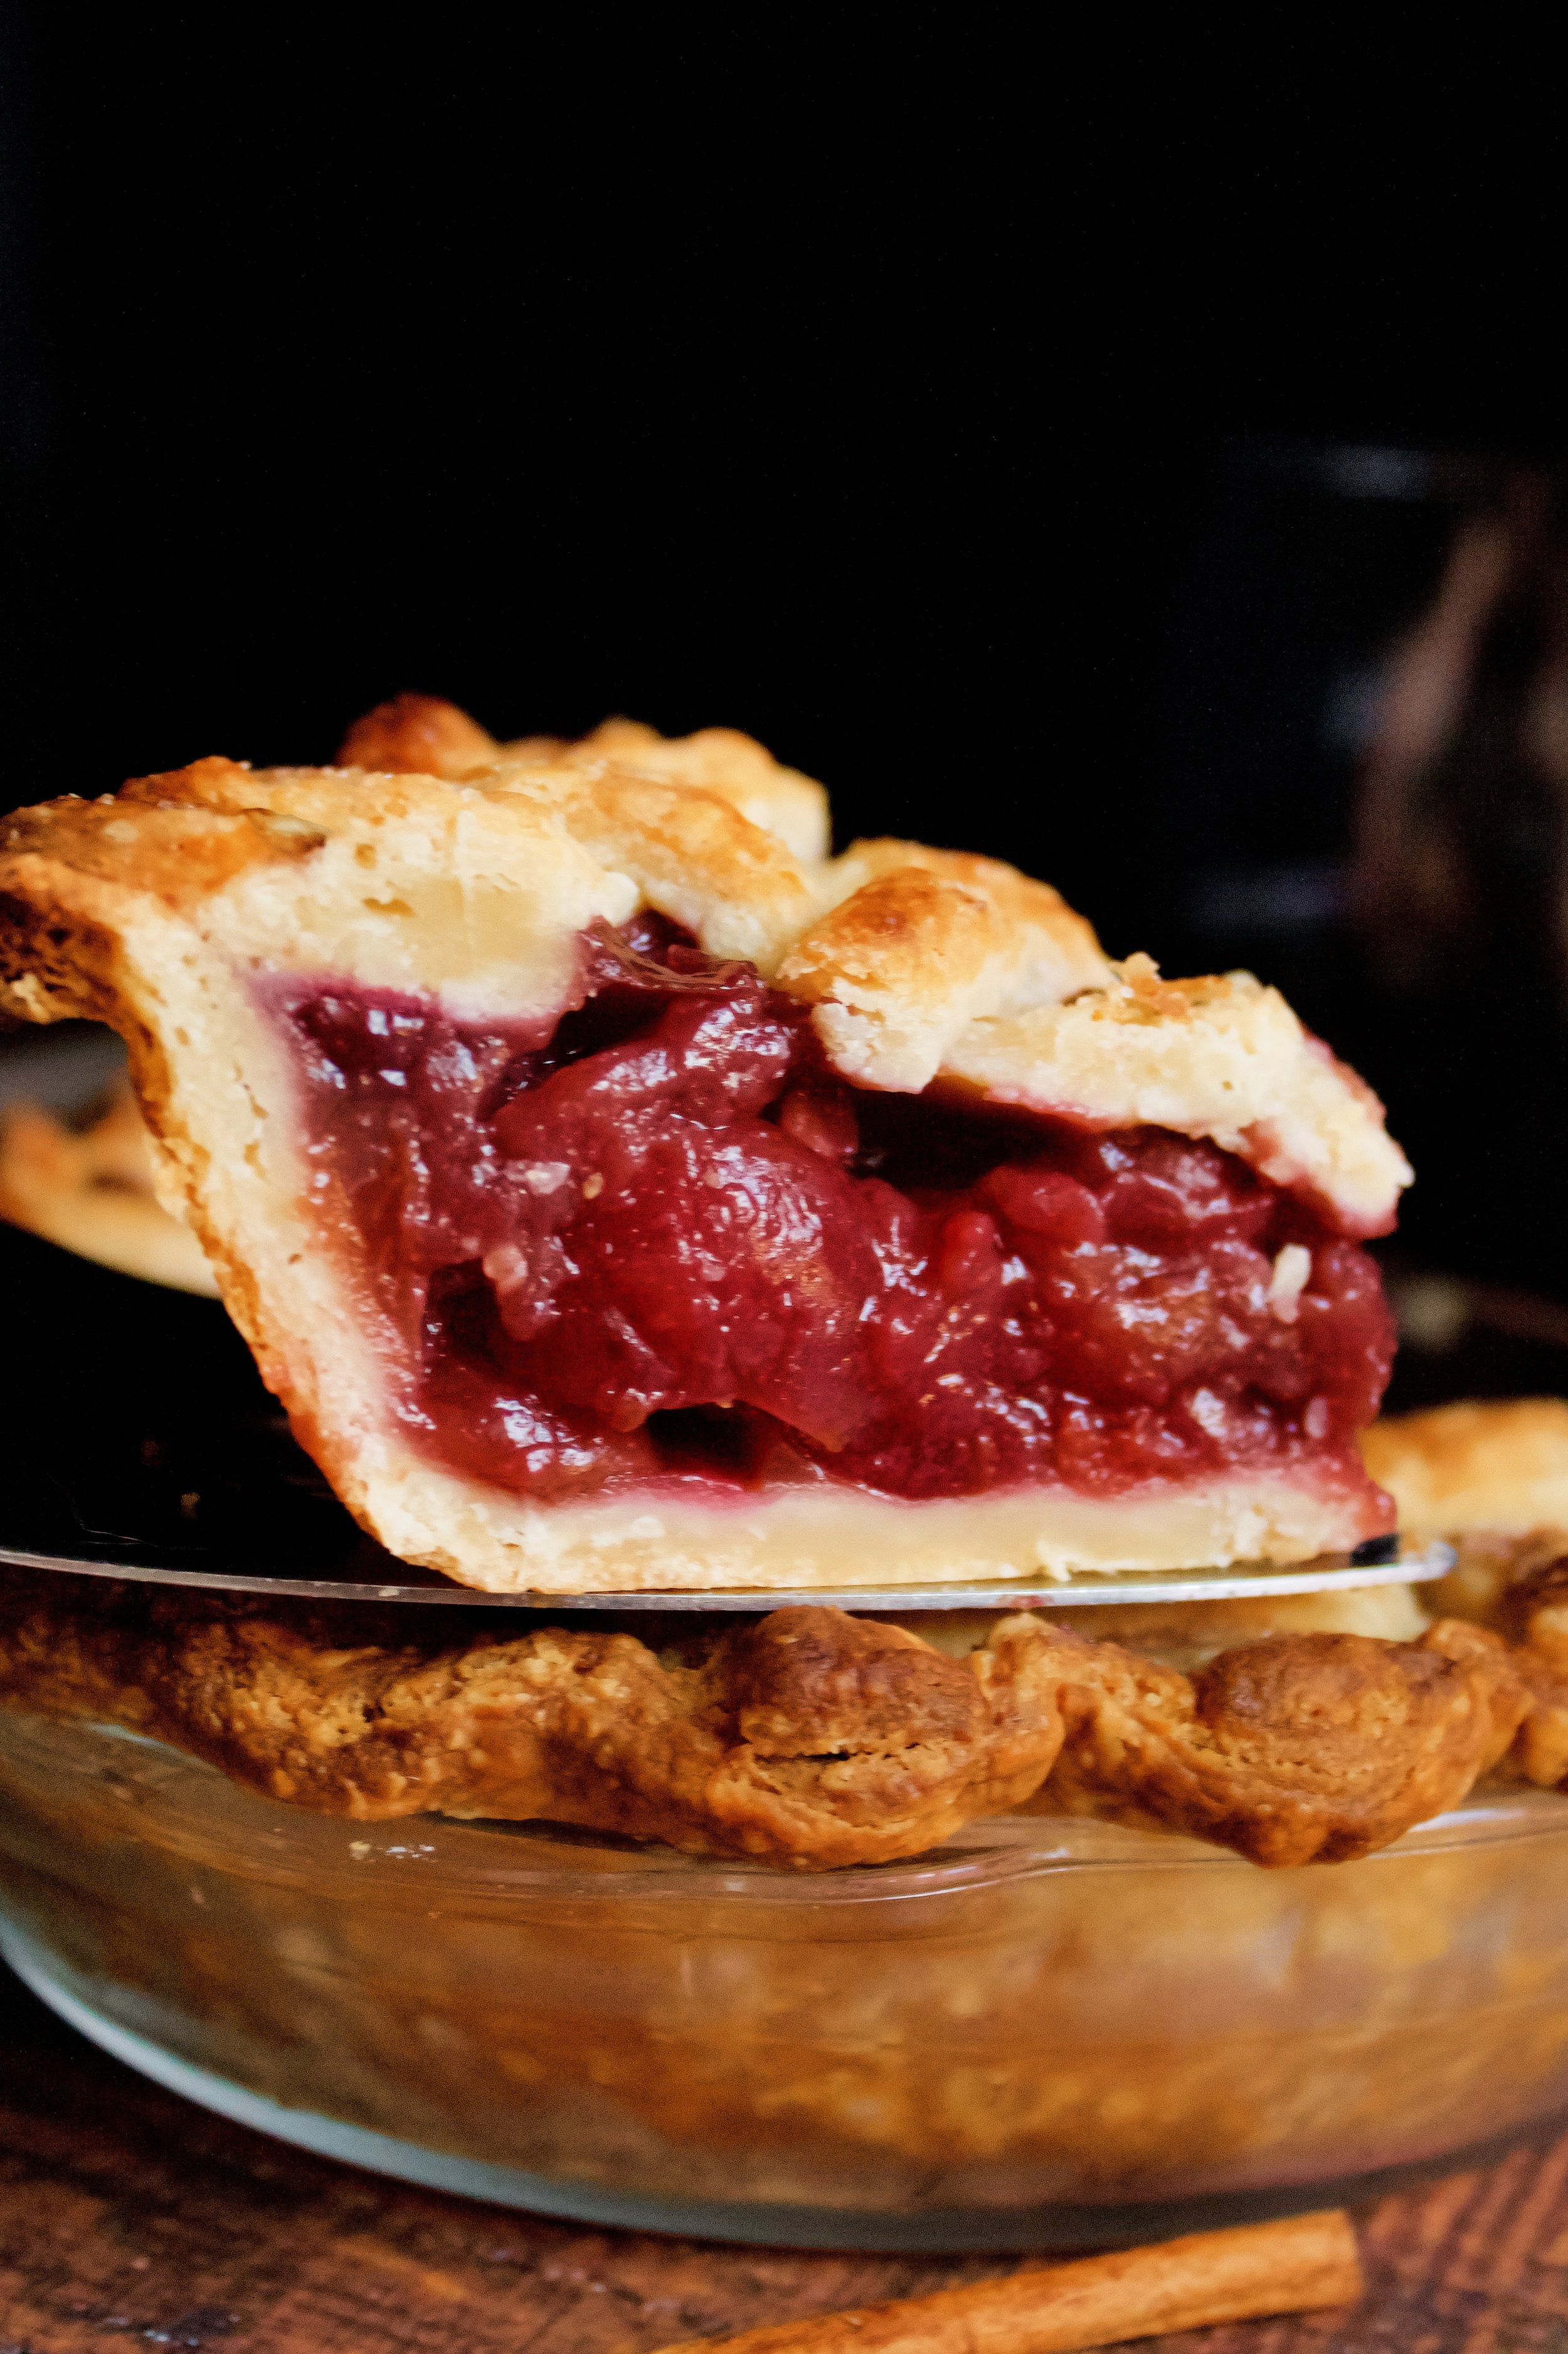
Perfectly flakey crust filled with mulled cherries, this pie is a perfect holiday treat! The crust is simple and foolproof, and the filling has warm mulling spices and red wine, just liked the classic holiday drink. Together, the flavors make this any cherry-lover’s favorite holiday pie!
This post may contain affiliate links from which, at no additional cost to you, I may earn a small commission to keep this site running. Only products I myself would or do use are recommended.

Soooo…I turned 37 on Saturday. It feels very weird. Maybe it’s the fact that I was sick all week (pretty sure we all caught RSV, which is going around on a rampage). Or maybe it’s Daylight Savings ending, which I HATE.
In fact, I spent quite a while at my birthday dinner talking about the end of Standard Time, which I thought we all voted to end but somehow it keeps creeping back into my life right before my birthday and making me sad.
Turns out, it will be ending next year. So, in March we will switch permanently to Daylight Time year round (so then I suppose it will just be “time”?).
So that’s nice.
It hasn’t stopped me or my daughter from having that end-of-a-virus grumpiness and tired-all-the-time-ness. So all in all, my birthday was good and I felt loved, but it’s also been a week that’s felt like a thousand years.
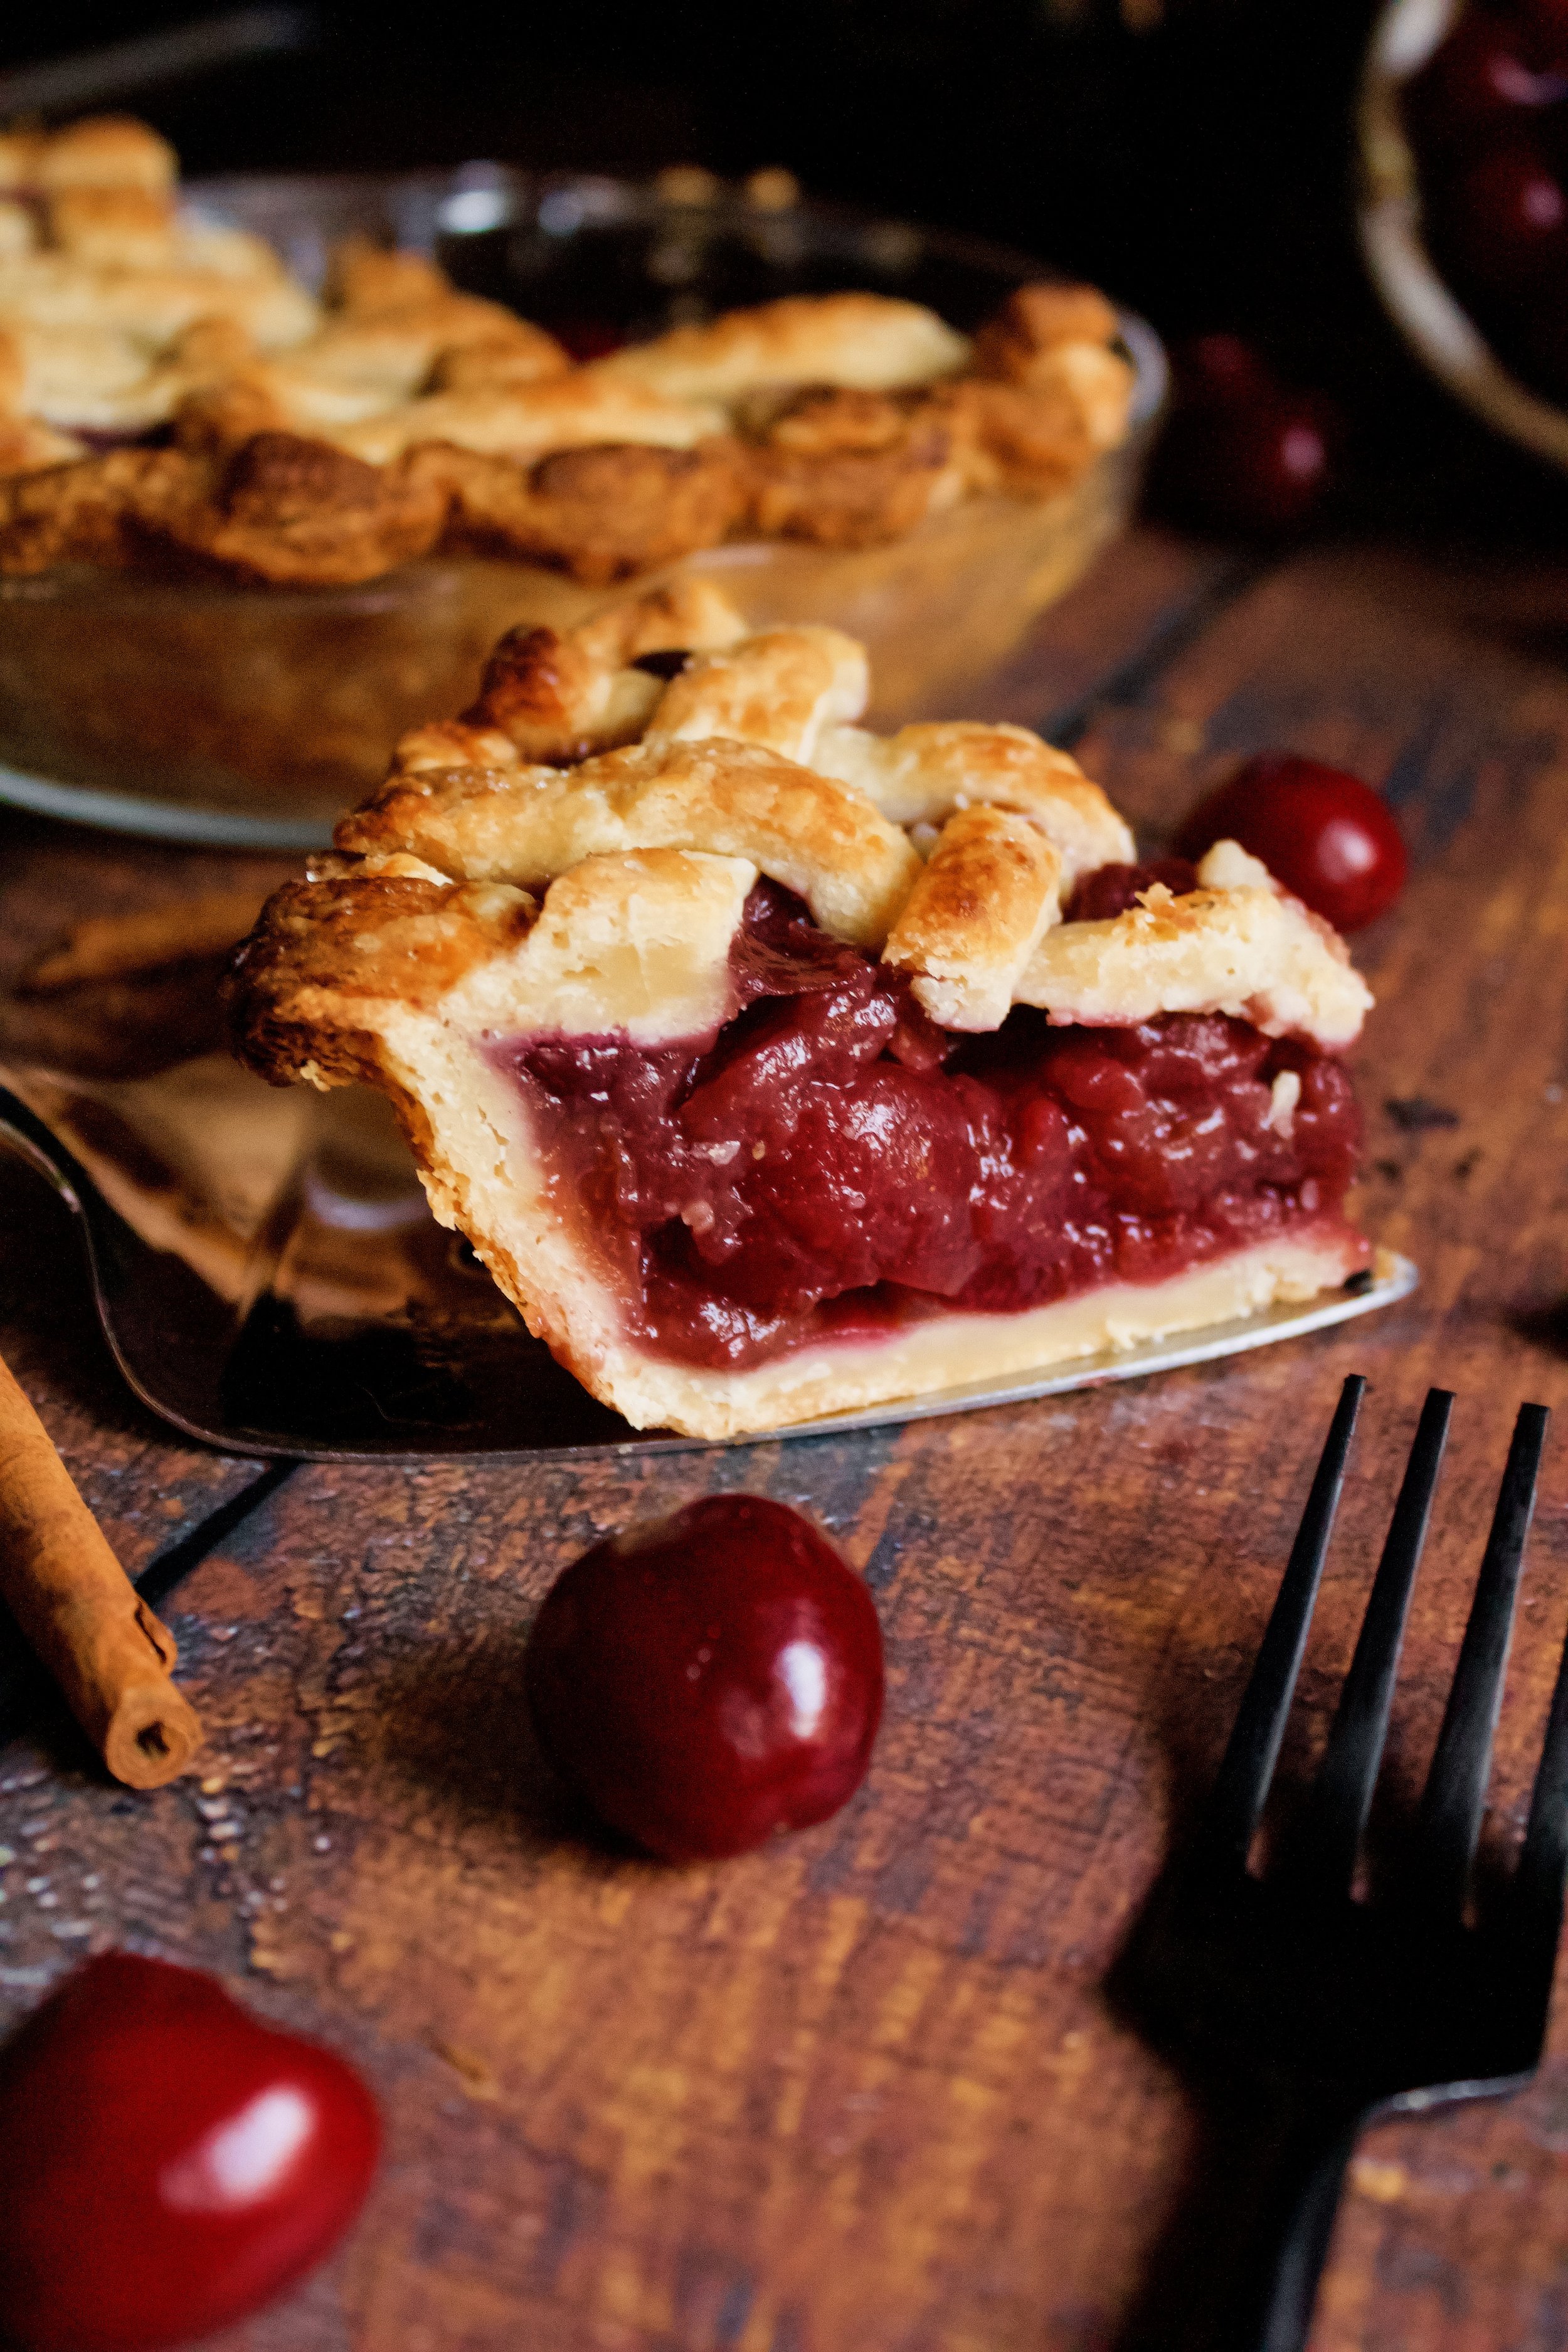
So…here’s some pie. A really good, Christmas-y pie. And I’m sure we all need a little Christmas…right this very minute… :)

Why this recipe works
The two elements of this recipe are both amazing on their own. The sour cream pie crust is seriously my new favorite. Not only does the sour cream help prevent over kneading or a too-dry or too-wet crust (which is my problem at least half the time), but it adds a tartness that pie crusts need! My professional baker friend—the kind who actually went to pastry school—said you need something tart or acidic in a pie crust. I’m not sure if this is just for taste or actual science, but there is some sort of pie magic in this crust. The taste and flakiness are just beyond belief. Plus, it rolls out perfectly. It’s the easiest crust to work with!
The filling is also one of my personal favorites. Just a little bit of cinnamon and some red wine really bring out the flavor of the cherries in a new and wonderful way. I’ve also fine-tuned the filling so that it’s sturdy. One of my arbitrary life goals is to create perfectly sturdy pies. You need a little cornstarch for structure but not so much that it’s overwhelming or milky colored. The key is cutting the cherries so they layer nicely and serve up well.
Key ingredients
Double batch of sour cream pie crust. This is such an easy crust that works SO well with hand pies! You can use your favorite pie crust or even store bought. Just be sure you have a double batch.
Cherries. Dark are best for this recipe, but you can use your favorite (or most available) kind.
Red wine. Again, you can use your favorite kind here. I used a cabernet sauvignon, but a merlot would work well, too. Anything with a cherry profile would compliment the cherries (obviously).
Cornstarch. This thickens the filling but needs to be cooked sufficiently to cook out the cloudy color. Usually, baking in a pie will achieve this.
Brown sugar. Brown sugar works well here to achieve that warm, mulled flavor, but granulated can be subbed in a pinch.
Cinnamon. I used quite a bit of cinnamon, but you can cut back to taste.
Vanilla. Always necessary to create a warm, well-rounded flavor. Use pure extract, not imitation.
Cloves or allspice. Optional, and use just a tiny pinch of one or the other.


How to make mulled cherry pie
Make the crust
1. Make the crust at least an hour ahead of time. I used my sour cream crust, which is the easiest baked crust I make and also goes well with the sour cream filling. Plus it’s soooo flakey!
Make the cherry pie filling
2. Wash, dry, pit, and halve cherries. I love my cherry pitter for this!
3. Mix cornstarch and 1/4 cup wine.
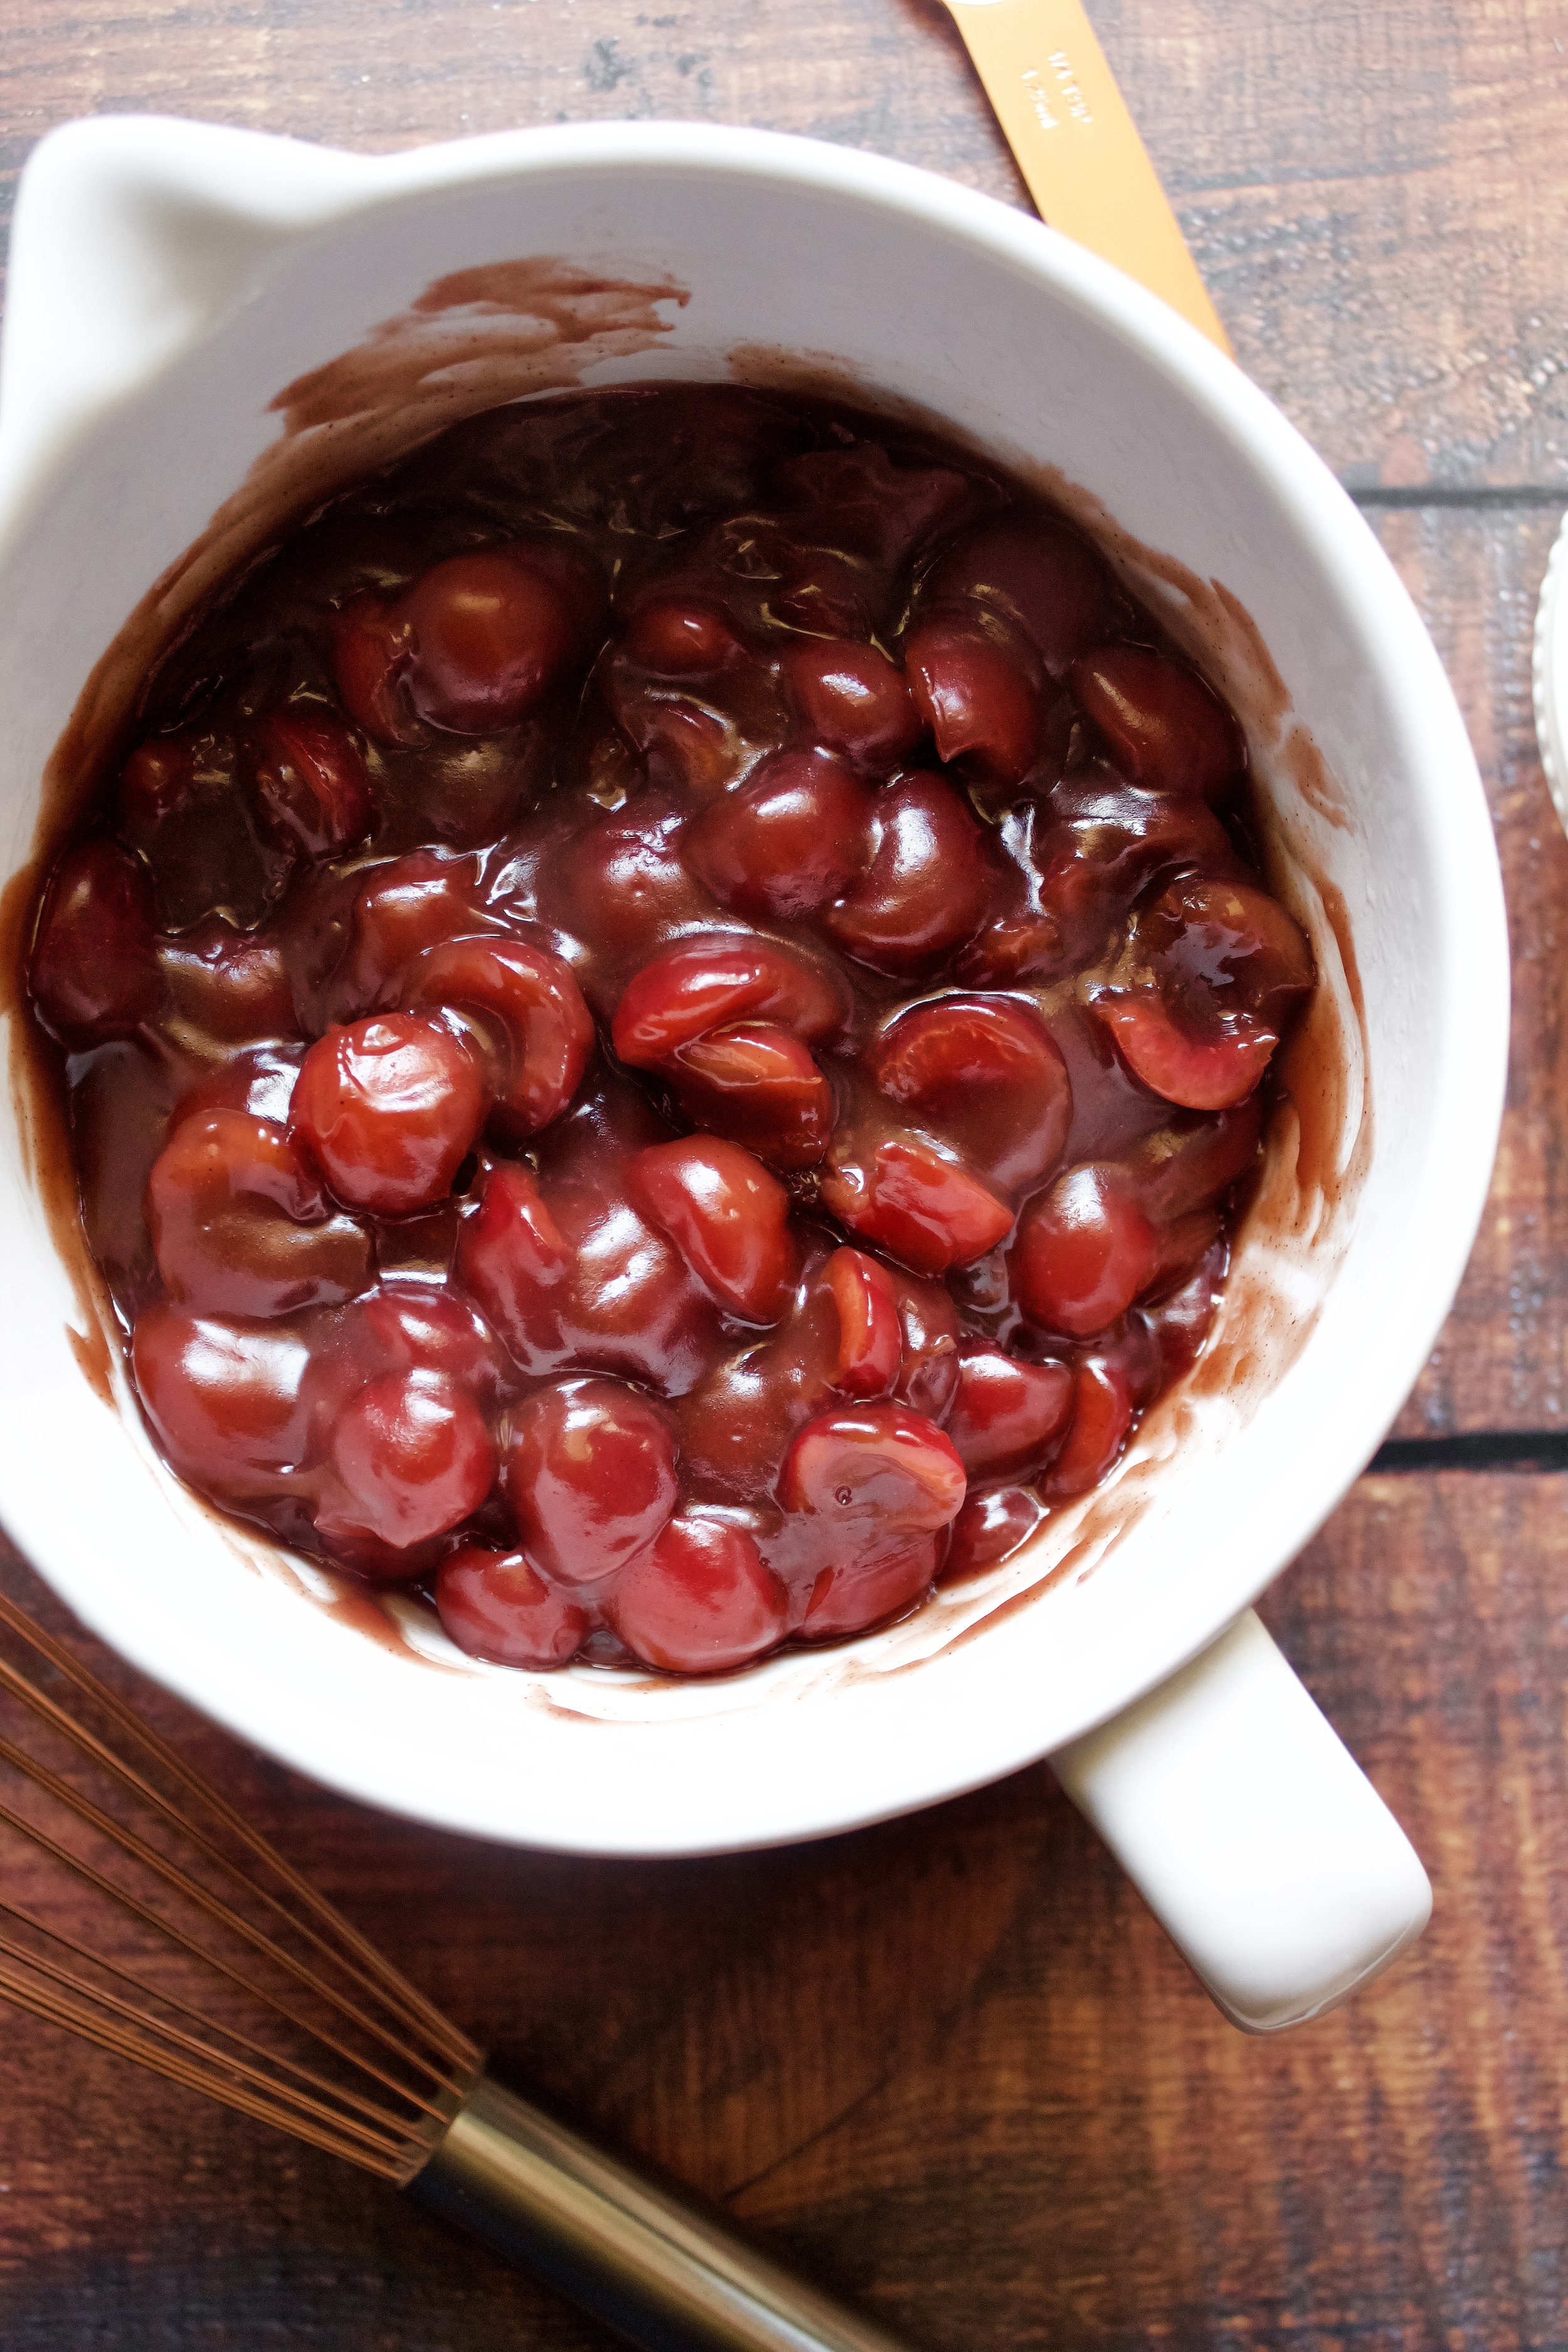
4. Cook cherries, 1/2 cup wine, brown sugar, vanilla, and cinnamon. Bring to a simmer or gentle boil over medium heat, cooking until sugar is dissolved.
5. Add cornstarch mixture. Pour slowly while stirring to prevent clumping.
6. Cook up to 1 minute longer. Don’t overcook it, as the baking will thicken it up.
7. Cool while you roll out your crusts. Cooling (ideally in the fridge) is key to prevent it melting the butter in the crust before you cook it.


Assemble pie
8. Roll crusts to 3” larger than your pan. You want a little overhang that you can fold over and shape on your bottom crust, and it’s easiest if your lattice isn’t too thick, so it’s best to have both crusts the same thickness.
9. Line pan with bottom crust. I like to sprinkle some flour before I add the crust to the pan. Trim all but 1/2 inch of the overhang.
10. Add cooled cherry filling. If you roll out both crusts before adding the filling, it should have cooled enough not to melt the butter in the crust.
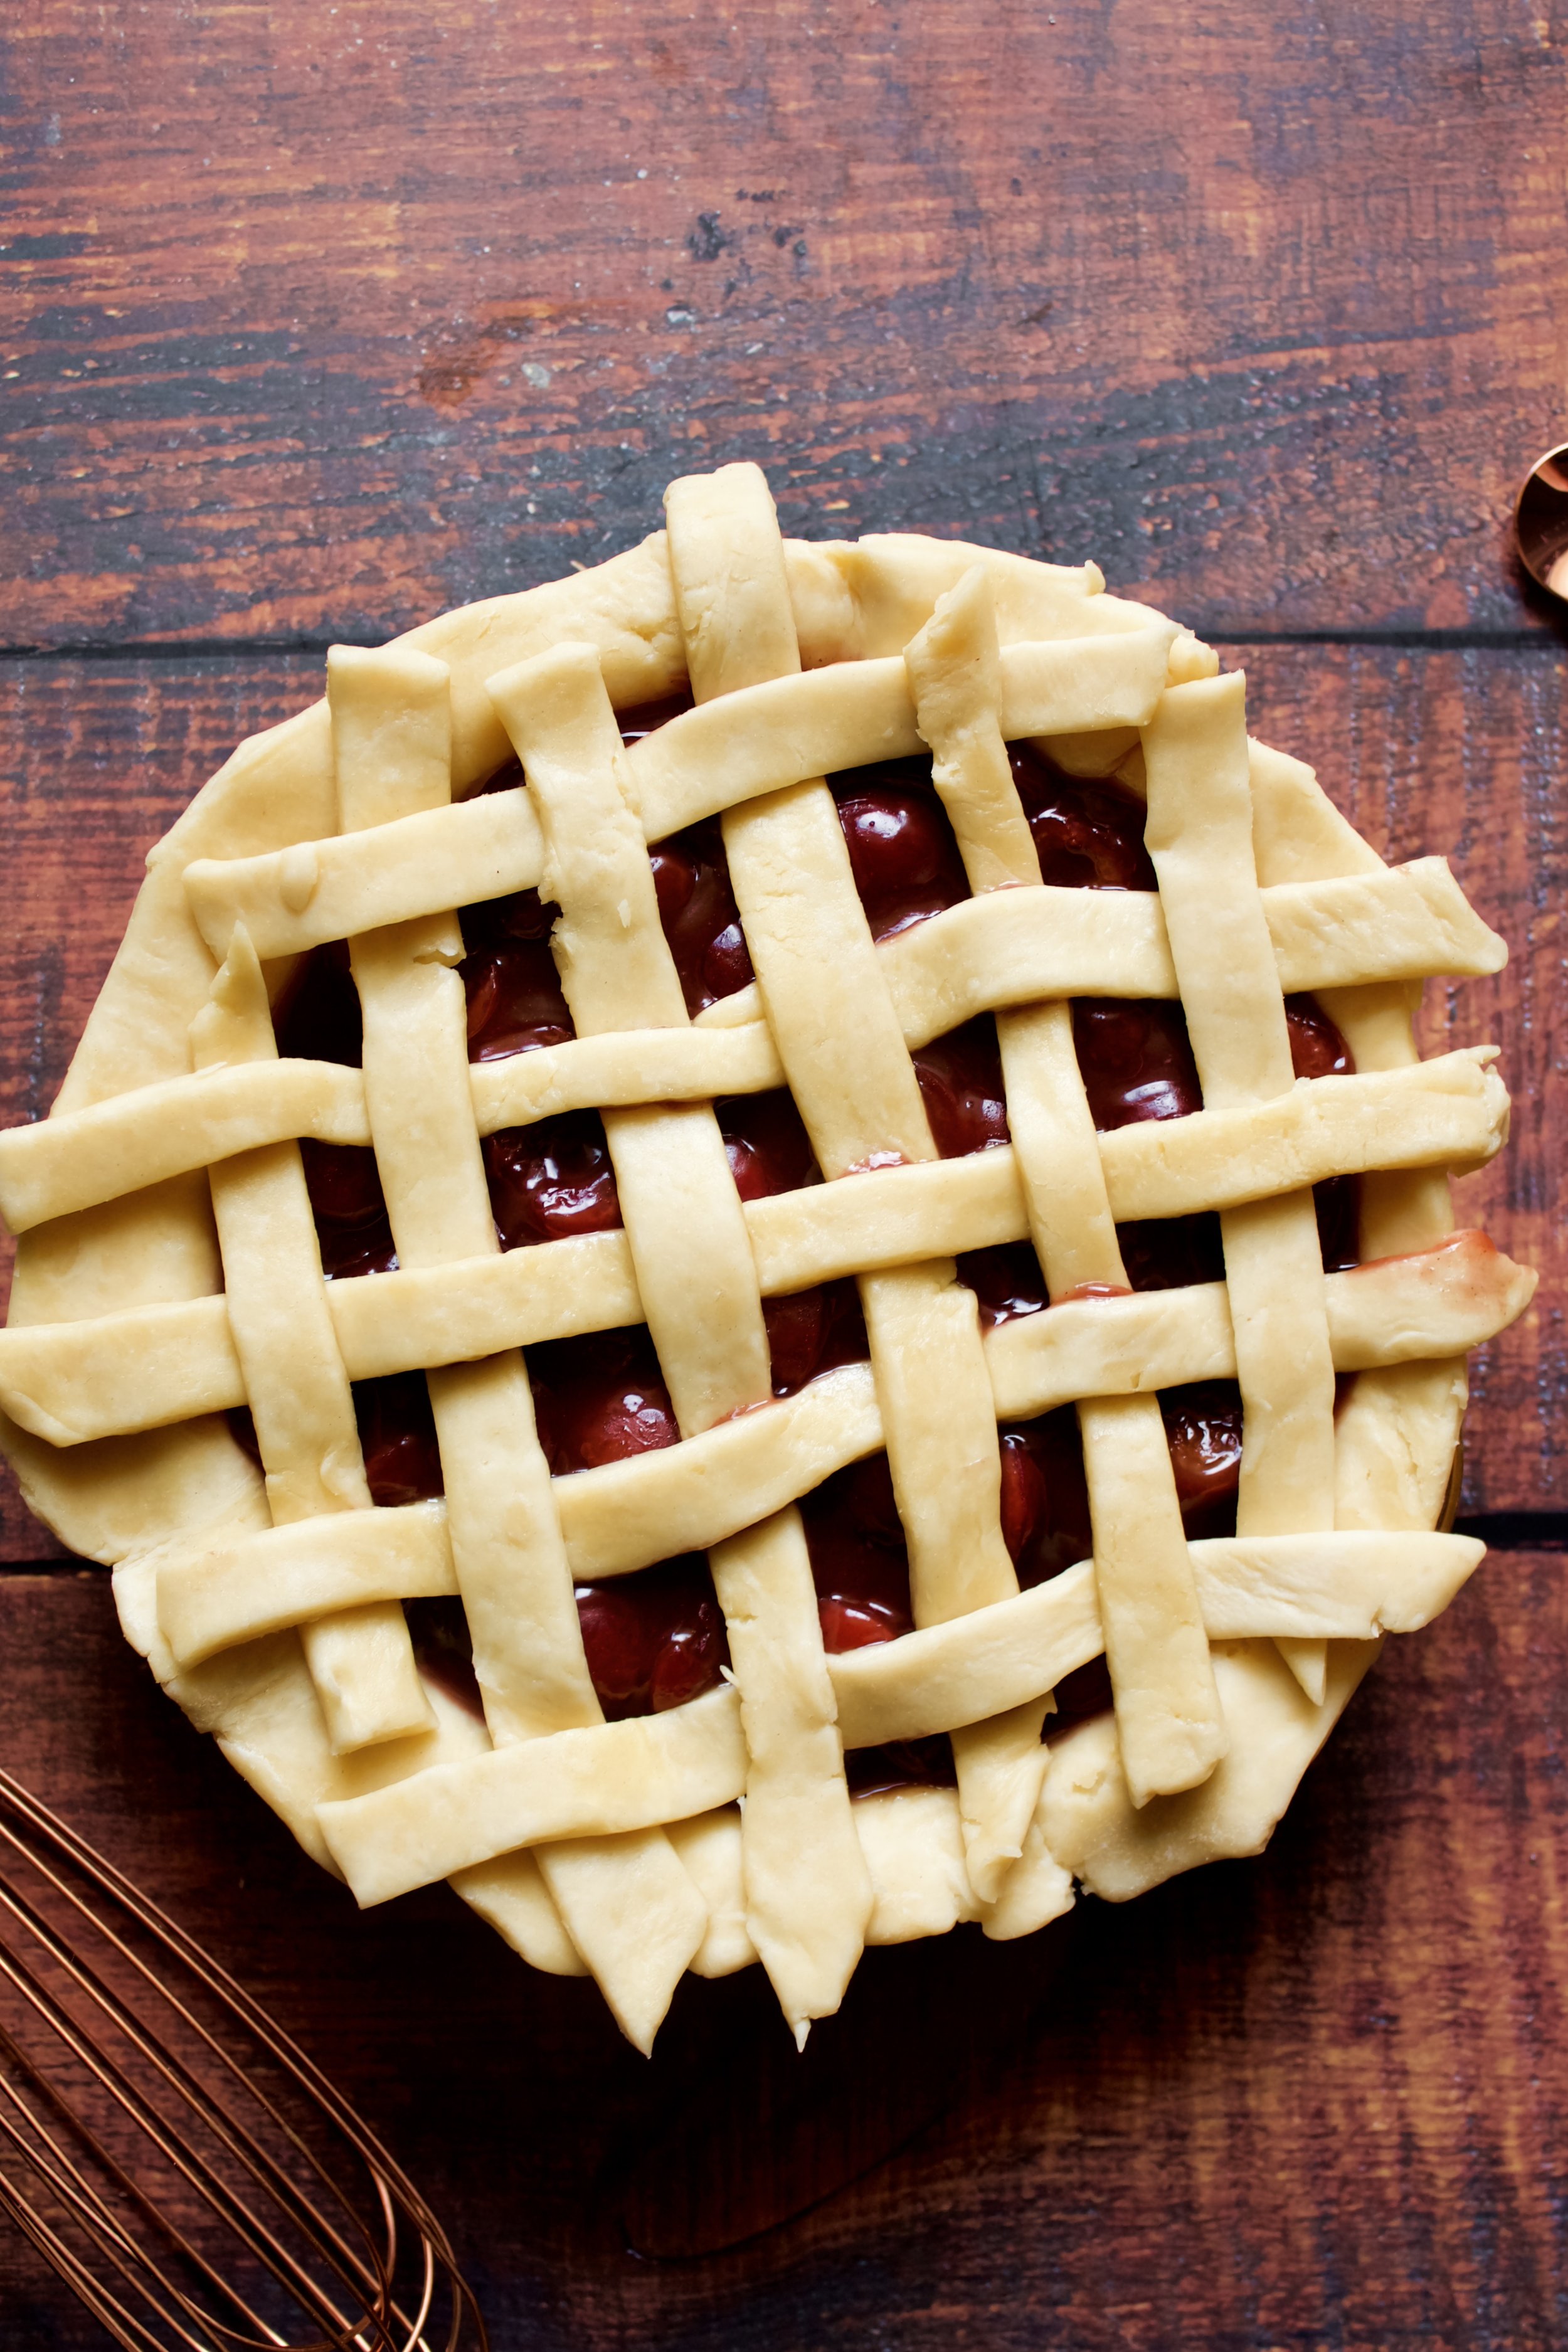
11. Top with lattice crust. Weave as desired. I do the classic weave, which is explained well here. Be sure to shape the edges at this point, too.
12. Freeze! Freeze for just 10-15 minutes for the flakiest crust and a sturdy pie. Afterward, you can optionally brush your crust with an egg wash or milk, but I like more rustic “naked” crusts.
13. Bake until golden and filling bubbles. Tent with foil if it’s fully browned before the filling bubbles.
Enjoy!


Tips and FAQ’s for this recipe
FREEZE BEFORE BAKING
This is one of my foolproof tricks. Always freeze your pie crust/filled pie before baking. I’m not a scientist, but there is some kind of pie magic in doing this which prevents the crust falling and creates a flaky, sturdy crust. Just 10-15 minutes in the freezer with this pie before baking will make it perfect.

Is the wine taste noticeable?
Not to me. I think it really just brightens the cherry flavor and adds a bit of sweetness. Try to get a smooth wine like a grenache or a pinot noir if you want a mild wine taste. However if you don’t like the taste of wine, you could replace some with water or cherry juice. The spices will still give that mulled taste.
Is this suitable for children or pregnant women?
That depends on what you use this in. The entire recipe has a little over one glass of wine in it. It’s cooked down a bit in the pan, but not all the way. If you bake this into a pie, almost all of the alcohol will bake off, leaving about the same amount you’d get in kombucha. However, I’m not a scientist, I only know this from what I’ve read over the years and estimations of remaining amounts. You could always use half cherry juice and half water in place of the wine. Another option is to cook just the wine itself for about 10-15 minutes on a simmer to cook off the alcohol before proceeding with the recipe. Just be sure you cool the wine that will go into the cornstarch (or sub water), as it will congeal as soon as you mix it with warm wine.
Can I use frozen cherries?
You can use frozen cherries, but you may not end up with as thick and sturdy a filling. You’ll want to defrost and drain the cherries first. Ideally, use halved cherries or slice them after they’ve defrosted. Cooking time will vary depending on your stove and how frozen the cherries were.

What pie crust goes with this?
My favorite for this pie is my sour cream pie crust (super easy to make and use!). It comes out very flakey and has a great subtle tang that complements the sour cream filling well. Other good options are my foolproof classic pie crust and my lemon all-butter pie crust. I suggest making a double batch ahead of time and freeze one disc for a later pie. Whichever one you make, a homemade crust needs to chill in the fridge at least an hour before you roll it out.

What if I have trouble with my pie crust?
Same, girl, same. (Or boy—boys who bake are awesome). Common issues are cracking along the edges (go slowly and use the warmth of your hands to press it back together), sticking while rolling (rotate and flip the crust as you roll, adding more flour as needed), or uneven rolling (same as the last tip—flip and rotate). If your finished crust isn’t what you wanted, you may have overworked it or added too much flour or water or didn’t let it freeze long enough. In that instance, don’t feel bad—just keep making pies until you have a good feel for what the raw dough should look and feel like!

My tools
Here are my must-have tools I use for making these hand pies. Affiliate links provided.
Pastry blender or food processor
Pie pan (Emile Henry has become my favorite!)


Mulled Cherry Pie
- prep time: 40-45 minutes
- chill time: 1 hour
- freeze time: 20-30 minutes
- bake time: 50-60 minutes
- total time: 3 hours, 15 minutes (includes homemade crust)
servings: 8-12
Ingredients:
- double batch sour cream pie crust (or your favorite pie crust)
- 4 cups (about 560g) fresh cherries (see note if using frozen*)
- ¼ cup (30g) cornstarch
- ¾ cup (177g) red wine, separated
- ½ cup (100g) brown sugar
- 1 tablespoon (13g) pure vanilla extract
- 1-1 ½ teaspoons (3-4g) ground cinnamon, to taste
- optional: a tiny pinch cloves or allspice
Instructions:
- Make the pie crusts ahead of time, at least one hour but ideally a day ahead. Be sure to double the recipe (but you can make it all in one bowl) and divide into two discs to chill.
- While the pie crusts chill or when ready to bake, make the filling. Wash and dry the cherries. Remove stems. Using a cherry pitter or the method found here, remove pits and cut cherries in half. You can leave them whole if you prefer, but I like packing as many cherries in a dessert as I can, so halving them allows for this.
- Add the cornstarch and ¼ cup red wine and whisk until smooth. Set aside.
- Combine cherries, ½ cup red wine, brown sugar, vanilla, cinnamon and cloves (if using) in a medium saucepan. Bring to a gentle boil/simmer over medium heat, stirring frequently. Turn down to low and let simmer 1-2 minutes, until sugar is dissolved.
- Stir the cornstarch again and slowly pour into the saucepan, stirring the cherries as you pour.
- Cook for about 1 minute after adding the cornstarch then remove from heat. Let cool in the fridge at least 15 minutes while you roll out your chilled pie dough.
- Sprinkle your pie pan with some flour. Place the first pie dough disc on a lightly floured surface, then sprinkle the top with a little more flour. Begin rolling out the dough, rotating the rolling pin as you go. Be sure to flip and rotate the dough every so often, sprinkling a tiny bit more flour as needed to 1) keep it from sticking and 2) ensure you’re rolling evenly. I tend to roll the bottom left too thin and the top right too thick. Rotating balances this out.
- Roll the first disc out to ⅛” or ⅓ cm thick, or about 12” or 30 cm in diameter. Gently roll half of the crust onto the rolling pin and transfer it to the pan. Gently lift the sides and ease them into the pan so it is flush with the bottom and edges. Avoid pressing it into the pan, as this can cause sticking. Leave a ½ inch overhang and trim the rest.
- Roll the second disc out to the same size and thickness as the bottom crust. You don’t want the lattice thicker than the bottom or it won’t bake in the places where it overlaps. Cut into evenly sized strips, about ½ inch wide (or desired size).
- Pour cooled filling into bottom crust. Weave the lattice pieces on top. Trim any excess to be flush with the bottom crust. Fold it under itself so it is flush with the edge of the pie pan. Shape as desired.
- If desired, you can brush the pie with 1 egg whisked well with 1 tablespoon milk (or just milk for a matte appearance). Optionally, you can also sprinkle each one with some coarse sugar.
- At this point, preheat your oven to 400F/205C. (If you choose to skip the freezing step, then you’ll need to preheat the oven when you start rolling out the crust).
- Freeze! Yes, it’s an extra step, but it really makes a flakier crust and sturdier pie. Freeze the whole pie for just 20-30 minutes before baking and you will get a perfect pie. Plus, it’s the perfect amount of time to let the oven preheat nicely.
- Bake on a foil lined baking sheet for 20-25 minutes, until the edges of the crust start to look golden. Tent loosely with foil at this point. Turn the oven down to 350 and bake another 20-30 minutes, until the filling bubbles throughout (may just be a little in the middle) and the crust is golden. Feel free to check it as it bakes and remove the foil if the top crust is too blond–each oven is different.
Enjoy!
*If subbing frozen cherries, defrost and drain first then slice in half to get a thicker, more cherry-filled filling.
