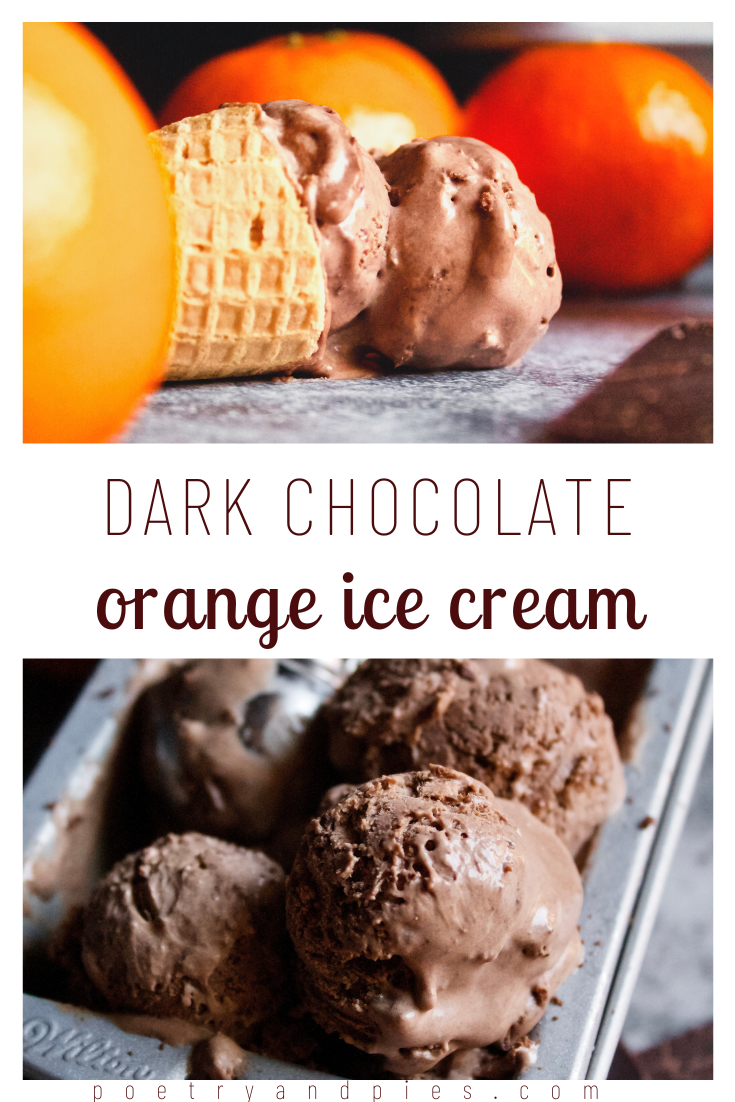
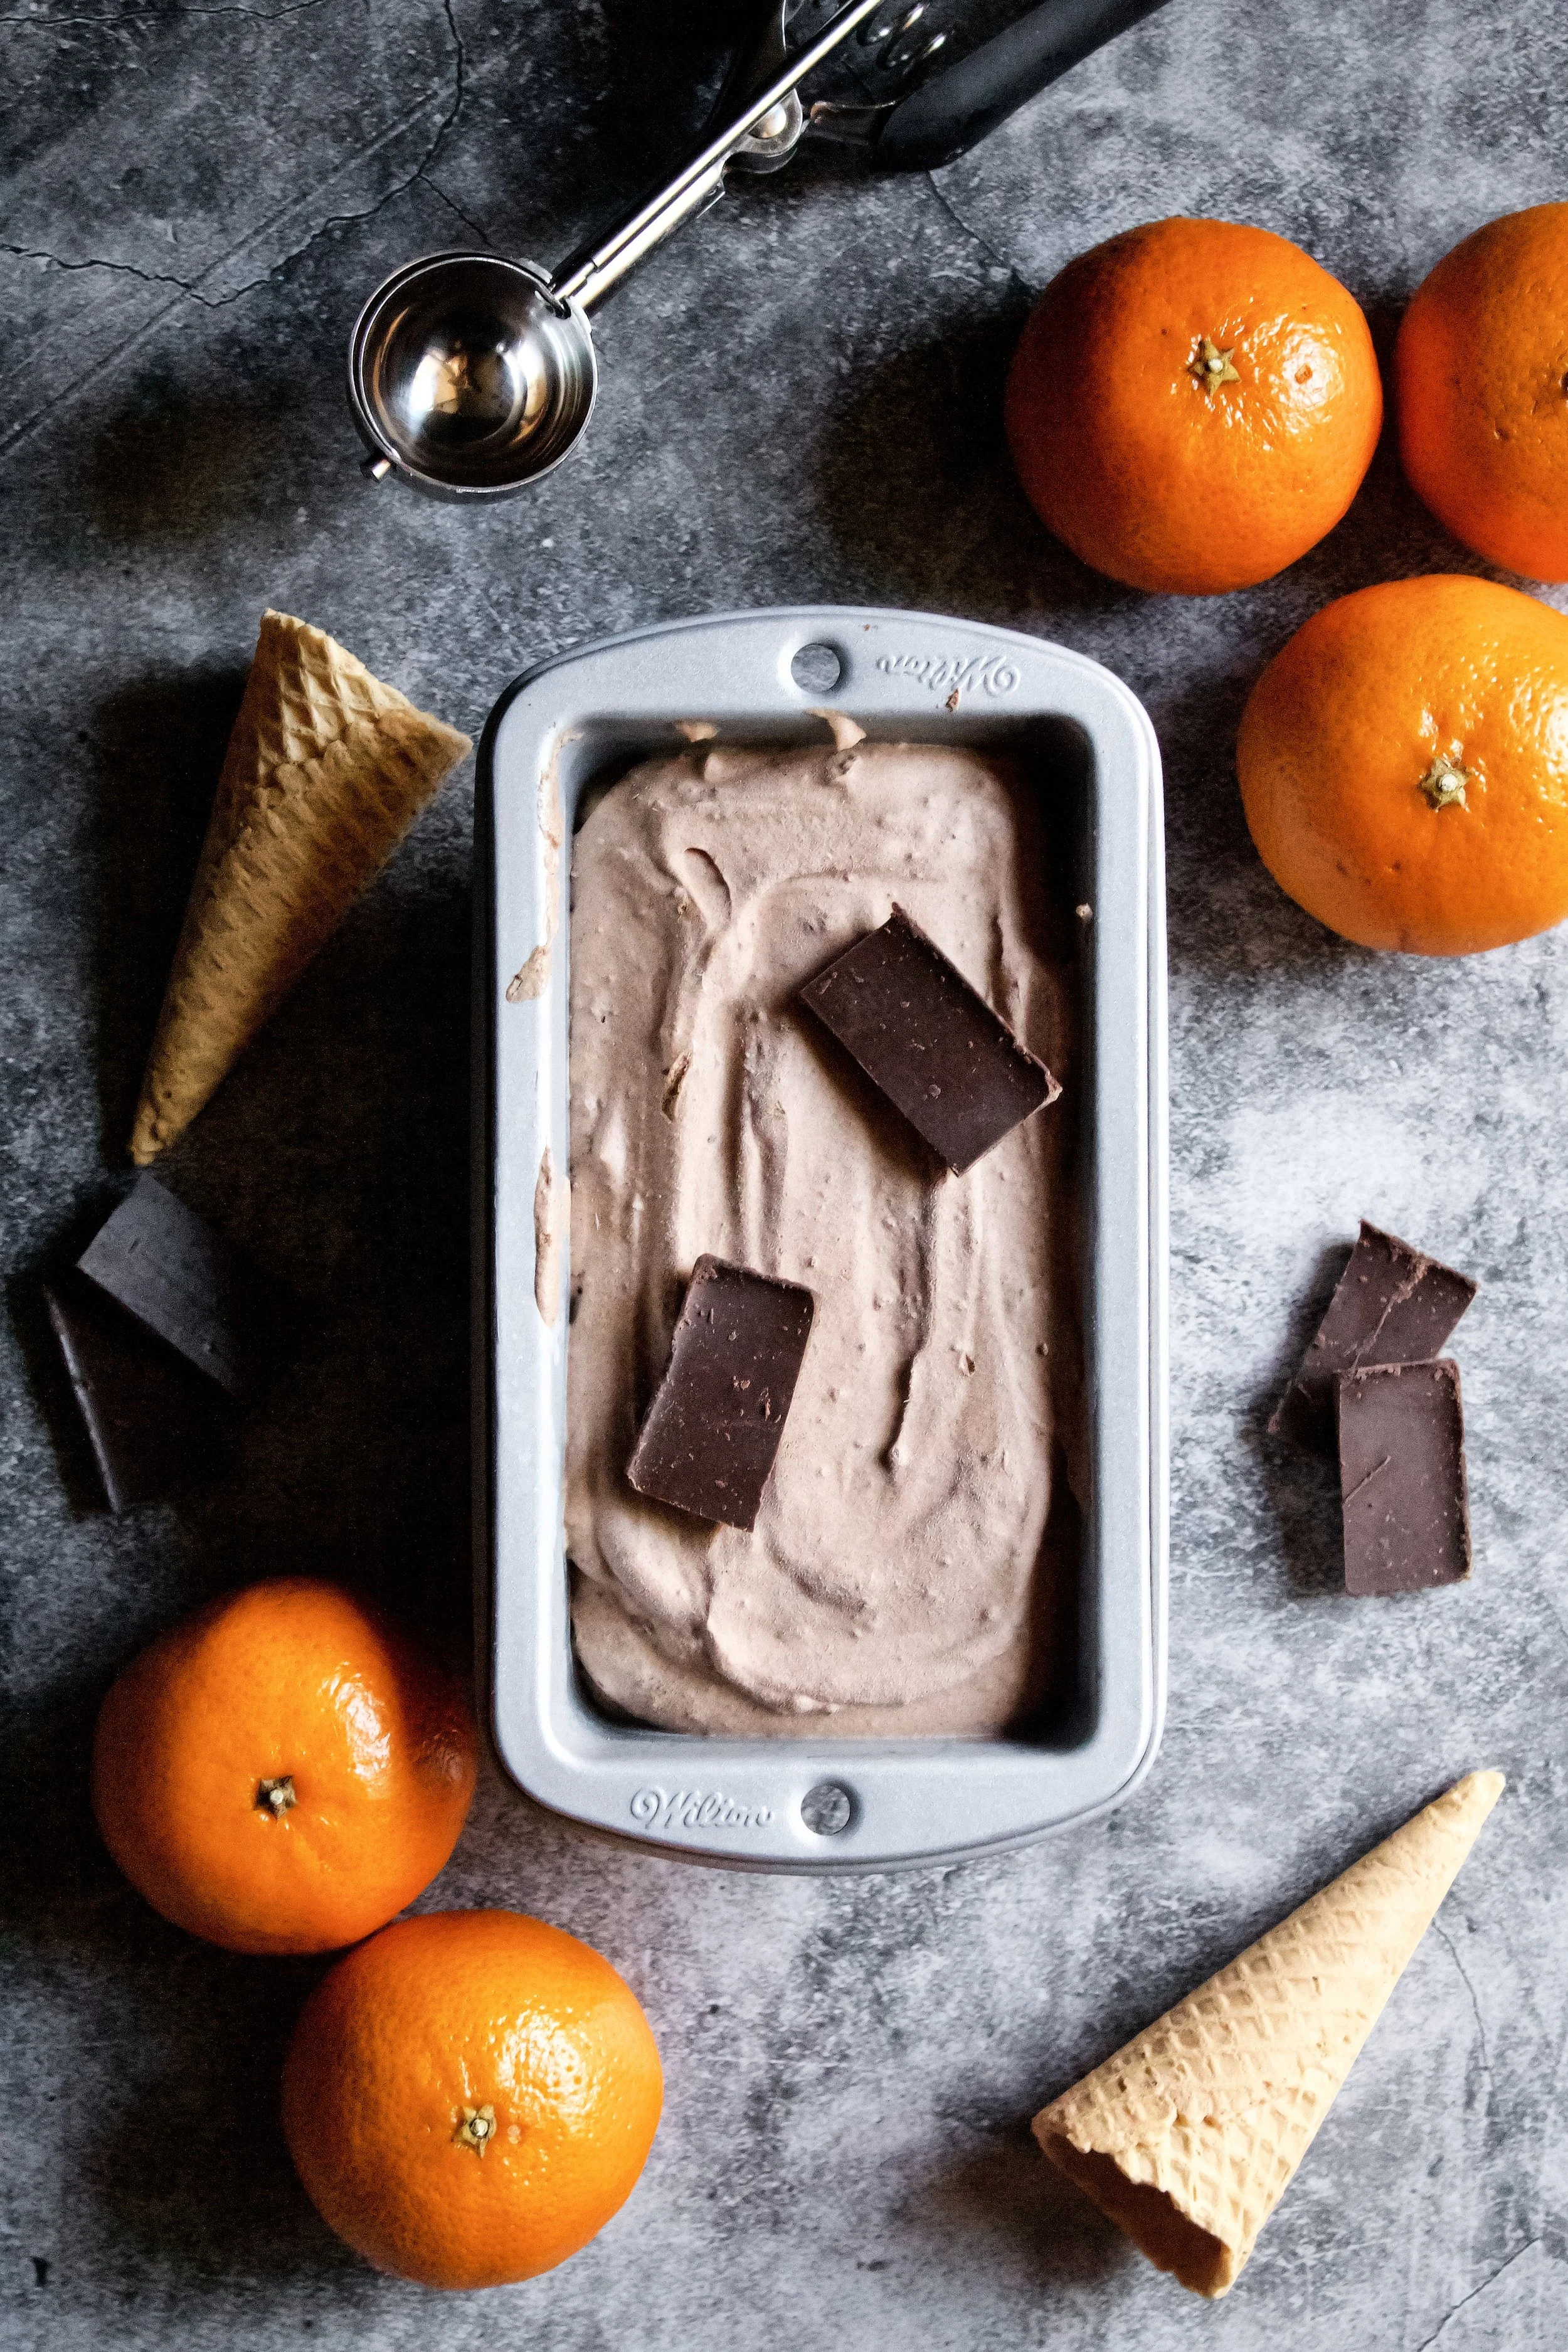
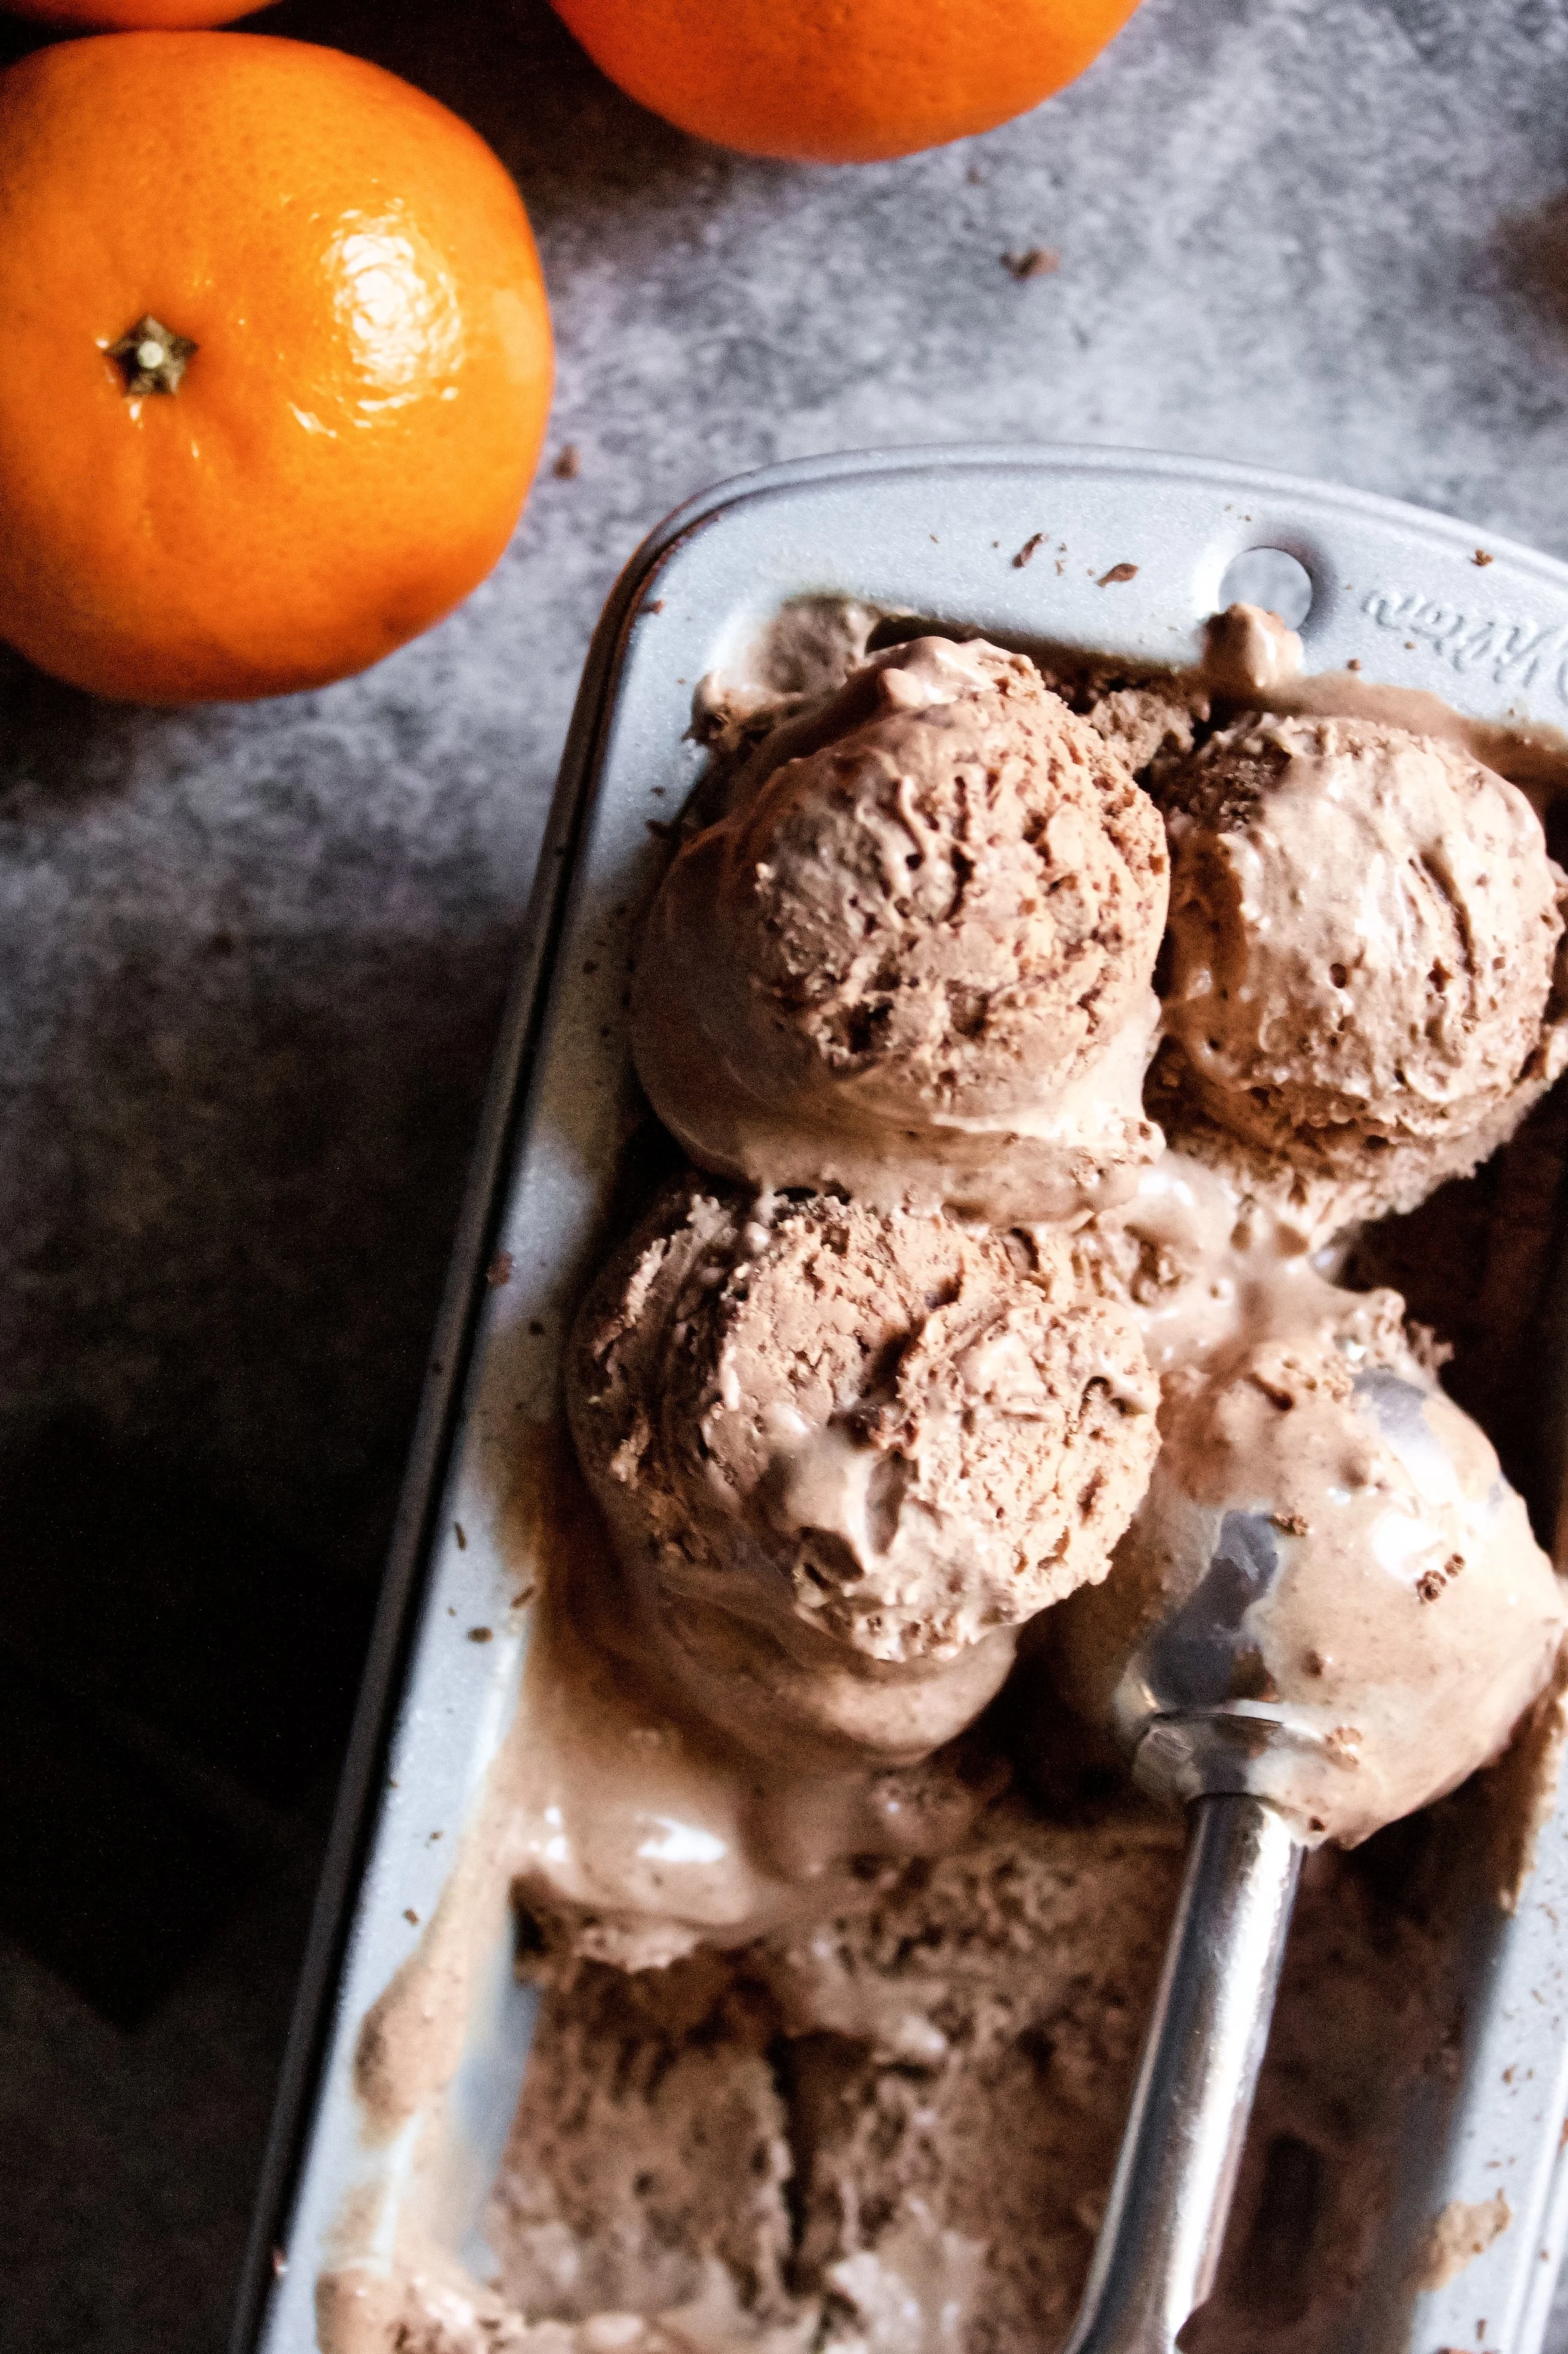
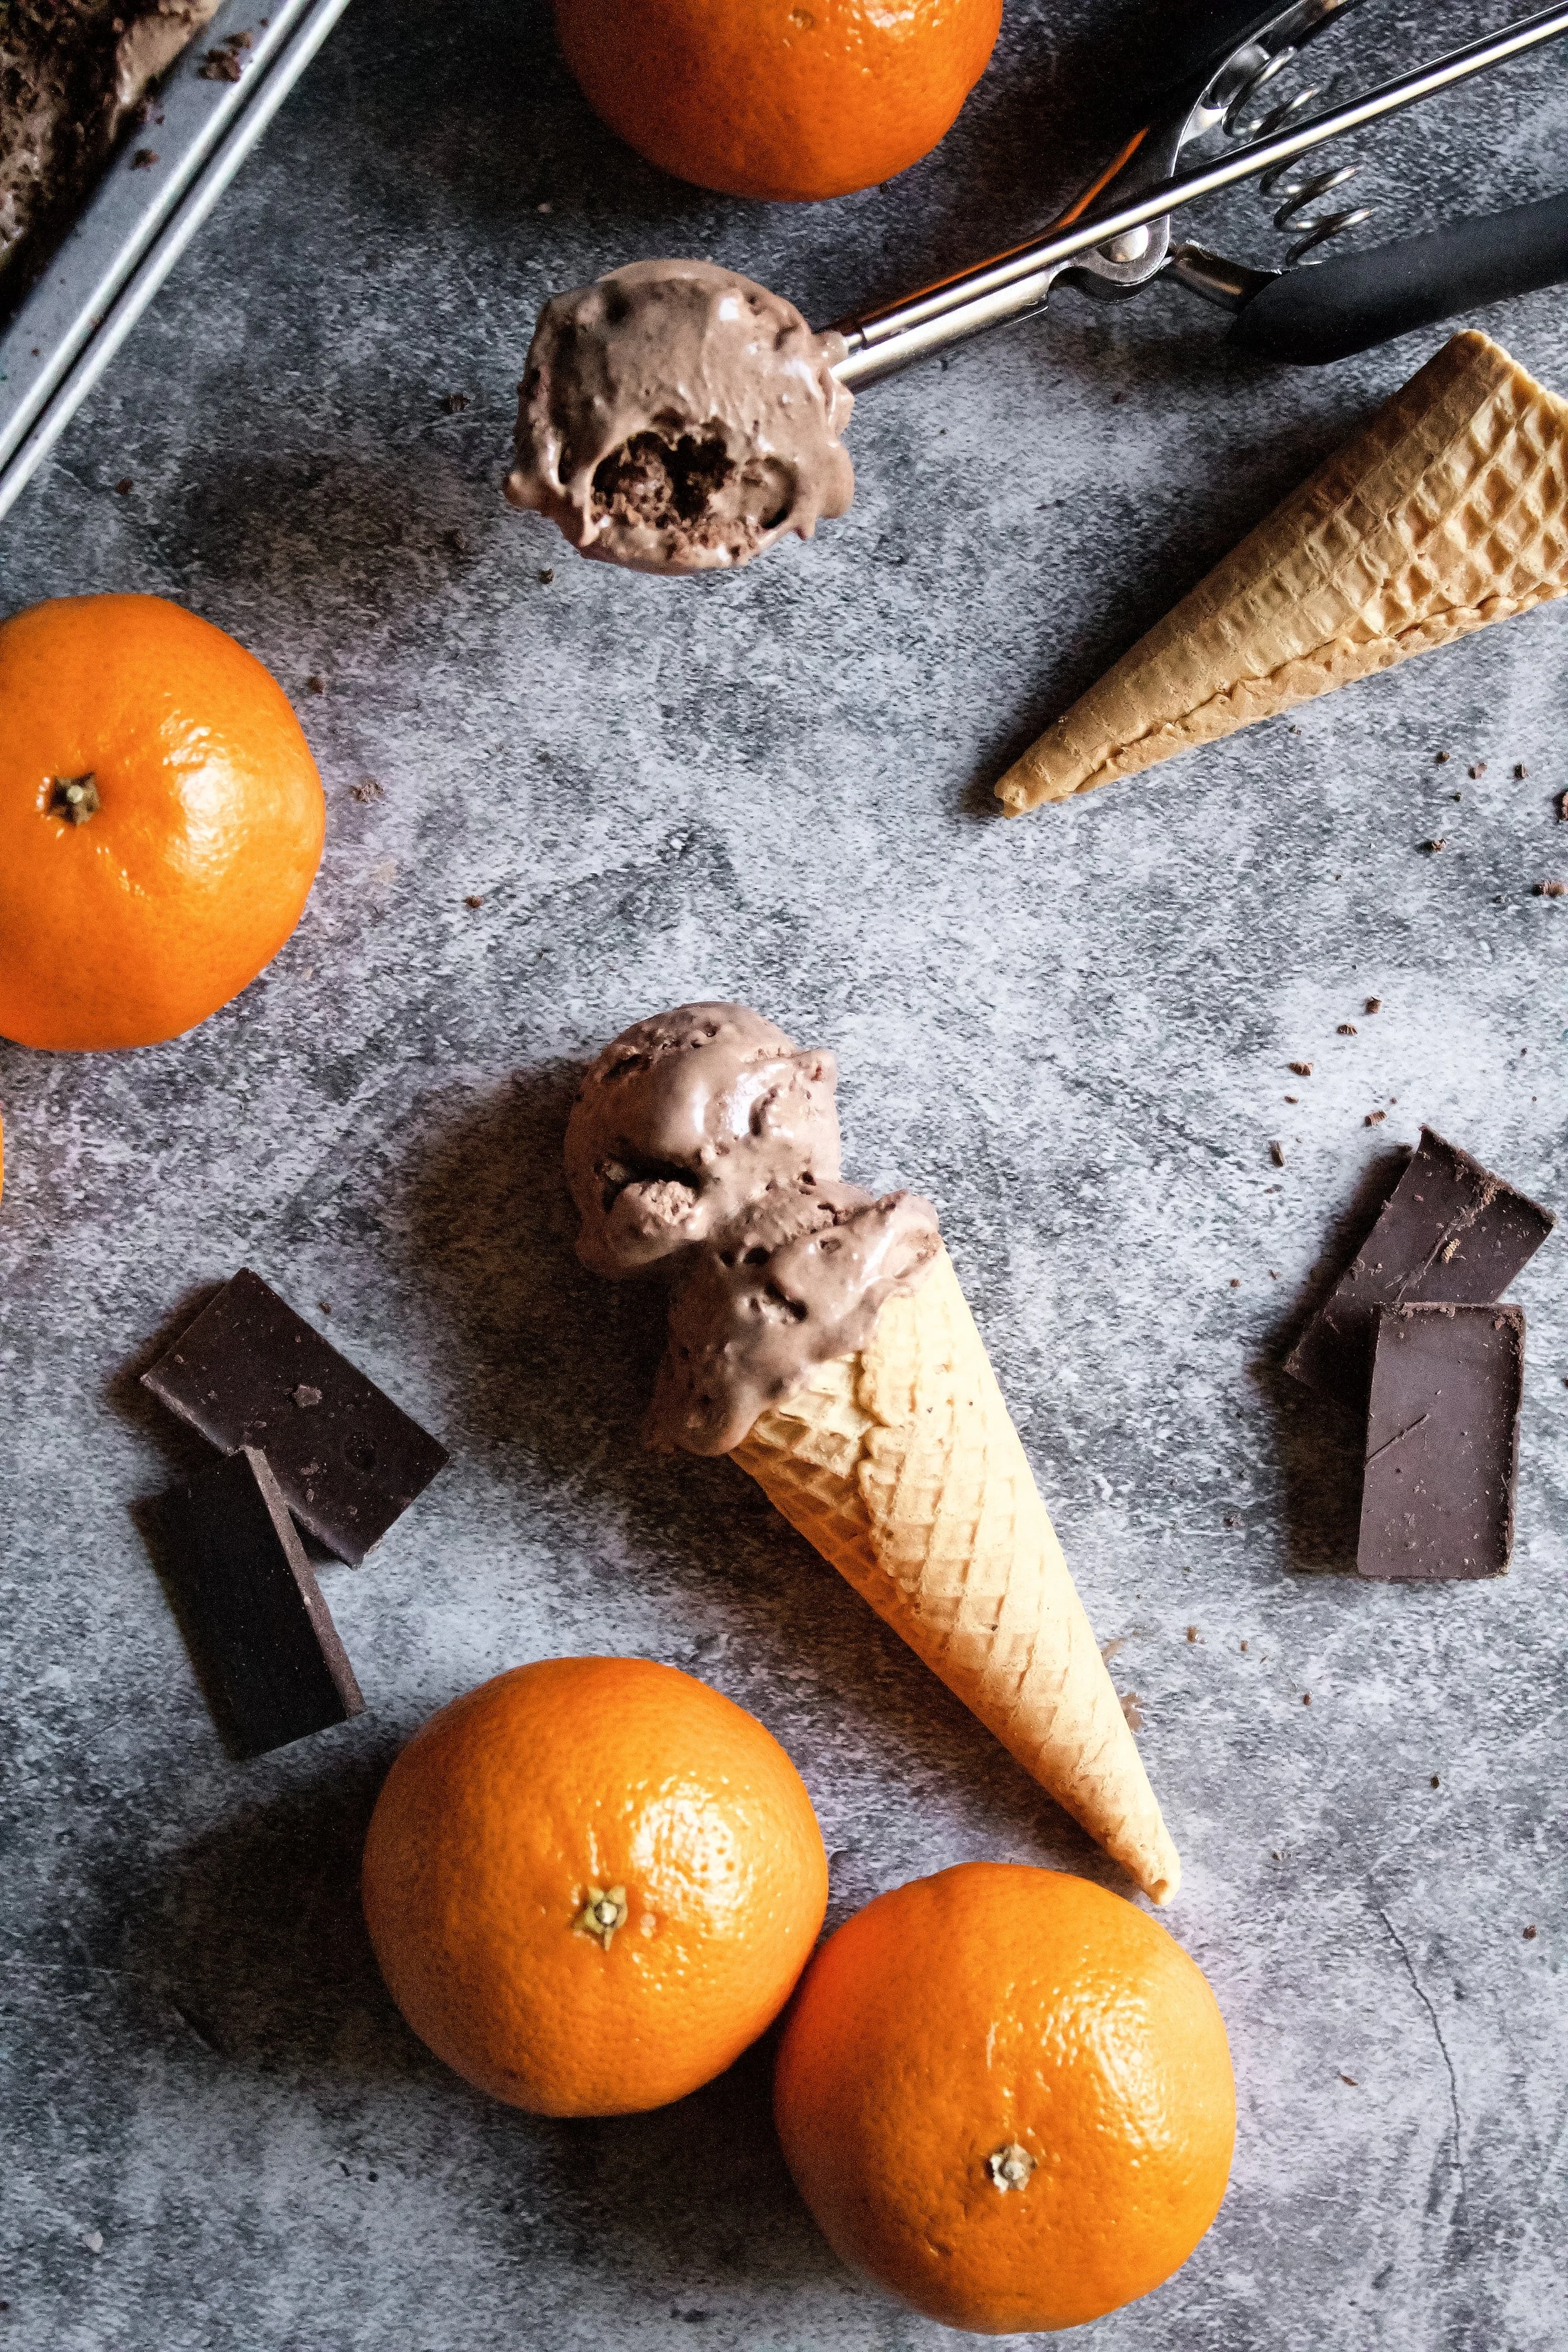
Dark Chocolate Orange Ice Cream
Perfect for winter, this simple ice cream uses orange zest to infuse a bold citrus flavor, tasting just like a chocolate orange candy. Chocolate shavings add the perfect texture to make this the ultimate cold-weather ice cream!
This post may contain affiliate links from which, at no additional cost to you, I may earn a small commission to keep this site running. Only products I myself would or do use are recommended.
To be honest, I’m kind of new to the whole chocolate orange dessert idea. I’m not against it, I just haven’t really had a lot of desserts using that flavor profile. But a few years ago, on a whim, I made this chocolate orange sauce by steeping some orange zest in heavy cream then using that cream to make a ganache style sauce.
Holy cow. It was delicious.
Since then, I’ve been exploring all the ways I can make chocolate orange desserts, especially at Christmas. While I think the flavors are amazing all year long, winter is when many orange trees bear fruit, so it’s a perfect time to experiment with them.
So this year I decided to try chocolate orange ice cream. I know—who eats ice cream in winter?
Me. I do, that’s who.
I’m an iced tea/iced coffee all year kinda girl, and the same goes for ice cream. I’ll just wear a jacket while I happily eat my ice cream in the dead of winter.
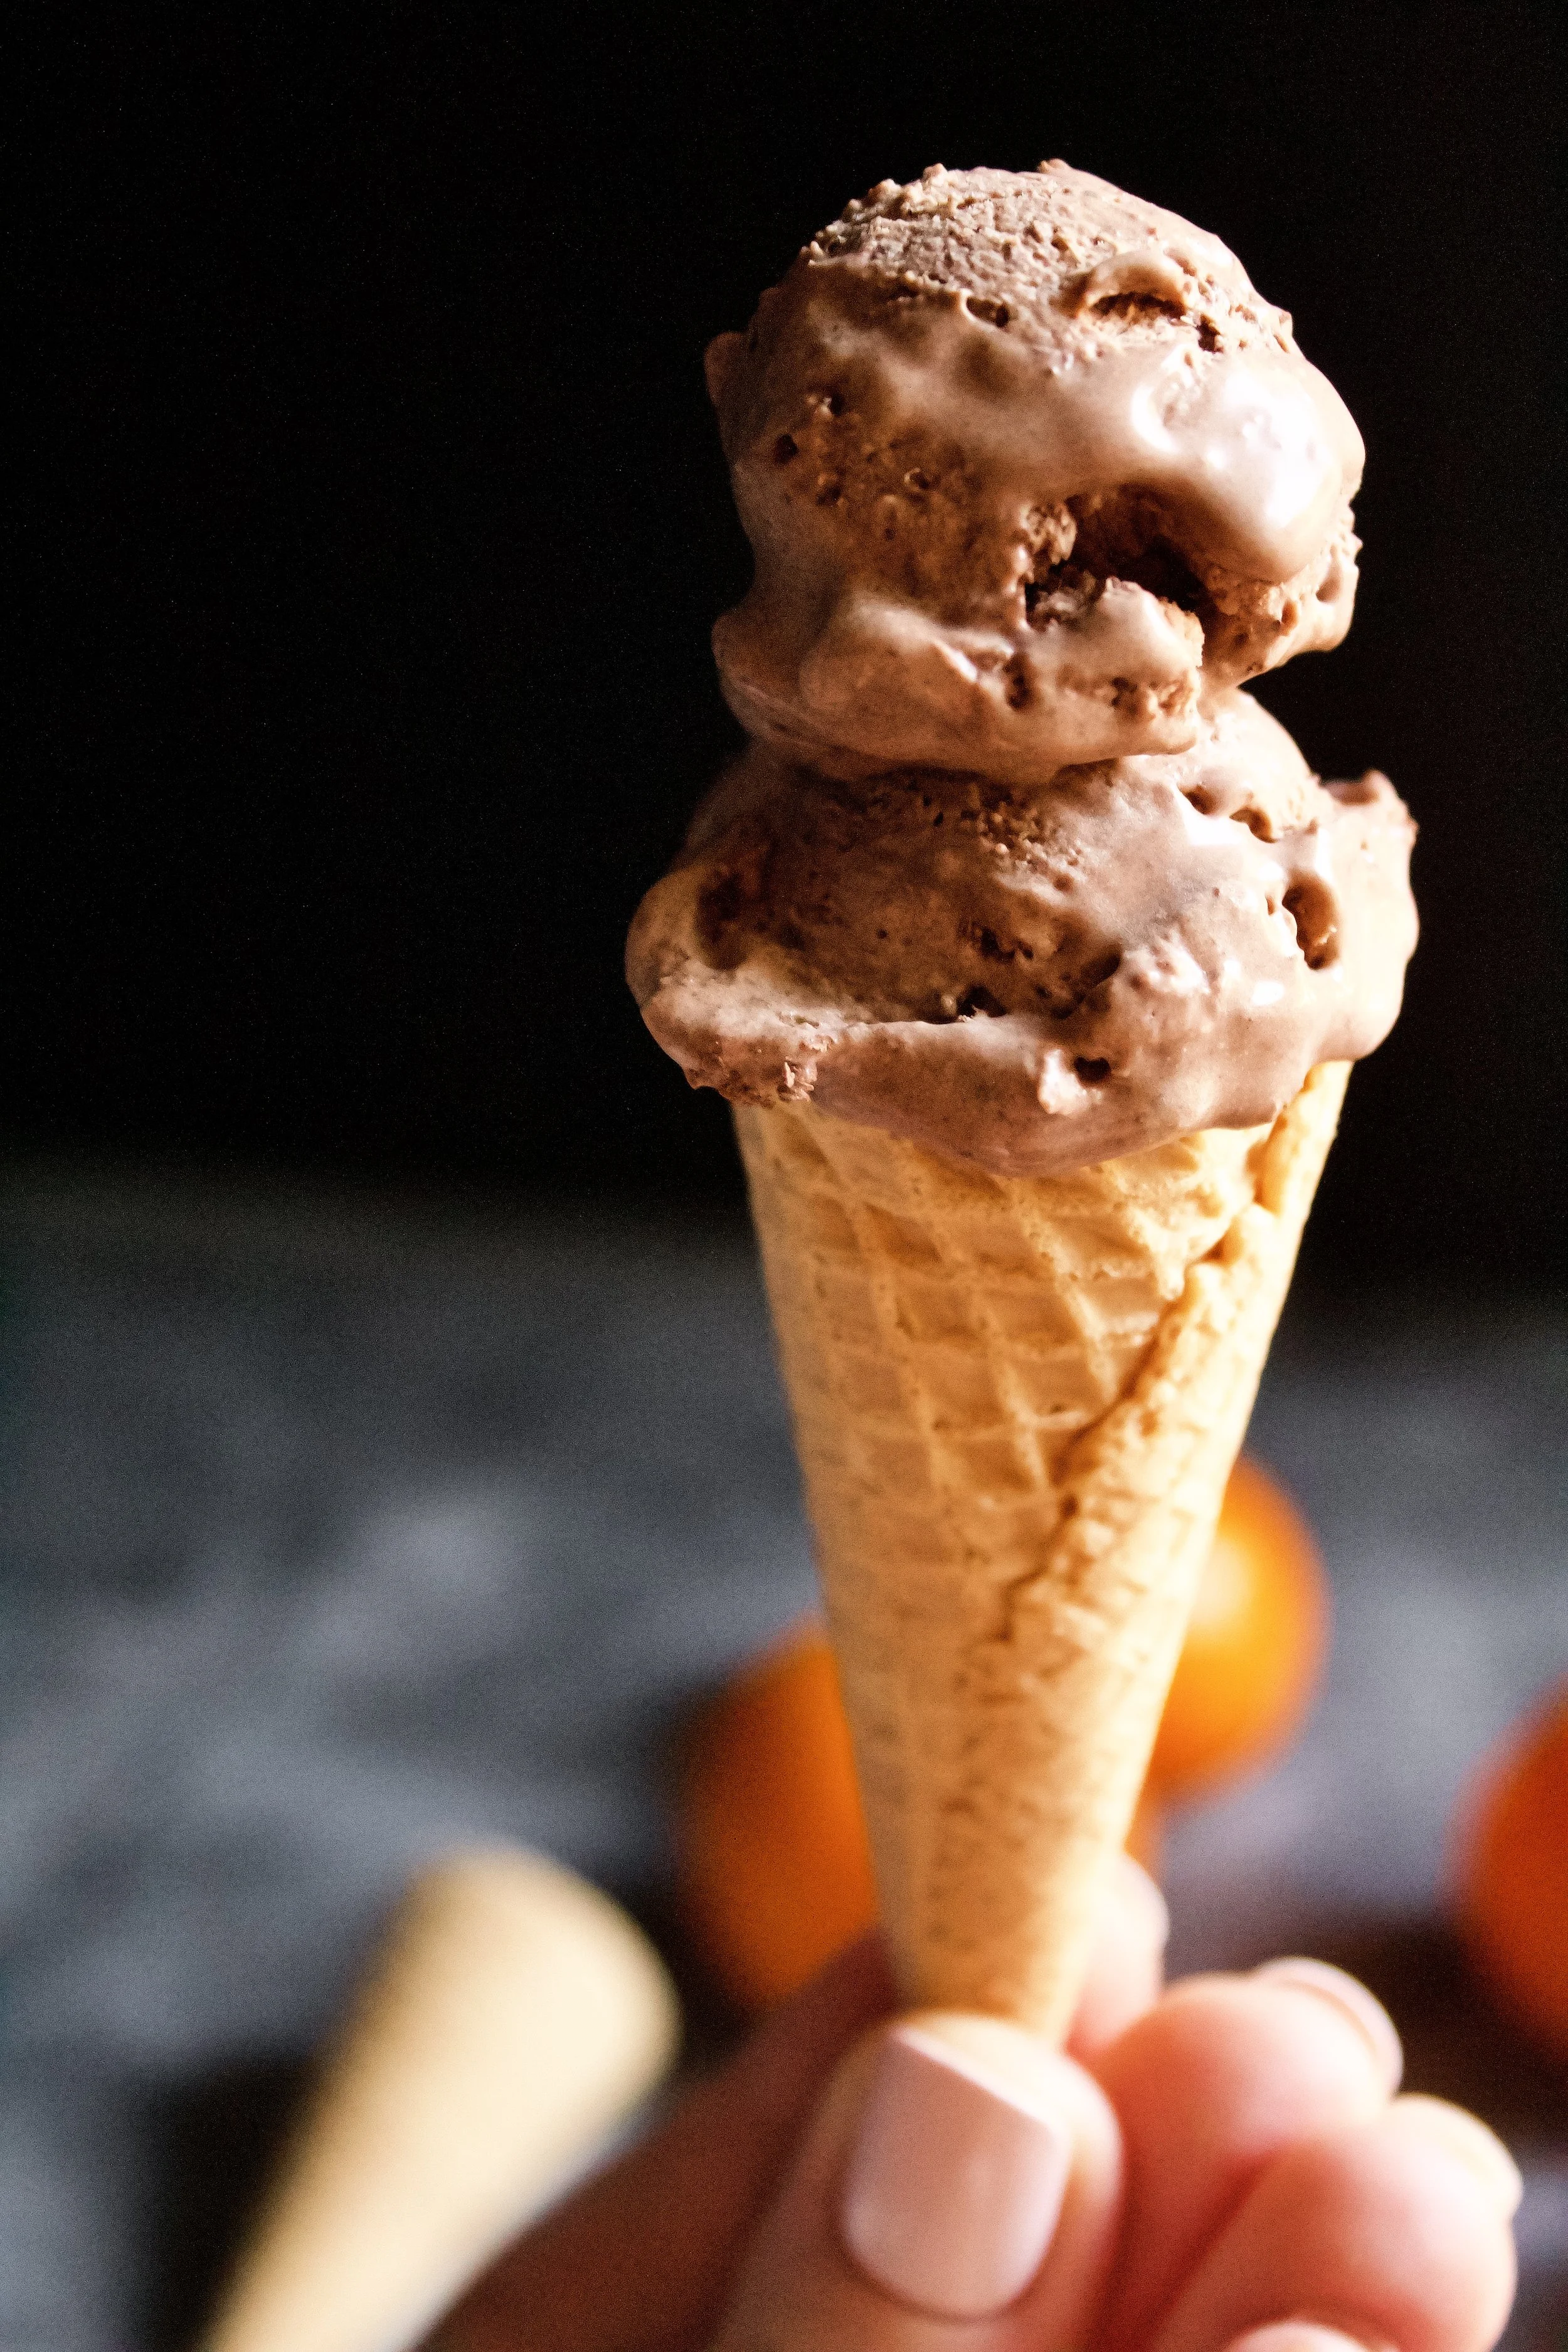
And once you try this ice cream, you’ll understand why.
Why this recipe works
First, this recipe is simple. You can either heat the cream and orange zest or let them cold steep in the fridge overnight—both will give you a vibrant orange flavor. The ice cream can be made the old-fashioned way, in your ice cream maker, or you can make it no-churn. An ice cream maker will yield a slightly creamier texture, but the taste will be the same. As well, the coconut caramel swirl comes together quickly and easily. There’s no special trick or a step you need experience to really nail down perfectly.
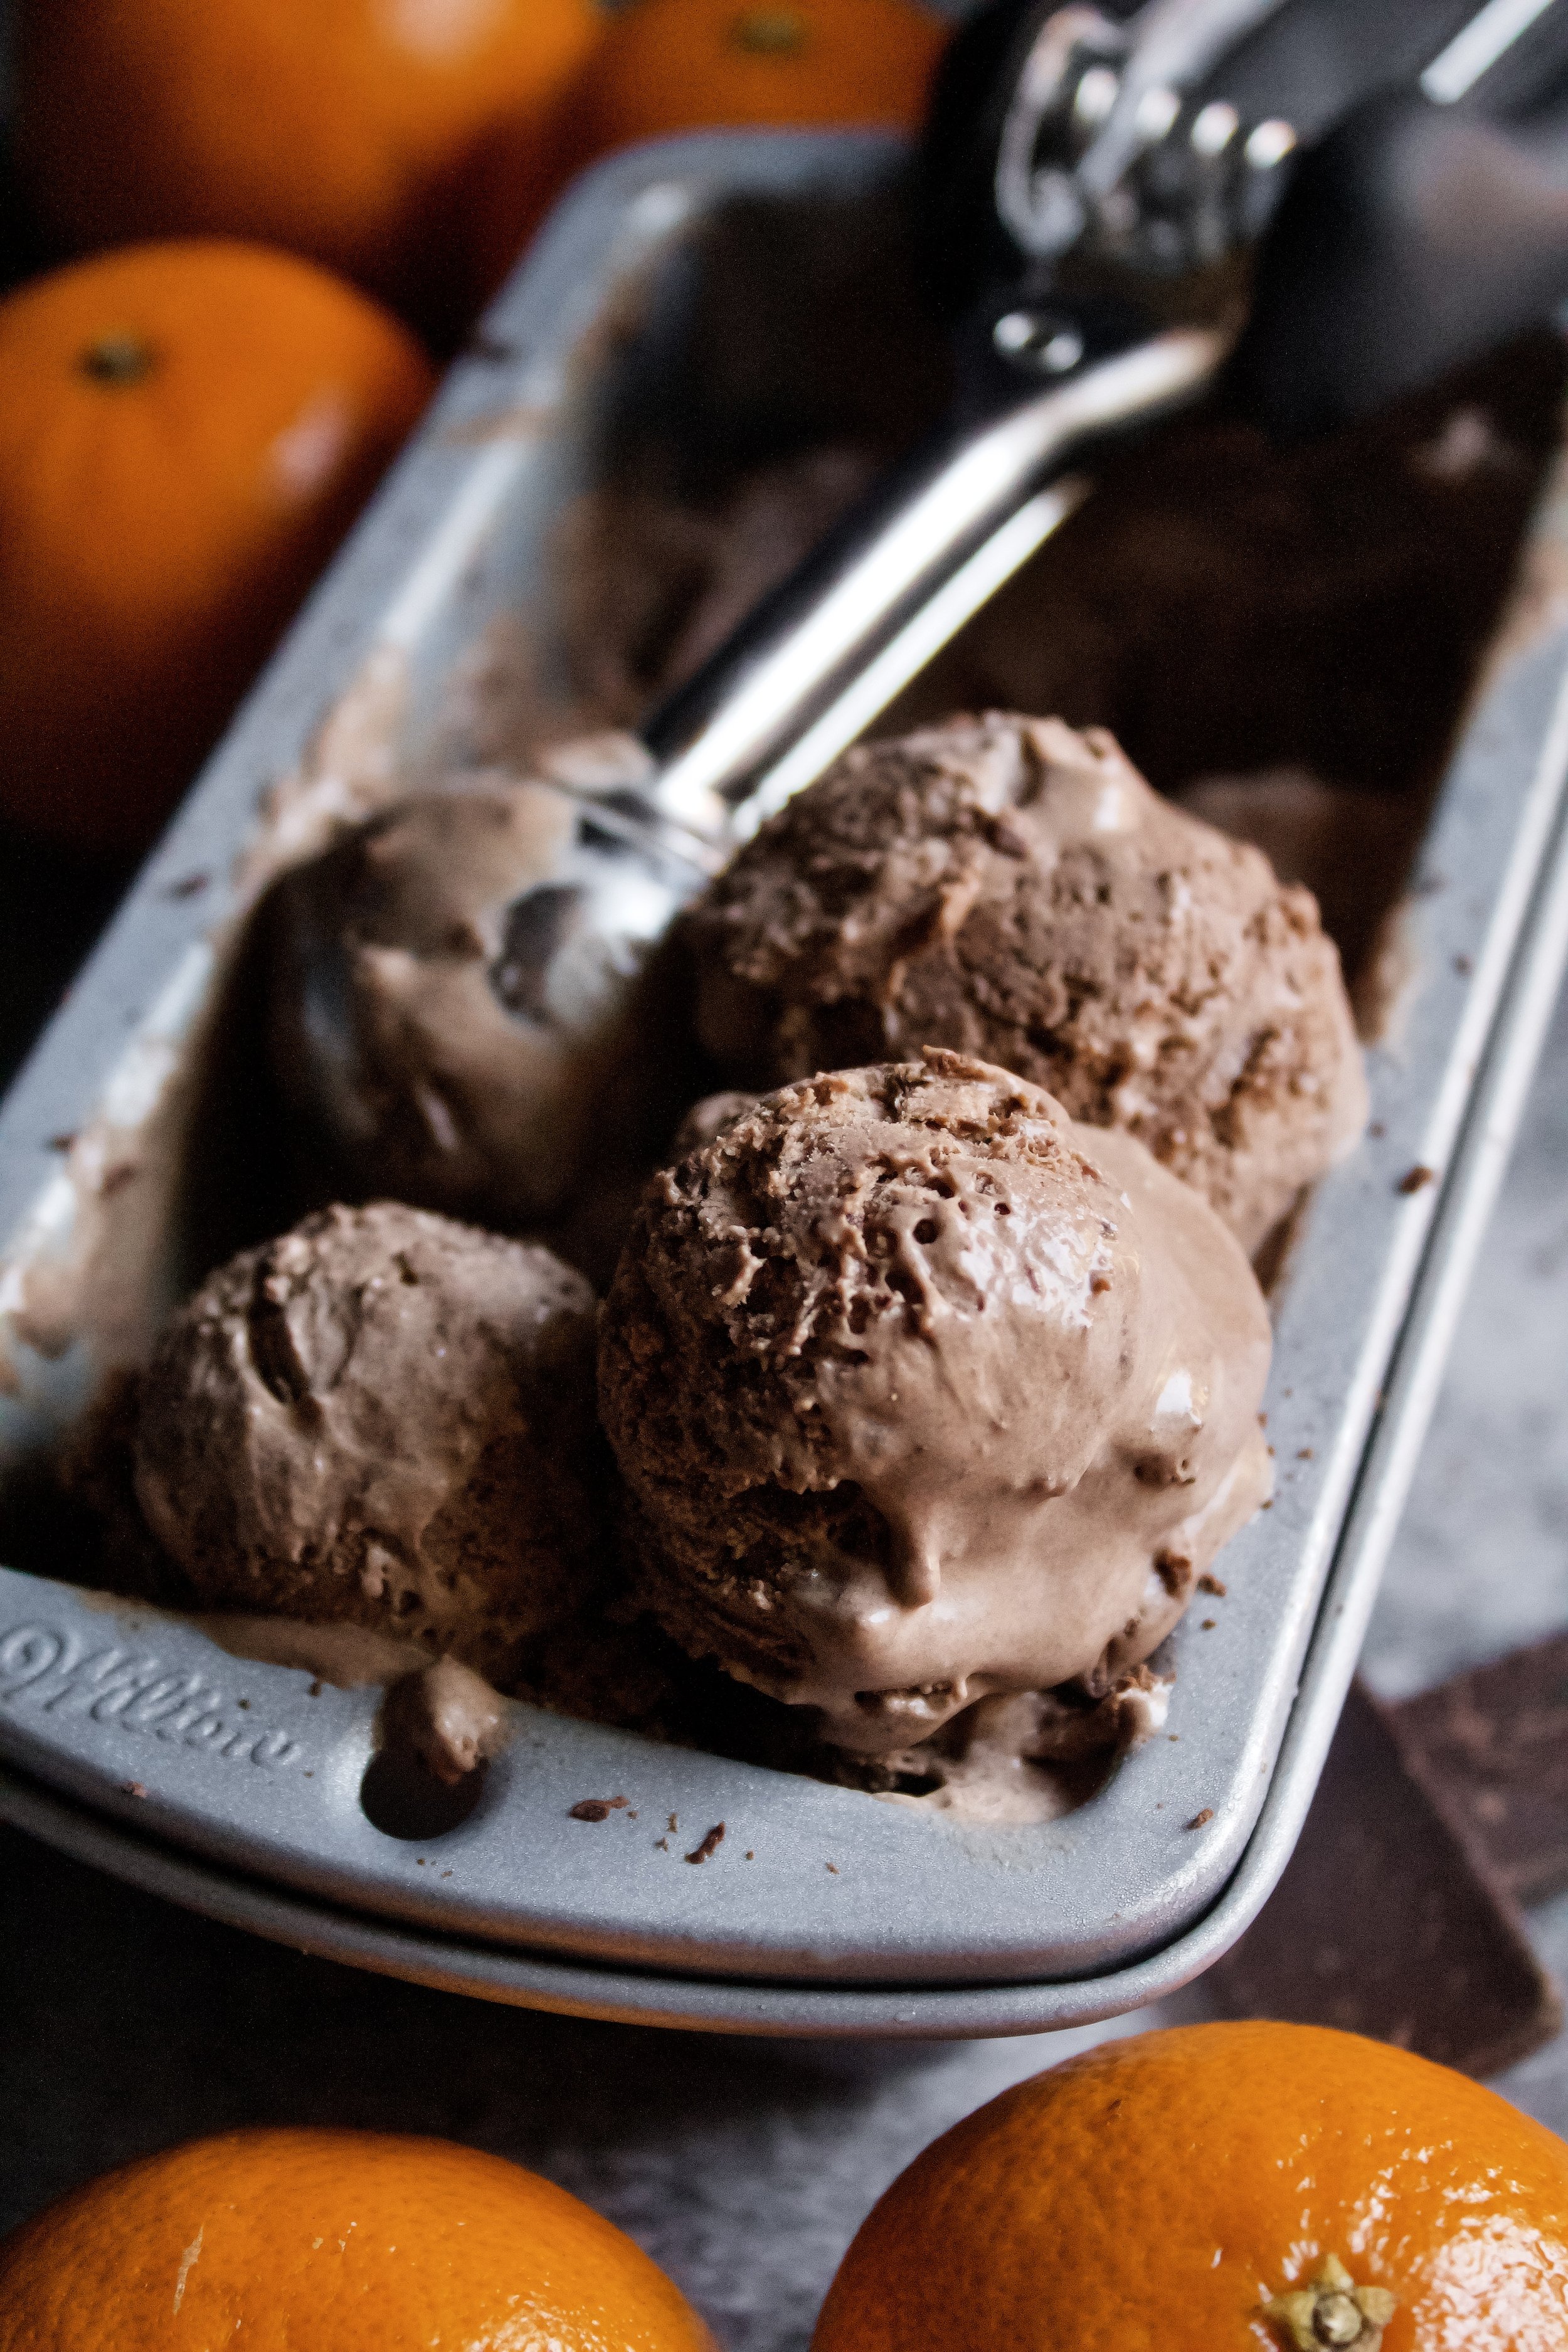
More importantly, this recipe is delicious. The orange flavor is just enough to complement the chocolate, making it taste just like those chocolate oranges you can only seem to find at Christmas. Plus, adding chocolate shavings adds texture and a bit of extra flavor, elevating this ice cream to perfection.
Key ingredients
Egg yolks. Don’t be intimidated! Using egg yolks is fairly quick and makes the ice cream just so, so creamy and delicious. You’ll also use some in the German chocolate filling, so feel free to save the whites for a meringue or to make a healthy breakfast (so you can have ice cream for dessert!).
Sugar. Granulated is used in both the ice cream and german chocolate cake filling. When you whisk it with the yolks for the ice cream, it will be lumpy at first, but keep whisking, as the sugar will melt and become fluffy.
Whole milk. Try to use regular whole milk instead of nonfat. You won’t actually save very many calories per serving using nonfat here, and it’s much creamier with whole.
Cocoa powder. Use unsweetened, since you already have plenty of sugar here.
Vanilla extract. Use pure vanilla, not imitation.
Chocolate chips. You can also use chopped baking chocolate (which can also be used for the chocolate shavings).
Heavy cream. Don’t try to sub half and half or milk—you need heavy whipping cream to get the best ice cream!
Dark chocolate bar. Any kind will do, you just need about half a bar of chocolate to create the chocolate shavings.
Orange zest. Using peeled orange zest (using a vegetable peeler) gives the best, most natural orange flavor.
How to make dark chocolate orange ice cream
1. Steep heavy cream and peeled orange zest. Use a vegetable peeler to remove peels of orange zest (avoid the white pith). Either steep with the heavy cream in the fridge overnight (no more than 24 hours) or heat with cream until steaming, remove from heat, and let steep one hour.
2. Whisk egg yolks and sugar until pale and fluffy. At first it’ll be goopy and lumpy and seem like it can’t be whisked. Just keep going and the sugar will melt then it’ll all turn fluffy and pale. You should be able to pull the whisk up and create ribbons that stay visible for a few seconds.
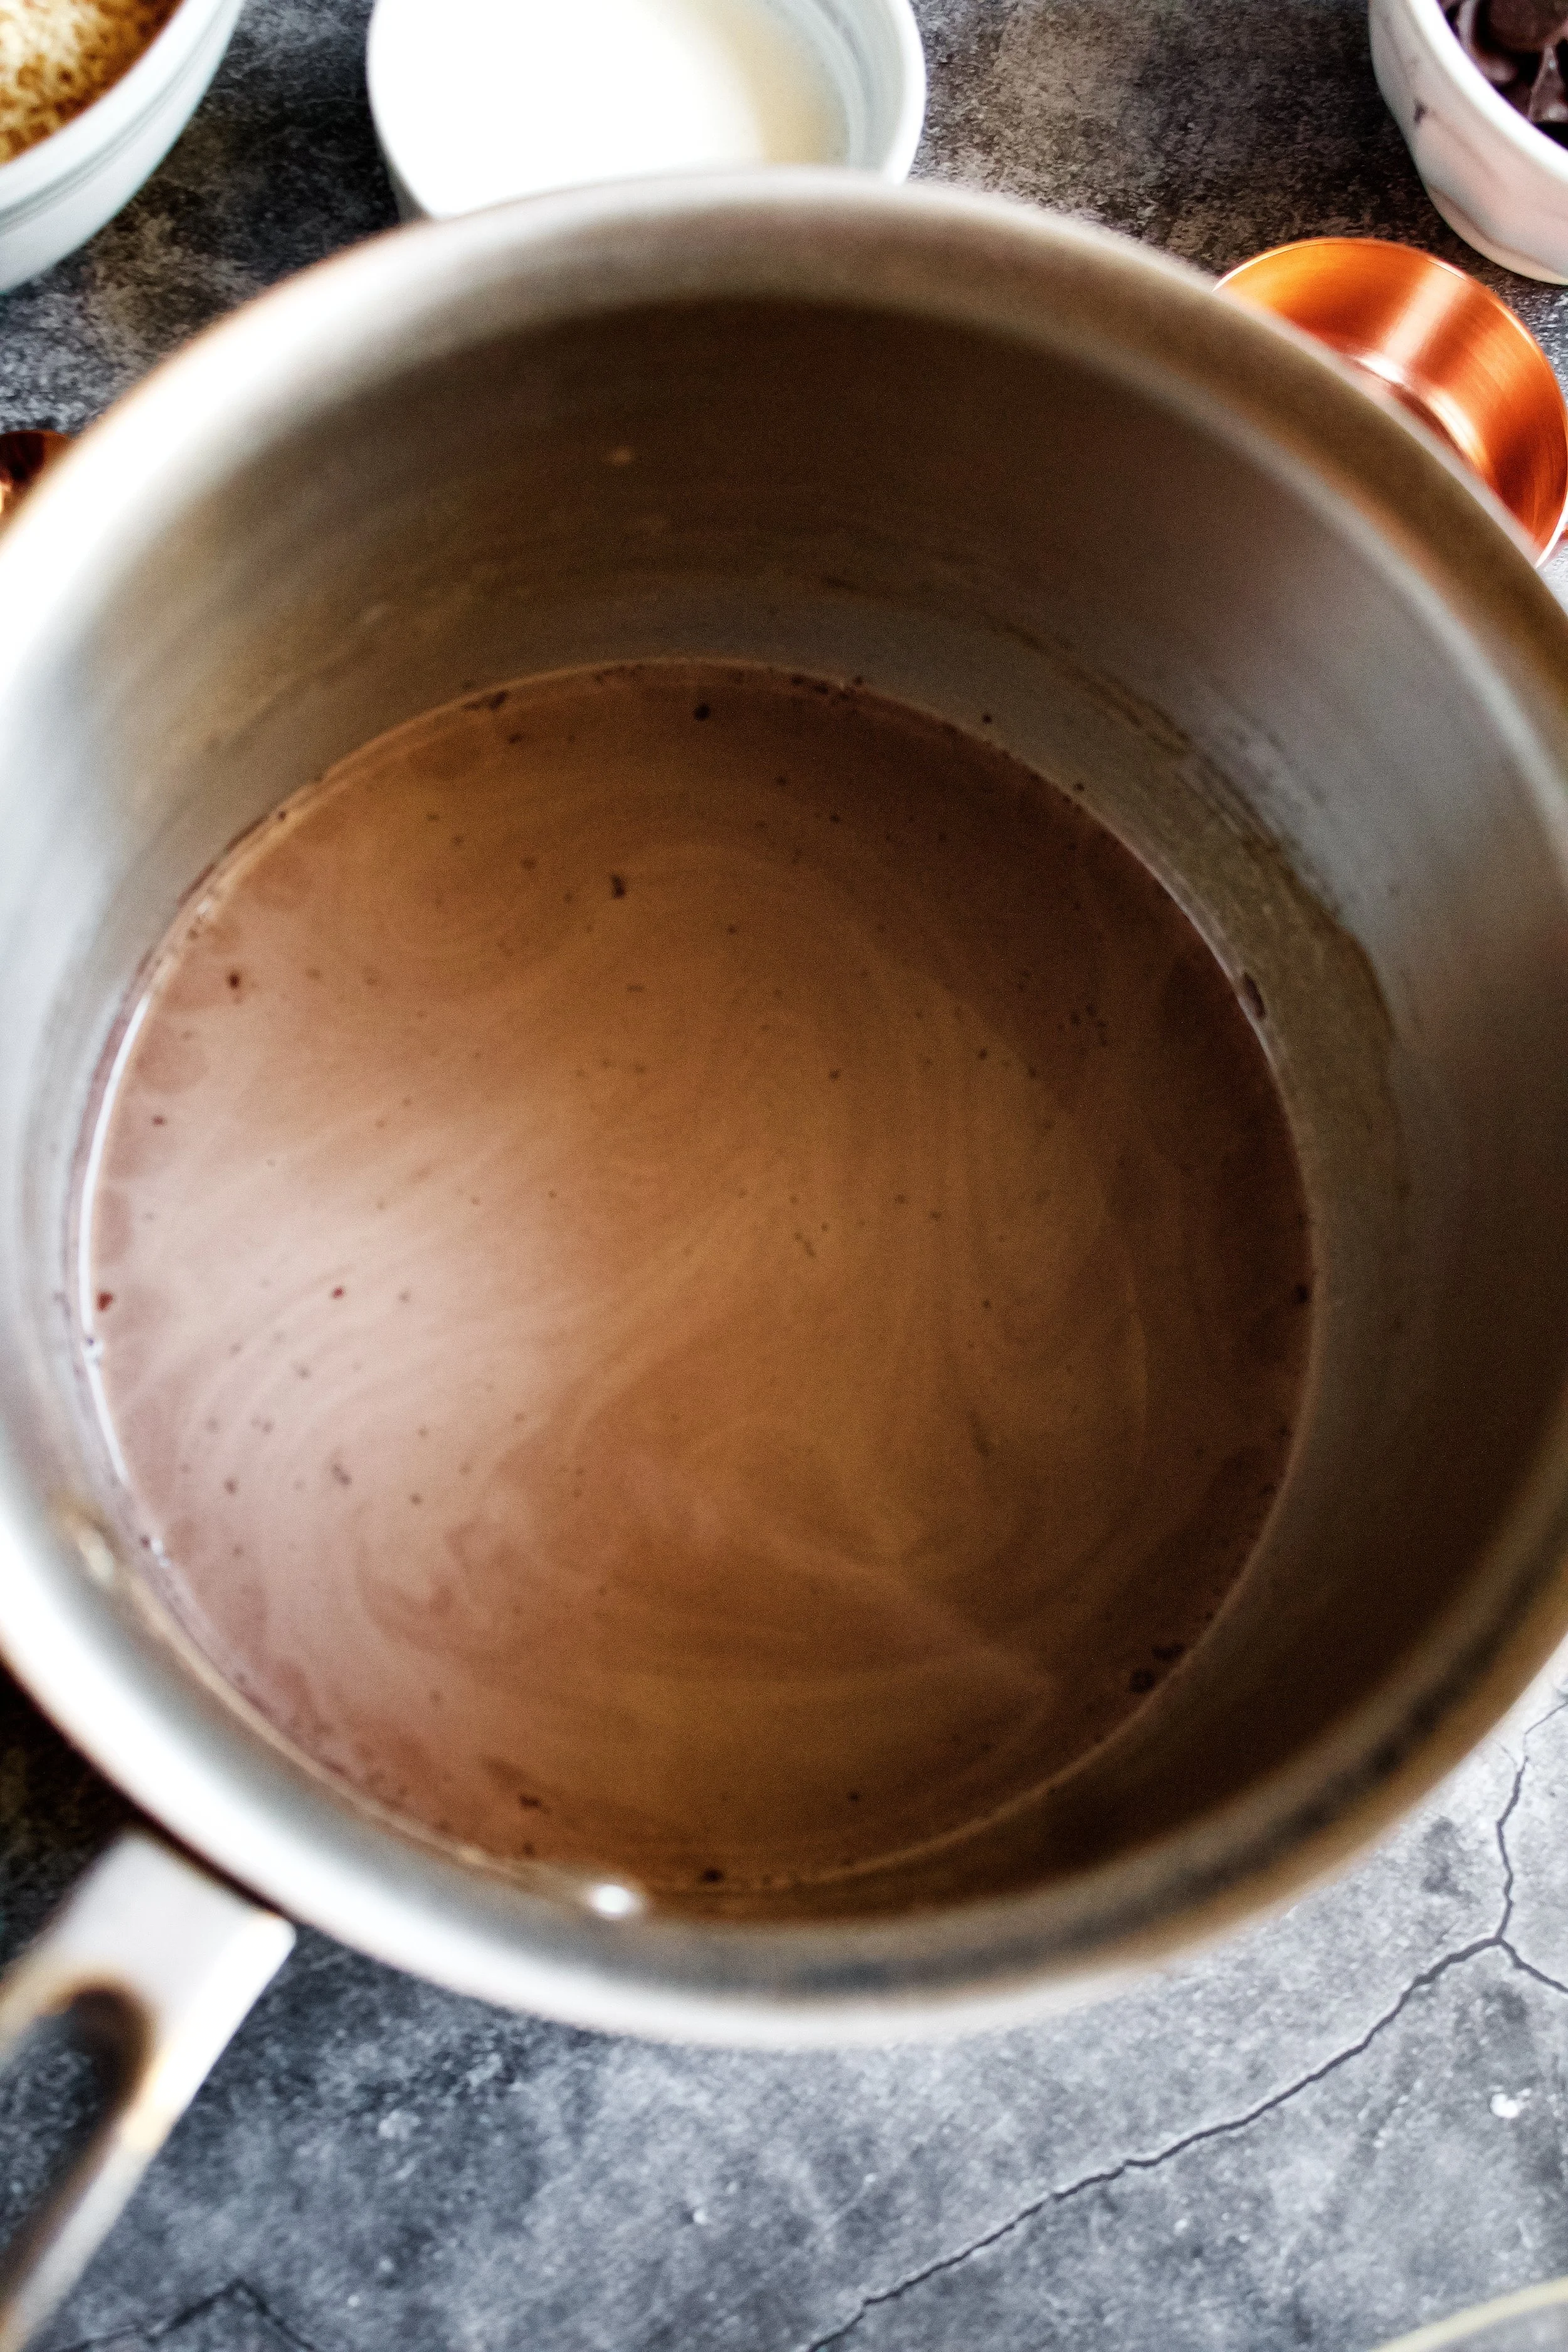
3. Heat milk, vanilla, cocoa powder, and a pinch of salt. Heat over medium, until steam comes off and bubbles begin to form along the edges.
4. Temper the milk into the eggs. I always temper all of my milk to be safe. Pour slowly and whisk the eggs quickly. Then pour it all back into the saucepan.
5. Heat until thickened. It should be able to coat the back of a spoon (meaning if you run your finger on the custard on the back of your spatula, it leaves a distinct line that doesn’t fill in). I usually cook it until it resembles instant pudding before it’s been chilled.
6. Melt in chocolate chips. Stir well so they’re fully melted.


7. Chill. Place a piece of plastic wrap directly on the custard to prevent a film forming while it cools. It needs at least an hour to chill.
8. Churn custard and heavy cream. Stir the two well then churn according to your manufacturer’s directions. Be sure you have enough ice or have frozen it long enough, per direction. (*See note below for making this without an ice cream maker, i.e. no-churn.)
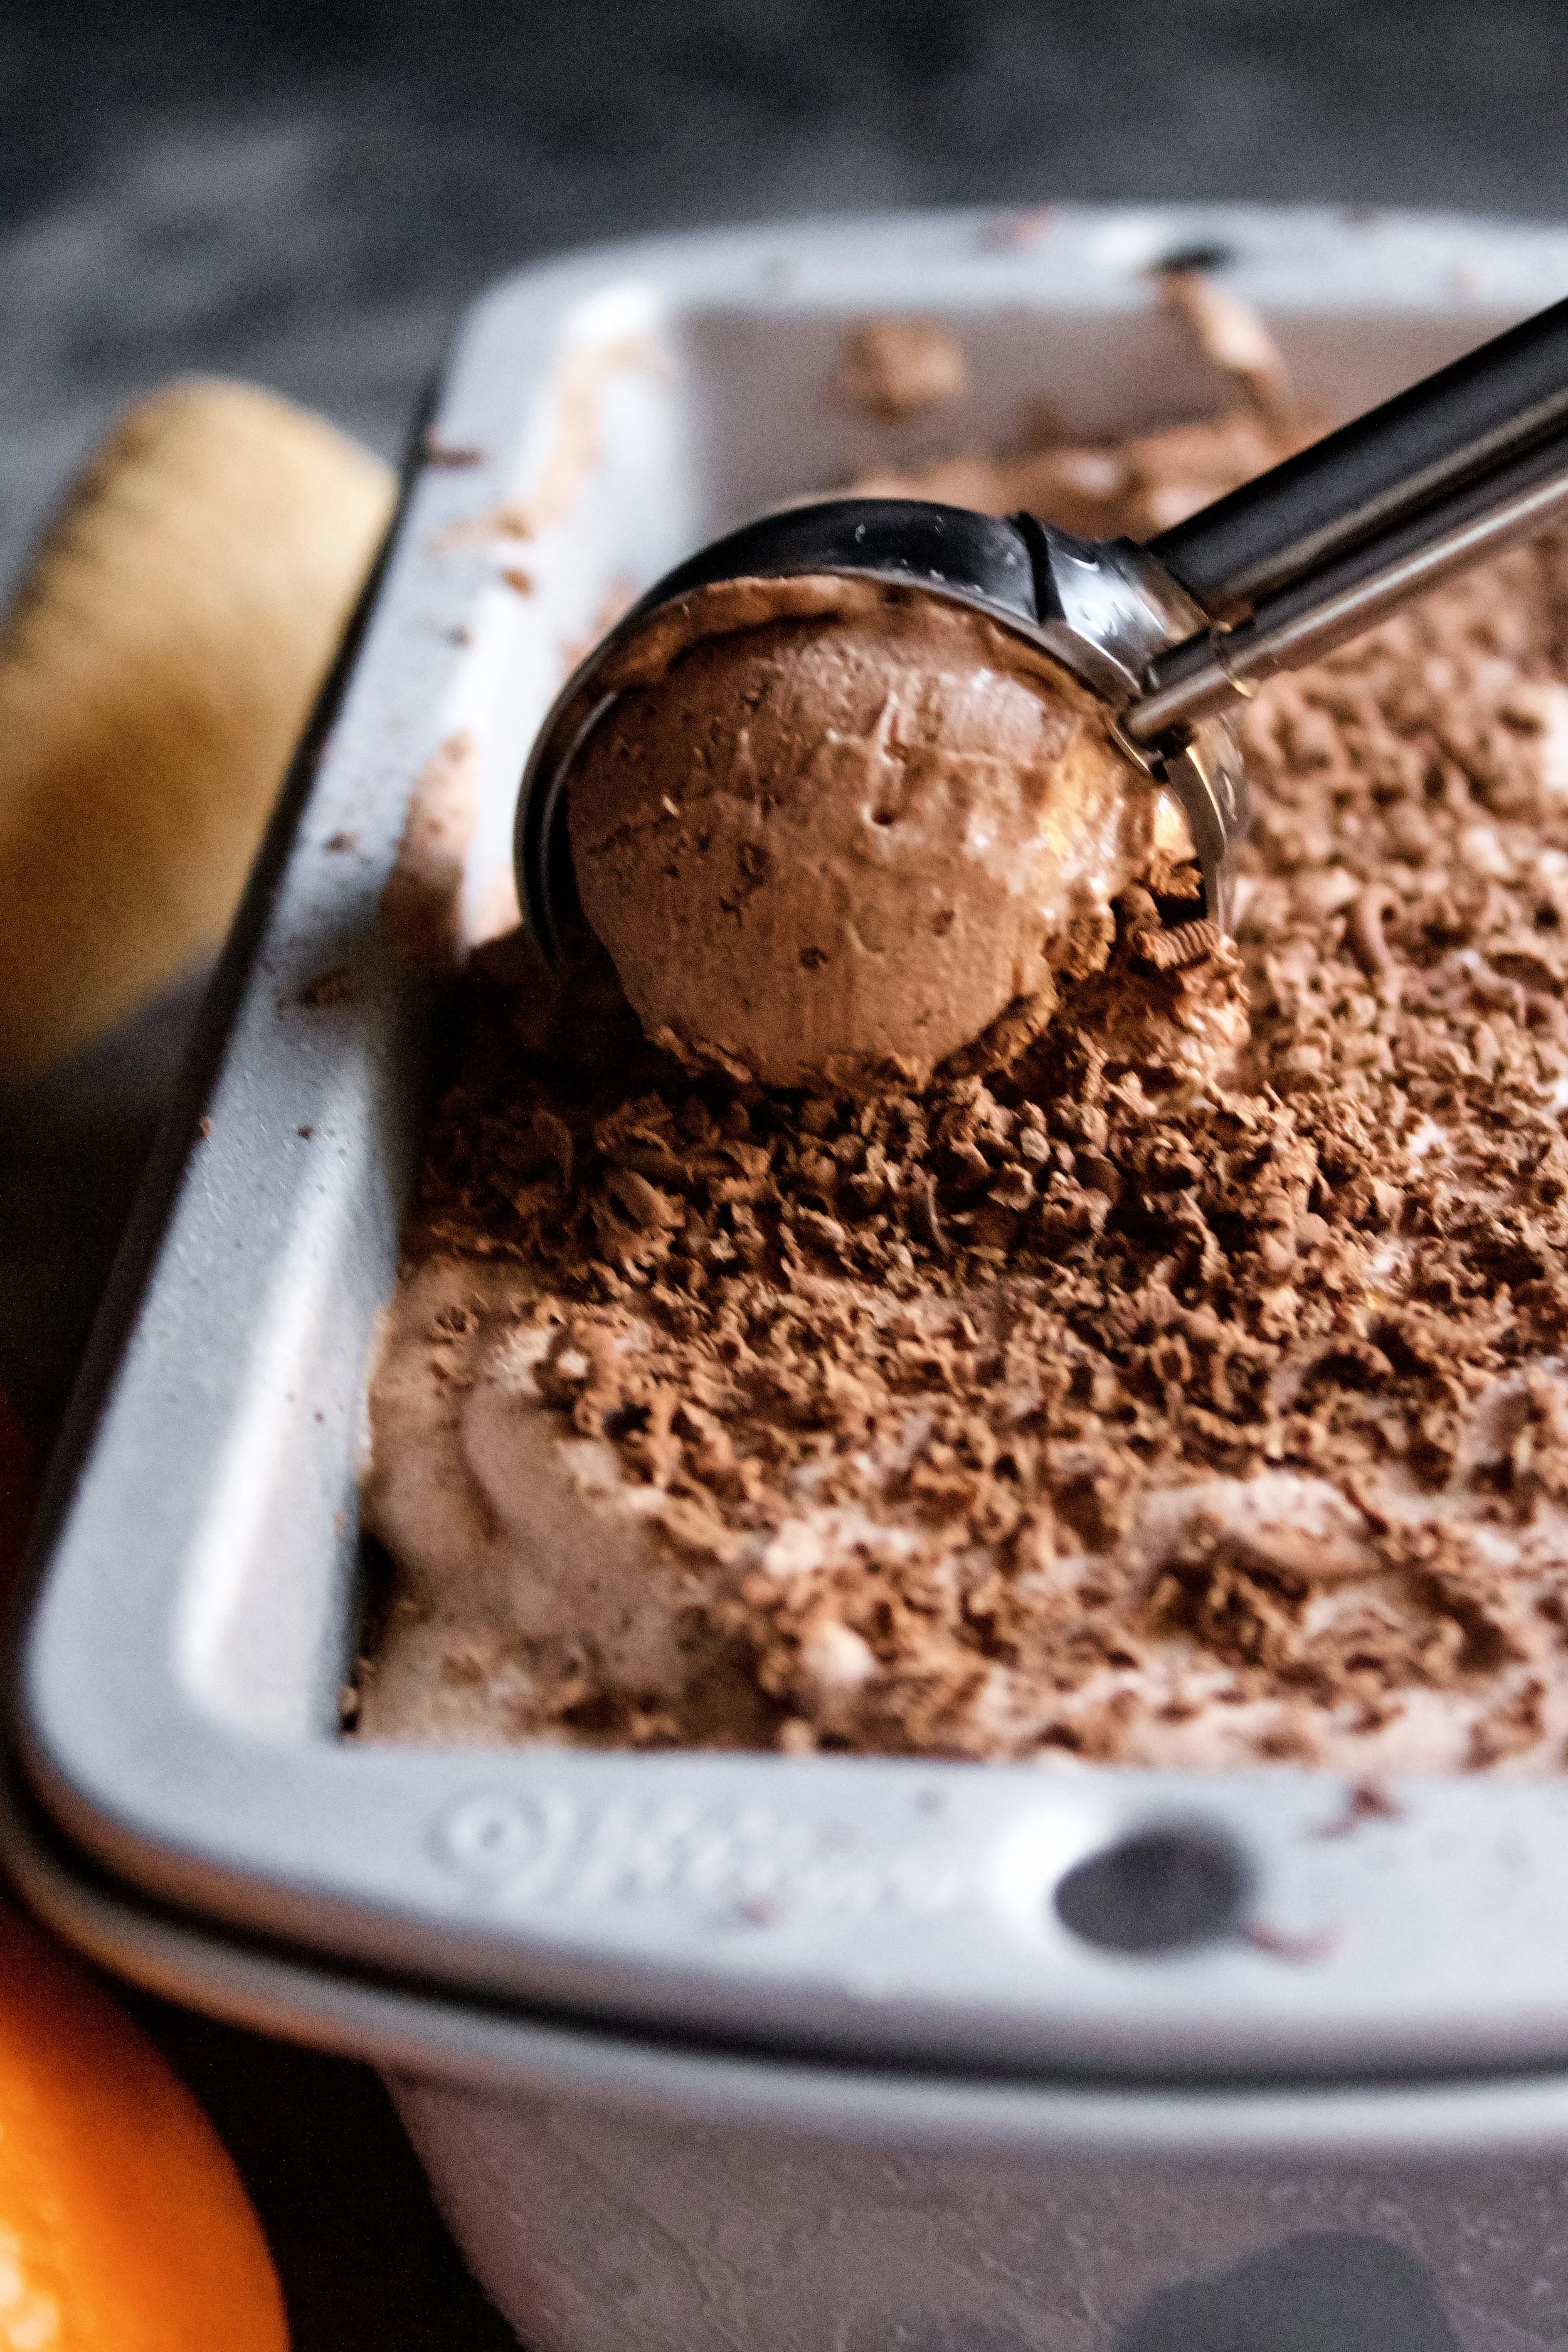
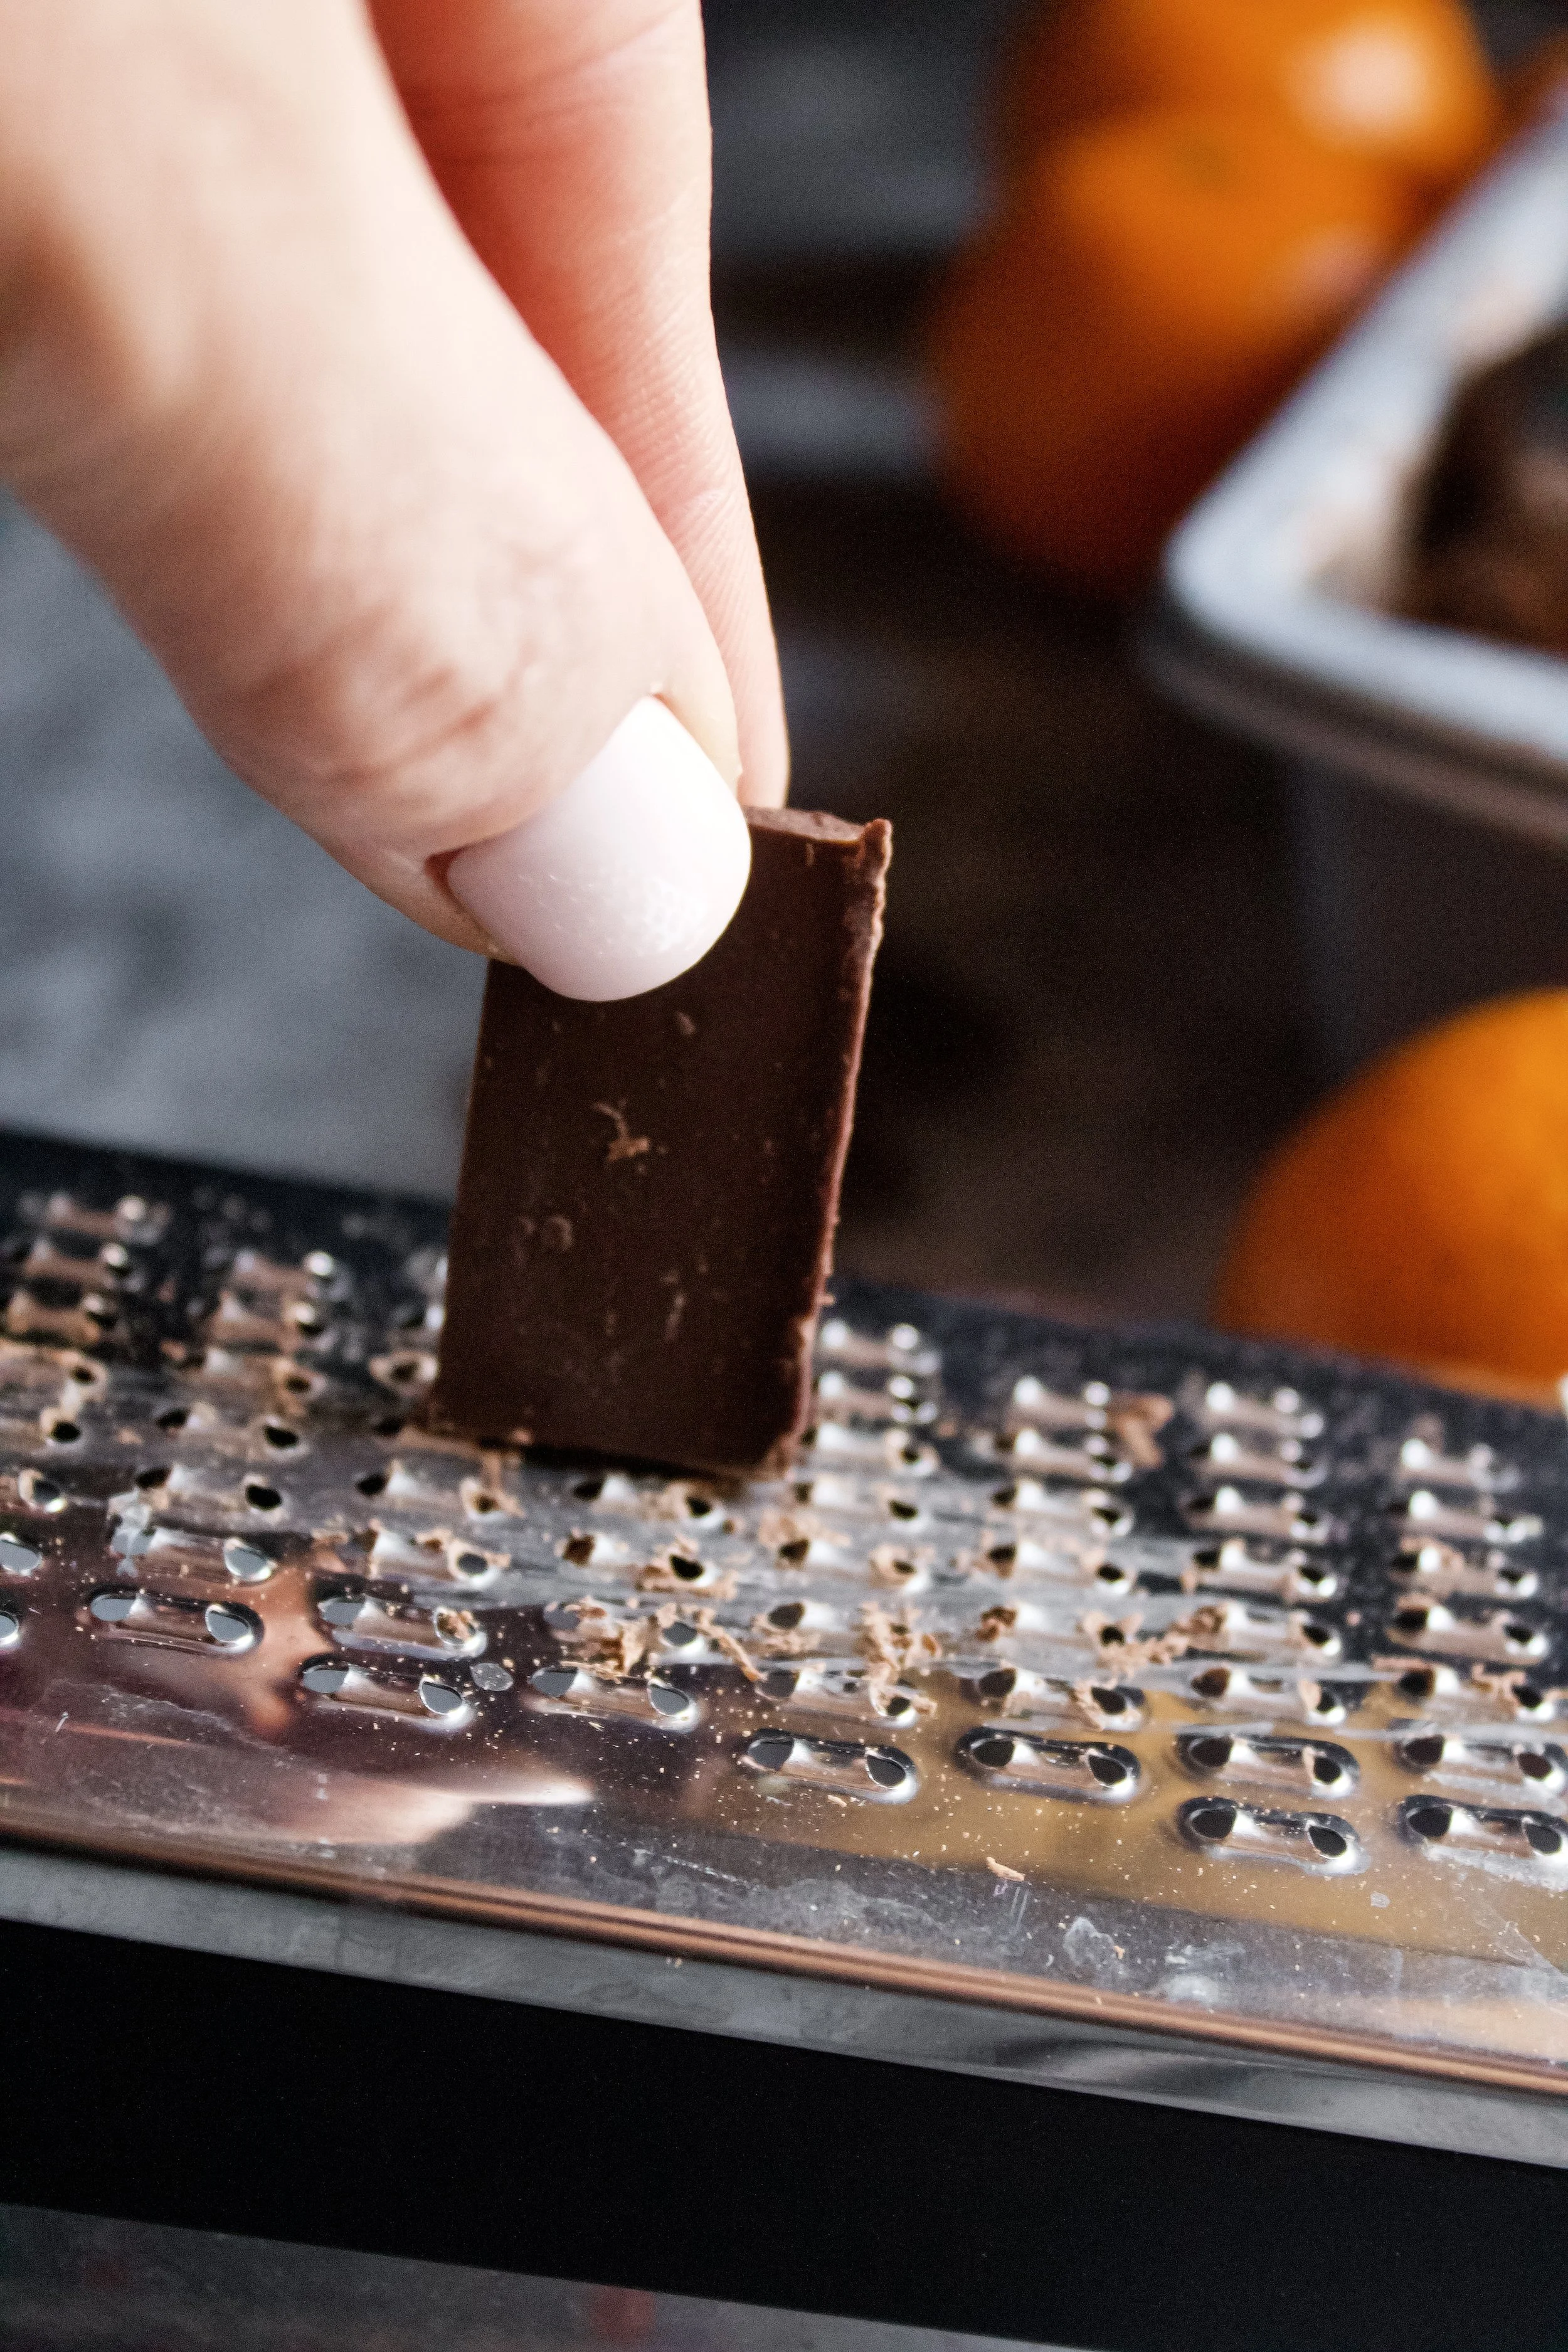
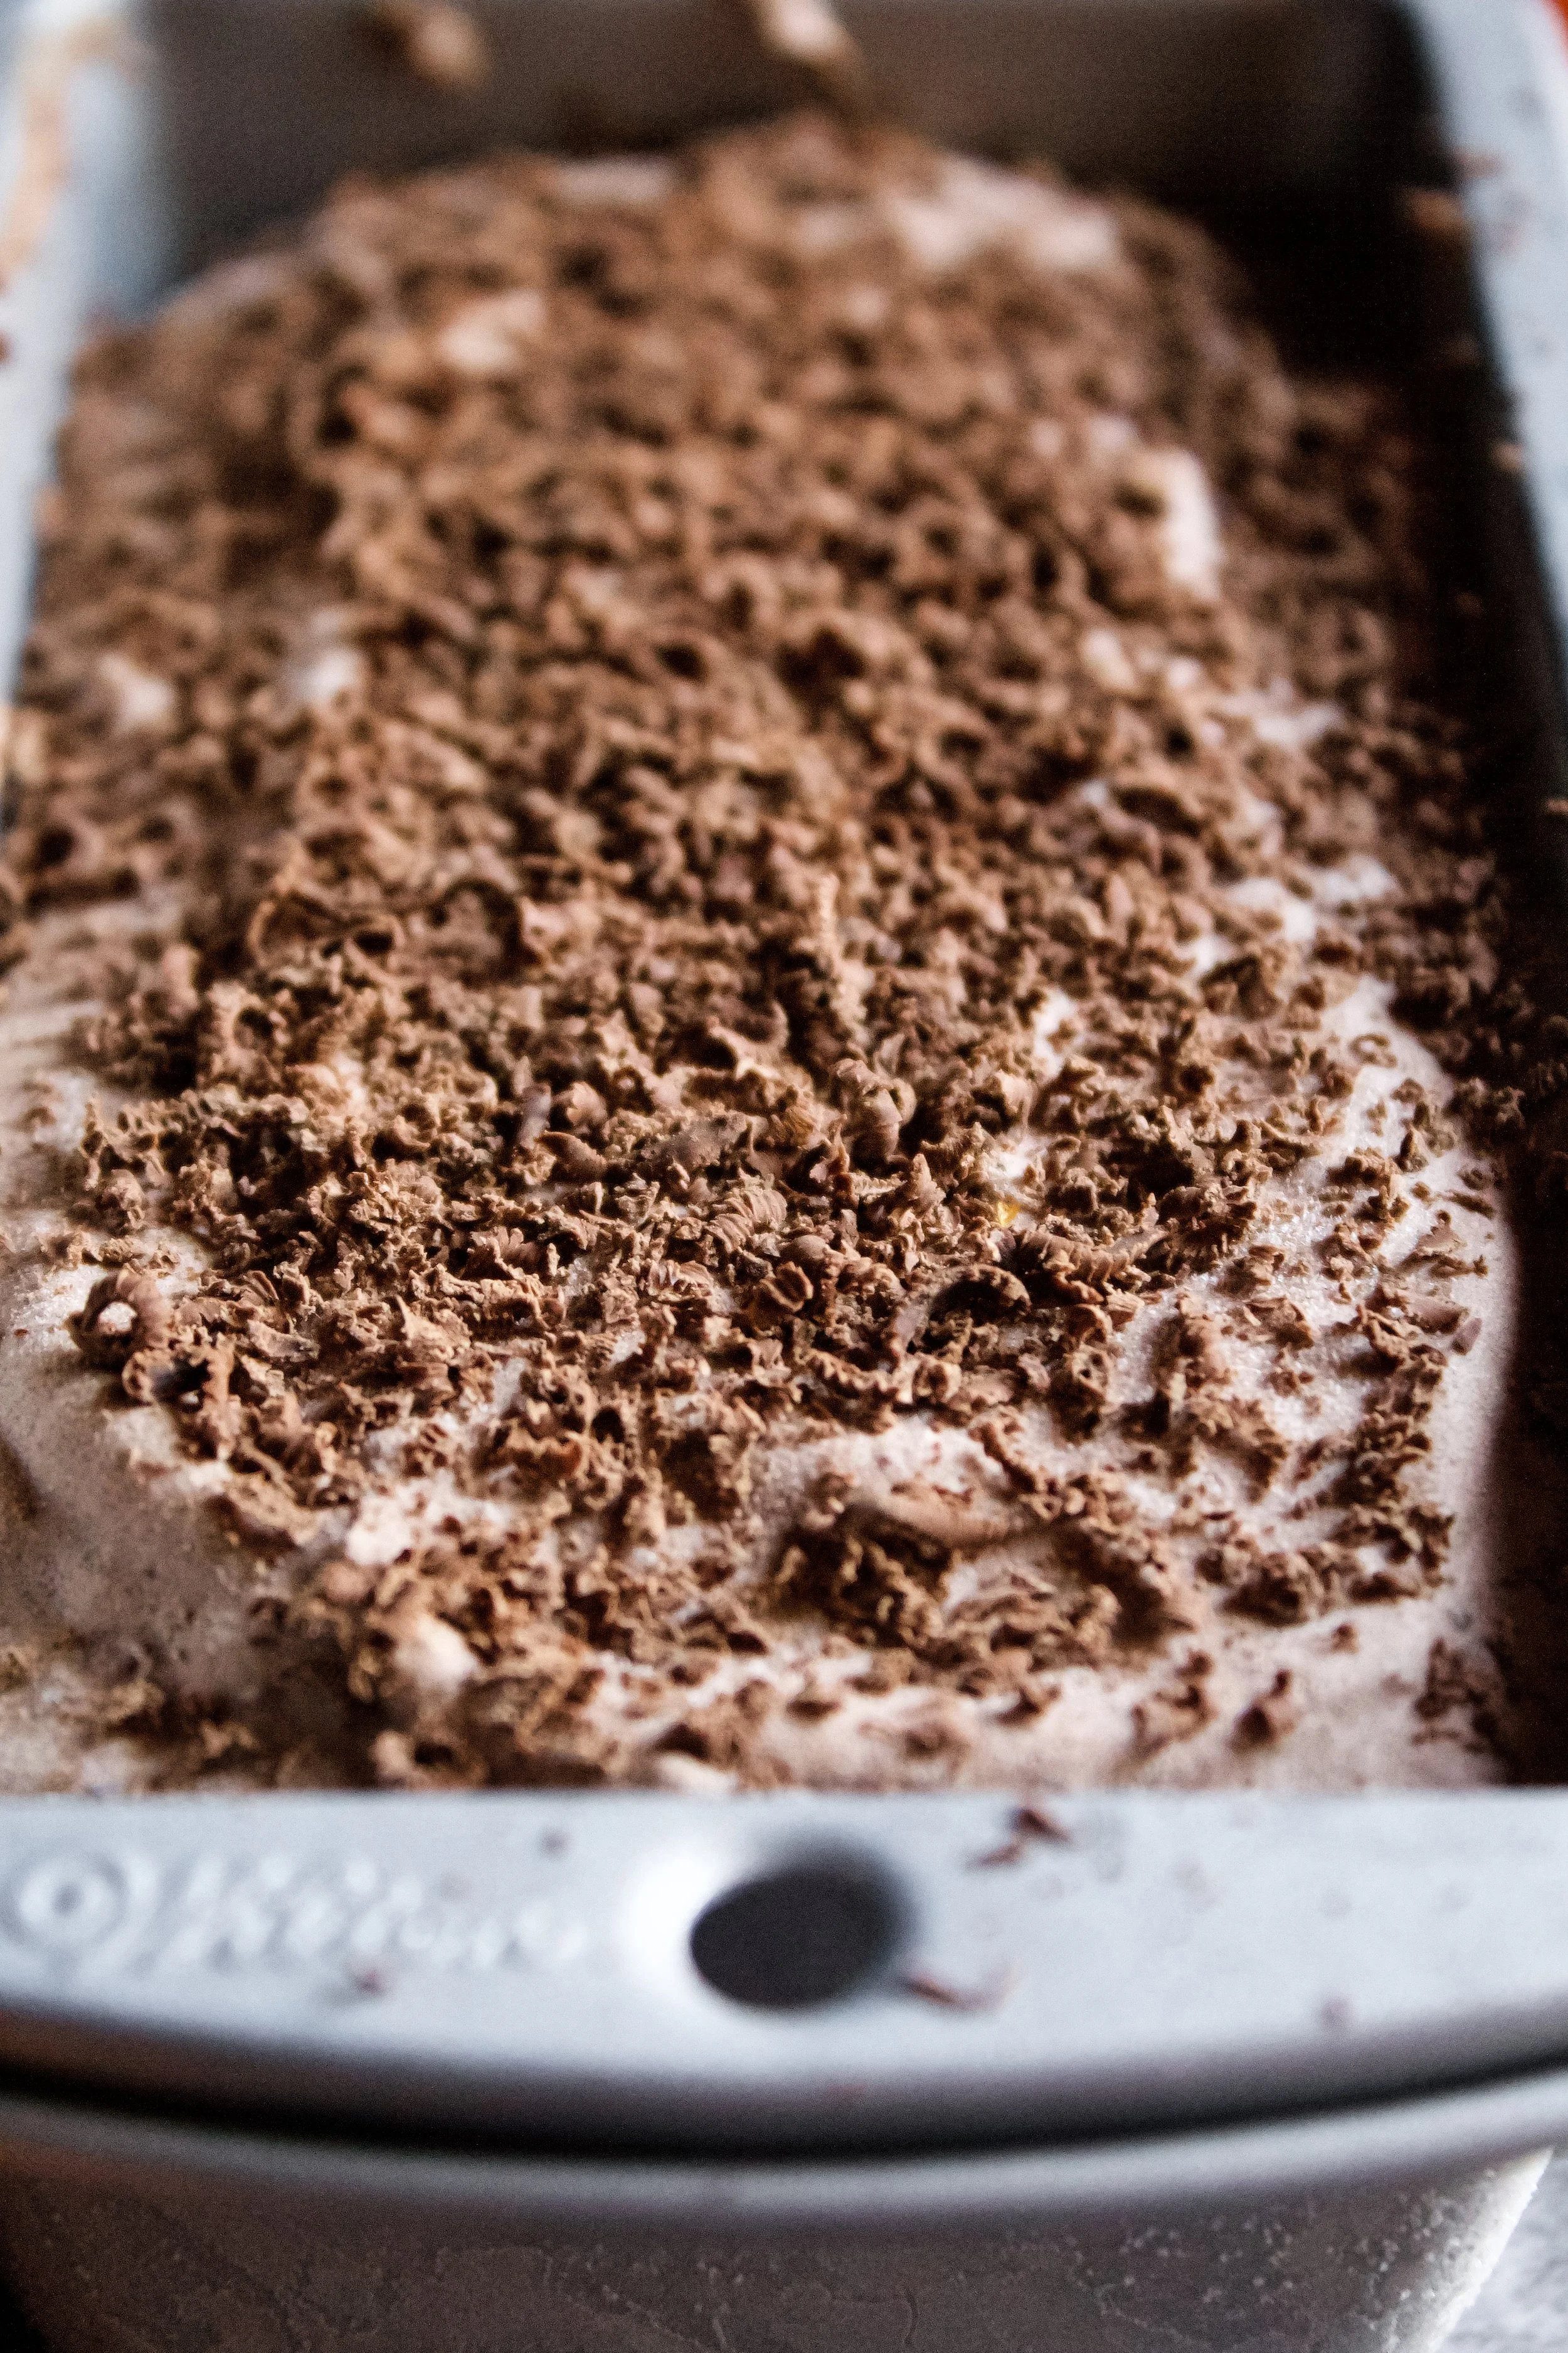
9. Stir in chocolate shavings.
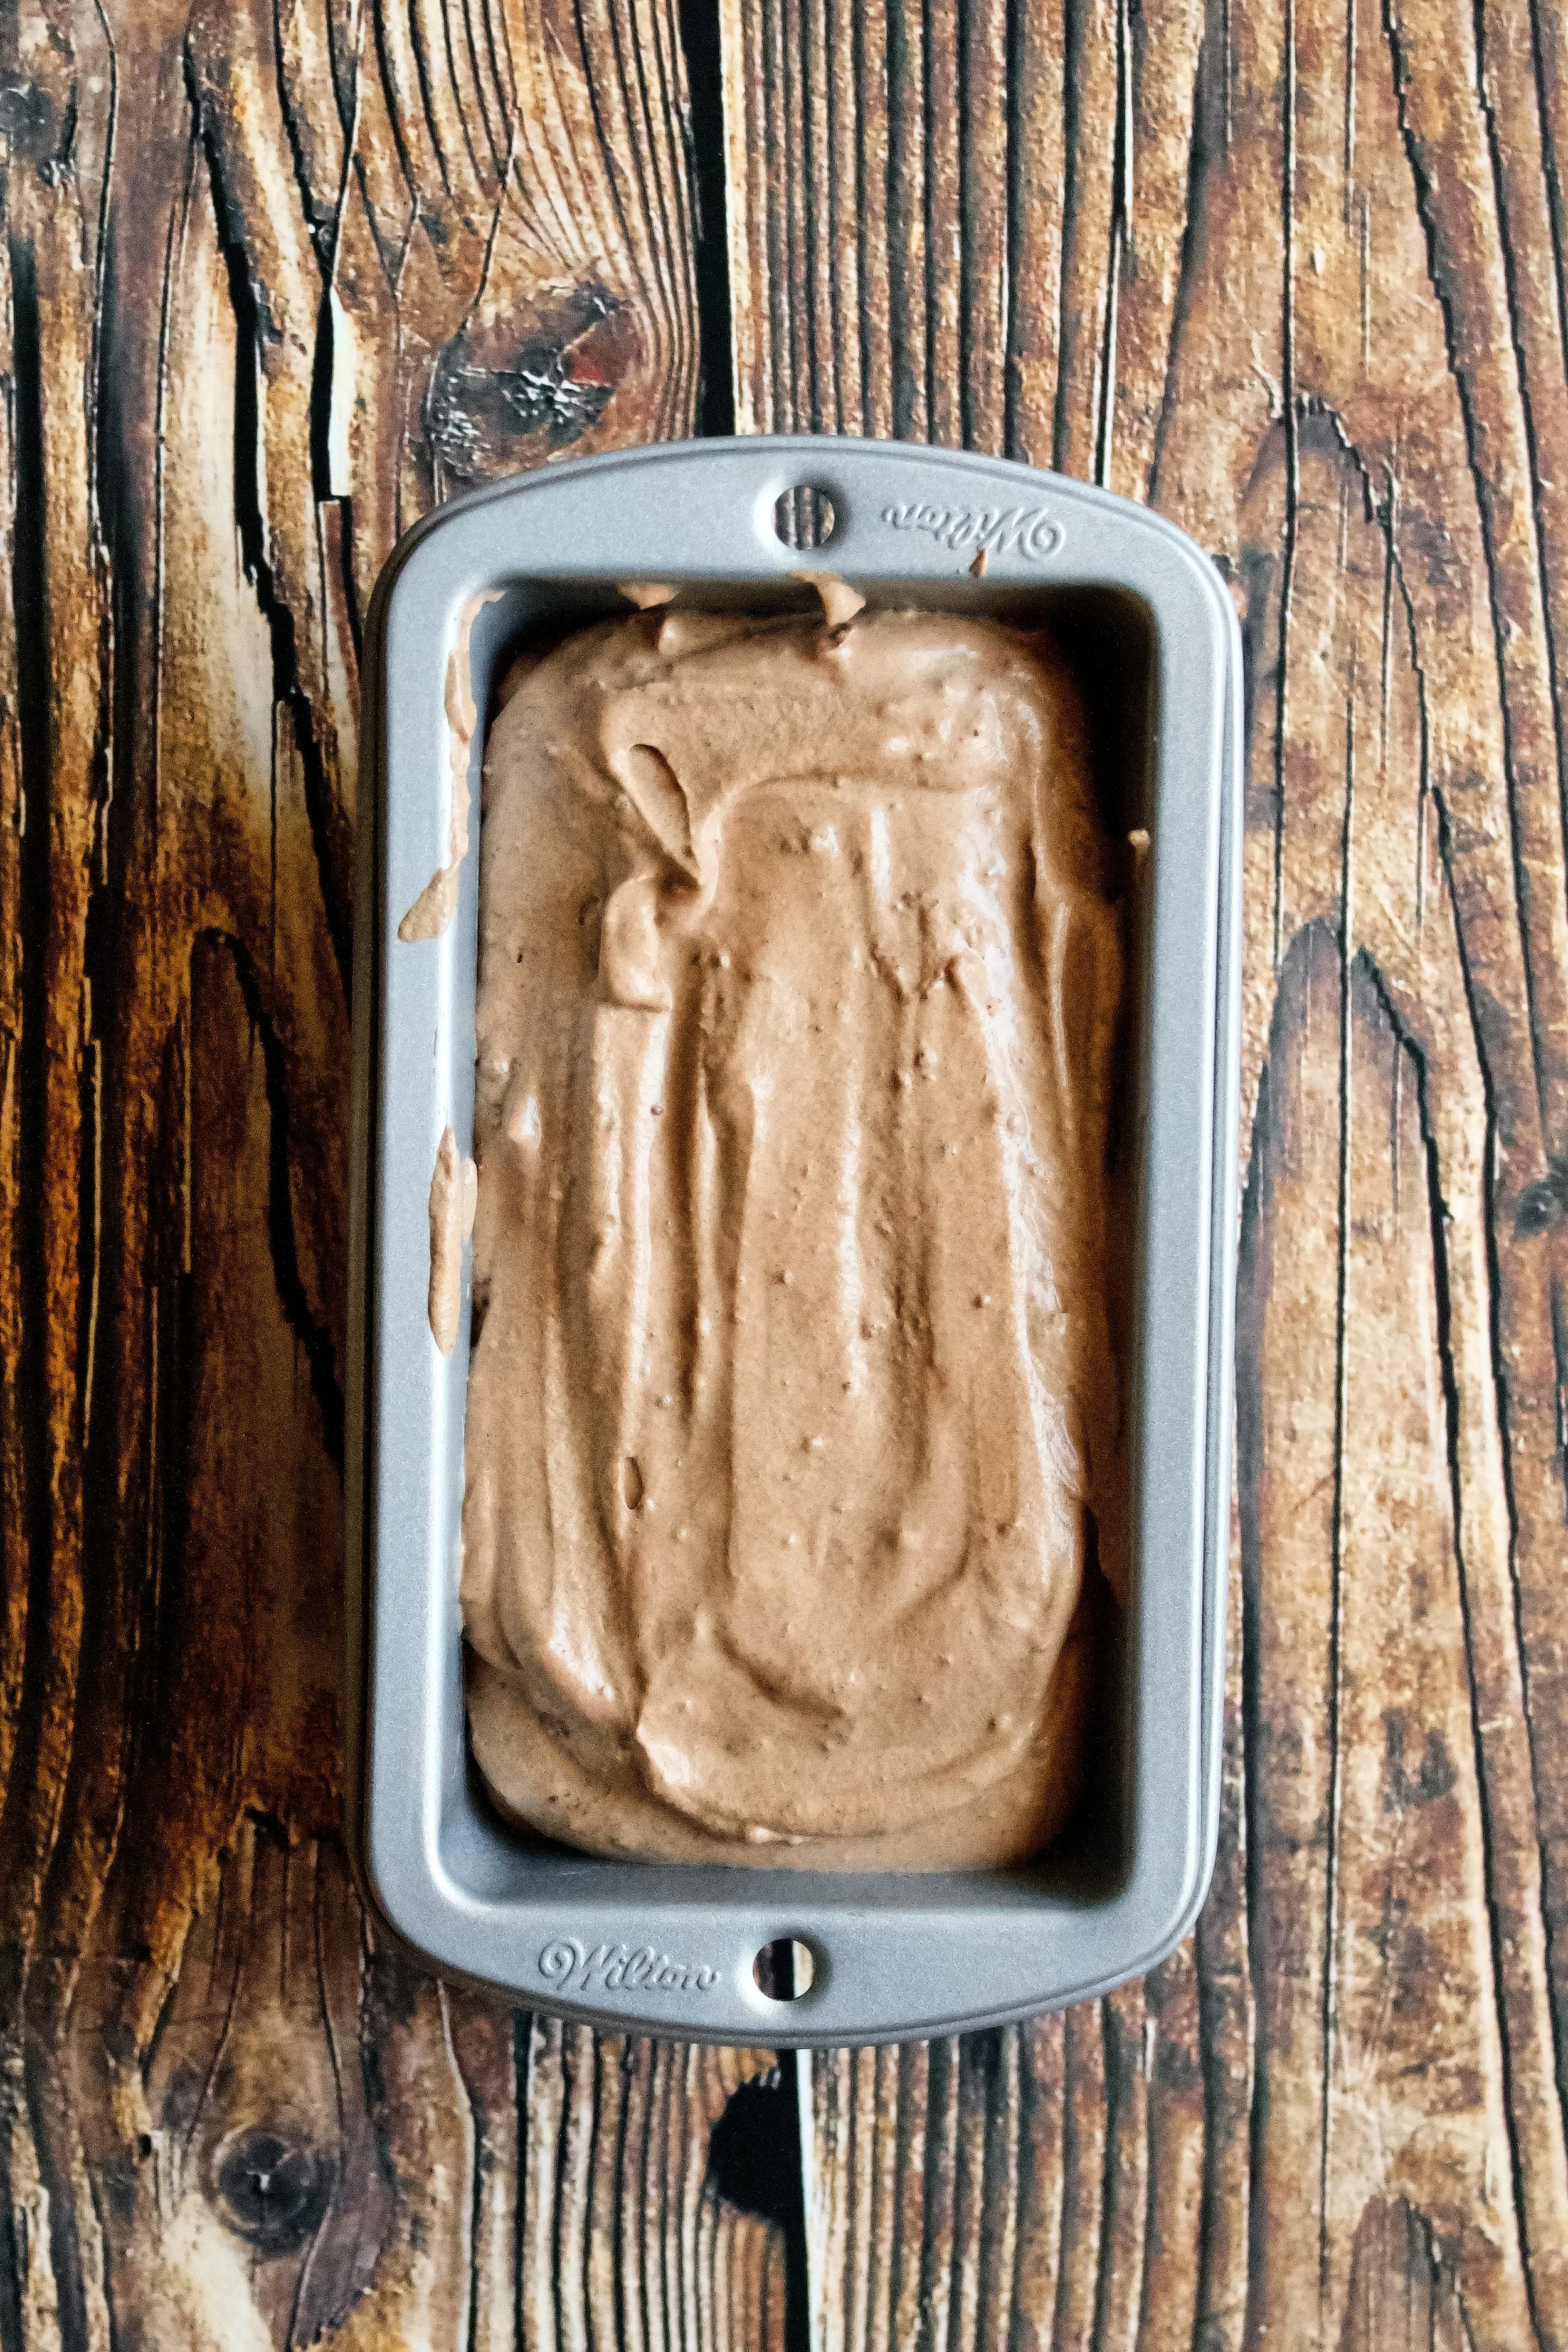
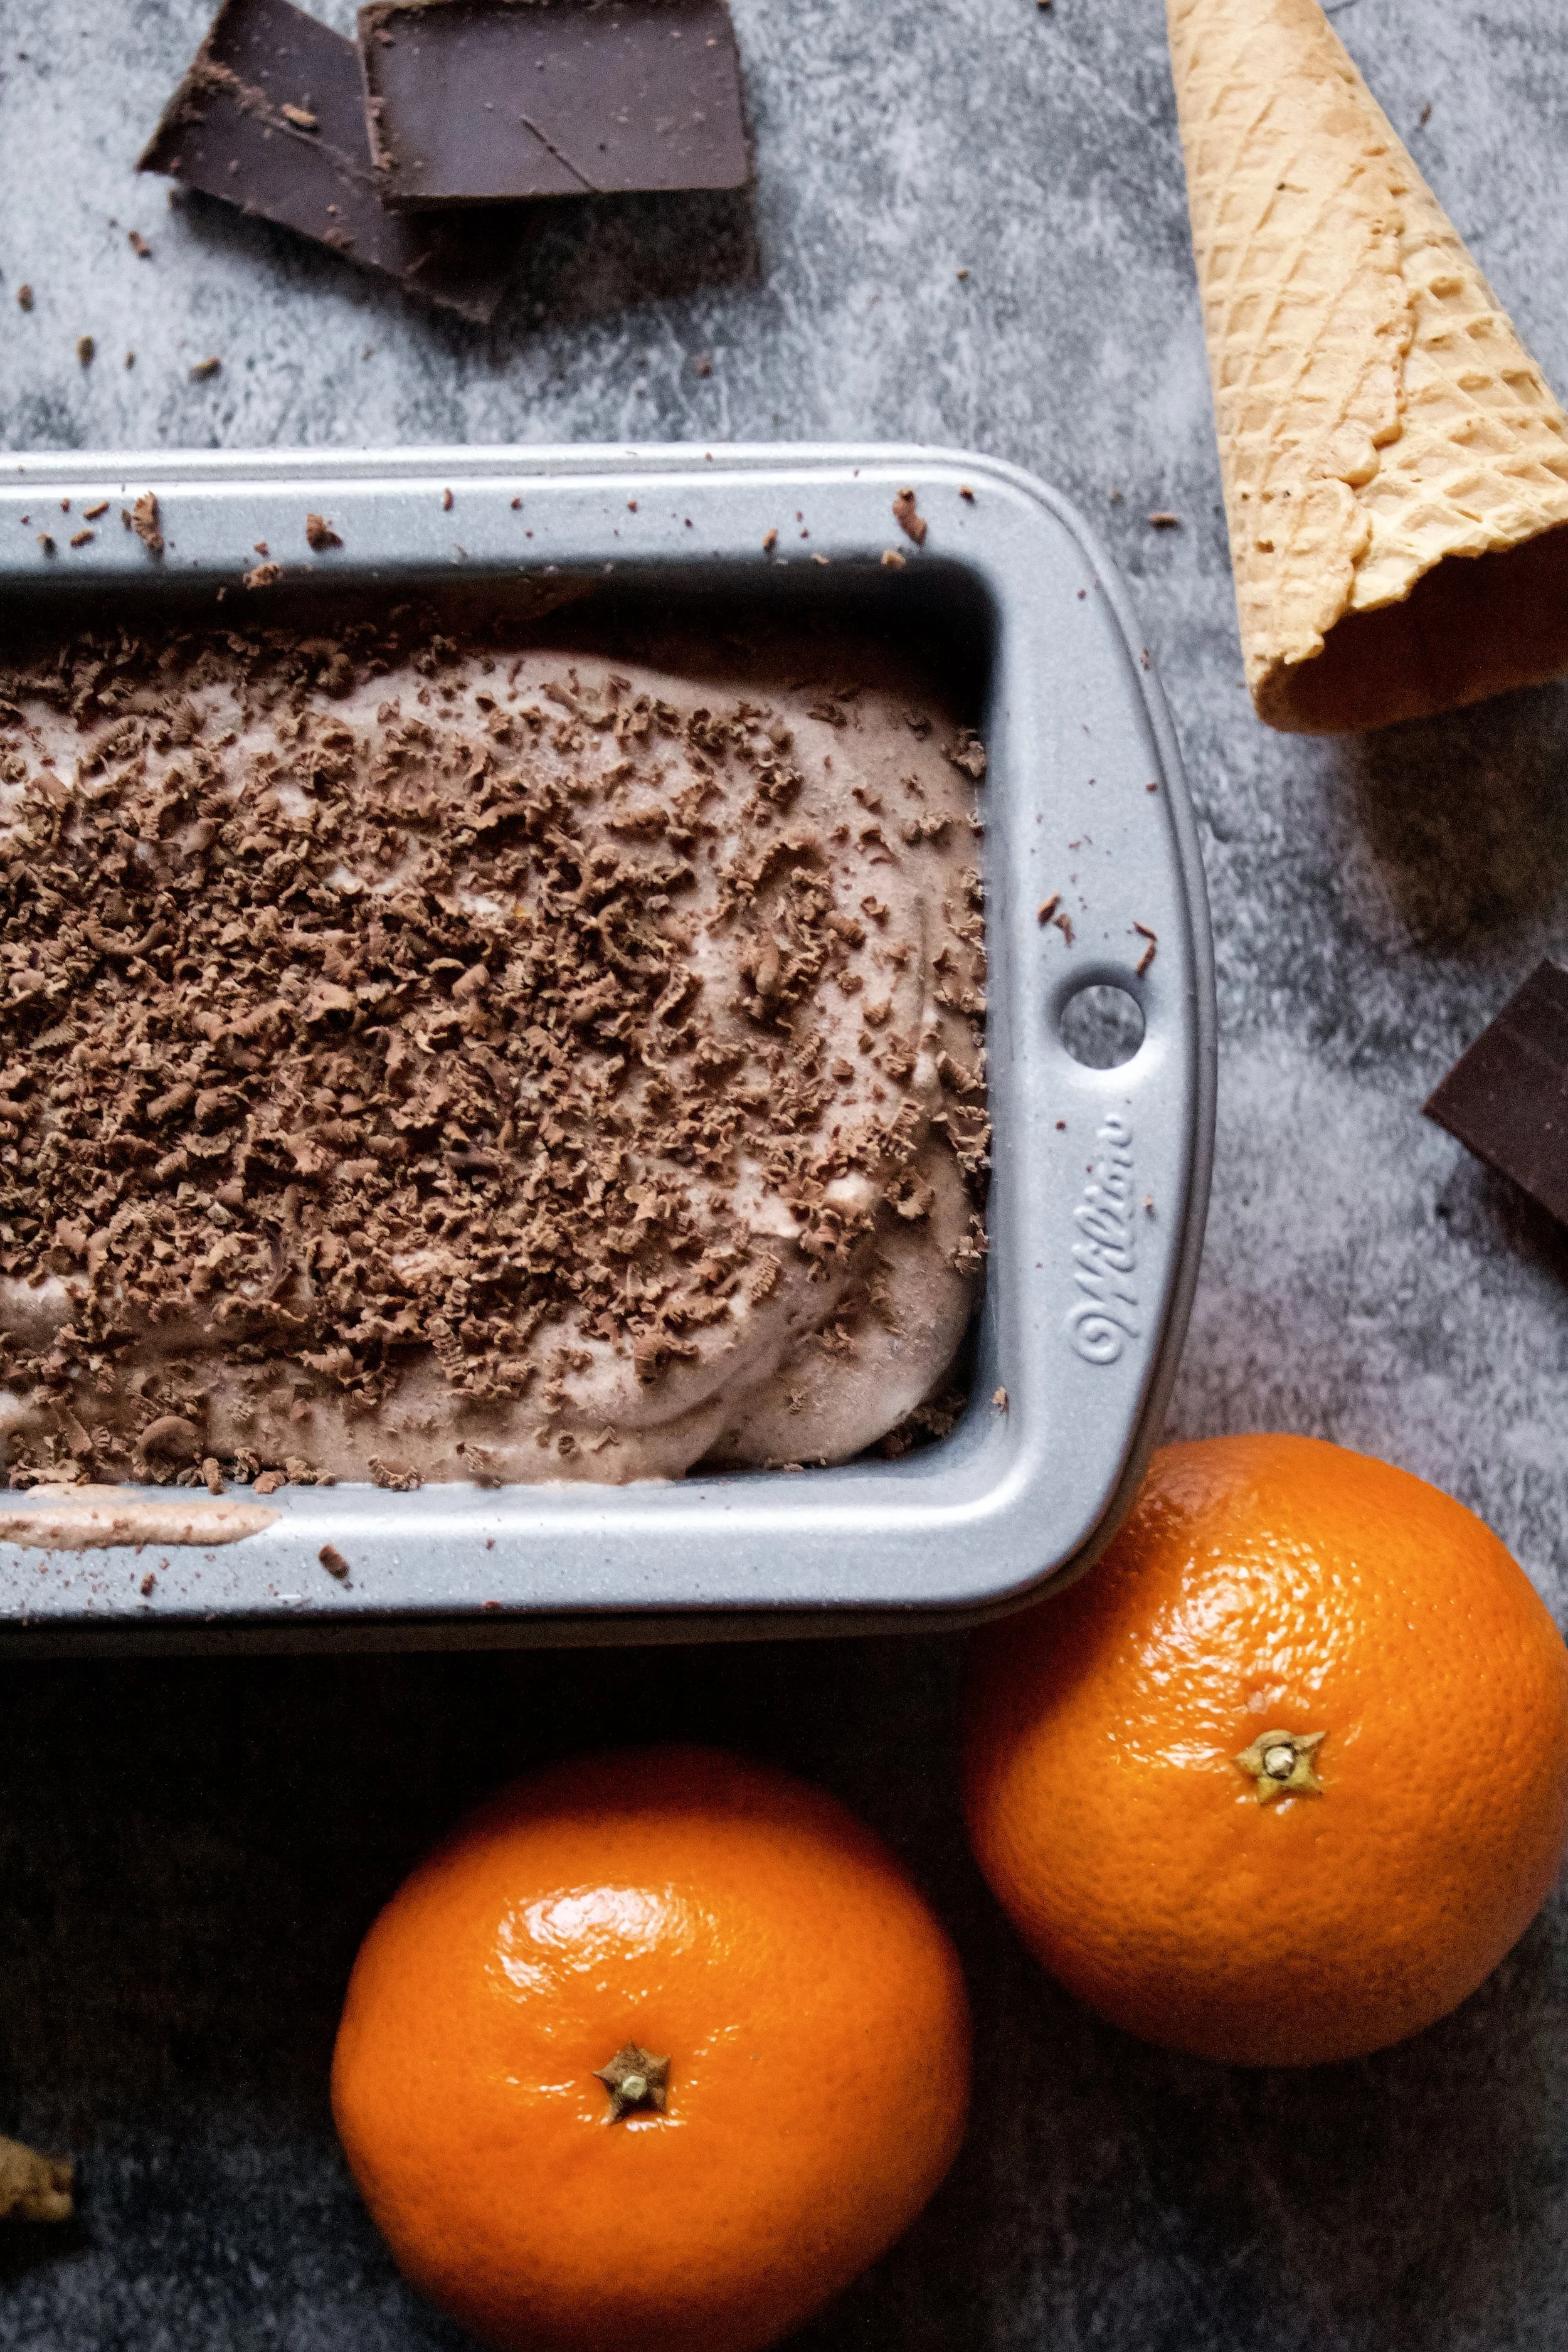
10. Freeze 4-8 hours.
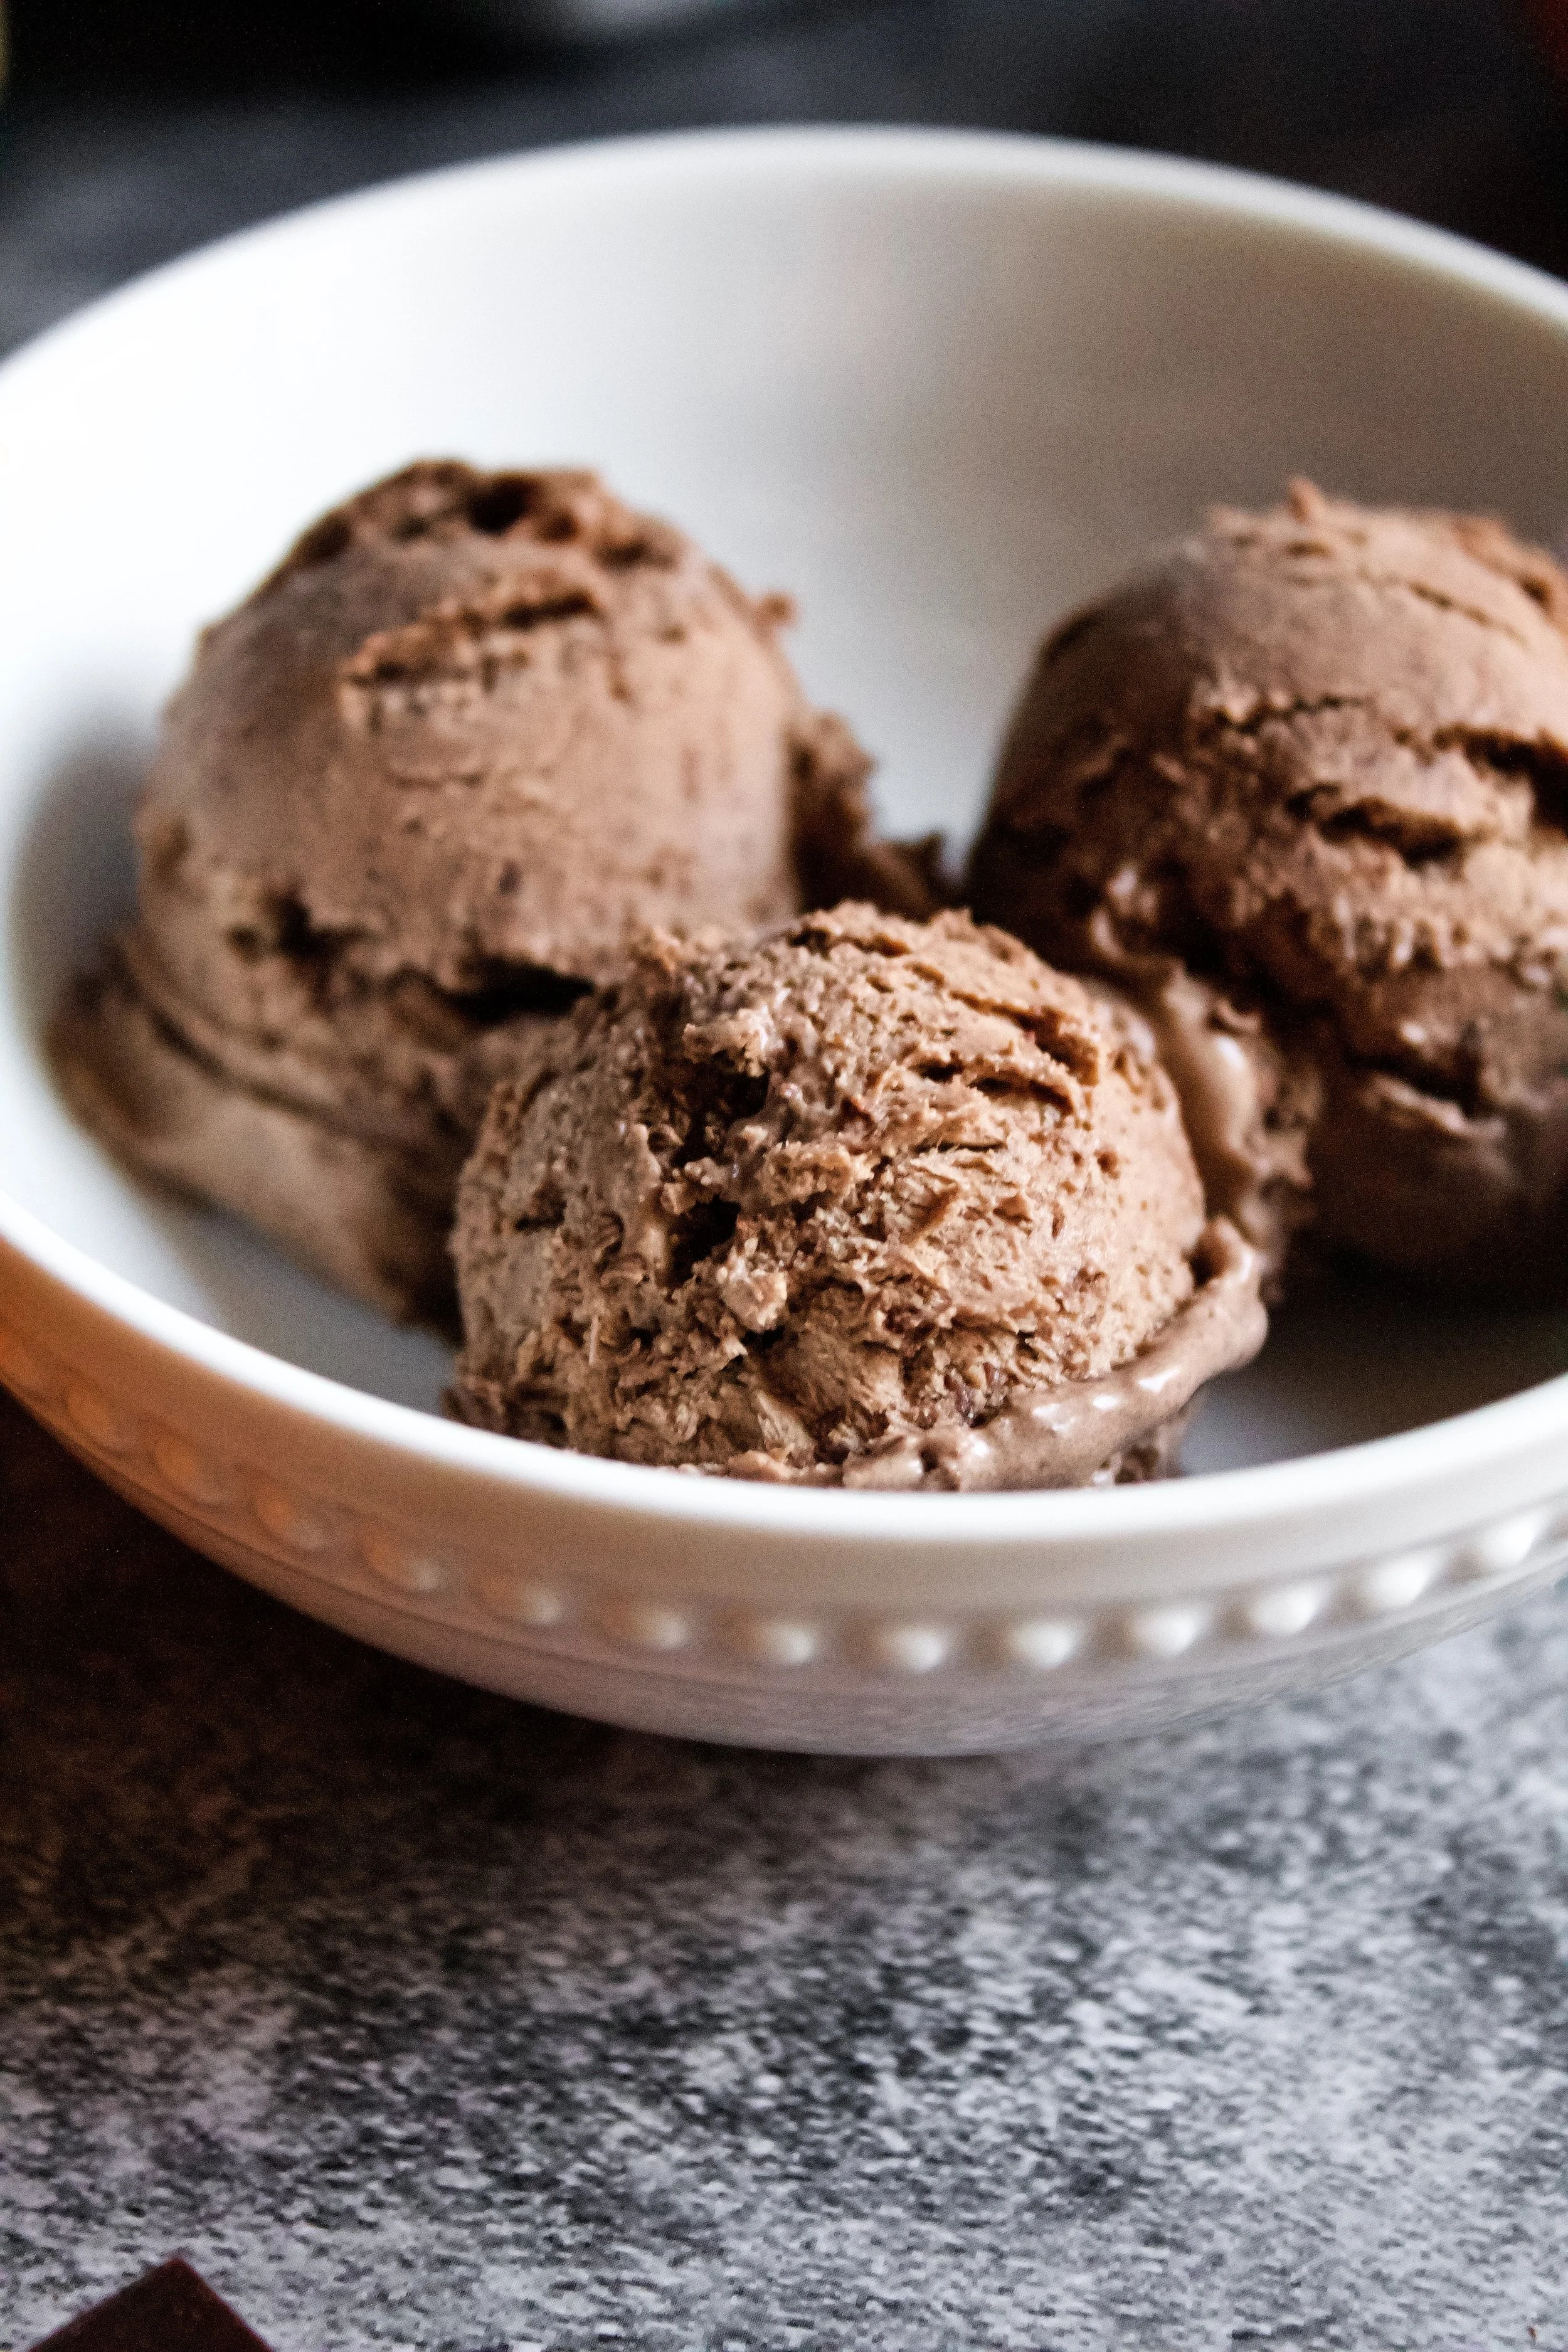
Enjoy!


Tips and FAQ’s for this recipe
Pair with my chocolate orange sauce!
This sauce is probably my favorite chocolate sauce ever. It’s what started me down the path of chocolate orange flavored desserts. And it’s sooooo simple! You can steep the cream for this at the same time as the cream for the ice cream, to save on time. Recipe found here.

*How do I make this a no-churn ice cream?
It’s so simple! Instead of combining the custard and cream then churning, you’ll beat the cream to soft peaks then fold it into the custard in three additions. It will basically be a mousse at this point, so you’ll have to freeze it, unlike slow-churned ice cream that is a soft serve consistency when freshly churned. However, you’ll have to freeze it with the mix-ins, so either option works just fine.
Can I make this ahead of time?
Yes! That’s the beauty of homemade ice cream—you can make it days before you need it and it will still be just as delicious. You can also split up your work to make life easier. The chocolate custard for the ice cream should be churned within a day of making it, but luckily there’s not much involved in that process—just combine it with the cream and churn according to your manufacturer’s instructions.
Can I make this without eggs?
I personally prefer the taste of egg-based ice creams, but you can make this recipe by using one 14 ounce can of sweetened condensed milk instead of the egg yolks, milk, and sugar (so replacing the custard). You’ll simply melt the chocolate chips and let them cool slightly stir them, the vanilla, and the cocoa powder into the sweetened condensed milk in a large mixing bowl. The replaces the custard, so you can then either add the heavy cream and churn with an ice cream maker or follow the no-churn option above.
What if my eggs scrambled?
Sometimes, the eggs scramble just a bit. If they’ve scrambled a lot, with large chunks of egg, you should start over. However, if you’re unsure or think you see some tiny egg bits, just use a large fine mesh sieve to strain the custard before chilling. It’ll remove any egg that didn’t temper properly.
What if the chocolate didn’t fully melt?
Personally, I don’t see this as a problem, since you’ll be adding chocolate shavings later and these will just mix with those. However, if you have a couple large chunks you’d like to get rid of (or don’t want chocolate shavings in your ice cream) you can easily just strain it through a large fine mesh sieve to remove these bits. If you still see nearly whole chocolate chips or chunks, you probably need to heat it for longer to help those melt.
Cold steep the cream
Cold steeping the cream takes even more forethought, but it’s worth it. Heating the cream can possibly cause it to turn icy when churned (especially if you overheat it). It can also make it more difficult to whip if you choose the no-churn option. The orange flavor will be pretty similar whichever route you take, but the texture is worth noting. What I typically do with an ice cream like this is mix the cream and zest, stick it in a large jar in the fridge, then work on the custard. I let both refrigerate overnight then churn my ice cream the next day. It’s less work in one sitting, which is always a plus.
My tools
Here are my must-have tools I use for making ice cream. Affiliate links provided.
Vegetable peeler (for the peeled orange zest)
Stand mixer or handheld mixer (if doing the no-churn option)
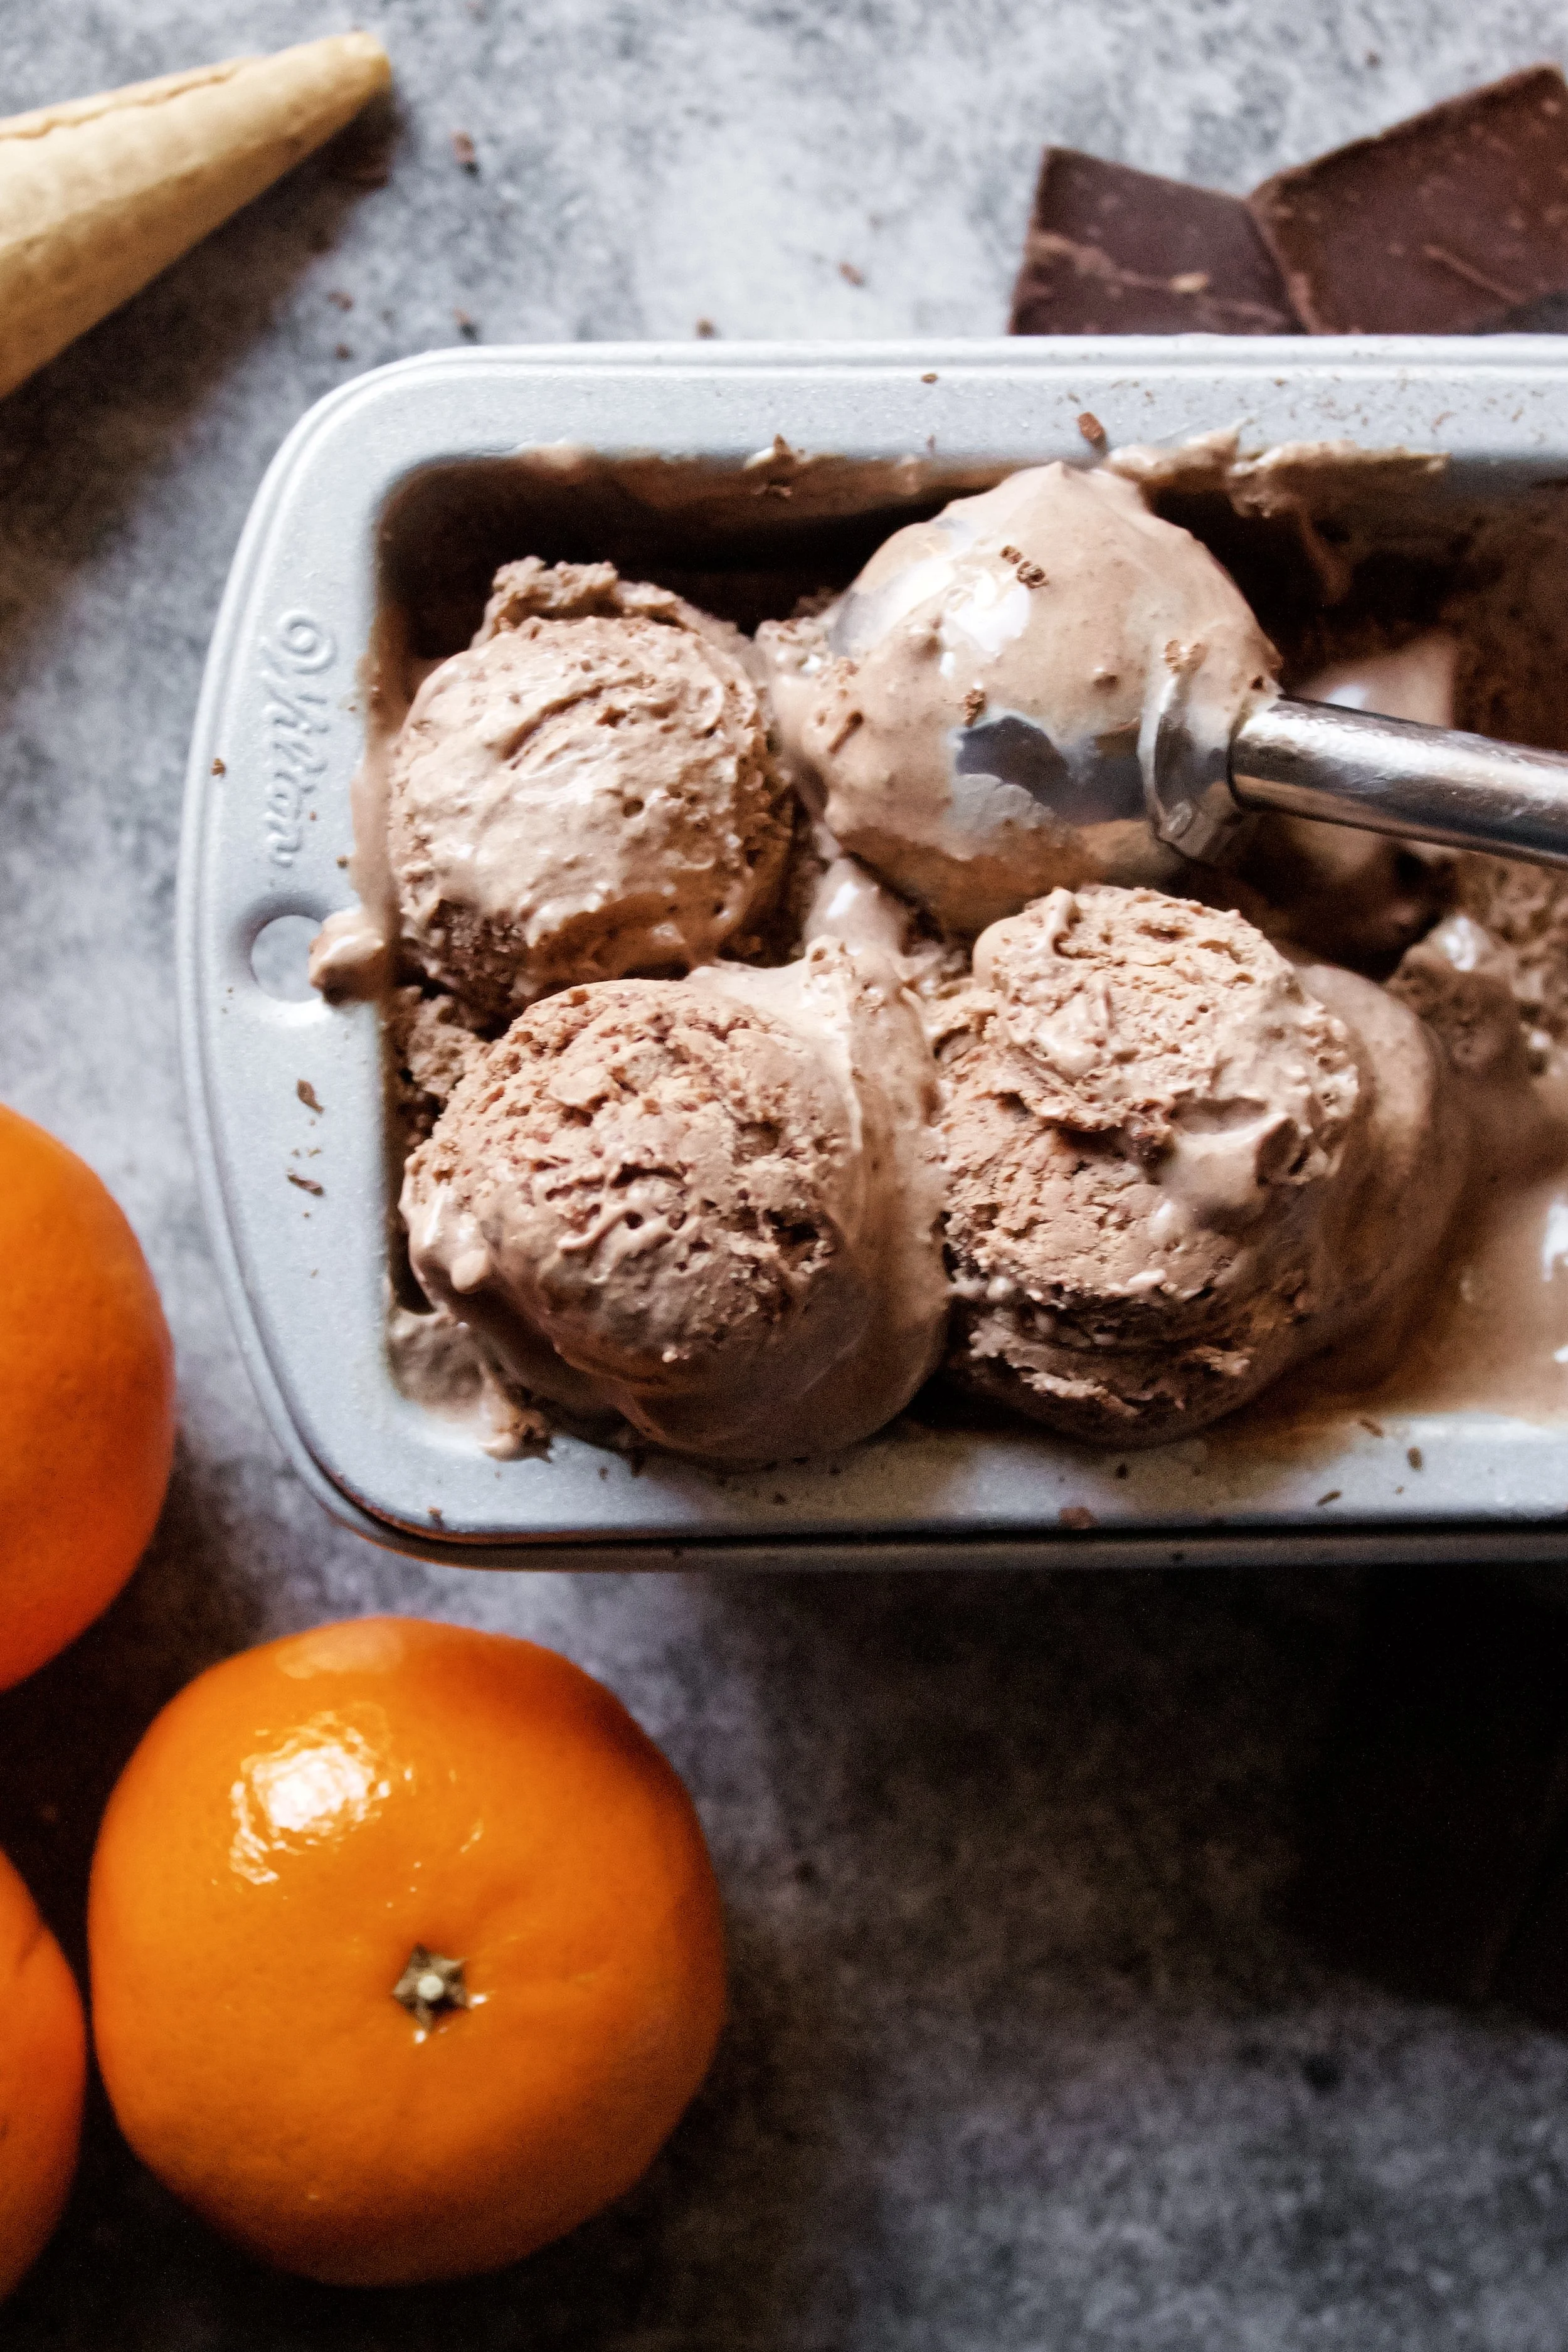
Ice cream container (or use a 8x4 loaf pan or 9x5 loaf pan)
Mesh sieve (in case some egg scrambles as you temper it)
Cheese grater (for the chocolate shavings)
Dark Chocolate Orange Ice Cream
- prep time: 20-25 minutes
- steep time: 1 hour (or overnight)
- chill time: 1 hour
- churn time: about 30 minutes
- freeze time: 4-8 hours
- total time: 10 hours, 55 minutes
servings: about 12 (½ cup servings)
Ingredients:
- 2 cups (480g) heavy whipping cream
- zest of 4-5 large oranges
- 3 large egg yolks, room temperature
- ⅔ cup (133g) granulated sugar
- 1 cup (240g) whole milk
- ¼ cup (30g) unsweetened cocoa powder
- 1 tablespoon (13g) pure vanilla extract
- pinch sea salt
- ⅔ cup (4 ounces or 113g) chocolate chips or chopped baking chocolate
- 2-3 ounces of your favorite bar chocolate (baking, candy, etc.), for the chocolate shavings
- ice cream maker, prepped per directions (optional–see no-churn option above)*
Instructions:
- Follow your ice cream maker’s directions to prepare it for use, which could include placing the bowl in the freezer for up to 24 hours*.
- Steep the heavy cream. Using a vegetable peeler, peel the zest from the oranges, avoiding the white pith. Combine with the heavy cream in a medium saucepan and heat, stirring frequently, over medium until steaming and small bubbles begin to form along the sides. Remove from heat and let steep for 1 hour. Once steeped, strain out the orange zest with a mesh sieve and press it a bit to get all of the orange flavor out.
- Place in a sealed container and refrigerate while you make the custard.
- Whisk the egg yolks and sugar in a medium mixing bowl. Whisk until pale frothy, 2-3 minutes. At first it may seem thick and clumpy, but keep going until the sugar melts and it becomes pale and frothy. Set aside.
- Combine the whole milk, cocoa powder, vanilla, and pinch sea salt in a medium saucepan over medium heat, stirring frequently, until it begins to steam and small bubbles begin to form along the edge of the pan.
- Temper the milk into the eggs by very, very slowly streaming the milk into the eggs while whisking the eggs very quickly. Be sure to whisk constantly and quickly as you do this to avoid scrambling the eggs.
- Once all of the milk has been added to the eggs, scrape the mixture back into the saucepan and cook, stirring constantly with a rubber spatula (be sure to get to the edges and corners), until the mixture has thickened enough to coat the back of a spoon. It should feel thicker as you stir, as well.
- Add the chocolate chips or chopped baking chocolate and stir until the chocolate is mostly melted. Remove the pan from the burner and continue stirring until the chocolate is fully melted.
- Pour into a medium bowl (the bowl the eggs were in works just fine). Cover well and refrigerate until cool, about 1 hour.
- Once the custard is cooled, combine with the heavy cream and mix well. Follow your manufacturer’s directions to churn the ice cream. Don’t overmix.
- Once it is churned, grate 2-3 ounces of chocolate that you have grated with the fine side of a cheese grater. Stir into the freshly churned ice cream then pour into a 9x5 loaf pan or an ice cream container.
- Freeze for at least 4 hours, ideally overnight. You may need to let it sit on the counter for 5 minutes before scooping.
Enjoy!
Store leftovers in an airtight container. Ice cream should last at least 1-2 months, but this can vary depending on your freezer and how well-sealed it is.