
Angel Food Mousse Cake
Silky, rich chocolate mousse filled with fluffy angel food cake. My mother invented this unlikely pairing and it is divine! Don’t let the quick whisking deter you—this is a simple yet delicious dessert casserole that you have to try!
This post may contain affiliate links from which, at no additional cost to you, I may earn a small commission to keep this site running. Only products I myself would or do use are recommended.

Years ago, my mom sent me an old recipe of hers that she never wrote down and asked me to help her fill in the gaps so she could make it again. At first, I thought it was crazy and also didn’t sound like an actual recipe. It was a very loose, up-for-interpretation recipe. I wasn’t sure it would turn into anything…real.
But family recipes are like that. A dash, a scoop, eyeball it. My favorite: enough to make it (do just about anything that’s vague and confusing).
She sent me what she could recall of a recipe she used to make with her friend in high school. It had very general amounts and what she thought were the directions, but with several caveats and “I think we did _____” statements thrown in.
So, I did what any good recipe creator would do: I Googled similar recipes. I looked at how other classic mousses are made. As I already knew, there are about a thousand ways to make chocolate mousse alone, not to mention the multitude of other mousse flavors you can create.
It sounded like some sort of dessert casserole or a cross between mousse and bread pudding. After quite a bit of research, I figured out that it’s basically mousse poured over torn up angel food cake in a baking dish. Pretty simple!
Only it’s not as easy as it looks. I couldn’t believe my mom had this recipe that so delicately tempered eggs to create a delicious, rich, fluffy mousse. This was not the kind of dessert I grew up eating. Mom had been holding out on me!

So, my daughter and I recently went to my mom’s house to make this dessert together. I thought I’d be the professional and take the lead on making her recipe, since I’m the experienced baker.
I’d made angel food cake from scratch. I had everything ready.
Only it turns out I really should have just listened to my mom and done exactly what she said, not what I thought should be done.
Luckily, this recipe still turned out just fine. In fact, it’s very forgiving. Even if some of the chocolate hardens (i.e. seizes), you end up with delicious bits of chocolate chips throughout your dessert, adding a lovely texture.
Plus, this dessert is sooooooo good. Like, weirdly good given how random it seems.
Go Mom.
Why this recipe works
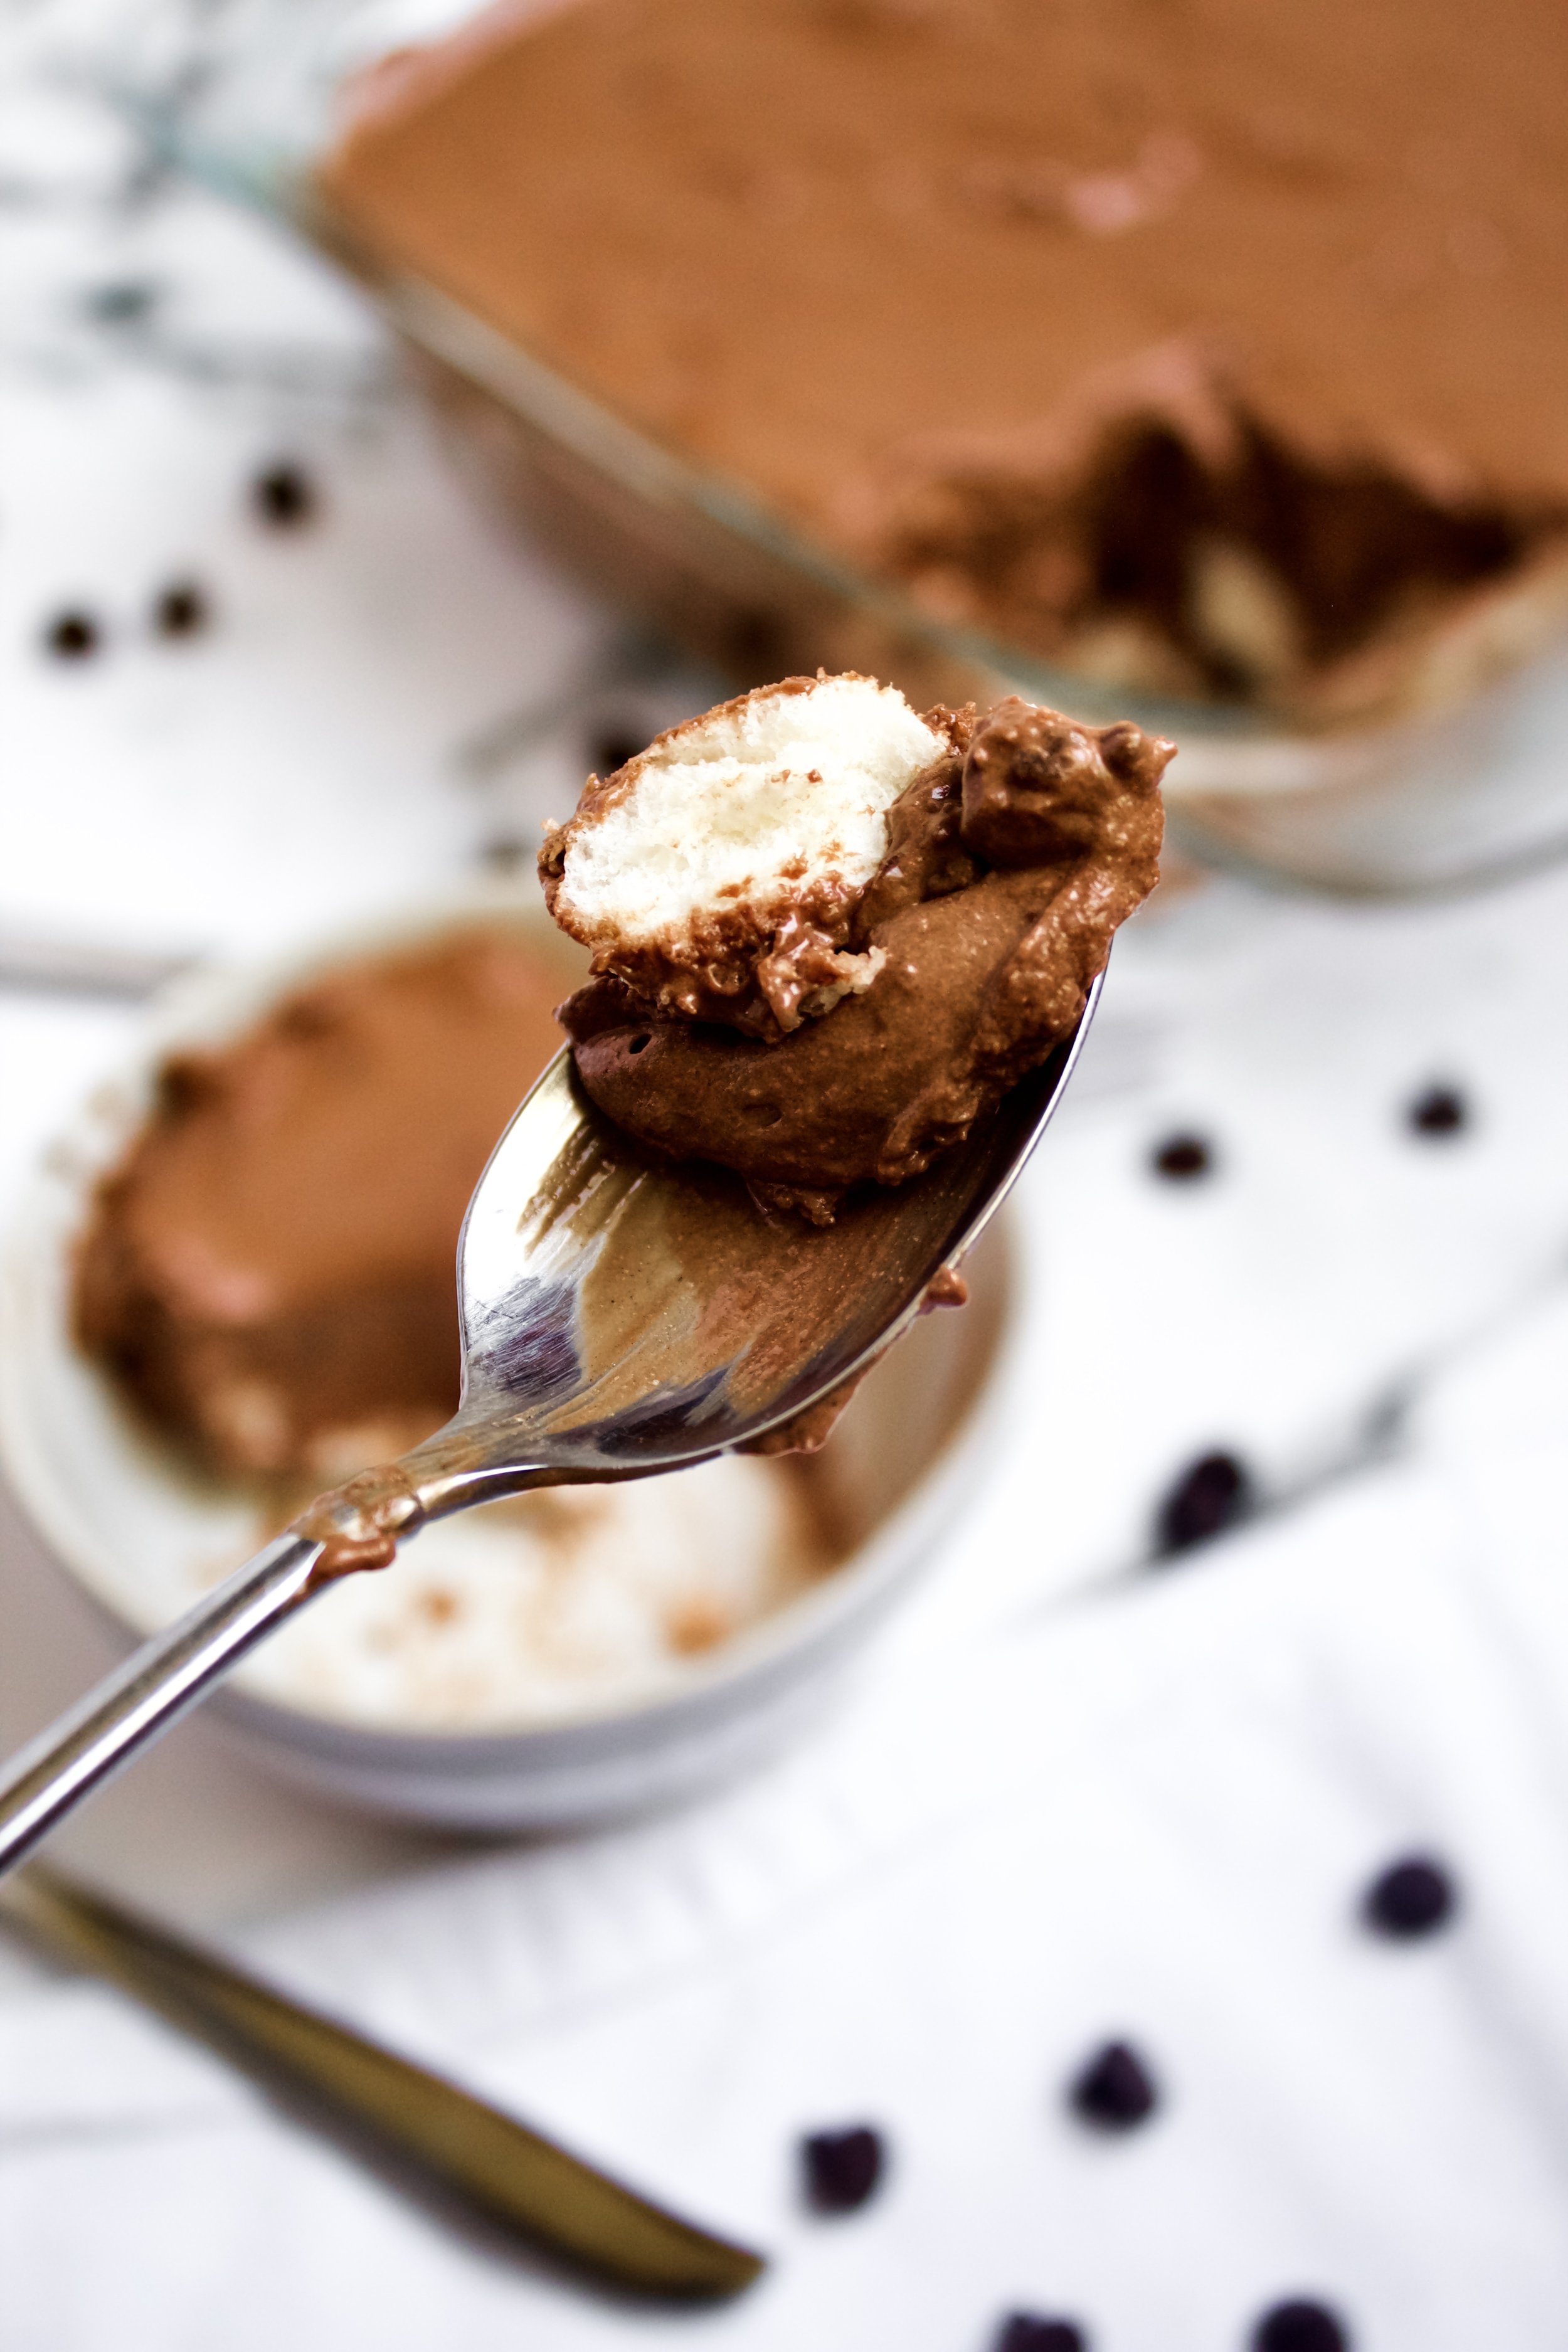
The angel food cake is surprisingly simple to make, but you can buy it if you’d like. The soft, airy texture is perfect to balance the rich chocolate of the mousse. It provides just enough texture to give a fun variety to each bite. Then there’s the mousse. Wow. So simple but soooooo good. The use of egg yolks helps make it silky and rich while egg whites helps stabilize it and add some airiness. Folding in whipped cream at the end lightens it up just enough while also making it super creamy. Together, the mousse and cake create the most unique pudding-style dessert!

Key ingredients
Angel food cake. While store bought works, too, homemade will be much fresher and uses less sugar and no preservatives. Plus, it’s so easy to make!
Chocolate chips. Use your favorite kind, since most of the taste here comes from the chocolate chips.
Eggs. Use room temperature, fresh, pasteurized eggs. Separate them carefully so you don’t get any yolk in the whites.
Heavy whipping cream. Also known as double cream or heavy whipping cream. Be sure this is very cold and fresh so that it whips up well.
Vanilla. You’ll use just a bit to help round out the flavor.
Powdered sugar. This is optional, but I like using just a bit since the rest of the recipe is so low in sugar.


How to make angel food mousse cake
1. Make the angel food cake ahead of time. This can be done up to 2 days ahead. You’ll only need half of it, so consider using the other half in a trifle or just to eat with some berries and cream!
2. Tear up the cake into a baking or casserole dish. There’s no right or wrong way to do this, so don’t feel like you have to have perfectly even pieces. The smaller the pieces, the more they’ll melt into the mousse, so aim for about 1” pieces.
3. Place all ingredients into bowls as directed. You’ll want everything in its bowl and ready to go. Place the yolks in a small bowl. Place the egg whites and heavy cream into two separate medium to large bowls, large enough to beat each of them to stiff peaks. Place the chocolate in a medium to large heatproof bowl.
4. Whip the cream and beat the egg whites and yolks. Whip the cream, vanilla, and powdered sugar to stiff peaks and refrigerate until ready to use. Beat the egg whites to soft peaks and set aside—they should just start to hold their shape. Beat the yolks until very frothy and set aside.
5. Melt the chocolate. Place it over a medium saucepan with 2” water that has been brought to a boil then turned down to medium-low (or low—keep it at a simmer but not a boil). Be sure the bowl fits over it so that the chocolate chips are all over the water, but don’t let the bowl touch the water. Stir constantly with a rubber spatula until the chocolate is fully melted and smooth.
6. Quickly beat in yolks. Switch to a whisk, wiping all the melted chocolate off of the spatula first. Slowly stream the egg yolks into the chocolate while whisking quickly. Remove from heat.


7. Quickly fold in beaten whites. Switch back to the spatula and fold in the egg whites. They’ll deflate significantly, which is normal. Also, don’t worry if some of the chocolate hardens as it cools.
8. Gently fold in whipped cream. If the chocolate is still hot, stir it for a minute before adding the cream. You want it room temperature before you add the whipped ream or it will cause it to separate.
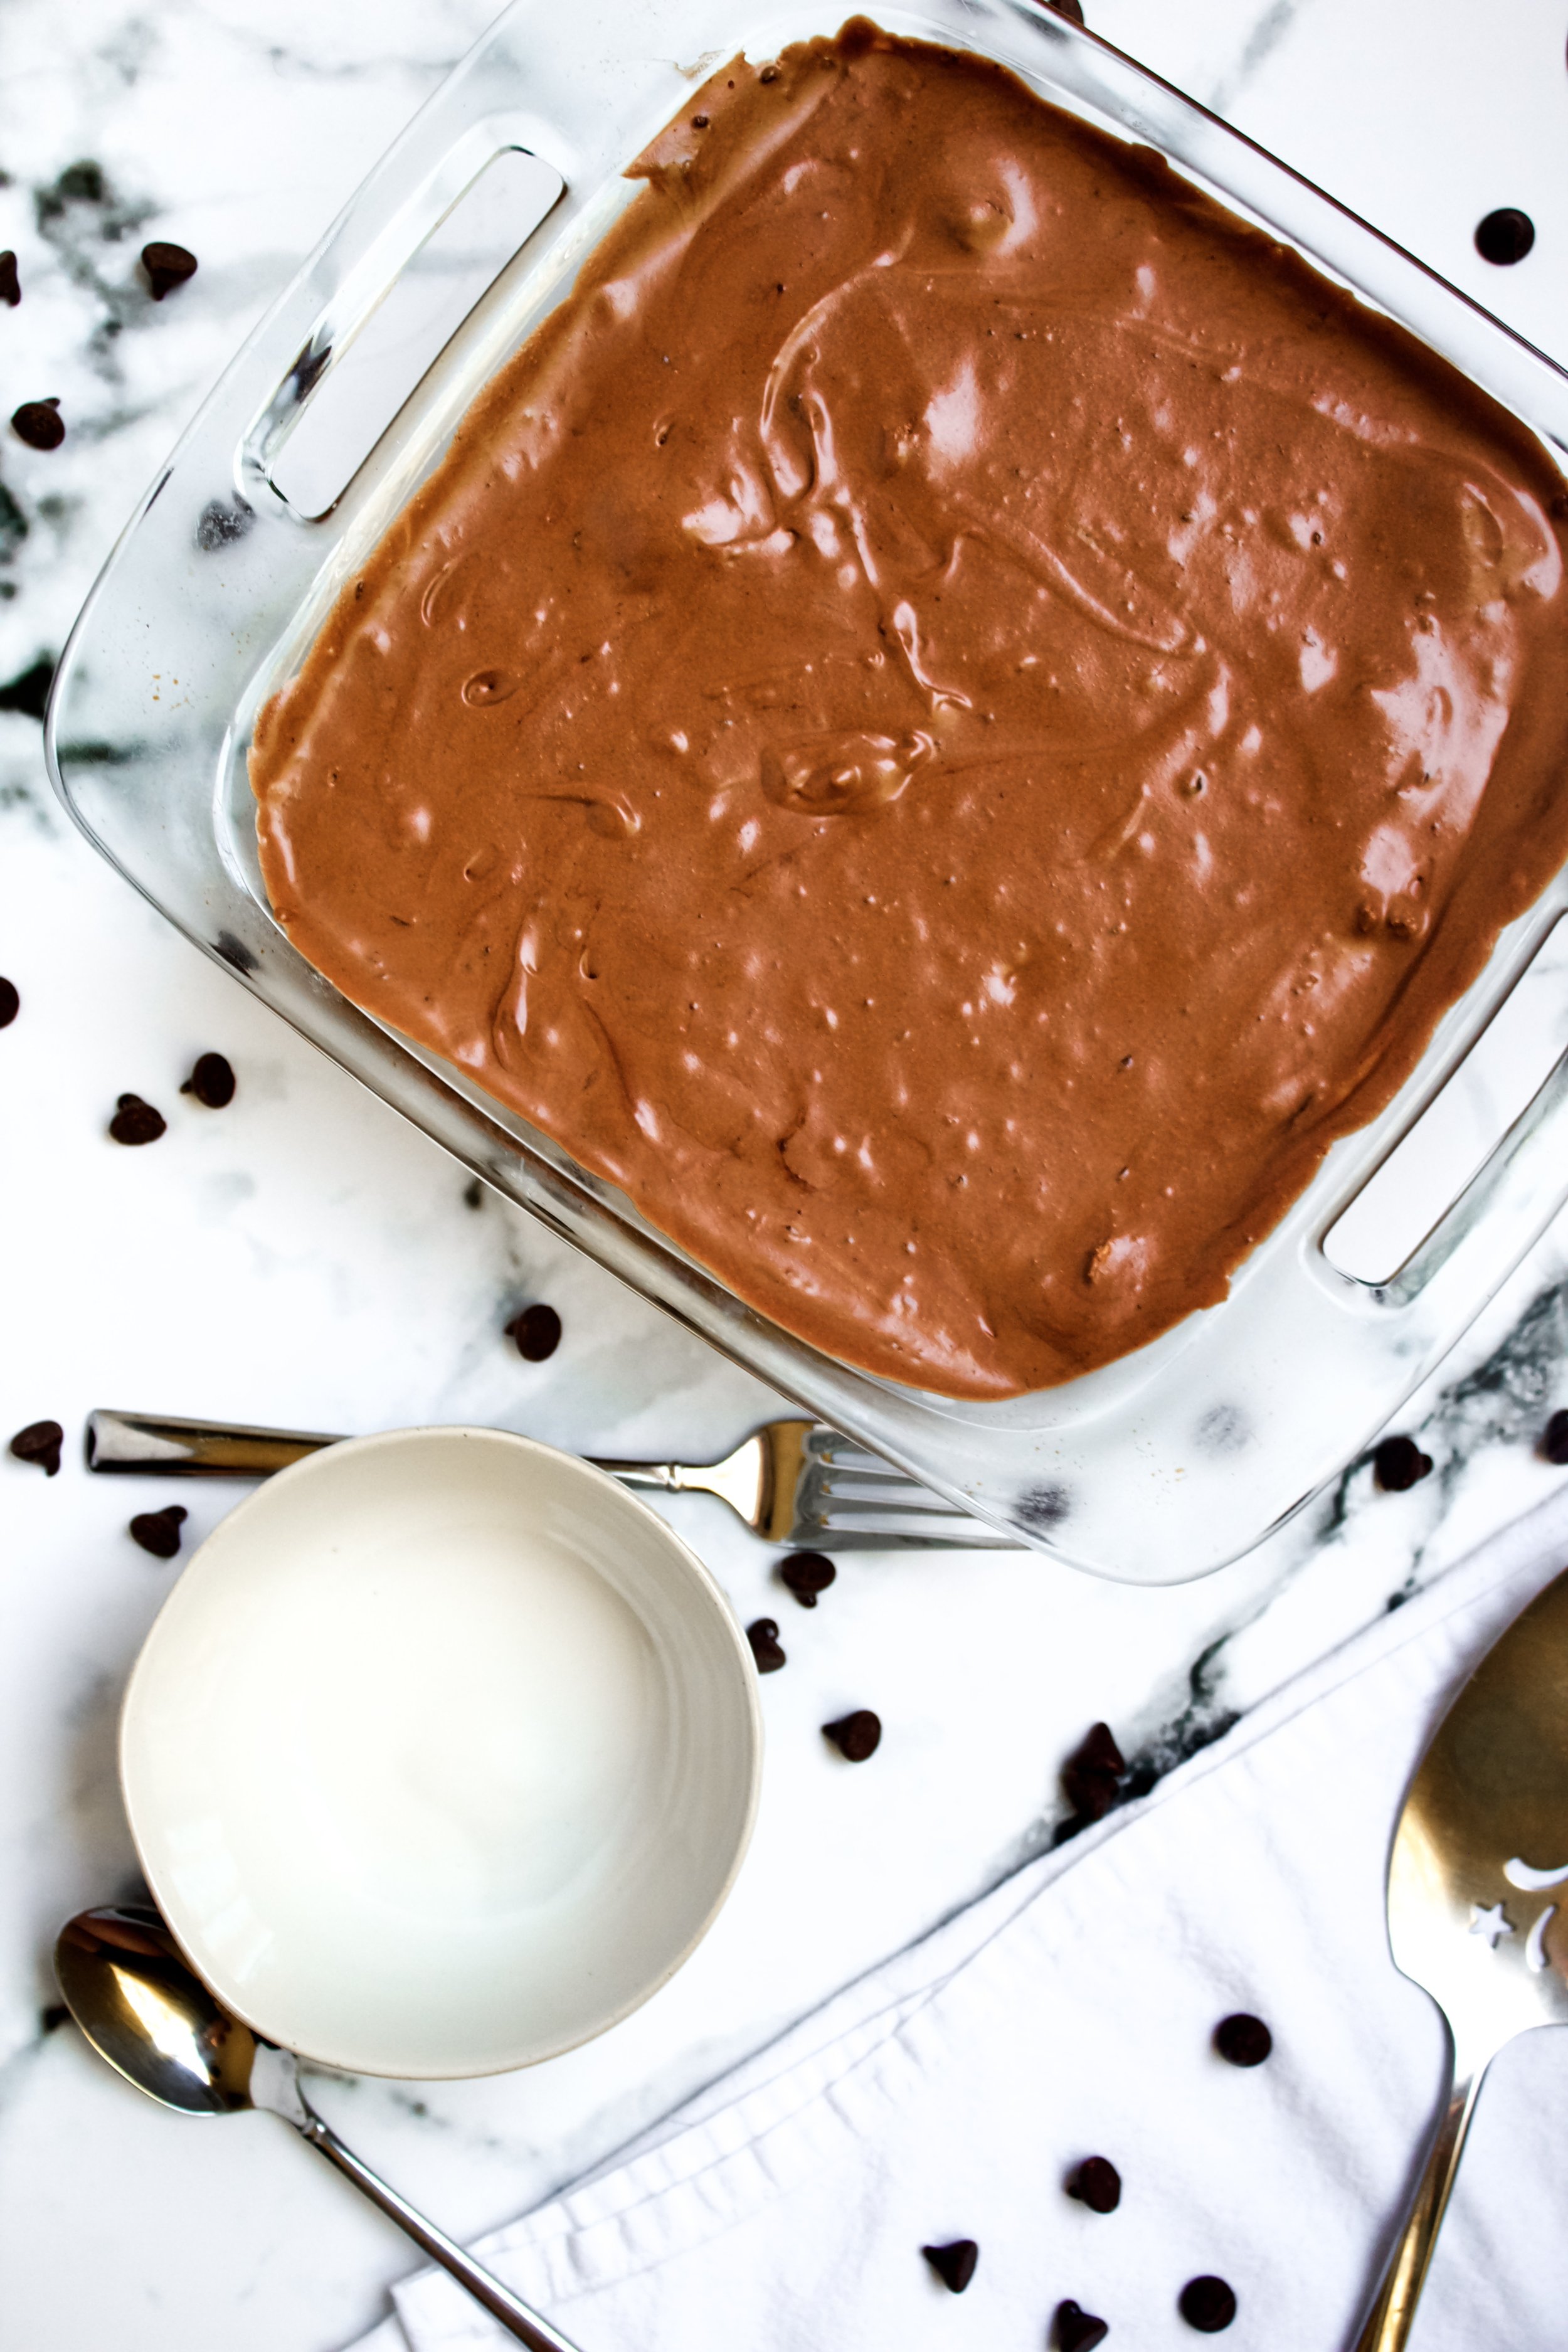
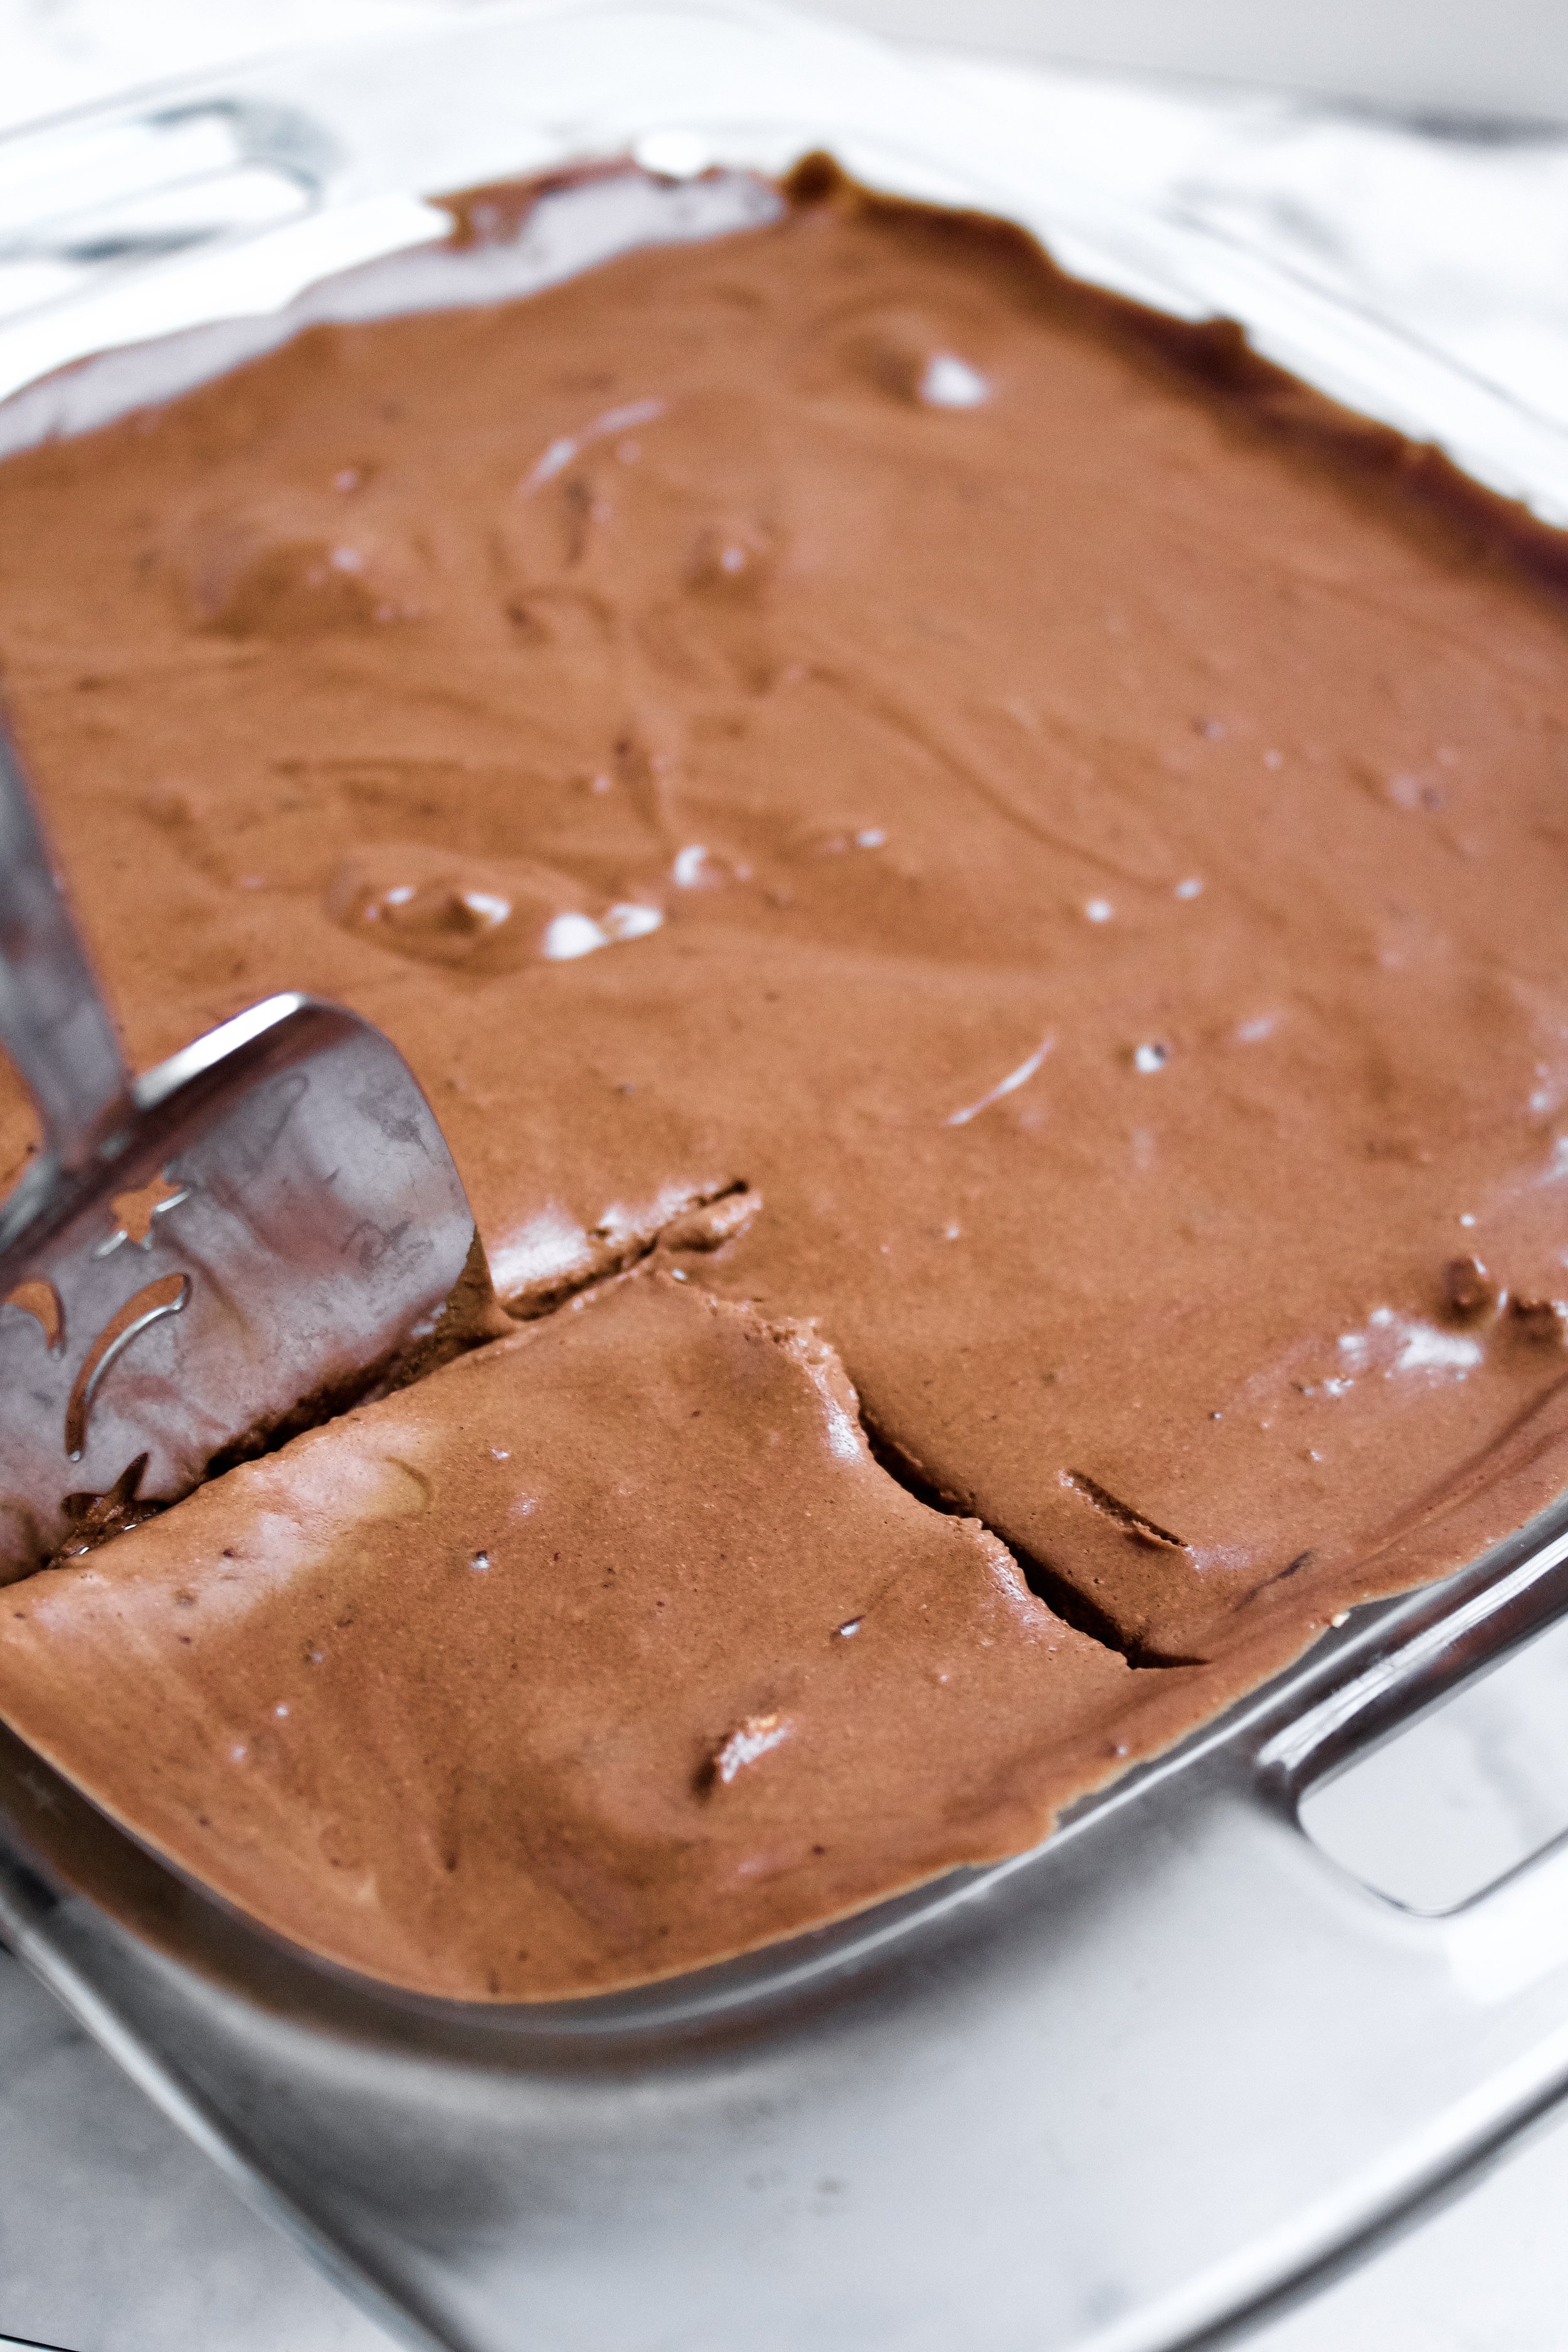
9. Spread over torn up angel food cake.
10. Chill until set.
Enjoy!


Tips and FAQ’s for this recipe
Is this safe to eat?
Yes! If you use fresh, pasteurized eggs, it is safe to eat unless you are pregnant, breastfeeding, or have a health condition that requires you avoid raw eggs. The yolks do get cooked in this recipe, but if you are unable to work quickly enough, the whites may only be partially cooked. You can omit this part and use an extra 1/2 cup of heavy cream to compensate for the volume and air that the whites provide.
Can I cook the eggs first to be safe?
Yes! I am sharing my mom’s recipe as-is, but a lot of similar recipes call for cooking the yolks in a double boiler with some sugar until frothy and 165 degrees. This would mean the mixture is still quite hot and will cook the whites as you add those in, leaving very little chance any of the egg remained raw. If you would like to pursue this route, heat the yolks with 1/3 cup granulated sugar over a pot of simmering water, until frothy and pale and a thermometer reads 165. Do this before you melt the chocolate, set aside, then simply stir the two together once the chocolate is melted. It also reduces the stress!
You will want to reduce the amount of powdered sugar in the whipped cream to about 2-3 tablespoons, to avoid an overly sweet mousse.
What if my chocolate cools too quickly or seizes?
Then you have some tiny bits of chocolate that will add texture! I was a complete mess for about 3 minutes the first time I made this, because I insisted I knew the best way to mix things. Turns out, it’s perfectly fine (and delicious) if some chocolate hardens while you add the eggs. It won’t ruin the dessert, just create some bits of chocolate chips, and that’s never a bad thing.
However, if you have need of or just want a perfectly smooth chocolate or if you’re like me and get stressed easily if things aren’t going your way, you can add 1/4 cup heavy cream to the chocolate before you melt it, to help keep it soft as you add the egg yolks.
What kind of chocolate should I use?
Use one you really love. I used Guittard, since it has a great taste and melts well. But any high quality chocolate will do just fine, as long as you love the taste.

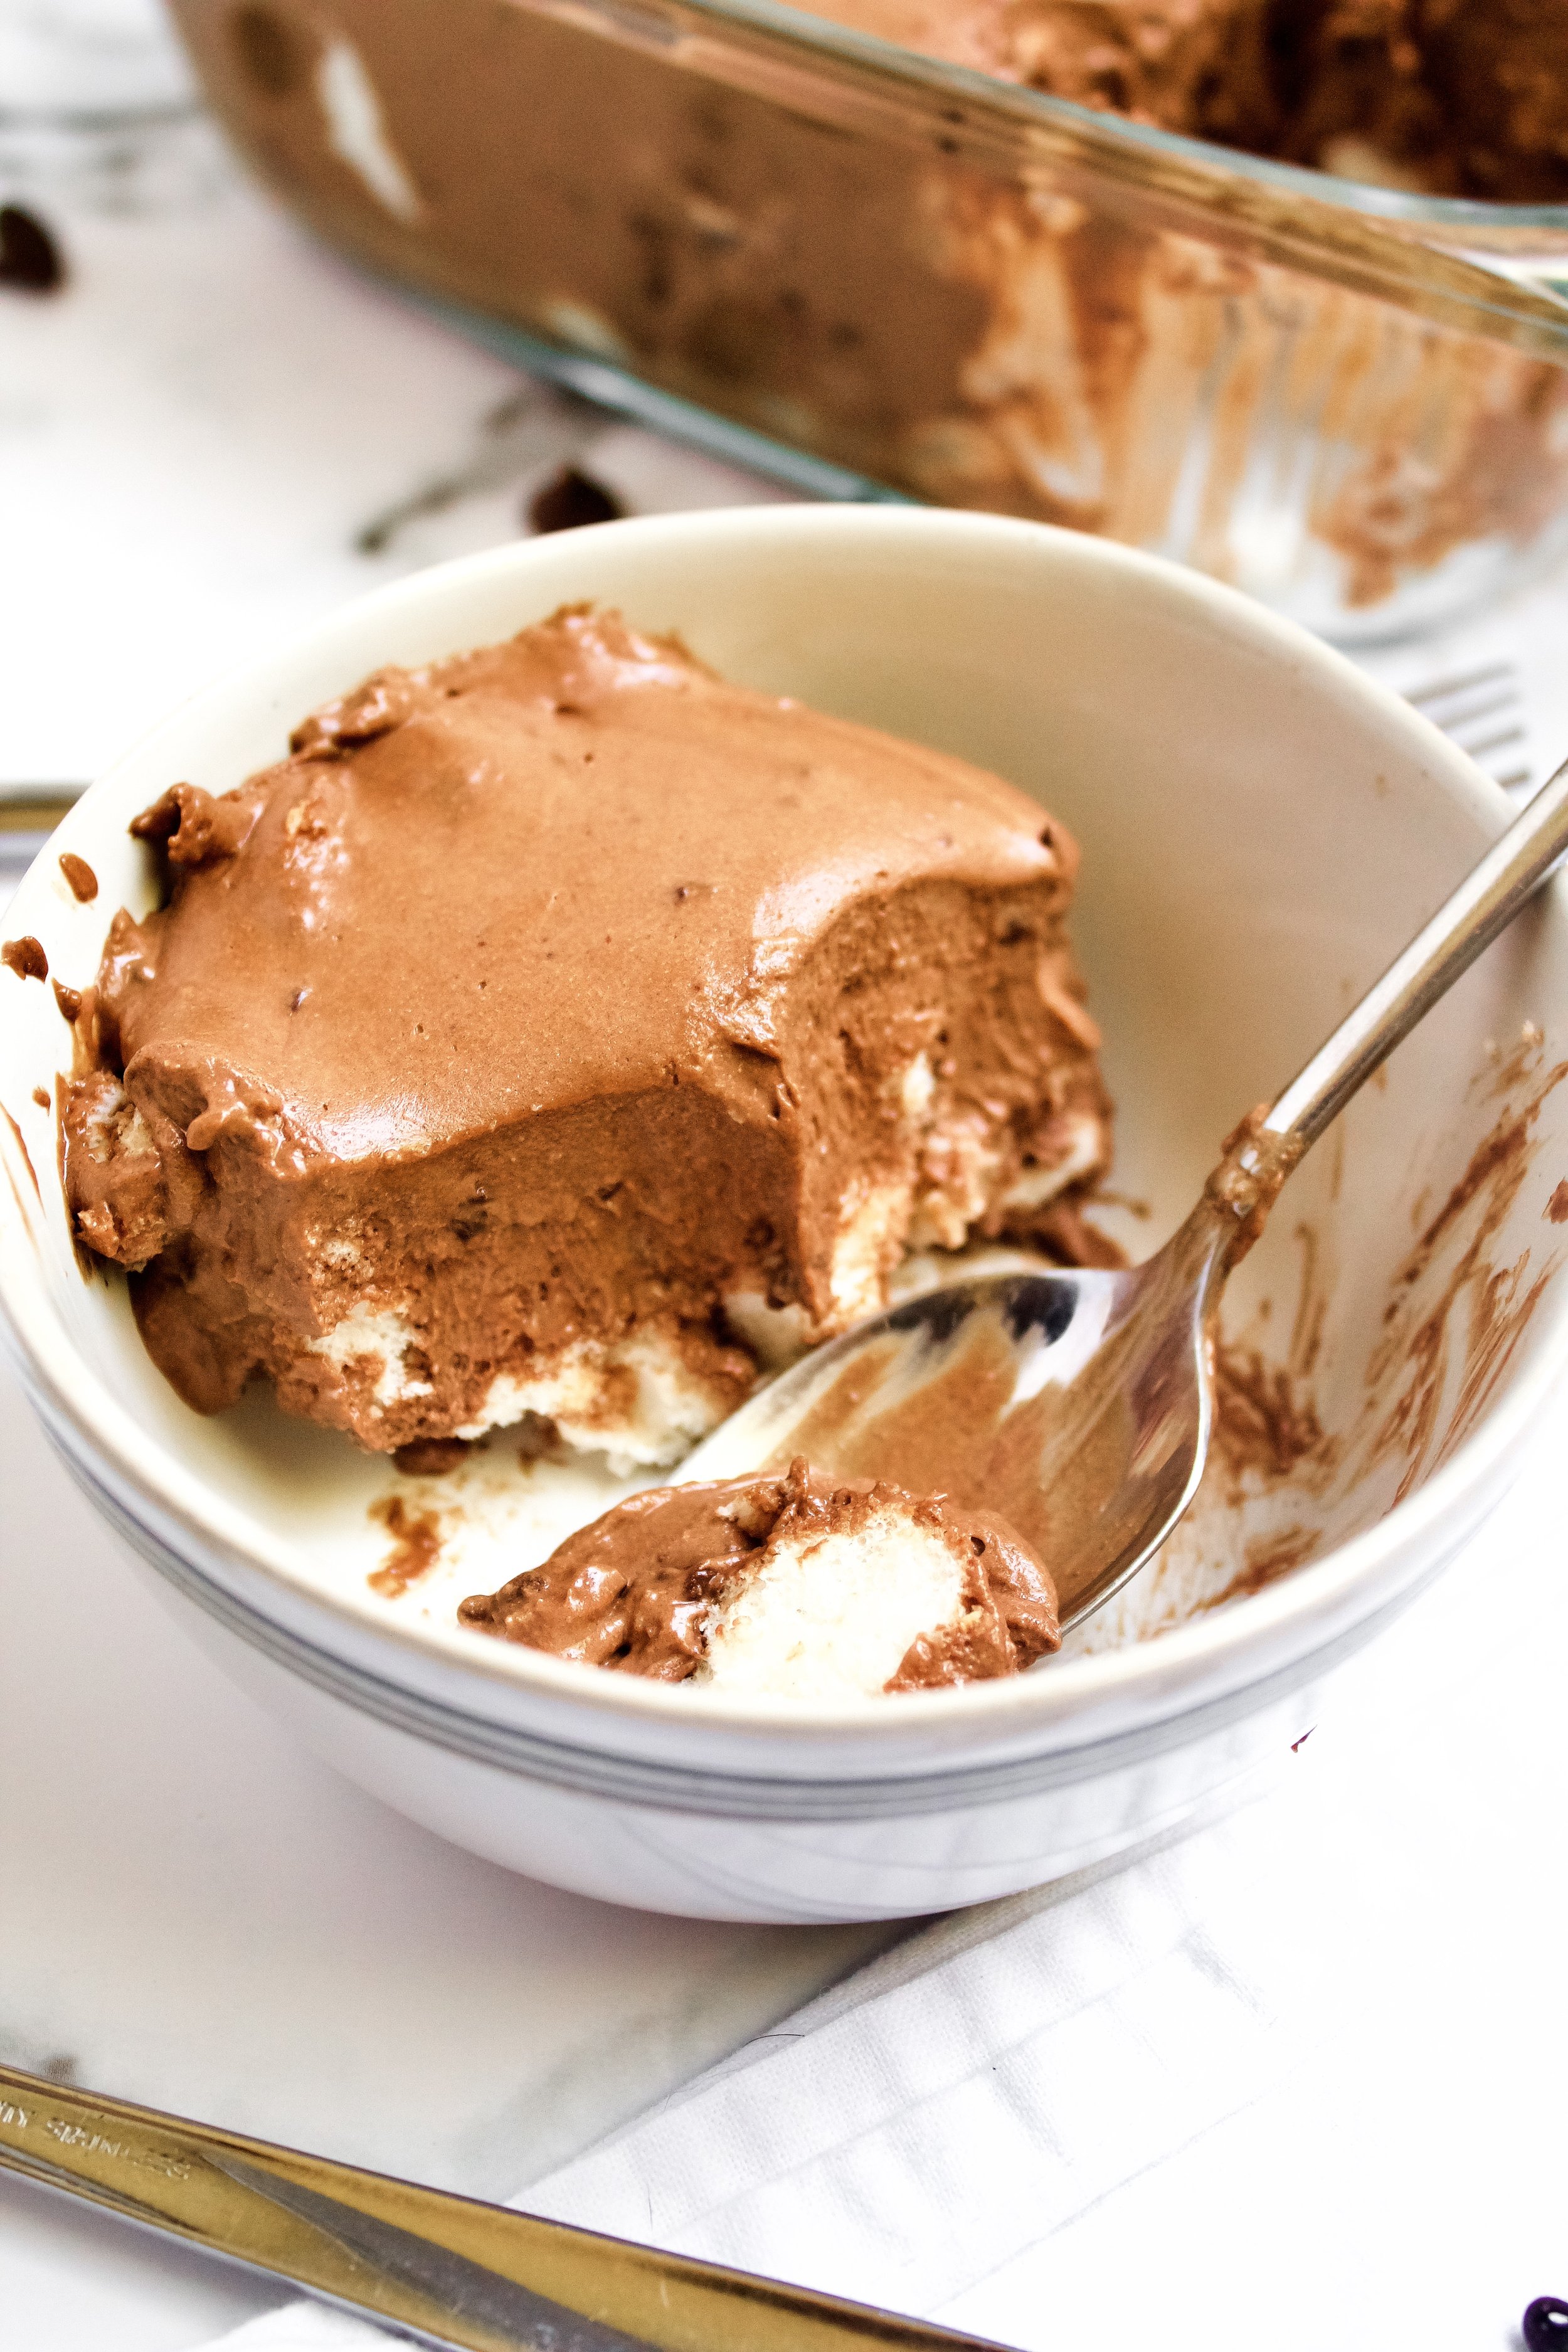
How should I serve this?
Honestly, just with a spoon! I like to add some grated chocolate, for looks and for some texture. You can add a dollop of whipped cream, especially if you don’t like rich chocolate. I also love serving this with some fresh berries!
My mousse cake tools
Here are my must-have tools I use for making this mousse. Affiliate links provided.
All-rubber spatula (this makes scraping the bowl sooo much easier)
Vegetable peeler or cheese grater (for the grated chocolate on top)
You might also like:
Easy Chocolate Hazelnut Mousse
20 Minute, No Bake Chocolate Cream Pie
Mexican Chocolate Tart
Angel Food Mousse Cake
- prep time: 20-25 minutes
- chill time: 1 hour
- total time: 1 hour, 25 minutes (plus about 1 hour to make the angel food cake–can be made ahead)
servings: 12-16
Ingredients:
- half of one angel food cake
- 1 bag (12 ounces or 340g) semi-sweet chocolate chips (or chopped baking chocolate)
- 5 large eggs, room temperature and separated*
- 1 cup (232g) heavy whipping cream, cold
- ⅓ cup (45g) powdered/icing sugar, sifted
- 1 tablespoon (13g) pure vanilla extract
- optional: 1-2 squares baking chocolate (or your favorite chocolate bar), to decorate
- optional: whipped cream and fresh berries, to serve
Instructions:
- Make the angel food cake ahead of time. It will keep up to 2 days. You’ll only need half of the cake, so feel free to serve the other half with berries and cream or use it in a trifle. If you do not want extras, you can either bake it in an 8x8 pan or use the fluted pan and reduce the bake time.
- When ready to make this cake, tear up the angel food cake into roughly 1” pieces and place in a 9x13” baking pan or casserole dish. Set aside.
- Place all of your ingredients into the appropriate bowls first. Place the chocolate chips in a large, heatproof bowl. Place the yolks in a small bowl and the whites in a large bowl. Place the heavy cream in a large bowl with the powdered sugar and vanilla.
- First, whip the heavy cream, powdered sugar, and vanilla on high with a handheld mixer or the whisk attachment of a stand mixer, until stiff peaks just begin to form. Place the bowl in the fridge until ready to use.
- Again using a (cleaned) handheld mixer or the whisk attachment of a stand mixer, beat the egg whites on high until soft peaks form and they begin to hold their shape. Set aside.> 1. Whisk the yolks until frothy.*
- From here on out, be sure you have read each step and are prepared to work quickly.
- Place the chocolate chips over a medium pot of simmering water (bring it to a boil then turn down to low before setting the chocolate on top). Stir constantly with a rubber spatula, until the chocolate has almost completely melted. Remove bowl from the pot and stir until smooth and all chocolate has melted. If needed, set the bowl back on the pot for 30 seconds to help melt the chocolate completely.
- Add the egg yolks to the chocolate and stir very quickly to combine.
- Add ⅓ of the egg whites and fold in quickly, followed by another third then the final third. Try to do this very quickly, to avoid the chocolate seizing as well as to ensure the egg whites get cooked sufficiently.
- Next, take a breath! By now the chocolate should be fairly cooled. If not, stir until room temperature.
- Fold in the whipped cream, ⅓ at a time, until smooth and fully combined.
- Pour over the torn up angel food cake. Refrigerate at least 1 hour, until set.
Enjoy!
Refrigerate until serving. If not serving that day, cover with plastic wrap until ready to eat.
