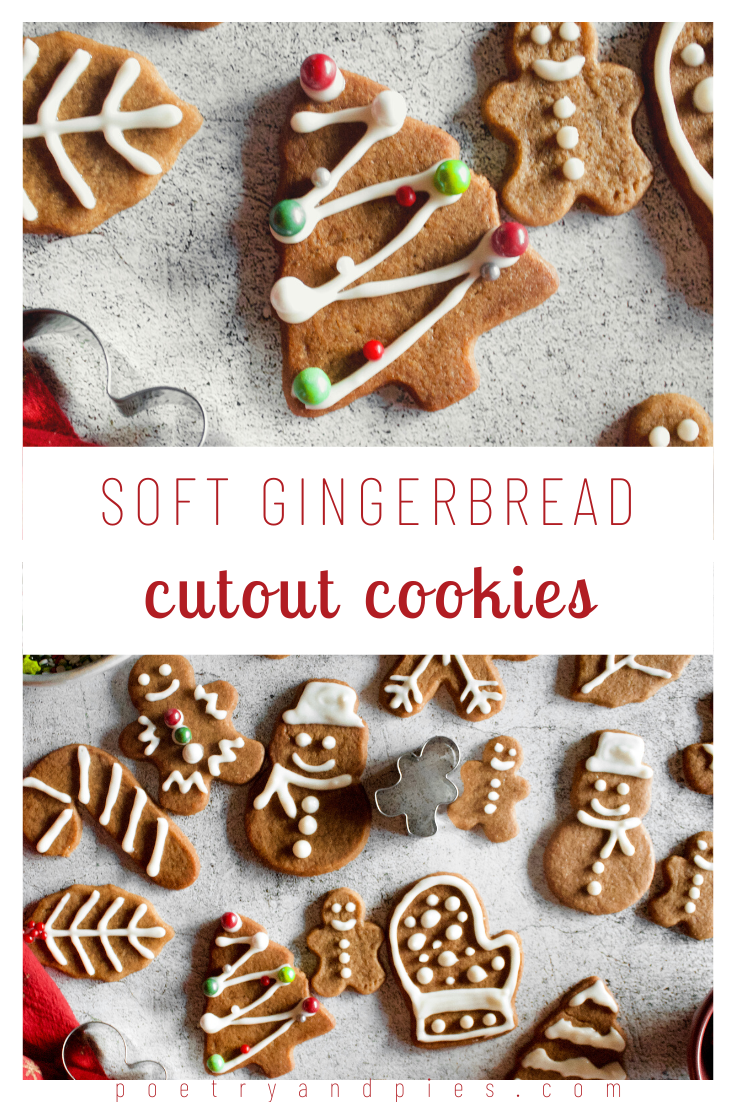
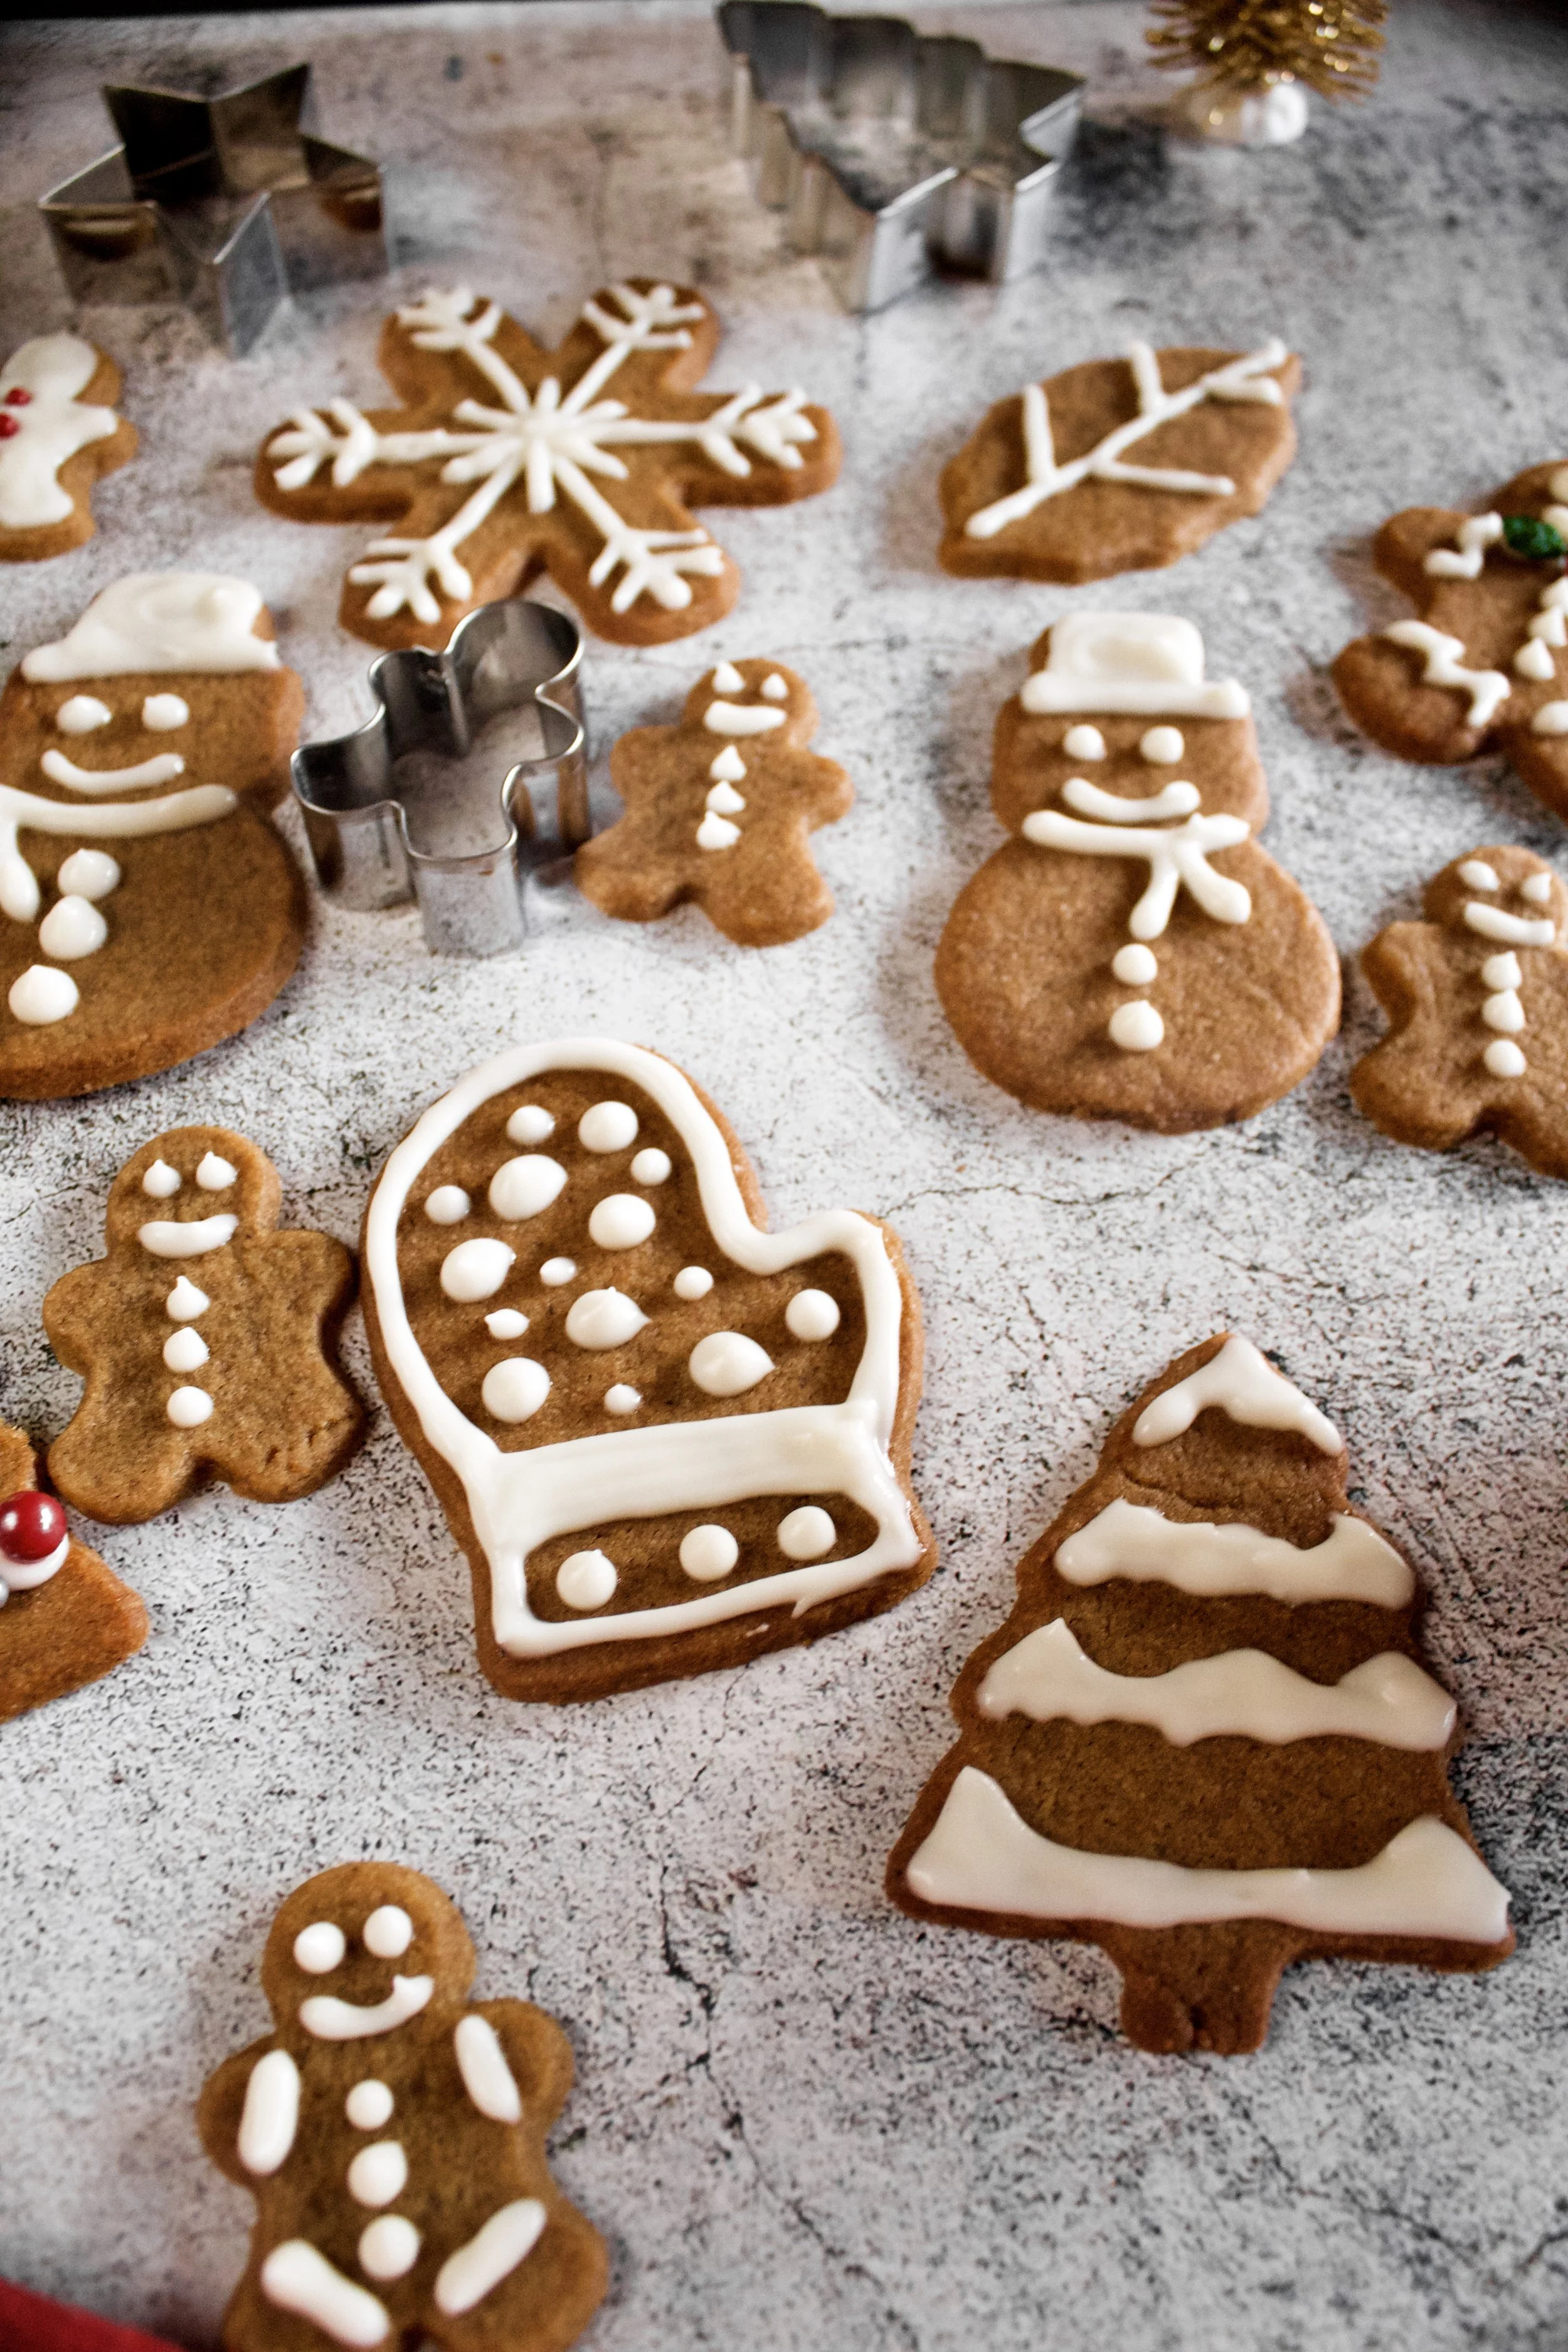
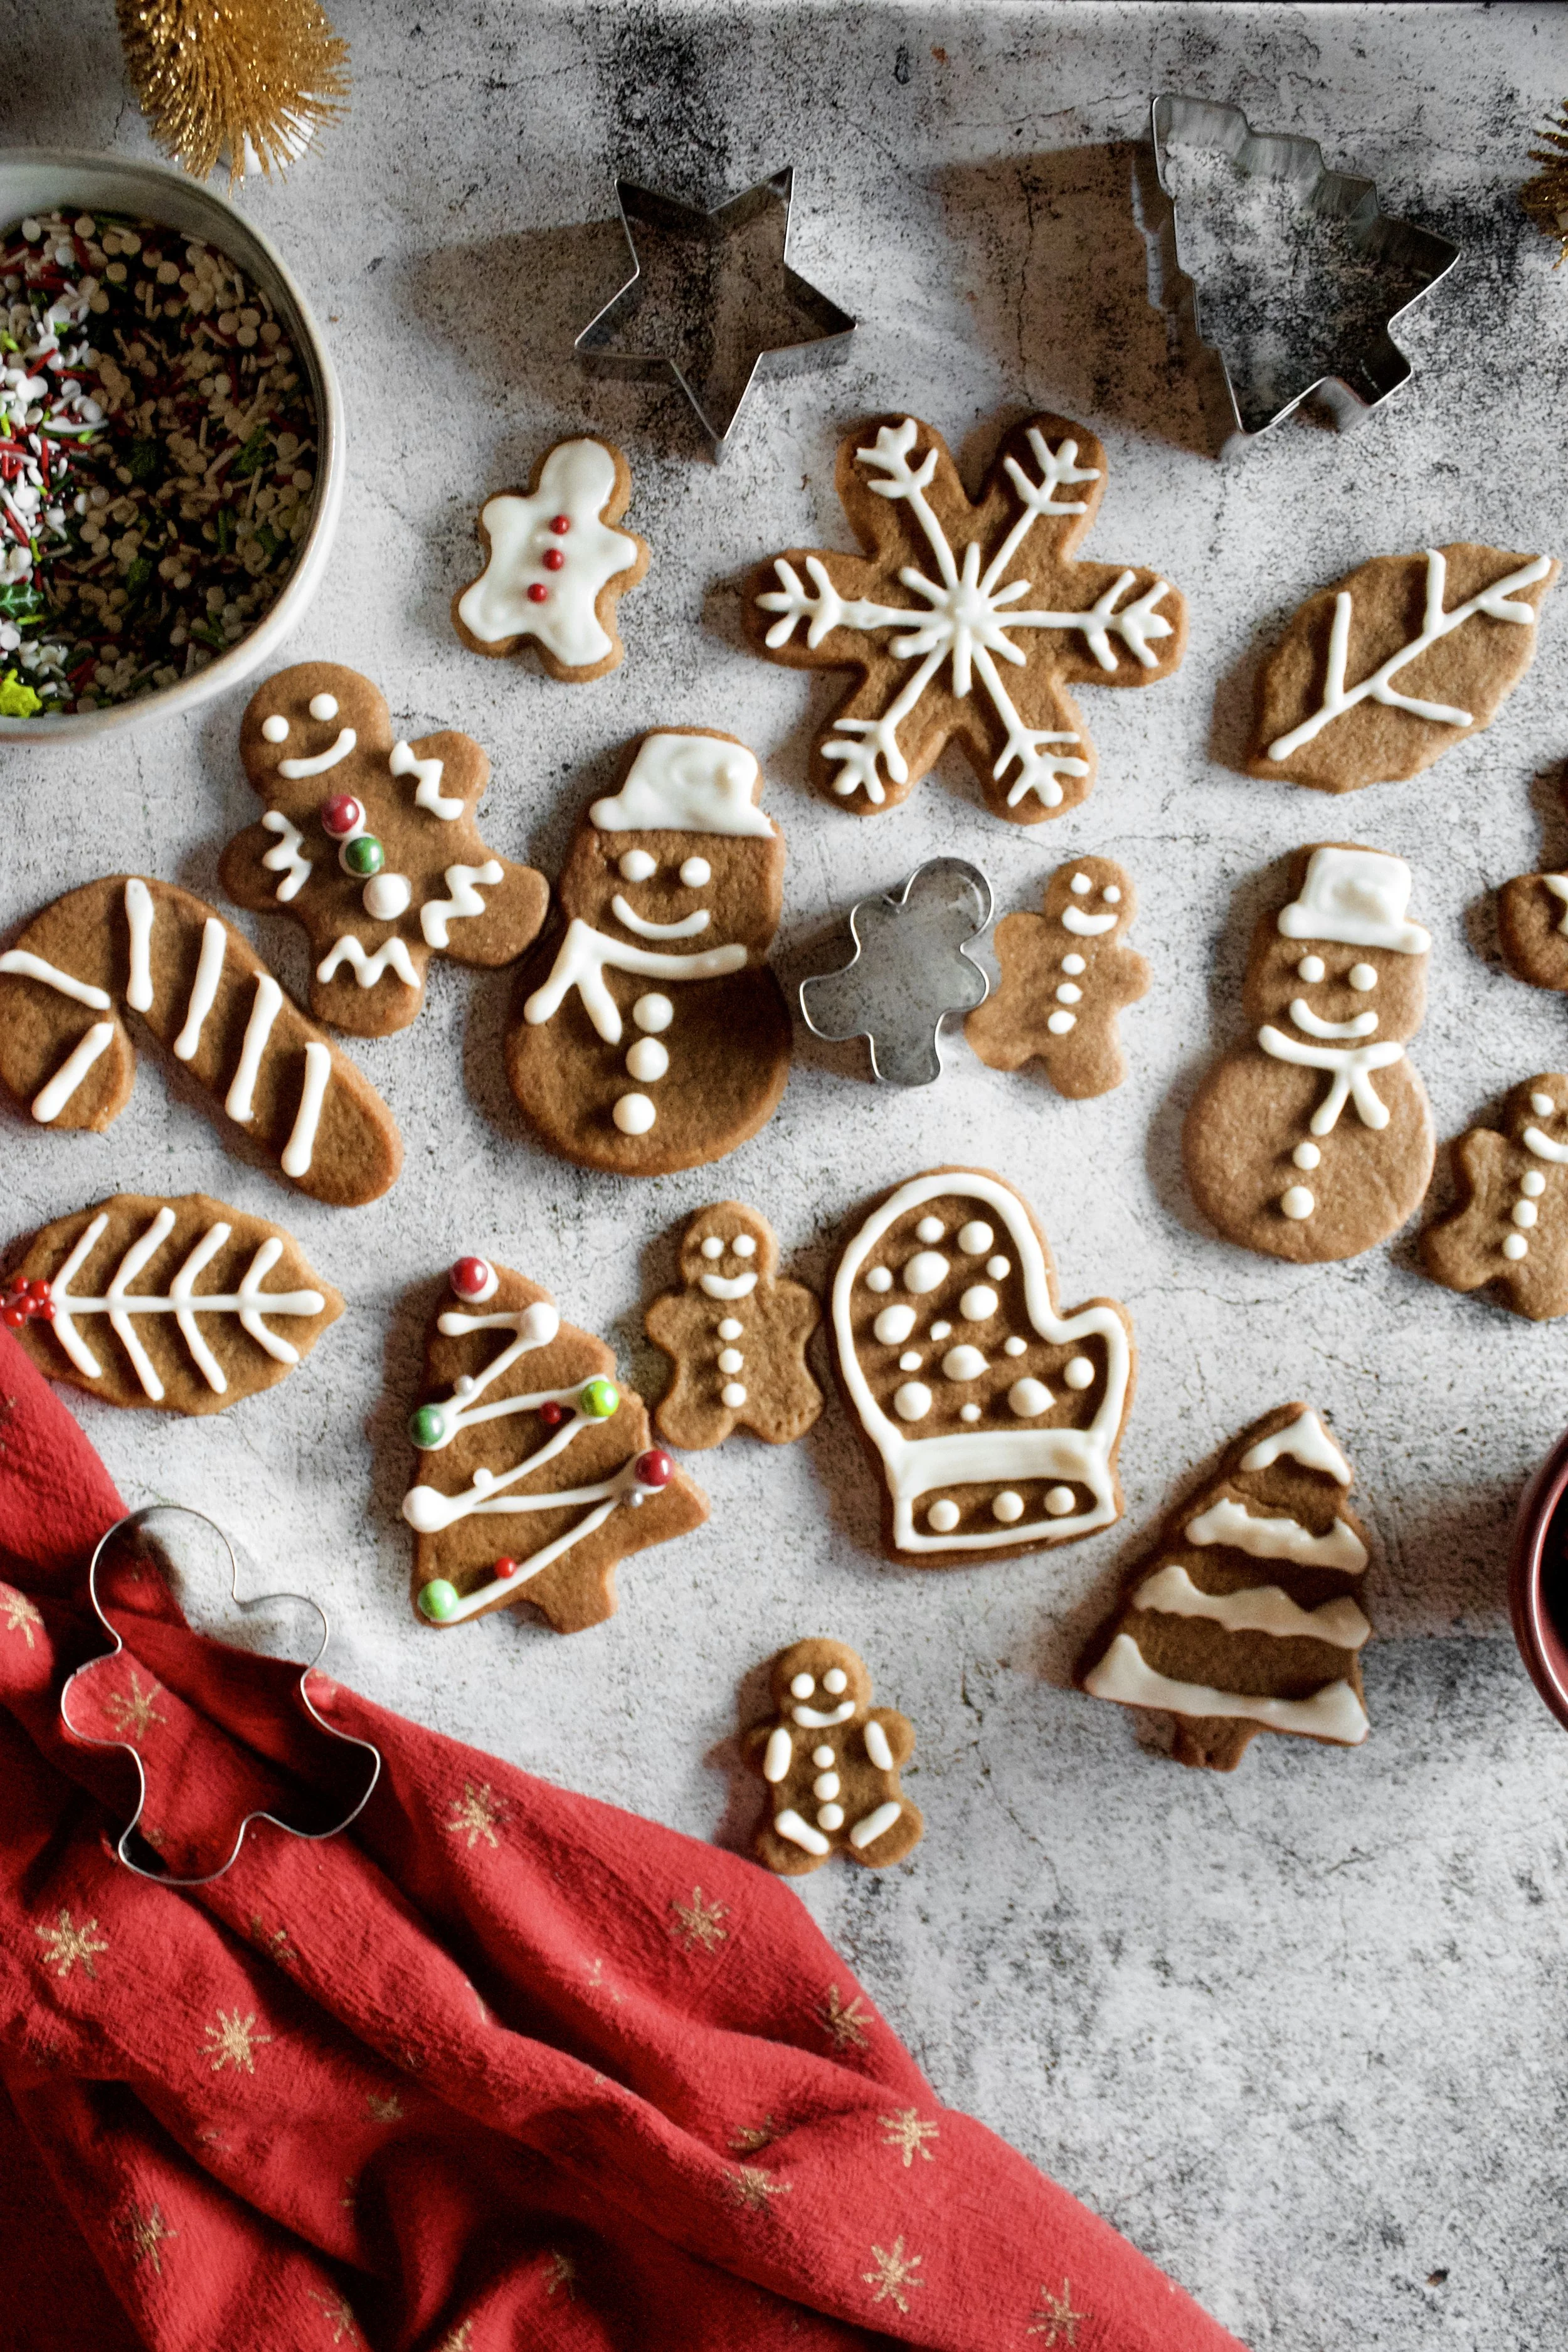
Soft Gingerbread Cutout Cookies
These cookies contain the best of both worlds: soft and chewy yet sturdy enough to hold a fun, holiday shape. And the flavors are so vibrant and Christmas-y! The perfect gingerbread cookie that you’ll love to decorate AND love to eat!
This post may contain affiliate links from which, at no additional cost to you, I may earn a small commission to keep this site running. Only products I myself would or do use are recommended.
I’ll be honest: I never used to care for gingerbread. I hadn’t really tried it much, but what I had tasted was gross. Dry, hard, bitter, and often bland.
Sure, the cookies are cute. But who wants to eat something that’s been crafted to be shaped into a house? You can’t use much butter or sugar if you want it sturdy enough to stand upright. And don’t get me started on how gross the pre-packaged icing from gingerbread kits tastes.
So I get it that not everyone likes gingerbread.
But then I tried good gingerbread. I don’t even know where it was. Possibly a chewy gingerbread cookie? That’s when I discovered that gingerbread can be chewy and flavorful and perfectly sweet.
So a few years ago I started down the road of making it myself. It was a long process, because there are SO many recipes out there.
But after some good and bad batches, some tasty ones that looked wonky and some beautiful ones that were inedible, I landed on a lovely ratio of ingredients. It’s sturdy enough to roll out and shape but soft enough to enjoy eating. And the flavors are SO good. Spicy and sweet with that hint of molasses.
It’s, dare I say, the ideal cutout gingerbread cookie.
Why this recipe works
I’ve played around with this recipe for a couple of years now, and I’ve found that this ratio is perfect for a chewy yet cut-out-able cookie. The key is a little extra flour, but not too much. In addition, you want to bake it long enough. Usually, it’s fine to underbake a cookie. However, these cookies do best if the edges begin to brown a little. It ensures they’re nice and sturdy. And finally, it’s important not to store these loosely covered. If you place them in a tightly sealed container, they will actually soften within a day or two and can fall apart. They’re still delicious, but all that hard work of rolling, cutting, and decorating would be for naught if they don’t stay together.
I also experimented with the spices until it was perfection. I offer a range, in case you want it a little less spicy, but I really think a full 3 teaspoons of cinnamon and ginger is what makes these so delicious. And I learned the hard way that you CANNOT use blackstrap molasses. I had one delicious batch that was way too dark and moist to share here, all because I used blackstrap.
Finally, you don’t need a ton of sugar IN the cookies because you’ll be covering them in icing (or a frosting of your choosing), which helps add sweetness. I also tried processing the sugar before adding it, which cut my beating time down quite a bit and helped the sugar dissolve better, which I think is only helpful if you are using organic sugar, which tends to come in much larger crystals than standard sugar. Together, all of these key steps make these the perfect cutout gingerbread cookie!
Key ingredients
Flour. Be sure to spoon then level your flour or you will have too much and will end up with dry, dense cookies.
Baking soda. Be sure it is fresh—not open for longer than 6 months (it will lose potency after that, regardless of the listed expiration date).
Salt. I prefer sea salt in my cookies, but table salt works, too.
Cinnamon. Use a fresh, high quality cinnamon, which will have a noticeably better taste.
Ginger. I use a little more than some recipes might call for, but it is not overpowering and makes these SO good!
Unsalted butter. Use European style butter, as it has less water and is needed to make these have the perfect texture.
Brown sugar/sugar. Don’t be tempted to increase the sugar, as it turns to liquid when baking and will make the cookies go flat.
Egg. Be sure your egg is fresh and room temperature.
Vanilla. Use pure vanilla extract (or vanilla bean paste).
Molasses. Do not use blackstrap! Used Grandma’s unsulphured molasses and it was perfect.
Powdered sugar. Also known as icing or confectioner’s sugar. This is used in the icing, unless you are choosing a different recipe (although most will call for powdered sugar).
Heavy cream. Again, this is only used in the glaze. Milk can be substituted but use about half as much as listed.
How to make soft gingerbread cutout cookies
1. Sift and whisk dry ingredients. Sifting is technically optional, but I think it helps prevent over mixing.
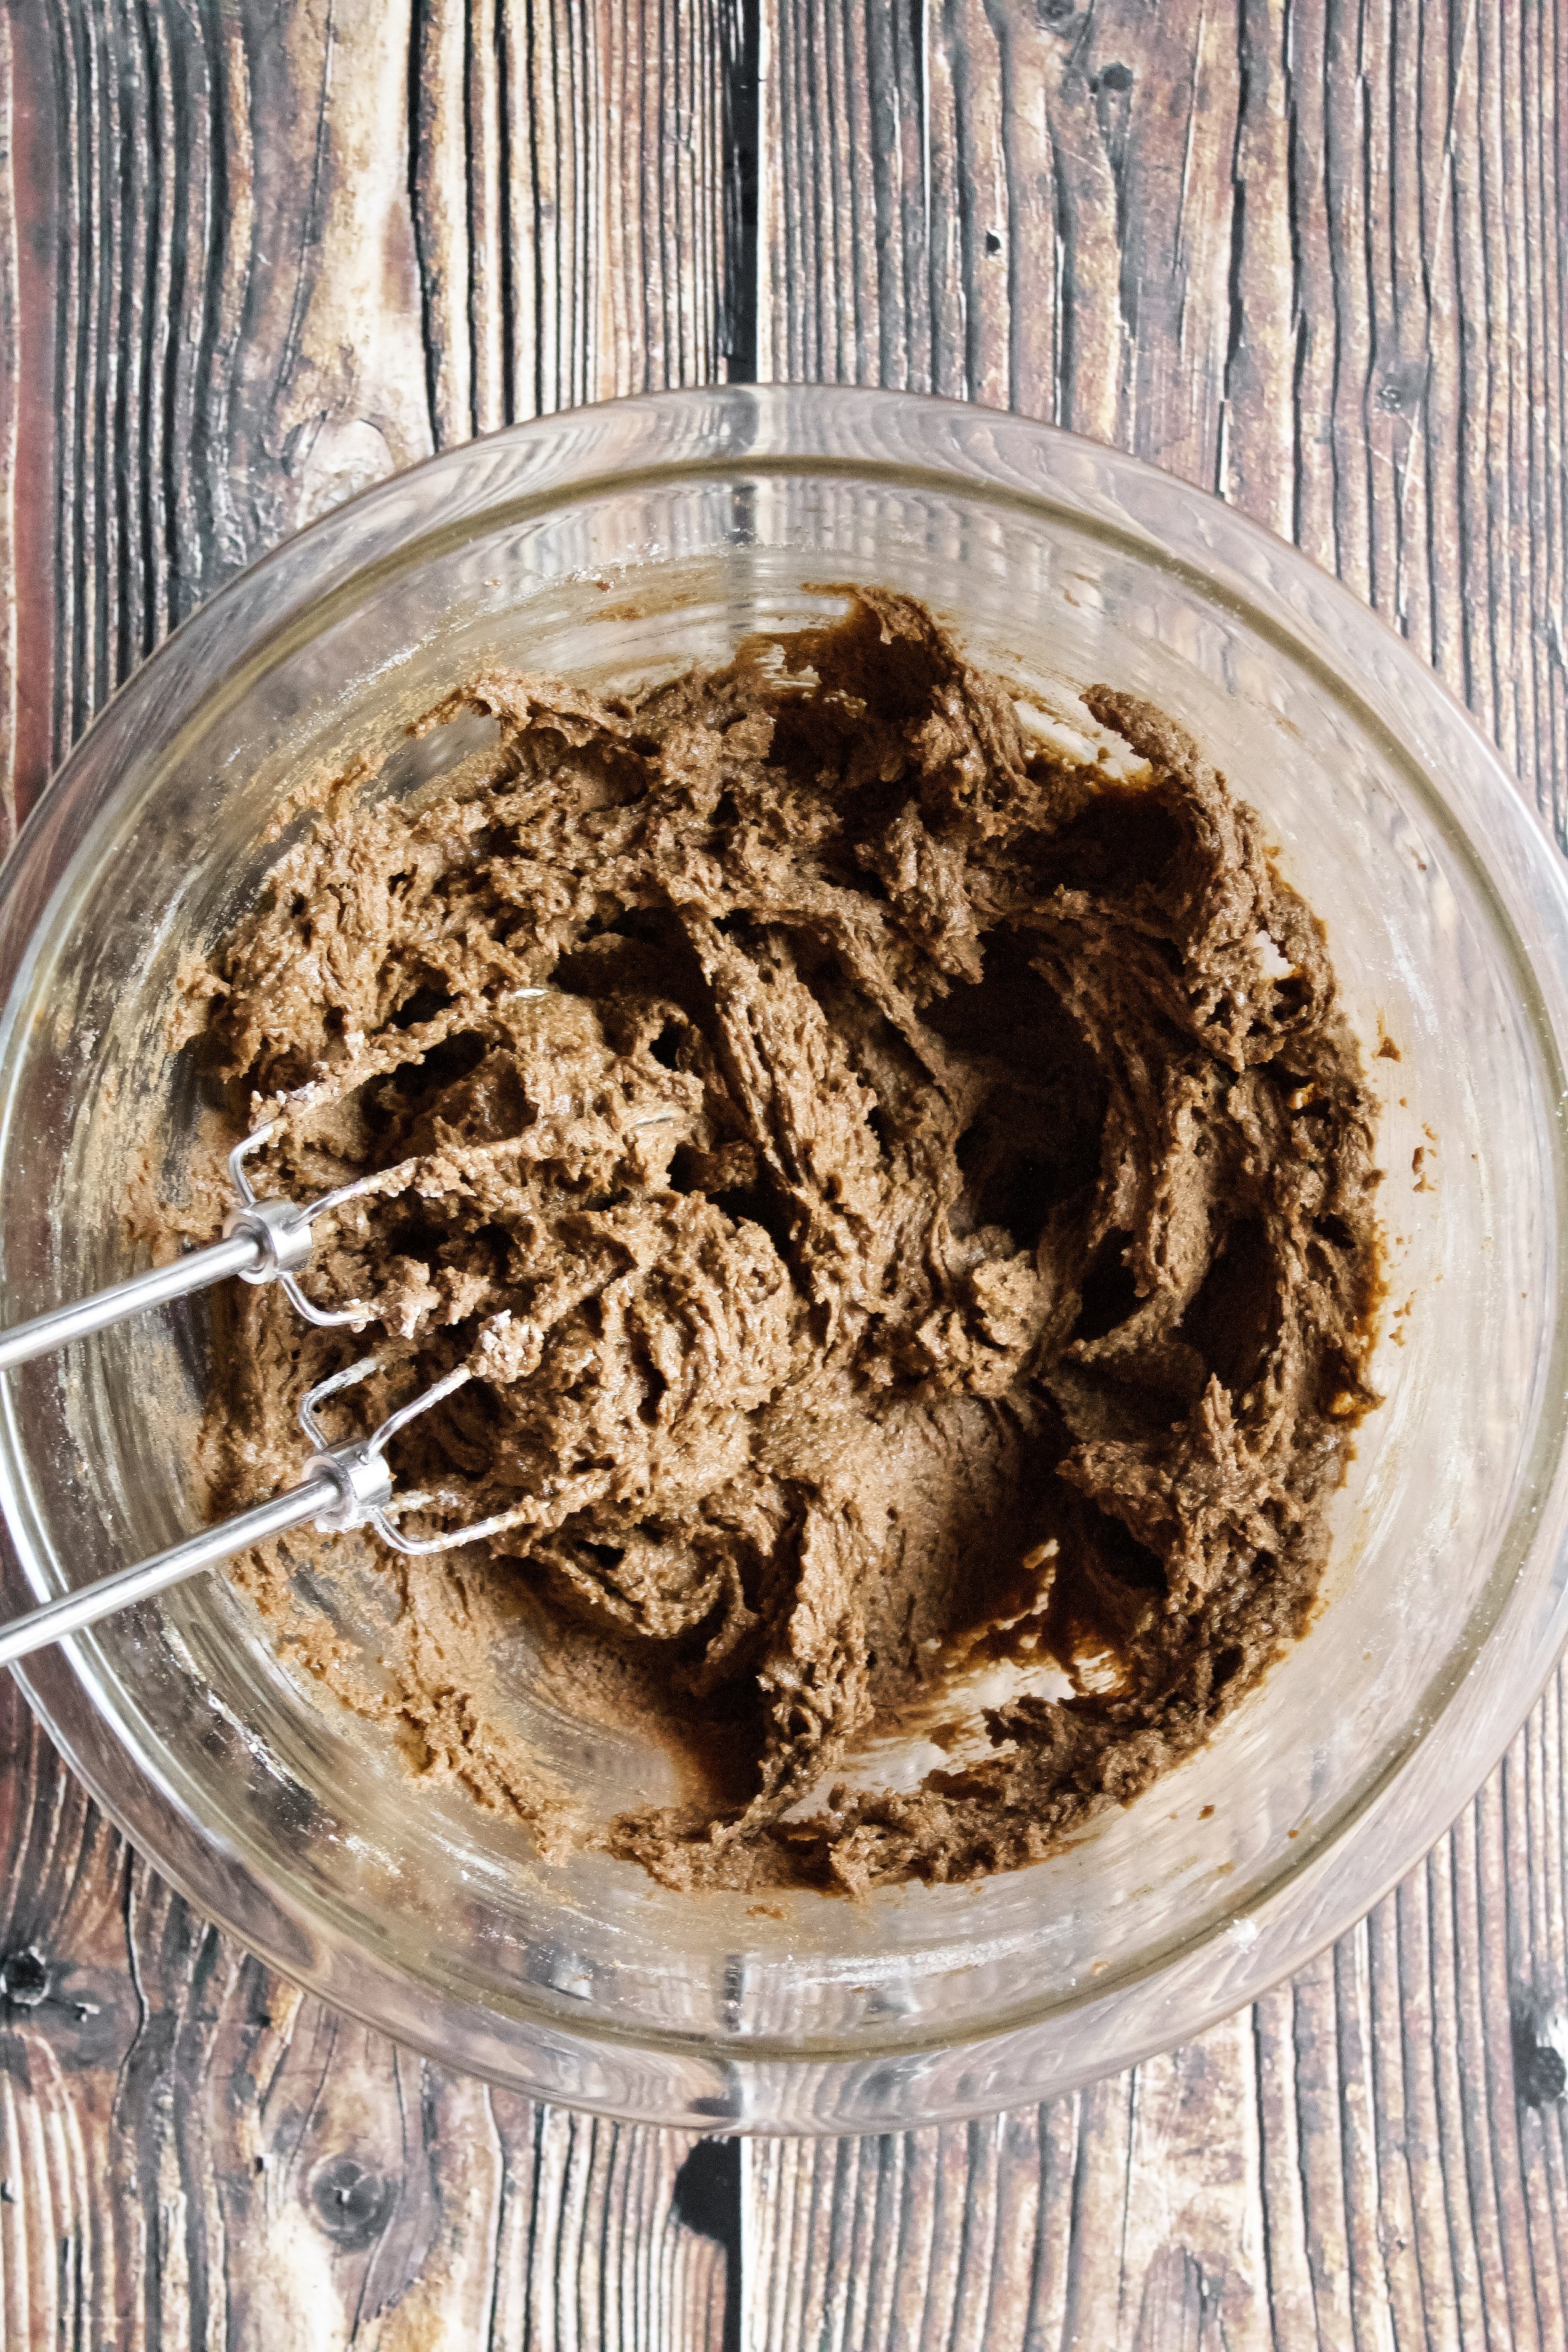
2. Beat butter and sugar. You want the sugar slightly dissolved and the mixture to be light and fluffy, so mix at least 3 minutes.
3. Add egg and vanilla then molasses. Beat until well-blended after each addition, about 30 seconds on medium.
4. Mix in dry ingredients. Mix on low until just barely combined.


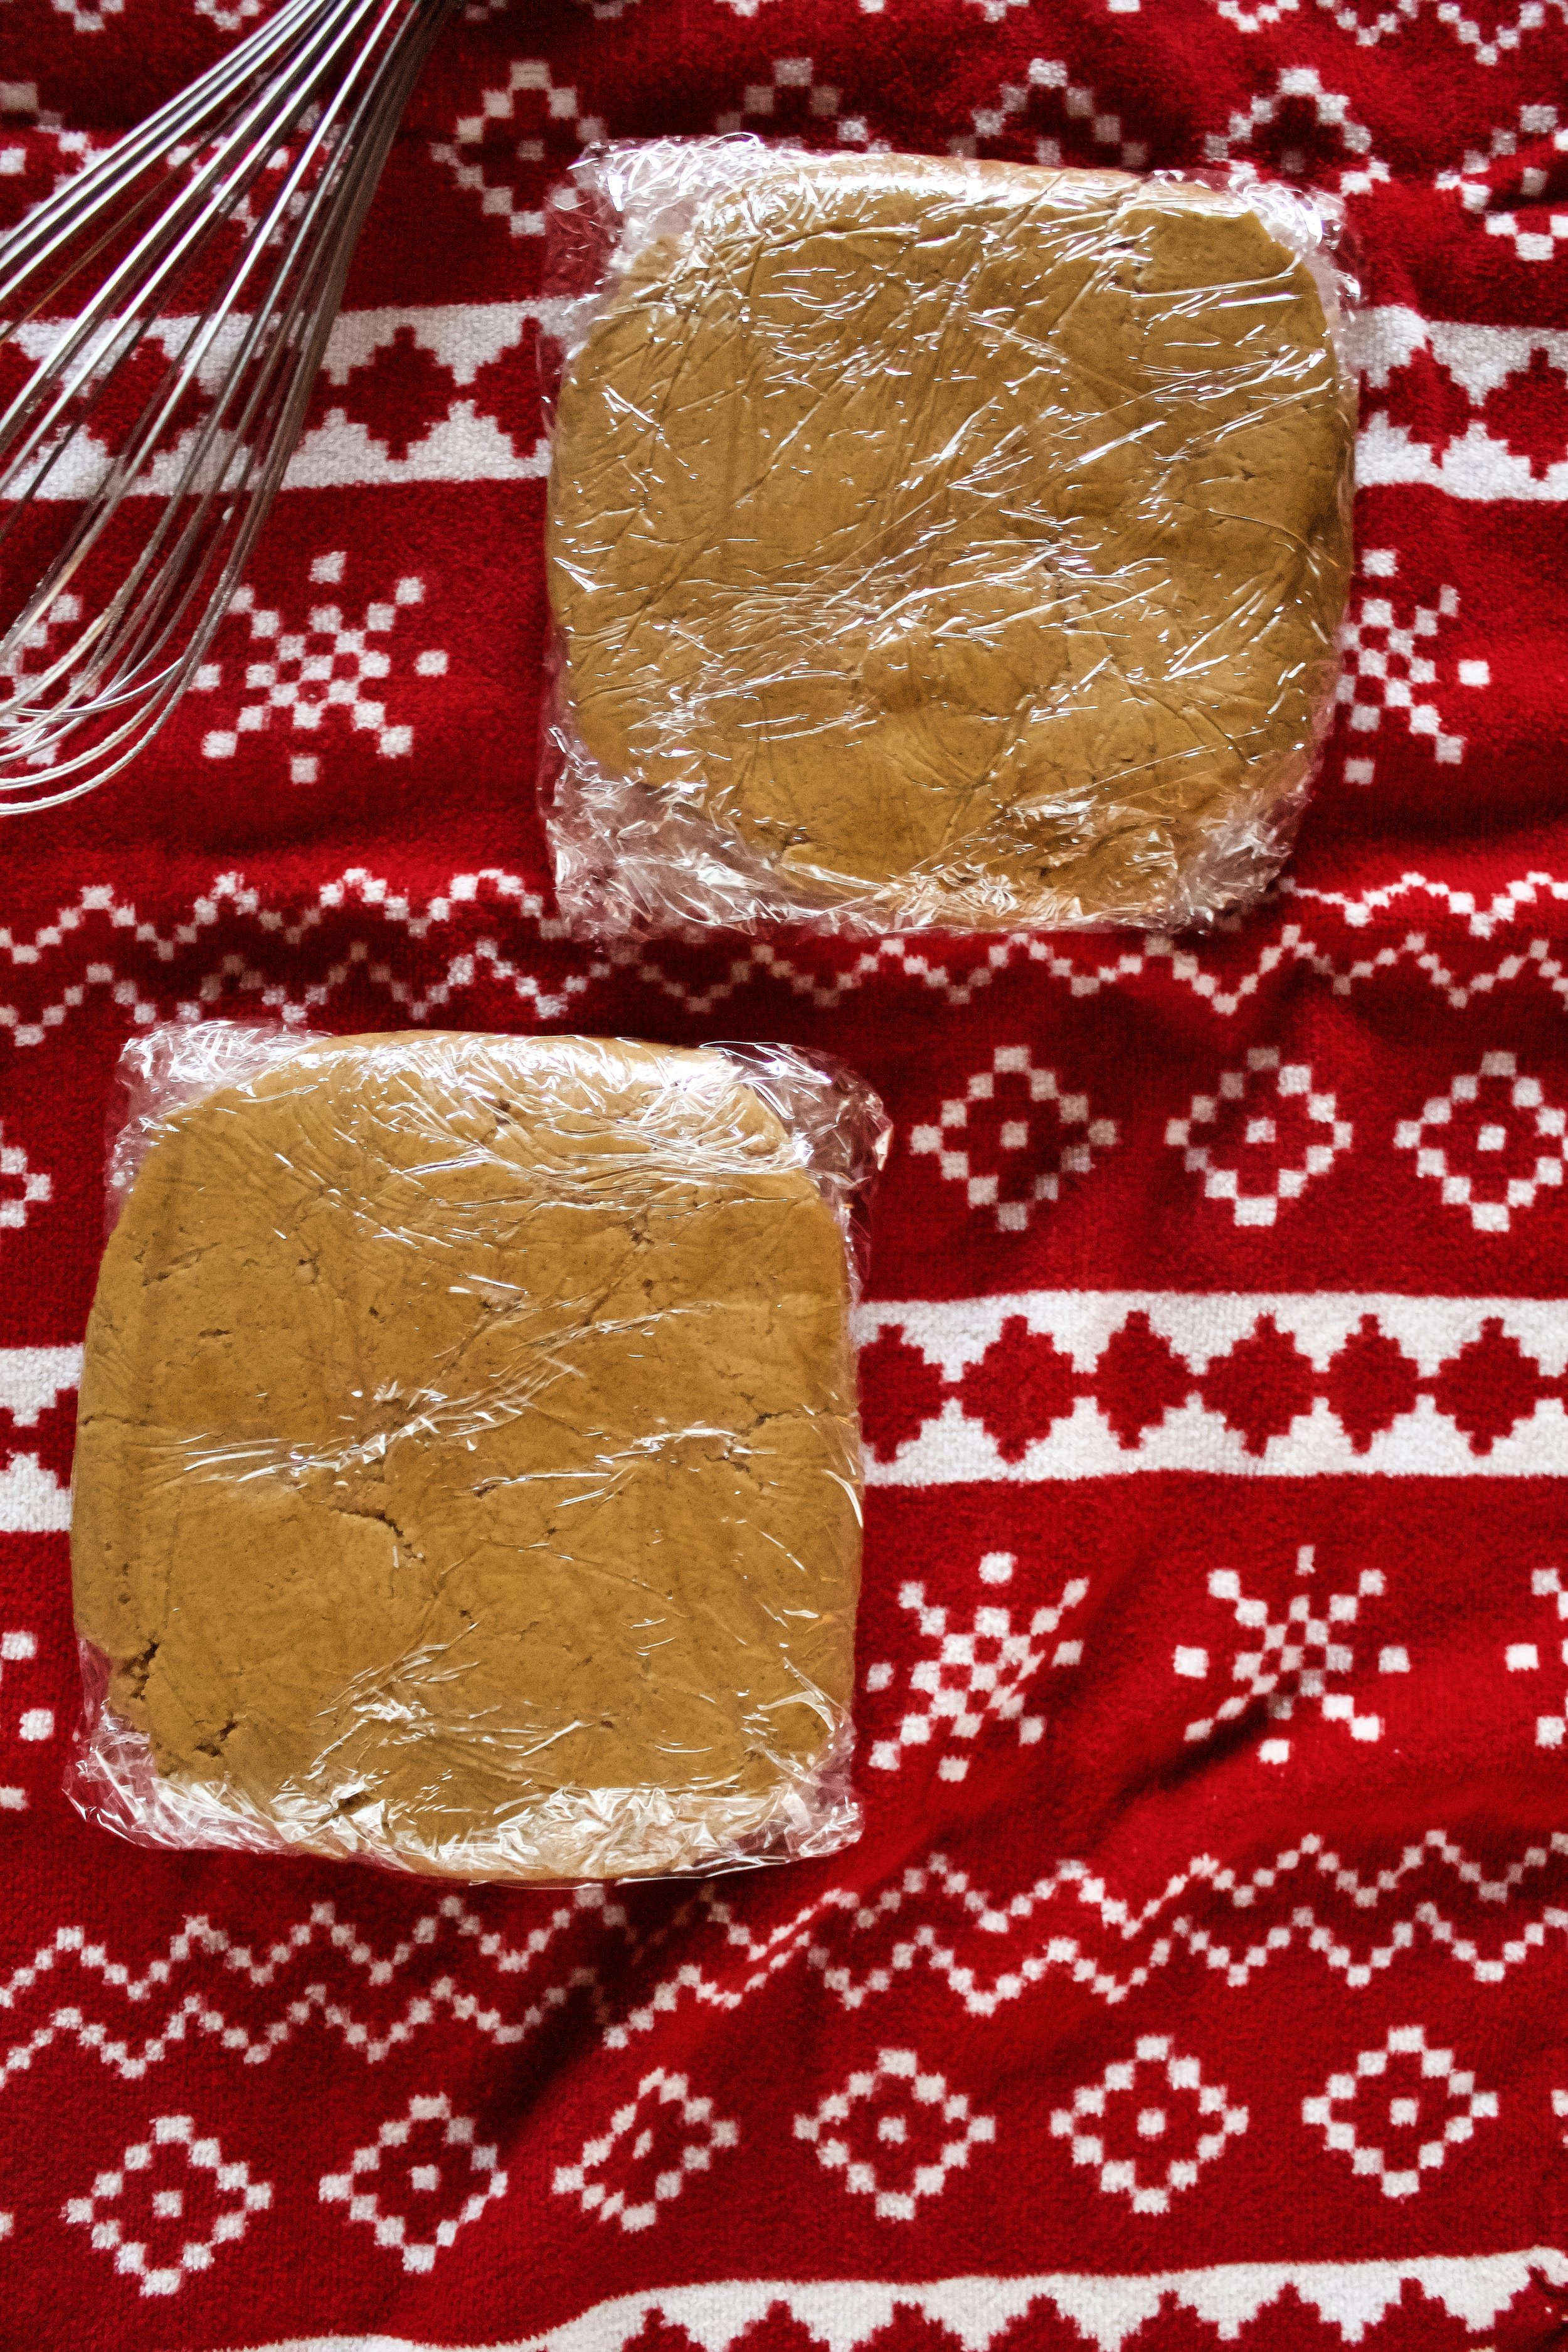
5. Chill. This step is optional, but it makes it much easier to roll the cookies out. Just shape into a couple of discs, cover in plastic wrap, and chill at least an hour or up to 3 days (you can freeze it up to 2 months). If you’re pressed for time, feel free to just roll them right away, but use a little extra flour and roll between two pieces of parchment.
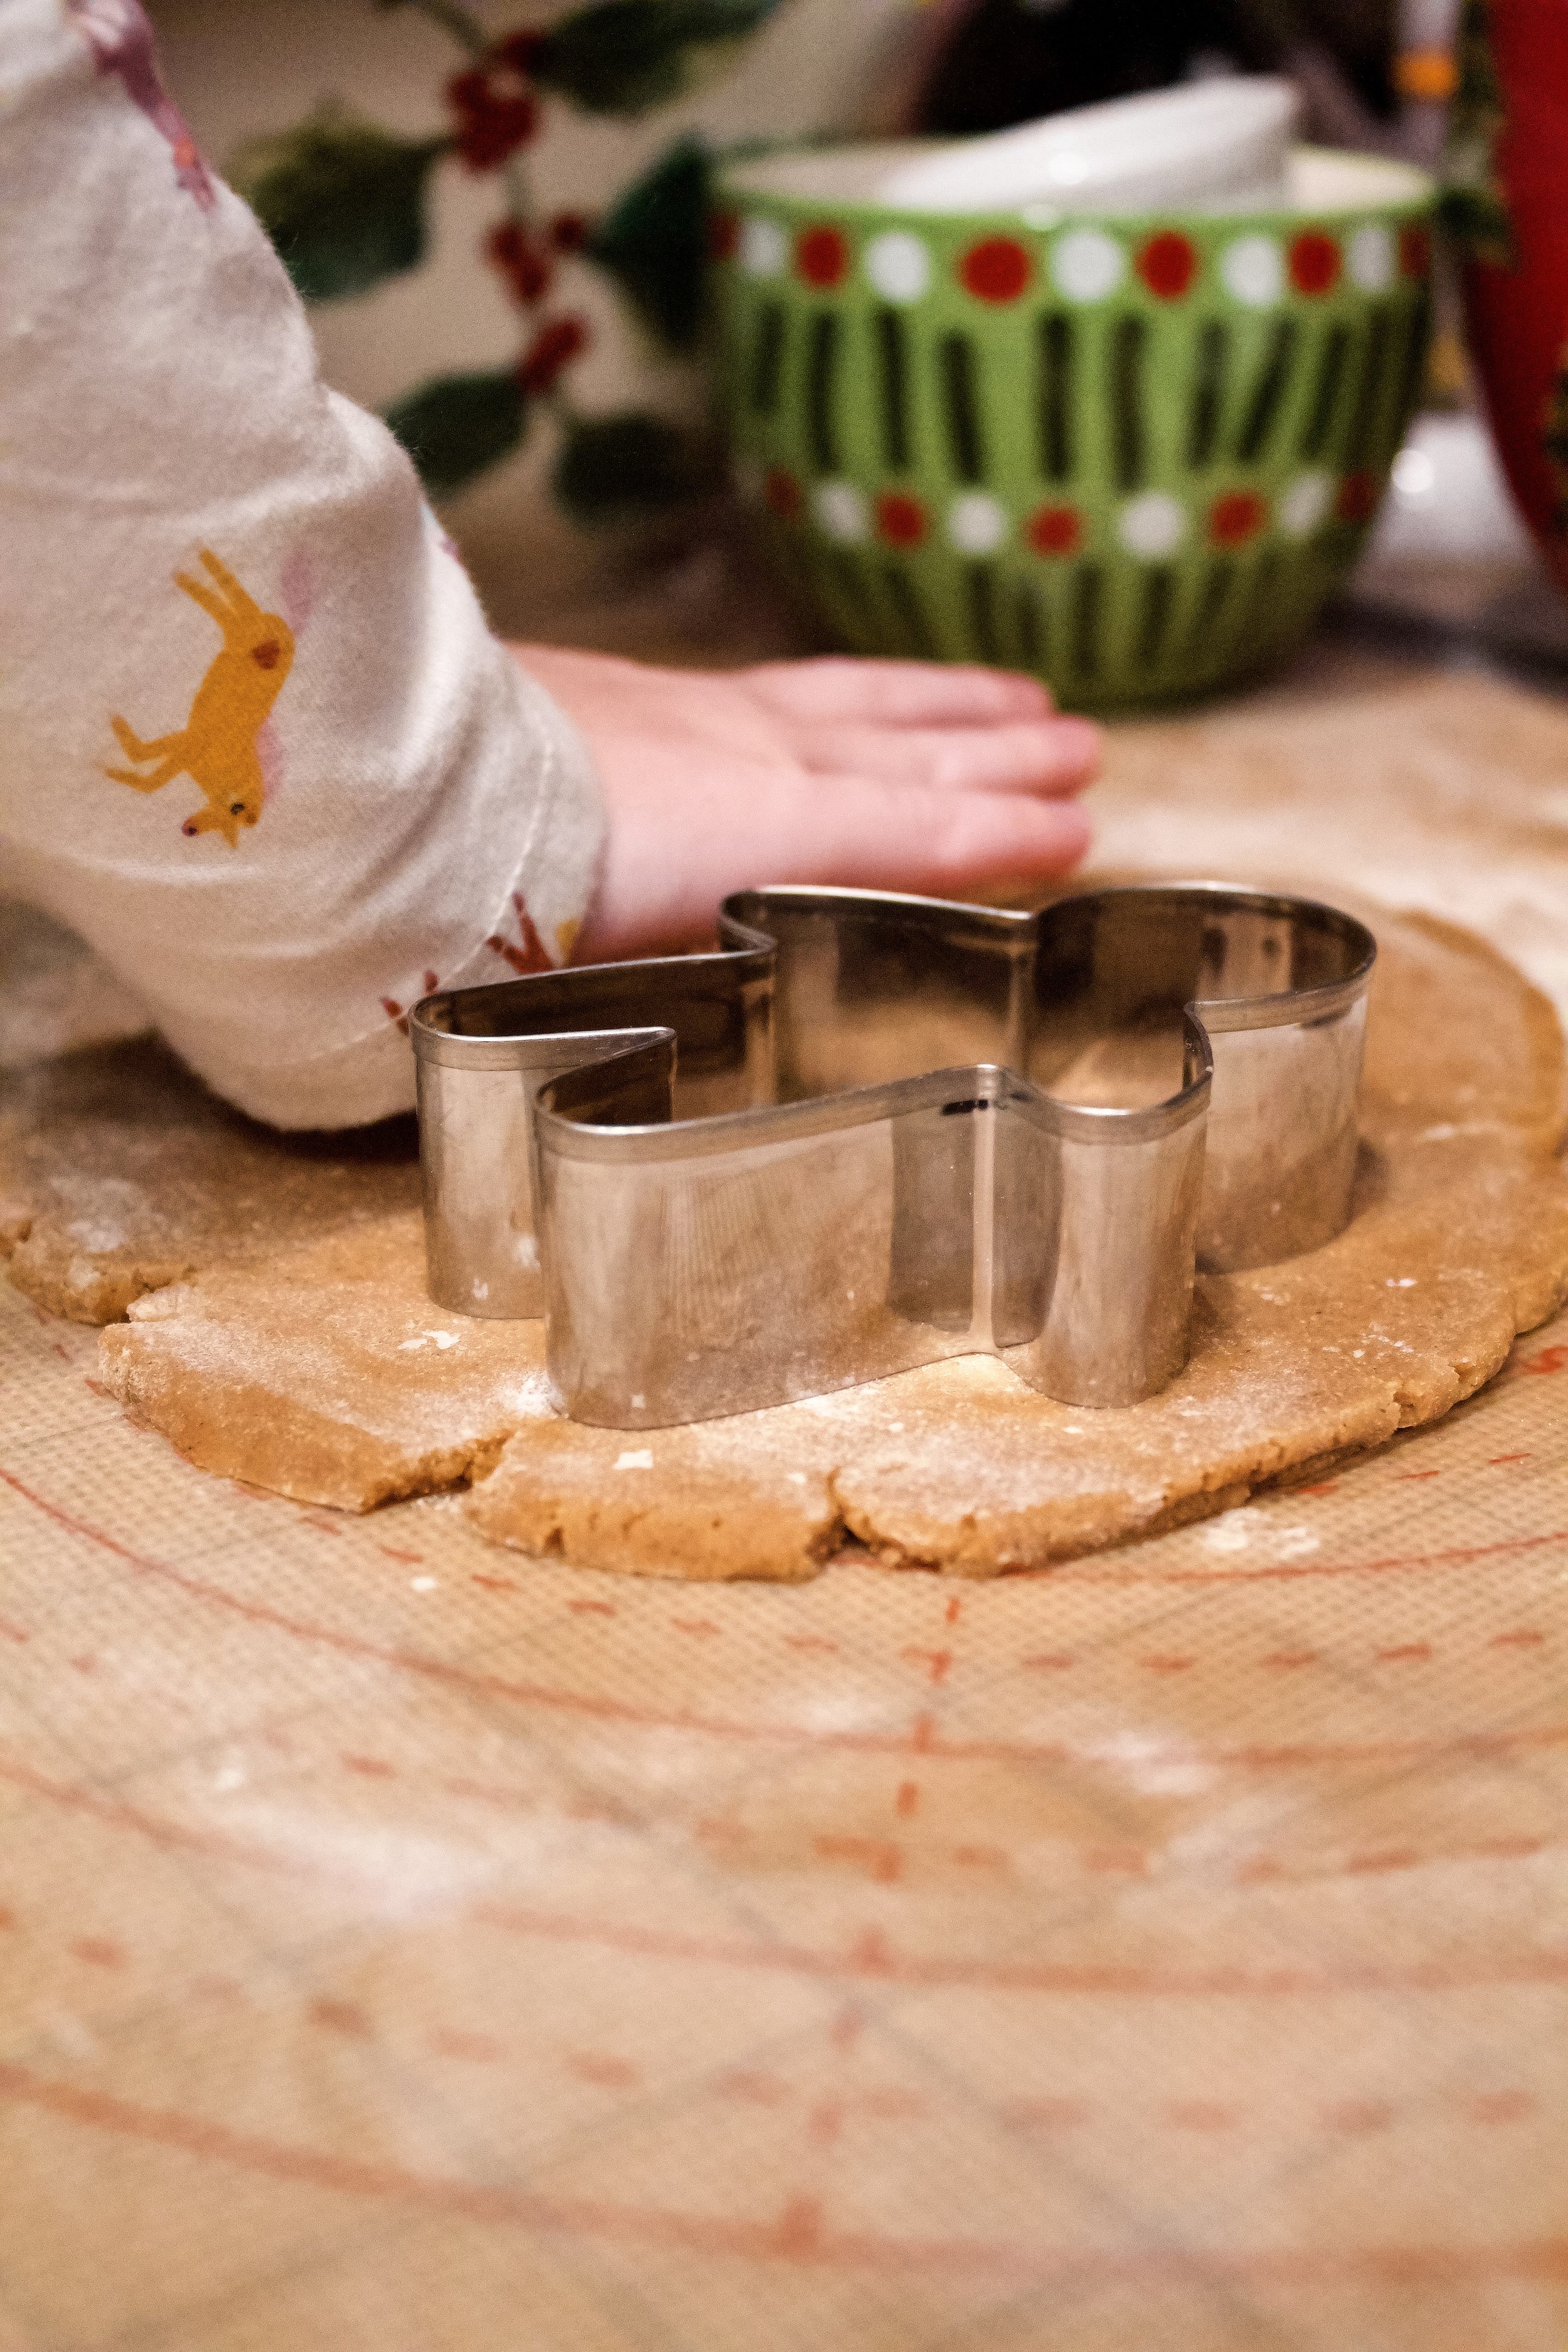
6. Roll out to at least 1/8” and cut. This recipe makes quite a few cookies, so don’t feel you need to roll them out too thin. At least 1/8” thick is ideal. I recommend flipping and rotating (adding flour as needed) as you go, to ensure the cookies don’t stick to your mat. You can also roll these out between two pieces of parchment, but not before adding some flour to both sides. If you choose not to chill these, you’ll want to freeze them for a few minutes after cutting (and possibly before if the shapes won’t come out).
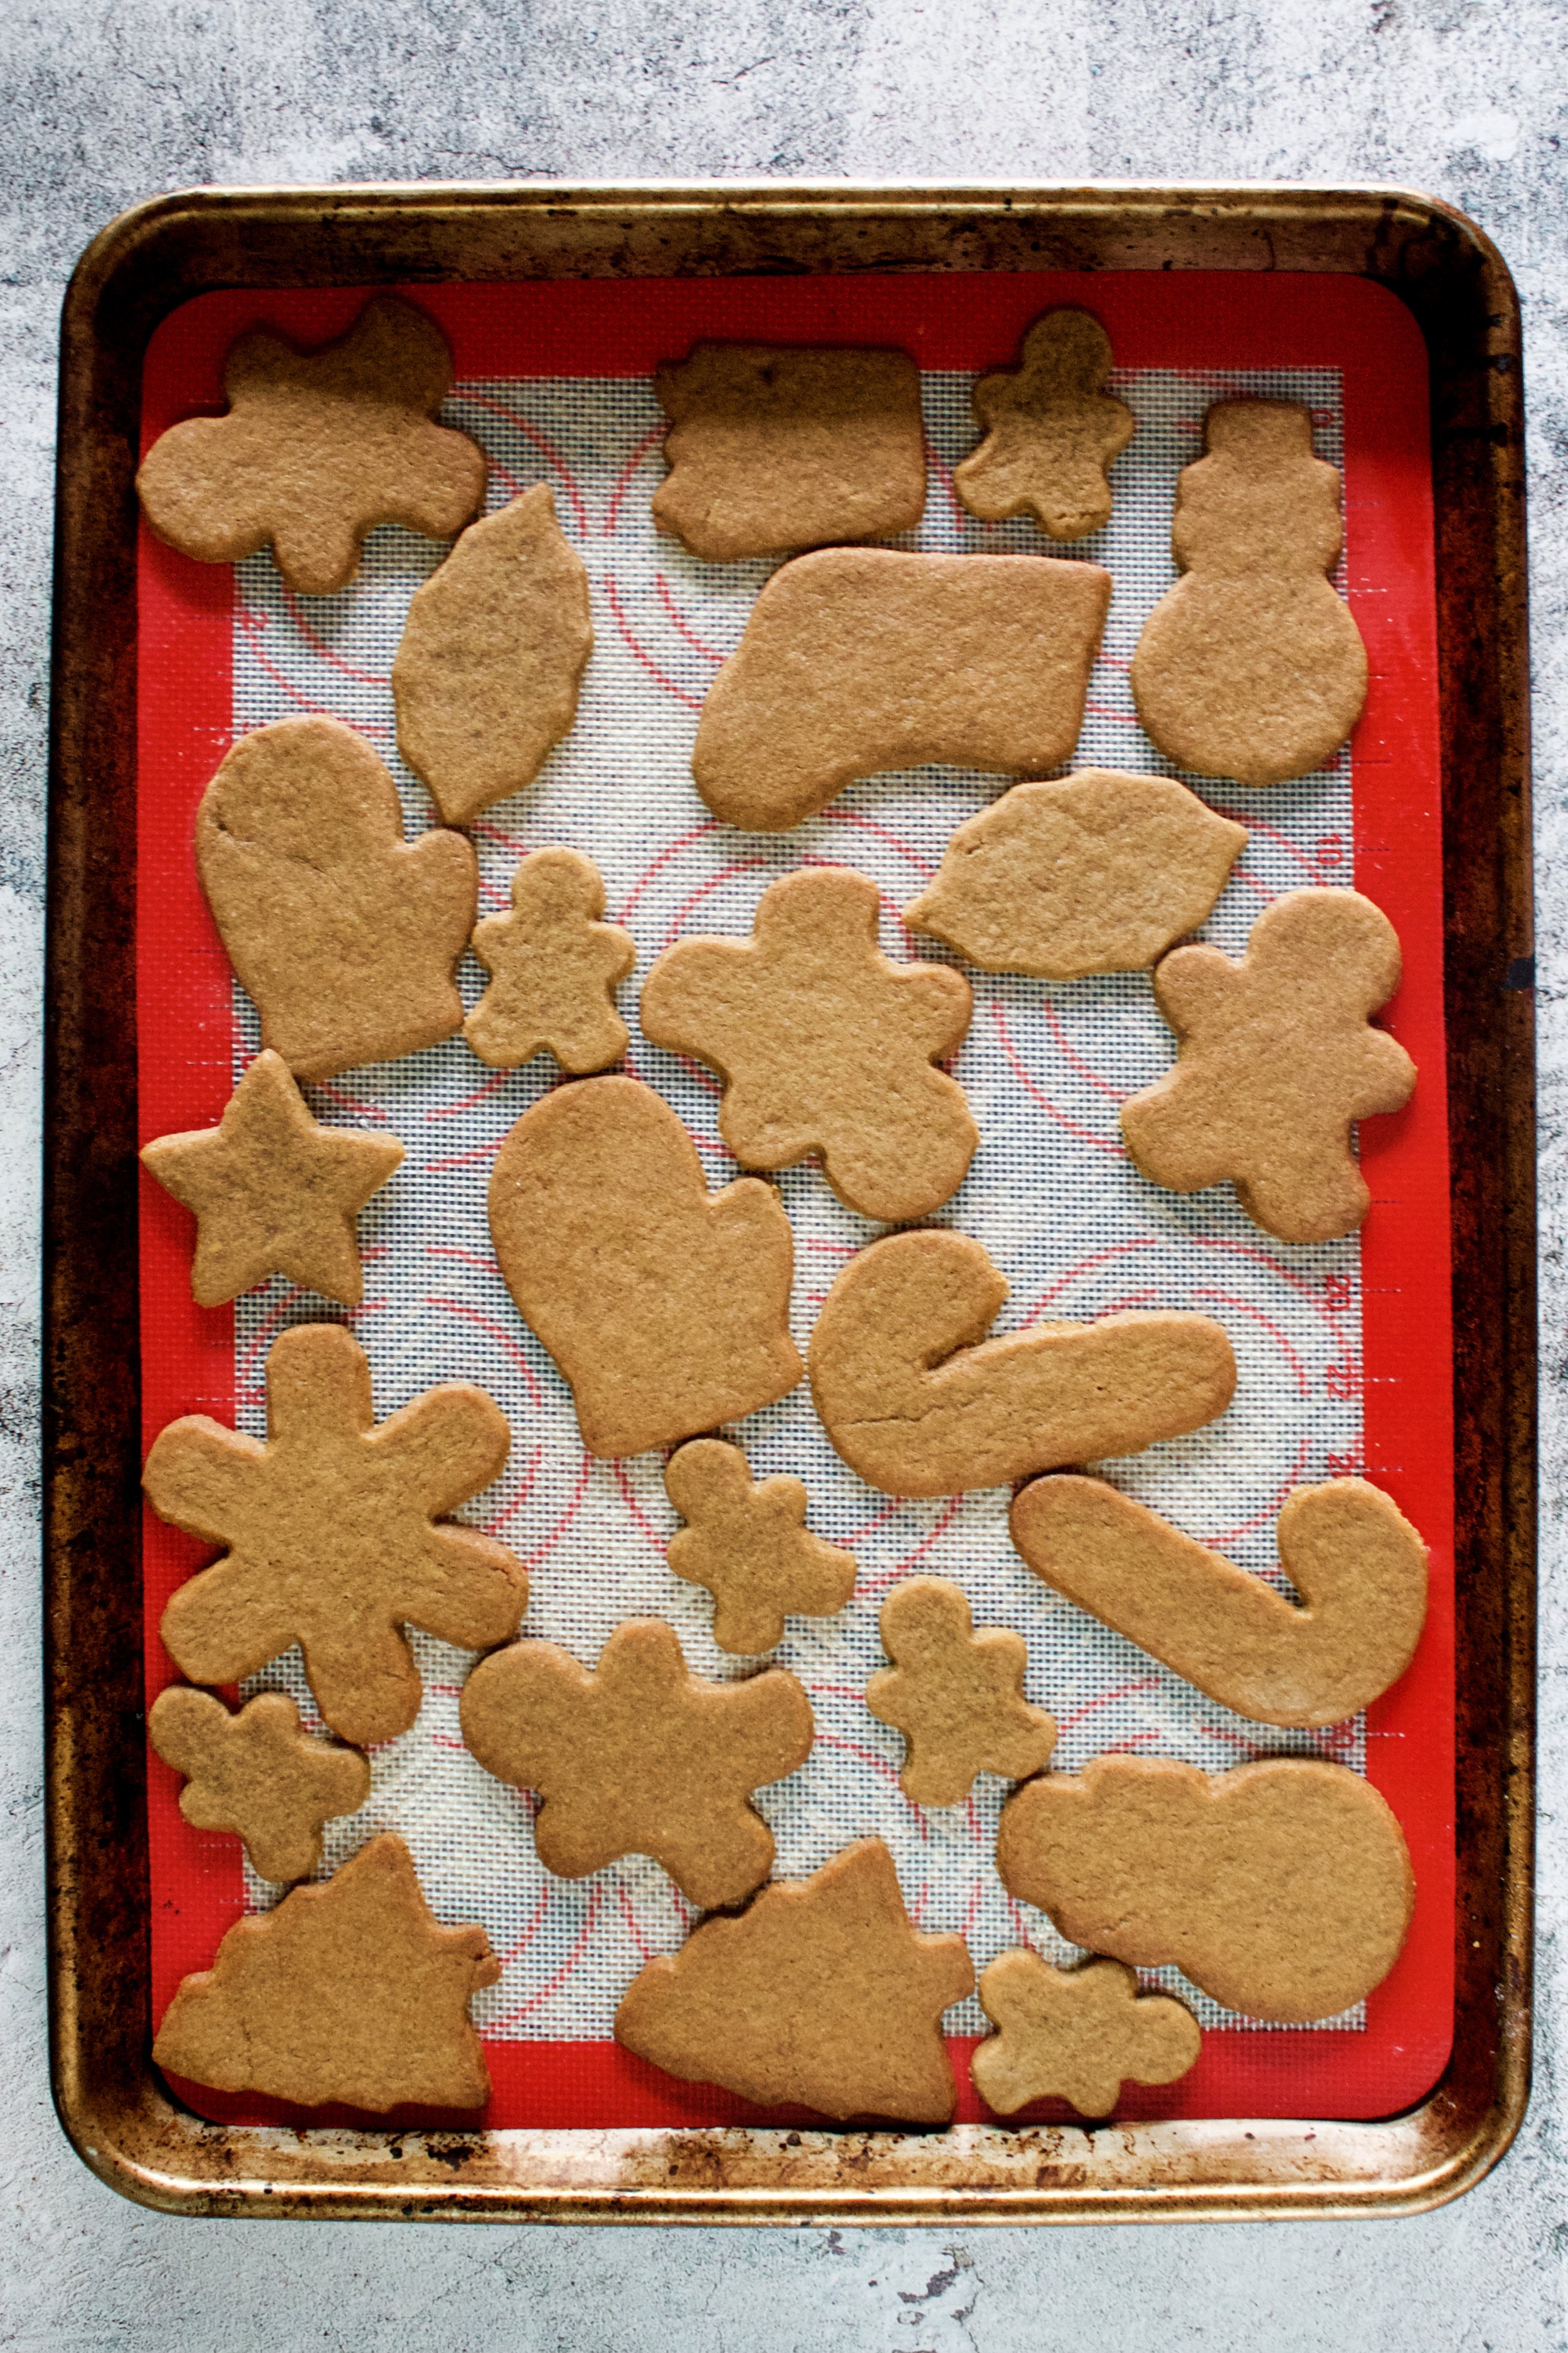
7. Bake. Place cookies 2” apart on your prepared cookie sheet and bake until no longer matte on top and the edges begin to darken. Don’t underbake!
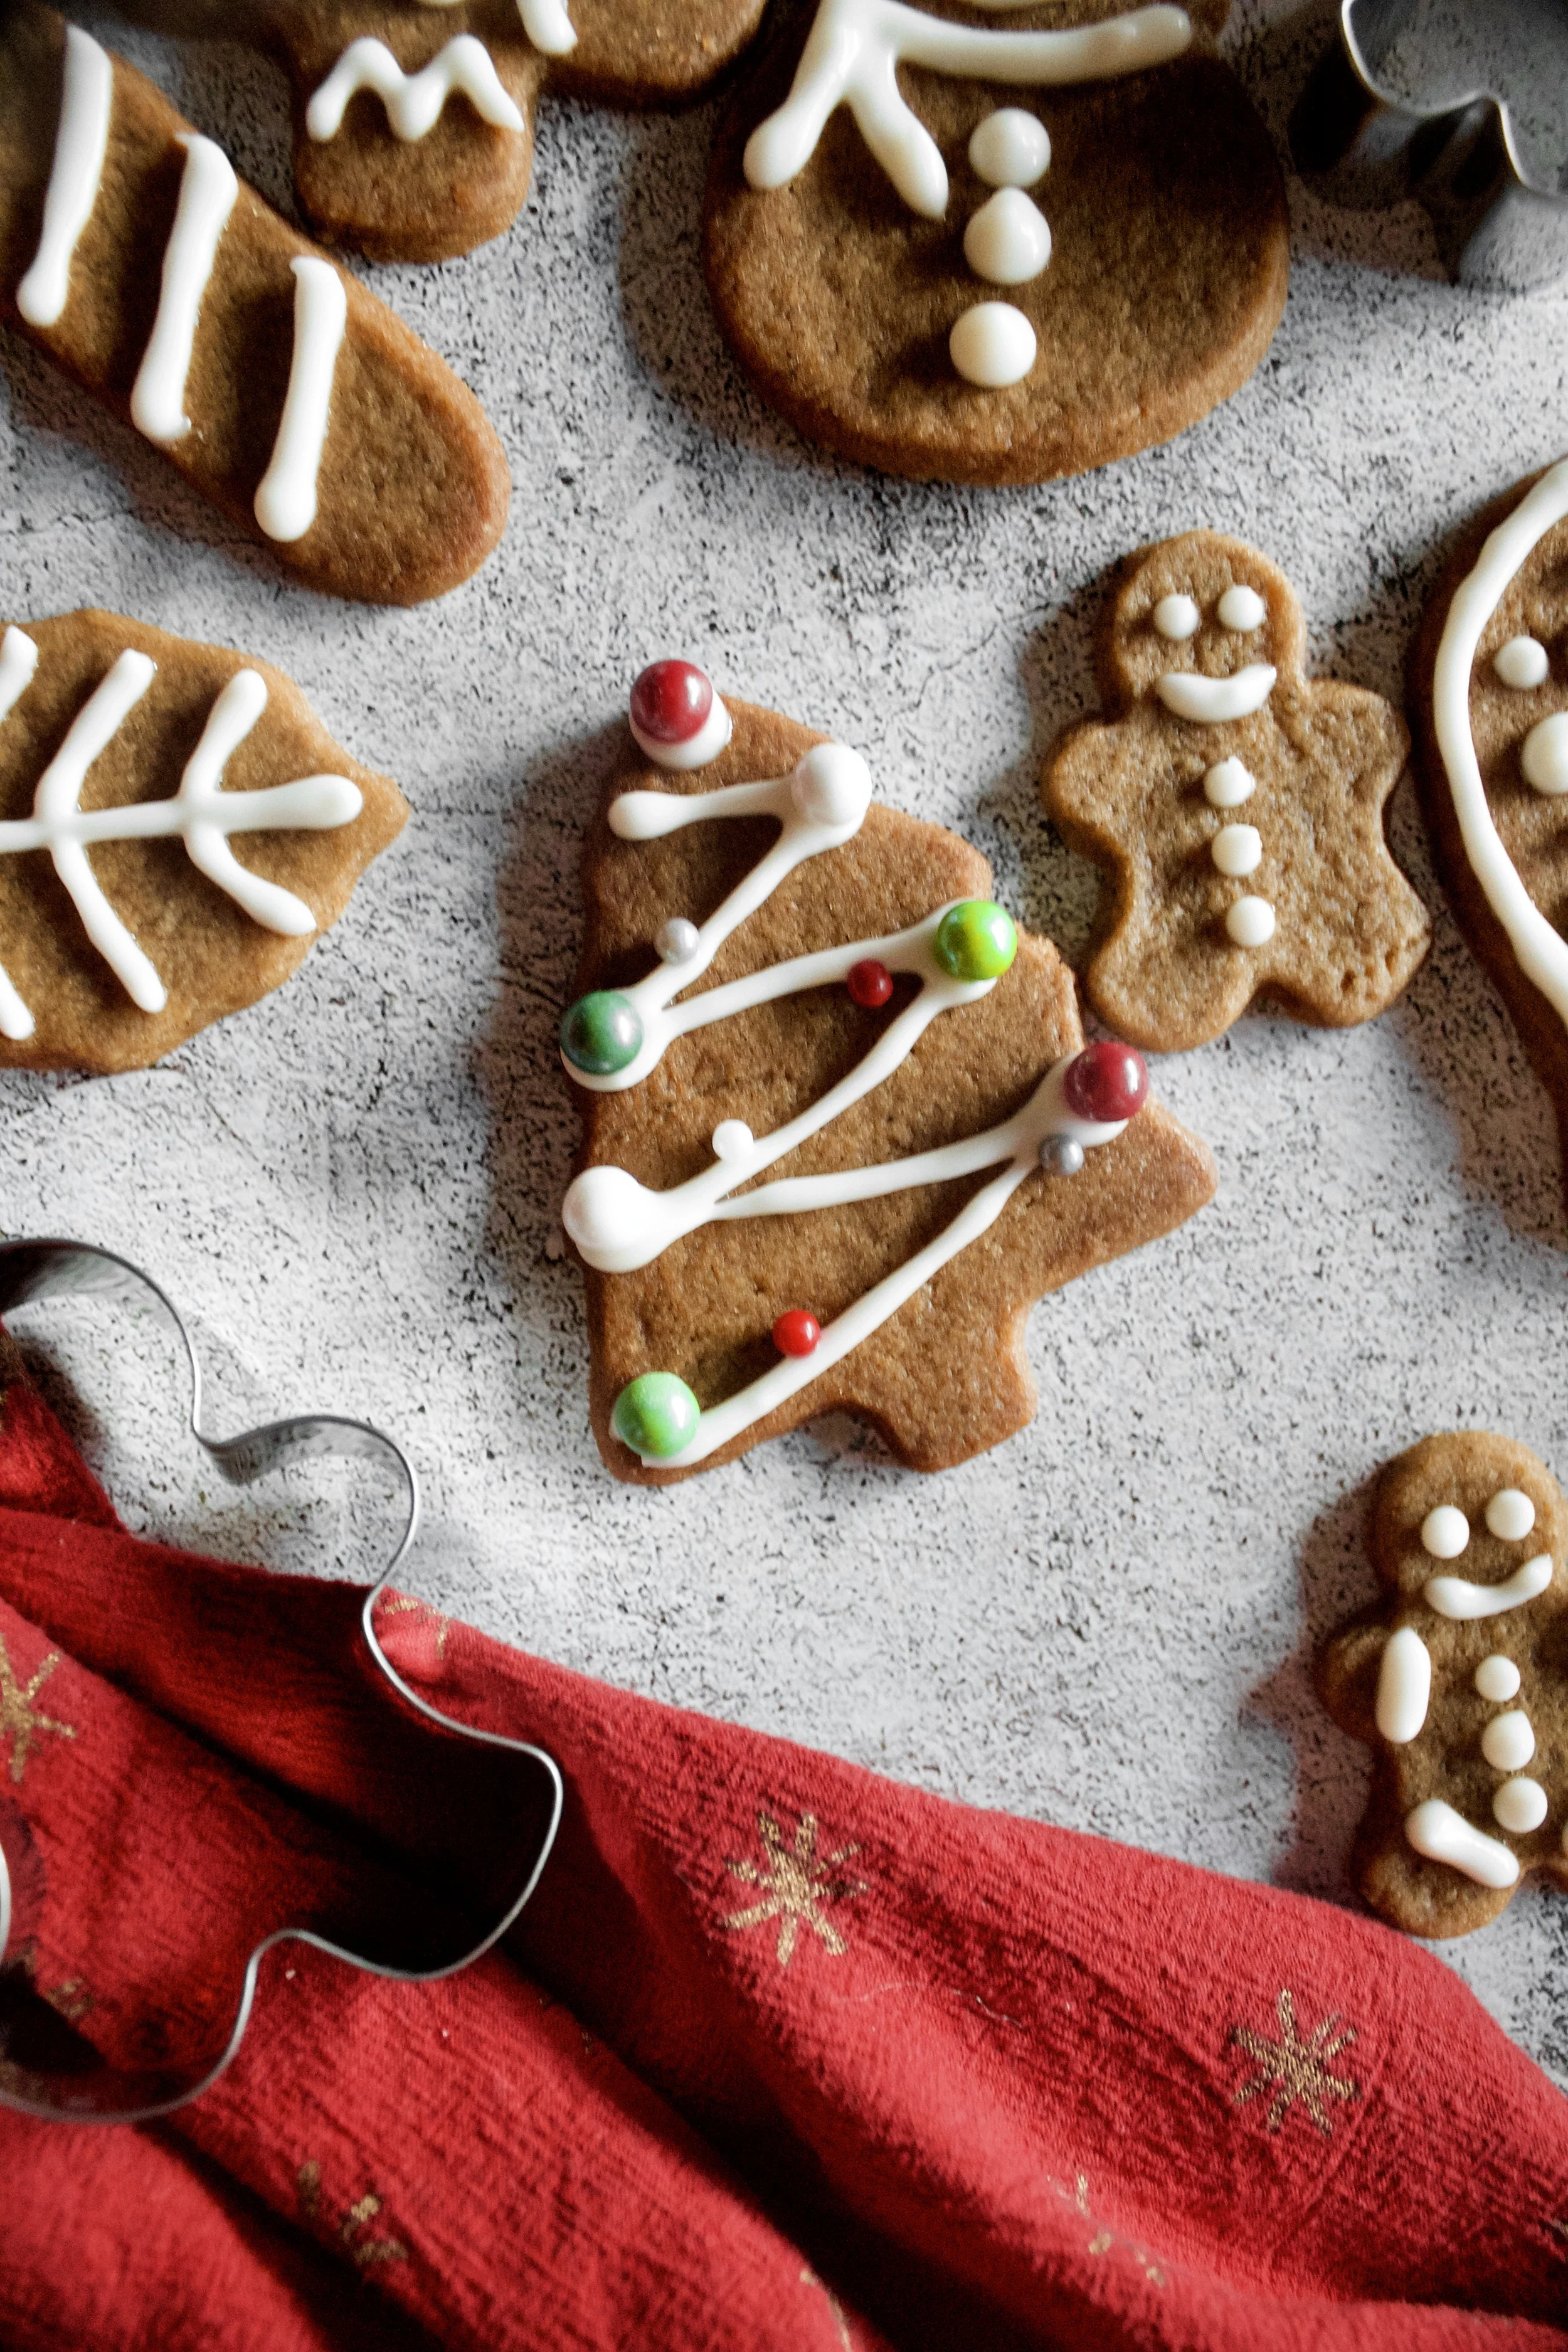
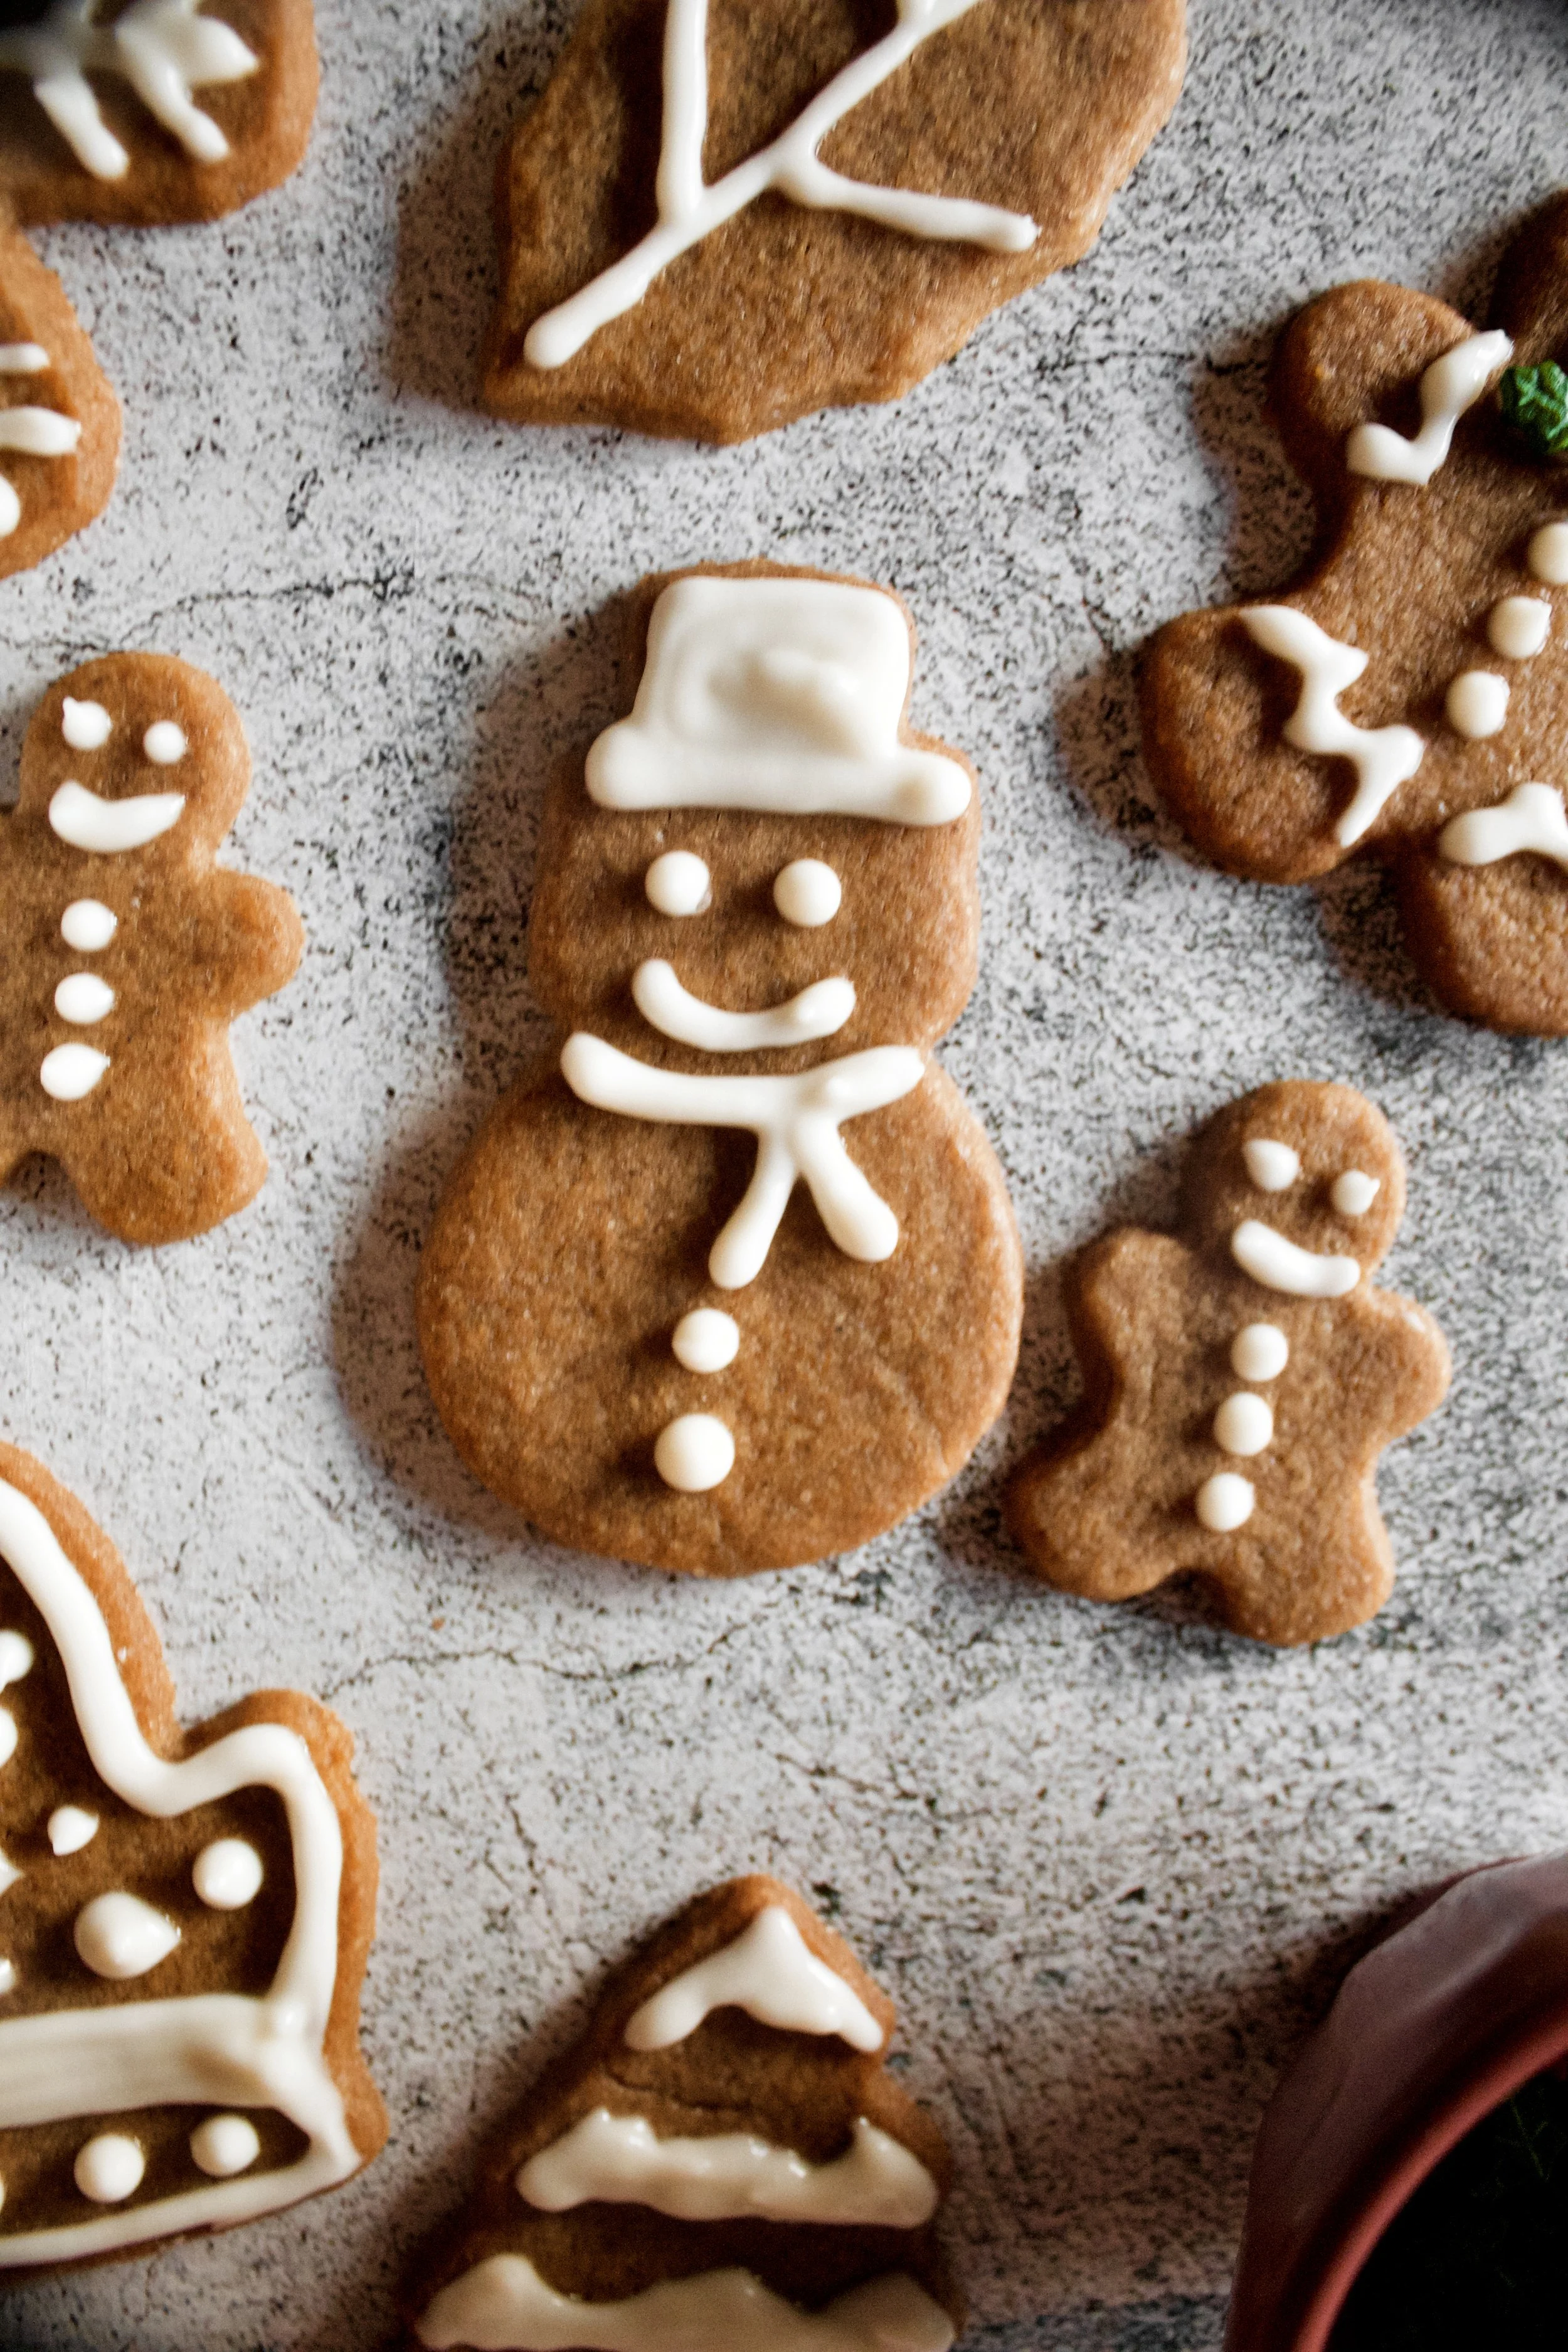
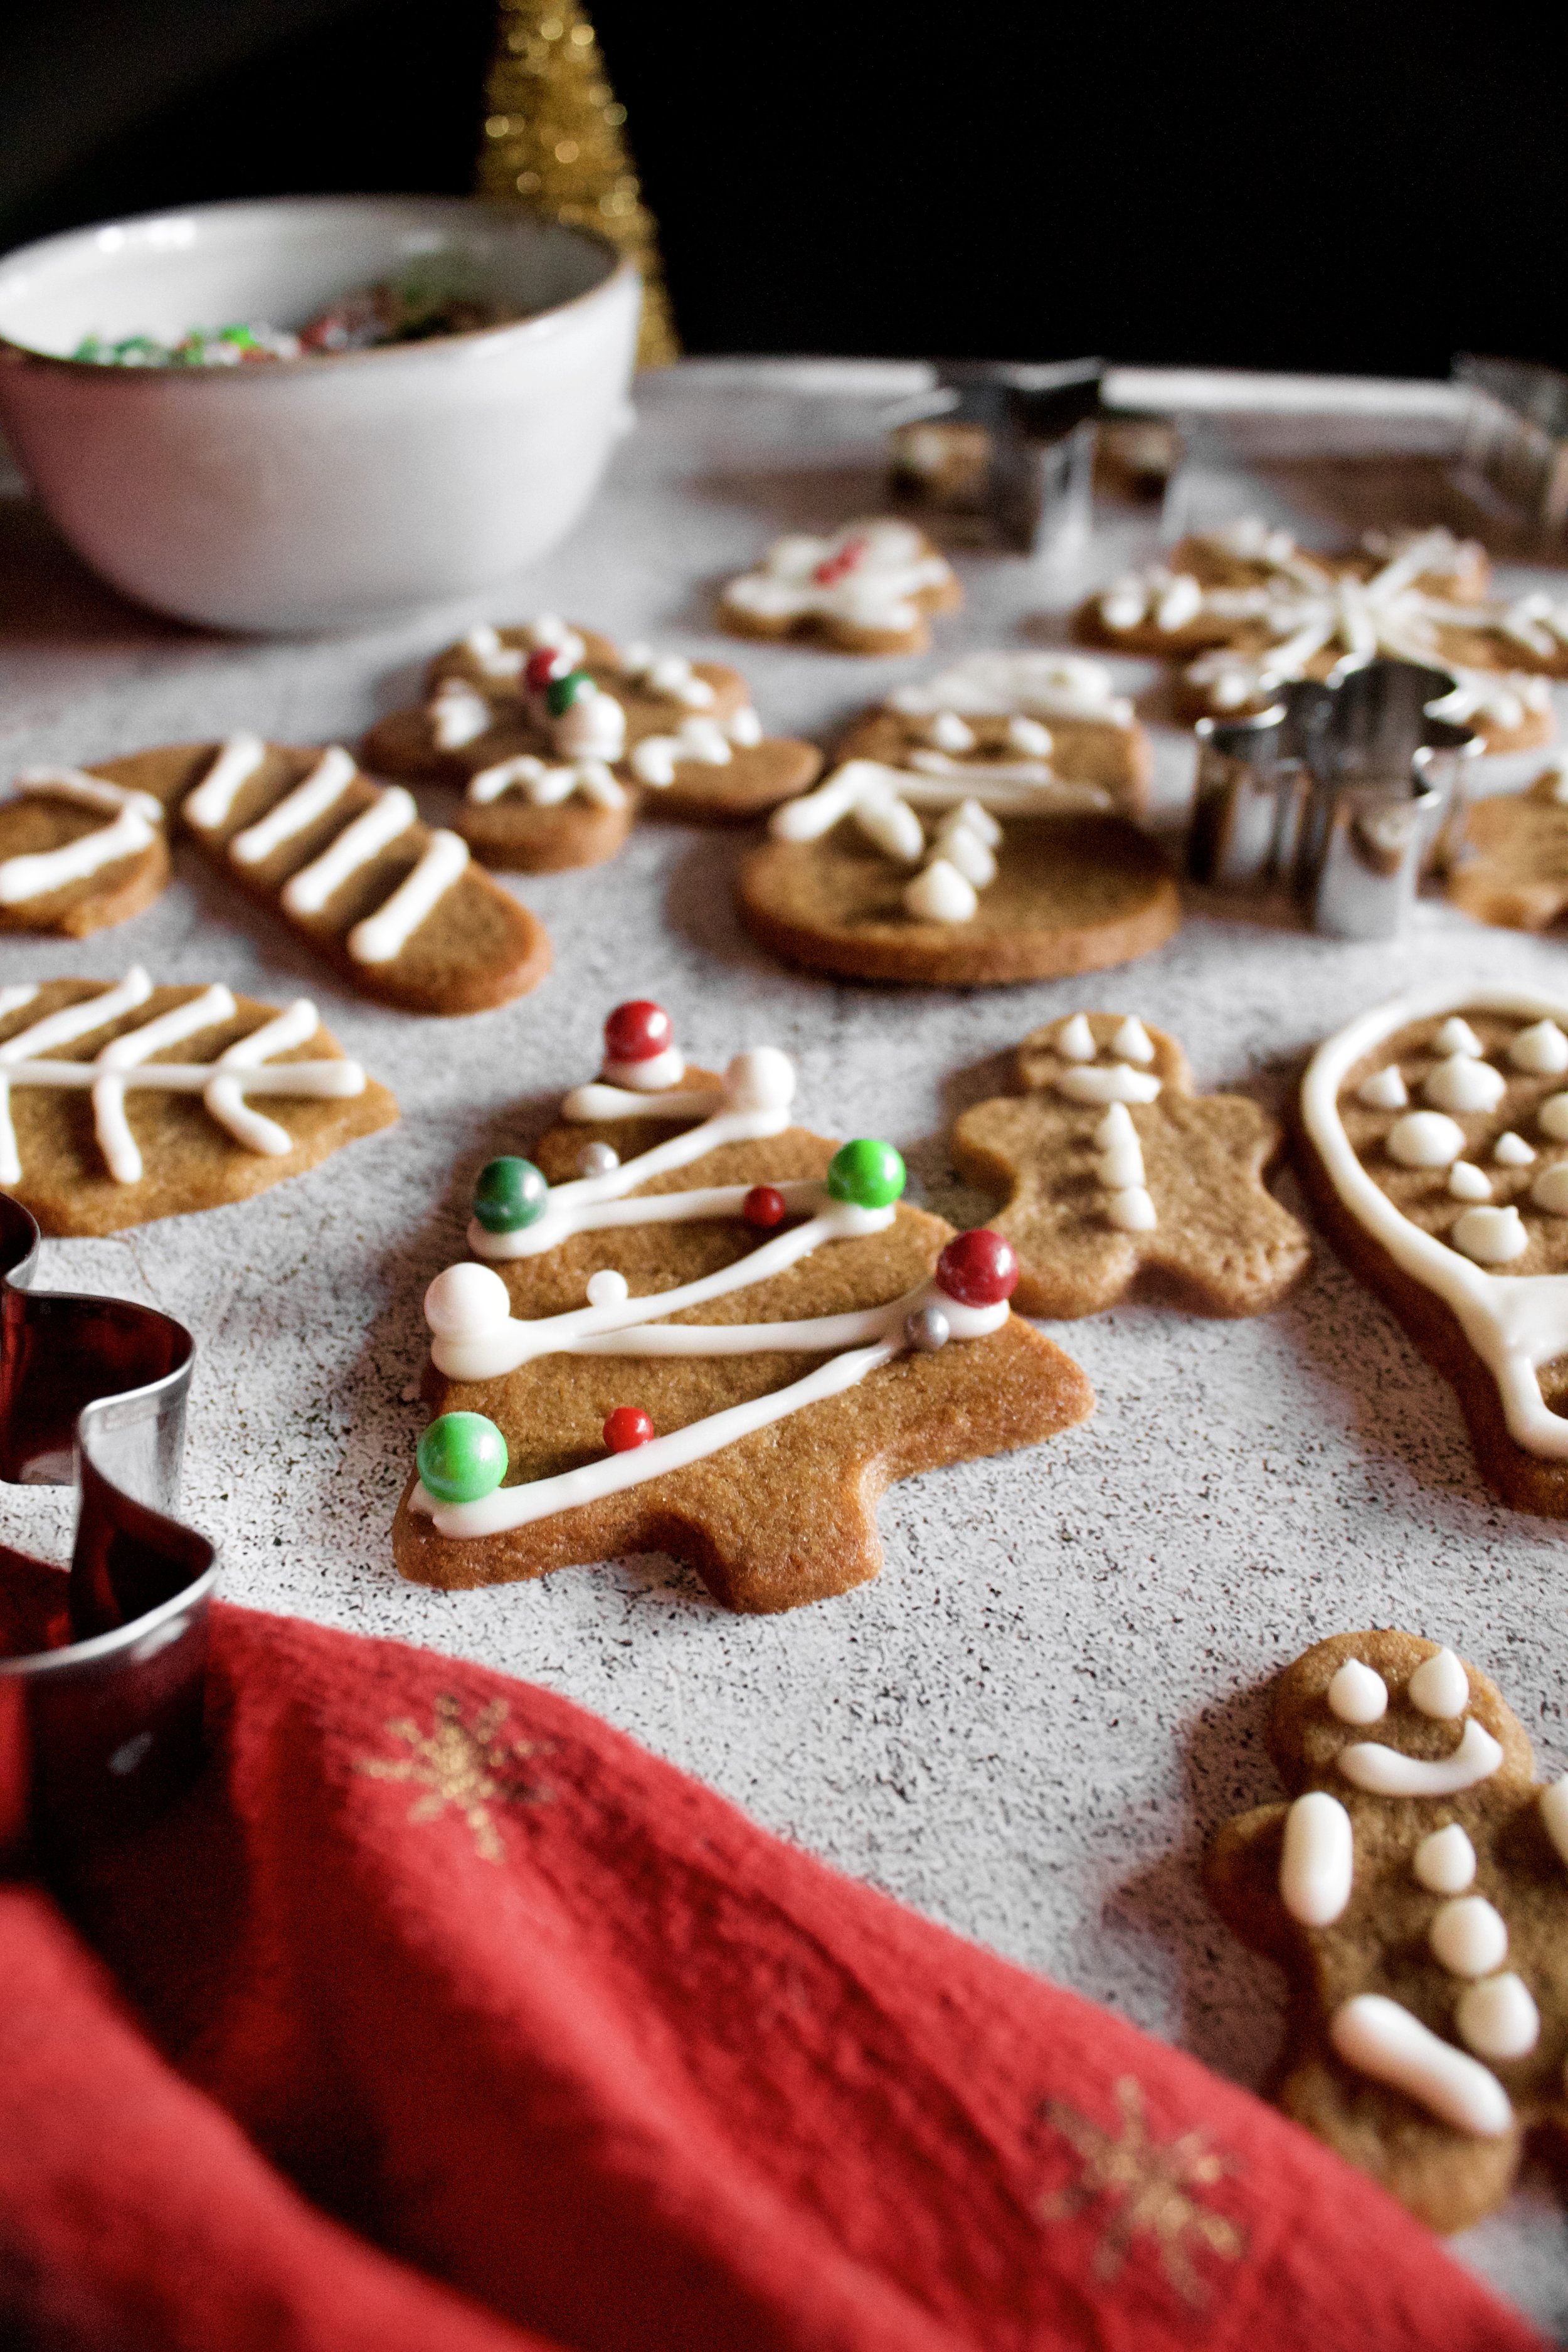
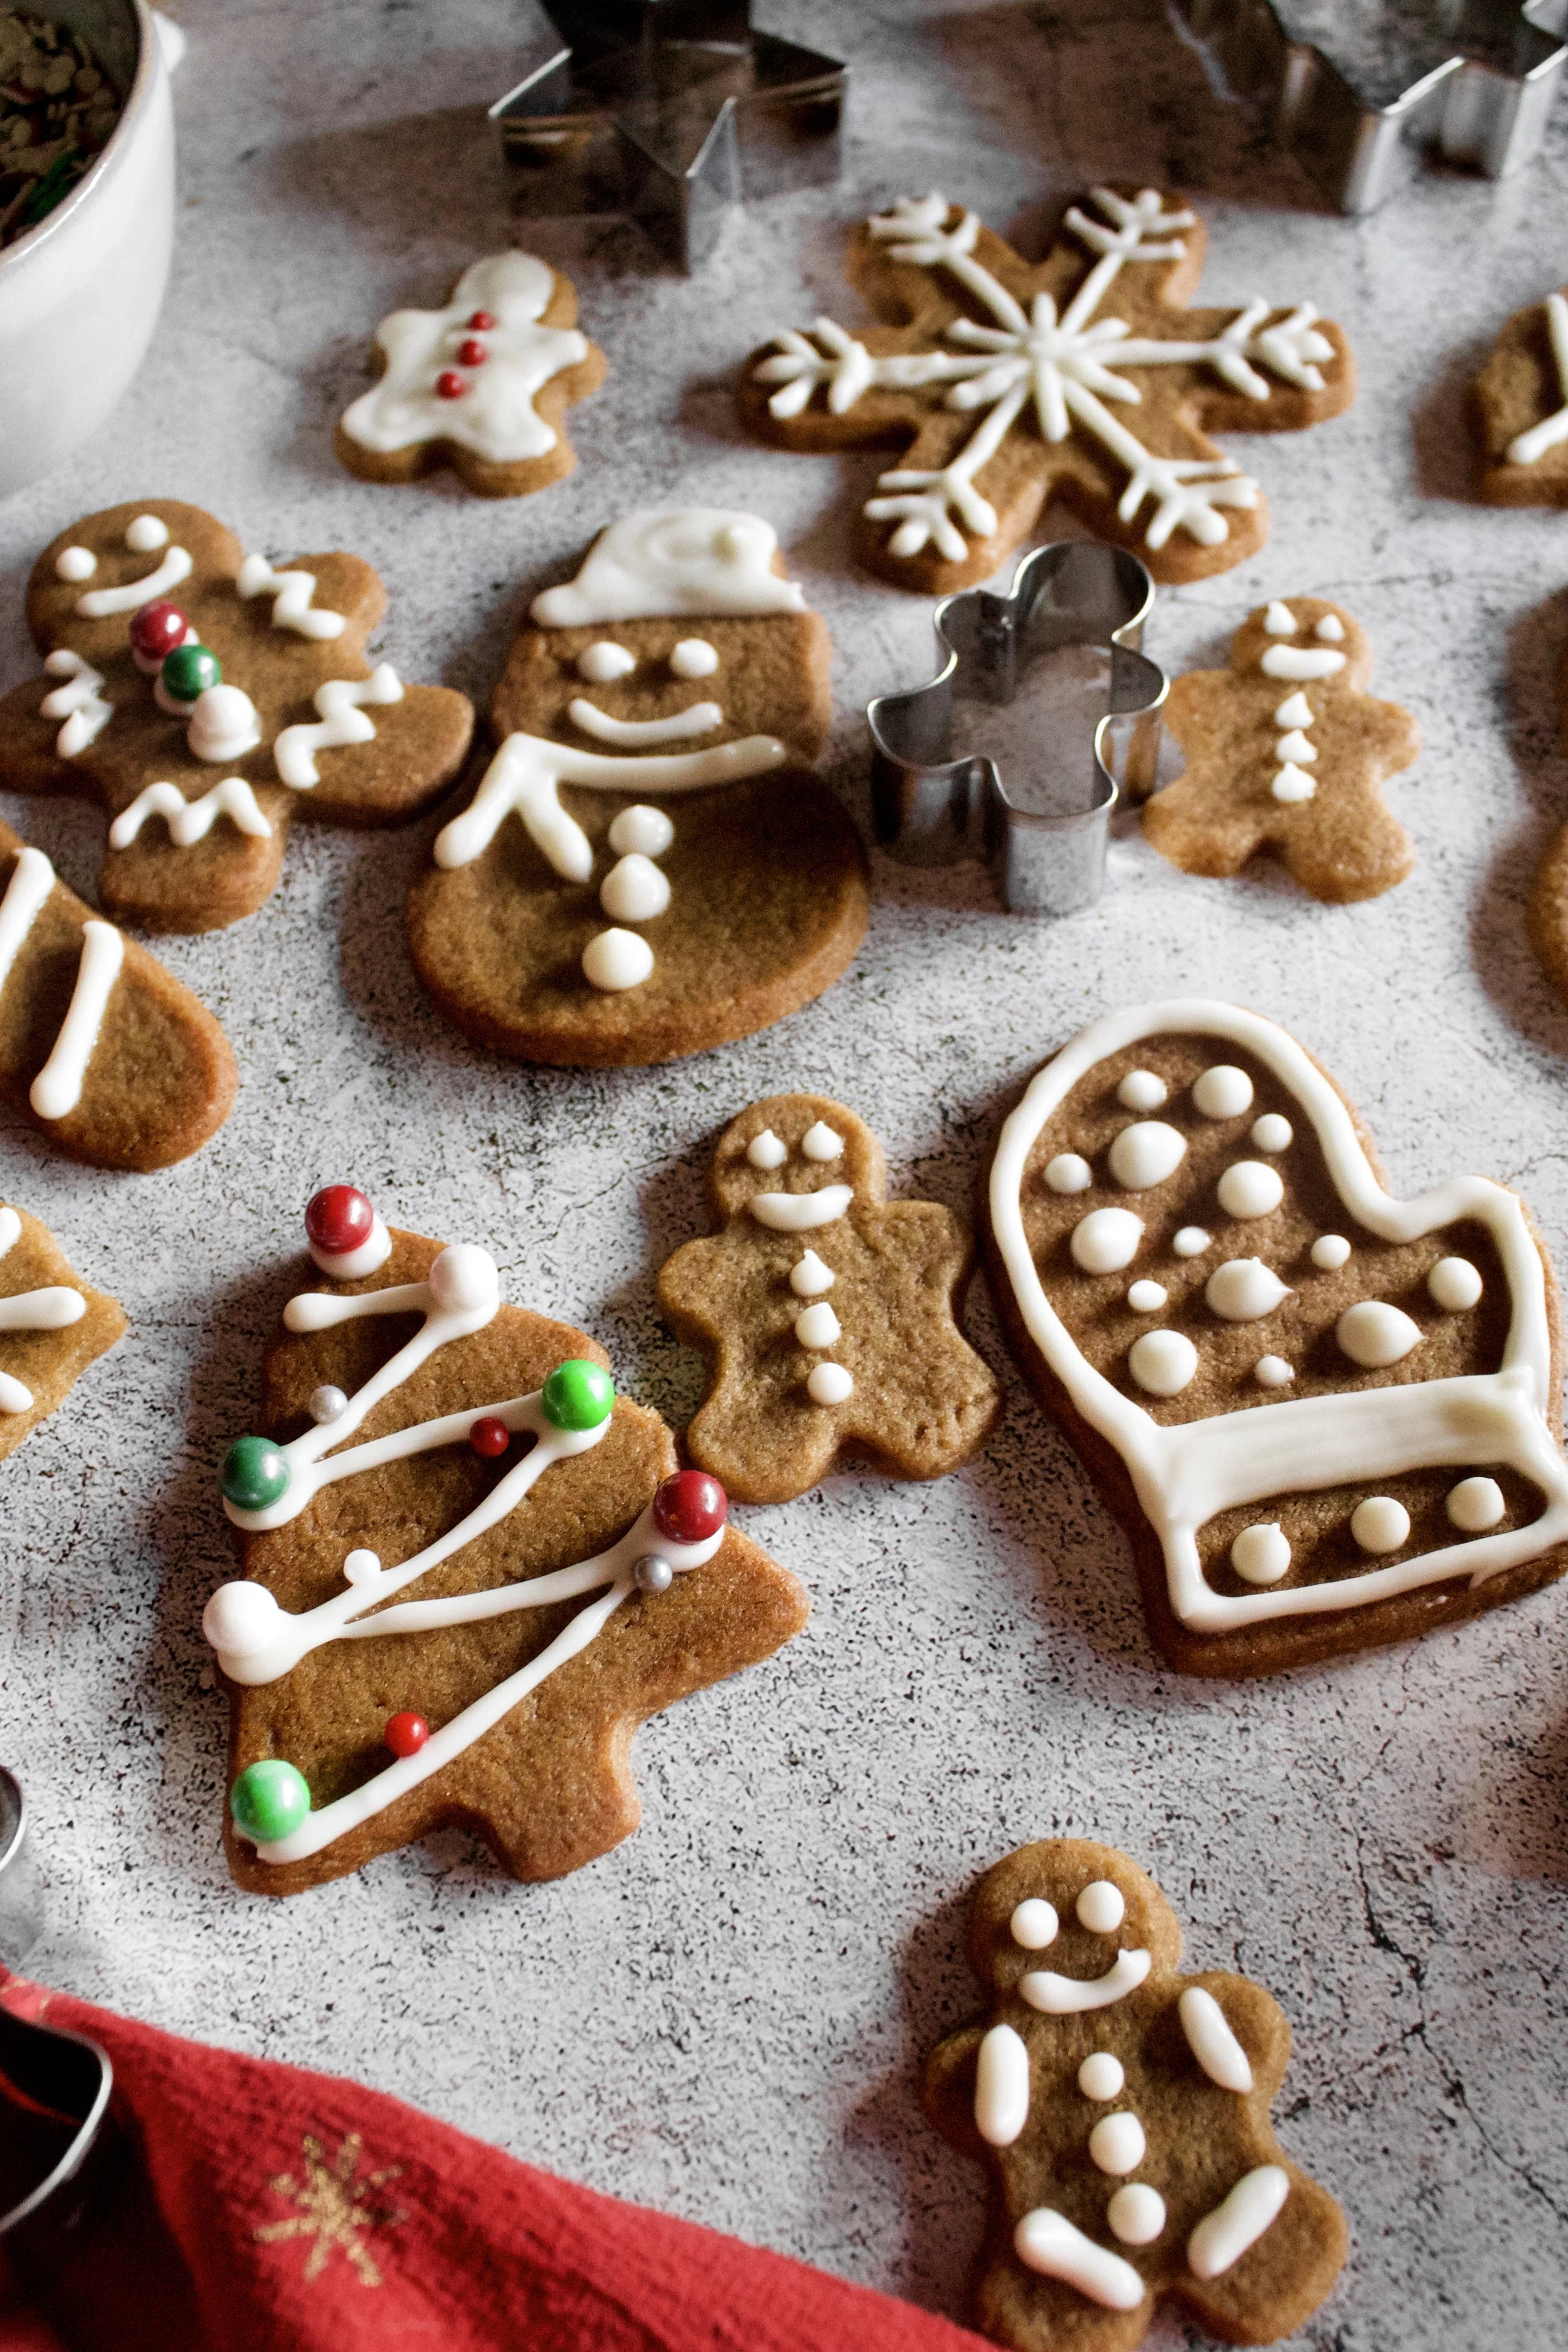
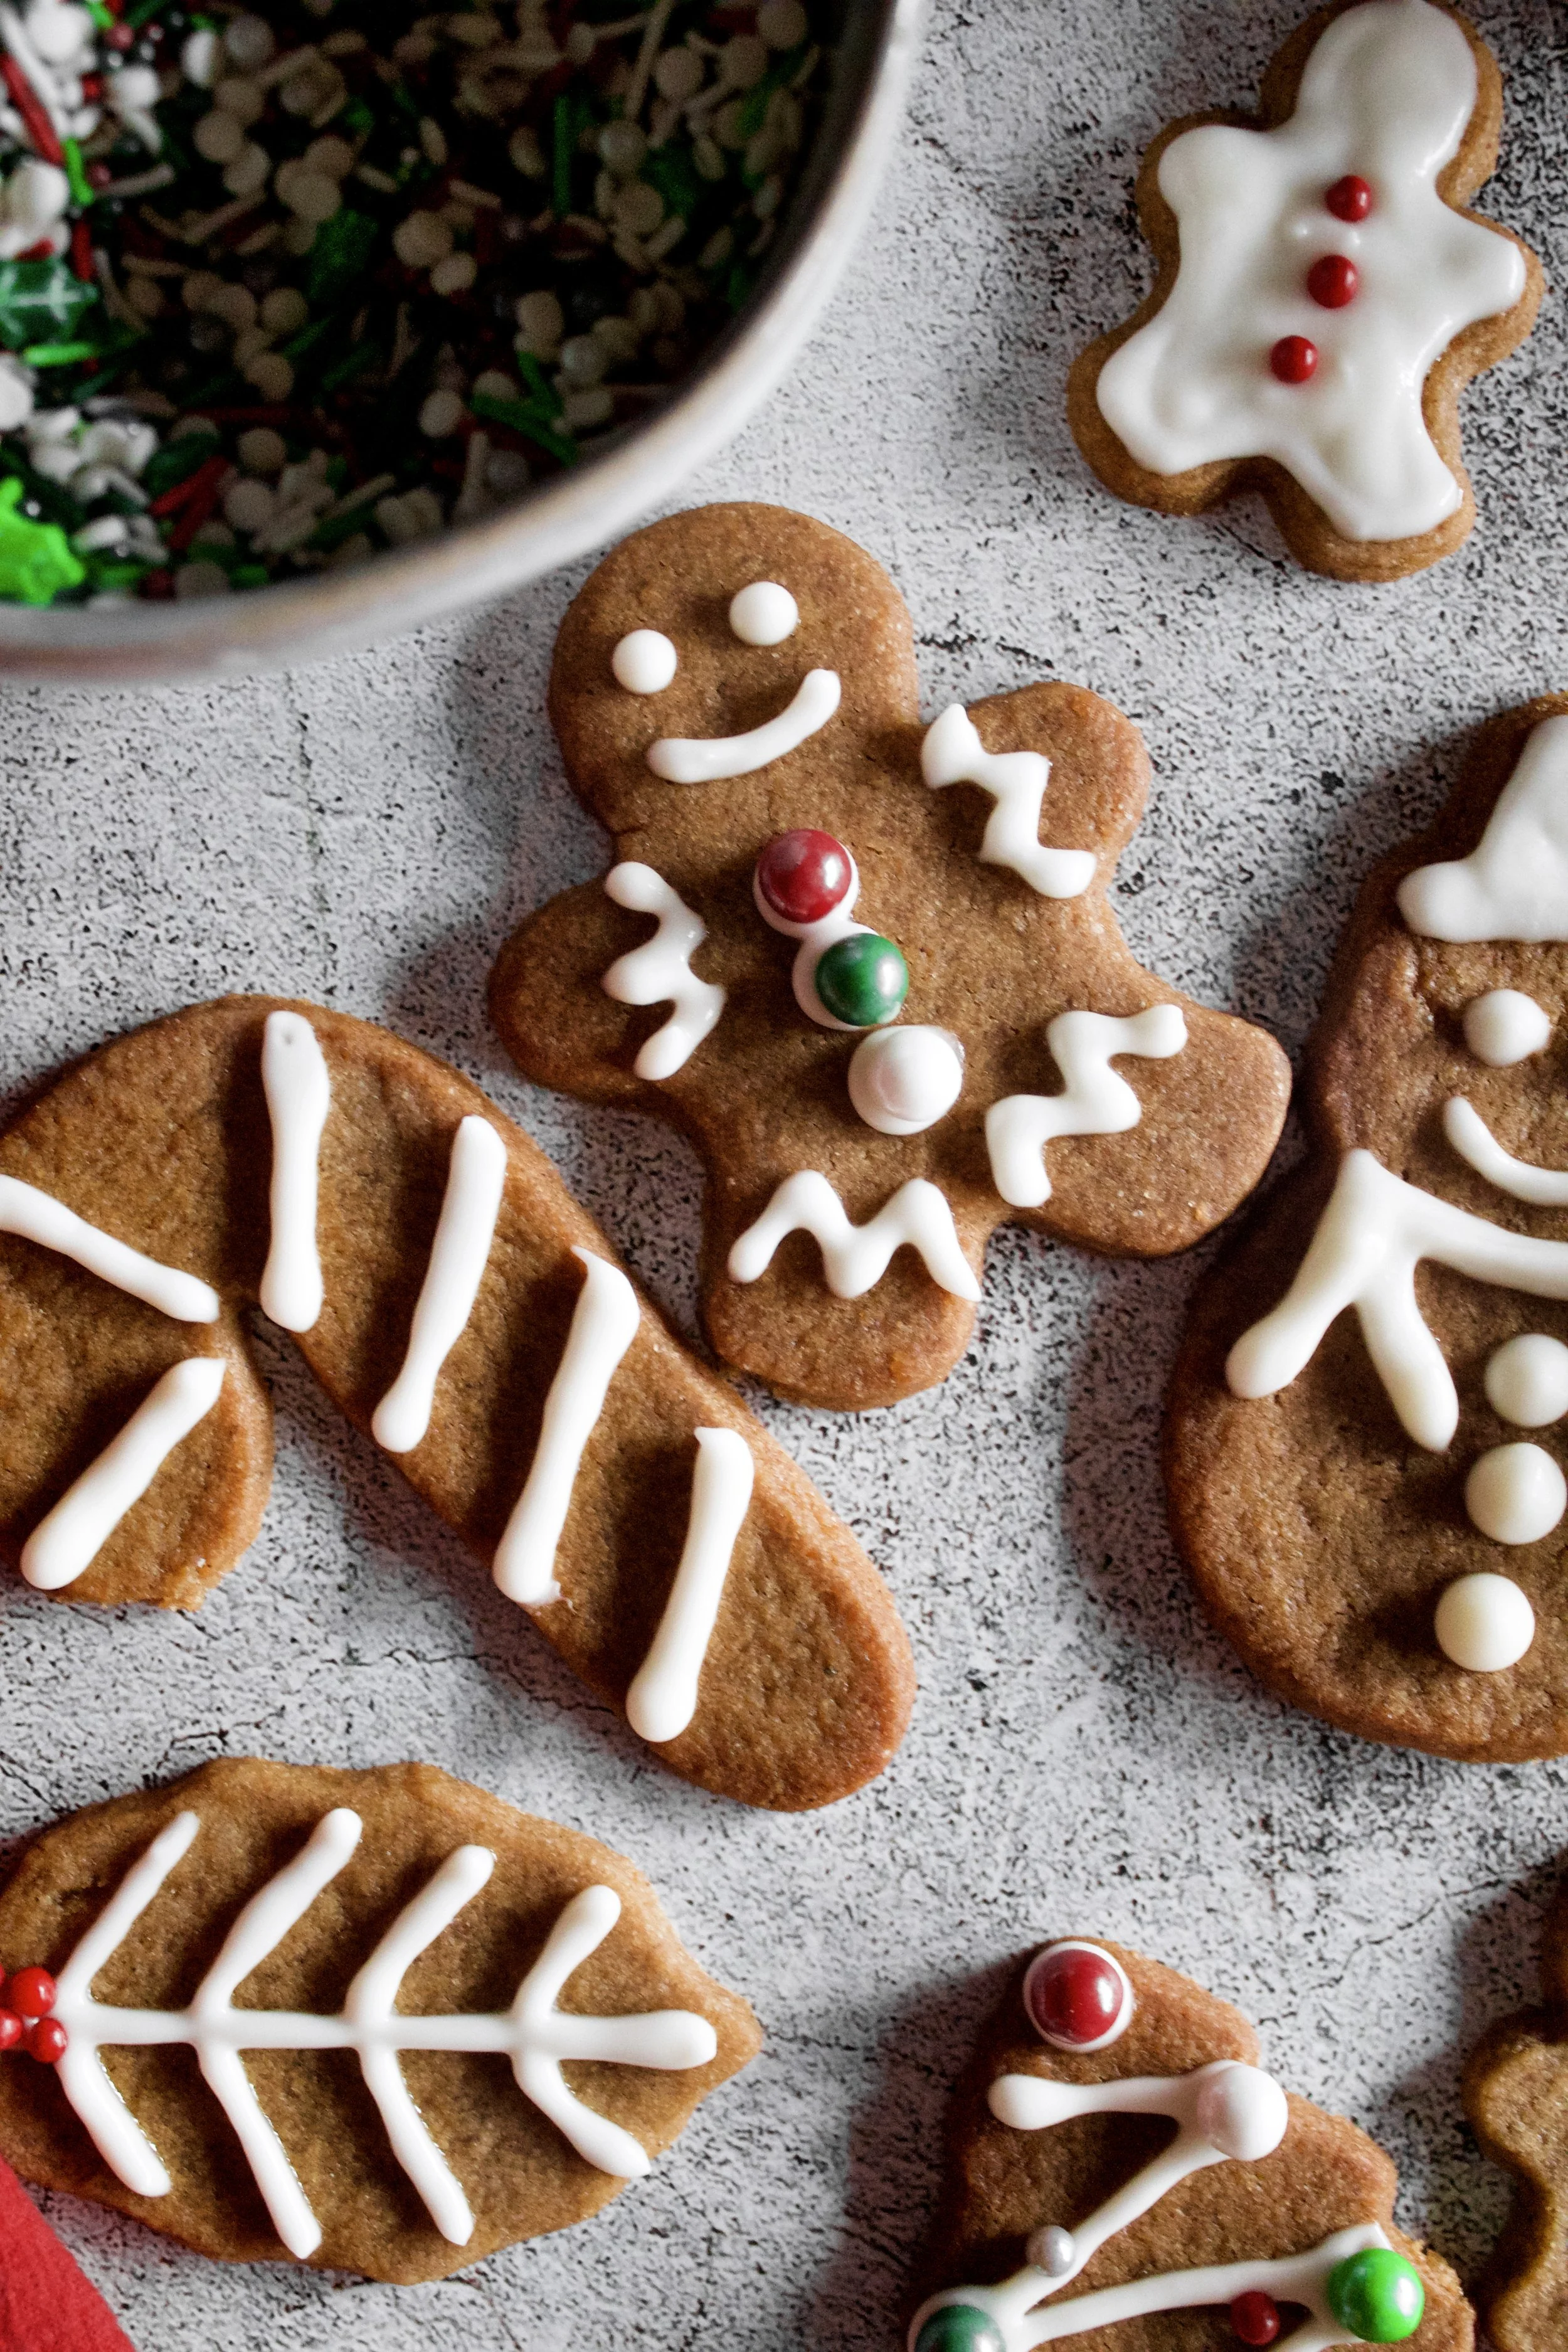
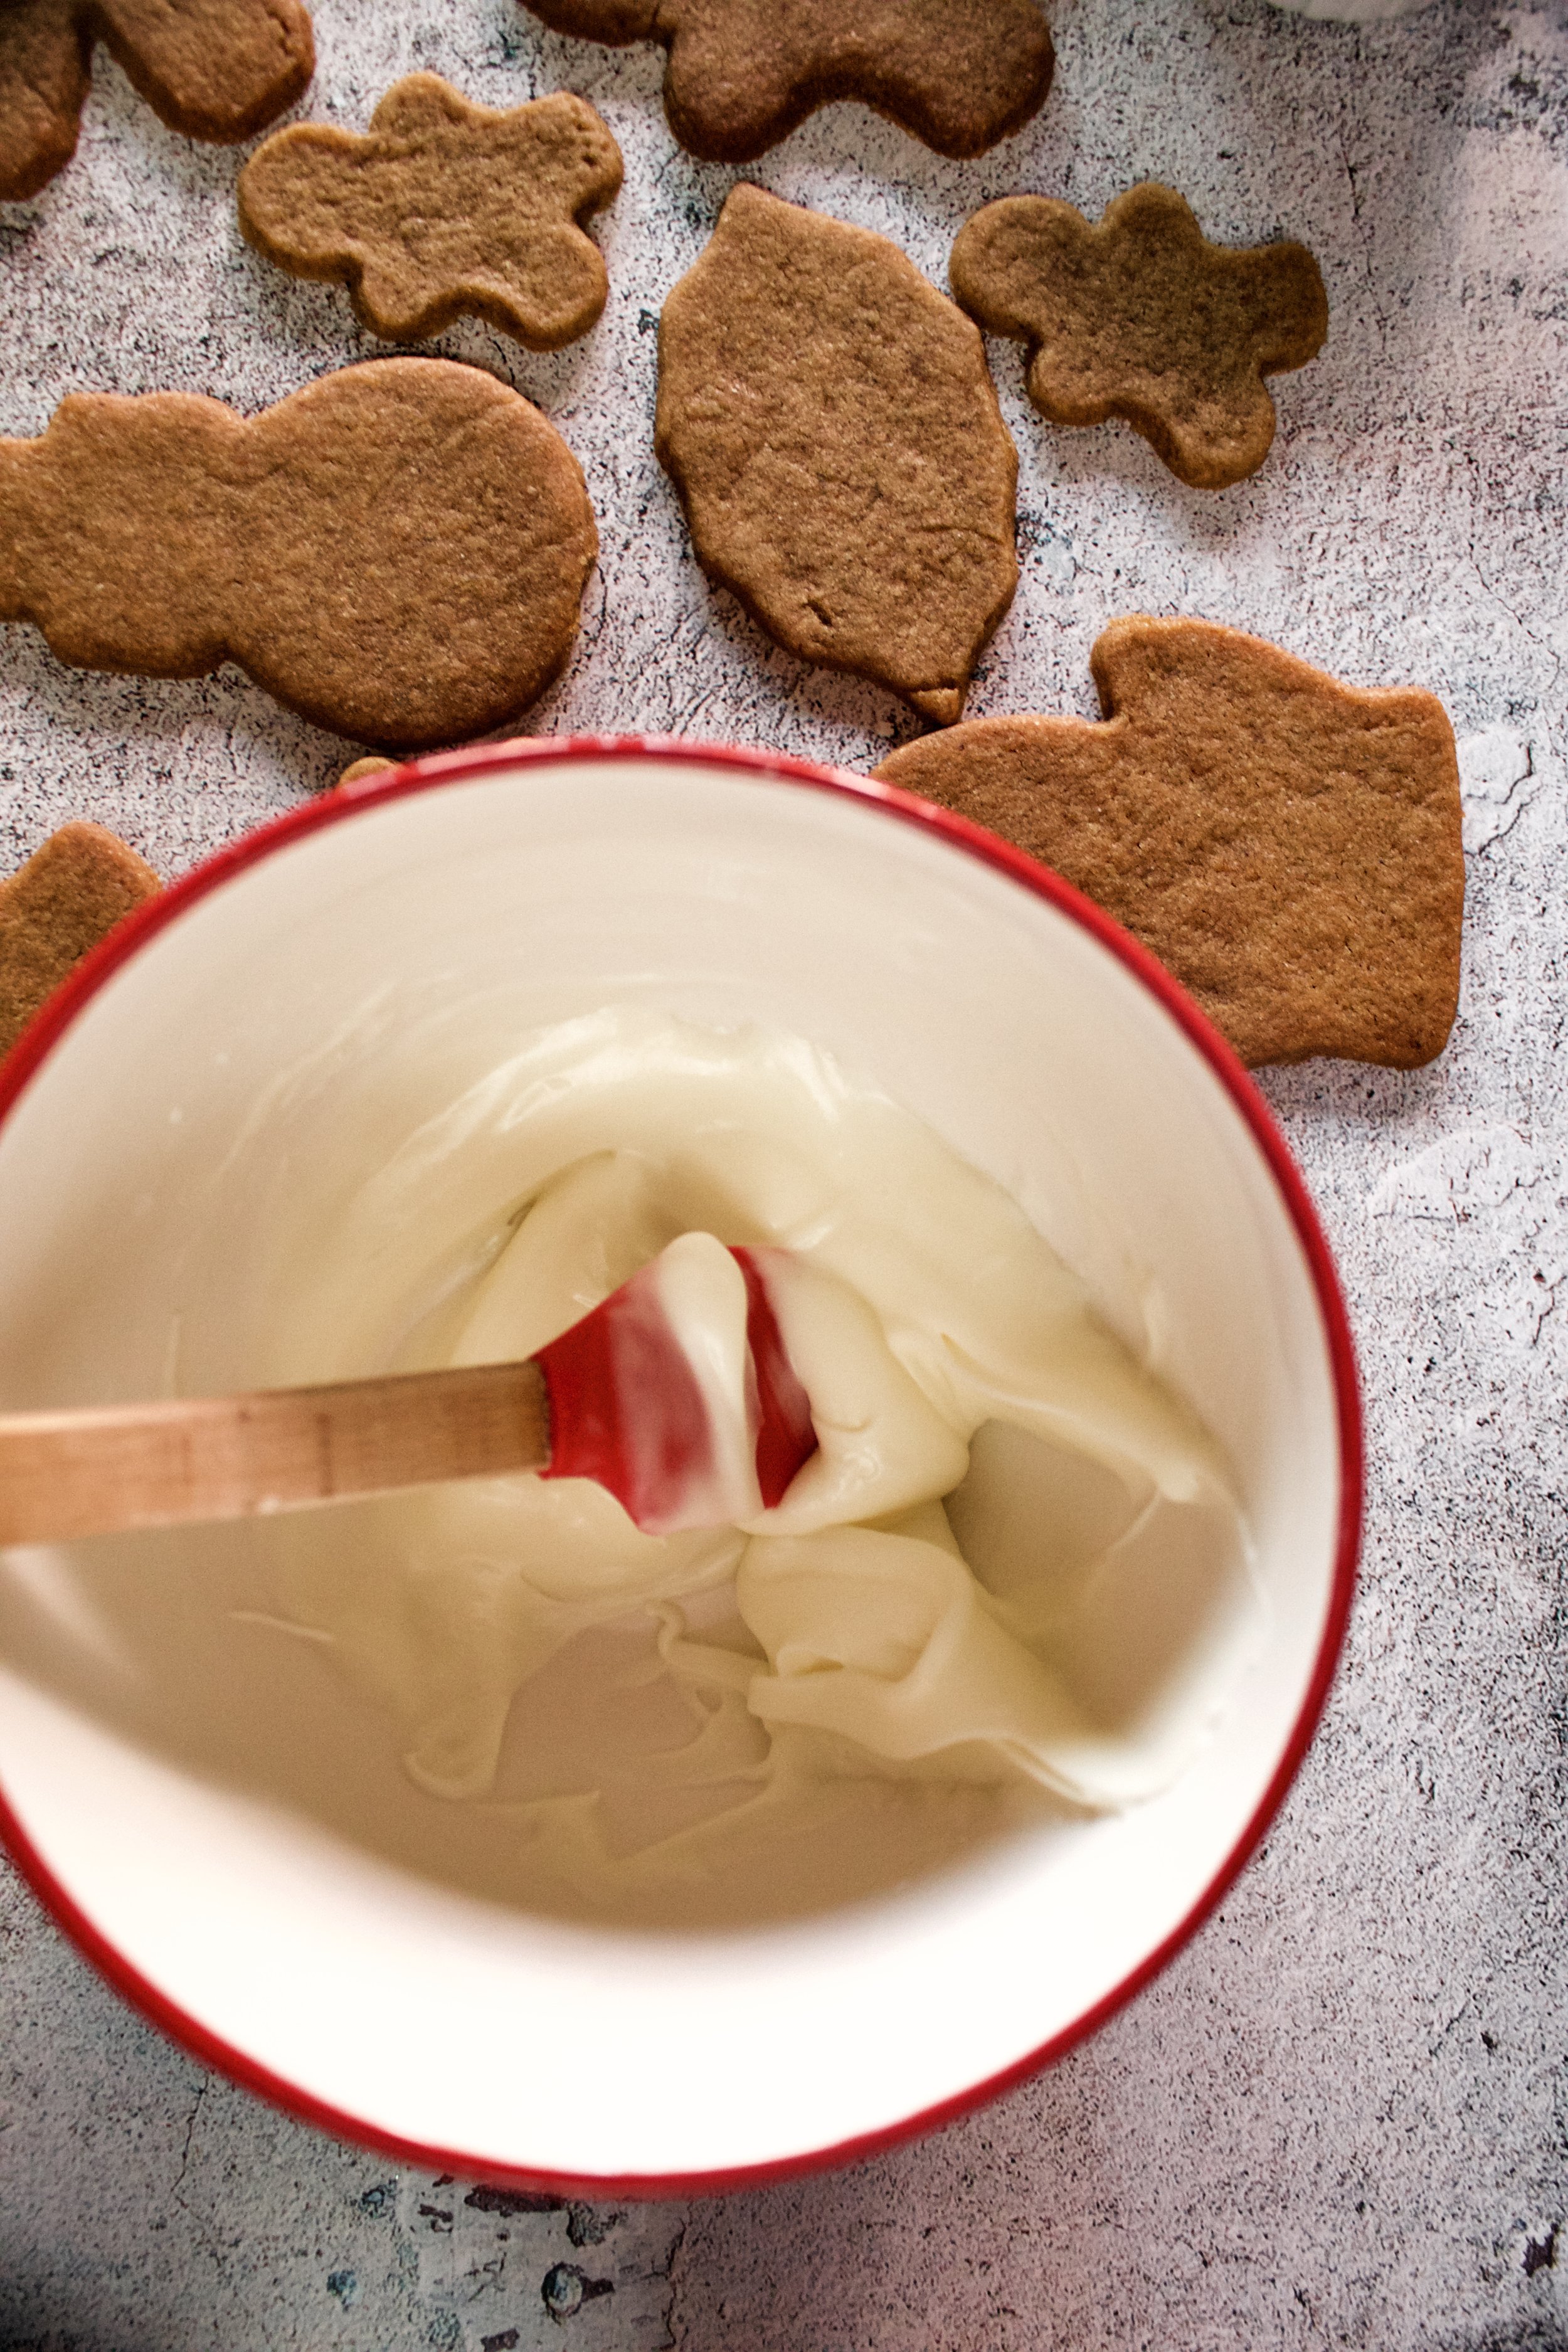
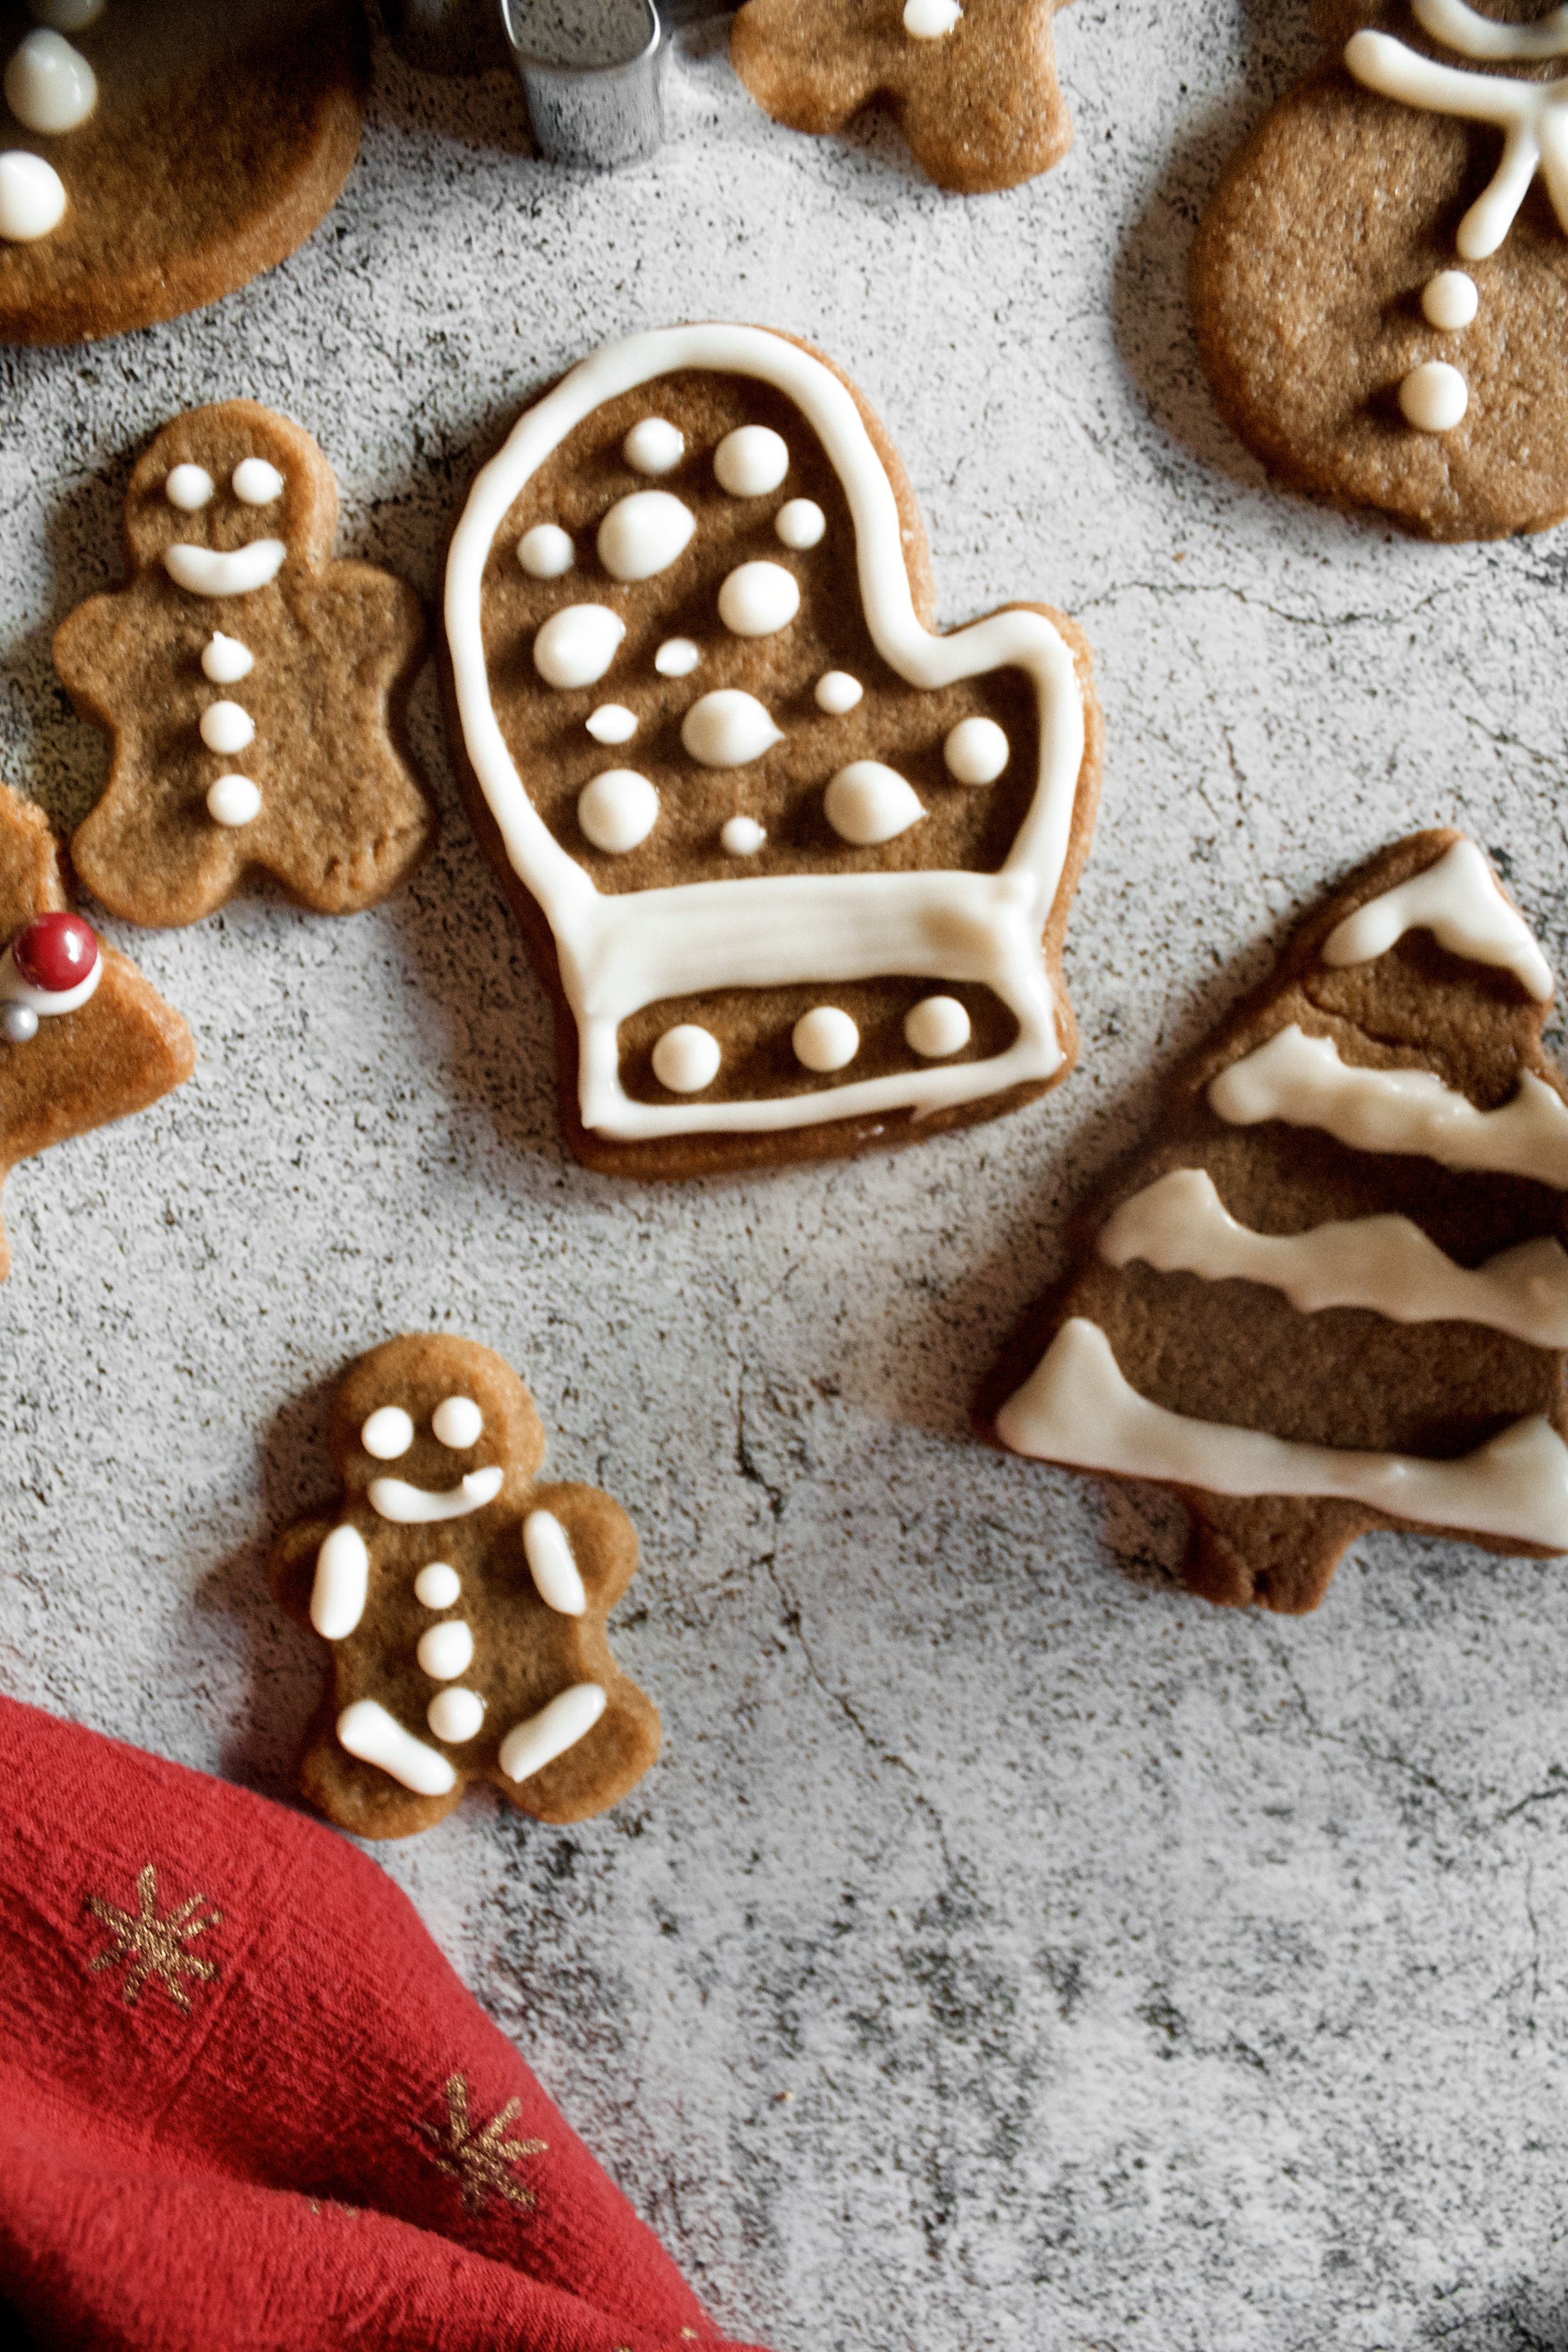
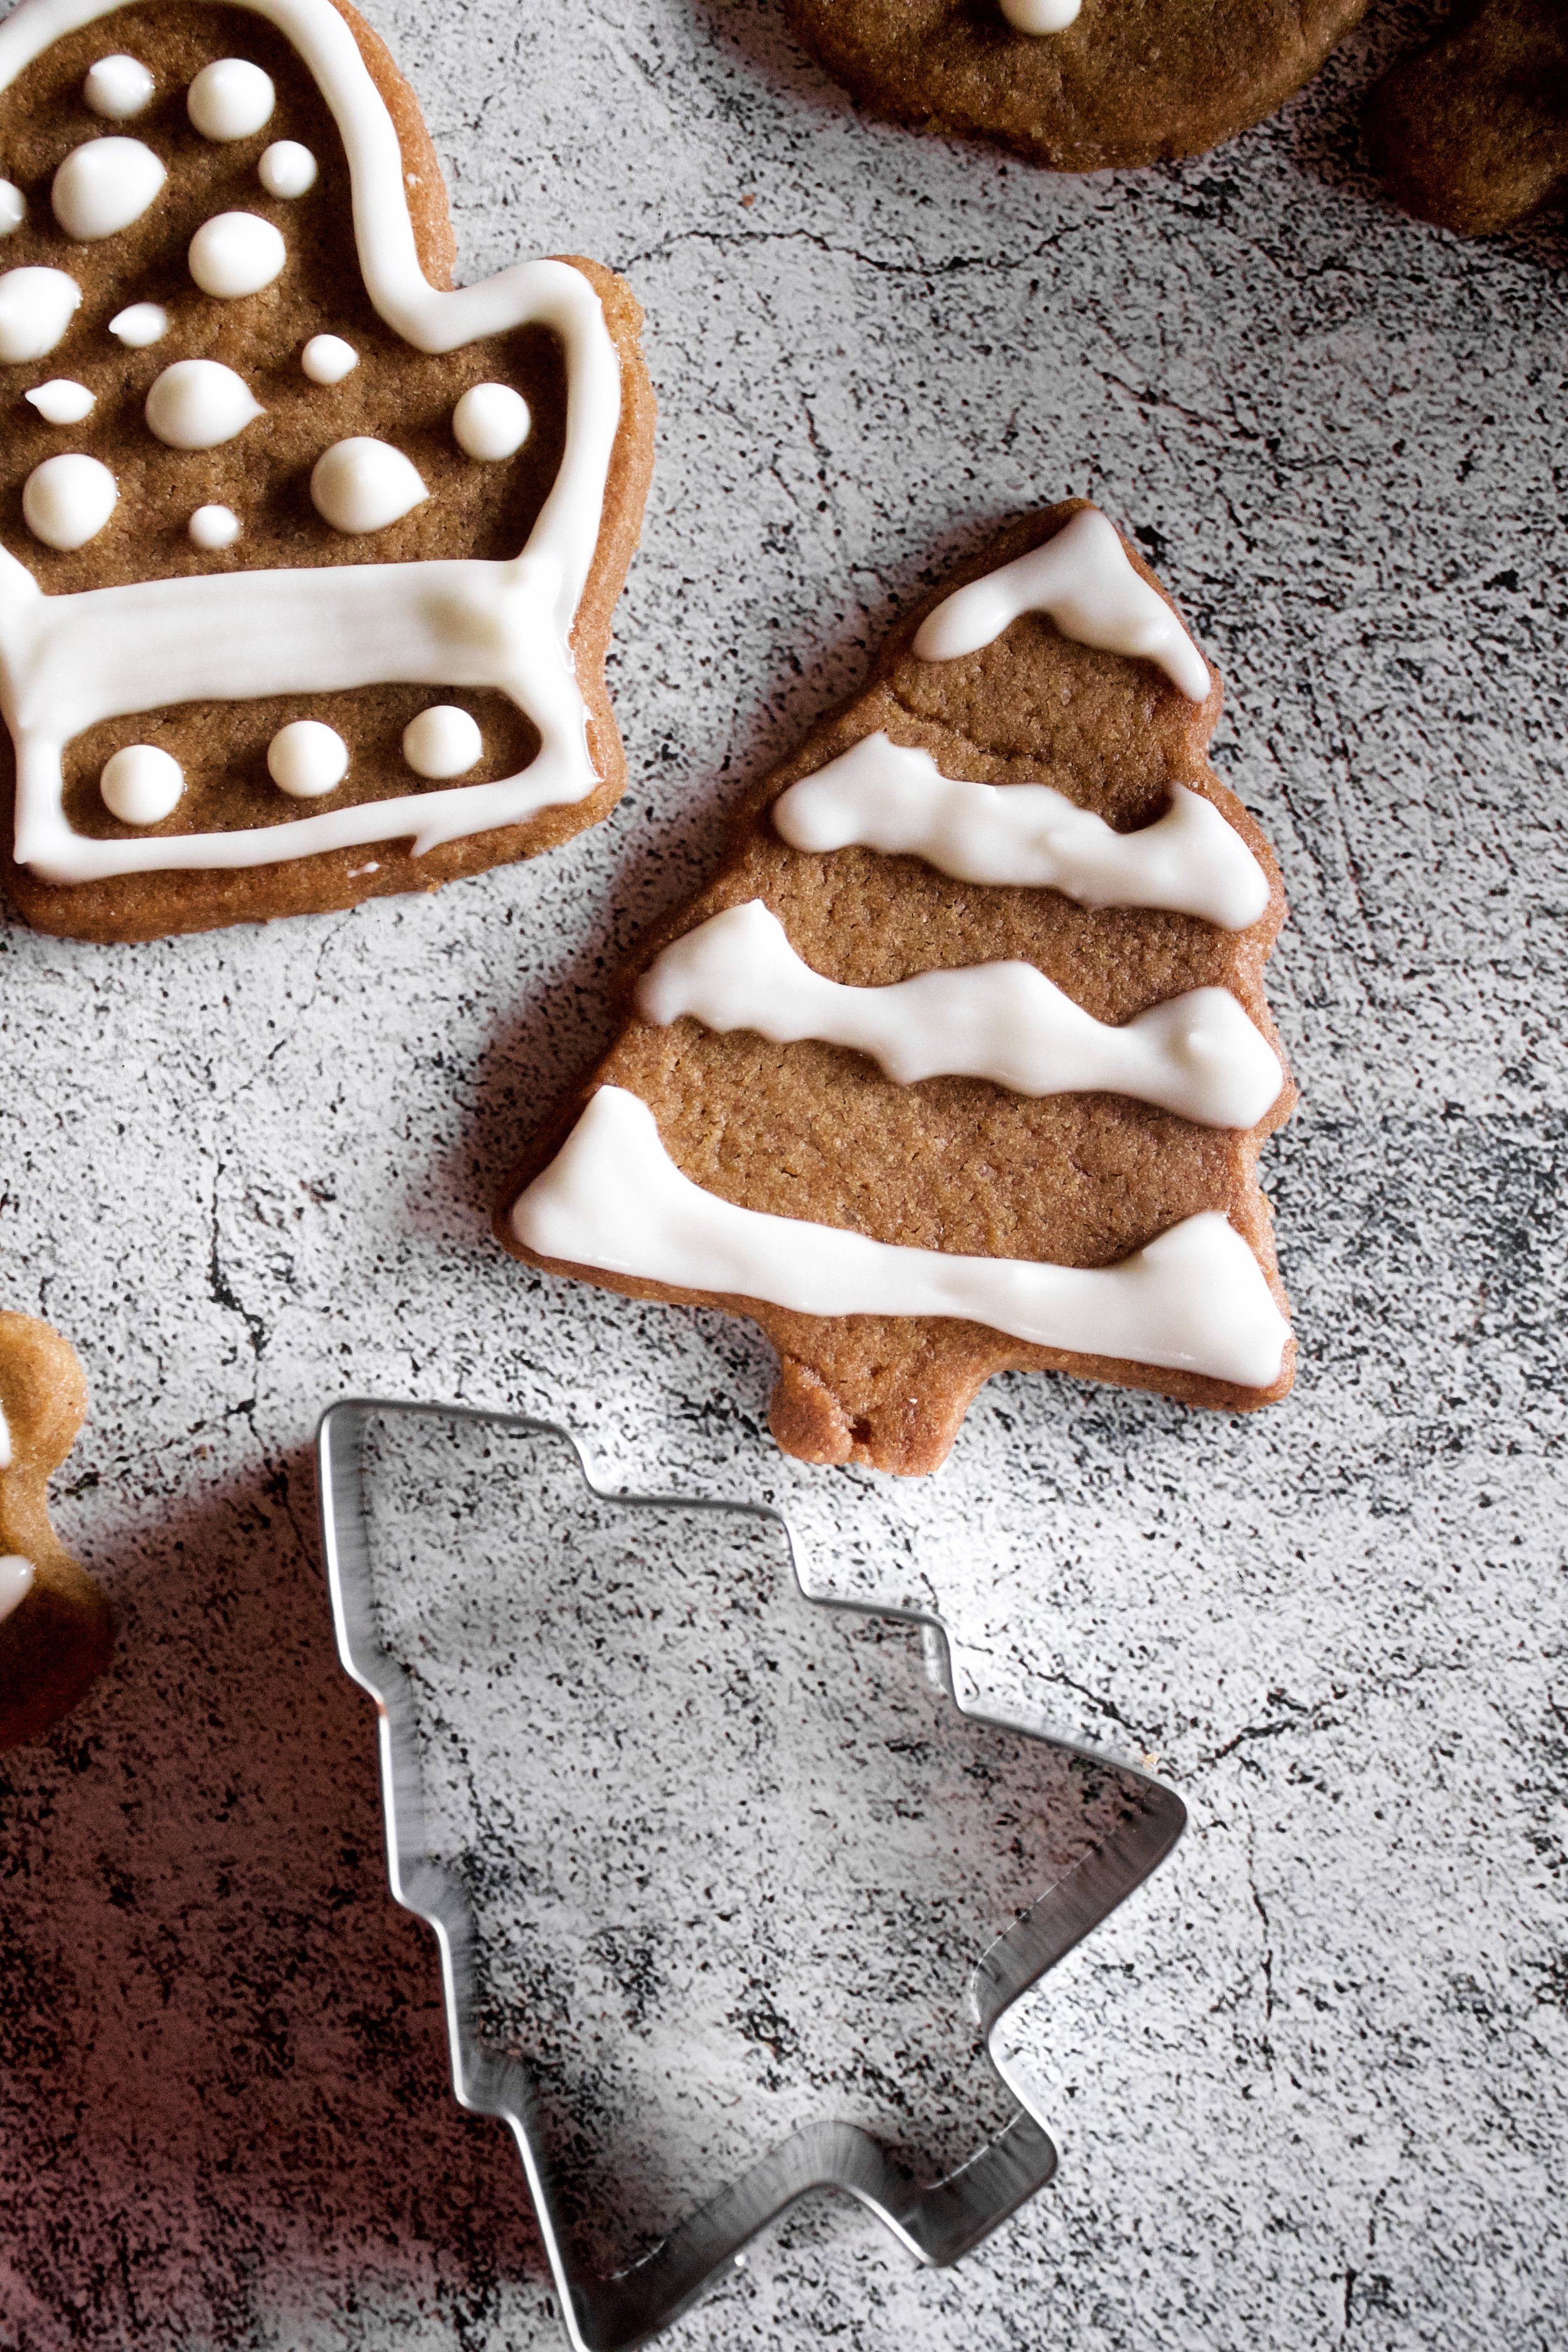
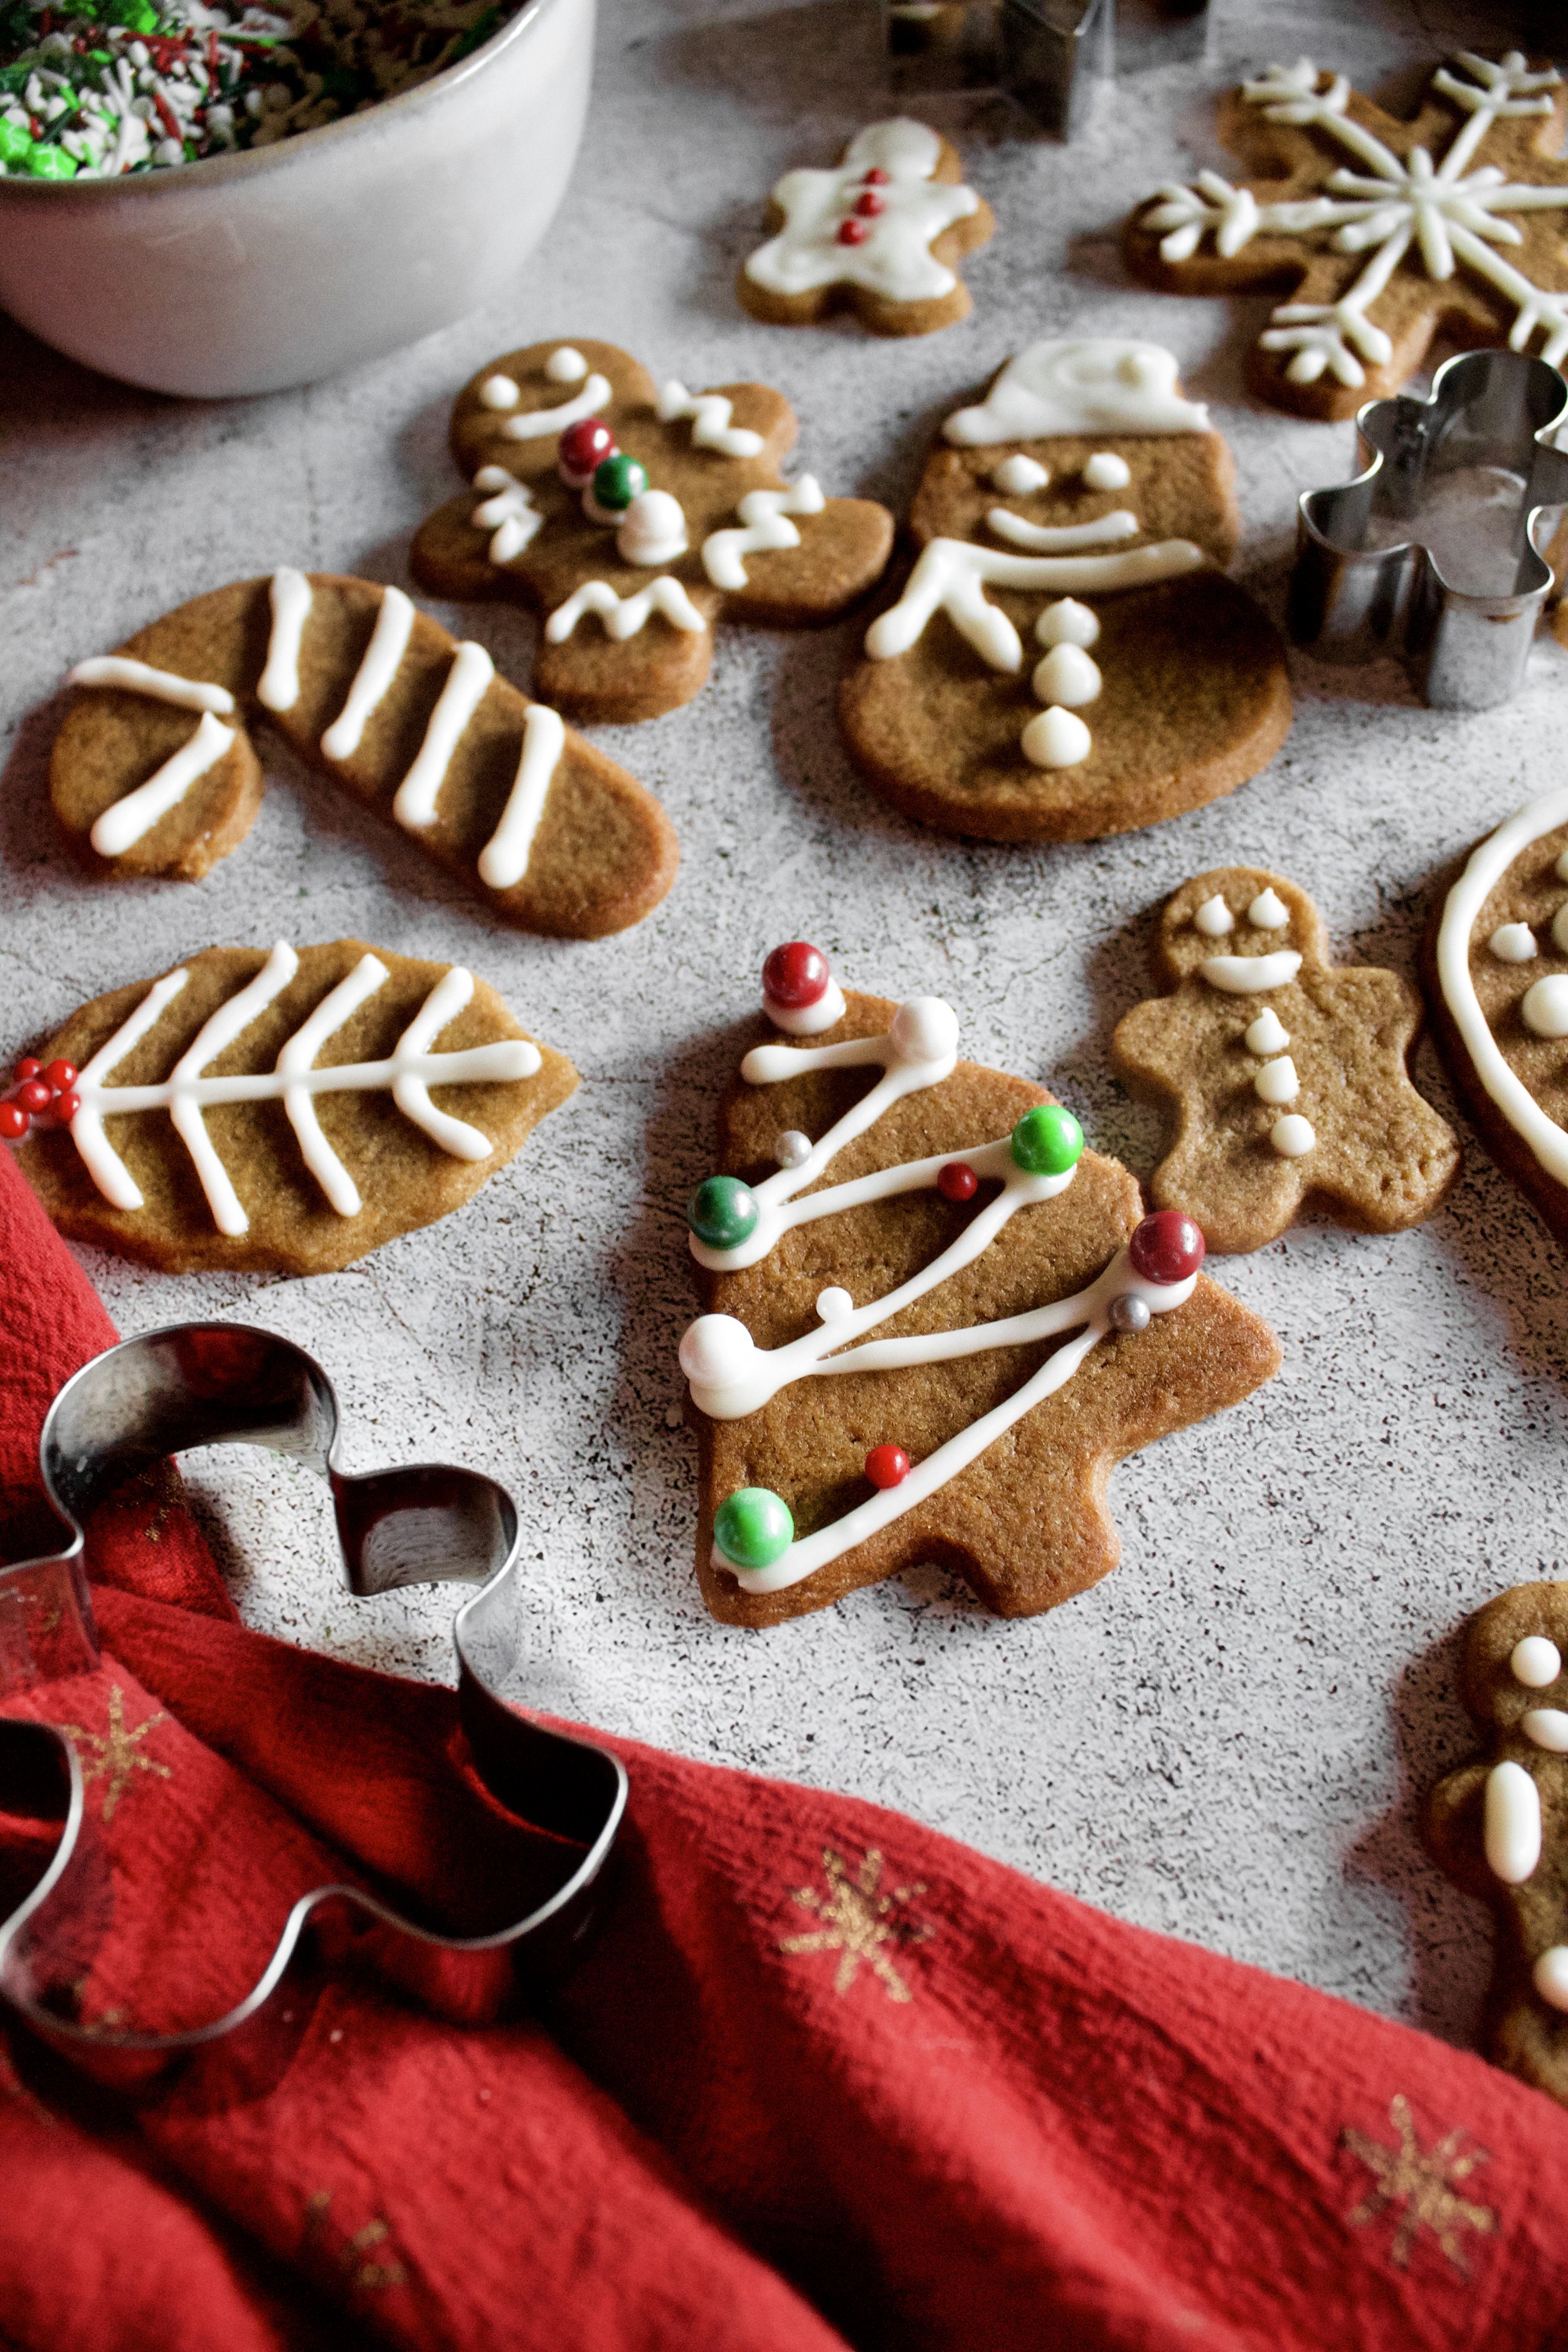
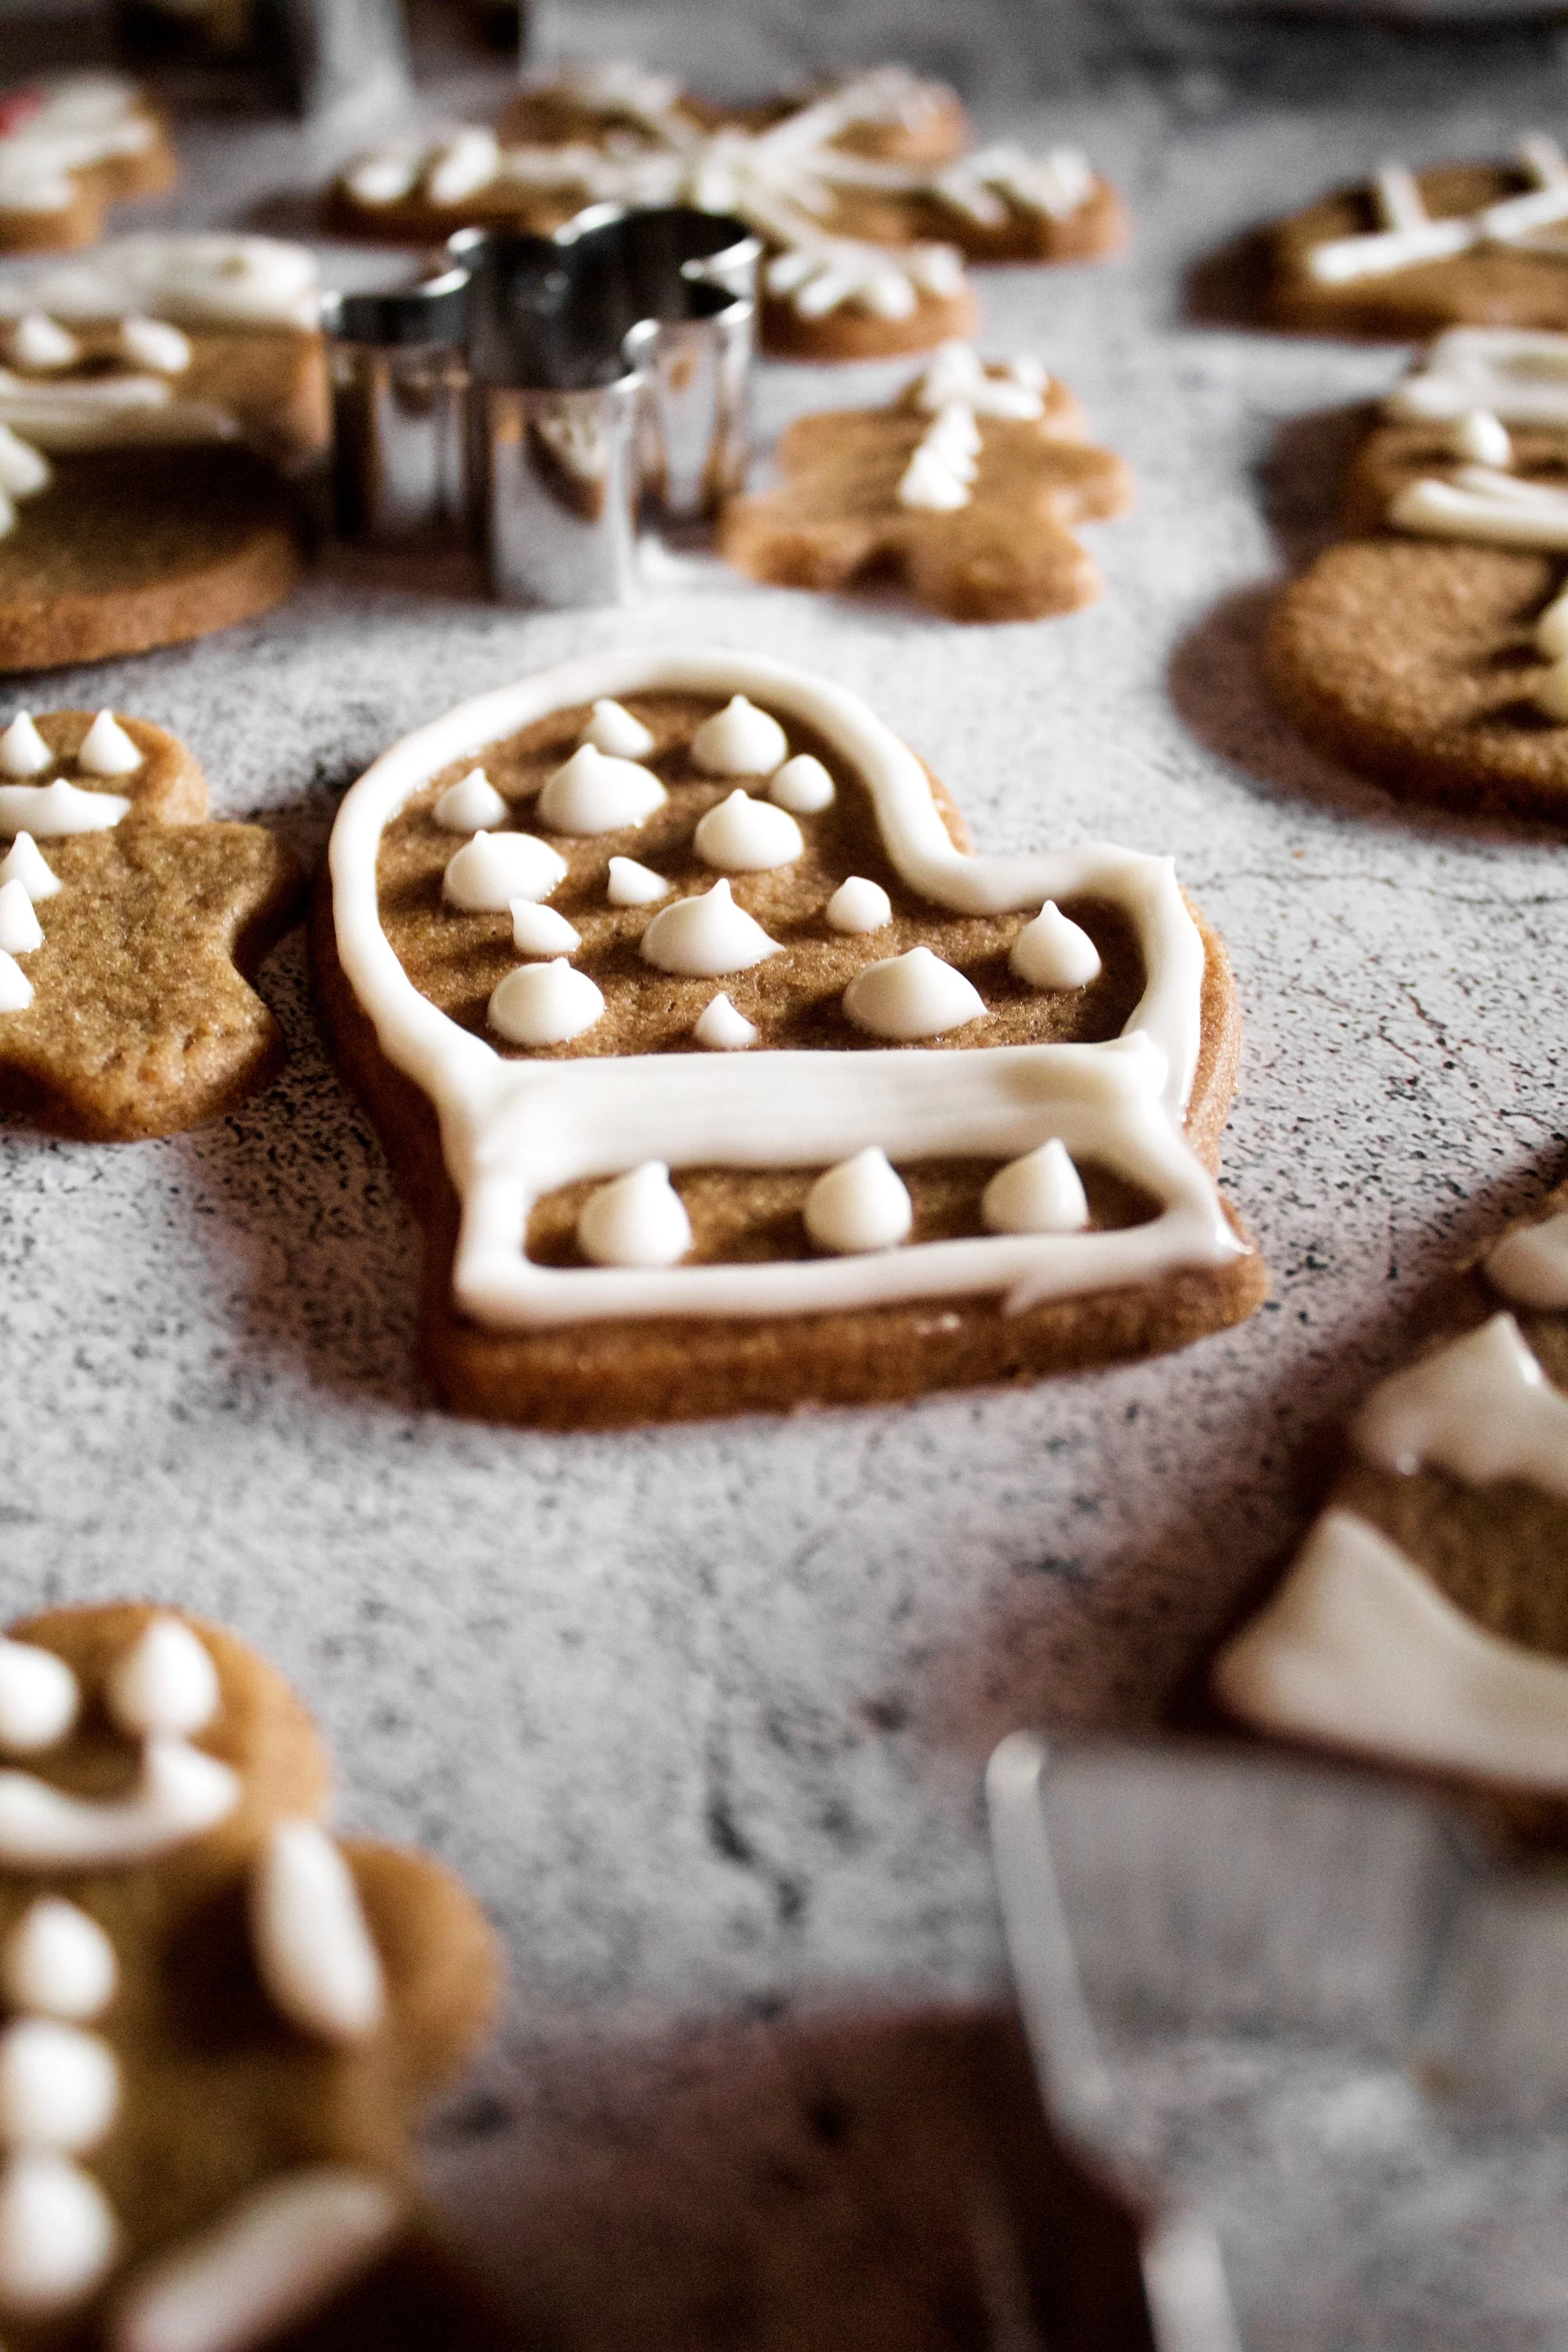
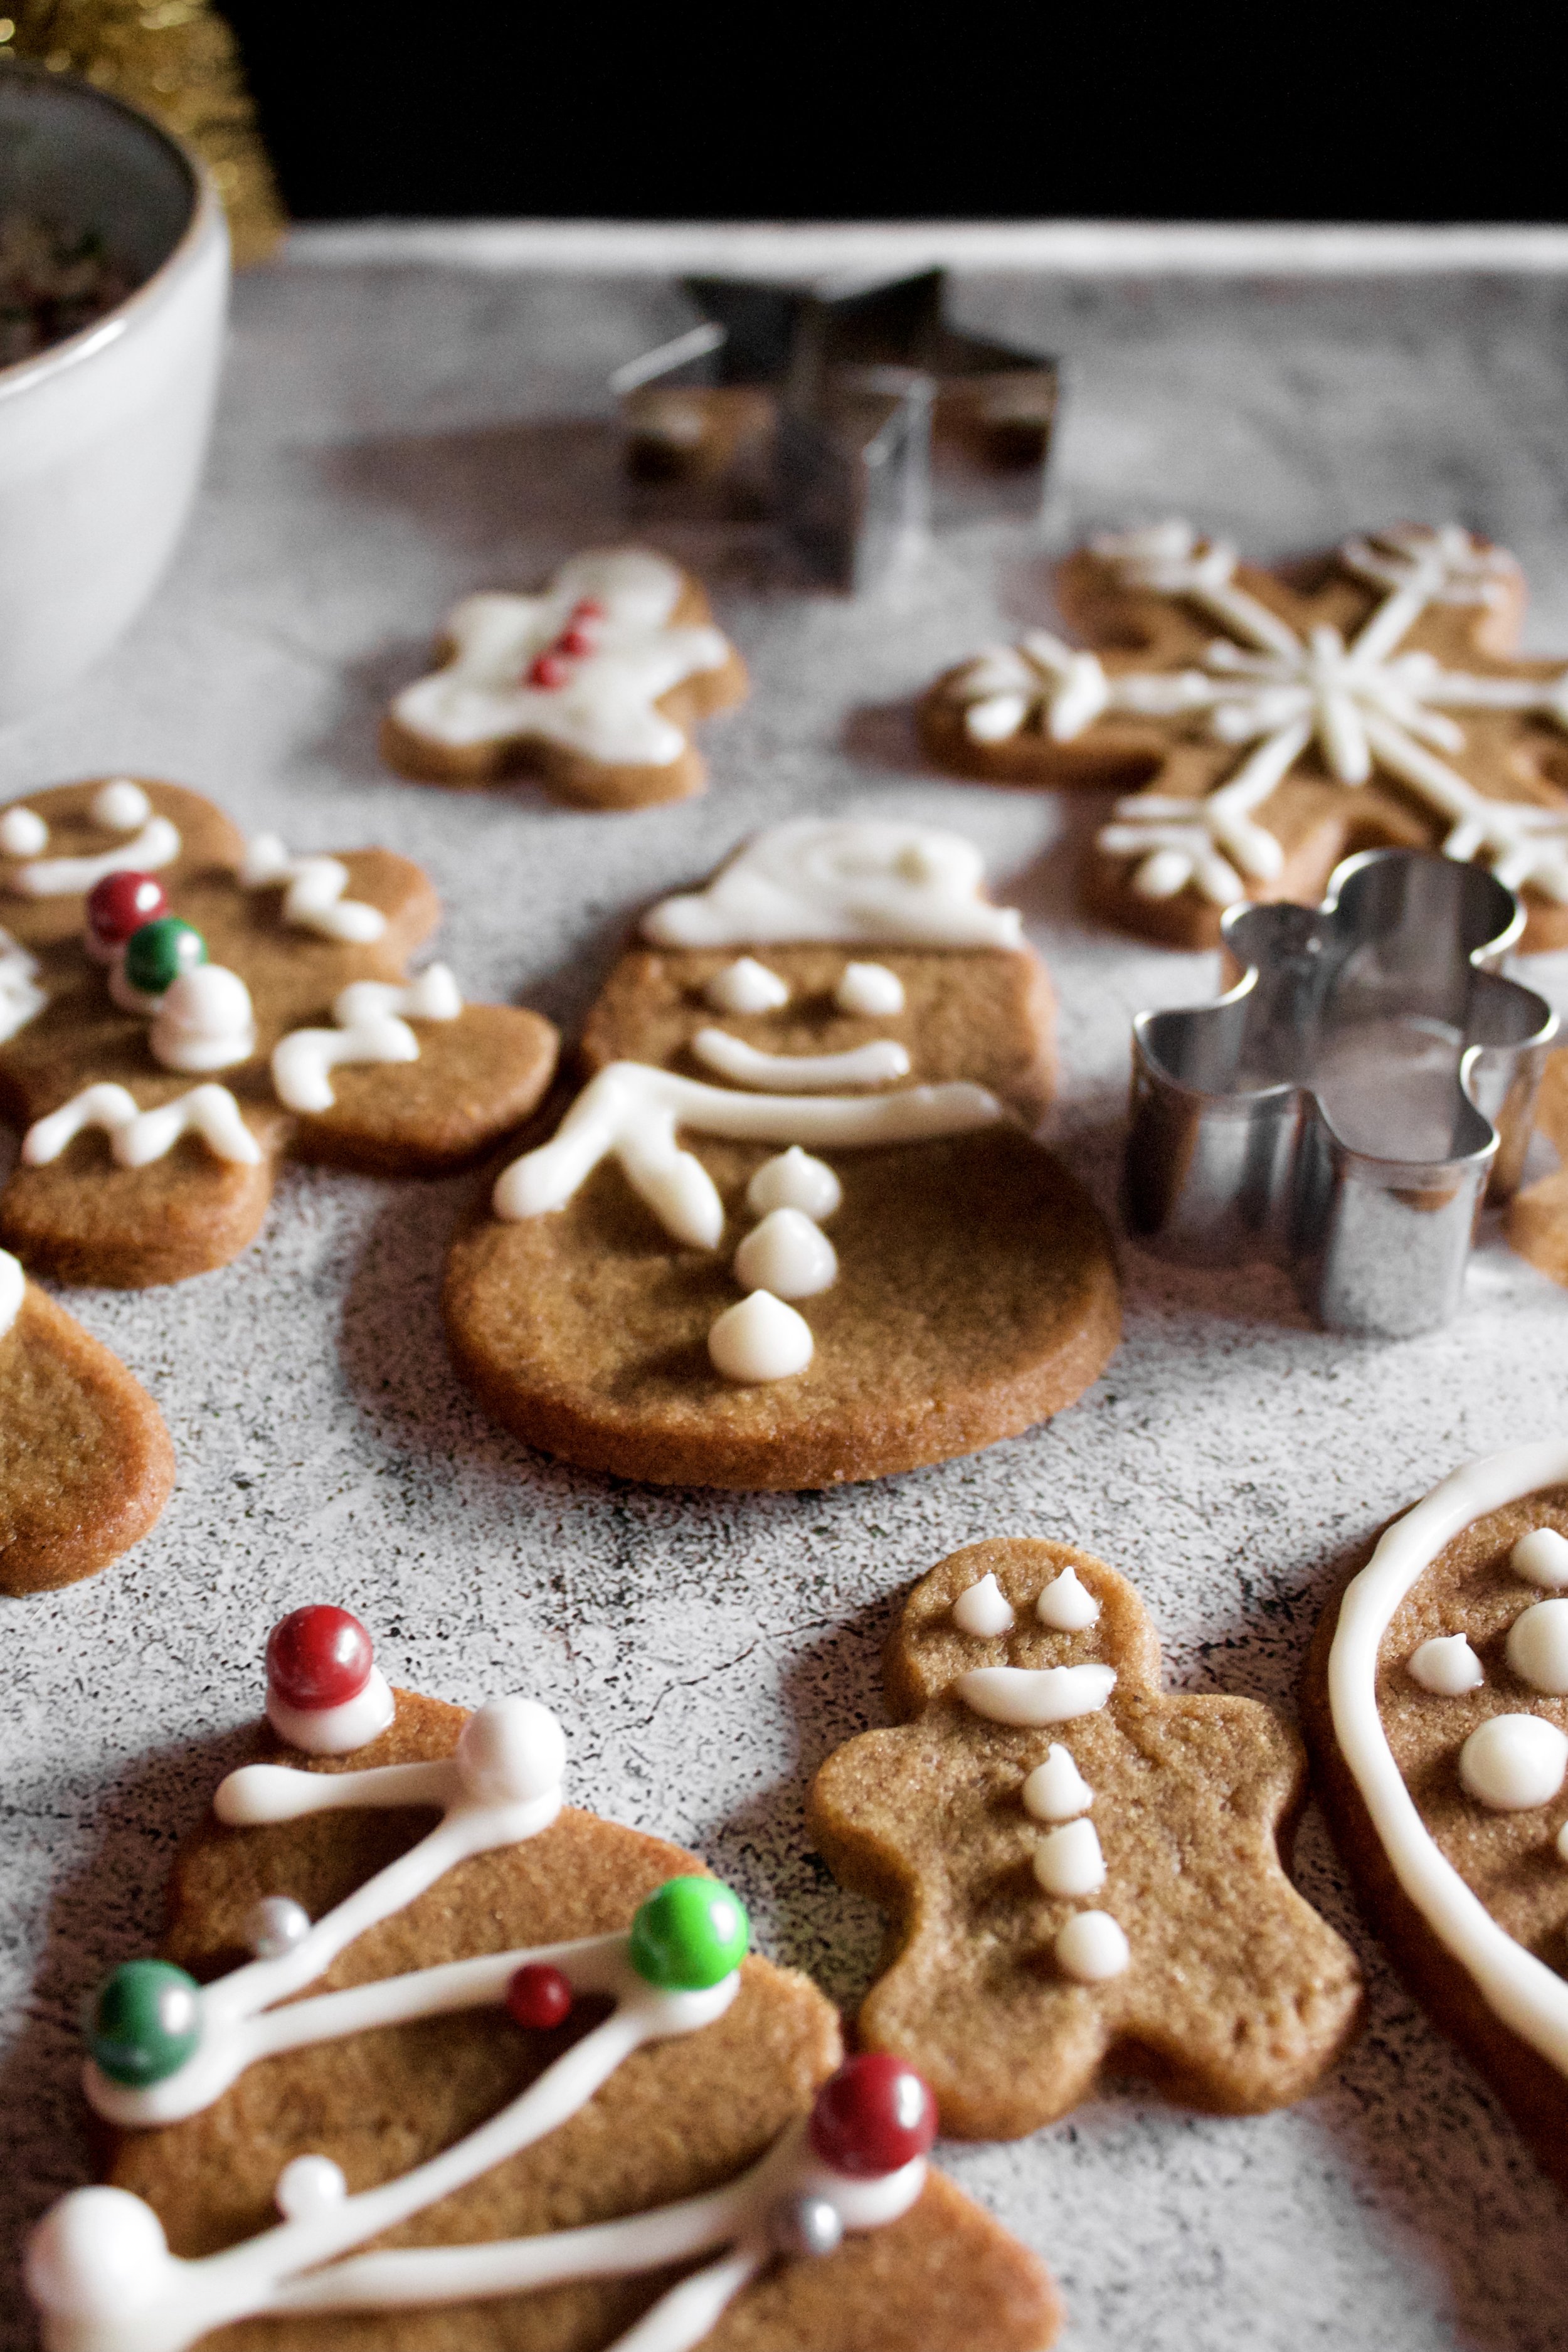
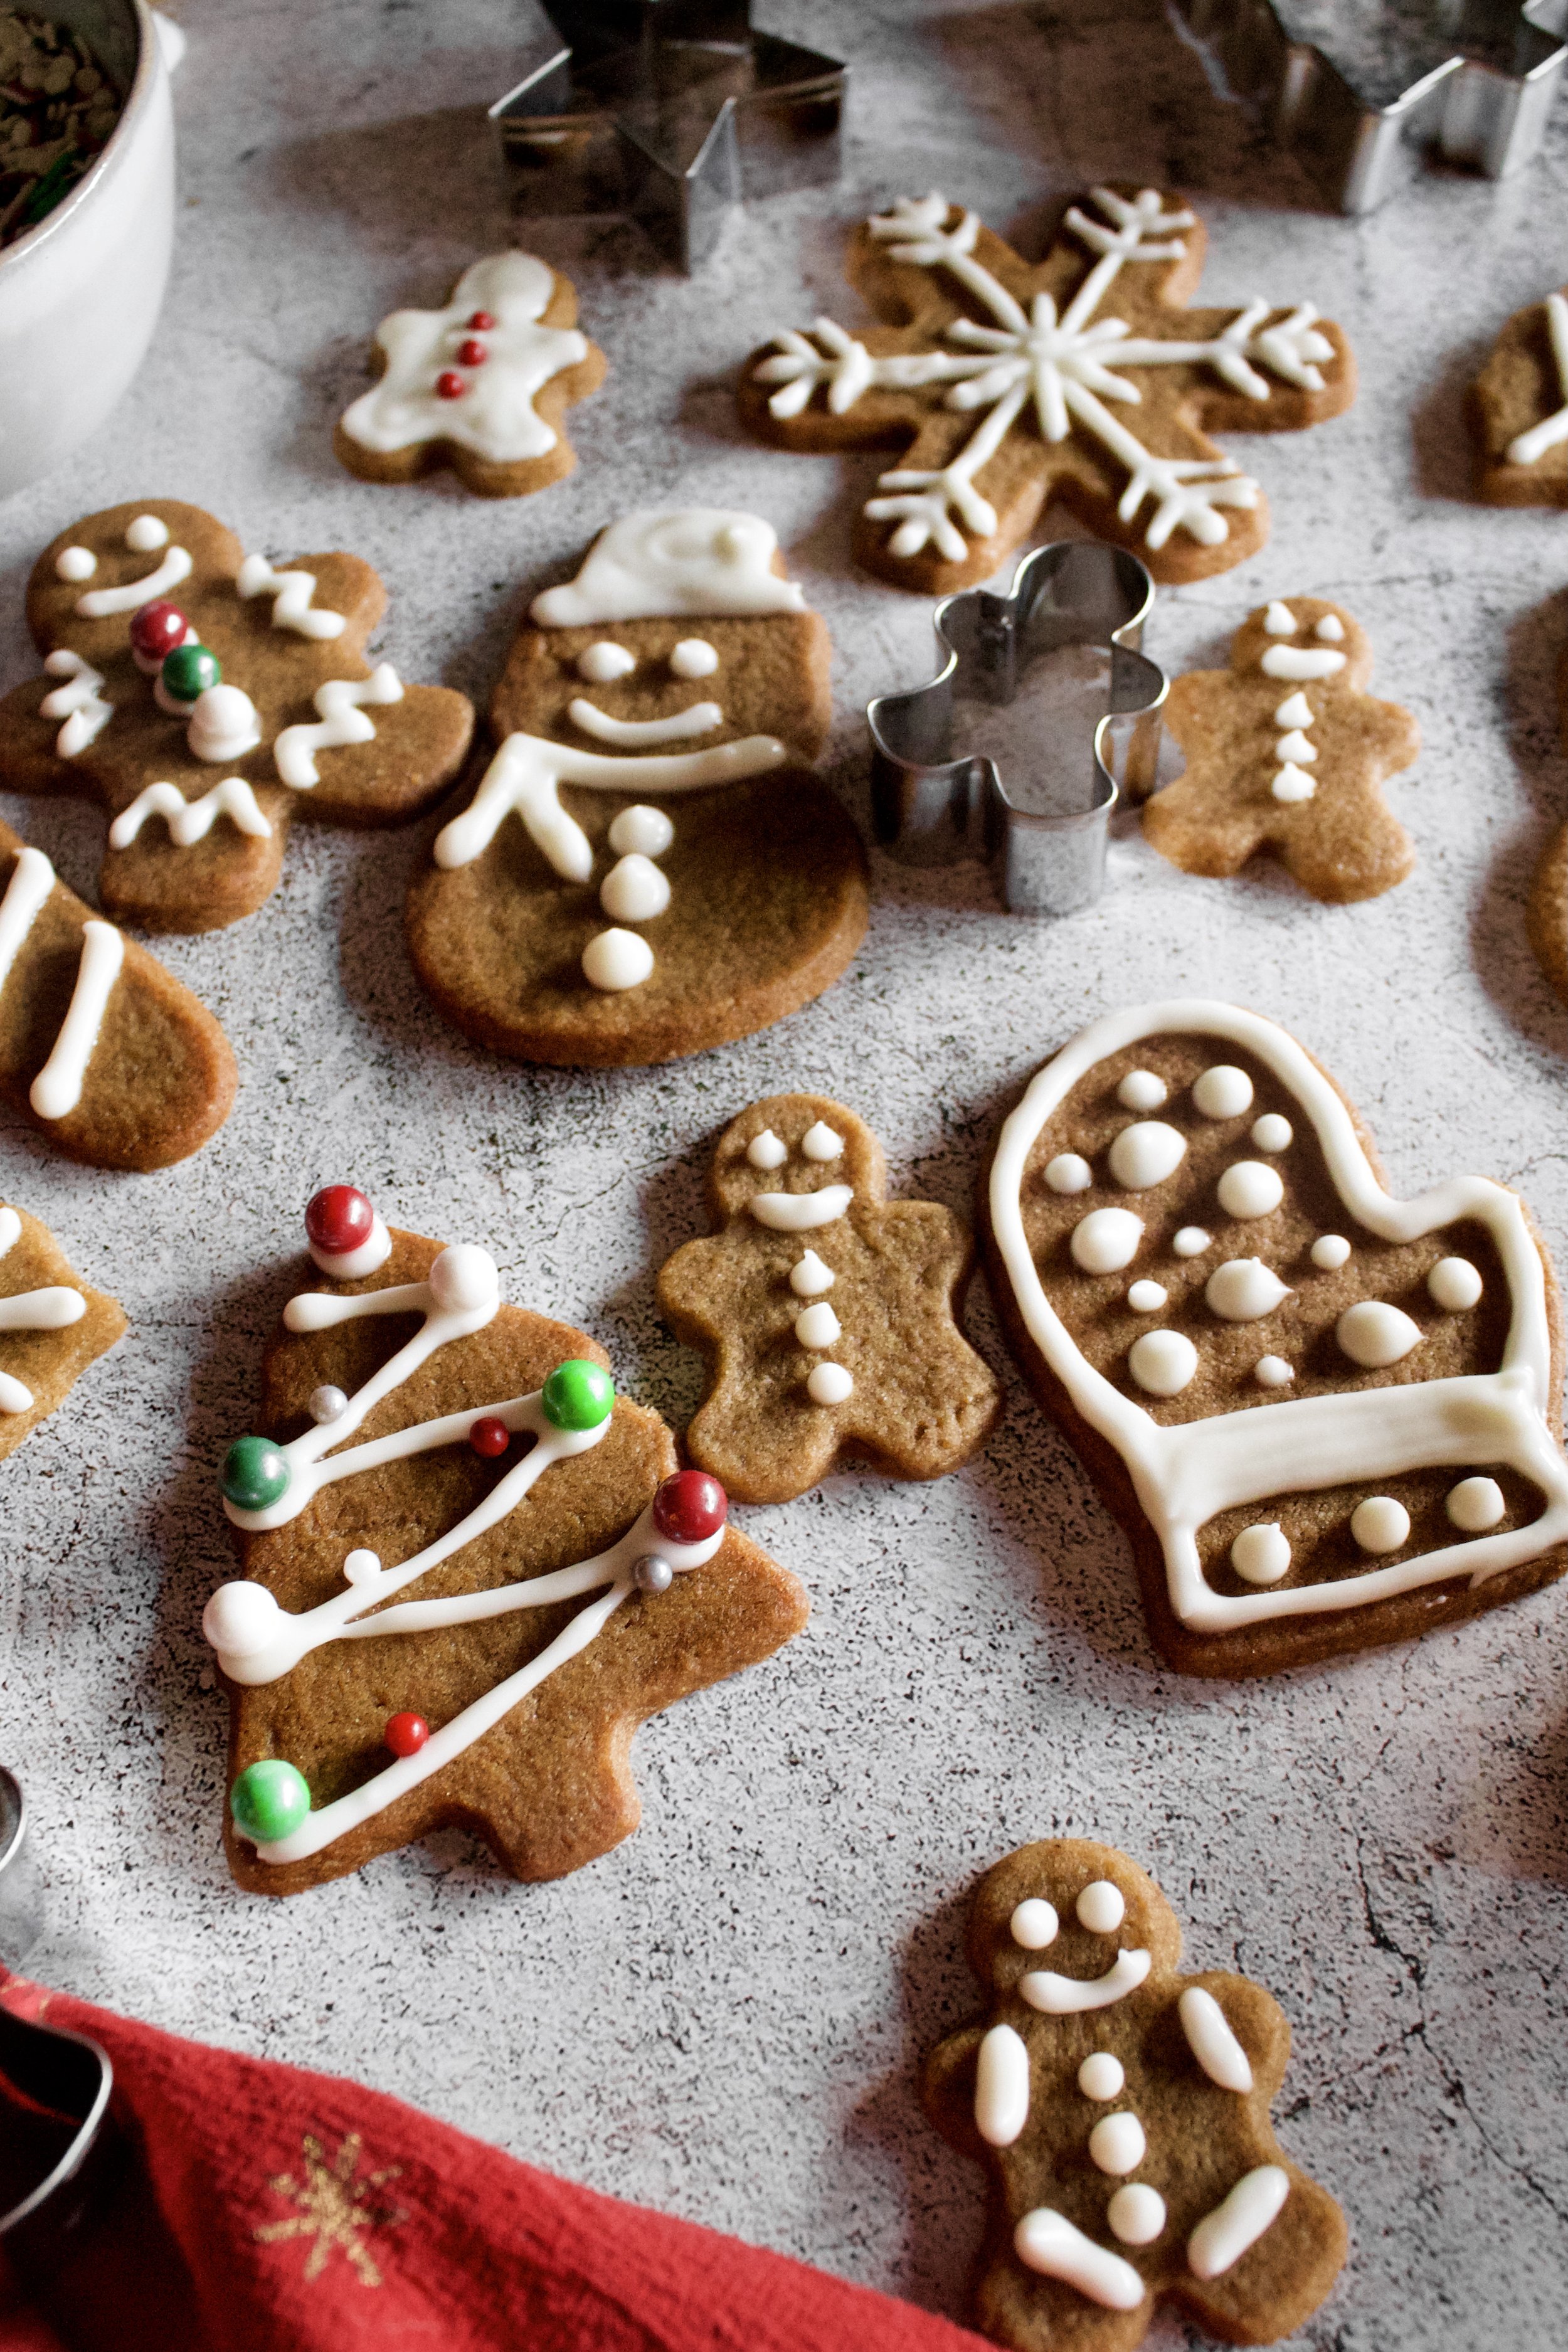
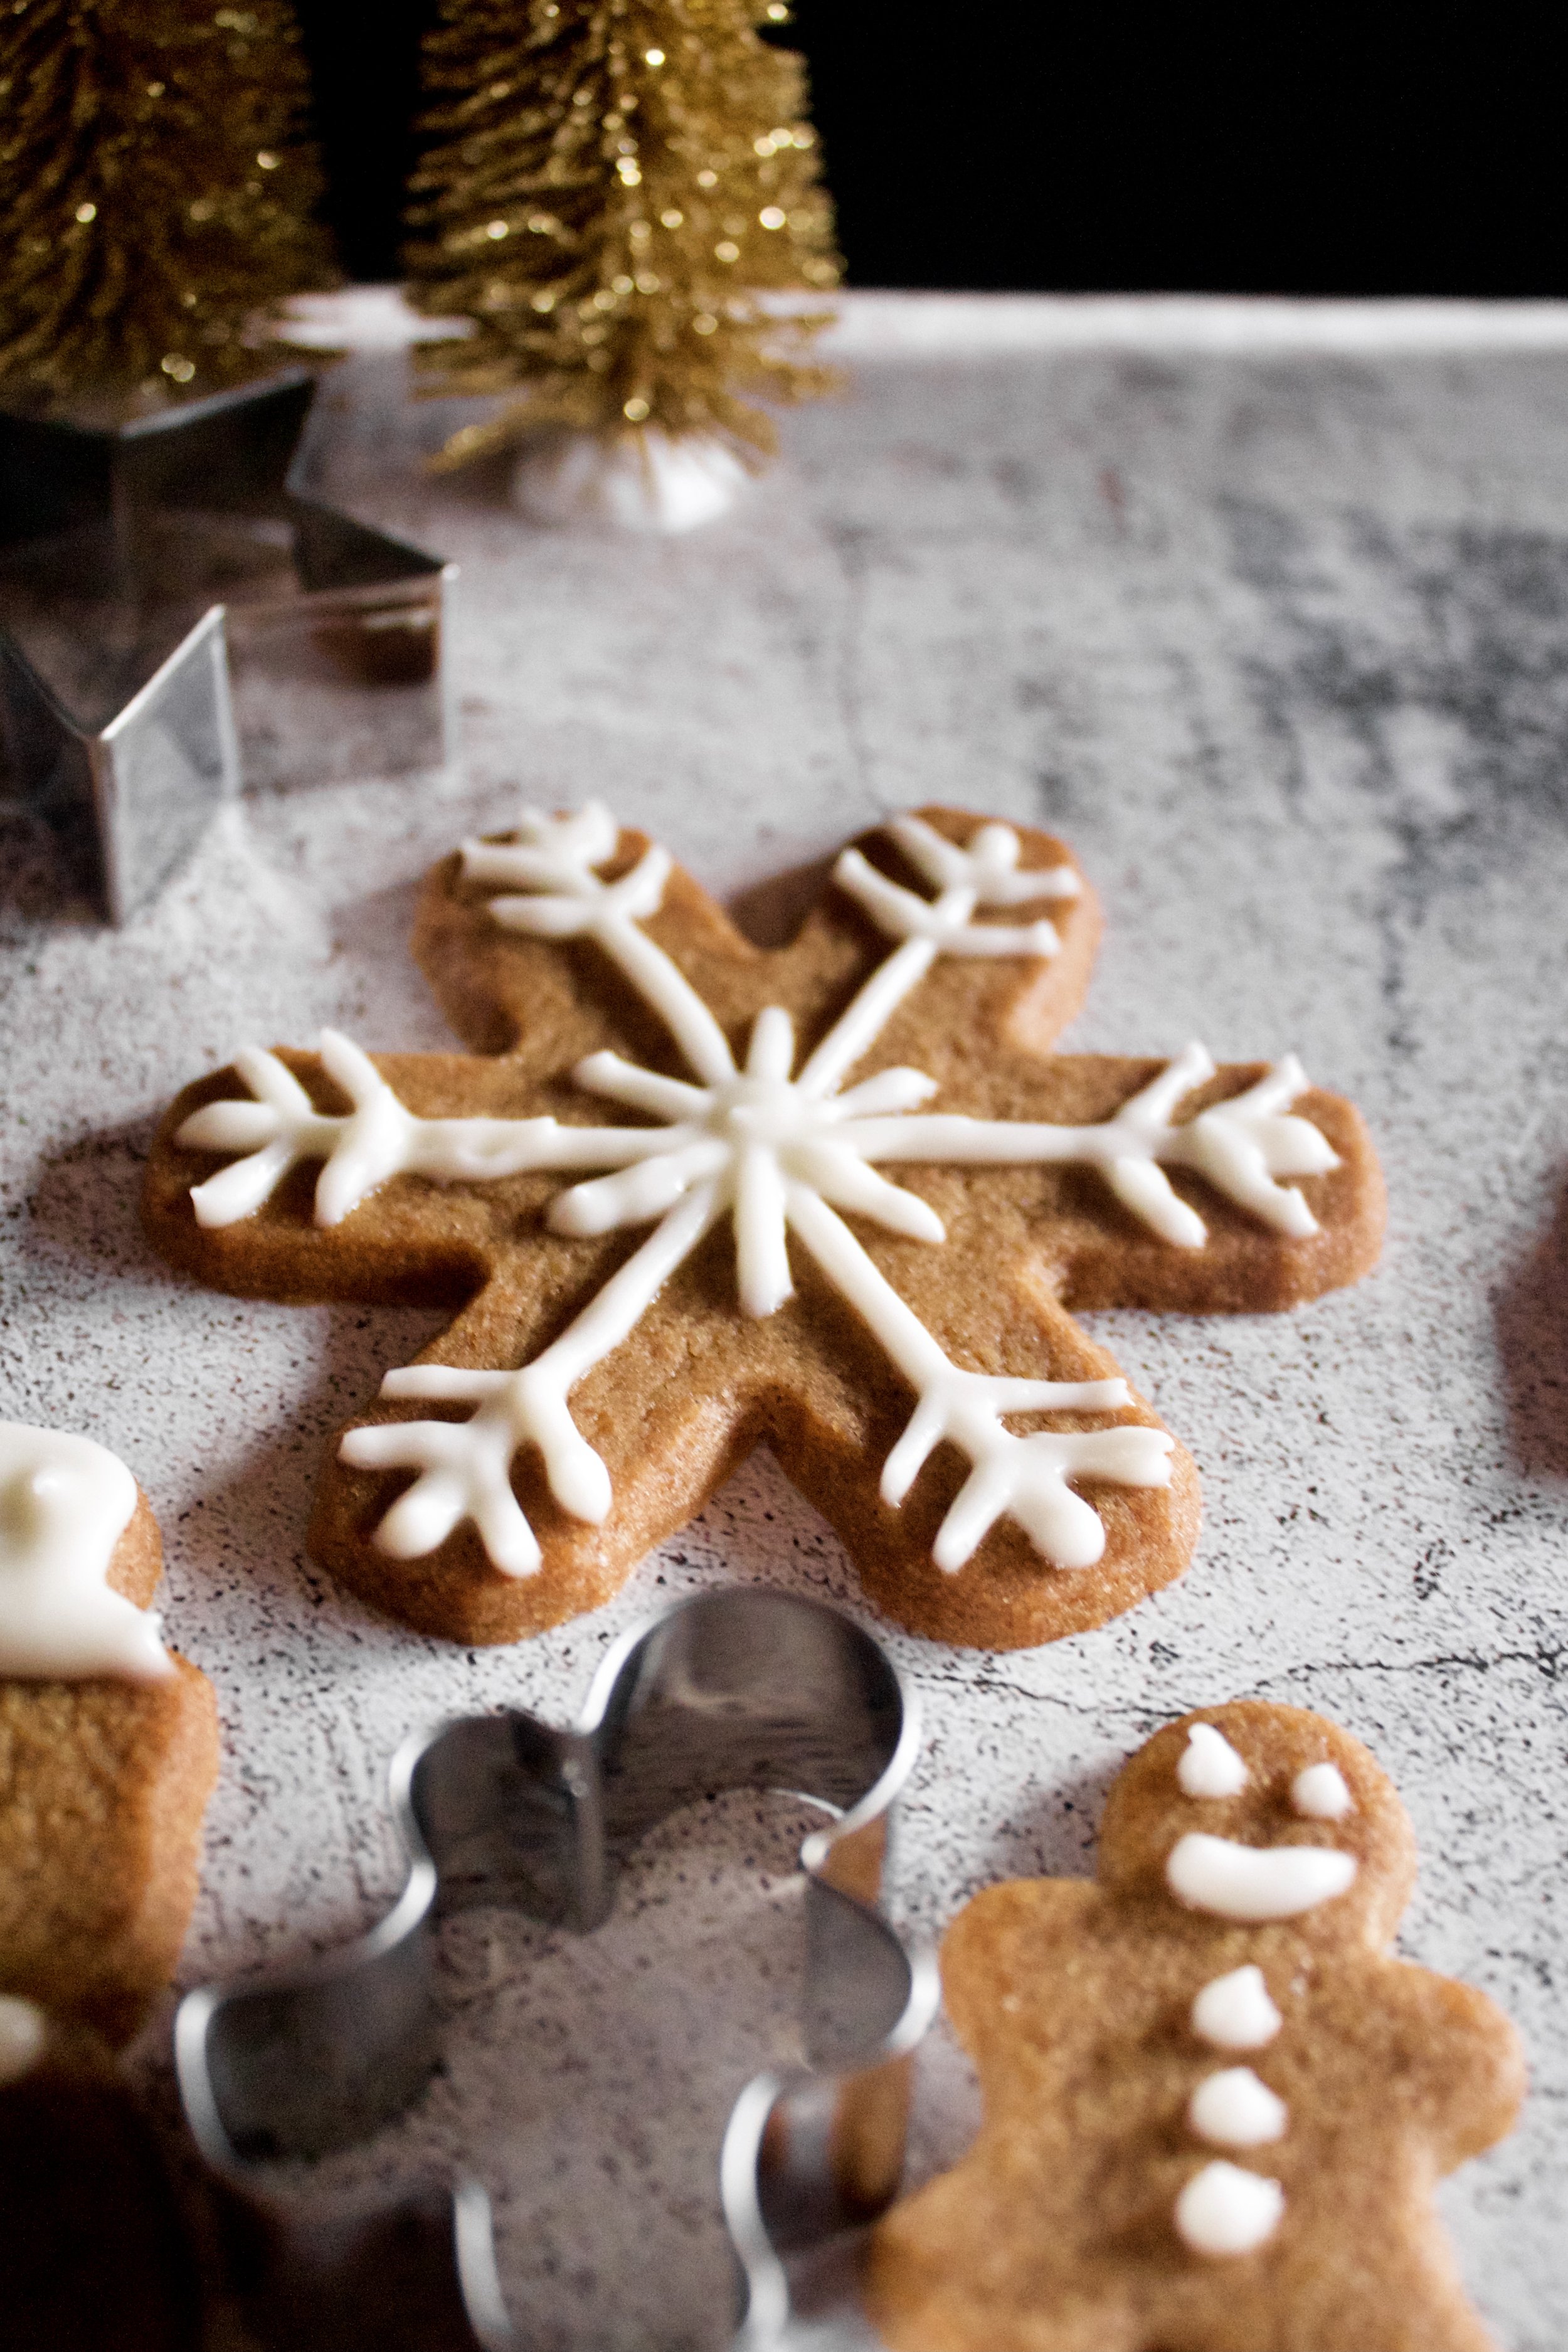
8. Decorate. I’ve included a recipe for a simple, shelf-stable icing (meaning no egg whites and no need for refrigeration). However, you can use any kind of glaze, icing, or frosting you like.
Enjoy!
Tips and FAQ’s for this recipe
Don’t under bake
This is the only time you’ll hear me say this. These cookies need to be baked enough to keep them from softening up and falling apart. So, be sure they are completely matte in appearance (not shiny) and the edges are starting to darken. It could help to let your first batch cool for 5 minutes and test one to see how long your oven takes to get these to the right consistency.
Don’t roll too thin
If you roll these too thin, they could over bake and become too dry and hard. Or, they could fall apart after a few days (if slightly under baked). This happened to me recently. I rolled ours too thin but figured it was for a neighborhood potluck in a few hours and would be fine. Only we had a dozen cookies leftover that I stacked up and stored in an airtight container (my bad). Two days later, cookie pieces were just falling off the pile because these really are a very soft cookie. So be sure your dough is at least 1/8” thick when you cut.
How do I stop my dough from sticking?
There are a few options for this. You can sprinkle more flour as you roll, but too much could make these turn out dry. You could also try rolling the dough between two pieces of parchment, but be sure to chill or freeze for a few minutes before peeling the parchment off one side to cut these out. Another option is to plan ahead so you can chill these properly in the fridge. One hour is the bare minimum. I did 45 minutes last time and could tell the dough was a little too soft. They still came out fine, but it was harder to roll out.
Can I use a different glaze?
Of course! I included a basic glaze, but you can use just about anything you want. One fun option is the maple spice glaze for these pumpkin sugar cookies. You could also go with a buttercream, such as maple spice buttercream, cinnamon vanilla bean, coffee buttercream, vanilla bean buttercream, brown sugar spice buttercream, or your favorite frosting. Or, you could go with a different kind of glaze, if you have one you like working with.
Can I use blackstrap molasses?
No!!! I learned the hard way to not use that. It was all the store had when I went and I figured it would be fine. It wasn’t. They came out super dark and far too moist. They still tasted good, but they just weren’t the cookie I was hoping to make. So make sure to have regular, unsulpured molasses on hand for these.

Can I make these ahead of time?
Yes! The dough will last up to 3 days in the fridge or at least a couple months in the freezer, depending on how well-sealed they are. Just be sure to shape them into a round-ish disc and double wrap in plastic. If frozen, let them defrost in the fridge overnight before using. Be sure to label the dough with the date so you don’t keep them too long.
Do I have to use European butter?
Personally, I think it makes a huge difference. It’s creamier and has a very different consistency than sweet cream butter. Since you only have a few ingredients here, you want to make sure each one is of the highest quality. But don’t worry—you can often find it at places like Costco on sale!
Spoon then level your flour
Don’t scoop your flour! I never knew this until I started blogging, but it seriously makes a big difference. You will end up with roughly 25% more flour than the recipe called for if you just doonk (official baking term right there) your measuring spoon into the flour container and scoop. Gently spoon your flour into your measuring cup then level it off with the back of a knife. Trust me! It makes a difference.

My tools
Here are my must-have tools I use for making these cookies. Affiliate links provided.
Mesh sieve (because sifting is KEY for a perfect shortbread cookie)
Soft Gingerbread Cutout Cookies
- prep time: 5-10 minutes
- chill time: 1 hour (optional)
- bake time: 10-12 minutes
- total time: 1 hour, 22 minutes
servings: 3-4 dozen
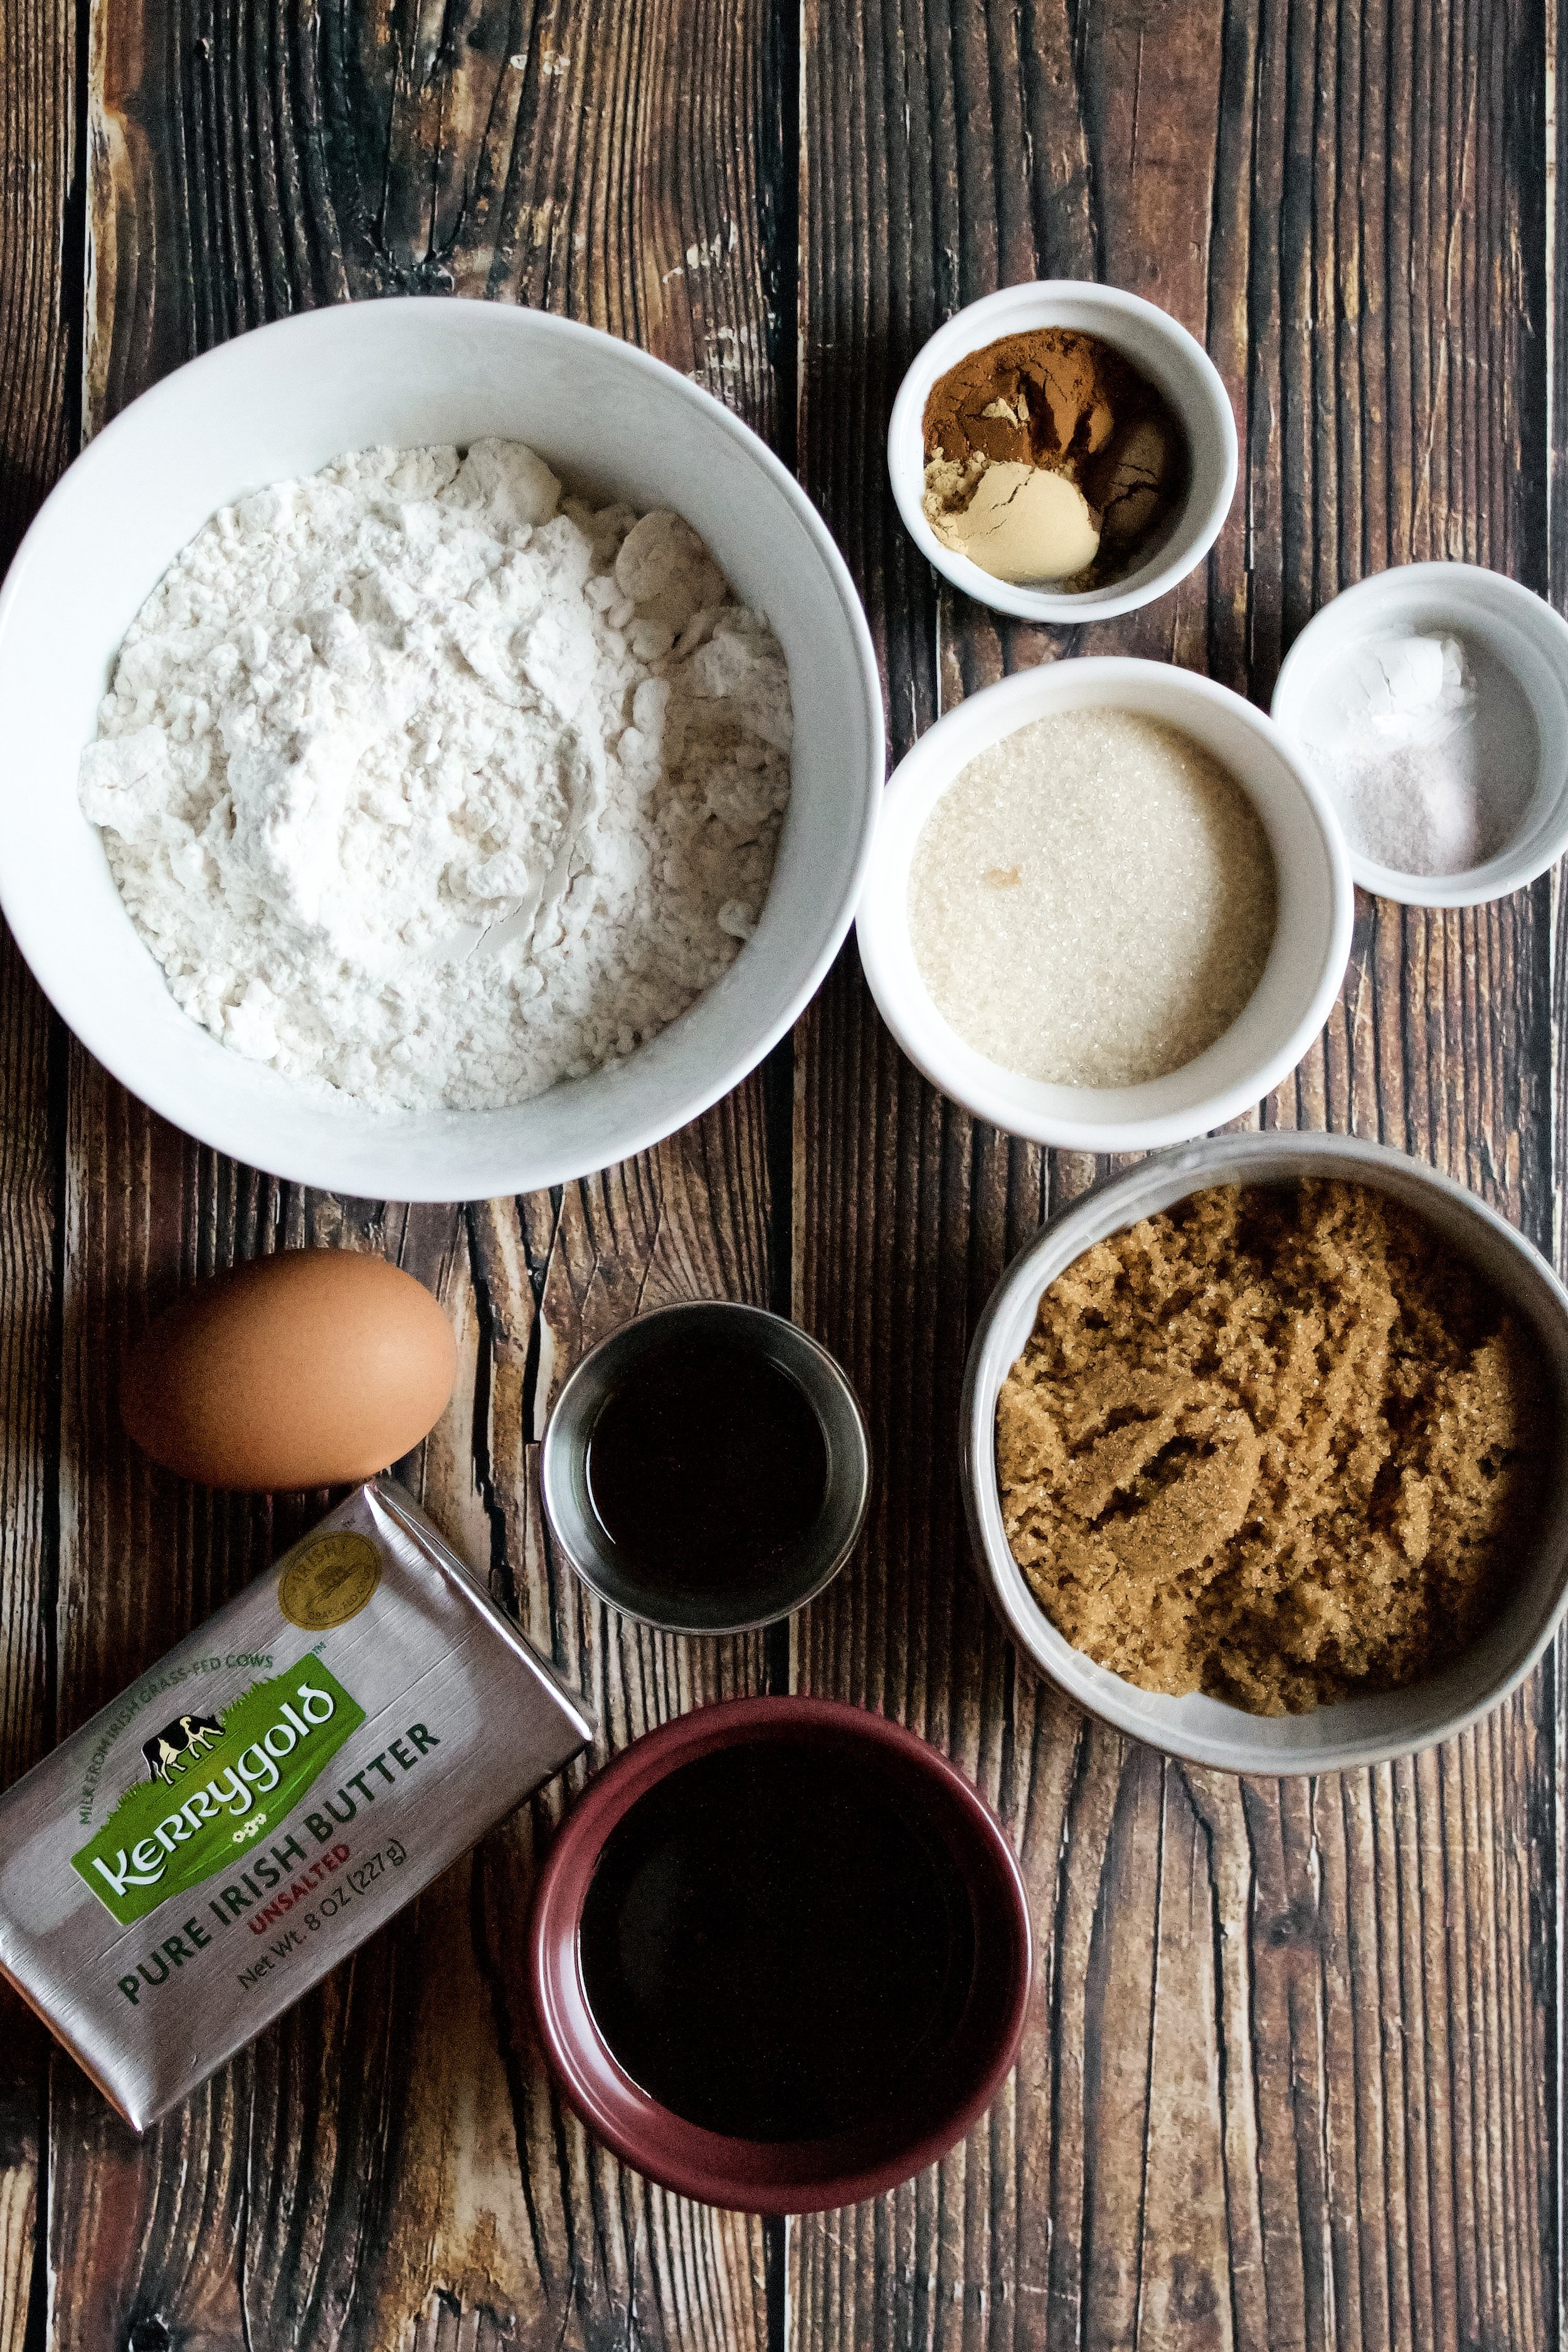
Ingredients:
for the cookies
- ¾ cup (170g) unsalted European style butter*, softened but not shiny
- 2 ½ cups (340g) all-purpose flour**, spooned then leveled (see note)
- 1 teaspoon (5g) baking soda
- 1 teaspoon (6g) sea salt (reduce to ⅛ teaspoon if using salted butter)
- 2-3 teaspoons (8-13g) ground cinnamon (to taste)
- 2-3 teaspoons (8-13g) ground ginger (to taste)
- ½ teaspoon (1g) ground cloves or allspice
- ¾ cup (150g) brown sugar, packed
- ½ cup (100g) granulated sugar
- 1 large egg, room temperature
- 1 tablespoon (13g) pure vanilla extract
- ¼ cup (60g) unsulphured molasses (NOT blackstrap)
- more granulated sugar for coating rolled cookies
for the glaze
- 2 cups powdered sugar
- 4-6 tablespoons (60-90g) heavy whipping cream (or half as much milk)
- optional: ½ teaspoon (1g) pure vanilla extract
Instructions:
- Preheat oven to 350F/175C and line a cookie sheet (or sheets) with parchment (or use a silicone mat to help reduce your carbon footprint!). Optionally, you can do this after chilling the cookies for 1 hour or up to 2 days.
- Whisk together your flour, baking soda, salt, cinnamon, ginger, and cloves. Set aside.
- In the bowl of your stand mixer fitted with the paddle attachment (or a large bowl, using a hand mixer), beat butter on high until smooth, about 30 seconds.
- Add the sugars and beat on high for at least 3 minutes, until it gets lighter and fluffier and the sugar starts to dissolve. Scrape the bowl as needed, at least once during this 3 minutes. (Note: if you are using organic or raws sugar, it is best to pulse it in a food processor until a little finer so it dissolves easier.)
- Add the egg and beat on medium until well-blended, about 30 seconds. Add the vanilla and molasses beat on medium until very well-blended, 30-60 seconds.
- Add the flour mixture and beat on low until just combined.
- Chill the dough. This creates a chewier yet sturdier cookie and is recommended but not necessary. Form into two 6” discs, wrap well with plastic, and chill at least an hour or up to 2 days. I found that chilling overnight was perfect. If you’re in a rush, you could roll and cut them then freeze for 10-20 minutes before baking.
- When ready to bake, sprinkle a rolling mat or parchment with flour. Place one disc on it and sprinkle the top with more flour. Roll dough to no less than ⅛” and no more than ¼” thick (or somewhere in between). Be sure to flip and rotate the dough as you roll, sprinkling more flour as needed. You could also roll the dough between two pieces of parchment, but you will need to chill this for about 20 minutes or freeze for 5 so that the cut shapes separate from the paper easily.
- Using your favorite cookie cutters, cut into shapes. Transfer cookies to your baking sheet, using a thin spatula to lift them if needed.
- Bake for 10-12 minutes, until the tops of the cookies are no longer shiny and the edges begin to darken. It’s best to do a test batch (or even just a few test cookies), let them cool 5-10 minutes, then taste to see exactly how long your oven takes to make these the perfect blend of soft yet sturdy.
- Let cookies cool on the pan about 10 minutes, then either enjoy or remove to a wire rack to cool completely.
- While the cookies cool, make the glaze. Mix the sugar and heavy cream (and vanilla, if using) together until a pourable consistency. If it becomes to thin, add a little more sugar. If it’s too thick, add a splash more heavy cream. If if begins to thicken as you use it, add a splash more cream.
- When the cookies are cool, decorate as desired. You can use a piping bag or bottle to create designs. Obviously, sprinkles are a must!
Enjoy!
Cover leftovers loosely and store on the counter. Dough can be formed into discs and frozen in an airtight container up to 2 months. Let thaw in fridge overnight, then roll out as directed.
*European butter is best! It has less water and makes a better cookie, in my opinion.
**Be sure to spoon then level the flour into your measuring cup OR weigh it to prevent packing it in and ending up with too much.