
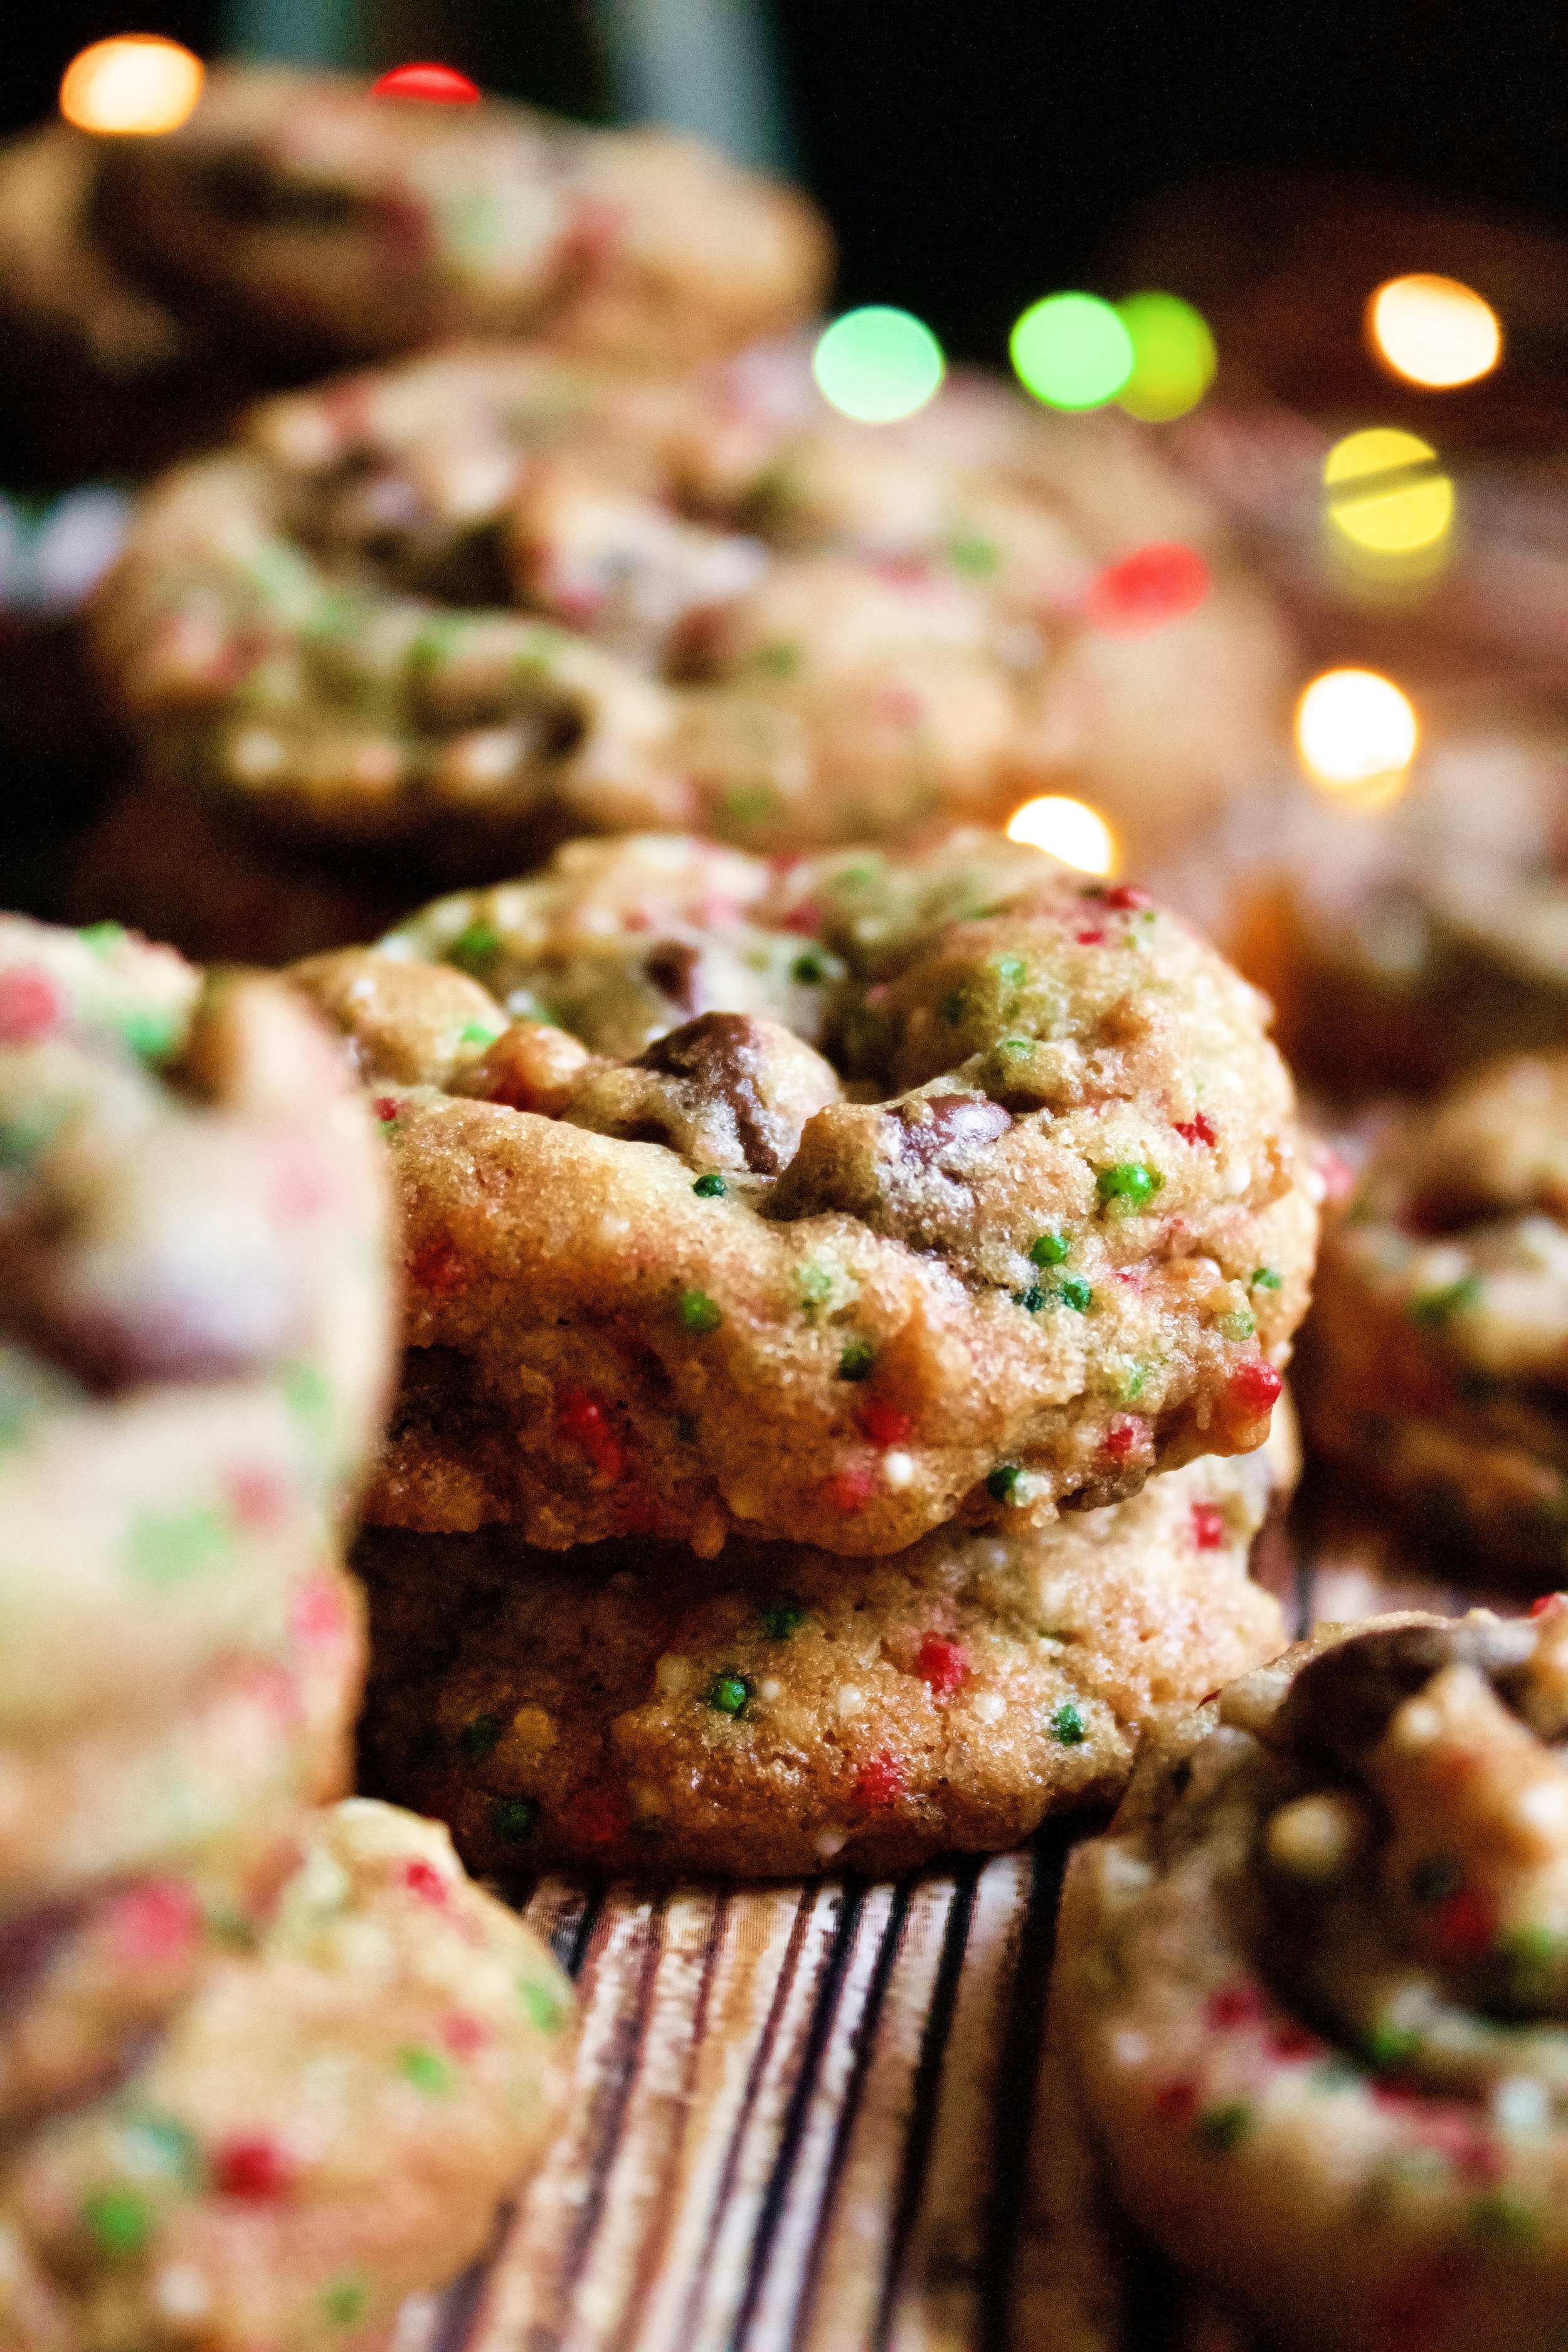
Chocolate Chip Sprinkle Cookies
Perfectly chewy chocolate chip cookies filled with festive sprinkles! These cookies are carefully balanced to withstand the extra sugar from the sprinkles while still having that perfect texture and classic cookie flavor.
This post may contain affiliate links from which, at no additional cost to you, I may earn a small commission to keep this site running. Only products I myself would or do use are recommended.
Since this week has been about a thousand years long (I swear there’s some dark magic about the week before a break that makes it drag on), I’m just going to say you should make these cookies. They are festive and chewy with a crispy edge and just make my heart happy.
I’m also going to say that you matter. You are valued. If you’re reading this, I’m so glad you’re here and hope you know how important you are.
Not only has this week been a thousand years long, it’s also been hard and made me realize how much we need to tell people that they are loved. And YOU are loved.

Why this recipe works
The nonpareils really make these cookies. They add a festive look and a slight crunch to the cookies. But you have to be careful in adding sprinkles to some recipes. Adding sprinkles actually alters the overall texture of the cookies, as sugar (which is basically what sprinkles are) melts in the oven. So, these cookies require extra flour to balance that out—but not too much extra flour or they’ll lose that classic chew. After quite a bit of experimentation and several failed batches of sprinkle cookies, I figured out the perfect ratio when using nonpareils. The key is just enough flour to maintain the structure without making these dry or detracting from the sweetness.
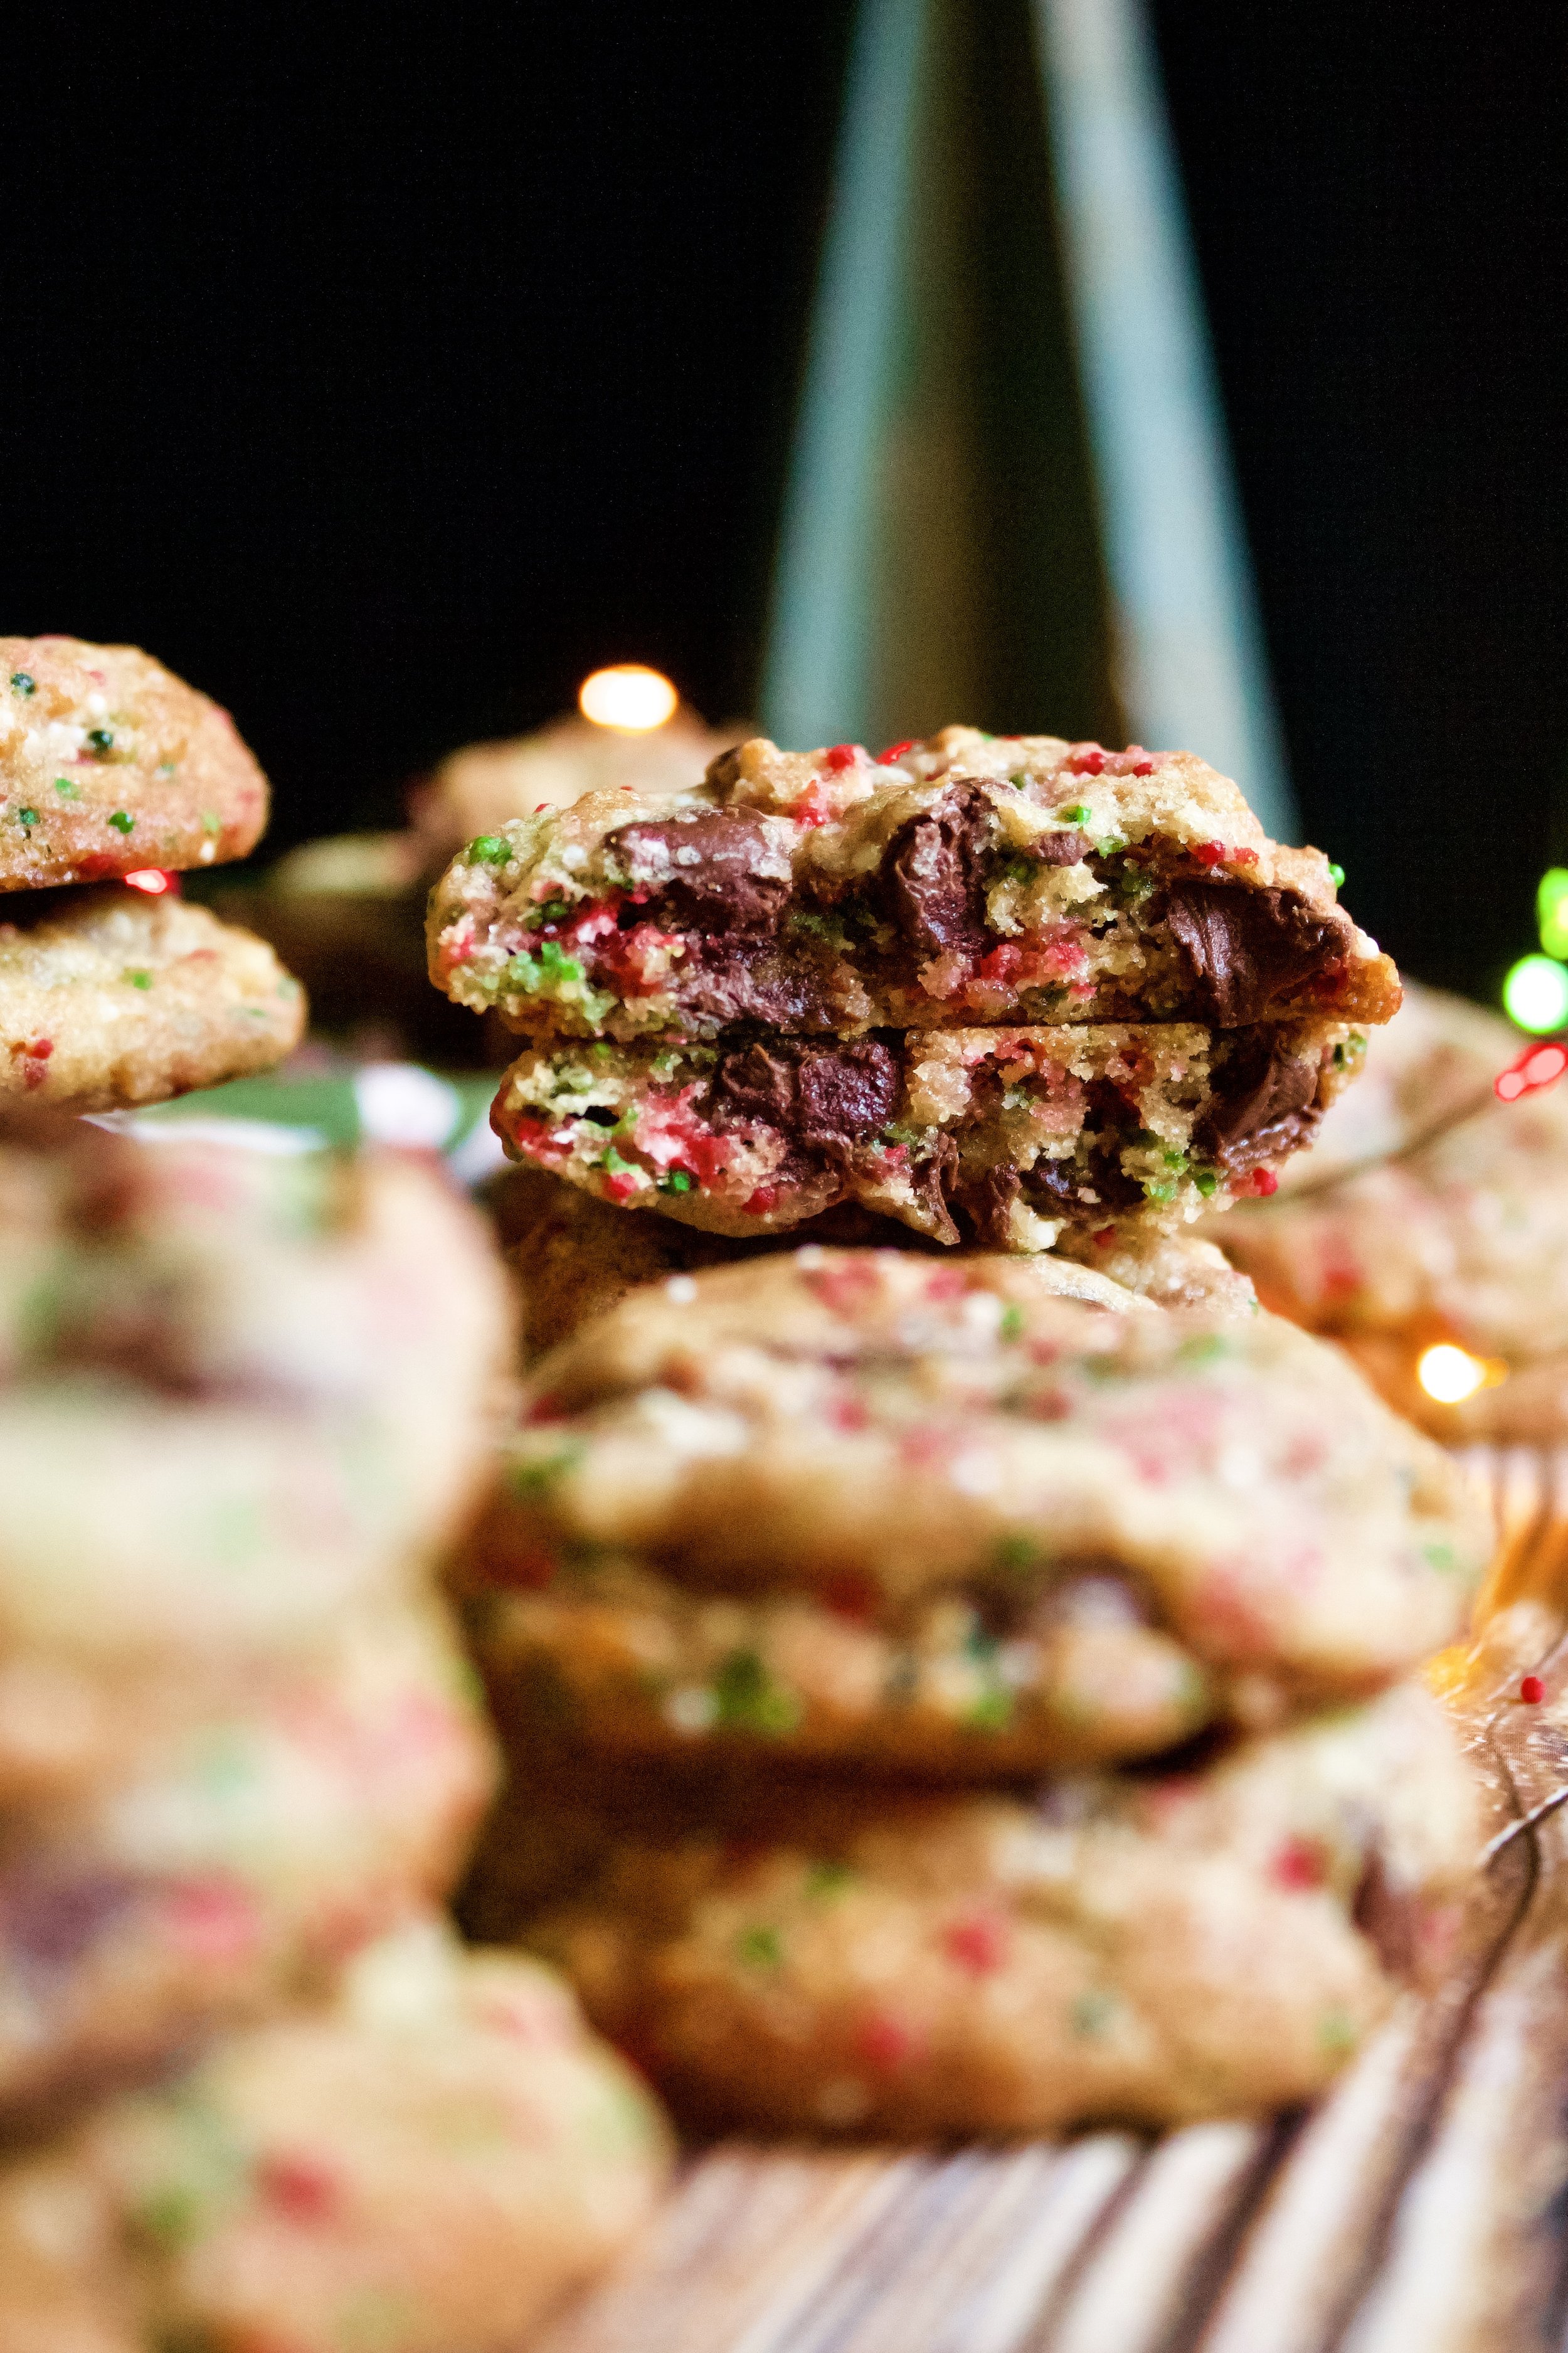
Another key to my chocolate chip cookies is to start with the Nestle Tollhouse recipe and tweak it from there. For the most part, it’s the perfect cookie with perfect chew. I always add a little extra brown sugar, for sweetness and chew. But not too much, or they will flatten in the oven. I also technically use more flour because I always weight mine, which usually ends up yielding less than the average scoop does. And most importantly, I add extra chocolate chips. I usually do a good 3 cups, instead of the classic 2. I’ve been told this is too much by a couple people, but I don’t listen to that kind of negativity and measure with my heart. In this recipe, I feel it helps balance out the sweetness and crunch of the sprinkles to make the perfect Christmas cookie.

Key ingredients
Flour. Be sure to spoon then level your flour or you will have too much and will end up with dry, dense cookies.
Baking soda. Be sure it is fresh—not open for longer than 6 months (it will lose potency after that, regardless of the listed expiration date).
Salt. I prefer sea salt in my cookies, but table salt works, too.
Unsalted butter. Use European style butter, as it has less water and is needed to make these have the perfect texture.
Brown sugar/sugar. Don’t be tempted to increase the sugar, as it turns to liquid when baking and will make the cookies go flat.
Eggs. Be sure your eggs are fresh and room temperature.
Vanilla. Use pure vanilla extract (or vanilla bean paste).
Chocolate chips. Measure with your heart, my friend! I wrote the recipe with the typical two cups, but I usually use closer to three. Don’t go beyond that, or the cookies won’t hold together.
Christmas colored nonpareils. You can use any color or shape of sprinkle, but I feel nonpareils are perfect because they’re not too large and won’t alter the integrity of the cookie.

Note that I ditched the larger sprinkles in this photo after discovering they weighed my cookies down too much.
How to make chocolate chip sprinkle cookies
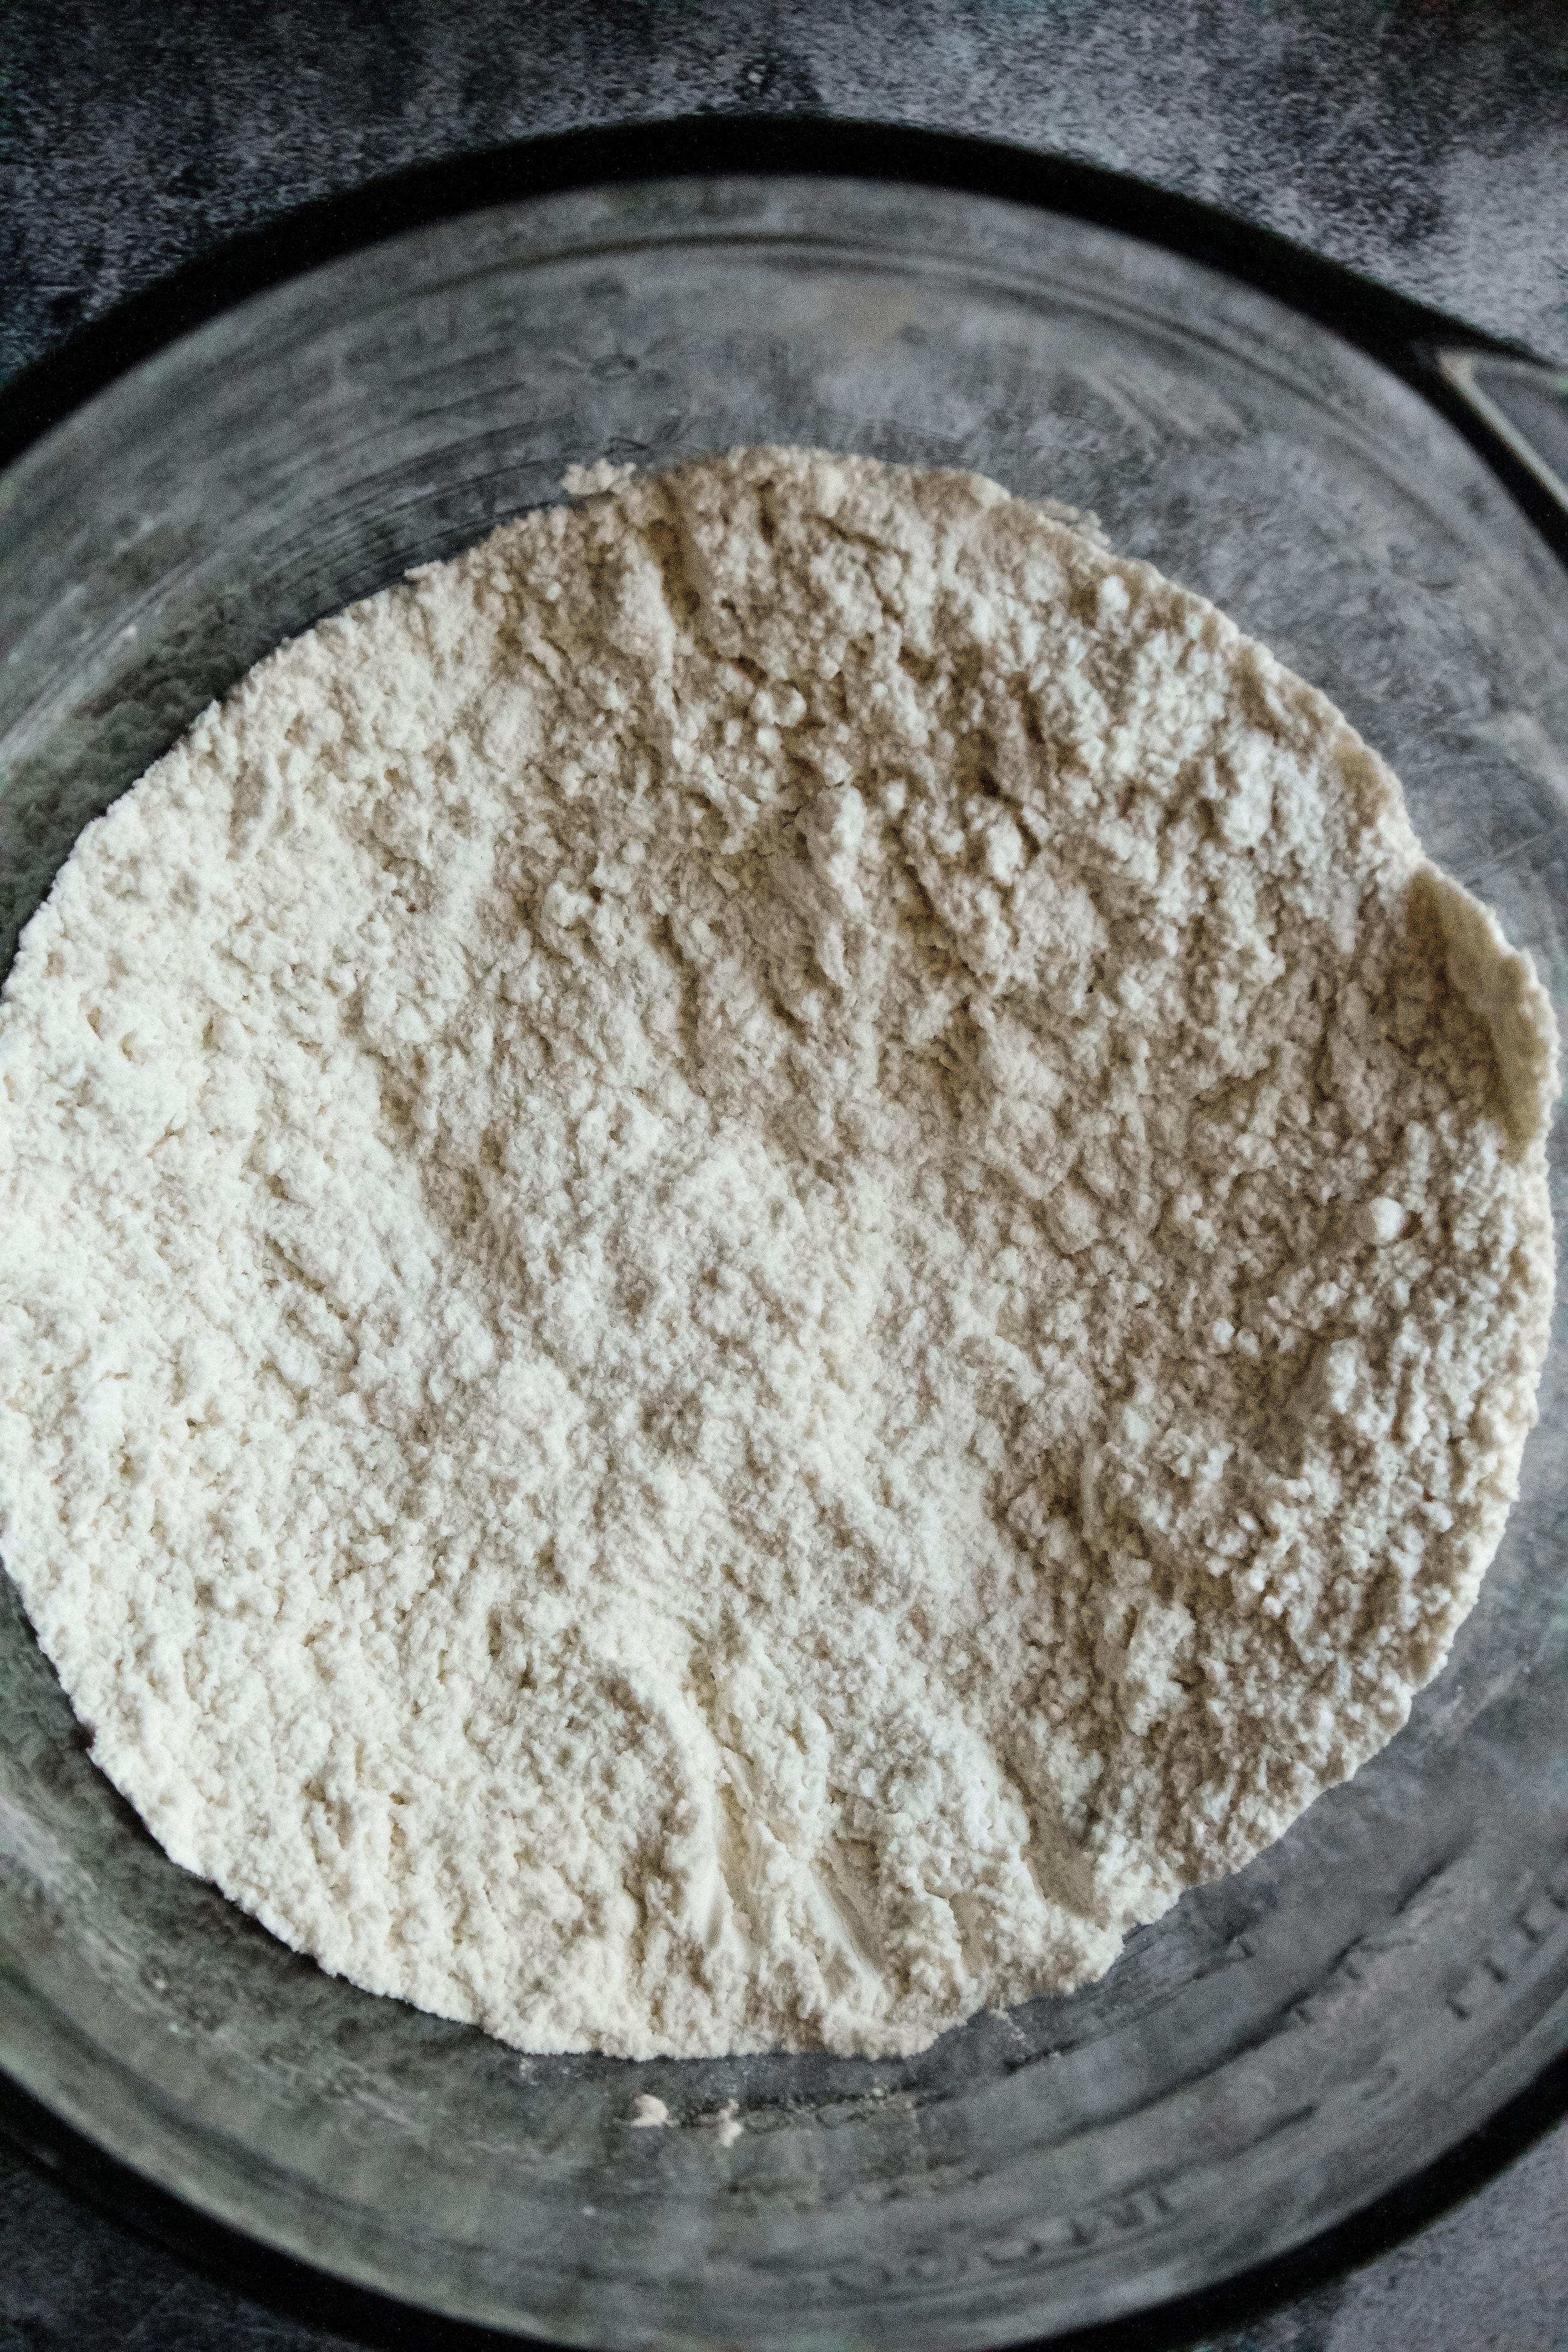
1. Sift and whisk dry ingredients. Sifting is technically optional, but I think it helps prevent over mixing.
2. Beat butter and sugar. You want the sugar slightly dissolved and the mixture to be light and fluffy, so mix at least 3 minutes.
3. Add eggs and vanilla, one at a time. Beat until well-blended each time, about 30 seconds on medium.
4. Mix in dry ingredients. Mix on low until just barely combined.
5. Stir in chocolate chips and sprinkles. You can use up to 3 cups chocolate chips, but don’t use extra sprinkles or the cookie could crumble.


6. Chill, if desired. This is optional, and simply helps the cookies keep their rounded shape better during baking. You can also freeze them for 10 minutes after shaping and placing them on a cookie sheet.
7. Form into balls. I like using a cookie scoop so I can just place the dough onto my baking sheet, but you can use a spoon then roll it into a rough ball. Place cookies 2” apart on your prepared cookie sheet.
8. Bake. Bake until no longer matte in appearance and the edges begin to darken.
9. Let cool on pan then on cooling rack. You don’t want them to keep cooking once you take them out of the oven, so only keep them on the pan 5-10 minutes.
Enjoy!


Tips and FAQ’s for this recipe
Can I use different sprinkles?
Yes! Just avoid super large sprinkles, or use less chocolate chips if you do use large ones. I can’t vouch for how the cookie texture will be impacted, but in my experience you can use just about any type of sprinkle here. If you do go a little overboard on the sprinkles, you may need to stir in a couple extra tablespoons of flour and be sure to freeze them right before baking.

Can I make these ahead of time?
Yes! The dough will last up to 3 days in the fridge or at least a couple months in the freezer, depending on how well-sealed they are. I like to scoop my dough out, place it on a cookie sheet and let it freeze for an hour, then place the frozen cookie dough balls into freezer safe bags. Be sure to label the dough with the date so you don’t keep them too long.

Do I have to use European butter?
Personally, I think it makes a huge difference. It’s creamier and has a very different consistency than sweet cream butter. Since you only have a few ingredients here, you want to make sure each one is of the highest quality. But don’t worry—you can often find it at places like Costco on sale!

Brown the butter for a sturdier cookie
While I did not brown the butter here, I usually brown the butter for all of my cookies. It removes some of the water from the butter, which in turn helps prevent the sprinkles from creating too much liquid while baking (because sugar turns to liquid when heated). Thus, you won’t have cookies that spread too much or become too thin in the oven. While I adjusted the recipe to account for this and these cookies won’t spread if made as written, they don’t last as long as browned butter cookies, which is why I always suggest browning the butter if you have the time. You can follow the directions here to brown the butter.

Spoon then level your flour
Don’t scoop your flour! I never knew this until I started blogging, but it seriously makes a big difference. You will end up with roughly 25% more flour than the recipe called for if you just doonk (official baking term right there) your measuring spoon into the flour container and scoop. Gently spoon your flour into your measuring cup then level it off with the back of a knife. Trust me! It makes a difference.

My tools
Here are my must-have tools I use for making these cookies. Affiliate links provided.
Mesh sieve (because sifting is KEY for a perfect shortbread cookie)


Chocolate Chip Sprinkle Cookies
- prep time: 10-15 minutes
- chill time: 1 hour (optional)
- bake time: 10-12 minutes
- total time: 1 hour, 27 minutes
servings: 36-48
Ingredients:
- 1 cup (227g) unsalted European style butter*, softened but not shiny
- 2 ⅔ cups (363g) all-purpose flour**, spooned then leveled (see note)
- 1 teaspoon (5g) baking soda
- 1 teaspoon (6g) sea salt (reduce to ⅛ teaspoon if using salted butter)
- 1 ⅓ cup (266g) brown sugar, packed
- ⅓ cup (67g) granulated sugar
- 2 eggs, room temperature
- 1 tablespoon (13g) pure vanilla extract
- 2-3 cups (340-510g) semi-sweet chocolate chips (or your favorite kind)
- ⅔ cup (113g) Christmas colored nonpareils (or your favorite sprinkle)
Instructions:
- Preheat oven to 350F/175C and line a cookie sheet (or sheets) with parchment (or use a silicone mat to help reduce your carbon footprint!). Optionally, you can do this after chilling the cookies for 1 hour or up to 2 days.
- Whisk together your flour, baking soda, and salt. Set aside.
- In the bowl of your stand mixer fitted with the paddle attachment (or a large bowl, using a hand mixer), beat butter on high until smooth, about 30 seconds.
- Add the sugars and beat on high for at least 3 minutes, until it gets lighter and fluffier and the sugar starts to dissolve. Scrape the bowl as needed, at least once during this 3 minutes.
- Add the eggs, one at a time, and beat on medium until well blended, about 30 seconds. Add the vanilla and beat on medium until blended.
- Add the flour mixture and beat on low until nearly combined. Don’t worry if there are some streaks of flour, as the next step takes care of that.
- Using a spatula or wooden spoon, stir in the chocolate chips and sprinkles.
- Optionally, chill the dough. This creates a chewier yet sturdier cookie and is recommended but not necessary. Cover and chill the dough at least an hour or up to 2 days. I found that chilling overnight was perfect. If you’re in a rush, you could form them into balls and freeze them for 20 minutes.
- When ready to bake, use a spoon or cookie scoop to form the dough into balls about 1 to 1 ½ inches in diameter. If you did not chill the dough, you will likely need to use a spoon.
- Bake for 10-12 minutes, until the tops of the cookies are no longer shiny (or there’s just a tiny bit of shine around the chocolate chips).
- Let cool on the pan about 10 minutes, then either enjoy or remove to a wire rack to cool completely.
Enjoy!
Store leftovers in an airtight container on the counter. Dough can be formed into balls and frozen in an airtight container up to 2 months. Bake straight from freezer.
*European butter is best! It has less water and makes a better cookie, in my opinion.
**Be sure to spoon then level the flour into your measuring cup OR weigh it to prevent packing it in and ending up with too much.
