
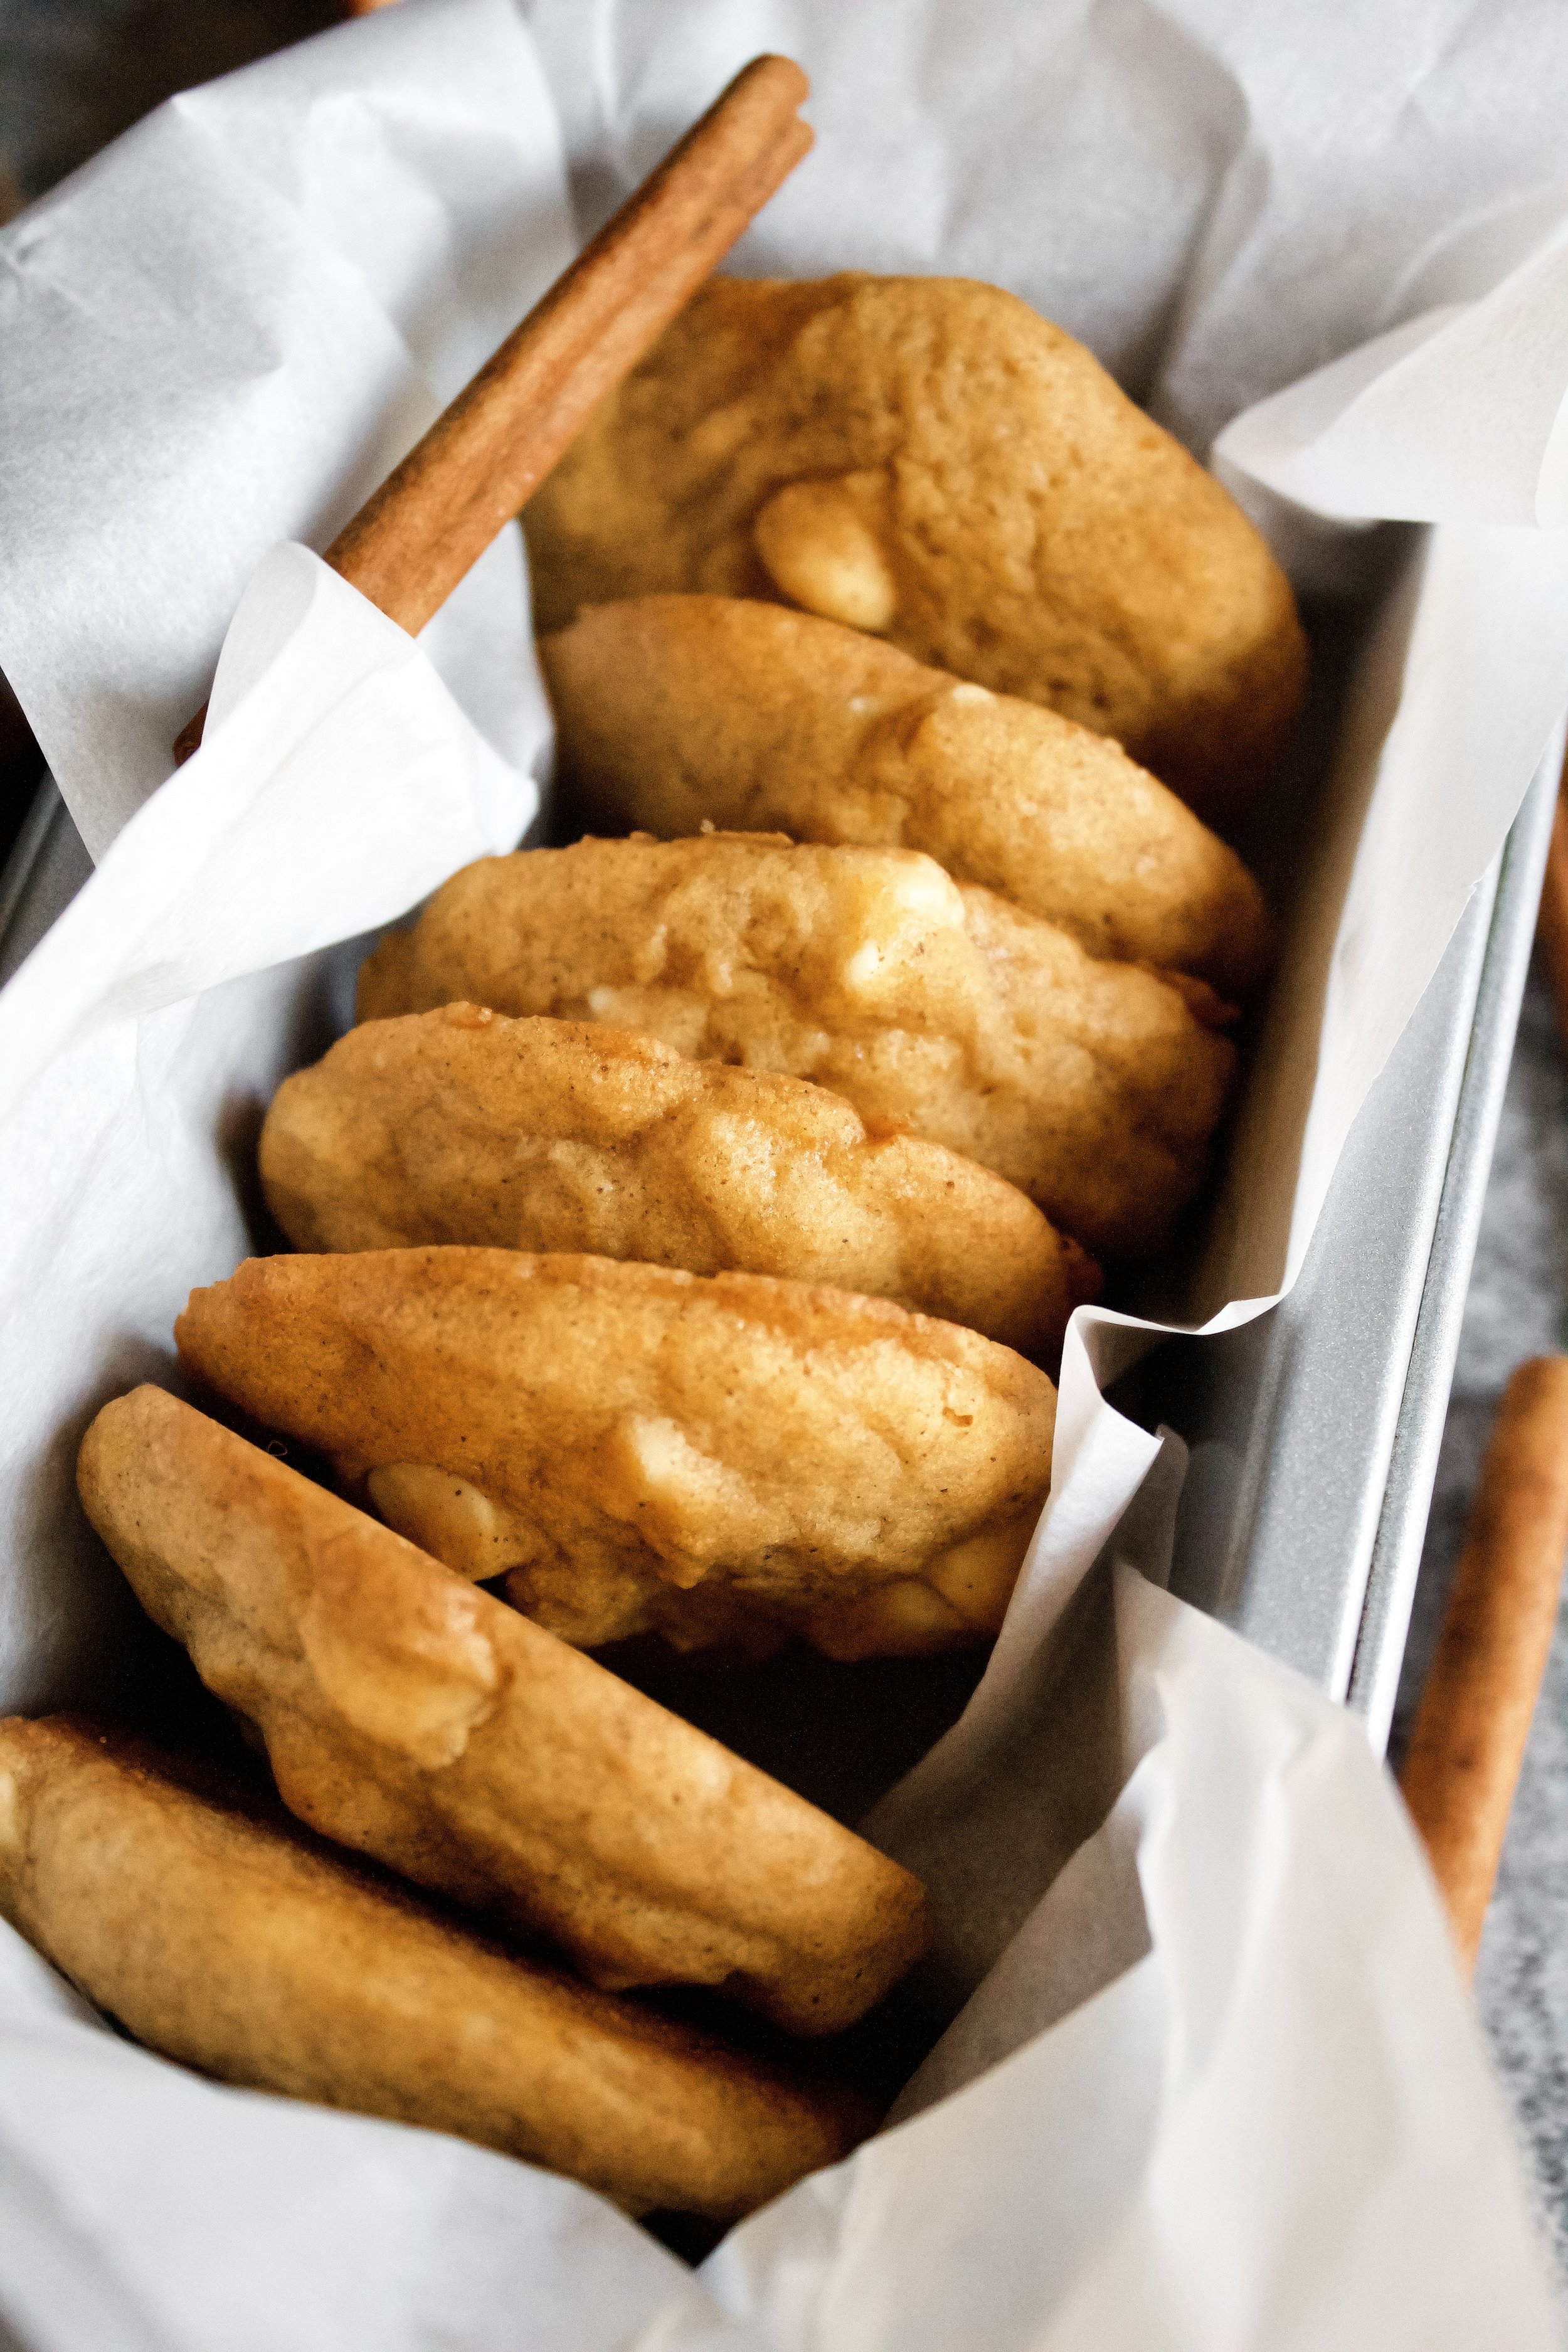
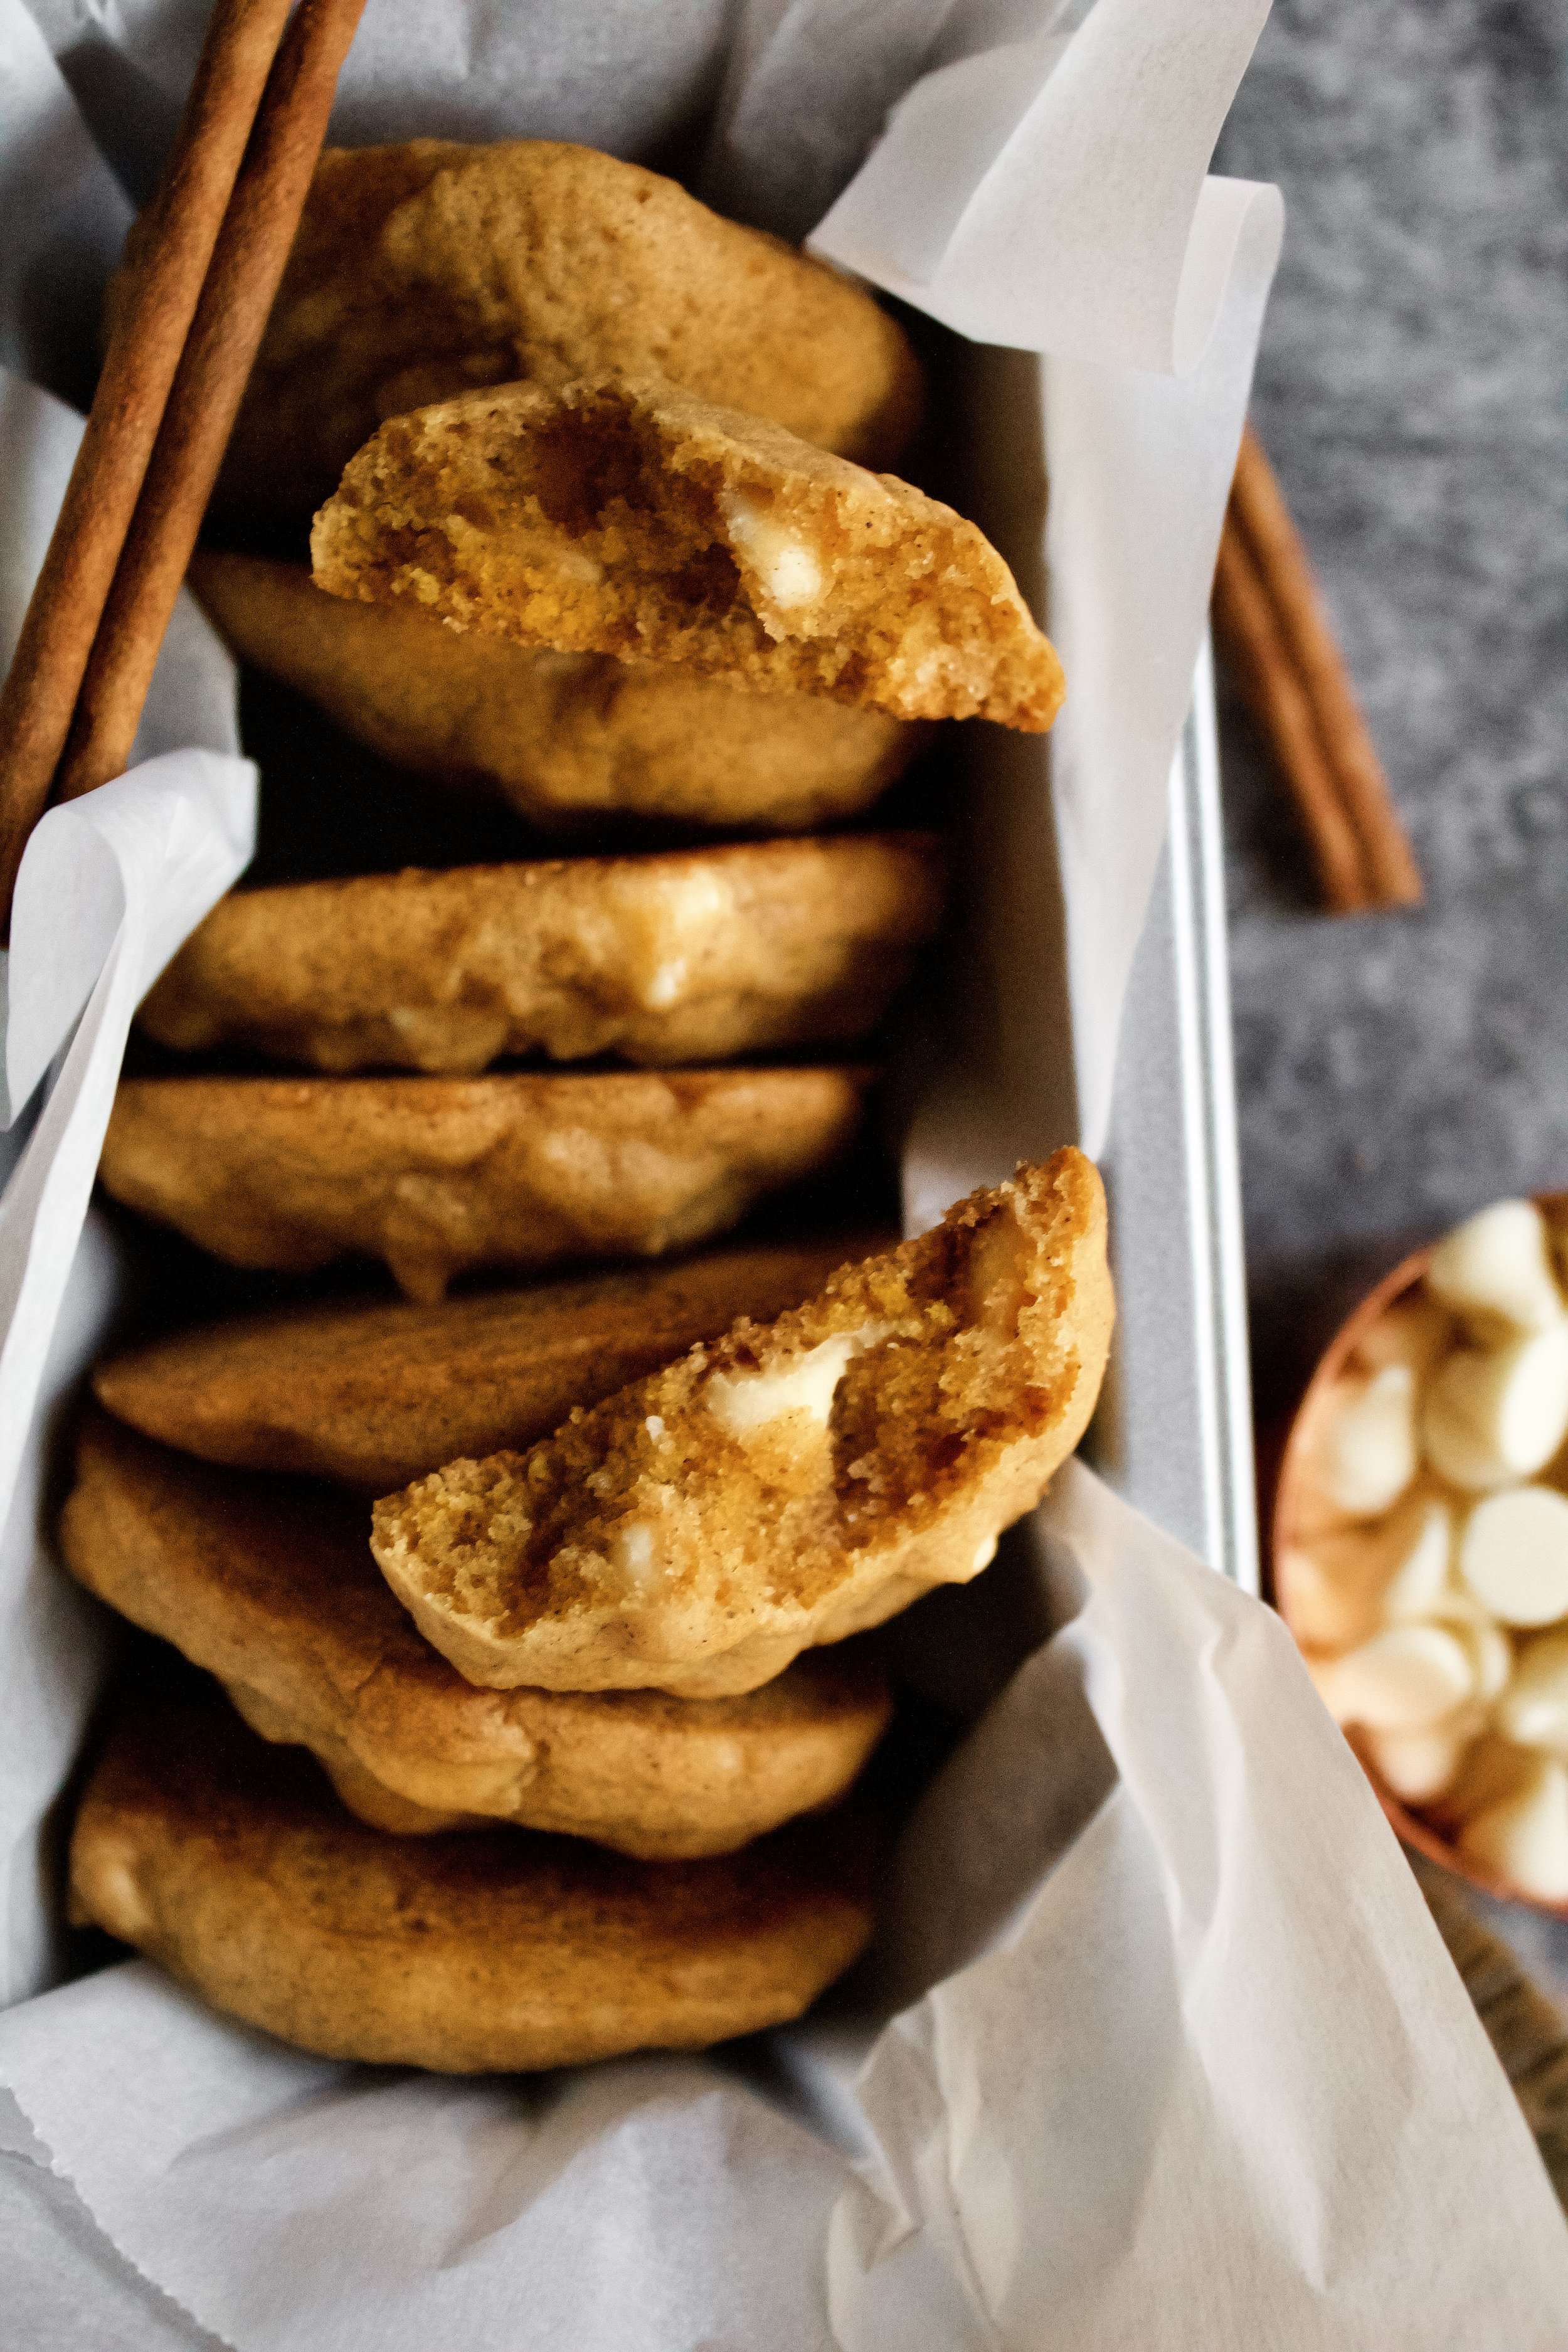
Pumpkin White Chocolate Chip Cookies
Chewy, perfectly spiced cookies with a bright pumpkin flavor and color, filled with extra white chocolate chips. These delicious cookies are full of all the fall things. With how easy they are, they just might become your new fall go-to dessert!
This post may contain affiliate links from which, at no additional cost to you, I may earn a small commission to keep this site running. Only products I myself would or do use are recommended.

Guys, I just had a grade-level meeting with my coworkers and we all agreed: our students are pretty awesome. Most years I grow to love my students and create a bond with them. This is just one of those easier years where they’ve been precious from the start and I can be fun instead of “Teacher Charity” and stern until they behave.
I’m still a little on guard, wondering if they’re going to surprise me with something wild. But for now, I’m taking the win. It’s been a very long, very hard year for me and I think I earned this (if it’s not too prideful of me to say).

Another recent win? These cookies.
This is a long-earned recipe fought for through many failed attempts. Pumpkin can alter the texture of a cookie, making it too cakey (which is fine, but not what I wanted) or dry. I wanted a chewy, pumpkin-y cookie, which is surprisingly hard to achieve.
After scouring the internet for all the options and seeing the wide, wide array of pumpkin recipes out there, I went to my go-to recipe (which is a variation of the Nestle Tollhouse recipe) and started adjusting from there.
My first attempt this time around fell a little flat. Literally. I actually tried to make cookie bars and they were a little burnt on the edges and completely raw in the middle.
So, I tried again, this time trying cookies just to be safe. Miraculously, that second try was perfection. Chewy center, slightly crunchy edges, strong pumpkin flavor, and perfect rise.
This is my new fall cookie and will be the standard against which I judge all future fall cookies.

Why this recipe works
The use of pumpkin can be tricky. You want enough to get a noticeable flavor without altering the texture (which usually turns dense and/or cakey). It’s necessary to replace some of the liquid with the pumpkin, but it took quite a bit of trial and error to find out that I could replace just one egg with an entire 3/4 cup of pumpkin. It helps create the rise that the missing egg provided and is moist enough to keep the cookies chewy without falling flat (usually from too much liquid or not enough flour). This also helped me avoid adding extra flour, which can make the cookies dry or cakey. Nothing against cakey cookies, but I really prefer chewy cookies. However, I did choose to use baking powder instead of baking soda, mostly because it’s self-activating and more reliable in its rise (baking soda requires an acid to activate it). It worked well to create a nice rise without being dry.

I also kept the ratio of brown sugar and granulated sugar equal, which is rare for me. I usually do mostly brown sugar, but these cookies needed a little more rise (provided more by granulated sugar) and already had plenty of moisture (provided more by brown sugar).
Finally, I used a healthy amount of pumpkin pie spice and white chocolate chips. I’ve been accused of using “way too many chocolate chips” in my cookies, but I don’t listen to the haters. I believe you can measure chocolate chips (and white chocolate) with your heart. I’ve never used more than 3 or so cups in a batch of cookies, though, because at that point the cookies just wouldn’t stay together and could melt into one giant cookie in the oven. So measure with your heart, my friend.

Key ingredients
Flour. Be sure to spoon then level your flour or you will have too much and will end up with dry, dense cookies.
Baking powder. Be sure it is fresh—not open for longer than 6 months (it will lose potency after that, regardless of the listed expiration date).
Salt. I prefer sea salt in my cookies, but table salt works, too.
Pumpkin pie spice. I use The Spice Lab’s Pumpkin Pie Spice, which my husband found at Costco (he is a Costco fiend and finds the best stuff there).
Unsalted butter. Use European style butter, as it has less water and is needed to make these have the perfect texture.
Egg. Just one is needed since you also have pumpkin puree. Be sure your egg is fresh and room temperature.
Plain pumpkin. Use plain pumpkin puree, not pie filling. If it’s a little on the loose, applesauce-y side, see the note below about blotting it to dry it out before measuring it.
Brown sugar/sugar. Don’t be tempted to increase the sugar, as it turns to liquid when baking and will make the cookies go flat.
Vanilla. Use pure vanilla extract (or vanilla bean paste).
White chocolate chips. Measure with your heart, my friend! I wrote the recipe with the typical two cups, but I usually use closer to three. Don’t go beyond that, or the cookies won’t hold together.

How to make pumpkin white chocolate chip cookies
1. Sift and whisk dry ingredients. Sifting is technically optional, but I think it helps prevent over mixing.
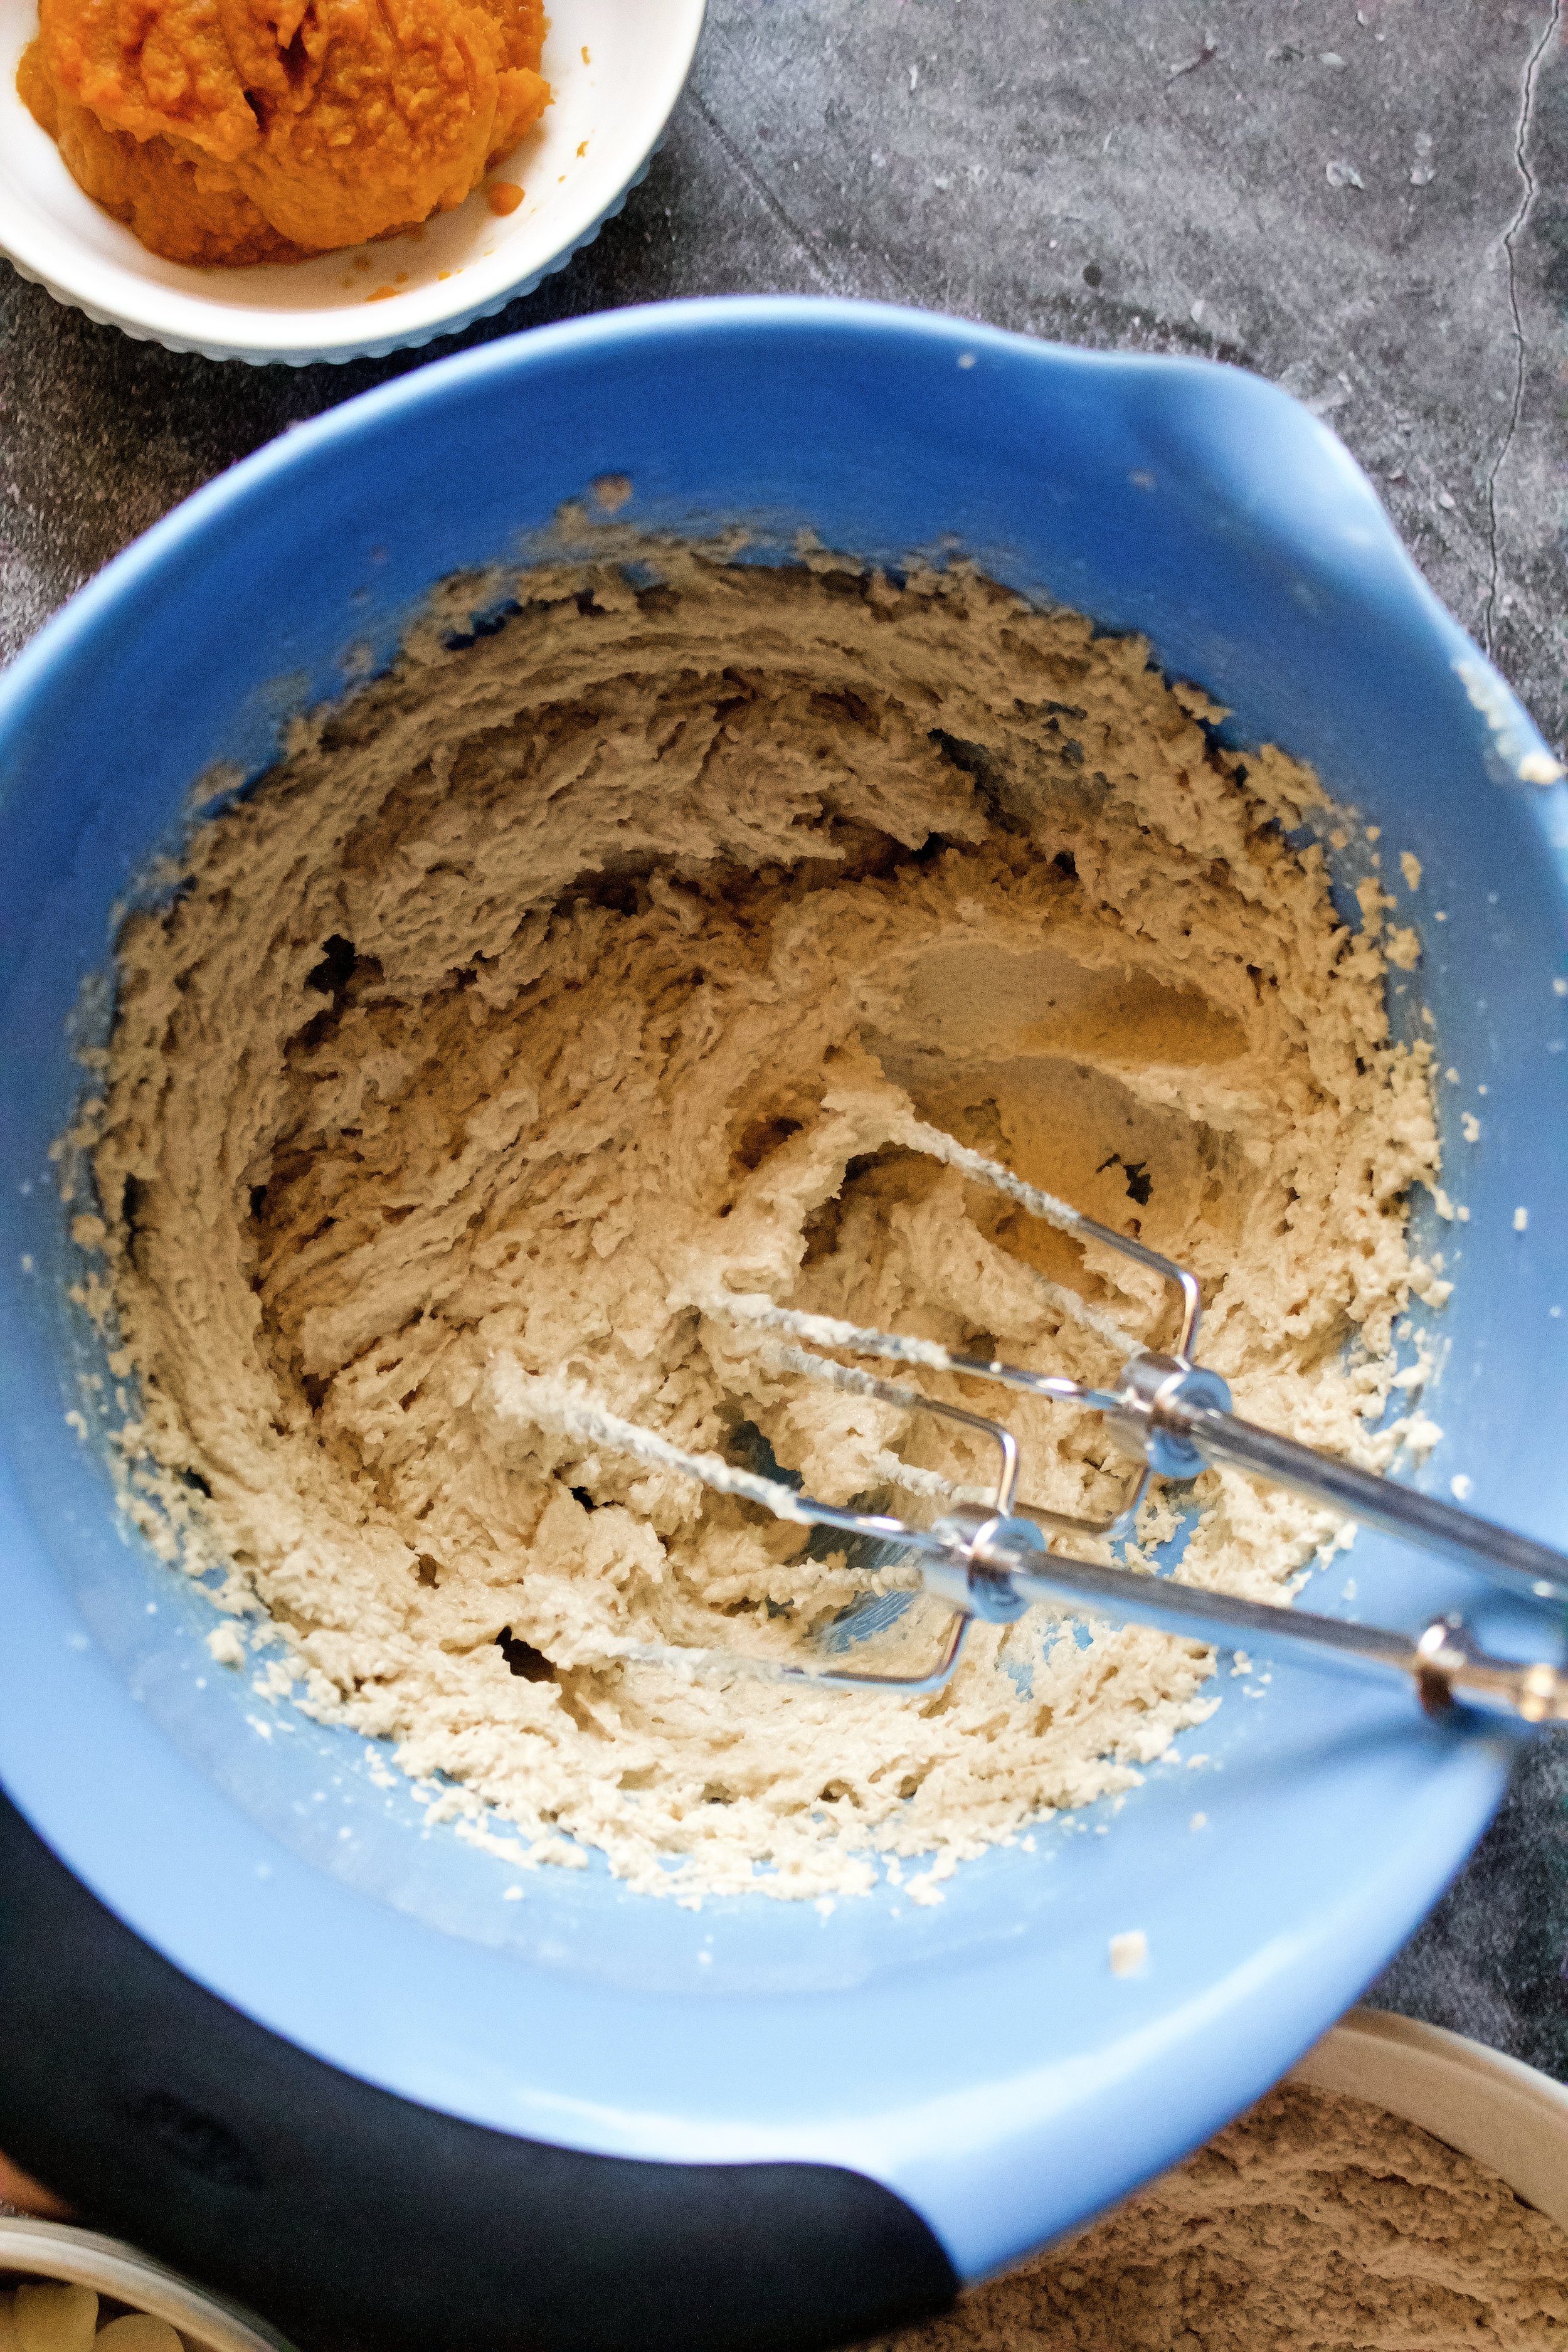
2. Beat butter and sugar. You want the sugar slightly dissolved and the mixture to be light and fluffy, so mix at least 3 minutes.
3. Add egg, vanilla, then pumpkin, one at a time. Beat until well-blended each time, about 30 seconds on medium. The pumpkin might need up to a minute and may still look separated—but adding the flour will fix this.
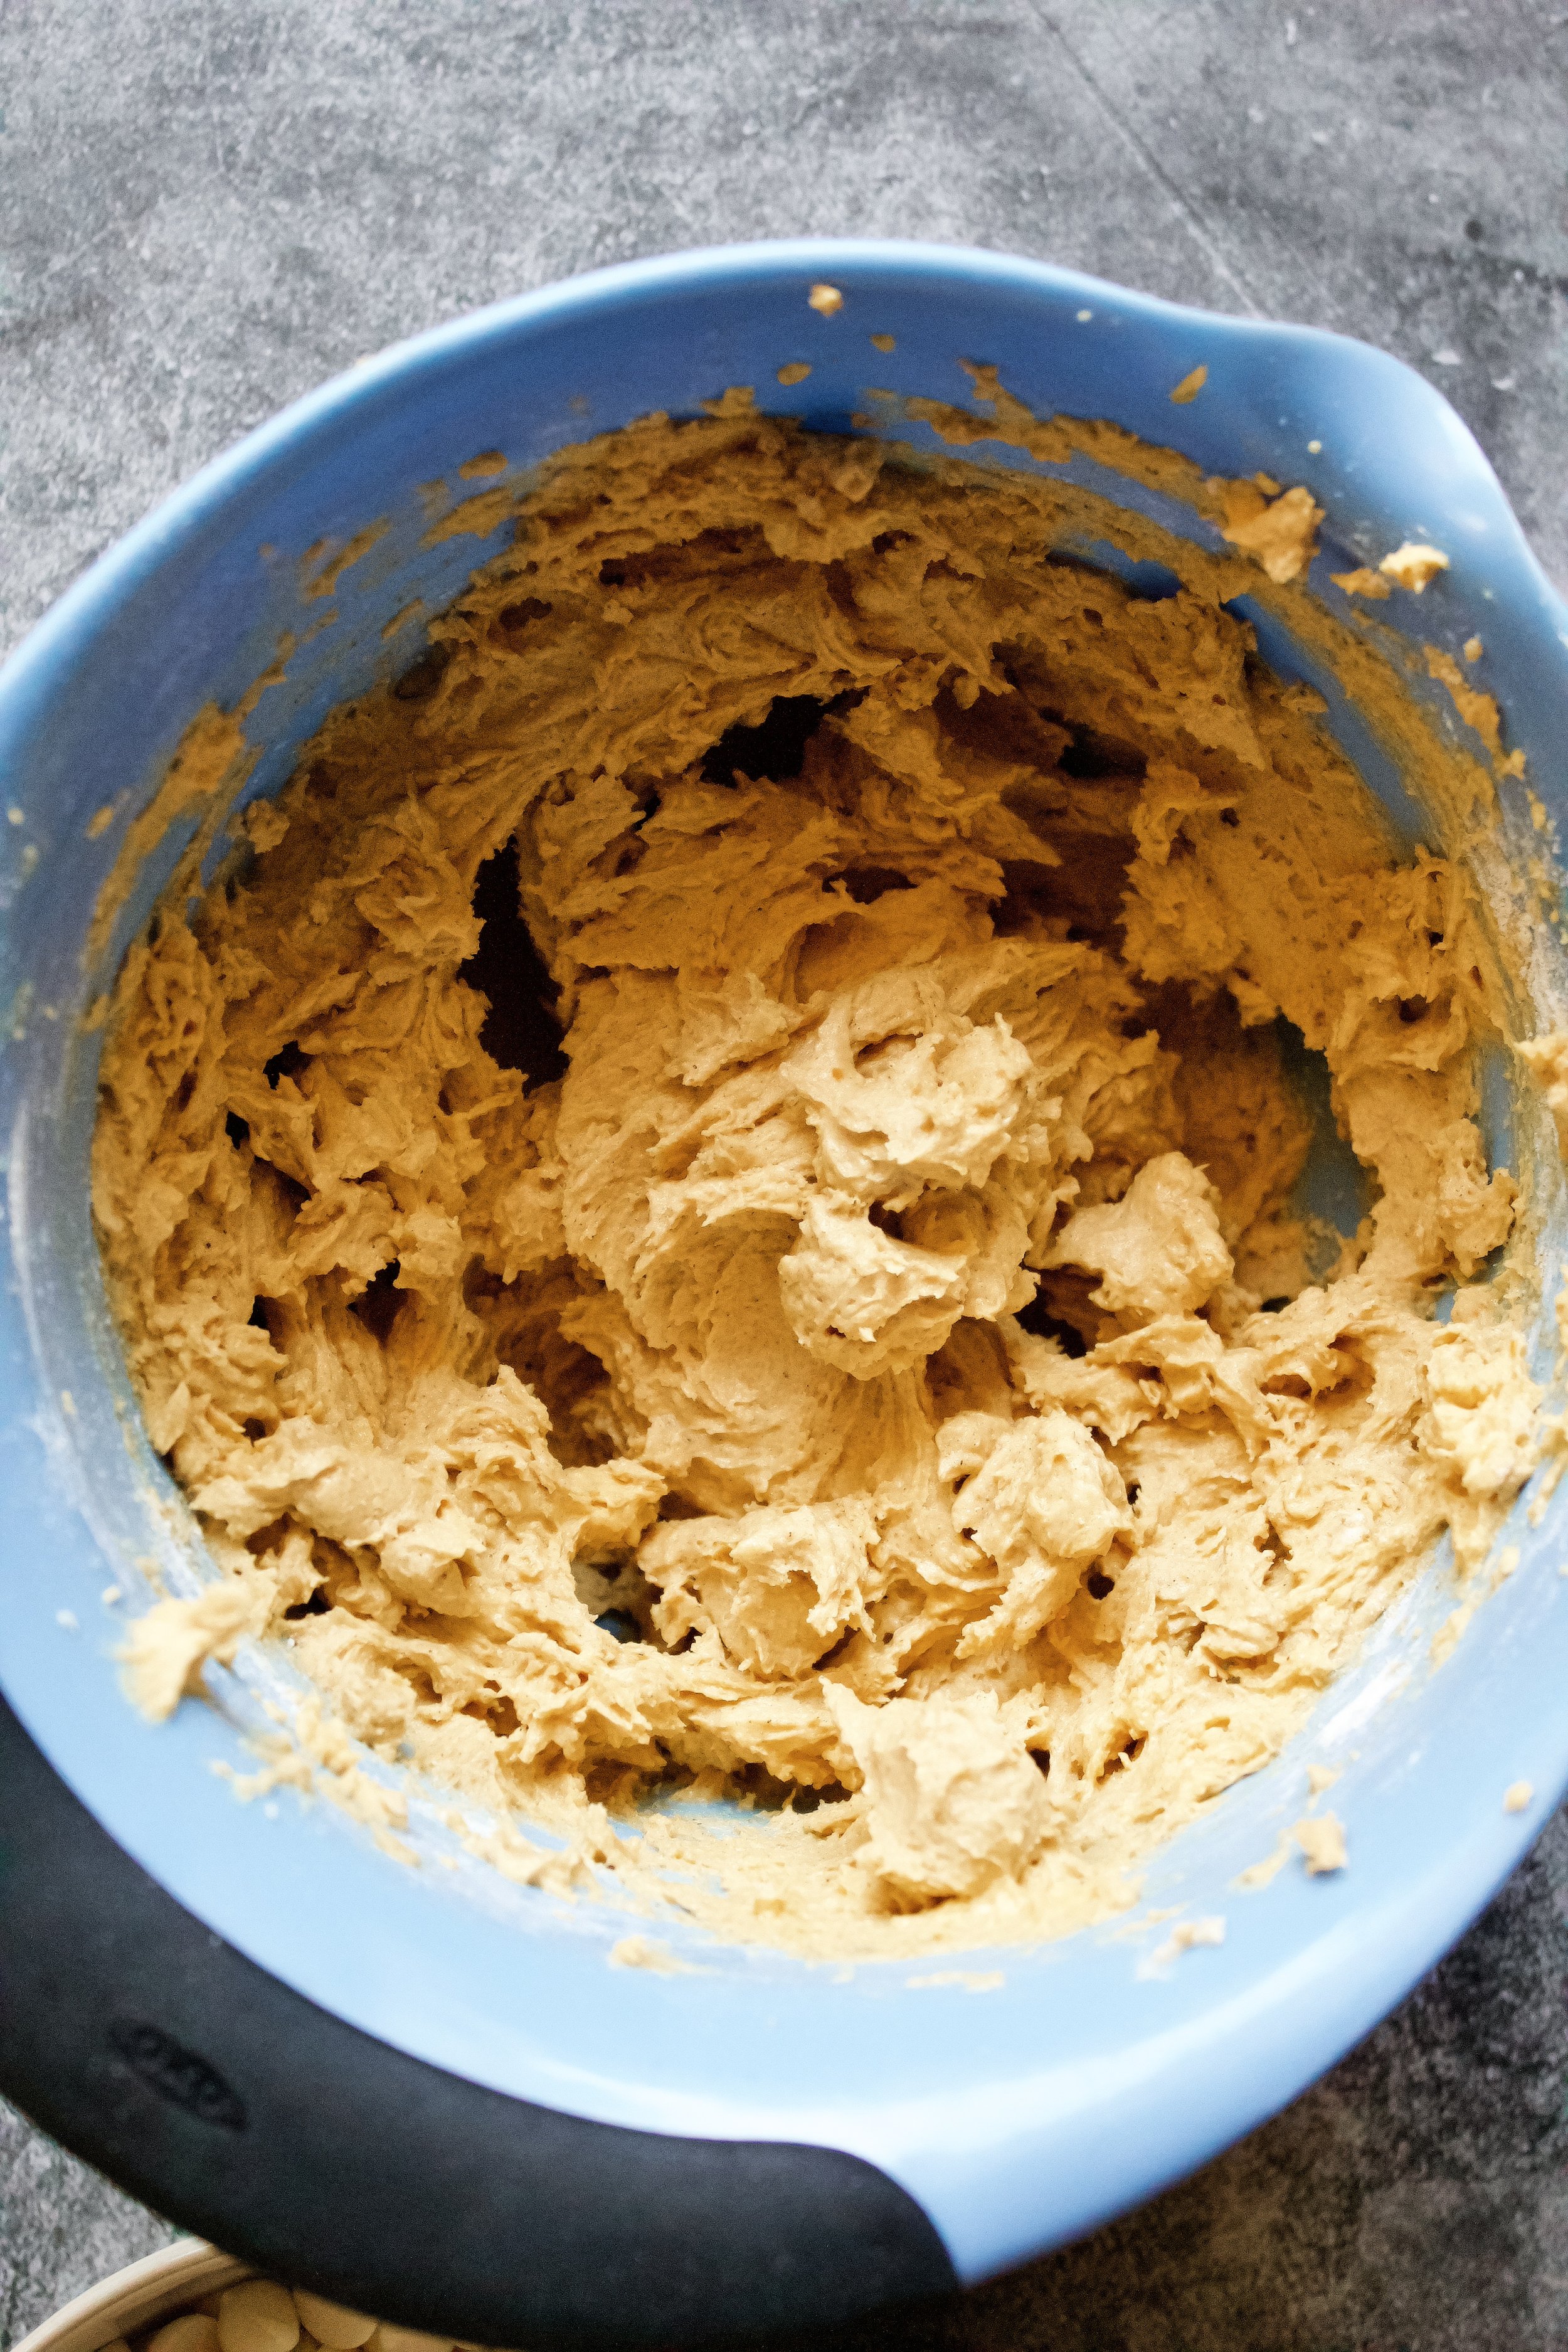
4. Mix in dry ingredients. Mix on low until just barely combined.
5. Stir in white chocolate chips. I usually use a little extra, so feel free to use up to 3 cups. You can also use regular chocolate chips.


6. Chill, if desired. This is optional, and simply helps the cookies keep their rounded shape better during baking. You can also freeze them for 10 minutes after shaping and placing them on a cookie sheet.
7. Form into balls. I like using a cookie scoop so I can just place the dough onto my baking sheet, but you can use a spoon then roll it into a rough ball. Place cookies 2” apart on your prepared cookie sheet.
8. Bake. Bake until no longer matte in appearance and the edges begin to darken.
9. Let cool on pan then on cooling rack. You don’t want them to keep cooking once you take them out of the oven, so only keep them on the pan 5-10 minutes.
Enjoy!


Tips and FAQ’s for this recipe
What if my pumpkin is thin?
I used Libby’s for these cookies, but I usually use Trader Joe’s pumpkin, which is on the watery side. Think of the difference between applesauce and mashed potatoes (the kind you can scoop that will somewhat hold their shape—not potato puree). If your pumpkin is more like applesauce, you’ll want to blot it with a paper towel to remove some of the moisture. Otherwise, you may have a looser cookie dough that will spread out in baking.

Can I make these ahead of time?
Yes! The dough will last up to 3 days in the fridge or at least a month in the freezer, depending on how well-sealed they are. I like to scoop my dough out, place it on a cookie sheet and let it freeze for an hour, then place the frozen cookie dough balls into freezer safe bags. Be sure to label the dough with the date so you don’t keep them too long.
How do I know when the cookies are baked?
You don’t want these to brown, like chocolate chip cookies. You want them to be completely matte in appearance, with some cookies along the edge beginning to turn lightly golden on their edge. That’s it! These are an incredibly tender cookie, so avoid over baking them.

Do I have to use European butter?
Personally, I think it makes a huge difference. It’s creamier and has a very different consistency than sweet cream butter. Since you only have a few ingredients here, you want to make sure each one is of the highest quality. But don’t worry—you can often find it at places like Costco on sale!

Spoon then level your flour
Don’t scoop your flour! I never knew this until I started blogging, but it seriously makes a big difference. You will end up with roughly 25% more flour than the recipe called for if you just doonk (official baking term right there) your measuring spoon into the flour container and scoop. Gently spoon your flour into your measuring cup then level it off with the back of a knife. Trust me! It makes a difference.

My tools
Here are my must-have tools I use for making these cookies. Affiliate links provided.
Mesh sieve (not necessary, but helpful in getting a tender cookie)

Pumpkin White Chocolate Chip Cookies
- prep time: 5-10 minutes
- chill time: 1 hour (optional)
- bake time: 10-12 minutes
- total time: 1 hour, 22 minutes
servings: 36-48 cookies
Ingredients:
- 2 ¼ cups (306g) flour, spooned and leveled then sifted
- 1 ½ teaspoons (6g) baking powder
- ½ teaspoon (3g) finely ground sea salt
- 1 tablespoon (8g) pumpkin pie spice
- 1 cup (227g) unsalted butter, softened*
- ¾ cup (about 190g) plain pumpkin puree**
- 1 large egg, room temperature
- ¾ cup (150g) granulated sugar
- ¾ cup (150g) light brown sugar
- 1 tablespoon (13g) vanilla extract
- 2 cups (340g) white chocolate chips (can sub regular chocolate chips)
Instructions:
- Unless you plan to chill the dough (1 hour or up to 3 days), preheat oven to 325F/165C (use 350F/175C if at high elevations and bake a few minutes less). Line two cookie sheets with silicone mats or parchment.
- Using a large fine mesh sieve, sift and whisk together the flour, baking powder, salt, and pumpkin pie spice. Set aside.
- In the bowl of your stand mixer fitted with the paddle attachment (or in a large mixing bowl using a hand mixer), beat the butter on high until smooth. Add sugar and brown sugar and beat on high until light and fluffy, about 3-4 minutes.
- Add the egg and beat on medium until very well combined, at least 30 seconds. Add the vanilla and again beat on medium until very well combined. Next, add the pumpkin and beat on medium about one minute, until very well combined and not too separated (there will be some separation, but adding the flour will fix this).
- Add flour and beat on low until just barely combined.
- Stir in white chocolate chips until mixed evenly (be sure to stir all the way to the bottom).
- At this point you can chill the dough for 1 hour or up to 3 days (well-sealed) or you can bake right away. Chilling helps them stay a little more rounded during baking.
- When ready to bake, be sure your oven is preheated and you have cookie sheets lined (see step one).
- Using a small or medium cookie scoop (or a spoon–but be sure to roll into a ball somewhat), take about 1 ½ to 2 tablespoons dough and place on your prepared cookie sheet, spacing 2 inches apart.
- Optionally, you can freeze the cookies for 10 minutes at this point, if you did not chill them first, to help them keep their shape better.
- Bake for 10-12 minutes, until the cookies are matte in appearance and a few edges begin to darken. Check a few minutes early, as bake times can vary by climate and oven. Let cool on the pan 5-10 minutes then remove to a cooling rack to cool completely.
Enjoy! Cover leftovers and keep at room temperature for up to 1 week. If you keep them in an airtight, locking container, they will actually soften after a day or two. In that case, you can pop them in the oven for a couple minutes to get that crispy edge back.
*European butter is best! It has less water and makes a better cookie, in my opinion.
**If your pumpkin is looser (more the consistency of applesauce than mashed potatoes), blot it with some paper towels until it is a bit firmer and can hold its roundedness when scooped (just a bit). Don’t measure or weigh it until you’ve blotted it.
