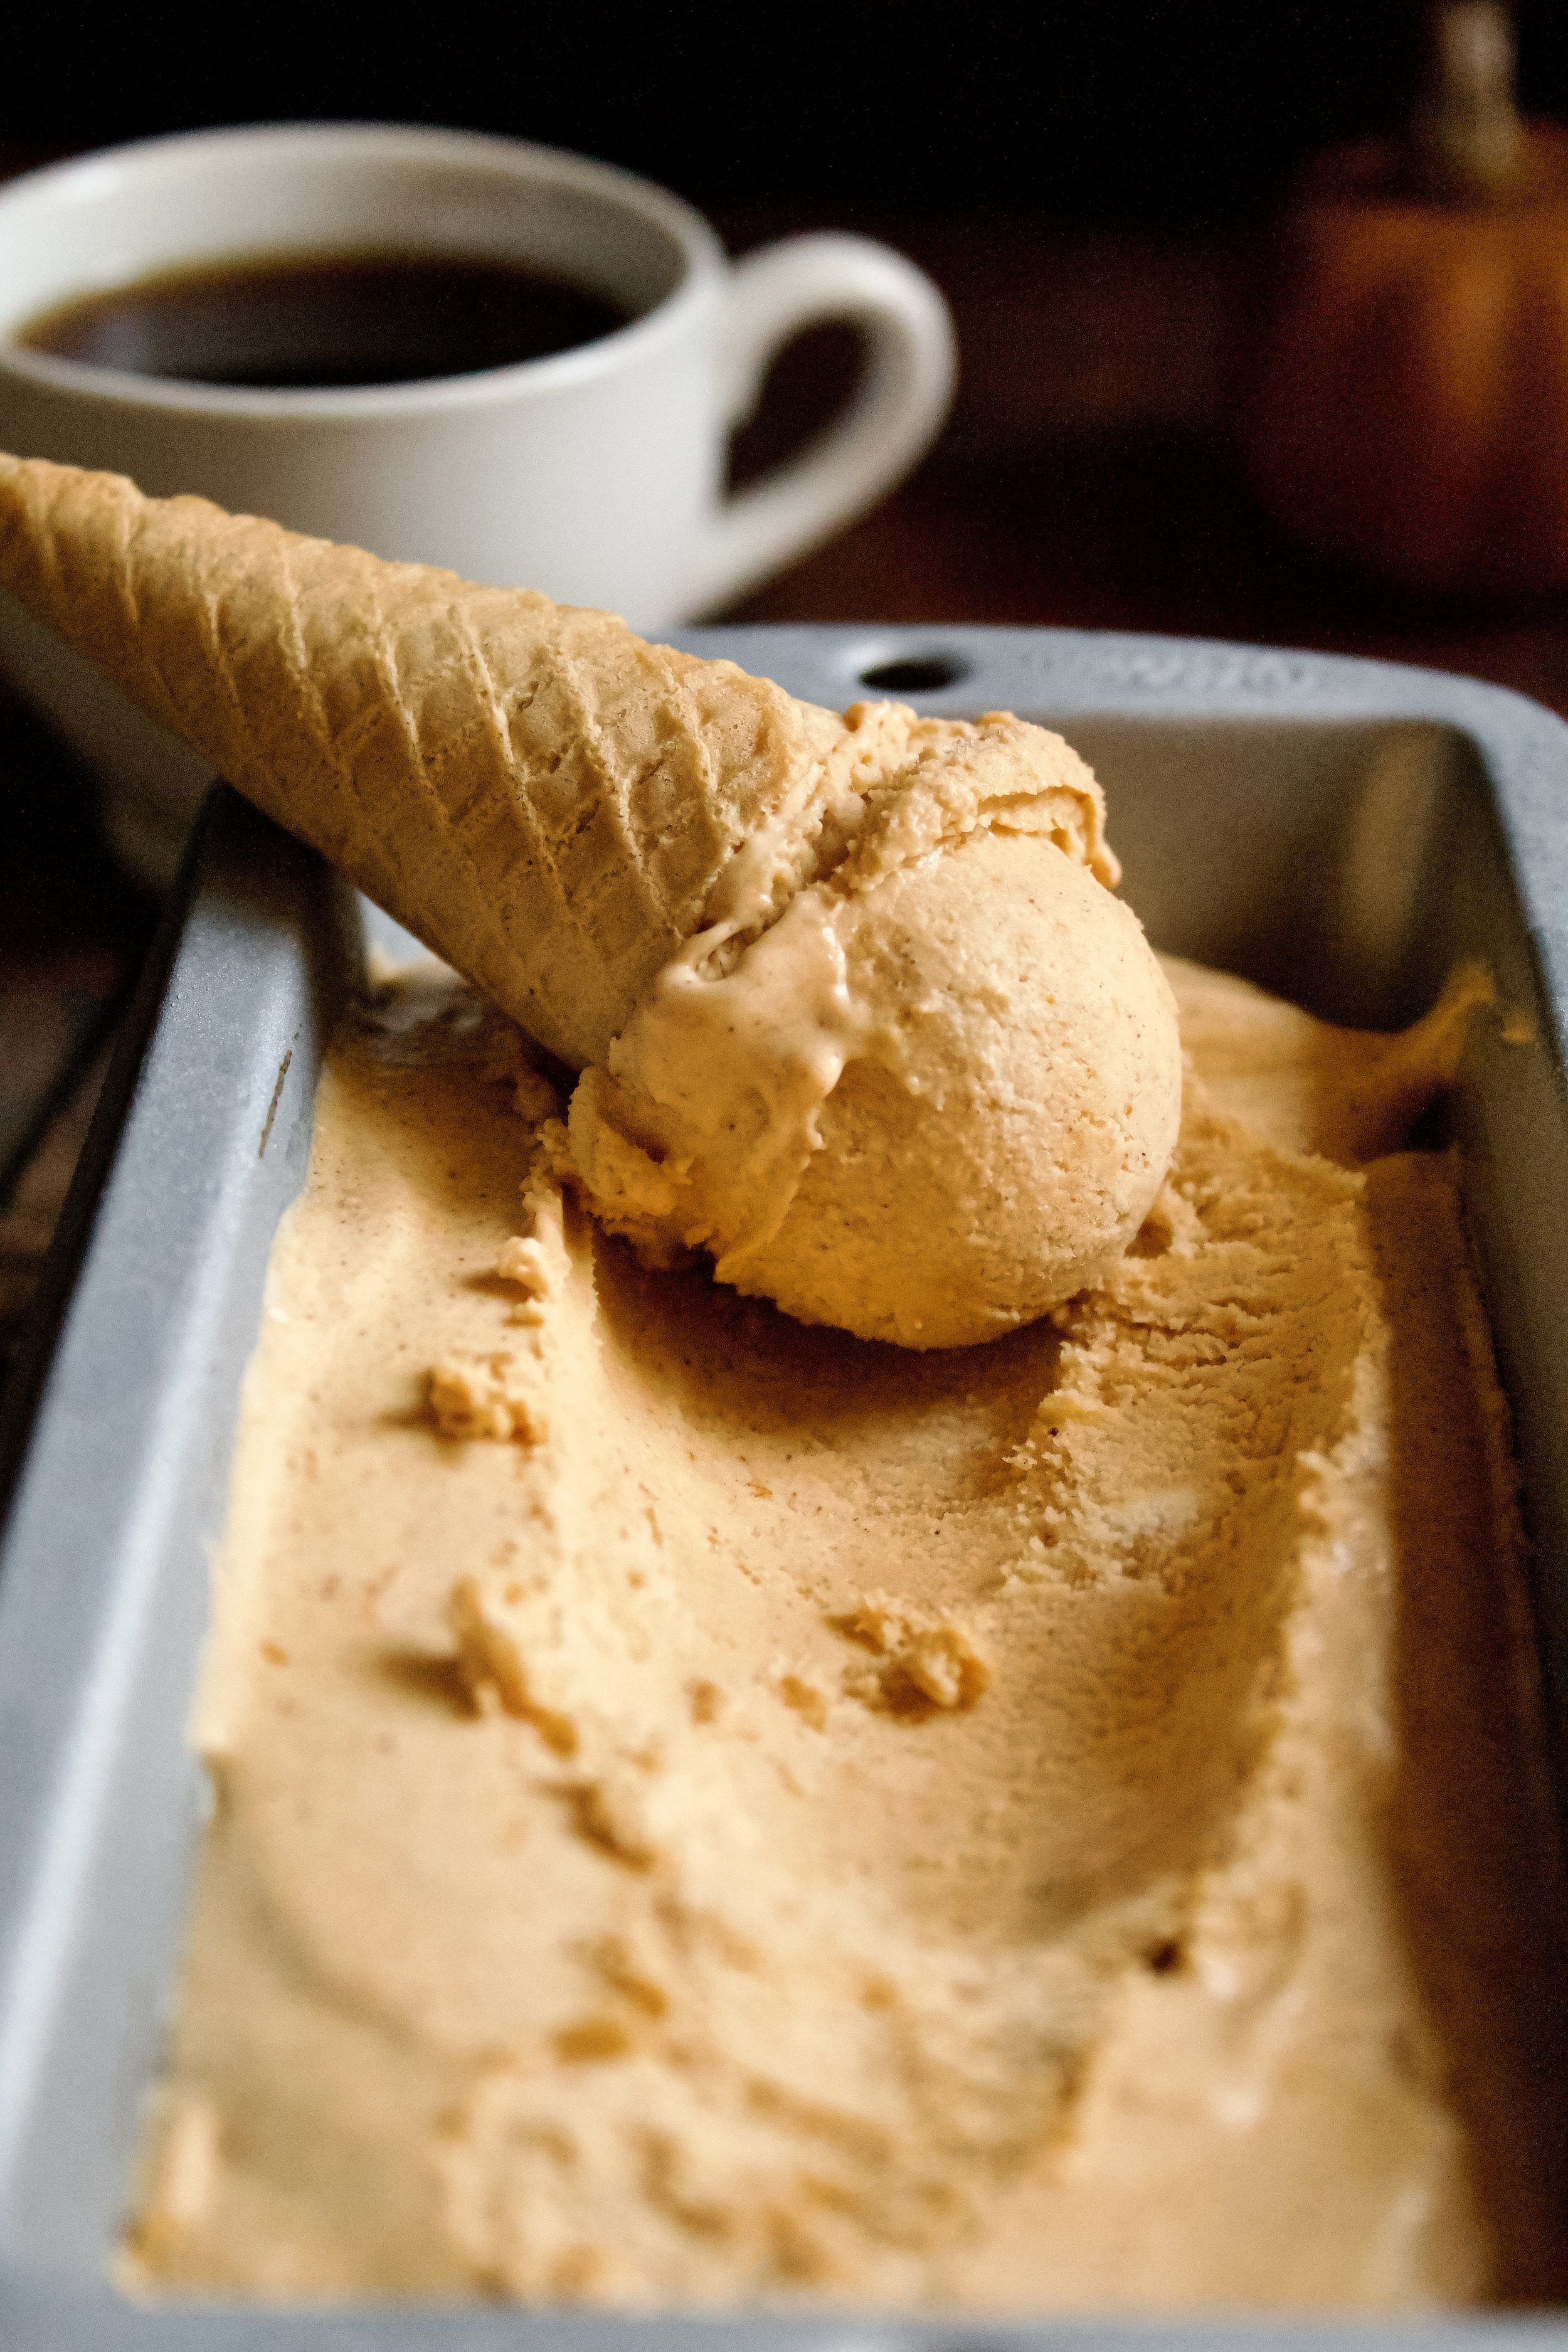
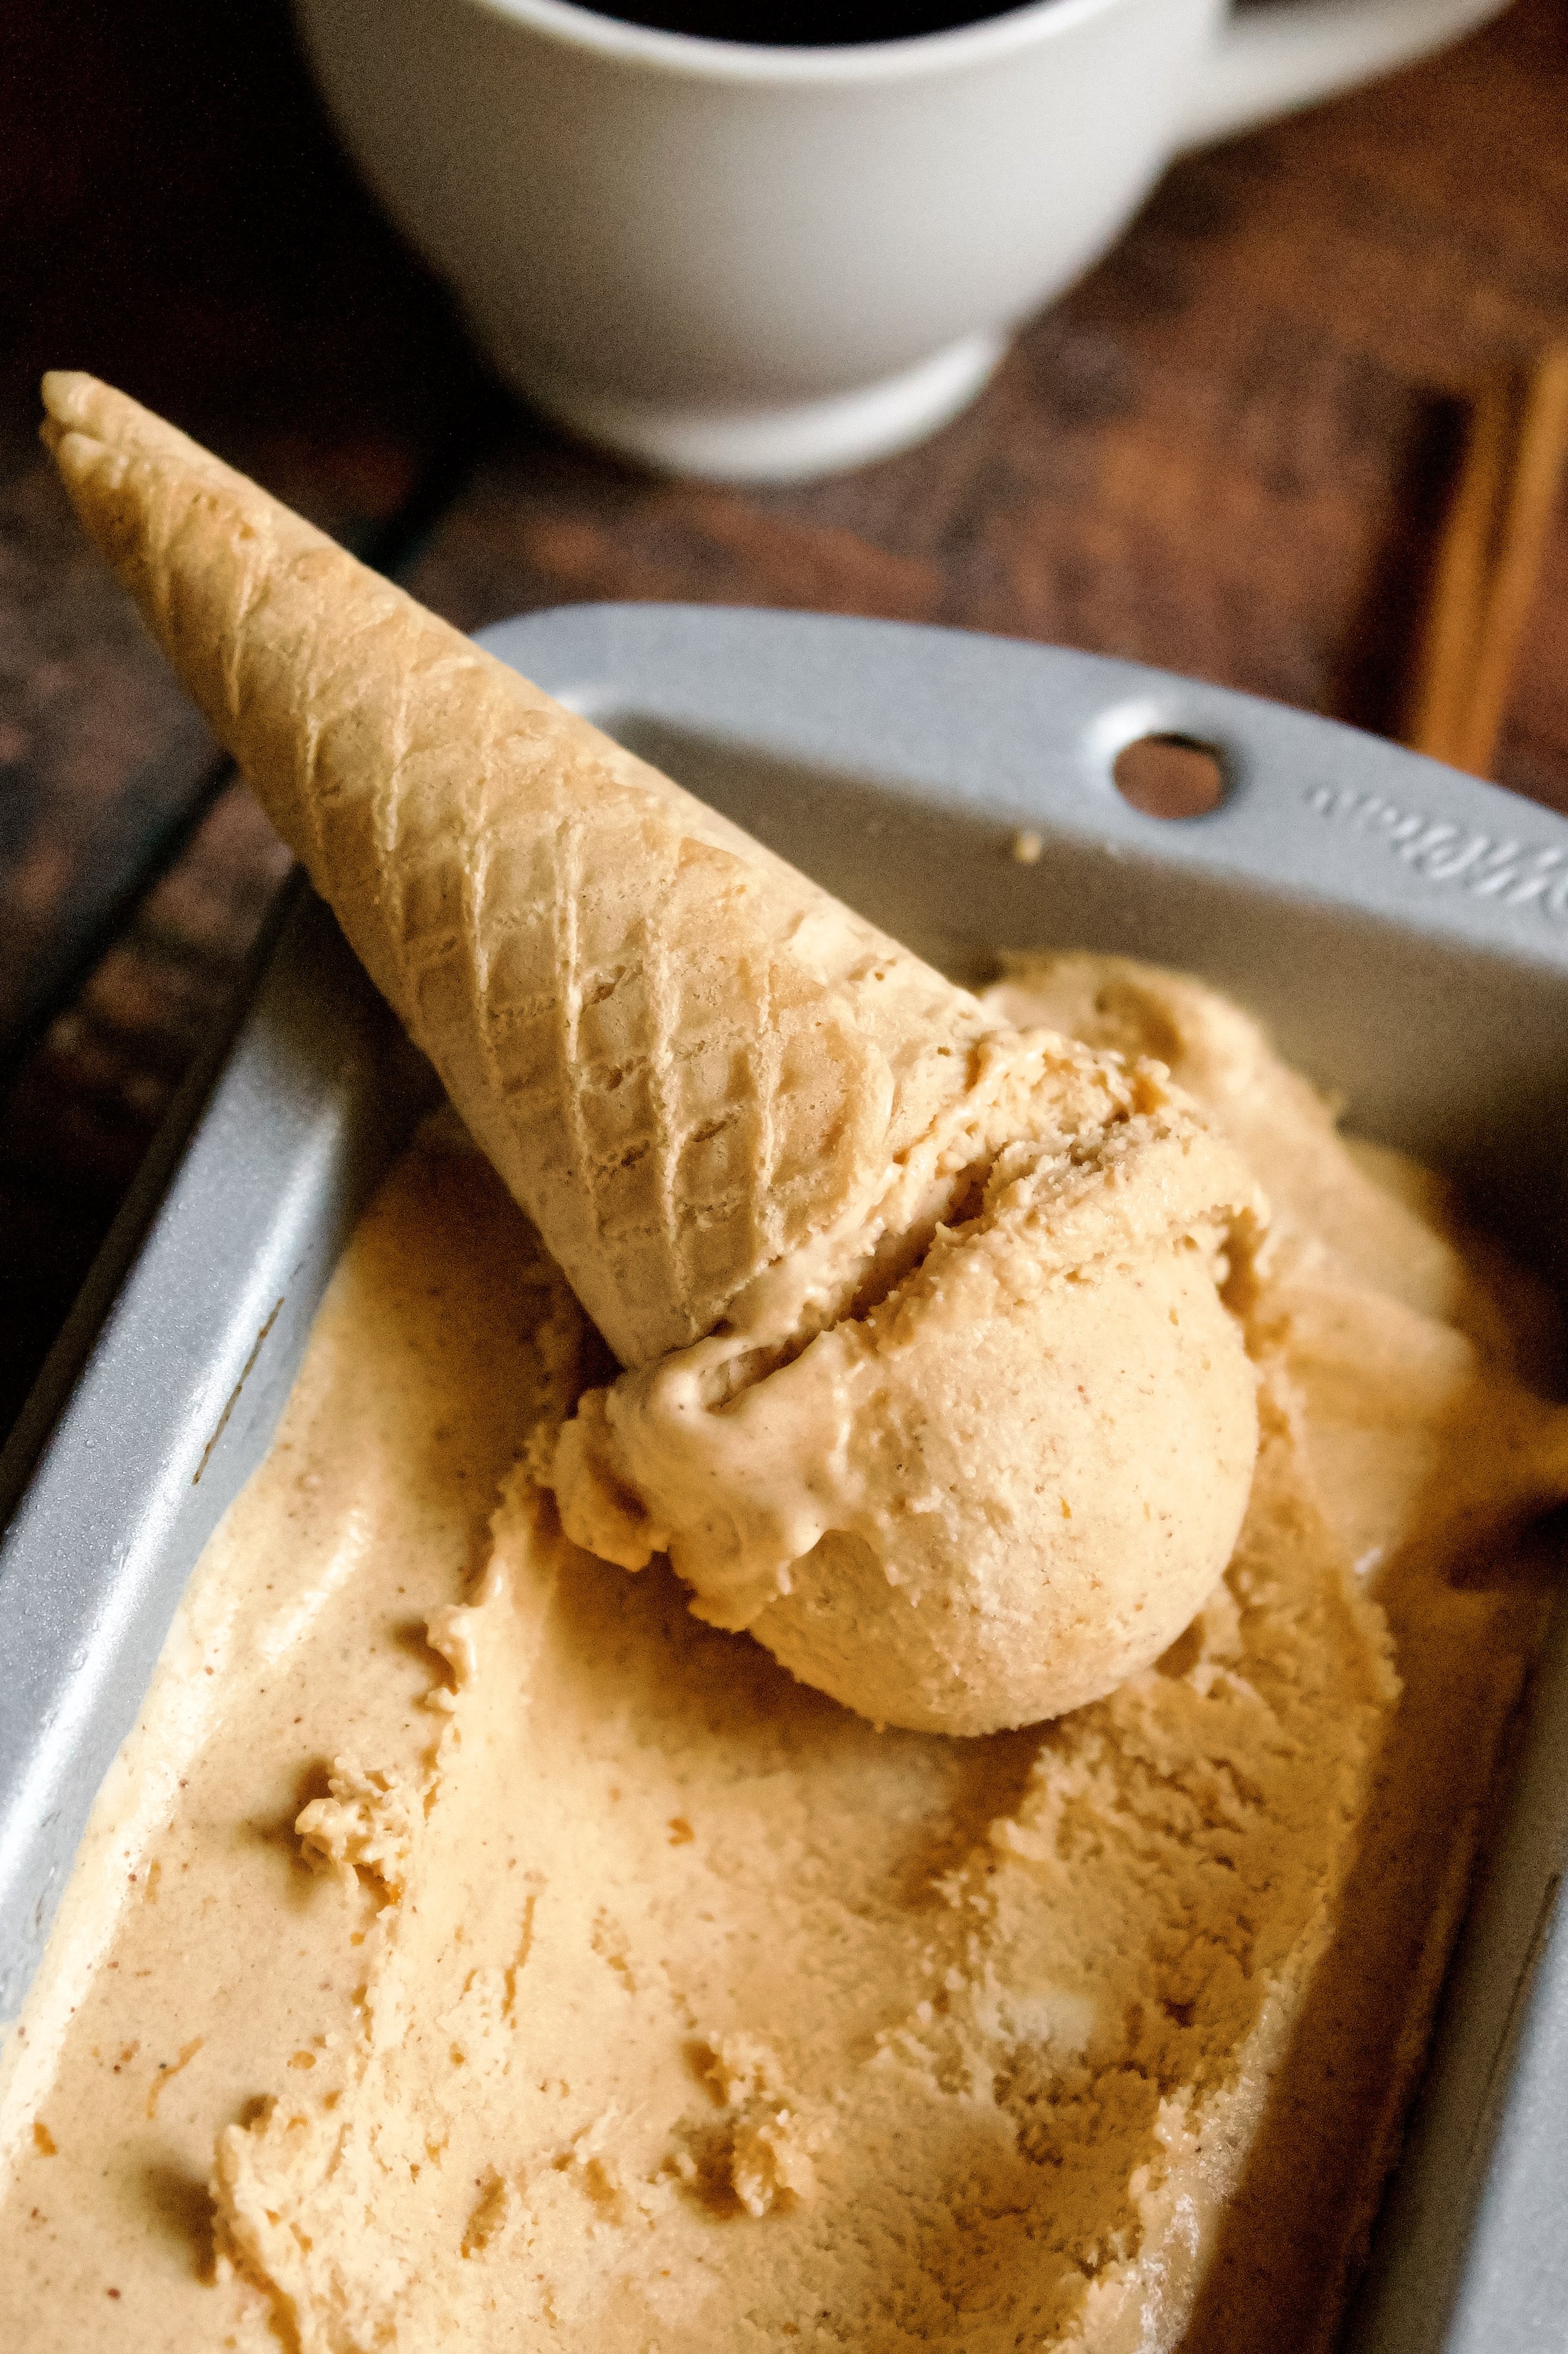
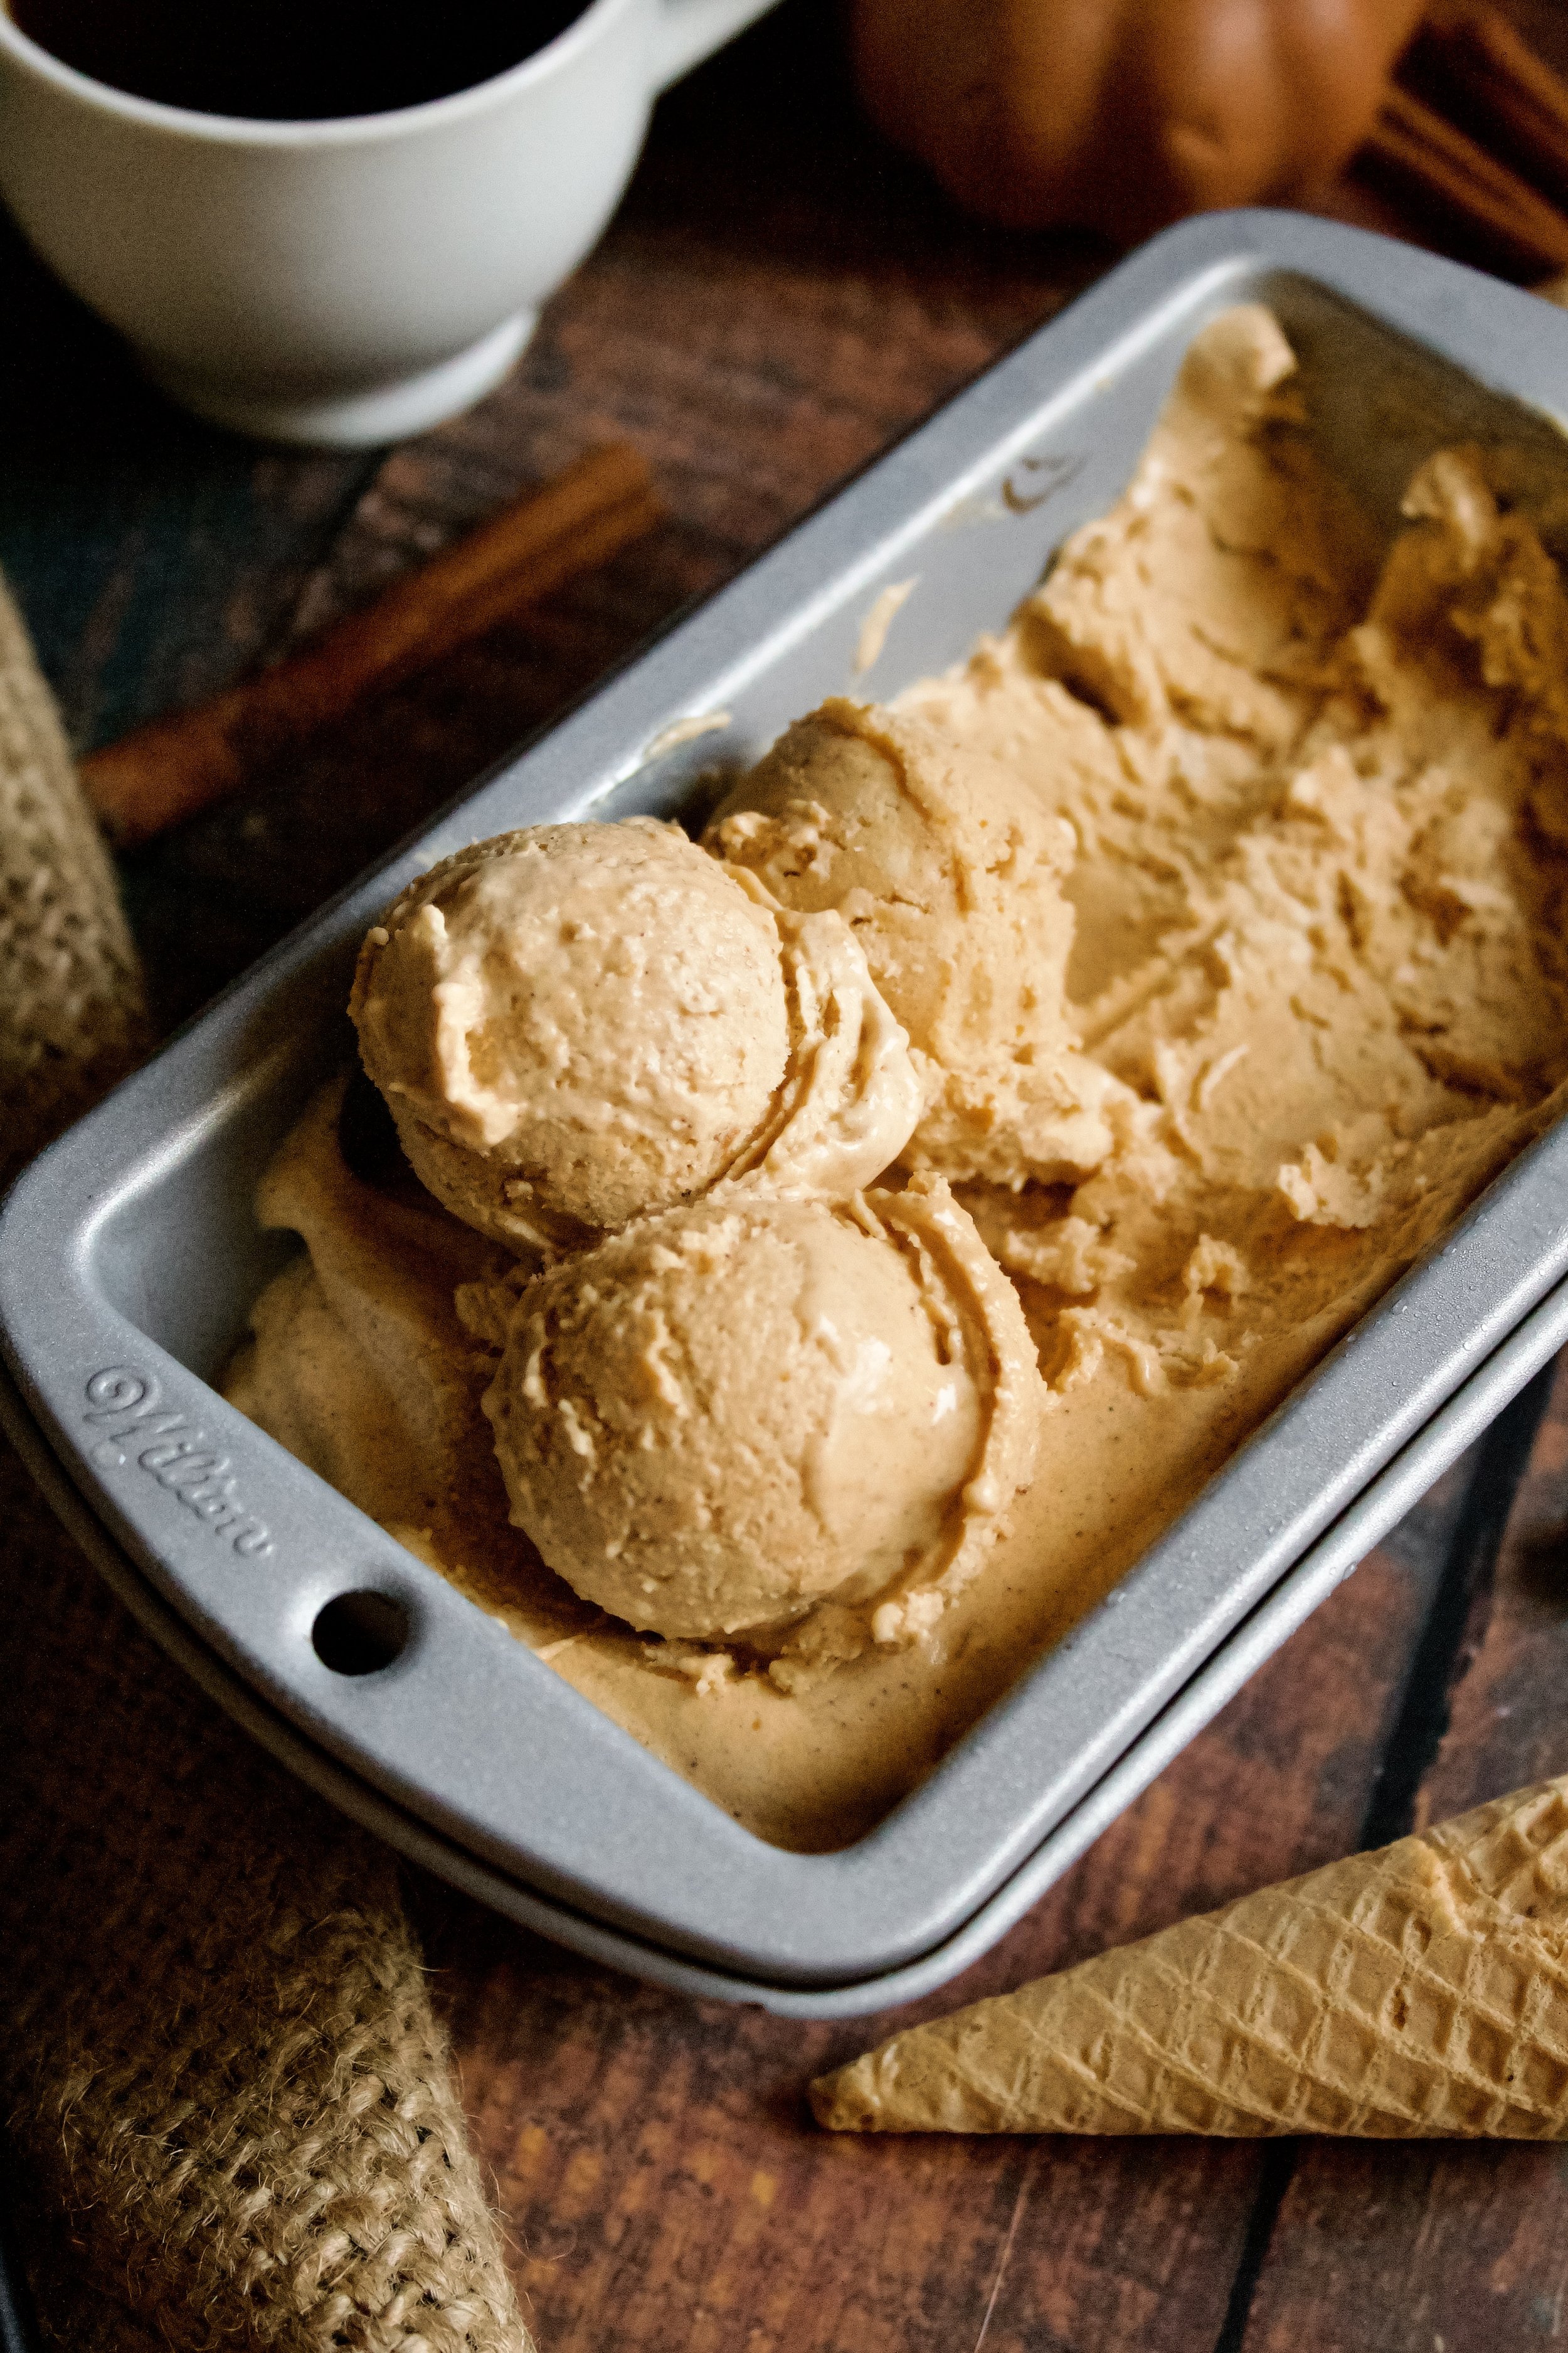
Pumpkin Spice Latte Ice Cream
Creamy pumpkin ice cream bursting with spices and a hint of espresso. This simple recipe can be made slow-churned or no-churn, and is a must if you love both fall and ice cream!
This post may contain affiliate links from which, at no additional cost to you, I may earn a small commission to keep this site running. Only products I myself would or do use are recommended.

Oh my goodness. This fall I am obsessed with pumpkin ice cream. Maybe it’s the fact that California has had exactly one cool day so far. Maybe it’s the fact that I’m nearly 33 weeks pregnant and hot all all the time from this little furnace inside me. But pumpkin ice cream has really been hitting the spot lately.
While I love Trader Joe’s pumpkin ice cream, I also love this recipe. It’s light yet super flavorful. And it’s so simple to make! Yes, you have to temper eggs, but I’ve found that the more you do it, the easier it gets. It’s really just a lot of stirring and whisking, and using a fine mesh sieve is soooooo helpful so you don’t have to worry so much about the eggs.
Plus, being able to have pumpkin ice cream anytime? Yes, please!
Why this recipe works
The star here is the combination of pumpkin, spice, and espresso. There’s a delicate balance, as too much spice or espresso becomes bitter, too much pumpkin becomes bland and won’t churn well, but too little of any of these yields a flavorless ice cream. So, I kid of mixed and tasted and tested and played around until I was happy with the taste. It’s always a gamble, as ice cream gets lighter in flavor after you churn it. Luckily, it worked!

I’ve also found that making the custard myself (which takes less than 10 minutes) and slow churning the ice cream makes a very noticeable difference in both flavor and texture. The custard is very simple. Heat the milk. Whisk the egg yolks and sugar. Combine the two and heat until thick. Add cream. It’s really just a lot of pouring and mixing. It tastes a thousand times better than condensed milk ice creams. And I also found it’s just less work to use my churner. We have a KitchenAid attachment that’s actually very easy to freeze (I just filled it with frozen food to maximize space). Then you just pour and wait. That’s it. No adding rock salt or ice. No whipping cream and folding it into the custard. Just pouring and waiting. I can do that.
Between how easy this recipe was and how delicious it tastes, it’s one of my new favorites.

Key ingredients
Egg yolks. Don’t be intimidated! Using egg yolks is fairly quick and makes the ice cream just so, so creamy and delicious.
Sugar. When you whisk it with the yolks, it will be lumpy at first, but keep whisking, as the sugar will melt and become fluffy.
Whole milk. Try to use regular whole milk instead of nonfat. You won’t actually save very many calories per serving using nonfat here, and it’s much creamier with whole.
Vanilla extract. Use pure vanilla, not imitation.
Pumpkin puree. Use plain pumpkin, not pumpkin pie filling.
Pumpkin pie spice. Try to use a good brand, as it will have a better (and less bitter) flavor.
Cinnamon. Using a quality cinnamon helps ensure you get a vibrant flavor. I like adding extra for a better balance of flavor, even though pumpkin pie spice has cinnamon in it.
Instant coffee/espresso. Either one works well, although it’s easier to find instant coffee.
Heavy cream. Make sure you have heavy whipping cream (also known as double cream), not whipping cream.
How to make pumpkin spice latte ice cream
1. Whisk egg yolks and sugar until light in color and fluffy. At first it’ll be goopy and lumpy and seem like it can’t be whisked. Just keep going and the brown sugar will melt then it’ll all turn fluffy and lighter in color. You should be able to pull the whisk up and create ribbons that stay visible for a few seconds.
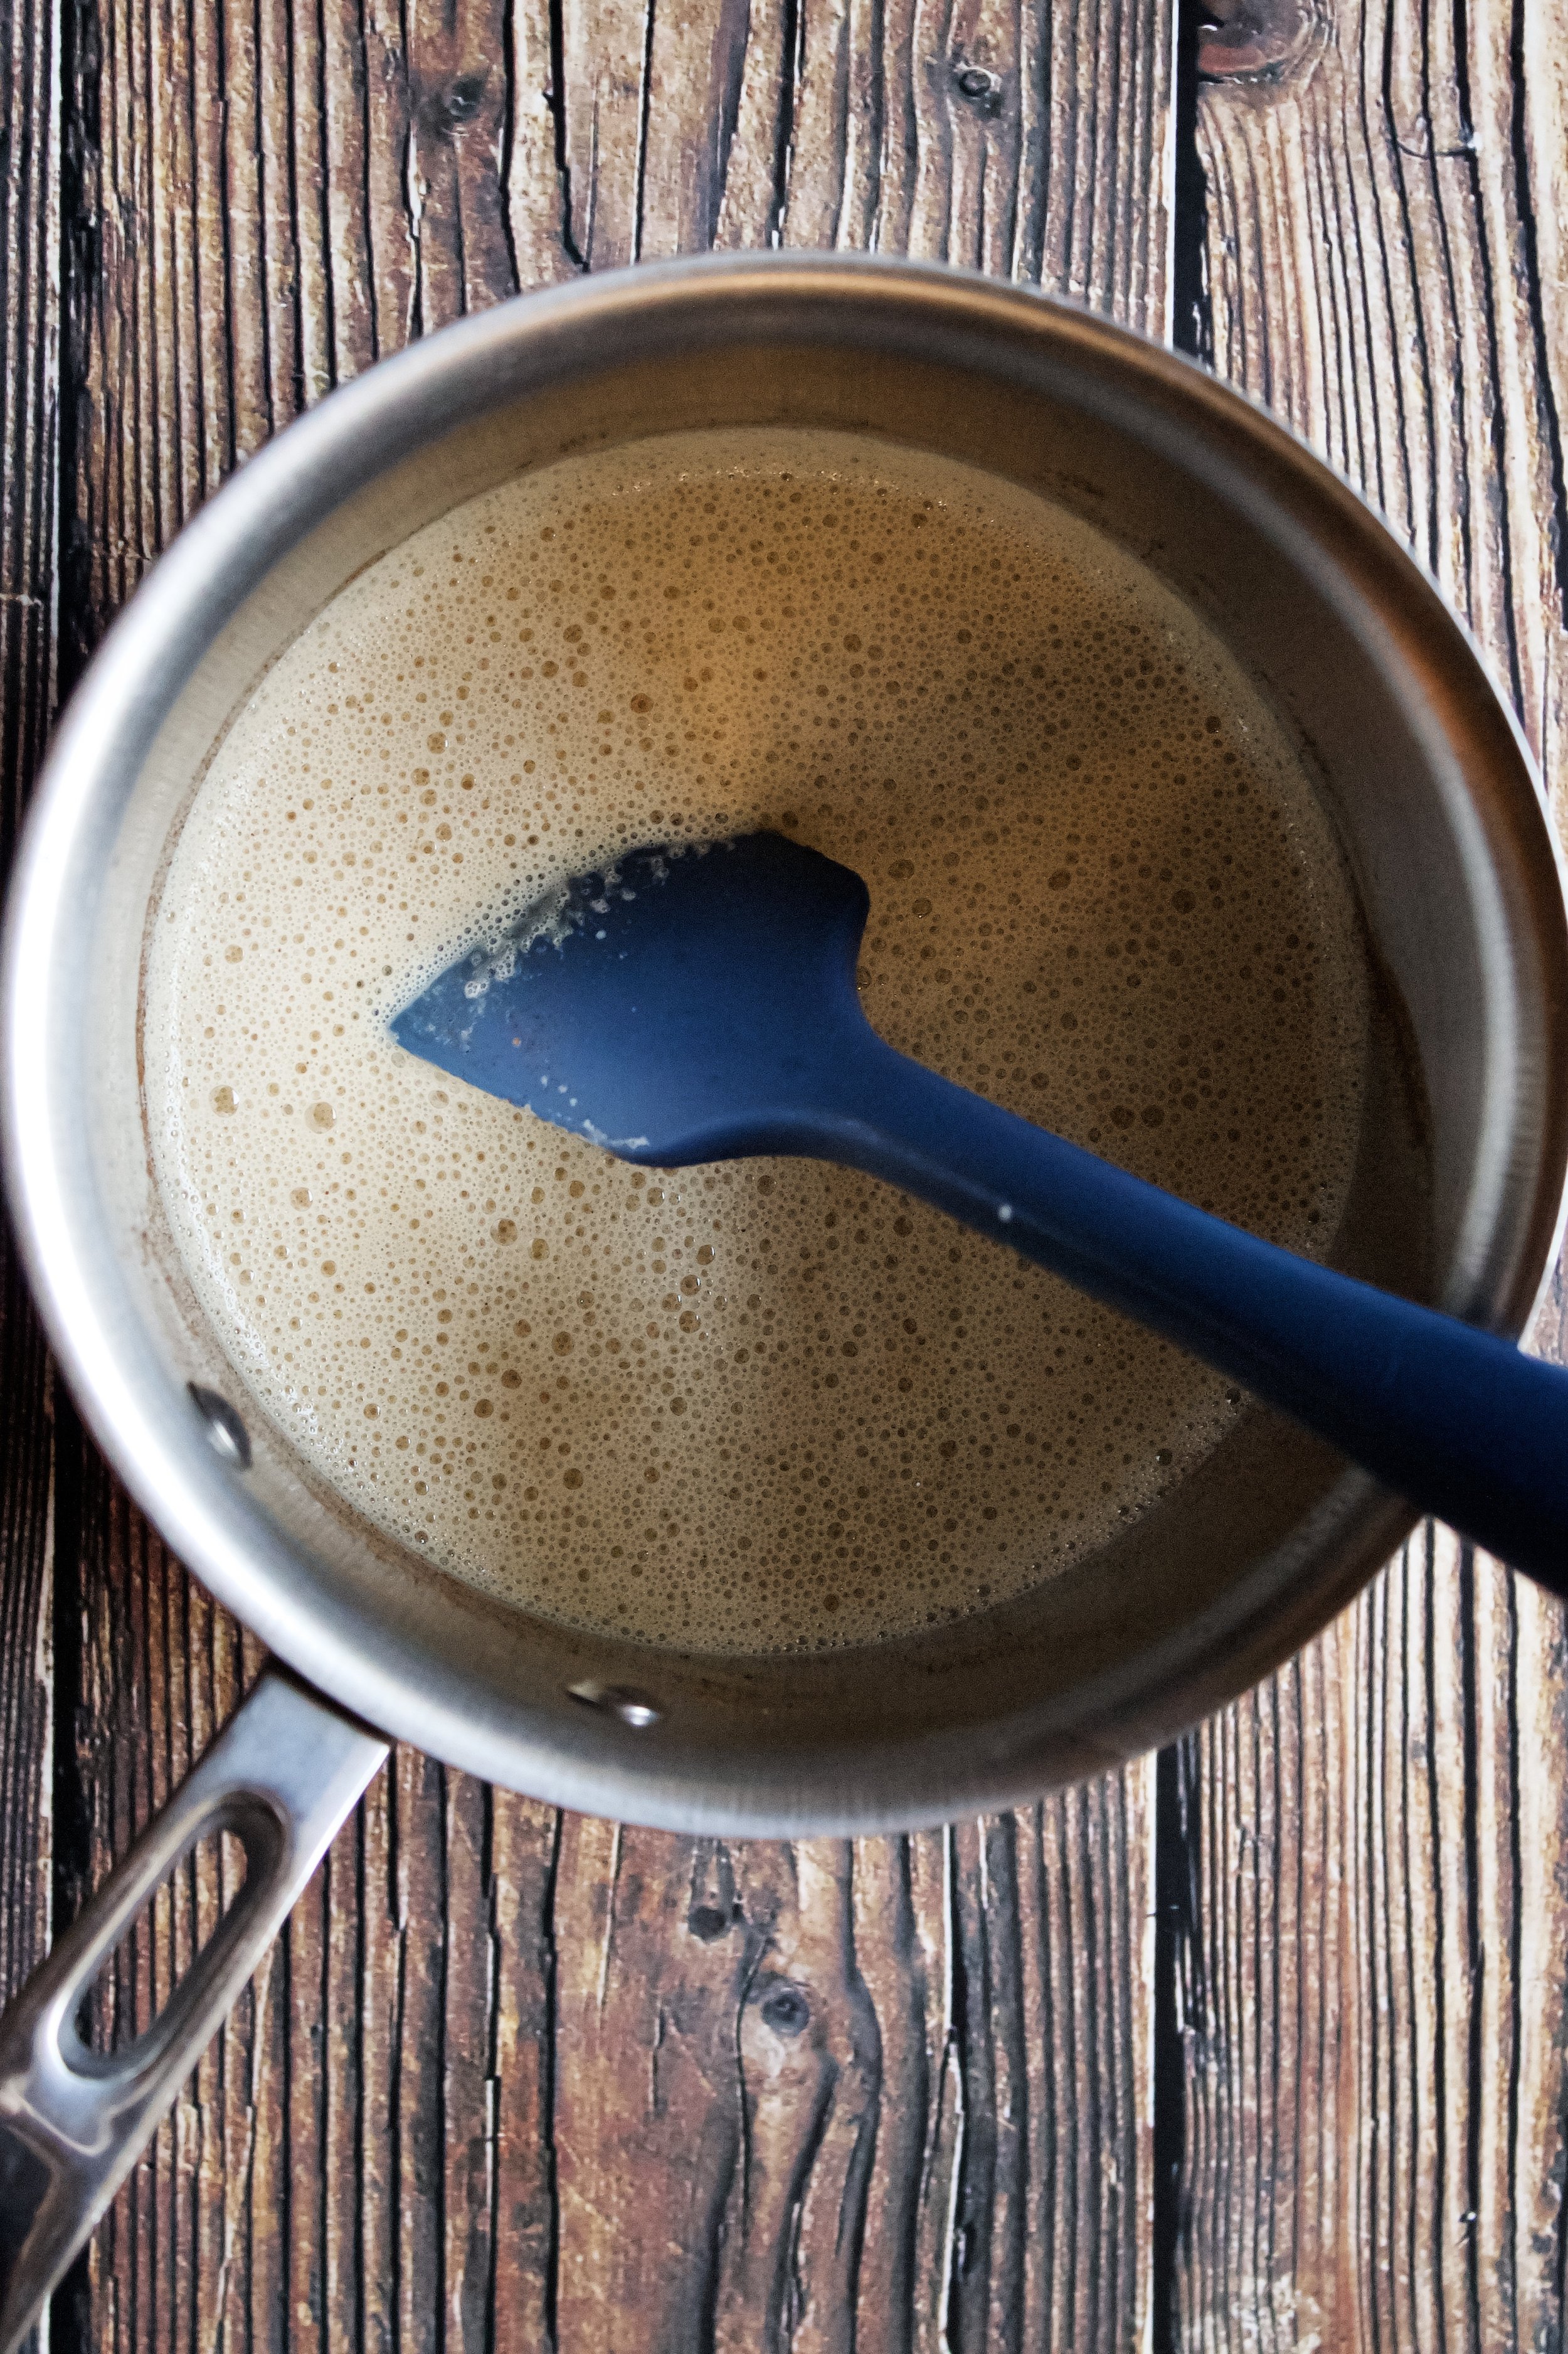
2. Heat milk, vanilla, spices, pumpkin, espresso powder, and a pinch of salt. Heat over medium, until steam comes off and bubbles begin to form along the edges.
3. Temper the milk into the eggs. I always temper all of my milk to be safe. Pour slowly and whisk the eggs quickly. Then pour it all back into the saucepan.
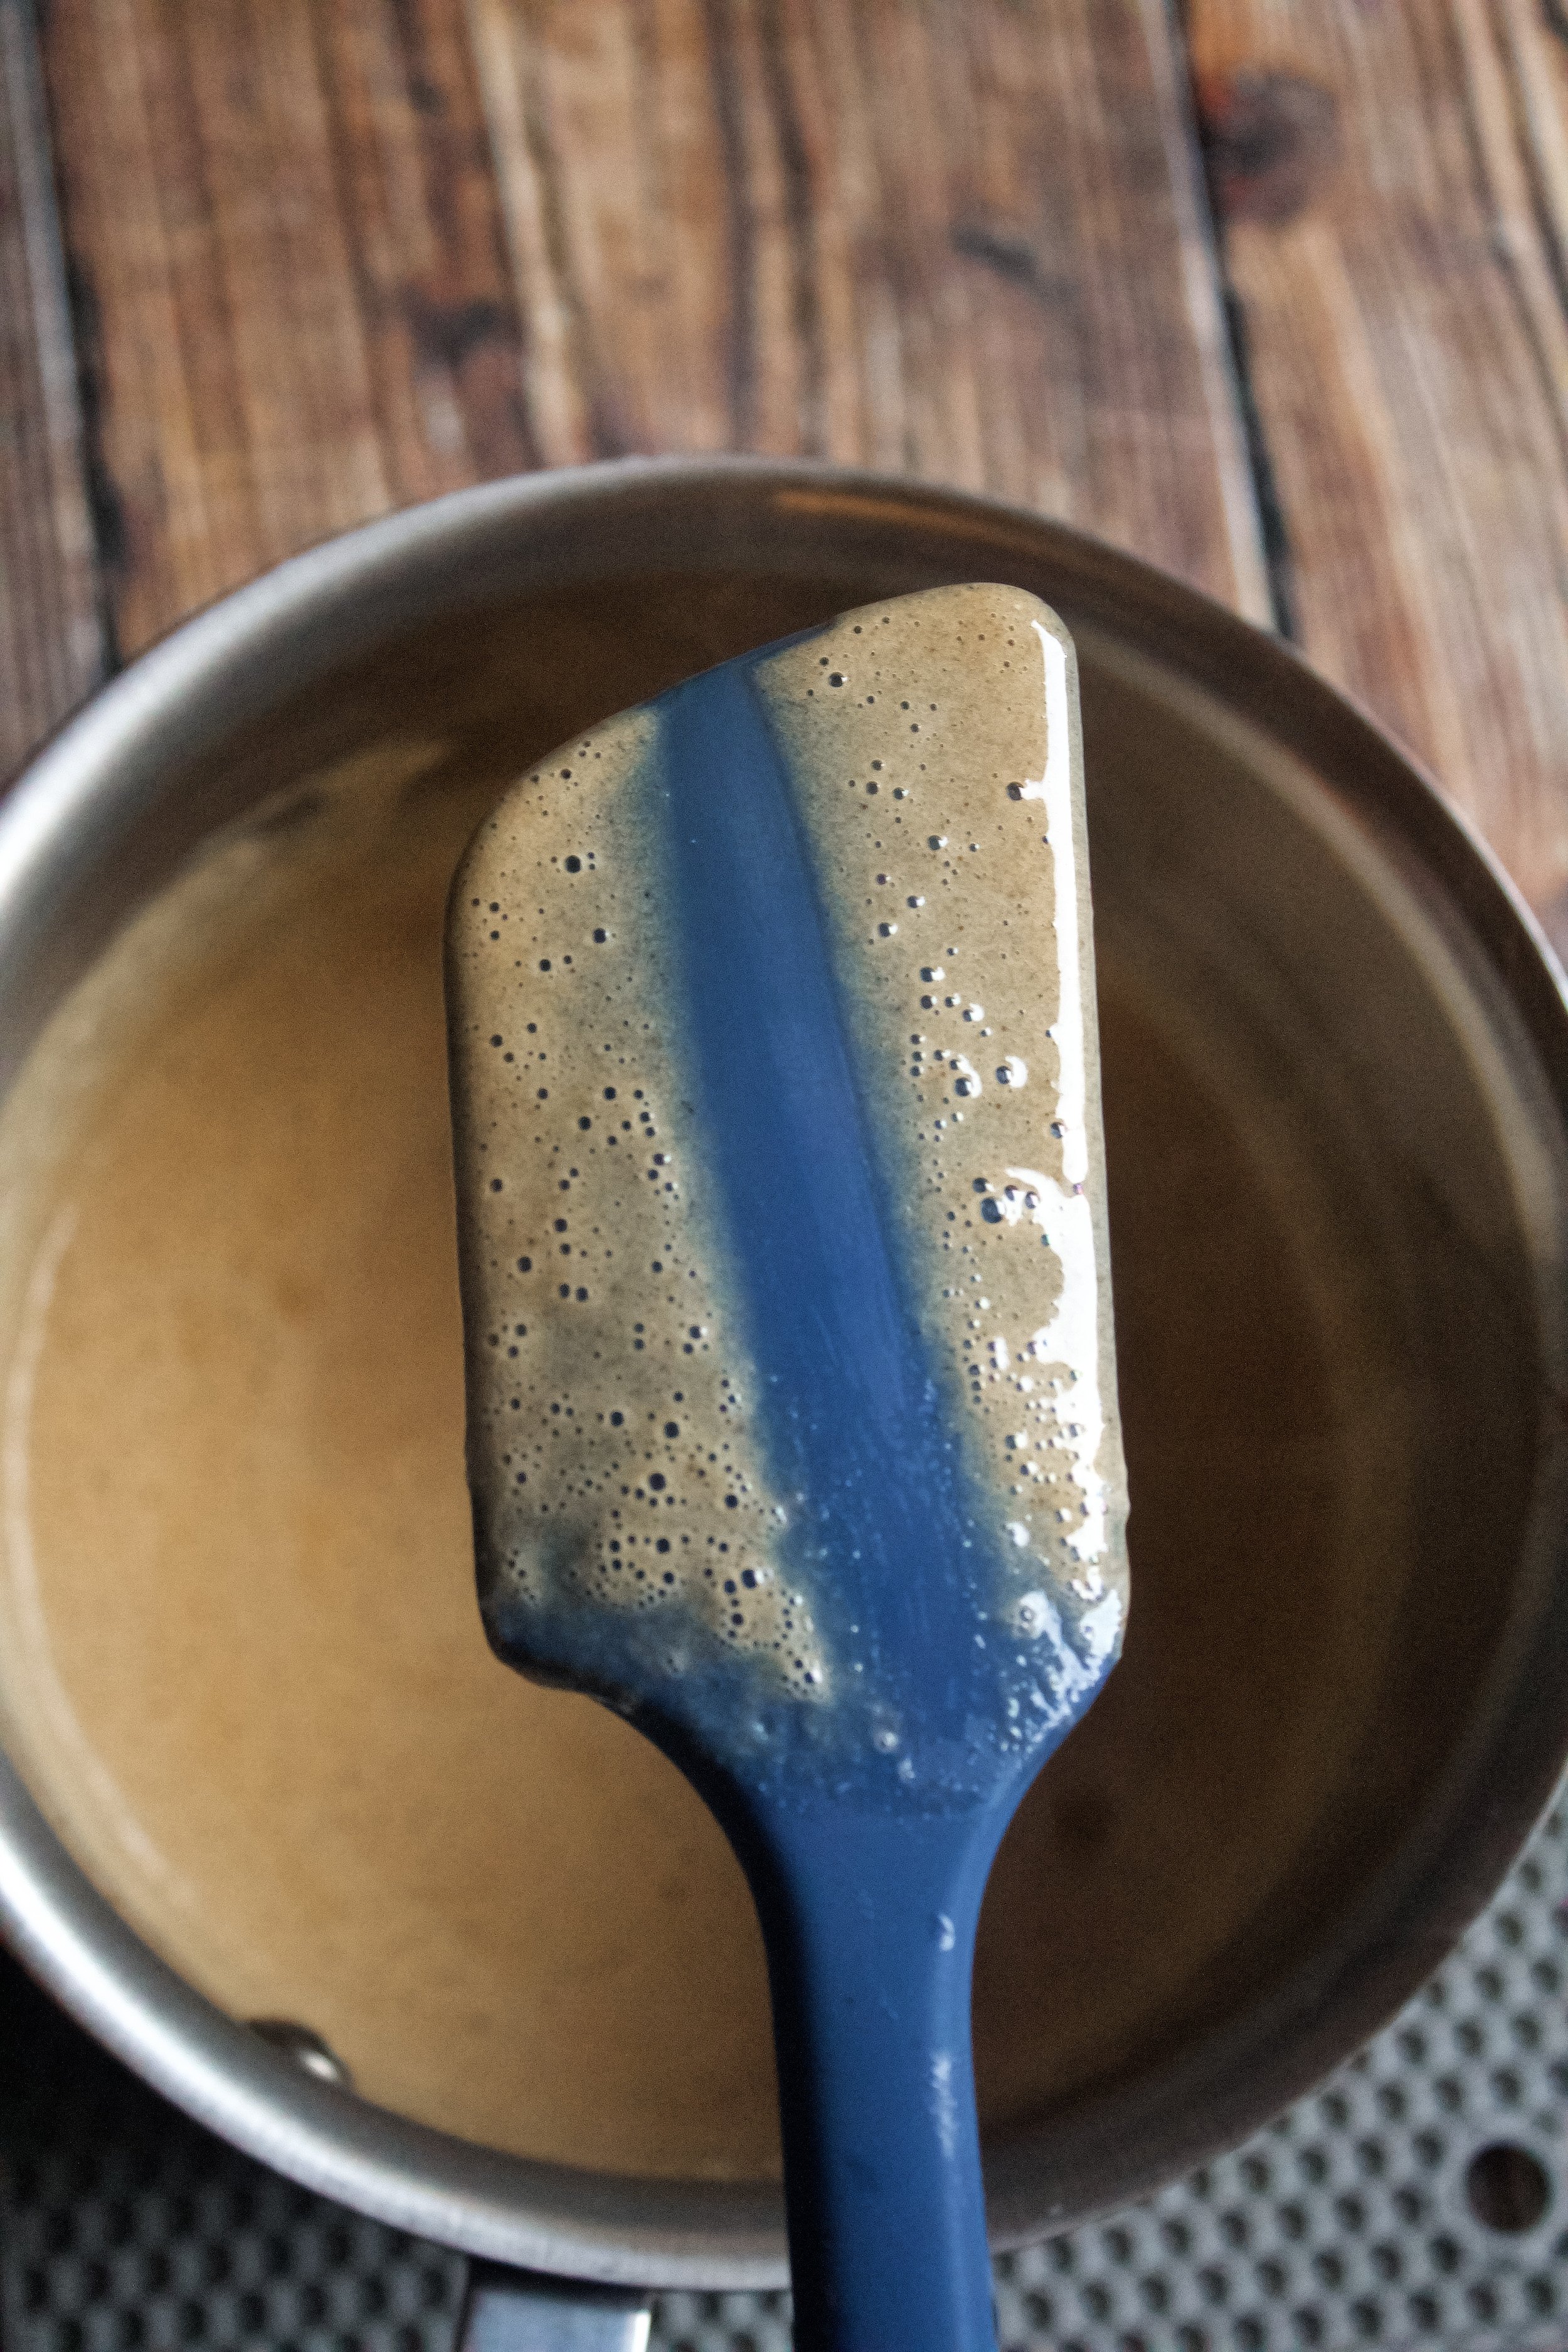
4. Heat until thickened. It should be able to coat the back of a spoon (meaning if you run your finger on the custard on the back of your spatula, it leaves a distinct line that doesn’t fill in). I usually cook it until it resembles instant pudding before it’s been chilled.


5. Add cream and chill. Adding the cream right away helps cool the custard and stop the cooking process, meaning no eggy taste. Place a piece of plastic wrap directly on the custard to prevent a film forming while it cools. It needs at least an hour to chill.
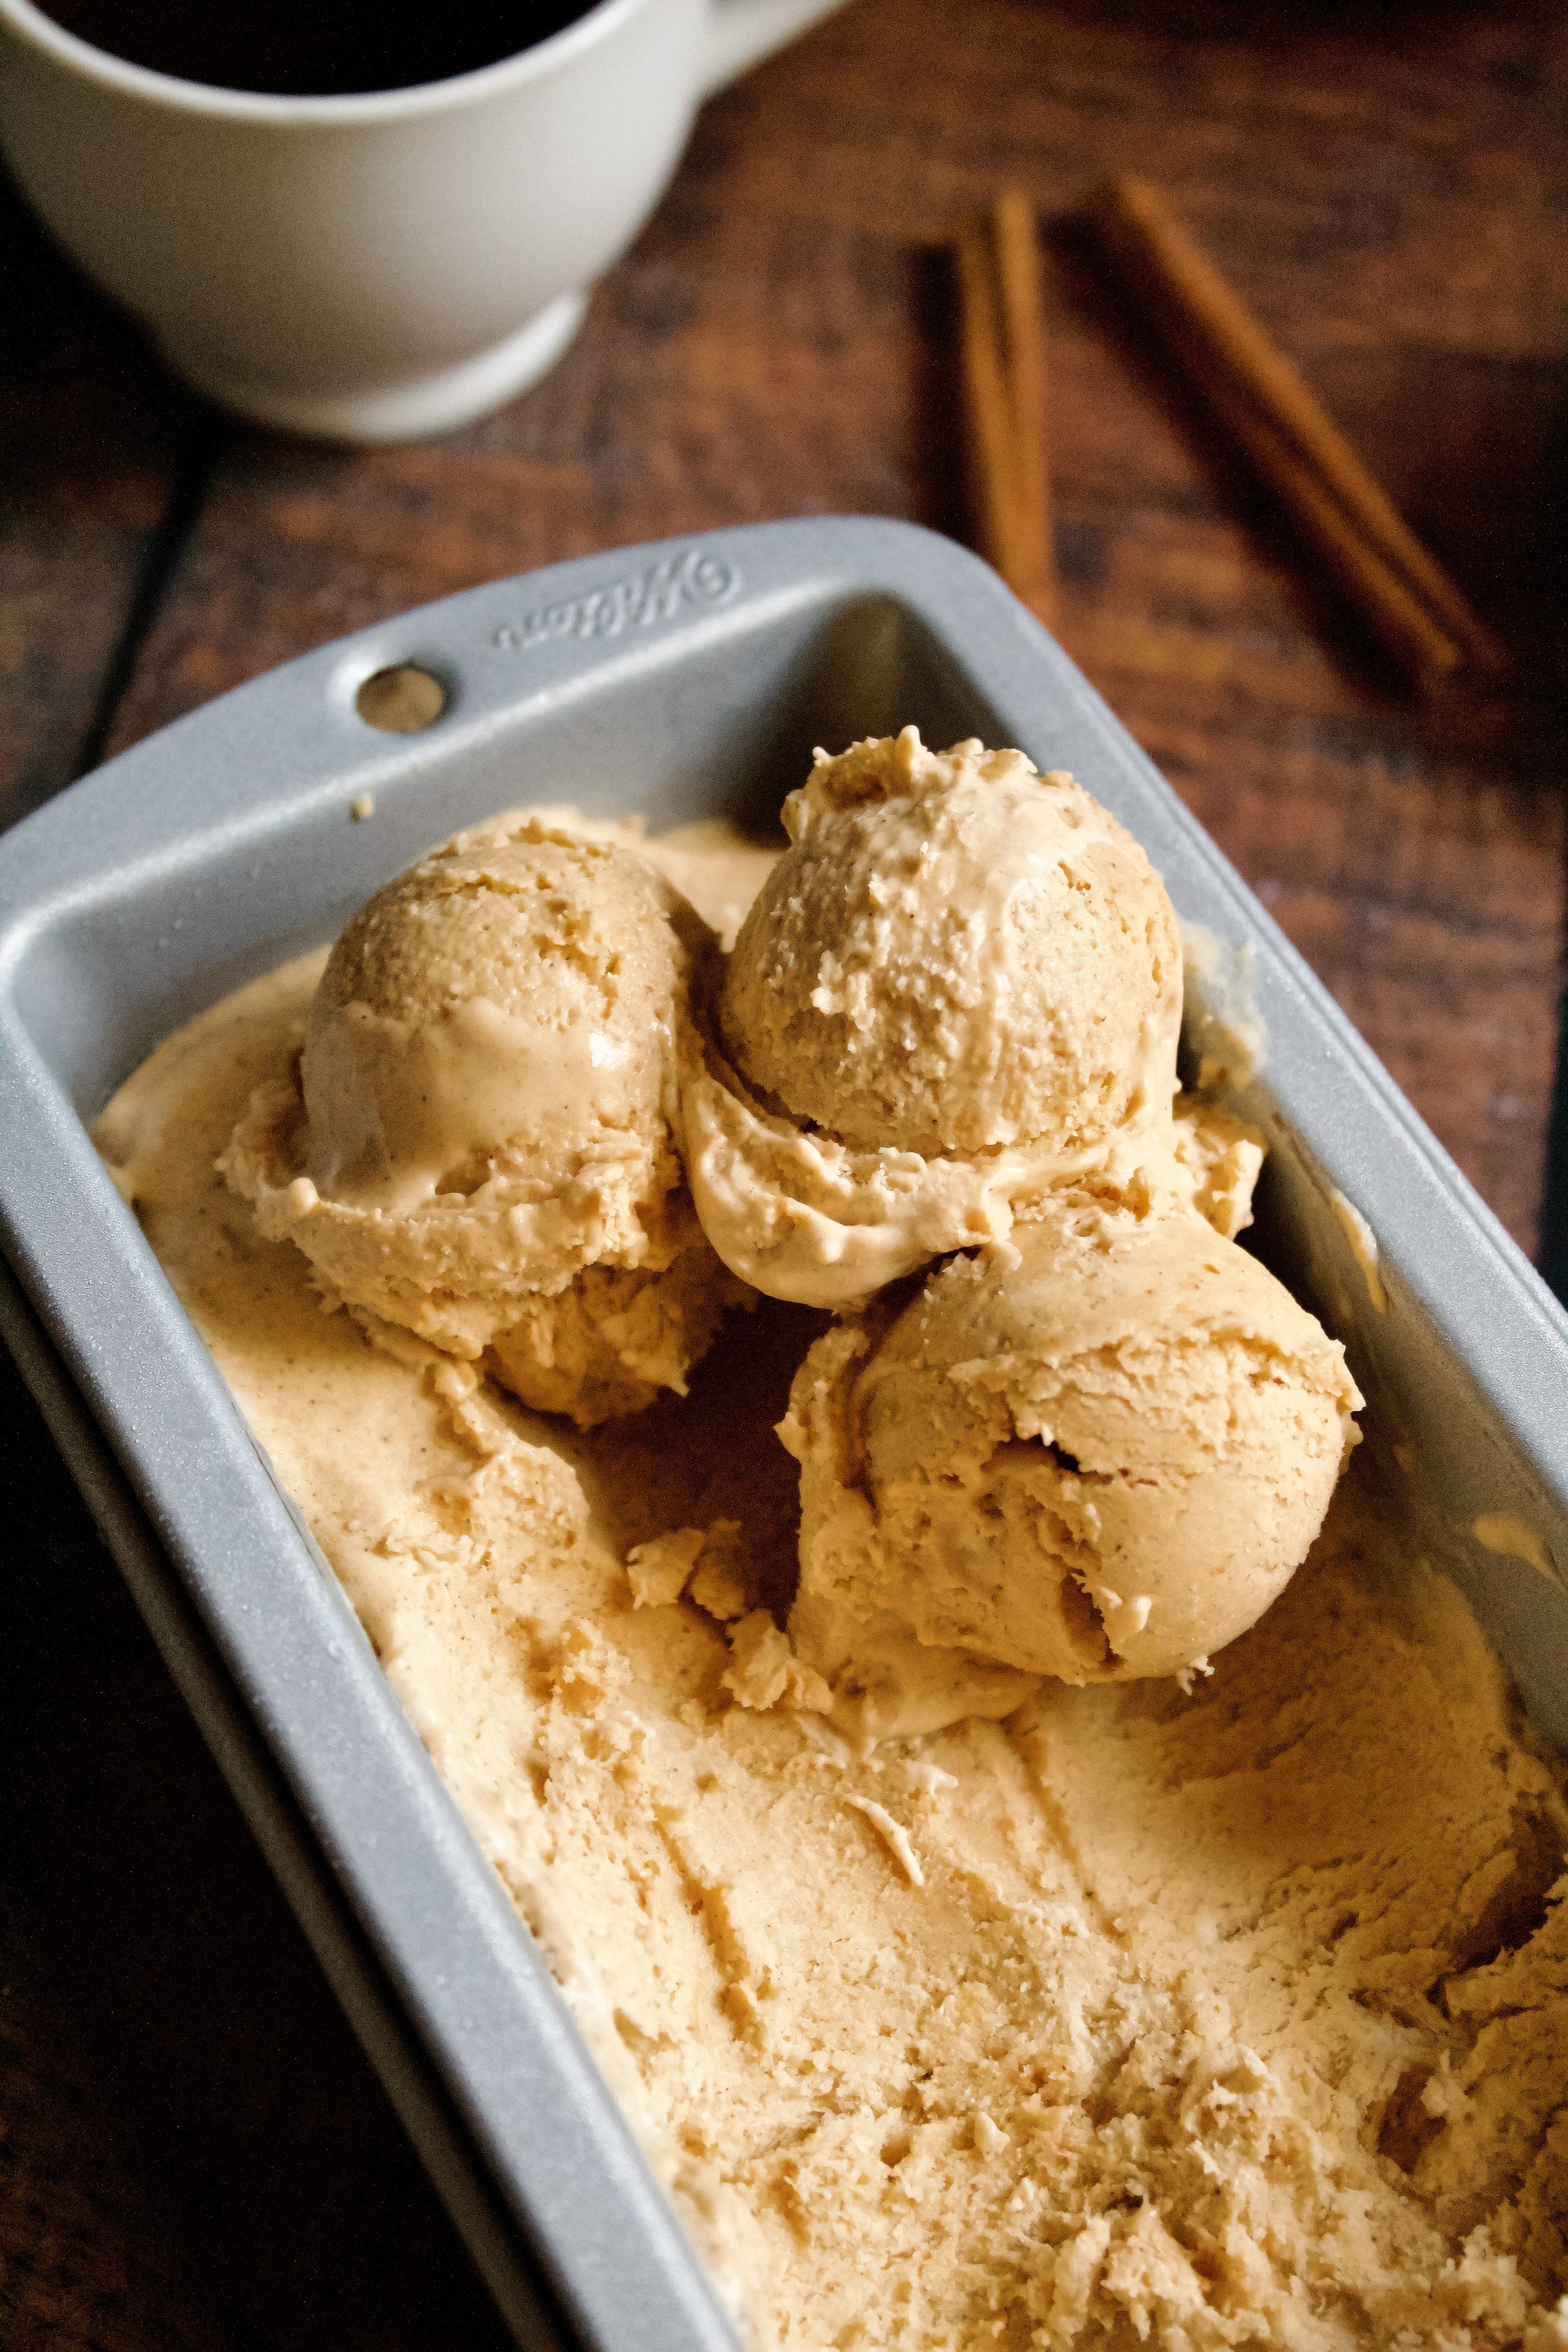
6. Churn*. Churn according to your manufacturer’s directions. Be sure you have enough ice or have frozen your insert long enough, per directions. (*See note below for making this without an ice cream maker, i.e. no-churn.)
7. Freeze. Generally, it needs at least 3-4 hours to freeze, ideally overnight.
Enjoy!


Tips and FAQ’s for this recipe
*How do I make this a no-churn ice cream?
It’s so simple! Once the custard is thickened, place it in a separate bowl (the one the eggs were in is fine), and place that in a larger bowl filled with ice. Stir until cooled (this step keeps it from continuing to cook and taking on an eggy taste). Once it’s mostly cooled, you can refrigerate it for an hour (or up to overnight).
When the custard is chilled, beat the cream to soft peaks then fold it into the custard in three additions. It will basically be a mousse at this point, so you’ll have to freeze it, unlike slow-churned ice cream that is a soft serve consistency when freshly churned. It may also need to sit on the counter for 5 minutes before scooping.

Can I make this without eggs?
You could try, but I can’t promise how it’ll turn out. You’d just skip the custard step and omit the eggs entirely, basically making a gelato (eggless ice cream with half(ish) milk and half(ish) cream). You’d still heat the milk and add the brown sugar to it to help it dissolve, then add in the cream and let that cool. Don’t try making this with sweetened condensed milk, as that already has granulated sugar, and we obviously want brown.
What if my eggs scrambled?
Sometimes, the eggs scramble just a bit. If they’ve scrambled a lot, with large chunks of egg, you should start over. However, if you’re unsure or think you see some tiny egg bits, just use a large fine mesh sieve to strain the custard before chilling. It’ll remove any egg that didn’t temper properly.

Make this ahead of time
This is just my preference. I made the custard one day, churned it the next, then snapped a few (dozen) photos the next day after it had time to set. You just want to be sure you churn it the day before you’ll need it, so it can set in the freezer for at least a few hours.
Pairs well with
Honestly, this ice cream is amazing on its own. However, it would pair very well with my pumpkin crumb cake, chai pumpkin cake, pumpkin coffee cake, or even my favorite carrot cake, or try it topped with caramel sauce or even my hot fudge sauce! And best of all: pumpkin ice cream sandwiches! Just whip up a batch of my pumpkin white chocolate chip cookies (can sub regular chocolate chips) and sandwich a scoop between two cookies!

My tools
Here are my must-have tools I use for making ice cream. Affiliate links provided.
Ice cream maker (or stand mixer or handheld mixer)
Ice cream container (or use a 8x4 loaf pan or 9x5 loaf pan)
Mesh sieve (in case some egg scrambles as you temper it)

You might also like:
Brown Sugar Cinnamon Ice Cream
Pumpkin White Chocolate Chip Cookies (makes a great ice cream sandwich with this ice cream!)

Pumpkin Spice Latte Ice Cream
- prep time: 10-15 minutes
- chill time: 1 hour
- churn time: 30 minutes
- freeze time: 4-8 hours
- total time: 9 hours, 45 minutes
servings: about 9 (½ cup servings)
Ingredients:
- 3 large egg yolks, room temperature
- ⅔ cup (133g) sugar
- ¾ cup (170g) whole milk
- 1 cup (about 250g) plain pumpkin puree (not pumpkin pie filling)
- 1 tablespoon (13g) pure vanilla extract
- pinch sea salt
- ½ tablespoon (4g) pumpkin pie spice
- 1 teaspoon (2g) ground cinnamon
- 1 teaspoon (3g) good quality instant espresso or instant coffee
- 1 ½ cups (360g) heavy whipping cream, cold
- ice cream maker, prepped per directions (optional–see no-churn option at the bottom)*
Instructions:
- Follow your ice cream maker’s directions to prepare it for use, which could include placing the bowl in the freezer for up to 24 hours (*see note above for how to make this no-churn).
- Whisk the egg yolks and sugar in a medium mixing bowl. Whisk until lighter and frothy, 2-3 minutes. At first it may seem thick and clumpy, but keep going until the sugar melts and it becomes lighter in color and frothy. Set aside.
- Combine the whole milk, pumpkin, vanilla, pumpkin pie spice, cinnamon, and a pinch of sea salt in a medium saucepan over medium heat, stirring frequently, until it begins to steam and small bubbles begin to form along the edge of the pan.
- Temper the milk into the eggs by very, very slowly streaming the milk into the eggs while whisking the eggs very quickly. Be sure to whisk constantly and quickly as you do this to avoid scrambling the eggs.
- Once all of the milk has been added to the eggs, scrape the mixture back into the saucepan and cook, stirring constantly with a rubber spatula (be sure to get to the edges and corners), until the mixture has thickened enough to coat the back of a spoon. It should feel thicker as you stir, as well, similar to instant pudding before it’s chilled.
- Remove from stove and pour back into the bowl the eggs were in. Optionally, you can strain it as you pour by setting a fine mesh sieve over the bowl and pouring through that. Stir for a couple of minutes to cool slightly, then add the heavy cream to stop the cooking process.
- Cover well and refrigerate until cool, about 1 hour.
- Once the mixture is cooled, follow your manufacturer’s directions to churn the ice cream. Don’t overmix. It should just start looking like ice cream when you stop the mixer.
- Once the ice cream is finished, pour into a 9x5 loaf pan or an ice cream container. Cover well and freeze for at least 4 hours, ideally overnight. You may need to let it sit on the counter for 5 minutes before scooping.
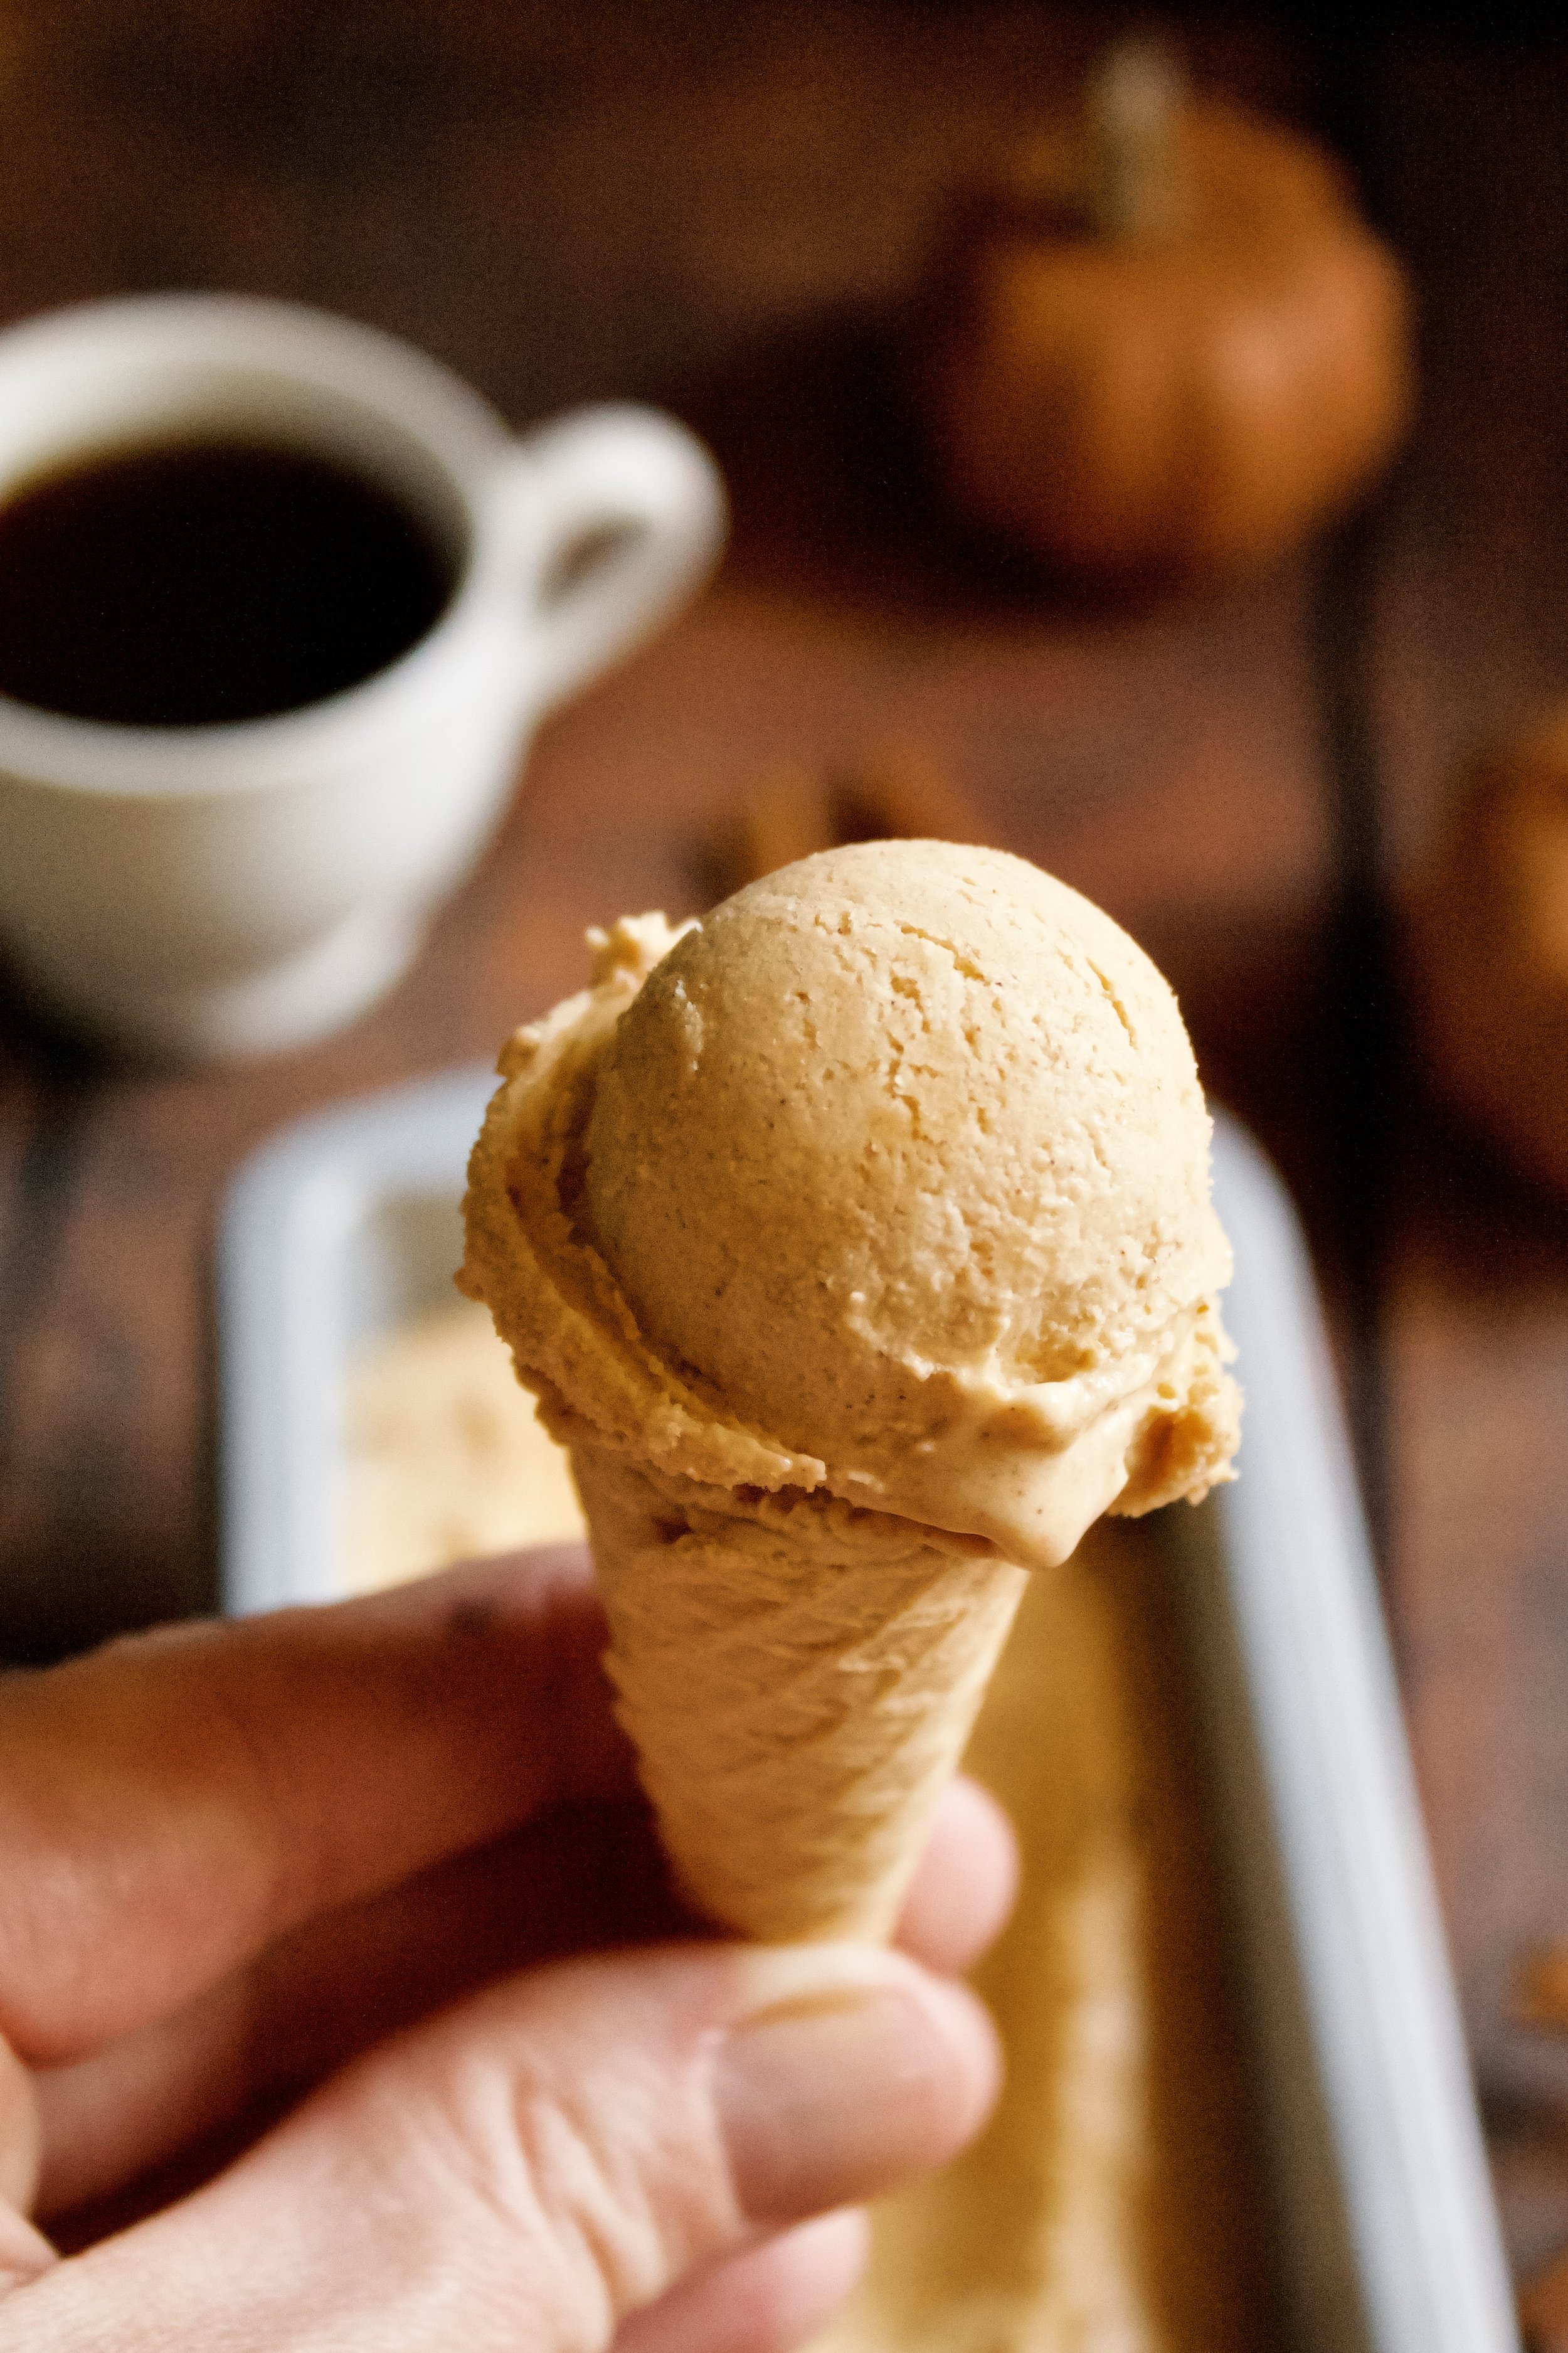
Enjoy!
Store leftovers in an airtight container. Ice cream should last at least 1-2 months, but this can vary depending on your freezer and how well-sealed it is.