
Homemade Ladyfingers
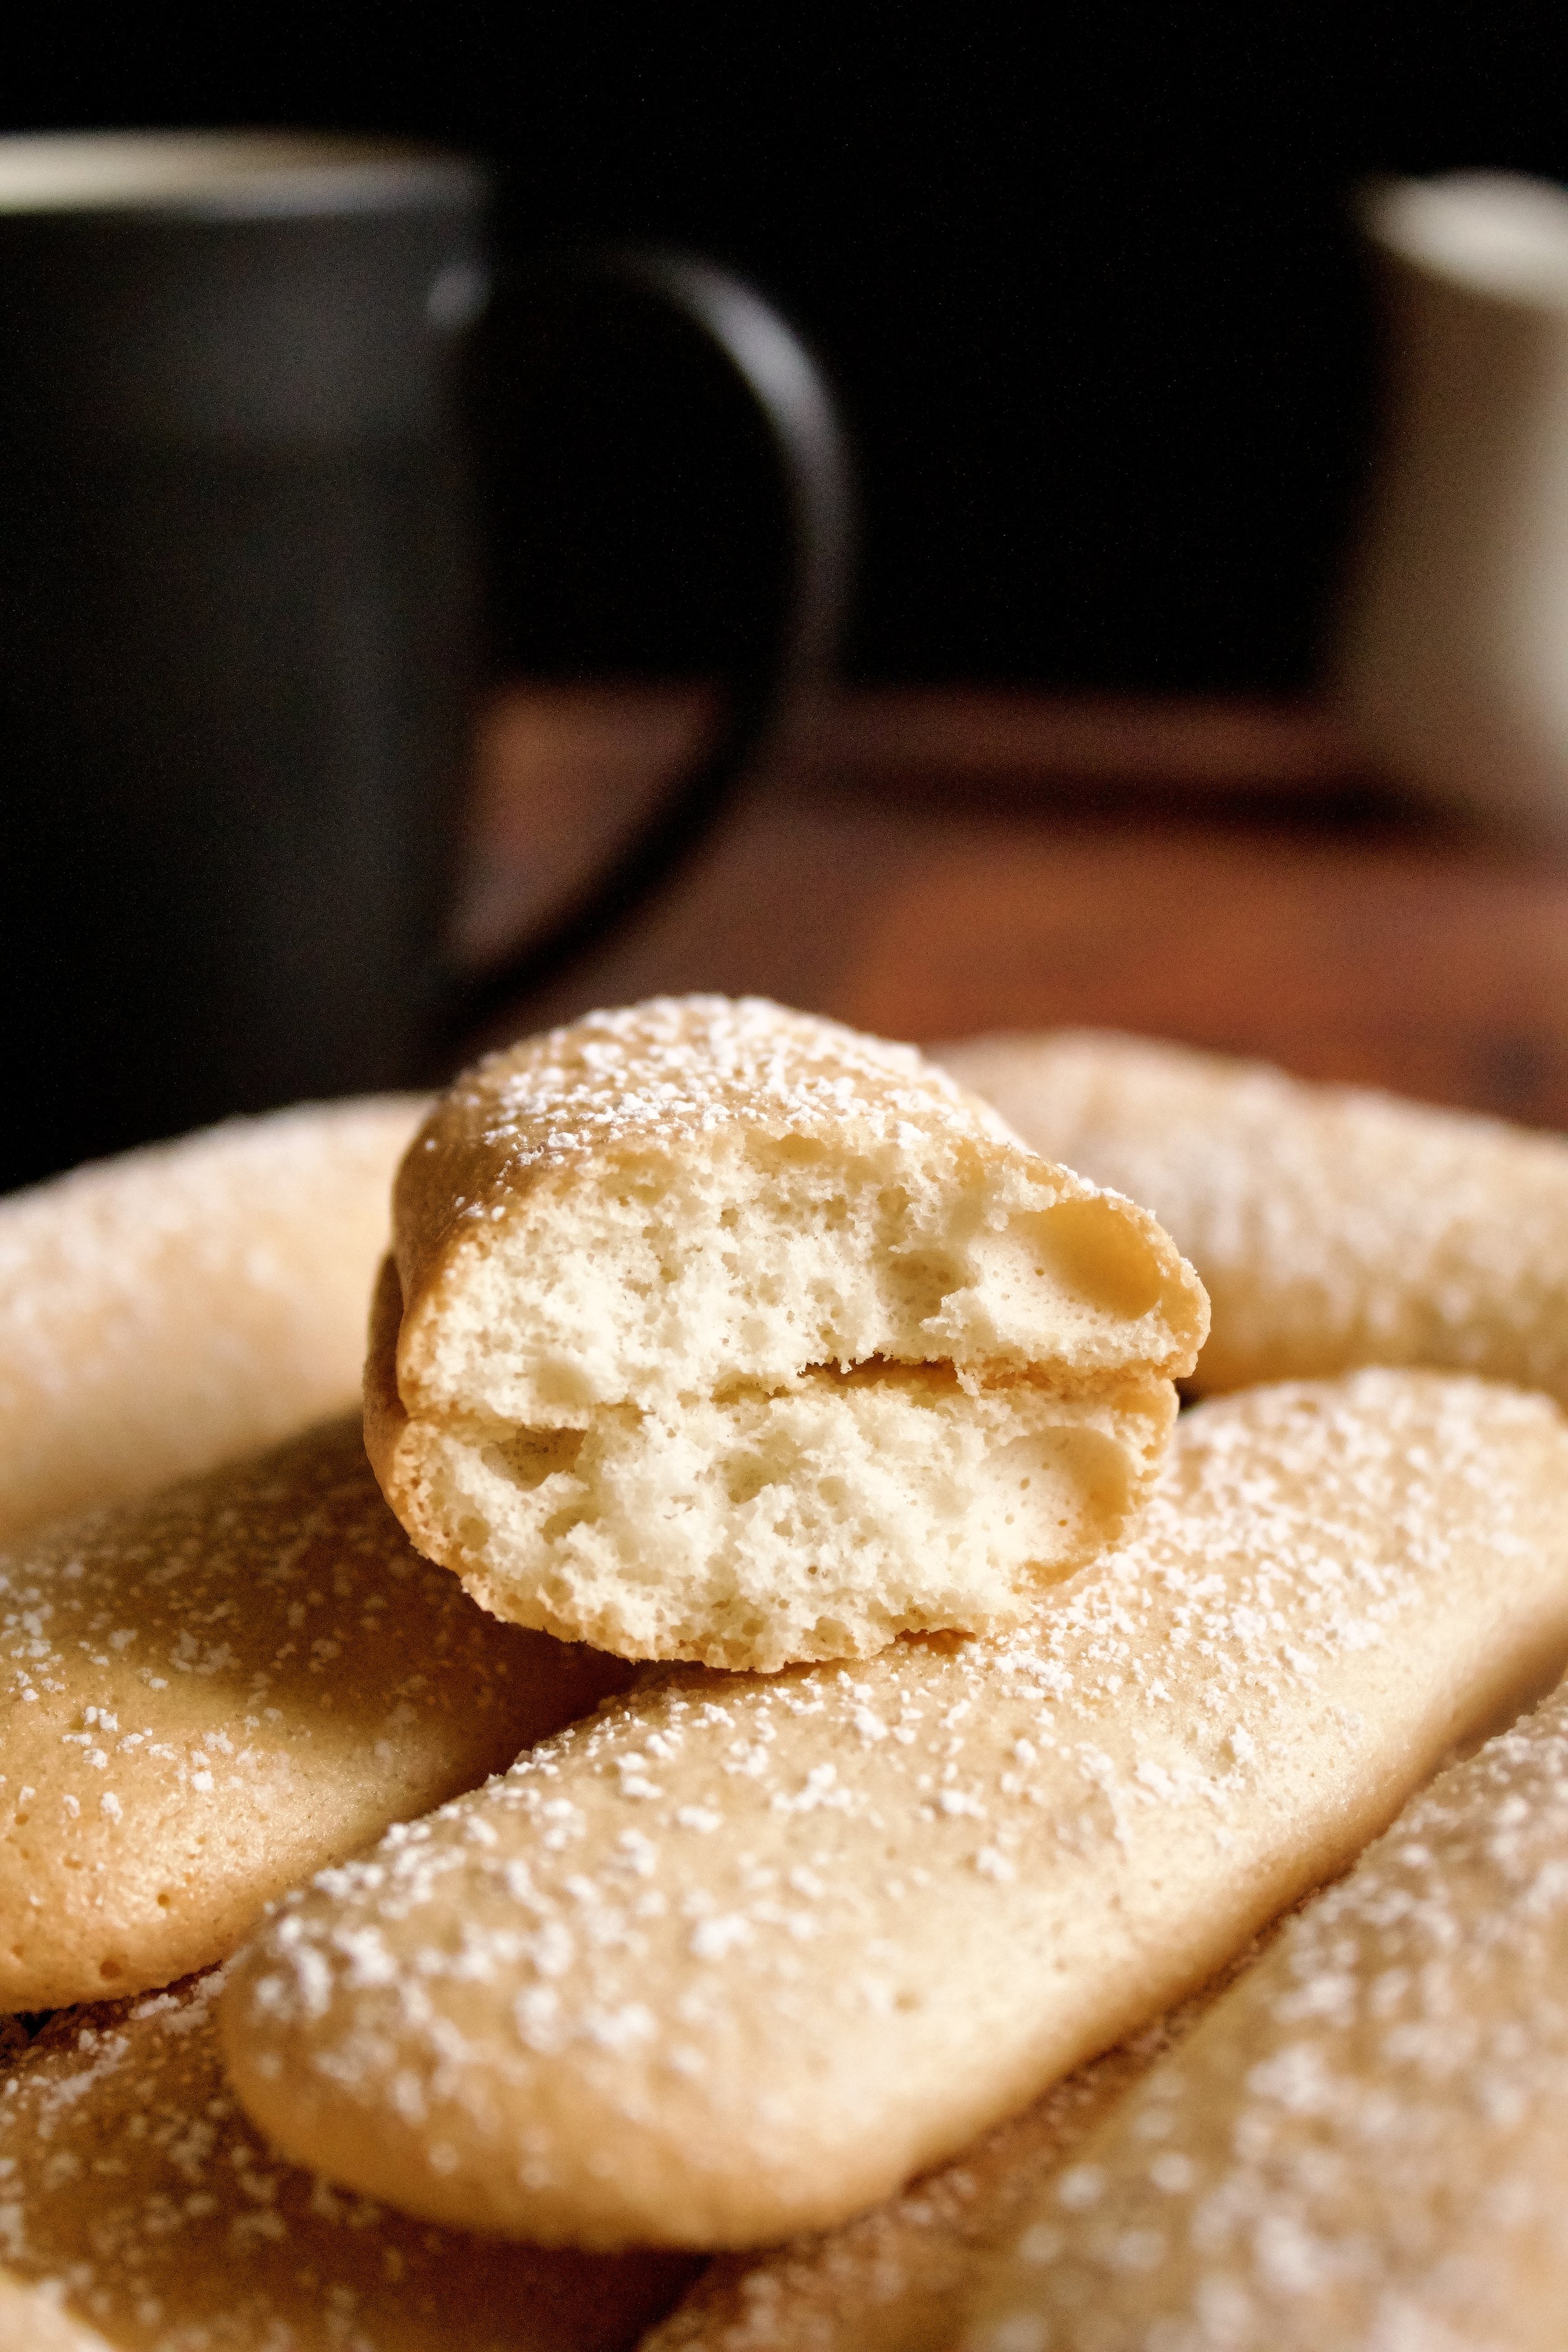
Delicate, easy-to-make cookies you can use to layer in tiramisu or simply have as a light treat with your coffee. Don’t be afraid to try these out—they are simple to make and so worth the effort!
This post may contain affiliate links from which, at no additional cost to you, I may earn a small commission to keep this site running. Only products I myself would or do use are recommended.

Over a year ago, I decided to be a little extra and make homemade tiramisu for a baby shower using homemade ladyfingers. I had a feeling I was getting in over my head. Turns out, I wasn’t.
Homemade ladyfingers are incredibly simple to make (yes, there’s some whipping and folding, but it’s a pretty forgiving recipe). And they freeze beautifully, so you can make them ahead then freeze them until assembling your tiramisu!
Why this recipe works
It’s a fairly easy recipe that just has a lot of little steps. And I’m always surprised at how quickly it comes together. The key is to not be afraid of a bit of mess (the batter can leak while piping the cookies—that’s okay, there’s plenty more!). And yes, you need at least three bowls, but never have I been stressed out making these, and I’m a fairly stressful baker.
What makes these cookies worth the effort is that perfect balance of moisture and structure. I’ve perfected the recipe ratios so that the batter isn’t too runny but the cookies are still very moist and delicate. They have a light flavor that’s not overpowering, an ideal trait for a cookie used mostly for things like tiramisu. Most importantly, using them in other desserts, like tiramisu, is simple and they create the perfect structure and texture for a smooth, flavorful bite!

Key ingredients
Eggs. You’ll separate these, so be sure they are fully room temperature (it makes it easier to properly separate eggs).
Sugar. You’ll grind this in a food processor or blender. You can also use superfine or castor sugar (not widely available in the US).
Vanilla extract. Use pure vanilla, not imitation.
Flour. Be sure you follow directions on sifting the flour and cornstarch TWICE. You want superfine flour to get super tender cookies.
Cornstarch. Again, be sure it is sifted well with the flour.
Salt. Use sea salt for a better flavor.

How to make homemade ladyfingers
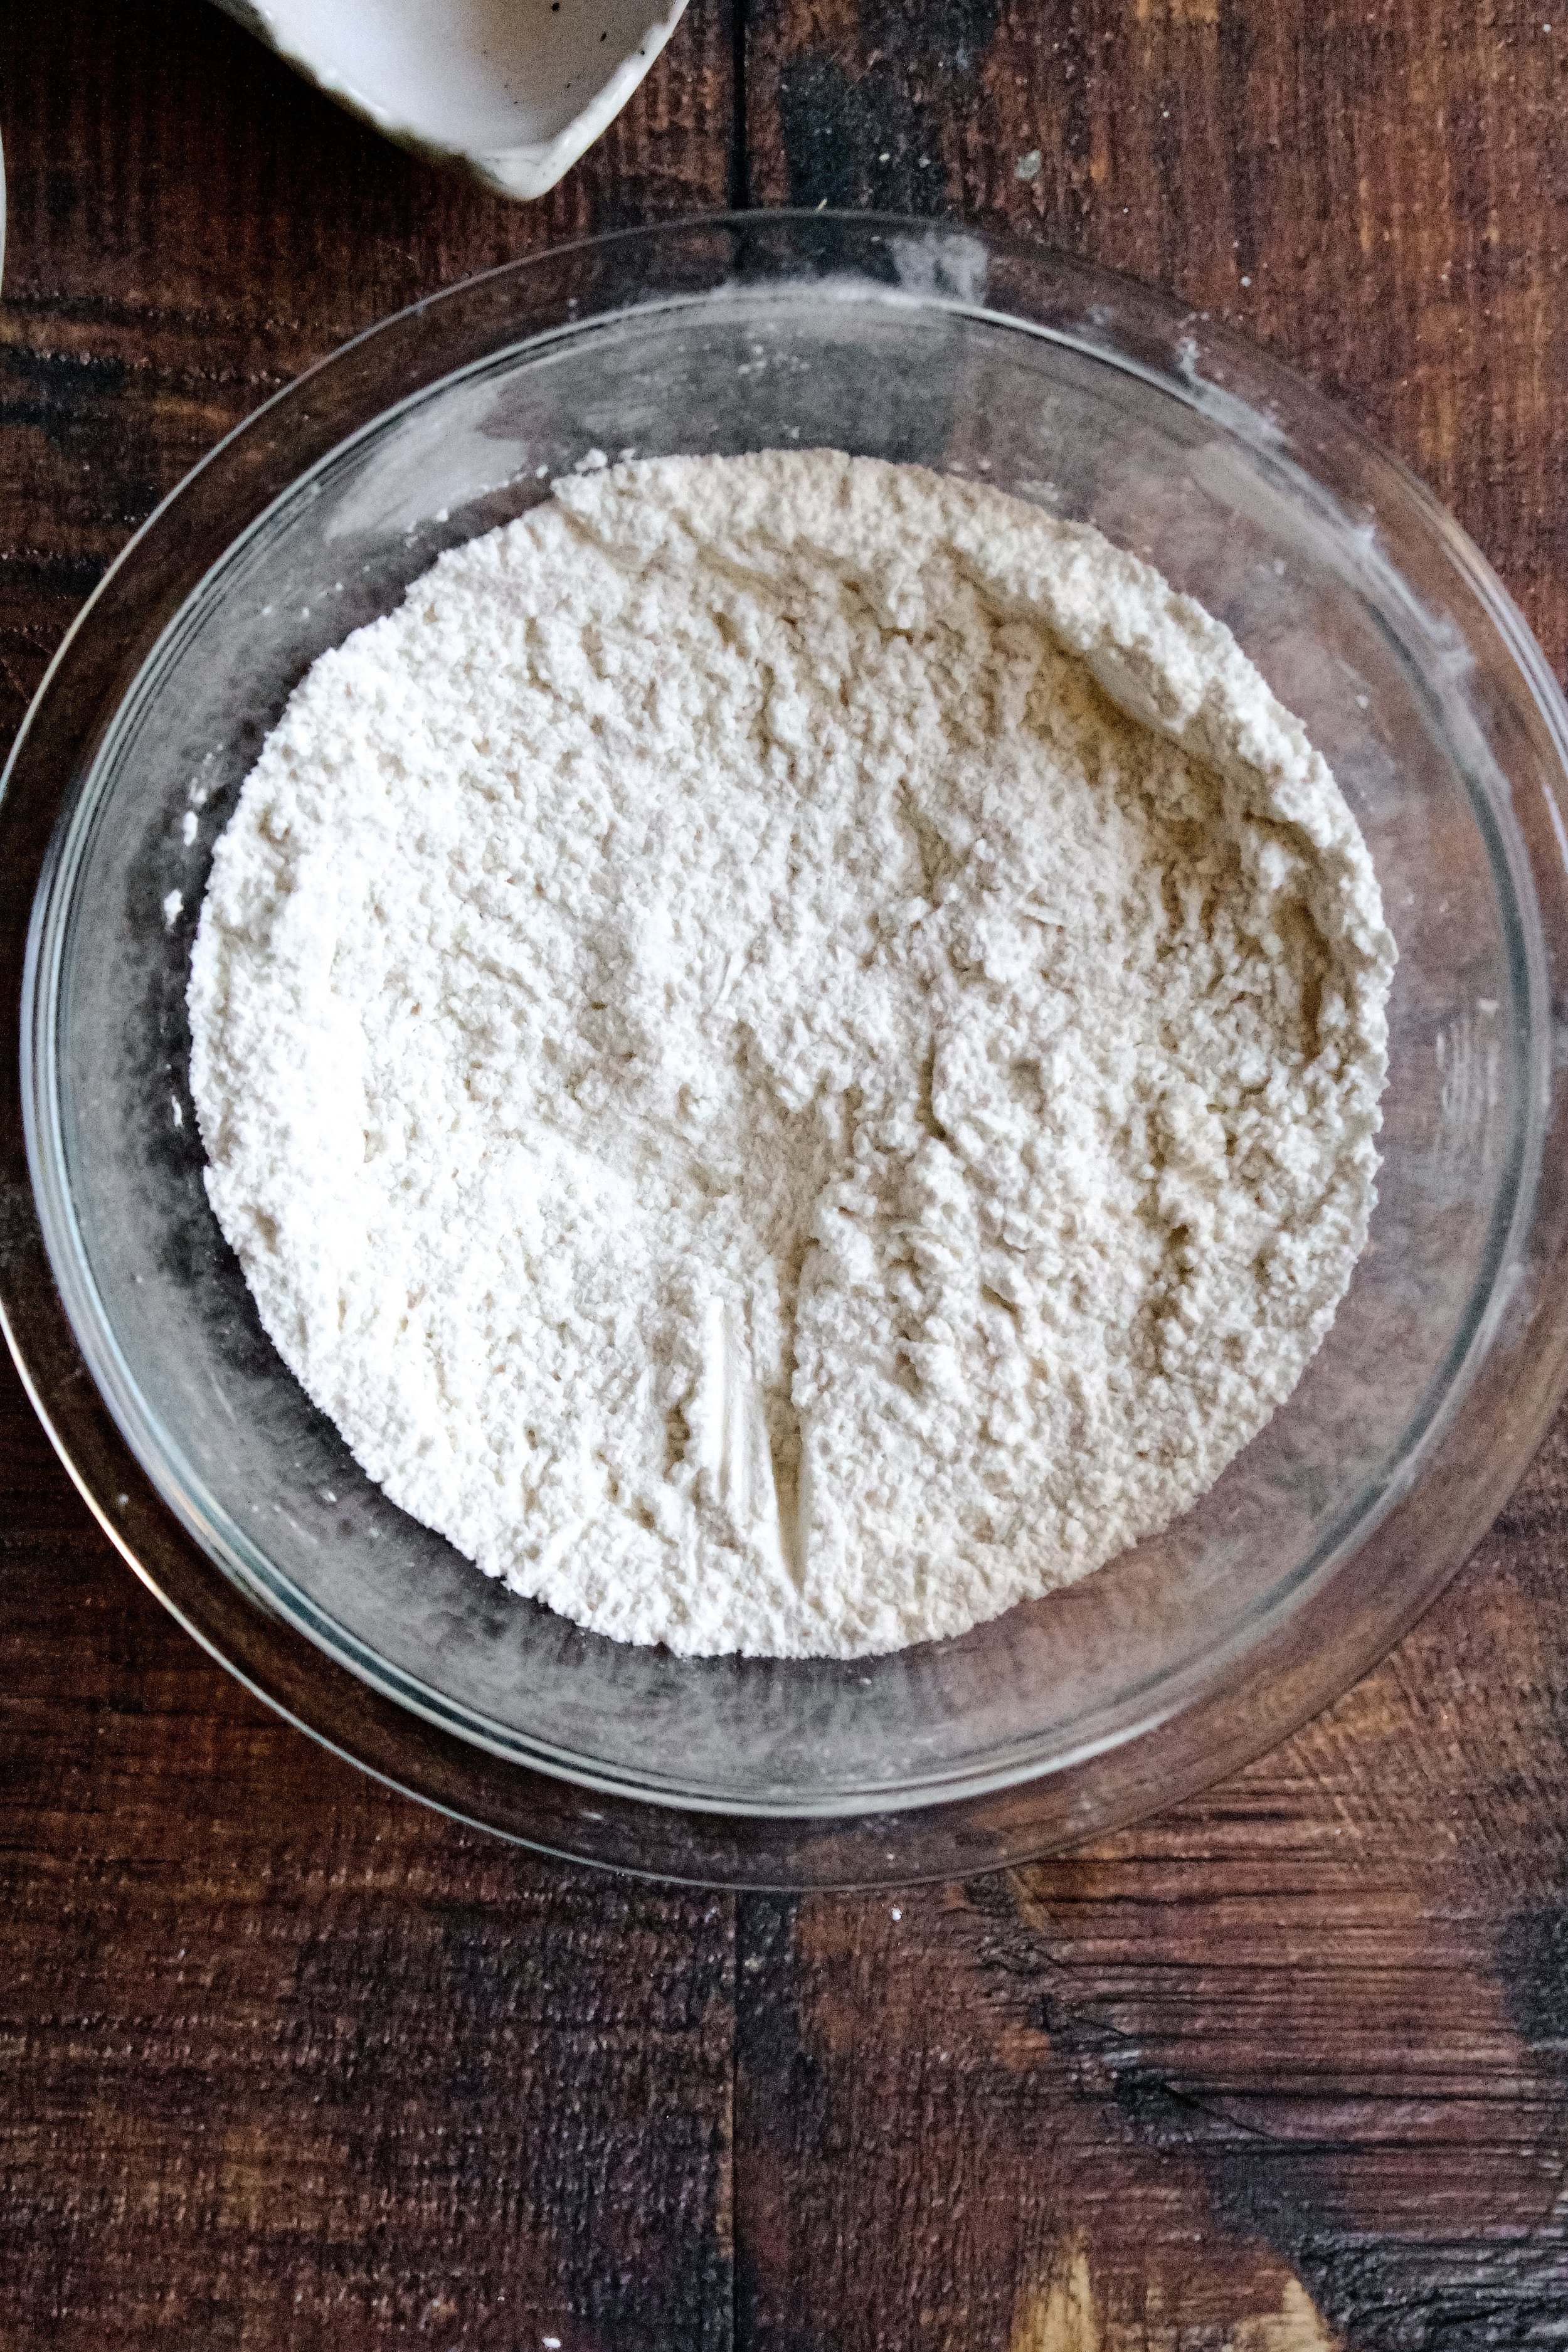
1. Sift the flour and cornstarch. I prefer to place both in my fine mesh sieve set over a small bowl. I whisk them together as I push them through the sieve then whisk a bit again in the bowl itself.
2. Separate the eggs. The yolks will go into a medium mixing bowl. The whites will go into the bowl of your stand mixer (or another medium mixing bowl if using handheld beaters).
3. Grind the sugar until superfine. I just use my mini food processor, but a blender would work, too. If superfine sugar (i.e. castor sugar) is available where you are, use that instead and skip this step!
4. Divide sugar between the two egg bowls. You want roughly half in each, but it doesn’t have to be perfectly mathematical.
5. Whisk yolks, sugar, salt, and vanilla. Whisk by hand or with handheld beaters until pale and fluffy—you should be able to lift the whisk and draw a figure 8 that holds its shape for a couple seconds.
6. Whisk whites and sugar to stiff peaks. I use my stand mixer with the whisk attachment, but you can use handheld beaters (clean them well if used for the yolks) or even a hand whisk (for an incredible workout!).
7. Fold half of the whites into the yolks. It might be a little lumpy at this point, so don’t worry.


8. Sift then fold in flour. The key is sifting the flour over the egg yolk bowl then folding that in. It keeps everything superfine and tender.
9. Fold in remaining whites. Fold until no lumps remain.
10. Place into a piping bag. I have reusable piping bags, but you can also place it in a large ziplock bag and snip at roughly 1/2 inch wide hole off the end.
11. Pipe on a lined cookie sheet. You want them about 1/2 to 3/4 inch wide and about 3 inches long. Leave at least 1 inch between cookies, as they spread slightly in the oven.
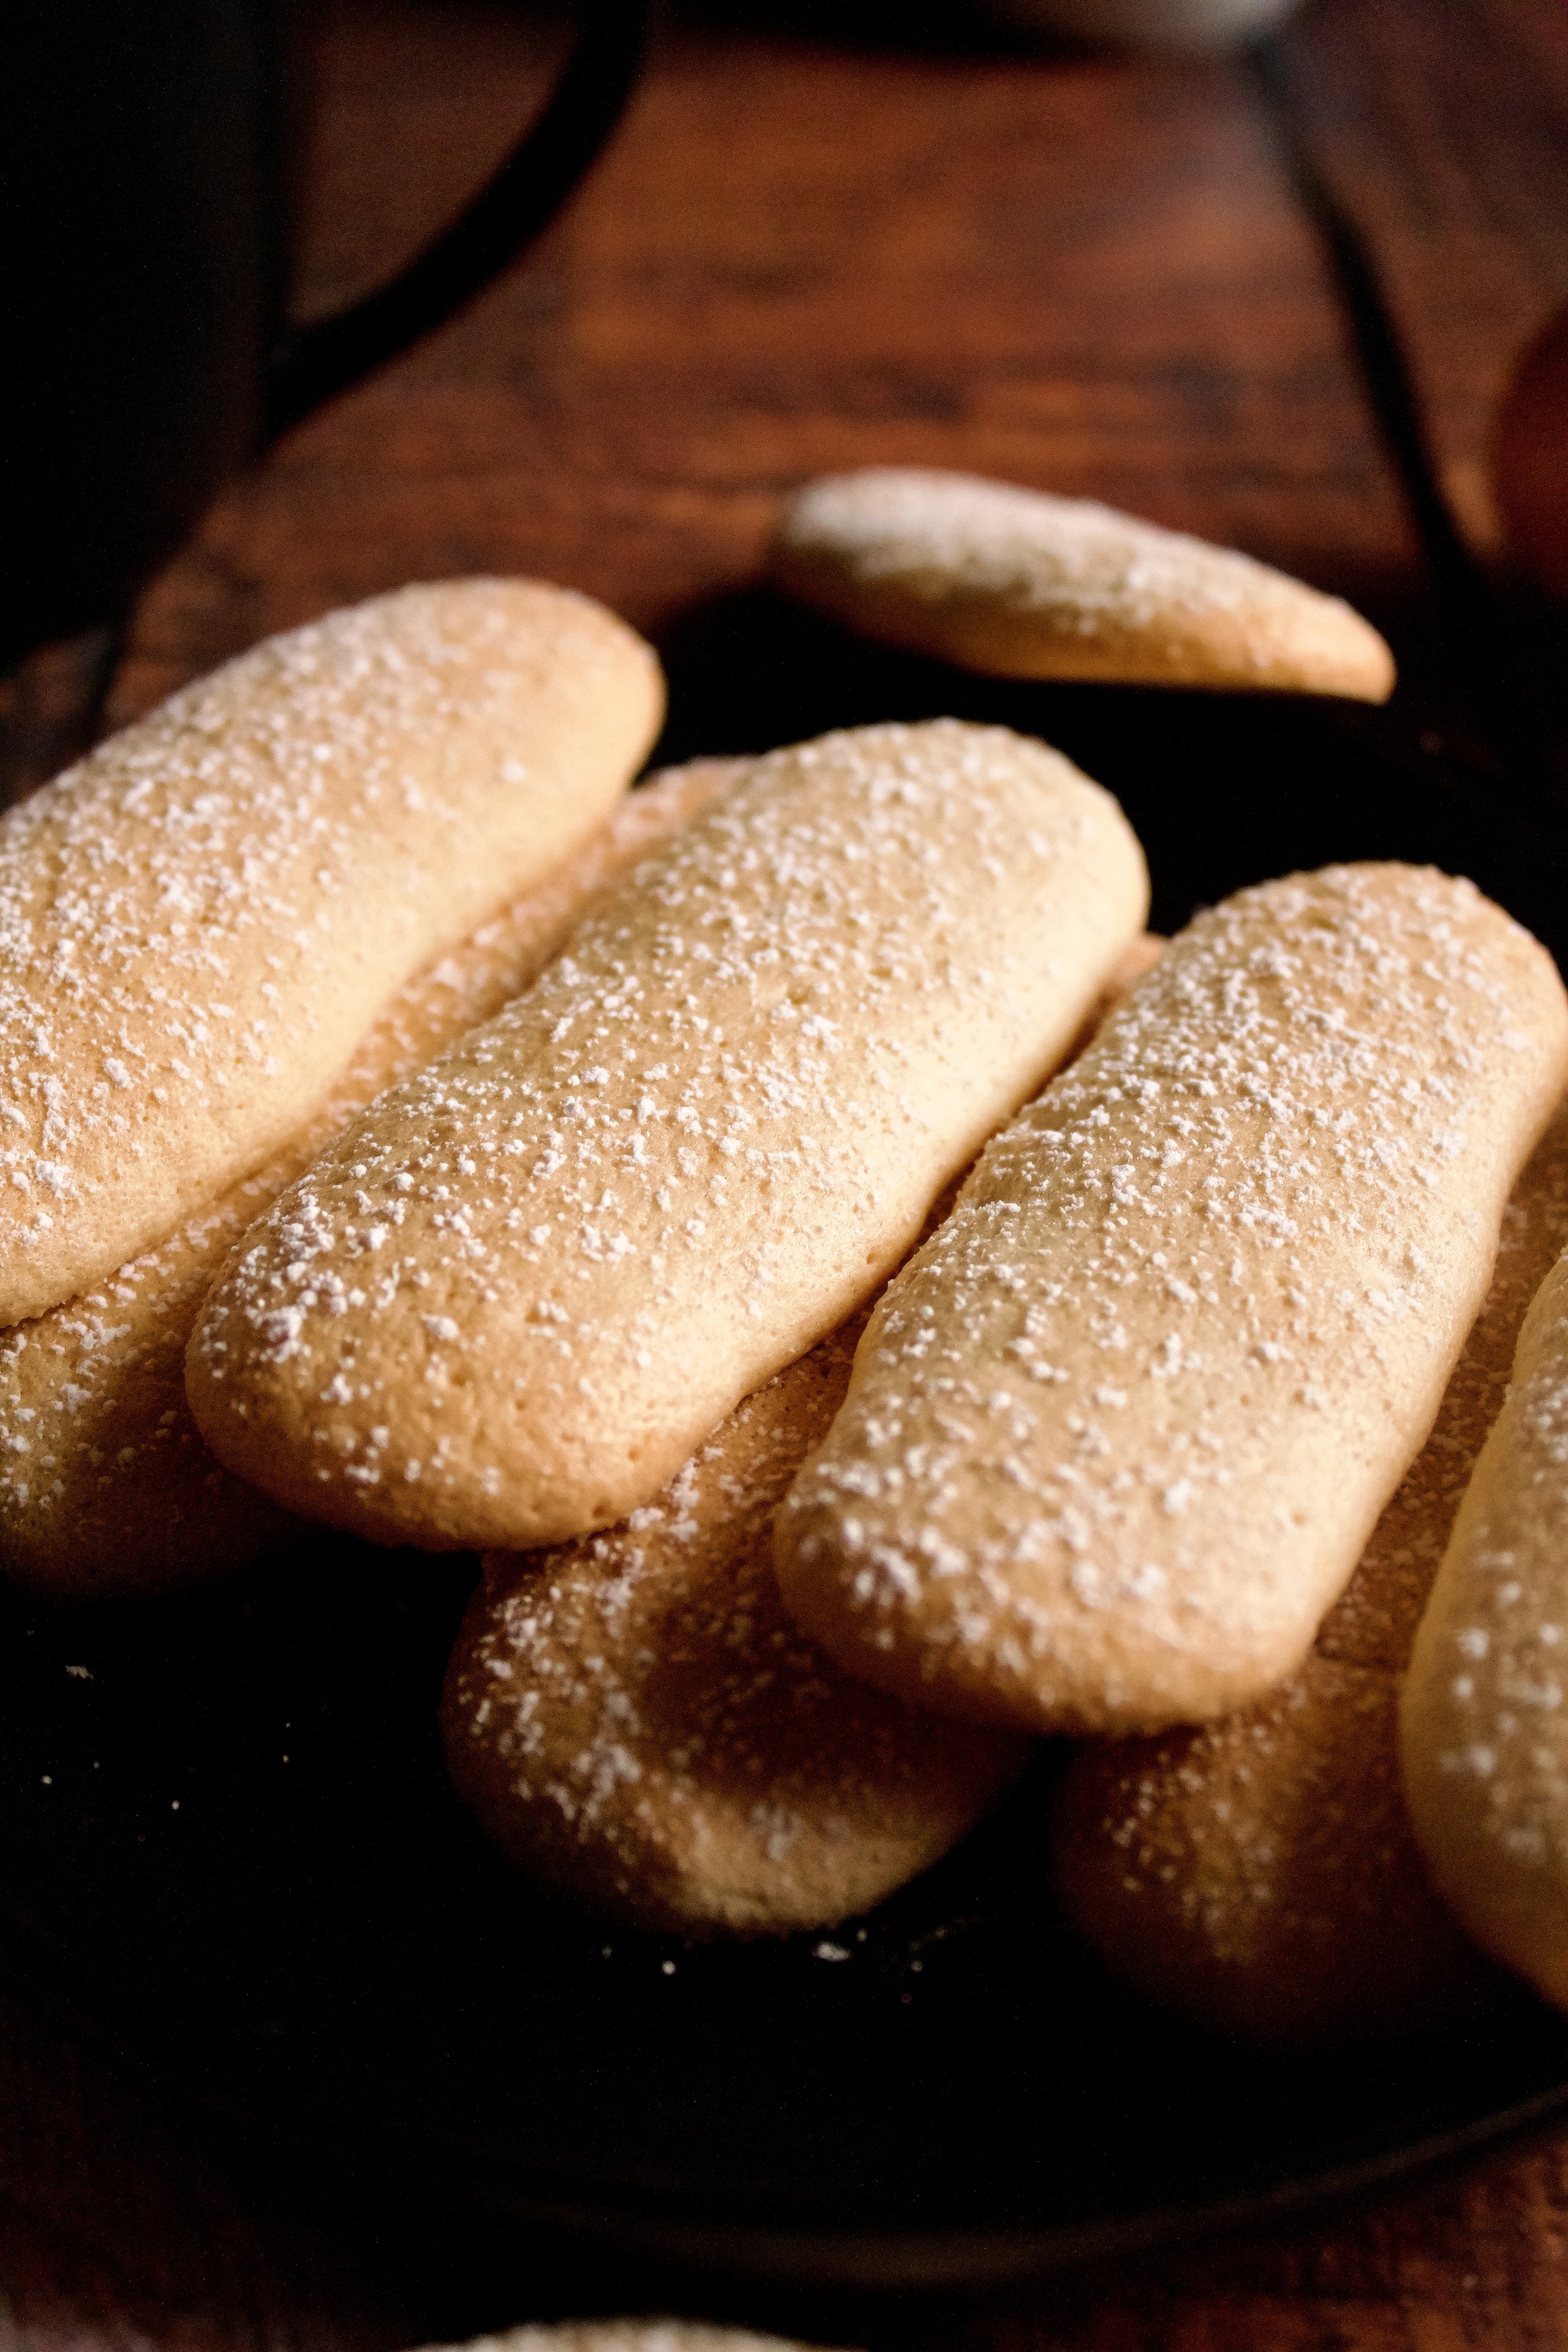
12. Bake until lightly golden. You want a little golden color along the edge, while the middle will be blonde (and nothing will be shiny).
13. Optionally, dust with powdered sugar. Some recipes suggest dusting with powdered sugar before baking, but I’ve found it creates a weird texture. I usually don’t dust these at all, since I almost exclusively use them in tiramisu.
Enjoy!


Tips and FAQ’s for this recipe
Clean your egg white bowl and whisk
Wipe down everything with white vinegar or lemon, then rinse with plain water and use a truly clean towel (or paper towel) to dry it off (or let dry in a rack until fully, fully dry). This ensures no fat residue remains and can prevent the whites from whipping. Even if you feel your bowl is clean, do this! It’s key in getting a good whisk.

What if they turn out funny shaped?
Oh, same girl. I’ve perfected the ratio of flour to eggs so that the batter doesn’t spread too much, but even still, they can turn out wonky and that’s okay. If you plan to serve these at a fancy tea, do a practice run first to get the hang of piping the cookies. Otherwise, literally no one will know if you use them in something like tiramisu!

How do I know when these are baked through?
Once the tops are fully matte and blonde in color, with a bit of golden browning along the edge, they are done. They turn fully brown pretty quickly, so watch them carefully. If they do turn fully brown, don’t stress! They’re still usable for most recipes, and they’ll taste just fine with some powdered sugar dusted on top.
How do I serve these?
I prefer these in tiramisu. The trick is to freeze them before dipping in the coffee mixture, so they don’t fall apart. They’re also classic in some other similar type desserts, such as a charlotte or around some softer cakes. However, you can dust them with powdered sugar and simply serve them alongside tea or coffee!

How do I store these?
If using right away, you can store them in an airtight container on the counter until serving. If needed, you can freeze them, which actually makes it easier to use them in something like tiramisu. However, if you want to do a fancy ring of ladyfingers around your torte, cake, or similar dessert, avoid freezing as the condensation created by defrosting could cause them to lose that lovely sheen they have after baking.

Spoon then level your flour
Don’t scoop your flour! I never knew this until I started blogging, but it seriously makes a big difference. You will end up with roughly 25% more flour than the recipe called for if you just doonk (official baking term right there) your measuring spoon into the flour container and scoop. Gently spoon your flour into your measuring cup then level it off with the back of a knife. Trust me! It makes a difference.

My tools
Here are my must-have tools I use for making this cake. Affiliate links provided.
Mesh sieve (because sifting is KEY for a tender ladyfinger)
All-rubber spatula (this makes scraping the bowl easier so the batter and frosting doesn’t get all over a wooden handle!)

You might also like:
Lemon Lavender Shortbread Cookies
Dark Chocolate Drizzled Espresso Shortbread
Kourabiethes (tender Greek powdered sugar cookies)
Koulourakia (tender Greek Easter cookies—perfect with tea or coffee!)

Homemade Ladyfingers
- prep time: 5-10 minutes
- bake time: 10 minutes
- total time: 20 minutes
servings: about 30 cookies (enough for an 8x8 tiramisu)
Ingredients:
- 1 ¾ cups (238g) all-purpose flour, spooned and leveled
- 1 ½ tablespoons (15g) cornstarch
- ½ teaspoon (3g) salt
- 3 large eggs, room temperature and separated
- ¾ cup (150g) sugar, ground (can sub castor/superfine sugar)
- 1 teaspoon (4g) pure vanilla extract
Instructions:
- Preheat your oven to 325F/165C (375F/190C if at high altitude, but bake for less time). Line two cookie sheets with parchment (silicone mats work, too, but I’ve had the cookies stick a bit and require some help with a spatula to remove).
- Sift and whisk the flour and cornstarch together. Save the whisk, as you will use it one more time for the flour later.
- Separate the eggs. Place the yolks in a medium to large mixing bowl. Place the whites in a very clean stand mixer bowl or another medium mixing bowl (if using a handheld mixer). To ensure your bowl is fully clean, wipe with white vinegar or lemon juice, rinse with cool water, then dry with a very clean towel to ensure no fat residue remains.
- Grind the sugar in a small food processor or blender. Place half of the sugar in the bowl with the whites and half in the bowl with the yolks.
- Whisk the yolks with the sugar, vanilla, and salt until pale and fluffy, about 2-3 minutes. You can do this by hand or with a handheld mixer.
- Beat whites and sugar with the whisk attachment (or a handheld mixer) until stiff peaks just begin to form and the whites turn matte in appearance.
- Fold half of the whites into the yolks until most lumps are gone.
- Use the sieve to sift the flour into the yolks. Fold with a spatula until combined.
- Fold remaining egg whites into the mixture until smooth and lumps are gone or mostly gone.
- Place in a piping bag (or large ziplock bag with a ½ inch wide hole snipped from one corner). Pipe ½ to ¾ inch wide and 3 inch long shapes on your lined cookie sheets, leaving at least one inch between cookies.
- Bake for 10 minutes, until blonde and matte on top with a bit of golden coloring along the edge.
- If desired, dust with powdered sugar before serving.
Enjoy with your morning coffee!
Store in an airtight container. Cookies can be frozen up to one month (which works well if using in something like tiramisu).
