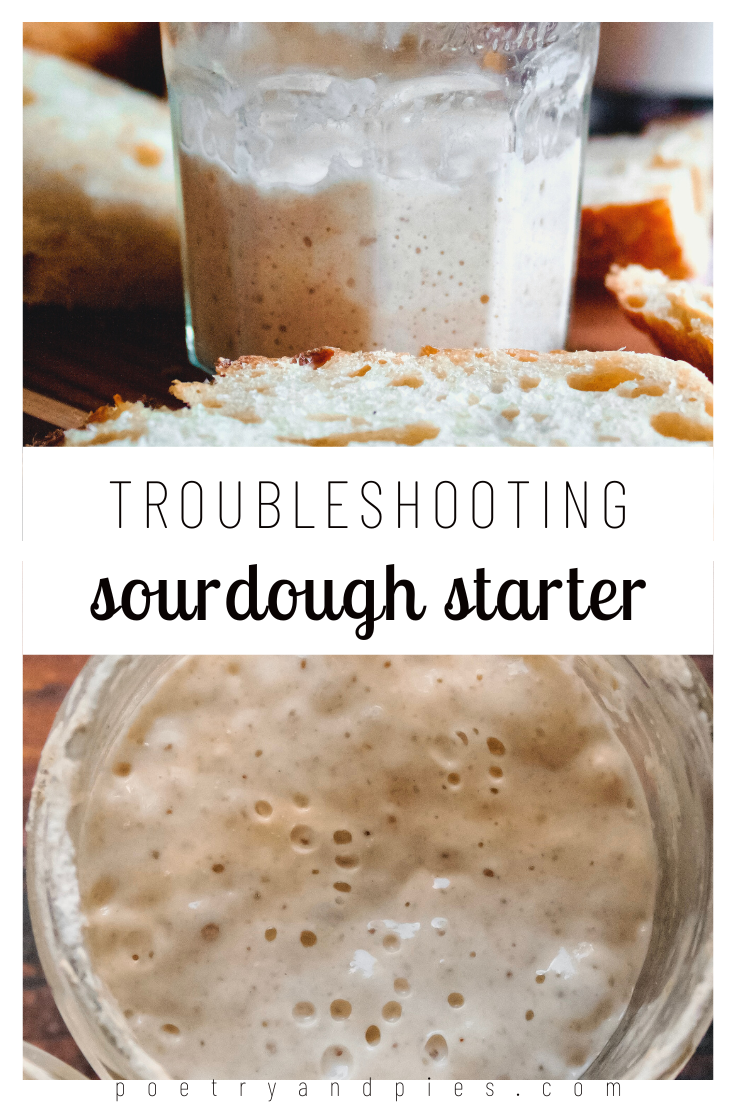
Troubleshooting Sourdough Starter
Tips, tricks, and answers to common problems for sourdough starter. While making and maintaining a great, active, predictable sourdough starter is incredibly rewarding, sometimes things go wrong and we need some help! Here is all I’ve learned in the years since I created my own little starter.
This post may contain affiliate links from which, at no additional cost to you, I may earn a small commission to keep this site running. Only products I myself would or do use are recommended.
If you’re new to the sourdough world, welcome! If you want to get started, check out this post on creating a sourdough starter from scratch. Either way, I also suggest this post about maintaining a sourdough starter (because you’re now in it for the long haul—yay!).
Even the most experienced bakers can have problems with their sourdough. But the good news is a starter is usually pretty hard to kill. So, here are all of my tips and troubleshooting suggestions based on my years of experience from my time being immersed in the sourdough community.

Common problems and questions
My starter is sluggish (taking too long to double)
Feed at a lower hydration
While I generally suggest feeding a starter at 100% hydration (so equal parts flour and water), I actually found that, early on, starters will have better luck doubling in 12 hours or less (and passing the float test—usually these two things coincide) if you give them a little bit more flour than water. There’s no exact ratio that’s perfect for this, so you can experiment with percentages. At the time I tried this, I did 20g starter, 40g flour, and 35g water. I did this for a few months and then switched back to 100% hydration once my starter was predictable.
Feed more often
If you’ve forgotten to feed it, you may need to make up for this by feeding every 12 hours for a couple days. Or, if it’s been in the fridge, it may need to be fed every 12 hours to perk it back up. (It will perk up eventually, but it can take several days, which makes the fridge method less appealing.)
Keep it warmer
Part of what makes a starter rise and become bubbly is the yeast. Yeast will become dormant when kept in colder temperatures. If your house is particularly warm (or if you keep your starter in the fridge), it could be sluggish. Try keeping it somewhere warm. I will keep mine in the oven (turned off) if it’s particularly cold. If I want to speed up its rise time, I’ll turn the oven light on, but not as a regular practice.
Feed it all white flour
I think of this like carbo-loading before a race. You get a burst of energy from simple carbs and process whole grains more slowly. Since a starter is a living thing (yeast and bacteria), it follows roughly the same rule. So, if you’re feeding it half rye or whole grain or something similar, it will take longer to eat through that flour and create bubbles and rise. If you’re doing all the right things and it’s still taking too long to rise, try using more—or all—white flour (I use all-purpose, but bread flour works, too).
I forgot to feed my starter
Same, girl, same. In fact, it wasn’t until a couple years in that I got really good at feeding my starter regularly. I have an evening routine of making tea and prepping lunch for the next day, so I just feed my starter at the same time since the kettle is already on. However, until the last year or so, I’d forget to feed it quite regularly. It wasn’t good for my starter, and I noticed a distinct improvement when I created my daily routine of feeding it.
One unexpected benefit from skipping a feed is that your starter will become more sour (see below for more sour-inducing tips). However, this can’t be done regularly or it will become sluggish, which leads to loaves that don’t rise well and don’t have any oven spring (which we want for a tall, fluffy loaf).
How do I make my starter more sour?
Some of that classic sour taste comes with age. Still, there are a few things you can try to help the bacteria thrive, which will produce more acetic acid, making your starter more sour.
Rye flour. I’ve tried whole wheat, spelt, light rye, and dark rye. I’ve had the best luck with either light or dark rye in creating a more sour taste. You can experiment with your starter, as it may react better to a different whole grain flour.
More oxygen. Oxygen helps the bacteria to thrive. I like to open my starter a few times a day and smell it, which helps me know how sour it smells and if I need to troubleshoot it. I know others who stir theirs once or twice a day (try to get it all off of the spoon when you do this, though, so as not to throw off your weights). This incorporates more air into it and helps it produce more of that sour flavor.
Feed it less often. The more a sourdough has to work, the more it produces that acetic acid. I don’t recommend intentionally skipping feeds on a regular basis unless you know what you’re doing. However, I did spend some time stretching the time between feeds with great success. I would feed it every 36 hours on the weekend (so that I didn’t have to do a morning feed on a work day). After a few months of trying this, I noticed my starter was much more sour. Additionally, I’ve forgotten feeds entirely over the years, going up to 72 hours between feeds. Although not ideal, if done on occasion this will also add to the sour flavor. Once a starter is more mature (as in, at least a few years old), you can experiment with skipping feeds to see if it responds well (but always have a backup just in case!).
Feed it less food. This one is similar to the tip above, but without the risk that you go far too long between feeds. If you feed at a higher ratio (I do 1:4:4), you could drop that a bit and see if it creates a more sour flavor.
Feed at a lower hydration. Rather than feed it equal parts flour and water, you can experiment with lower levels of water. Similar to extending the time between feeds, this will encourage it to produce more acetic acid. The exact amounts are up to you, but I’ve had luck with 20g starter, 40g flour, and 35g water (or 1:2:1.75). Once my starter began needing more food than a 1:2:2 ratio, I never struggled with a sour taste and was fine going back to feeding it at 100% hydration.
As for the loaf itself, one helpful practice is proofing it in the fridge (this is the step after you’ve shaped it and right before you bake it). This slows the yeast from rising while still allowing the sour bacteria to develop and create that sour taste.
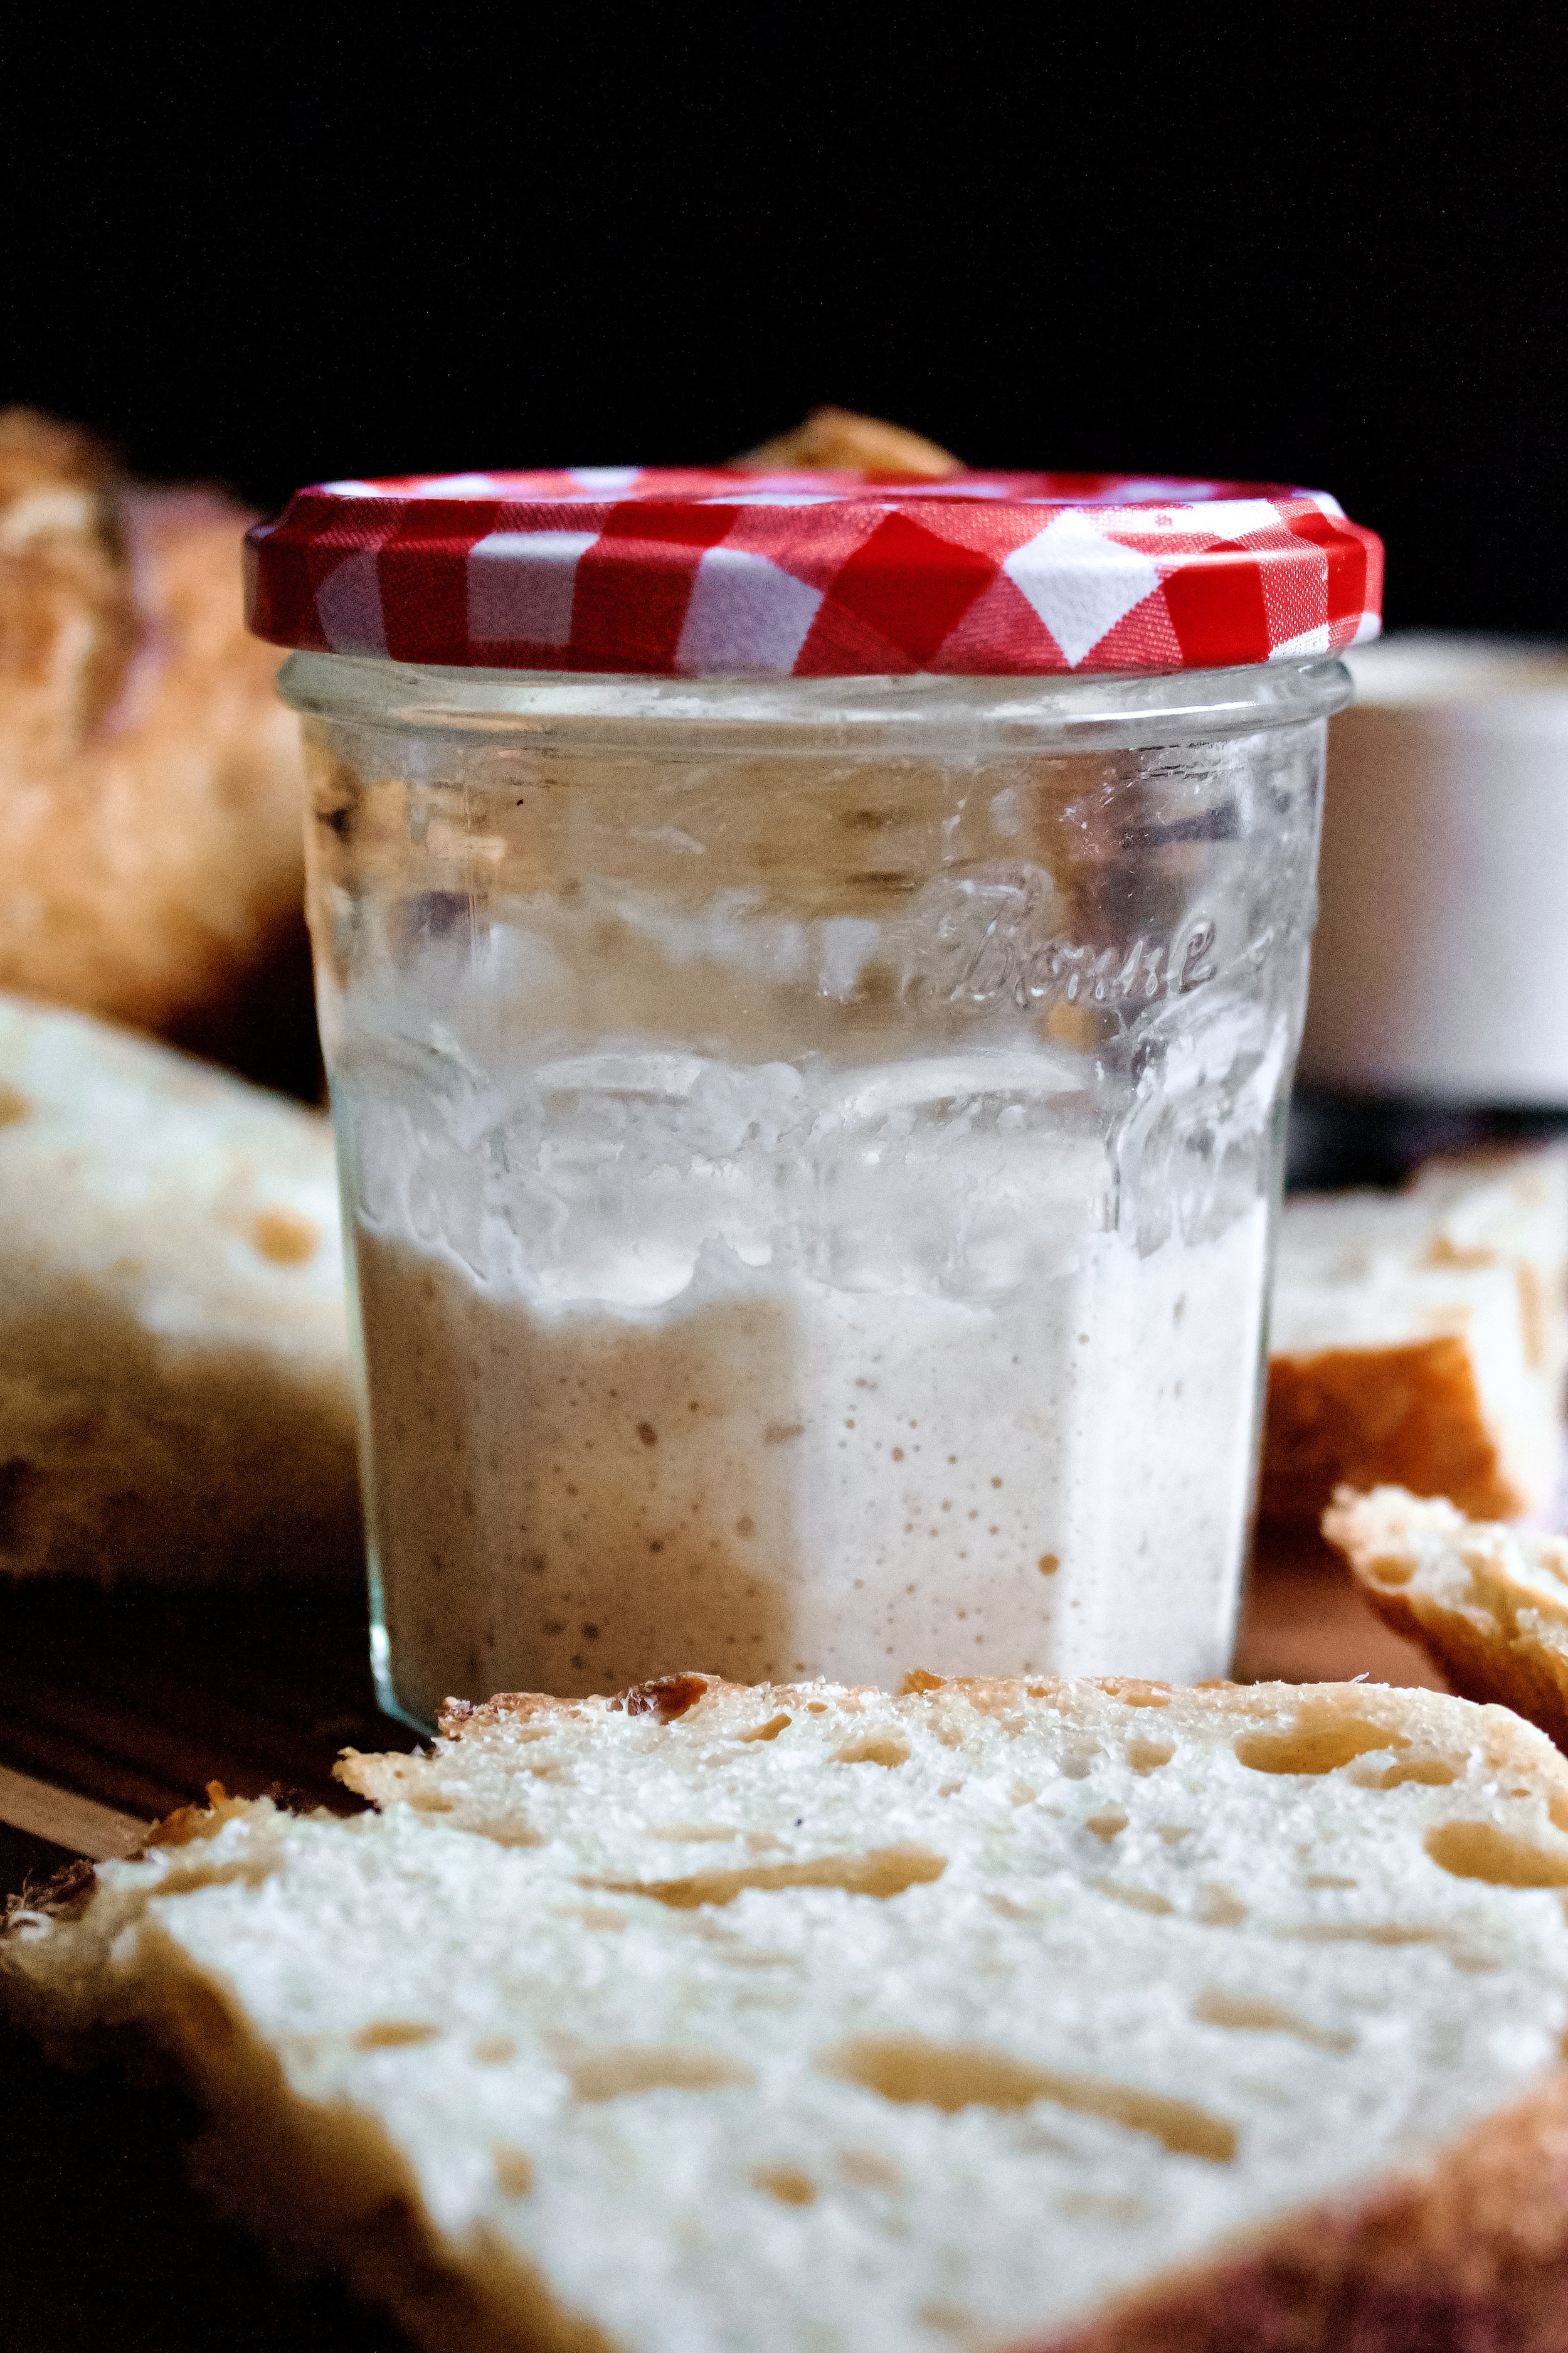
Should my starter be like liquid?
This varies by starter. Age as well as the type of flour you feed it play a big role in how liquid-y your starter will be. Also the consistency will change throughout the daily cycle of a starter. Mine is somewhat liquid-y when I first feed it then more so as it bubbles. However, it wasn’t like this when it was young. I also notice it returns to a stiffer consistency when I keep it in the fridge. As long as your starter is rising regularly and can pass the float test and make a good loaf of bread, its exact consistency isn’t important.

My starter smells like vinegar (or bananas)
Both smells are entirely normal. In fact, starter should take on a somewhat acidic smell by the time it’s ready for its next feeding. Likewise, refrigerated starters tend to take on a fruity smell (at least, in my experience). The ambient temperature of your counter or fridge will impact the smell, along with the natural bacteria in the air, the water you use, and the type of flour. Vinegar and banana smells in particular are very common and just mean your starter is working! I’ve read that just about every weird smell out there is normal and just reflects the type of sourdough you have going (again, local climate, water, flour).
My starter smells rotten
You’d be surprised the wide array of smells that sourdough starters can take on. Smells change over the course of the day between feeds. They are affected by what they are fed, from the type of flour to the nature of water in your town. The ambient temperature plays a roll, as does the natural bacteria in the air where you are. So, as long as you don’t see pink or orange spots/streaks/liquid or clear mold (blue or green, usually with fuzz), the weird smells most likely mean your starter is hungry. Consider feeding it more food each time or feeding it more often. And, for good measure, switch to a clean jar.
If it truly smells rotten—like, fully rancid or moldy—proceed with caution and consider doing some research into what that smell could mean. It may not mean the death of your starter, so don’t stop feeding it. However, if the smell doesn’t improve by feeding it more or switching to a clean jar, it could mean it’s time to bust out that backup (see below).
My starter has a layer of liquid on top
This is called hooch and can be a variety of colors. Early on it’s usually just a little cloudy, but older starters (or those left in the fridge too long) can have light or dark brown, grey, or slightly green hooch. I’ve heard of it looking a little purple, too. As long as it is liquid and not fuzzy, it’s nothing to worry about. In fact, it actually helps make your starter more sour. You can drain it off, but I prefer to mix mine back in. One, this adds to the sour flavor. Two, this helps me avoid throwing off the hydration because that hooch came from the water in the starter.
Hooch, in my experience, is much more likely to develop if you keep your starter in the fridge. It’s not a problem, but it could indicate that you need to feed it more often (or give it more food per feeding). The only time I’ve seen it since switching to the counter is when I forgot to feed my starter for two days. Like, missed two whole feedings. Oops. (To avoid this, I now move my starter to the fridge if I know I’ll be too busy to feed it for a few days.)
If you want to avoid hooch, be sure to have a routine in place so you don’t forget feedings. If hooch develops without any missed feedings, this could indicate your starter needs more food in general: either feed it more often or give it more food per feeding. For the second method, try going up in your feeding ratio. For example, if you do a classic 1:2:2 (1 part starter to 2 parts flour and 2 parts water), move on to 1:3:3.
My starter has dry or crusty patches
This is oxidation and happens mostly when your starter is exposed to too much air. This is why I keep my starter in an old jam jar with the lid—which no longer forms an airtight seal—screwed on. For years I just set the lid on top, but I found that my starter actually got more sour when I “sealed” it (again, this lid doesn’t truly seal). To avoid oxidation, make sure your starter isn’t exposed to too much air. This will vary by climate, as humid areas are less prone to drying out your starter and you can do the classic cloth with a rubber band method.
Another reason you might see dry patches are that your starter is overly hungry (either you forgot a feed or it’s ready for more food per feeding) and this is the beginning of hooch forming. If you see dry patches along with some liquid on top, you’re seeing the separation of water and flour in the formation of hooch. See the note above for how to handle this.
Finally, this could be just bits of dried starter from the sides of the jar or the lid falling into your starter and may mean you need to clean your jar. I have three jam jars that I rotate between, usually once a week. This is ideal, because I just remove a set amount of starter at each feeding and don’t carefully measure how much is left. Once a week, I pour a set amount of starter (10g for me) into a clean jar and feed it (40g flour, 40g water). This ensures my ratios don’t get thrown off over time.
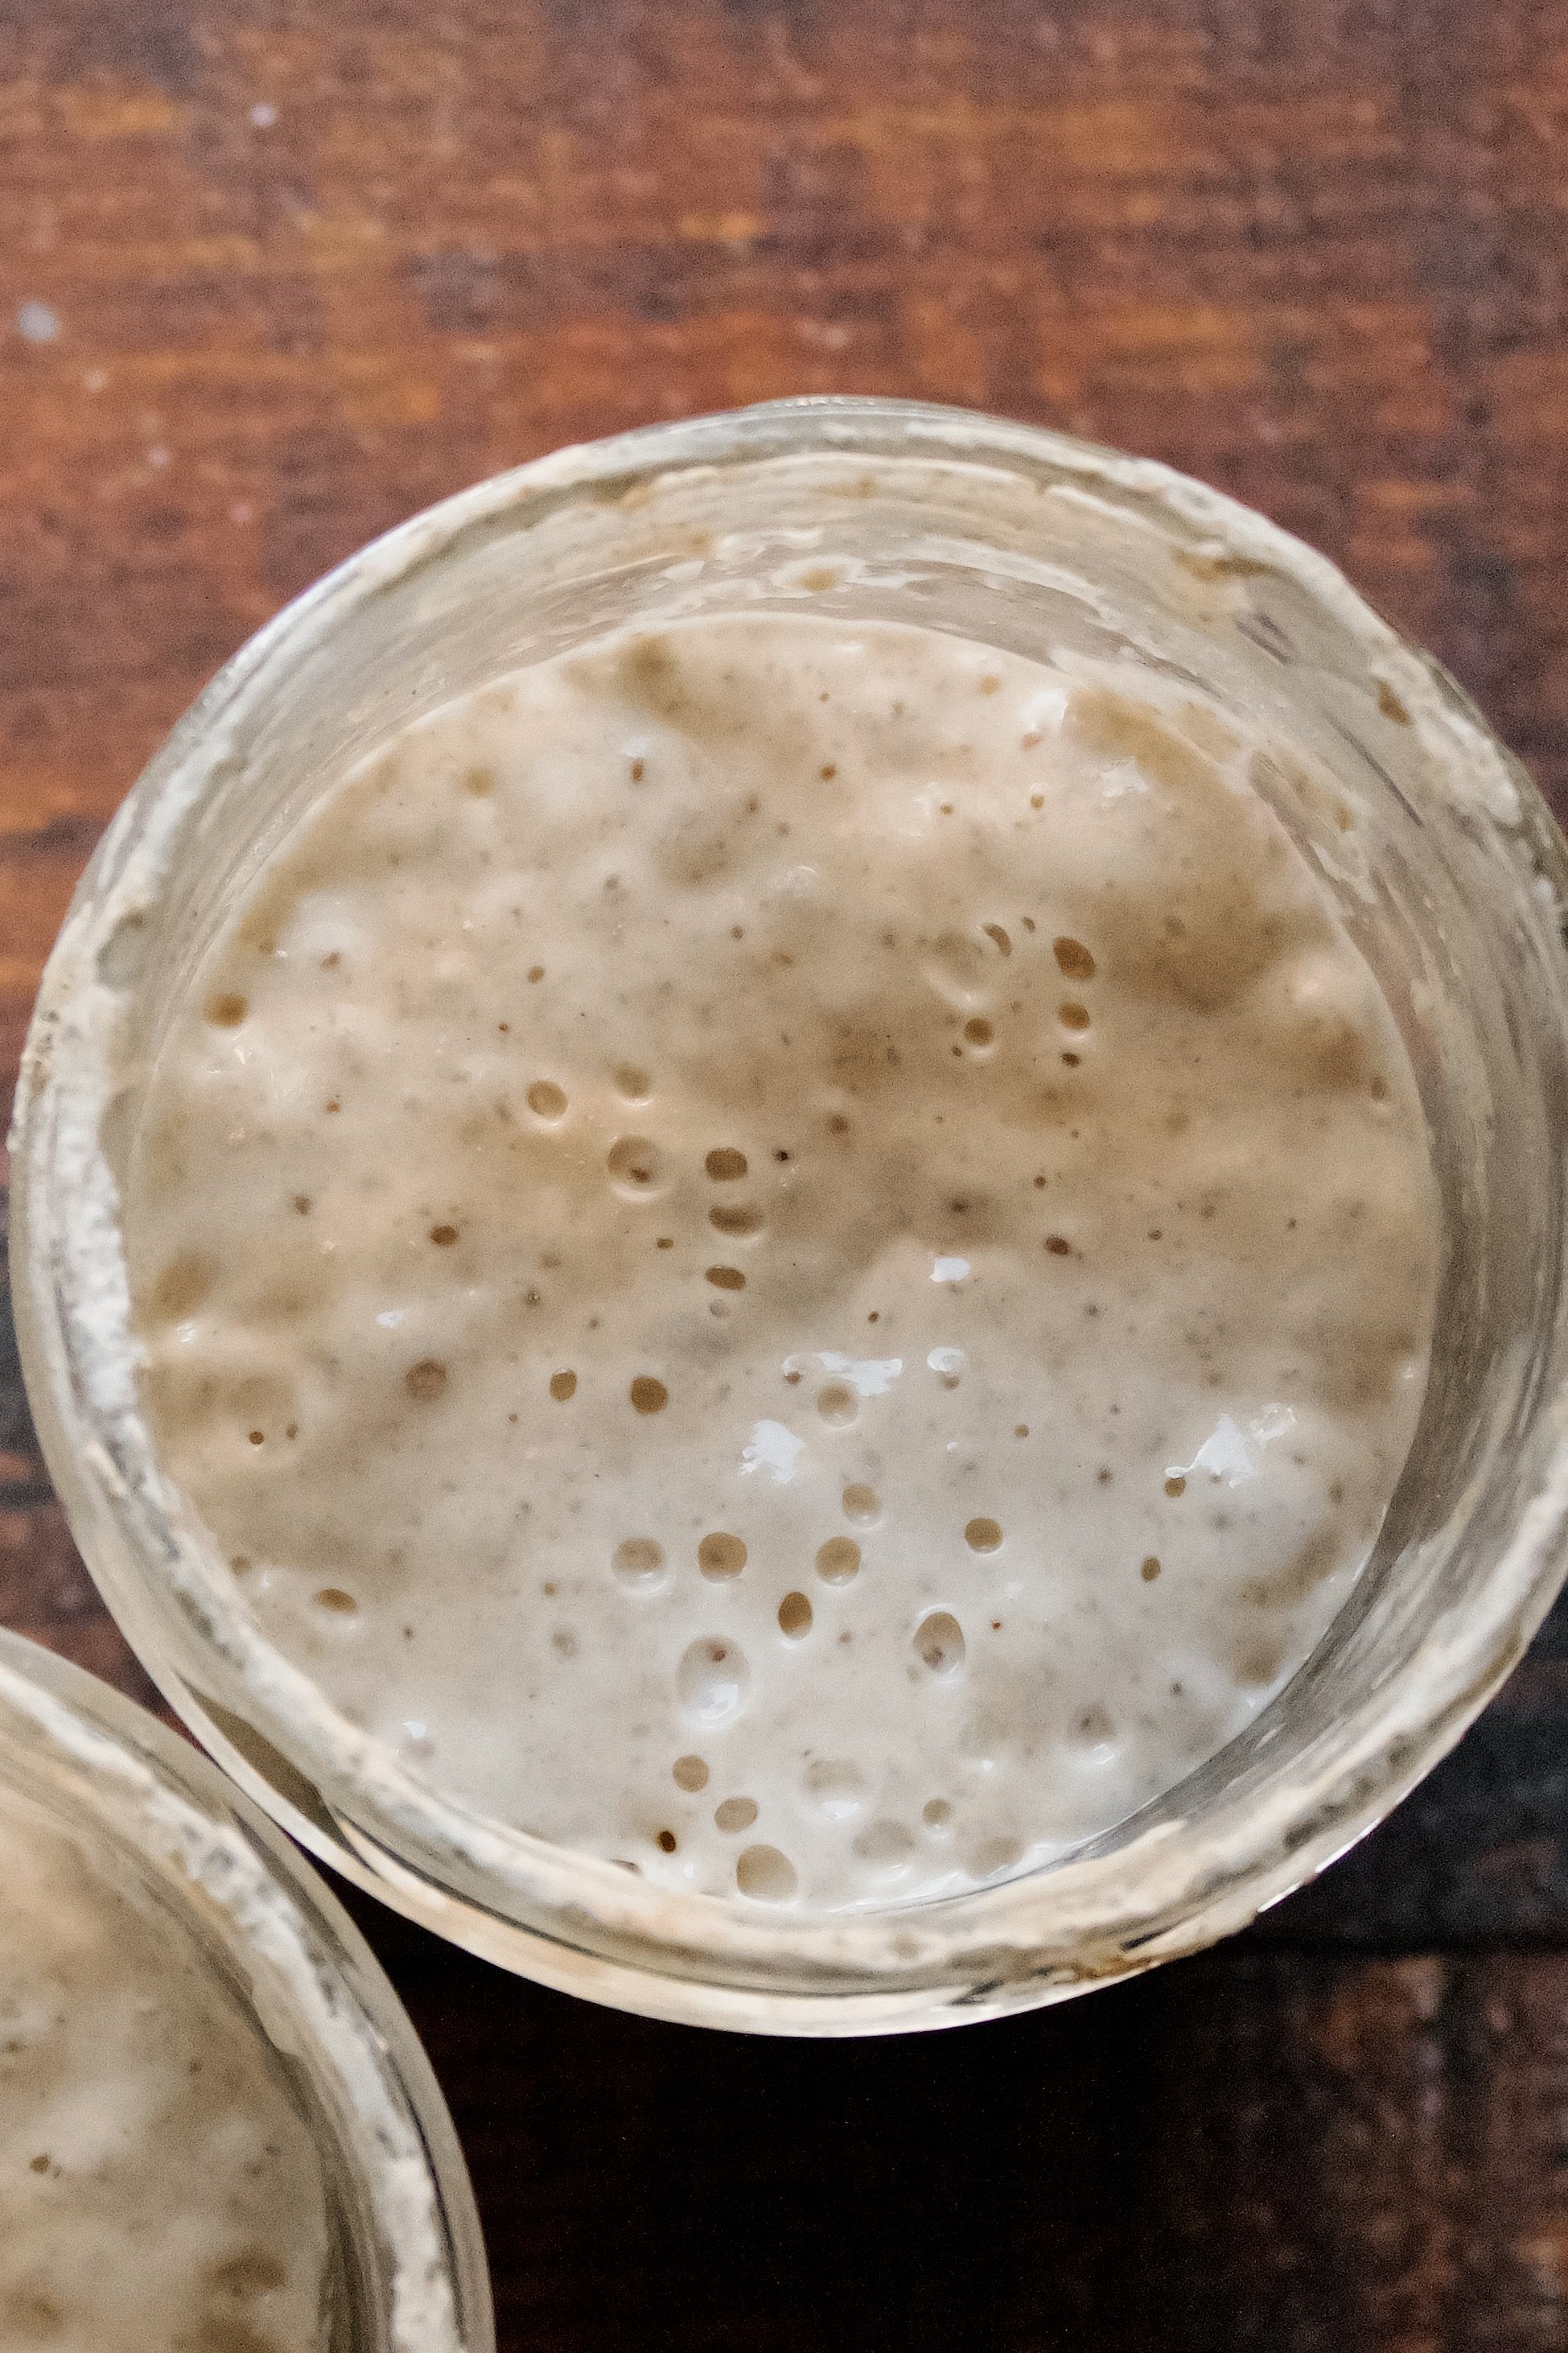
My starter is rising too fast
This is actually a good problem! It means your starter is mature and very active. A truly good starter will double in 6-8 hours when given a 1:2:2 feeding. If you find your starter is rising so fast that it has sunk back down to its starting point by the time you feed it, it needs more food. You can either feed it twice a day or increase the ratio to 1:3:3 or even 1:4:4, depending on your starter. For more information on increasing the amount you feed it, see this post about maintaining a sourdough starter.
If you’re unsure how far it’s sinking back down, wrap a rubber band around the jar after feeding it to mark the starting point.
My sourdough tools
Here are my must-have tools I use for making sourdough starter. Affiliate links provided.

Make a starter backup
Starters are pretty resilient. I’ve forgotten so many feeds, seen just about every color of hooch develop on it, and had it produce some interesting smells. Luckily, I haven’t killed mine…yet. But sometimes, things happen. One of my first starters got baked, because I forgot I was keeping it in the oven for a more ideal ambient temperature. Starters can also develop mold, which means it’s done for. So it’s good to have a backup in case the worst happens.
The following methods can also be used if you need a break from your starter (vacation, life is too busy, you’re tired of sourdough, etc.) However, this cannot be done if your starter is only a few months old. Only mature starters can be dried or frozen. “Mature” means it has been reliably usable to make bread for at least a few months.
Drying method:
This is the “preferred” method because less yeast dies and it can last for years.
Take part of your discard and place in a second jar (unless you are putting your main starter on hold, then just feed it like normal for this step)
Feed it like normal then let it rise until bubbly throughout.
Spread it on one or two large pieces of parchment, making it as thin as possible.
Let it dry at room temperature until completely dry and hardened. This could take anywhere from one day to a week, depending on the weather—climate really does affect sourdough starter!
Once dry, peel off from the parchment and break into tiny pieces. Place these in a very airtight jar and store at room temperature.
To bring it back to life, take 40g worth of sourdough pieces and place in a jar. Cover with 80g of 80F/27C water. Let sit, stirring occasionally, until they have fully dissolved into the water (this will take a few hours). Then stir in 80g flour. Continue discarding 160g and feeding 80g water, 80g flour every 12-24 hours until it is bubbly and active again.
The exact weights you use are up to you, just be sure you use a 1:2:2 ratio until it’s active again then resume your normal feeding ratios.
Freezer method:
I discovered, by accident—when our fridge when crazy and froze everything, that you can freeze starter and it’ll come back to life just fine.
Take part of your discard and place in a second jar (unless you are putting your main starter on hold, then just feed it like normal for this step)
Feed it like normal then let it rise until bubbly throughout.
Pour it into an ice cube tray or similar vessel that it won’t stick to (silicone molds are great). Ideally, weigh each portion as you add it so each portion is equal and so you know how much to feed it when you defrost it.
Freeze for a few hours, until solid.
Pop each piece out and place in a freezer-safe baggie, removing all excess air. Label the baggie with the weight of each portion, because trust me, it’s easy to forget.
Freeze up to 1 year.
To bring it back to life, simply let a piece thaw in the fridge until liquid. Feed it every 12-24 hours until it’s bubbly and active again.
My backup lives in my freezer because that method takes less time and I replace it every few months. I don’t want it to lack all of the aging that my main starter has been doing while the backup sat in the freezer. Older starters taste better, and I worked hard for that!

When to call it quits
There are basically only two things that can damage a sourdough starter beyond repair. The first is high heat. A starter cannot withstand high temperatures. Ideally, keep it around 70F/21C. If there’s a heat wave and your a/c breaks, it might be good to keep your starter in the fridge. Or, if you’re storing it in the oven to help it rise faster or because your house is cold, be VERY careful. Have a system in place so you don’t forget it’s in there. I destroyed my first working starter by preheating the oven with the starter inside.
The second is exposure to fatal materials. Accidentally getting something like food particles in your starter can potentially kill it. Or, not keeping the jar clean can, over time, lead to mold. And sometimes, you don’t know what happened or got in there, but you know it’s rotten or growing mold. If your starter has visible mold, usually with fuzz, or has pink or orange spots (not just dry specks or hooch), it’s probably a goner and must be thrown out.
That’s why keeping a backup is so important! You’ll never have to worry that all your hard work—and all of that amazing depth of flavor you’ve built up over time—is lost.