
Maintaining a Sourdough Starter
A simple method for maintaining a thriving sourdough starter that results in minimal discard and waste. Bake consistent, reliably delicious sourdough loaves with a starter that requires minimal effort!
This post may contain affiliate links from which, at no additional cost to you, I may earn a small commission to keep this site running. Only products I myself would or do use are recommended.
I recently shared all about creating a sourdough starter from scratch. However, that’s only the first step in the long life of a starter. Whether you made yours yourself or got it from someone (both methods are perfectly fine!), the most important thing is to care for it properly to keep it thriving.
In particular, this includes understanding how different methods, such as how often or how much you feed it or where you store it, will impact the starter.
So, here’s both my simple maintenance recipe as well as all I’ve learned about keeping my starter healthy and thriving.
Once a starter is active (passes the float test—see tips at the bottom), you enter maintenance mode, which just means feeding it regularly. You’ll find varying suggestions on what to feed it, how much to feed it, and when to feed it. None of them are right or wrong, per se, just what works for that person/starter.
My suggestion is to find a maintenance plan that works best for you (and your starter).
Ingredients and equipment
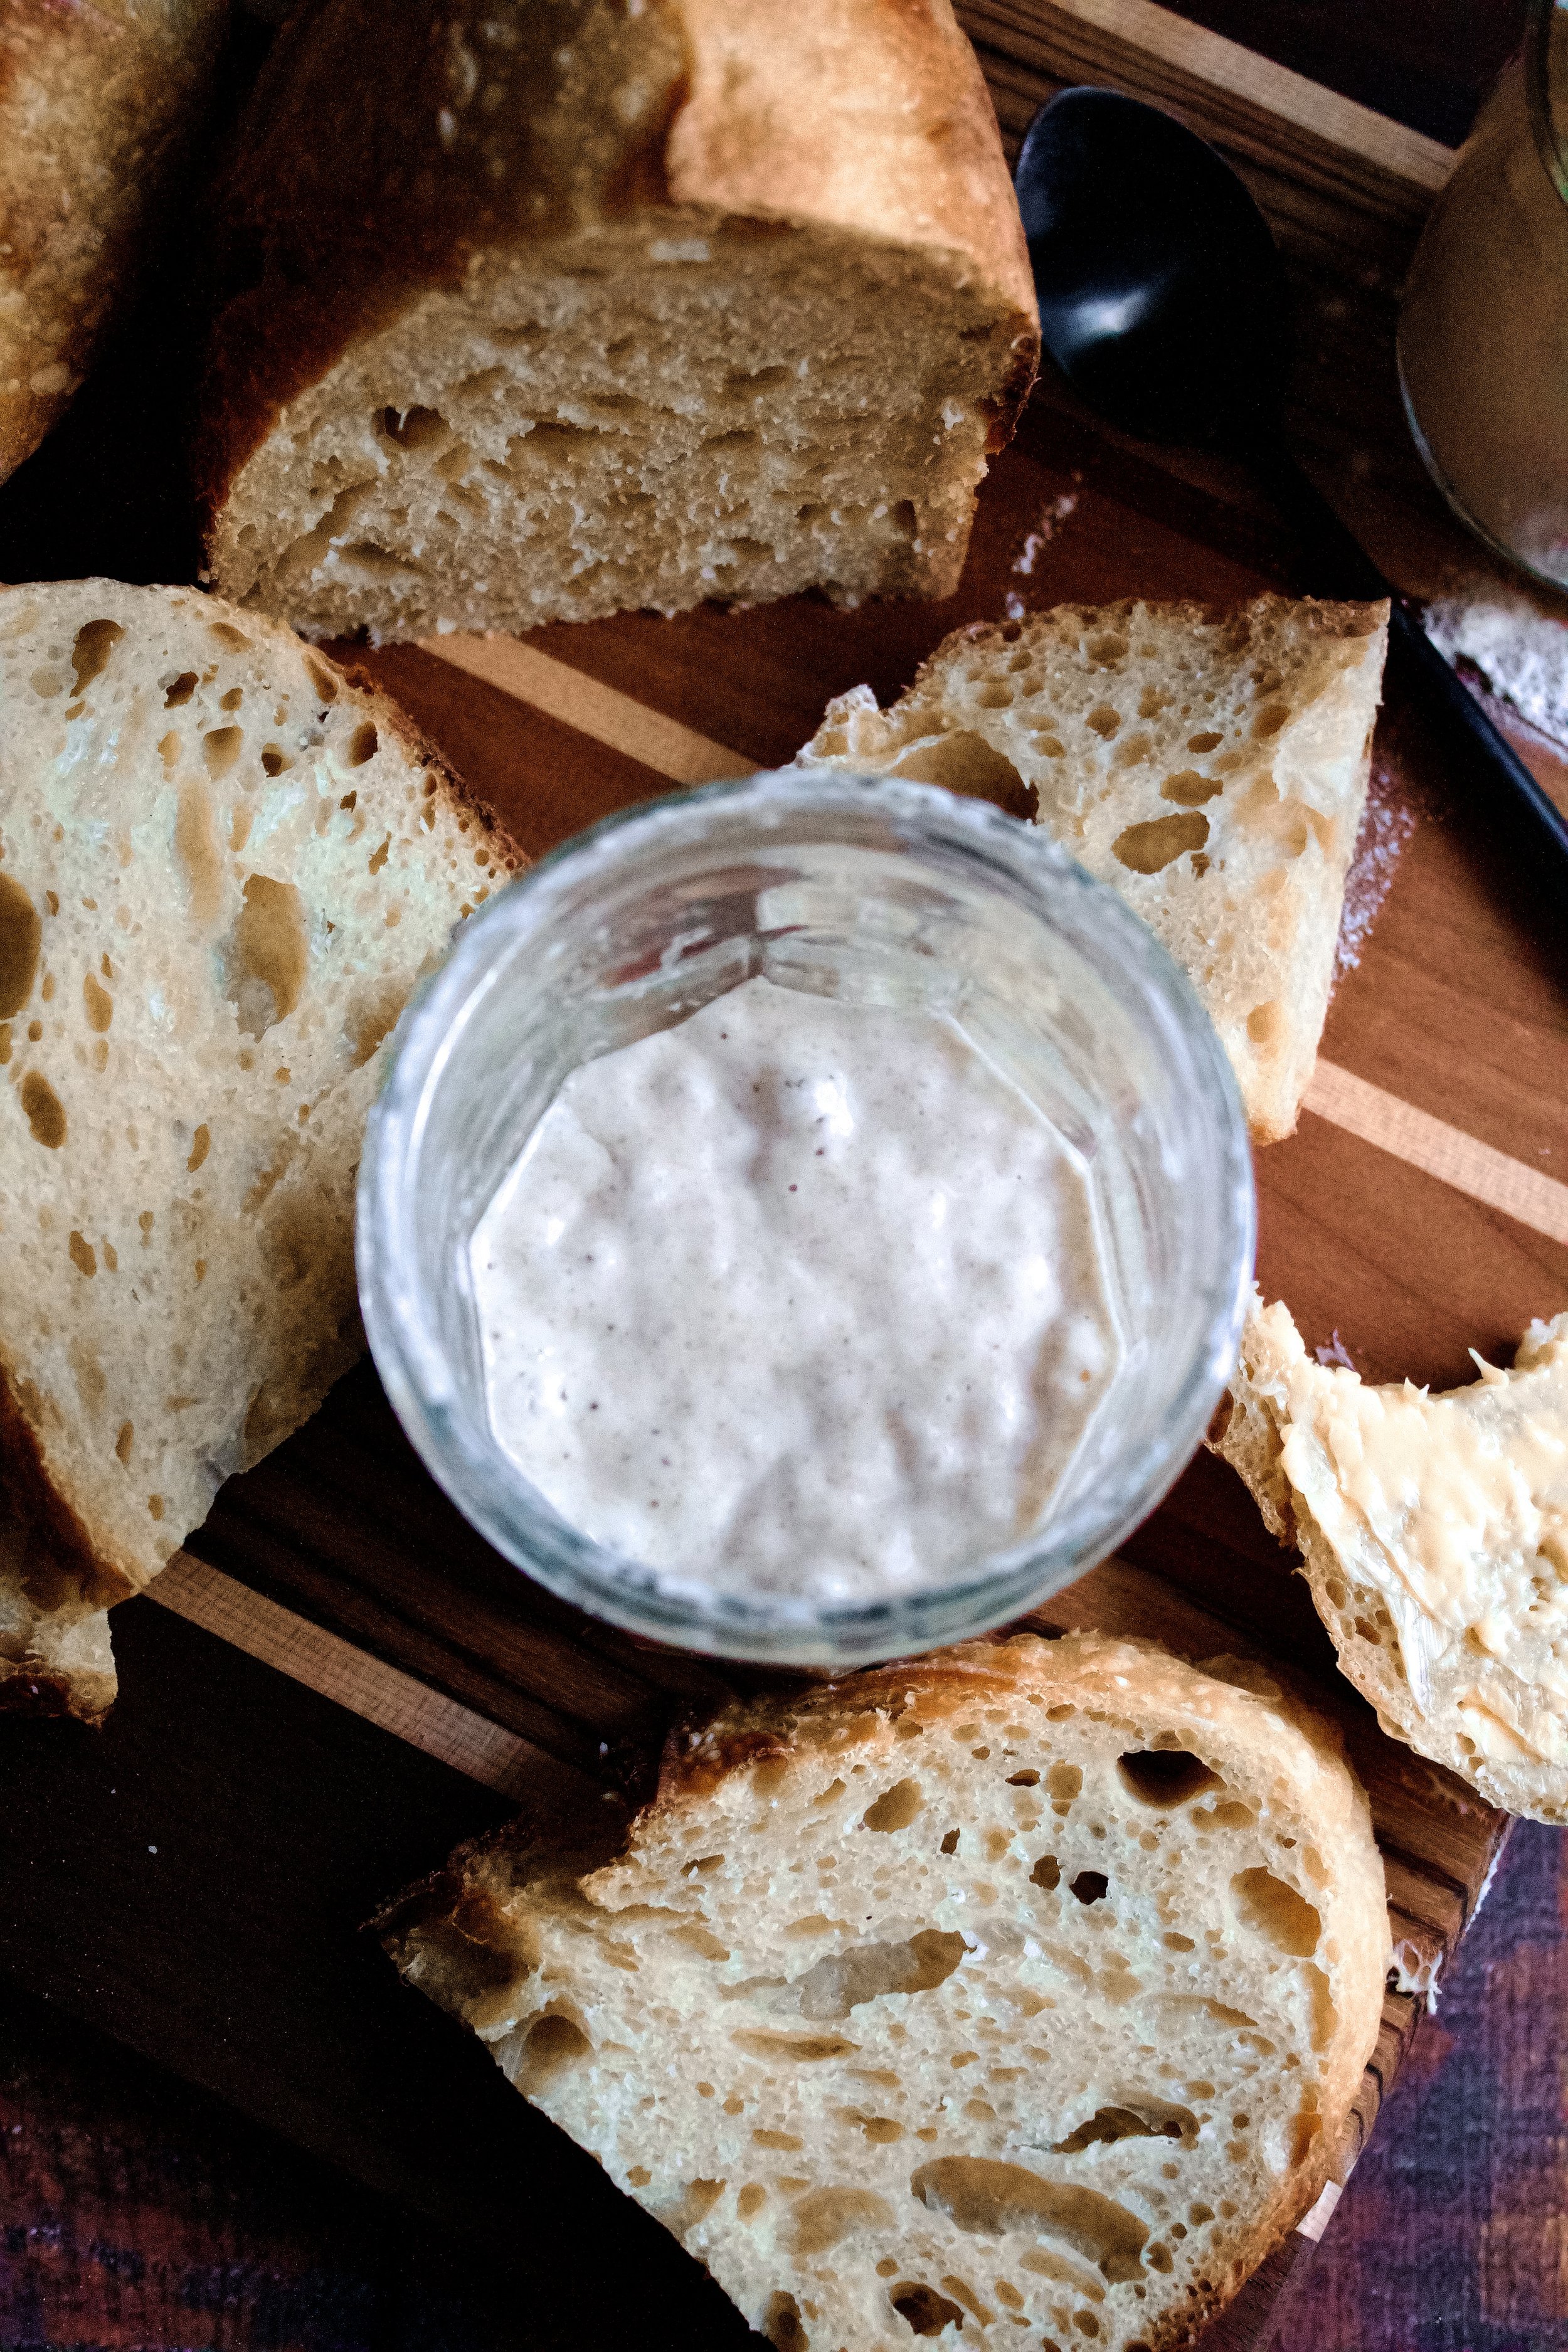
Starter. After day one of the from-scratch method, every starter recipe includes using a small amount of starter and mixing it with flour and water. You can either toss the discard (the part you didn’t need) or save it to use in a discard recipe. Discard can be kept in a jar in the fridge up to 2 weeks. I like to add to mine for 2 weeks then use it or toss it.
Flour. For a brand new starter, I suggest half all-purpose flour and half rye flour (dark or light). This will help it become active (meaning usable) much faster. You could also sub spelt or whole wheat for the rye (or one you’ve had recommended to you, but i can only vouch for these three). Later on, feel free to experiment with types and amounts of flours. I typically do about 85% all-purpose and 15% rye or whole wheat because it works but is still cost-effective.
Water. I suggest filtered water, but tap will work if it’s really clean. It must be warm—about 80F/27C. Never use higher than 90F/32C.
Kitchen scale. Be sure it’s reliable. I highly suggest weighing everything for sourdough, as measuring cups can pack in the flour and cause your ratios to be wildly off. Until you’re experienced, it’s best to carefully weigh ingredients.
Thermometer. Again, be sure it’s reliable. If you don’t have one or it breaks, you can use the boiled water method: bring 1/3 cup water to a boil and add it to 2/3 cup cold water. You won’t actually need this much, but it’s easier to boil 1/3 cup water than 1/3 of the 40g we need.
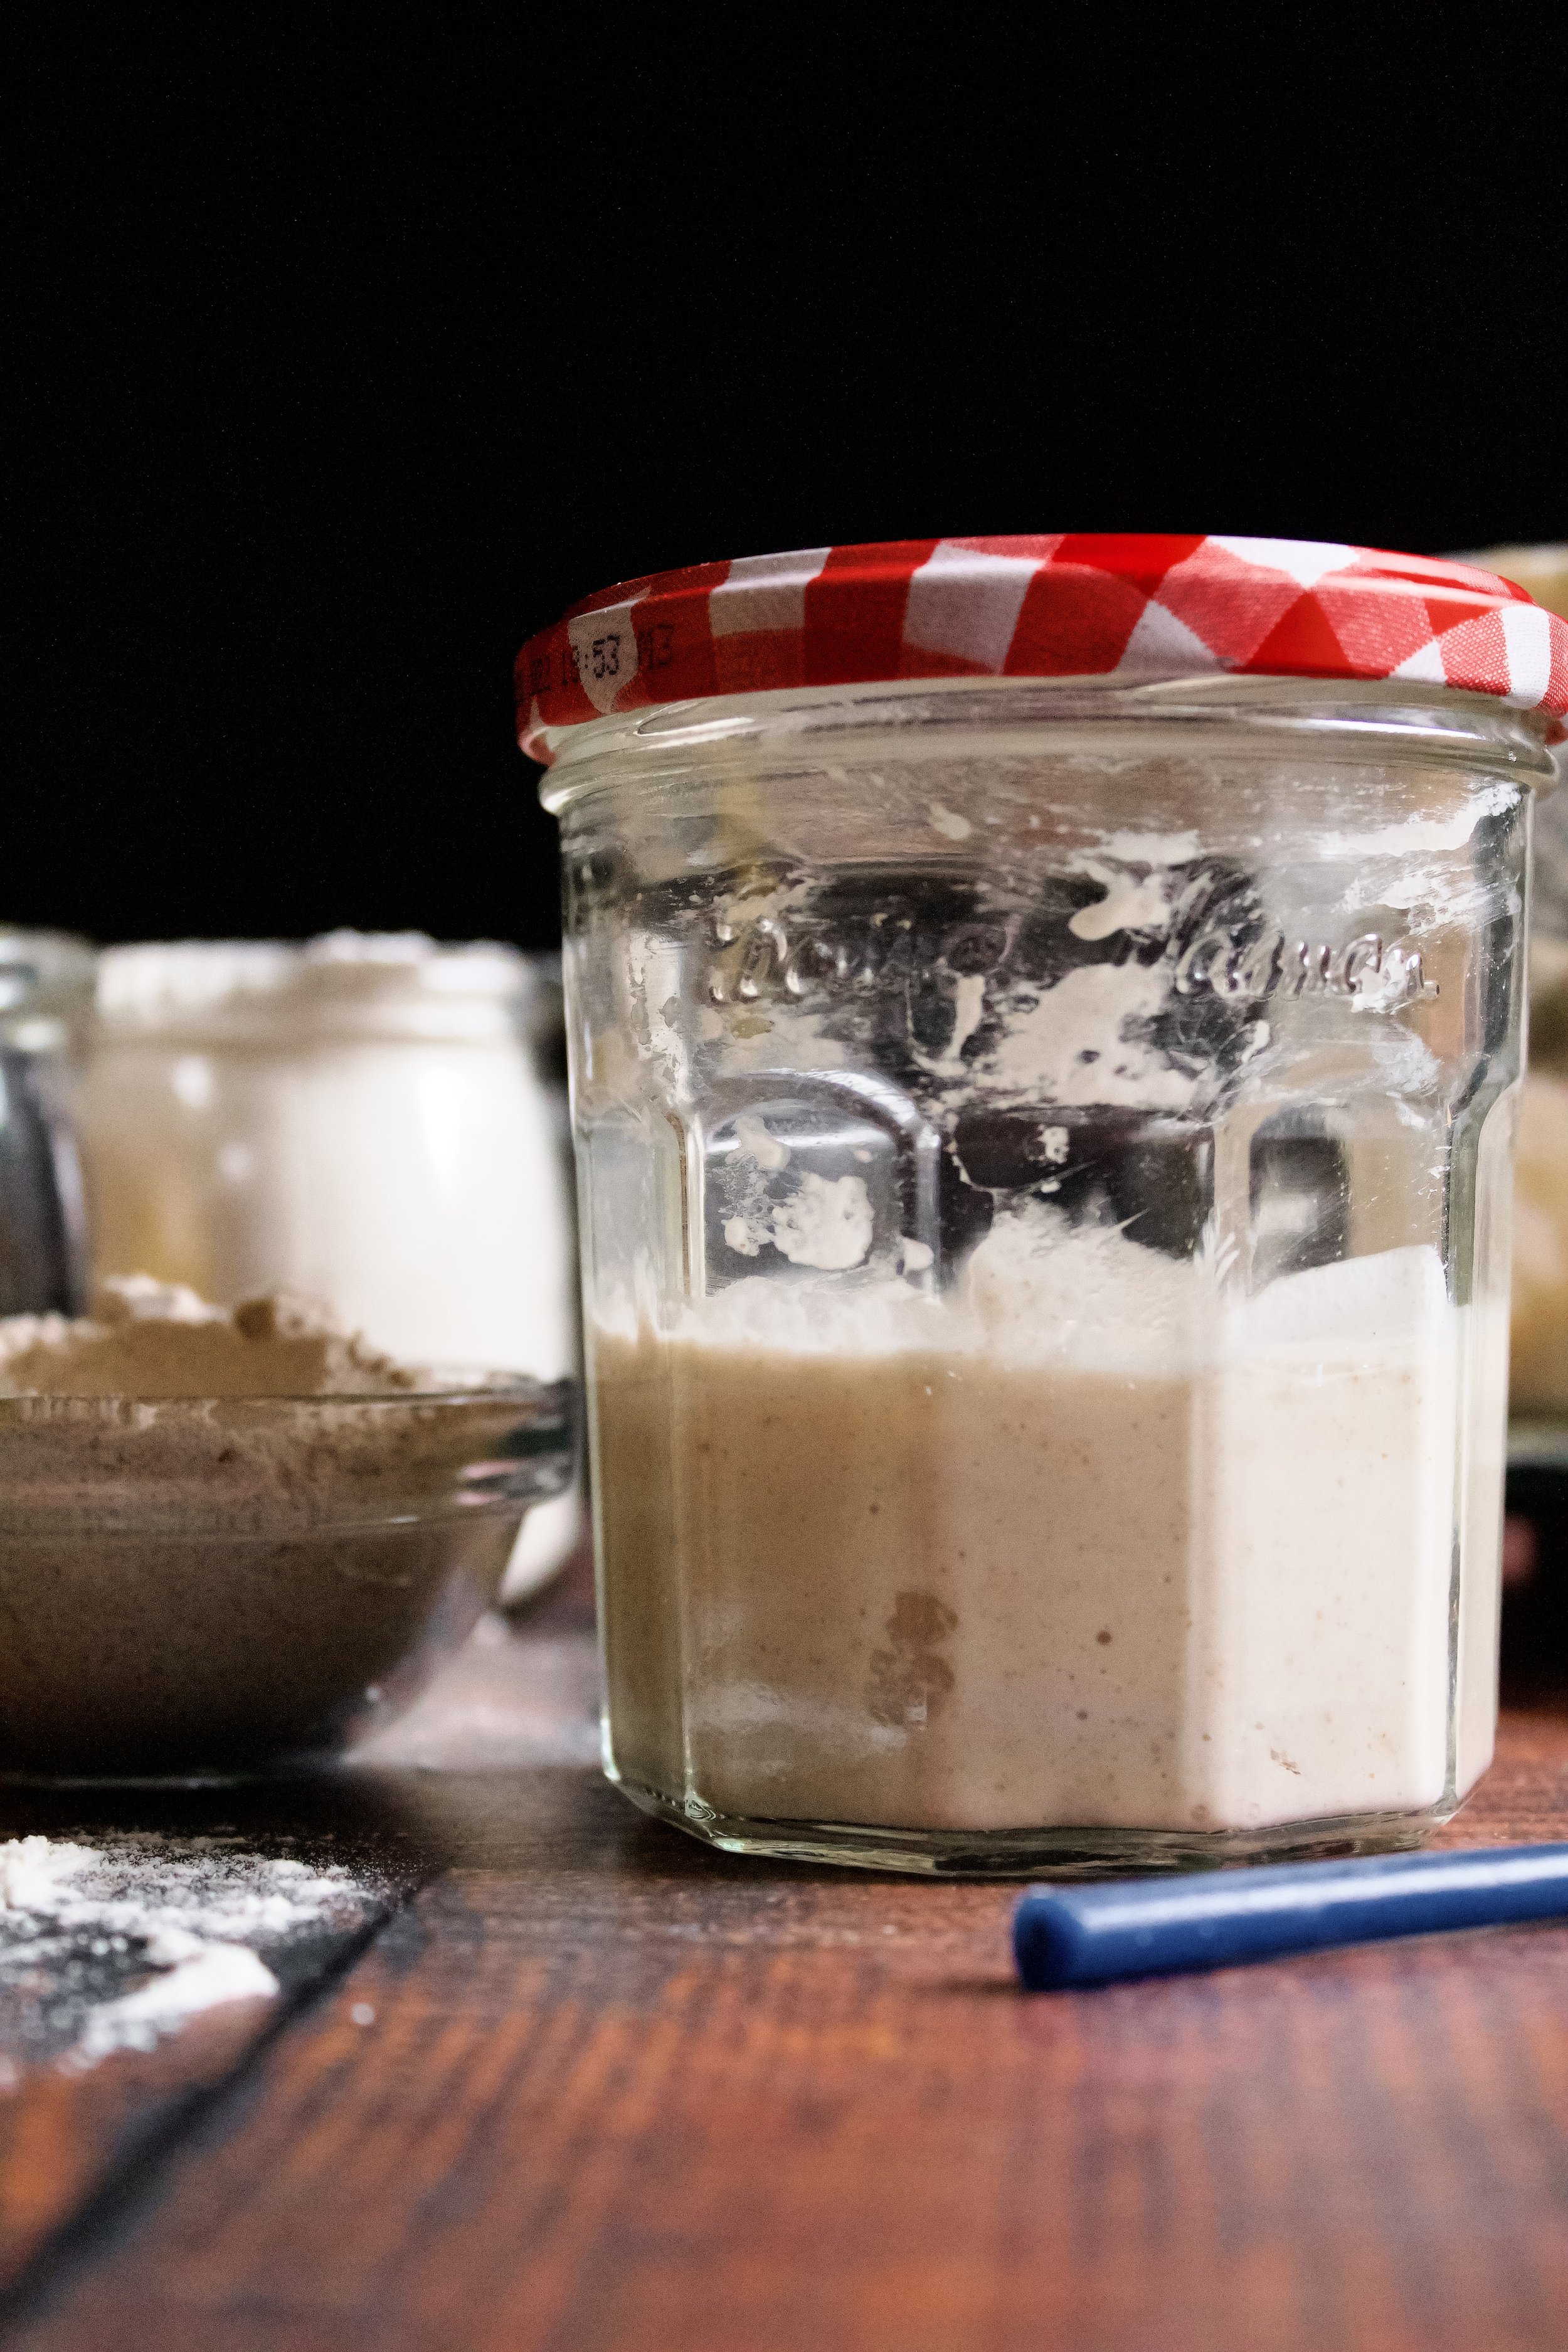
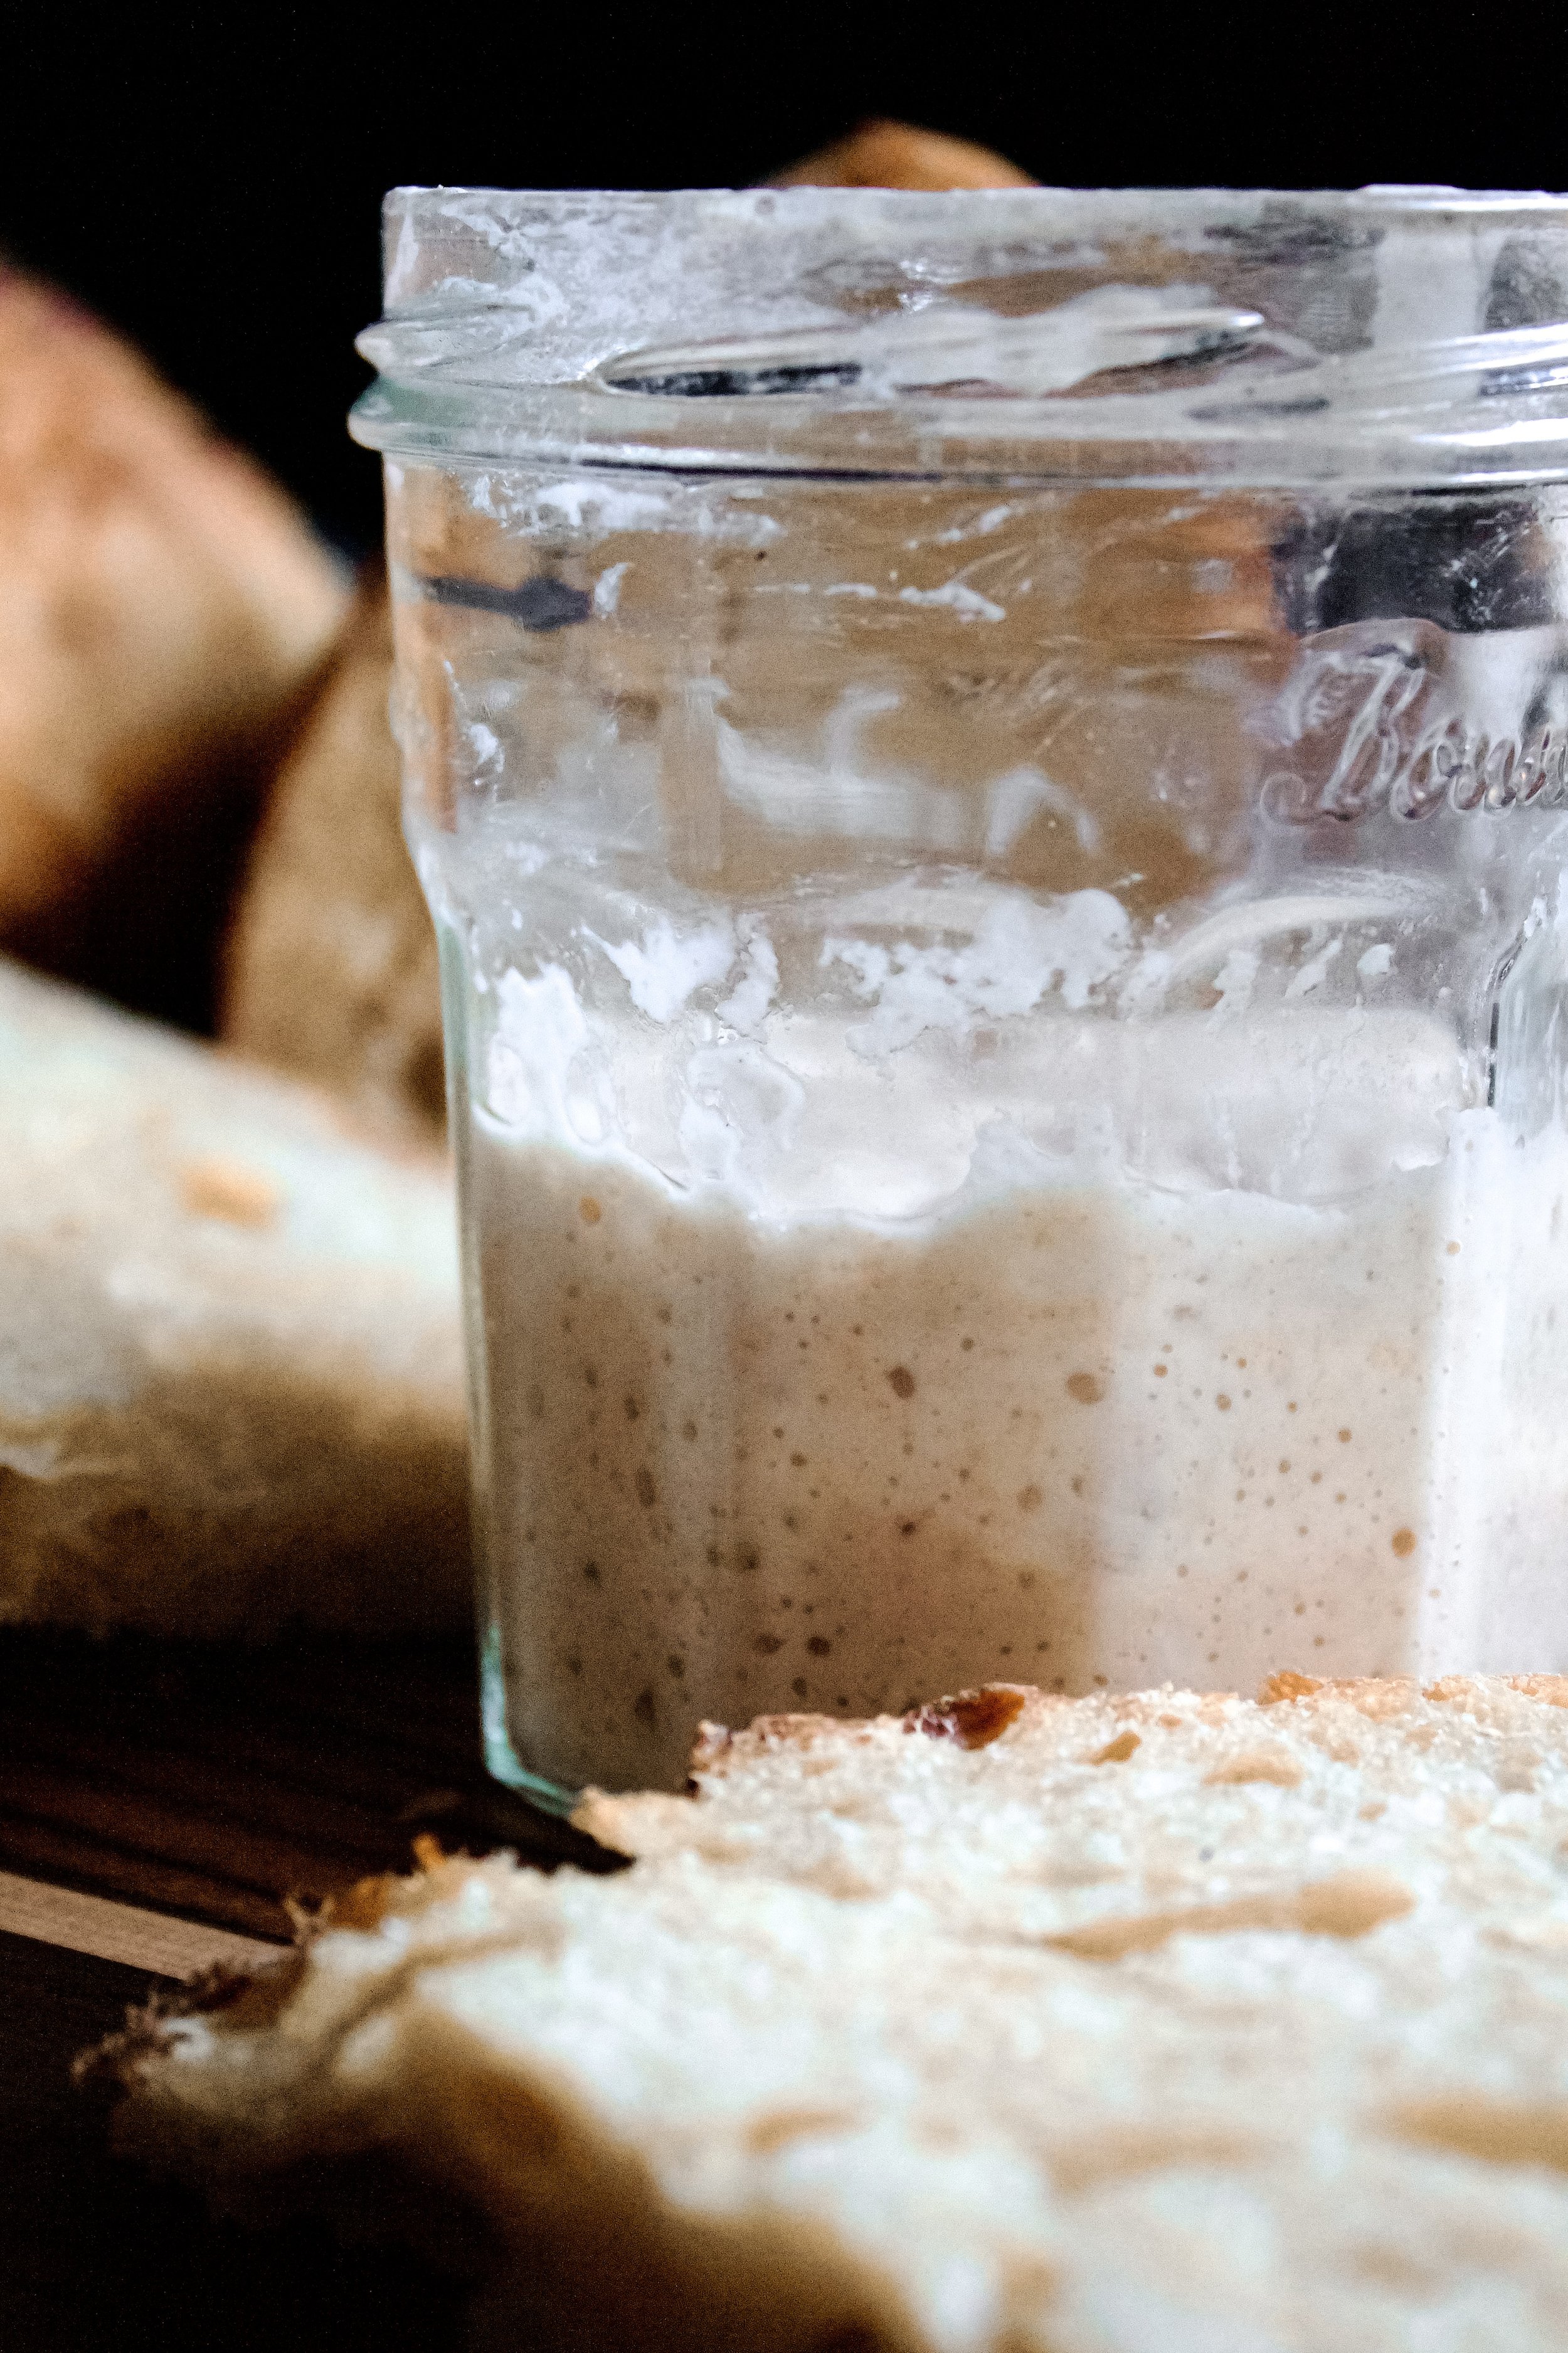
Jar with lid. You’ll need a clear, straight-ish jar with a wide opening so you can stir easily. I suggest one with a lid that you can just loosely set on top. Another option is a cup with a towel set on top (you can keep it on with a rubber band), but this can be prone to drying out and will take much longer to become active. I had the best luck with a lid set on top (but not screwed on). Now that my starter is mature, I actually screw the lid on—but it’s a weak lid that doesn’t create a super tight seal anymore.
Mini spatula. This is entirely optional, but I exclusively use mini Christmas spatulas because 1) Christmas is the best and 2) they’re the easiest to mix well with and to scrape down the jar to avoid a lot of dried starter making things yucky.

How to maintain a sourdough starter
This is the simple, low-waste method I use and have had tremendous success with. The exact amounts don’t matter as much as the ratios and the routine. Consistency in feeding your starter is the key to it thriving.
1. Remove all but 20g starter. I always eyeball this, removing 80g (since my total weight each day is 100g), which theoretically leaves me with 20g. However, some of the total weight is lost each day to evaporation, drying to the sides of the jar, and getting stuck to the spoon/spatula you stirred with. To combat this, every time I make a loaf of bread (or once every 1-2 weeks), I get a clean jar and pour in 20g starter to ensure the amount “resets” at 20. Otherwise, removing 80g every day will eventually leave you with next to nothing.
Note: you can throw the discard away or save it to use in a discard recipe.
2. Add 40g filtered water that is 80F/27C. I like to mix the starter and water first, which makes the flour easier to stir in.
If you don’t have a thermometer, you can use the boiled water method mentioned in the section above.
3. Add 40g flour. I do about 30-35g all-purpose flour then add enough rye, whole wheat, or spelt to get me to 40g total flour. You can do up to half rye, whole wheat, etc., but over time this can get expensive. I also prefer the taste of this particular ratio, so feel free to play around with types and amounts of flours to find what you like.
4. Mix well. Be sure there are no pockets of dry flour, as this will slow the rising and could lead to a sluggish starter.
5. Cover loosely. I just set my lid on and don’t screw it on. This has always worked well for me, because I live in a somewhat dry climate.
6. Store at room temperature. Roughly 70F/21C is ideal for starter, but they’re resilient and can handle a little colder and a little warmer. Just know that the ambient temperature will impact how fast or slow it rises.
7. Repeat this process every day. Try to feed at roughly the same time each day. I suggest the evening, as that allows you to build a levain in the morning when the starter has reached its peak/is most active (see below for more info on levains).
If it doubles then sinks back down significantly within 24 hours, this is an indication it needs more food. See below for increasing how much or how often you feed it.


When to feed it more
One key to being a good sourdough starter parent is knowing when your starter is ready for more food. The recipe shared here is for a relatively young starter (or an older one that is fed twice a day).
When your starter begins to sink back down and lose most of its bubbles by the time you feed it, it’s ready for either more food or more frequent feeds.
While you could start feeding it twice a day, the easiest thing is to feed it more food. You do this in terms of “ratios.” The one listed above is 1:2:2 (meaning starter—flour—water, or 20:40:40). Once you can tell it needs more food, start feeding it 1:3:3 (then later on 1:4:4, etc.).
You can do this one of two ways.
Double how much water and flour you give it—but this does produce more waste. Simply reserve 20g starter and feed it 60g water and 60g flour.
Reserve less each day and continue feeding it the same small amount. To keep the math simple, I suggest 15g starter, 45g water, and 45g flour.
Because I don’t often make discard recipes, I minimize waste by using the second method. I’m still able to reserve discard over a few days and use it when I want to, but I don’t feel obligated to do this regularly when I am discarding so little. I reserve 10g starter and feed it 40g water and 40g flour (so a 1:4:4 ratio).

Starter vs. Levain
This one annoyed me when I started making sourdough because it didn’t make sense.
A levain is simply a separate, large batch of starter, fed 8-12 hours after the last feed, to be used in making your bread dough.
It’s partly about amounts:
Some recipes simply call this “active starter,” which is just a starter that has doubled in volume, has bubbles that break the surface, and can pass the float test (see below). However, if a recipe calls for 100g active starter and our whole starter only weighs 100g, you wouldn’t have enough to make your bread and reserve some starter to keep feeding.
This is why we create levains.
Timing also matters:
Another distinct step in a levain is to section off some of your starter at its peak (or can pass the float test—see below for how to do that). While it’s okay to feed it once a day, it’s usually at its peak about 8-12 hours after feeding (or sooner). An ideal levain is made when your starter is at its peak. So, it’s important to plan ahead for feeding your starter, so you have some “peak” starter to section off and use to make your levain.
While there are more things to consider in making a levain, such as how much you feed it, experimenting with different flours, and keeping it at a slightly warmer temperature to help it rise faster, it’s basically just a large batch of starter so you have enough to make a loaf of bread.

The float test
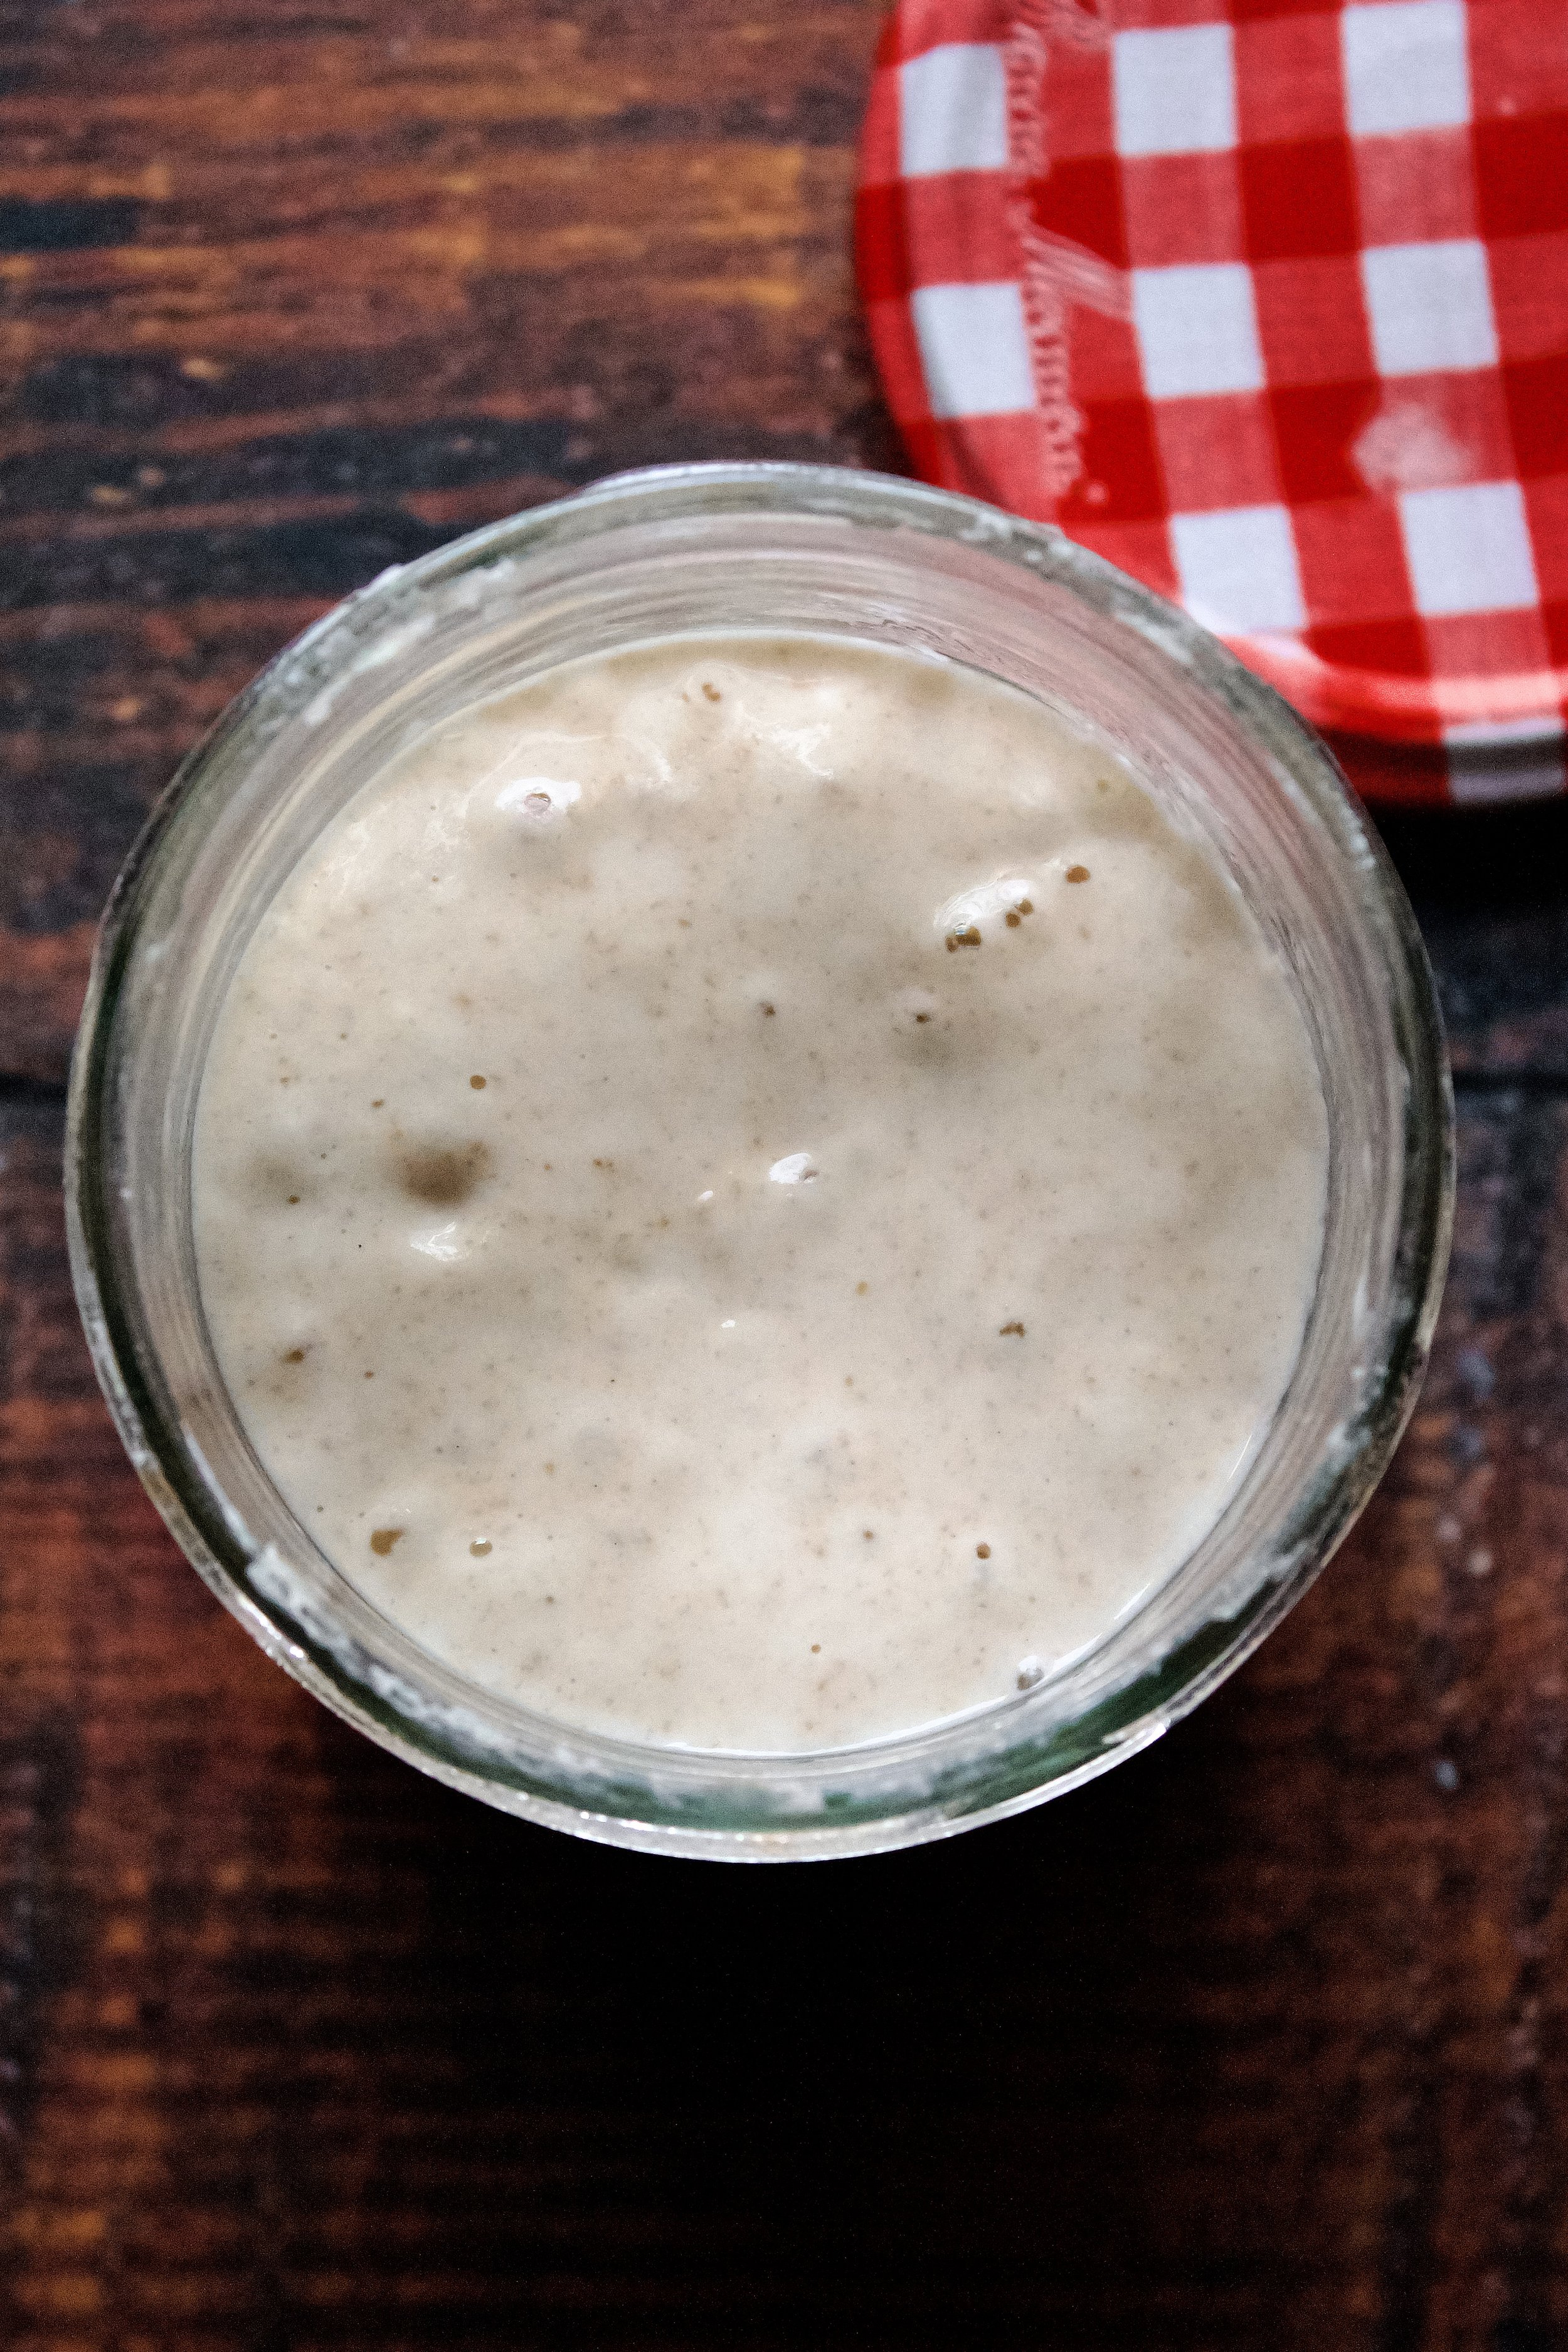
The float test is an easy way to ensure your starter is “active” or at its peak. Within 6-12 hours of feeding, it should double in volume (or more—whatever its “peak” rise is), have bubbles throughout, and have bubbles that break the surface. At this point, you can test it to be sure it’s ready for baking.
The float test: Take a small spoonful of starter. Place it in a glass of room temperature water. If it floats, it’s ready.
If it doesn’t float, it may need more time OR you missed the peak. Be sure to watch it carefully. Over time you’ll get to know your starter and its peak times.
Other issues include:
It’s too cold and needs to be in a warmer spot.
It’s been in the fridge and needs a few more feeds to be ready.
You missed some feeds and it needs some time of regular feeding (every 12-24 hours) to become active again.


Should I keep it in the fridge or on the counter?
Some people keep their starter in the fridge. This slows the yeast, meaning you only need to feed it about once a week (give or take). It’s great for when you’ll be out of town or need a break from the daily feeds, but I don’t recommend it on a permanent basis for two reasons:
One, refrigerated starters can be sluggish and less predictable (unless years old and very active). I always recommend at least one feeding 8-12 hours before you plan to build your levain, letting the starter rise at room temperature. However, this may not be enough and it may need another feed (or several) before it can pass the float test.
Two, refrigeration slows the aging of your starter. Old sourdoughs (like Boudin’s 150+ year old starter) have a stronger flavor, rise faster, and are more predictable in their rise time. Until a starter is fairly old (at least several years), permanent refrigeration won’t let it develop that classic sourdough taste.
Tips for refrigerated starters:
Screw the lid on fully
Feed once it’s bubbled throughout
If it’s feeding time (or the most convenient day for you to feed it) and the bubbles haven’t broken through the surface yet, let it sit on the counter for a few hours until it does bubble throughout.
You can feed it straight from the fridge
You can also put it straight back in the fridge after feeding, although this leads to a more sluggish starter. I suggest letting it sit out 30-60 minutes after feeding before it goes back in the fridge.
12 hours before building a levain, feed it and leave it on the counter
If your starter is young or not very active, it may need a few room temperature feeds to be usable in a levain. You can feed it once a day until it’s active/passes the float test, just be sure it’s fed about 10-12 hours before building the levain.
If your starter is very old (as in several years or even decades old), you may get away with building a levain from still-cold starter, but this isn’t guaranteed.
Personally, I prefer keeping my starter on the counter. My starter seems happier all around now that it lives on the counter. The main reason I started doing this was taste. My loaves lacked that sourdough taste when my starter lived in the fridge.
I also like that a room temperature starter is predictable. Since I feed it at night, on any given morning I could scoop some out, build a levain, and begin making a loaf of bread that day. In my early sourdough days, my refrigerated starter would have bubbles but not float after one room temperature feeding. Sometimes, it took 2-3 days of feeding it morning and night before I could build a levain, and that just got annoying.
While daily feedings may feel like a burden or be easy to forget, it’s only a couple minutes and is truly worth the effort. The key is routine. I feed mine every night when I’m already in the kitchen and have the kettle on to make tea.

Other tips and FAQ’s for sourdough starter maintenance
Always feed at 100% hydration
Hydration percentages are always water divided by flour. Loaves are usually made with somewhere around 75% hydration (such as 375g water and 500g flour). And levains (the bulked up starter that goes into the loaf) can also be made with a lower hydration if you want to experiment. However, it’s recommended to always feed your main starter with 100% hydration, meaning equal parts flour and water.
The only exception would be a sluggish starter that’s not perking up with more food or more frequent feeds. You can try lowering the hydration to see if that helps. I suggest 85-90% hydration to start with. Also, don’t make this a regular habit, but feel free to try it as needed to troubleshoot.
Always weigh your ingredients
I know people who don’t weigh their ingredients and their starters are just fine. However, since I’ve experimented with the hydration in my starter, I know what a major impact it can have to add too much or too little water or flour. Being off by a few grams in one feeding isn’t a big deal, but over time it can drastically alter the starter. Unless you are experienced with sourdough starter, I highly suggest weighing ingredients to avoid ruining your starter.

How often to feed it
Note: all of these tips are what I’ve found, over the years, works well for my starter in my kitchen in my San Francisco-adjacent climate with my schedule. Even then, I sometimes have to adjust what I do based on the season, because sourdough starter is all about flexibility.
If you keep it on the counter: once or twice a day
Once a starter is active, it will need either more food or more frequent feedings. (Remember, it’s a living organism.) I fed mine twice a day for about a day. Then I forgot a feeding, gave up, and started feeding it double the amount once a day. This worked for me and works for most sourdough bakers. I now feed mine a 1:4:4 ratio (slightly more in the hottest part of the summer) once a day and it’s a perky, happy little thing.
However, there are times when I forget to feed it or the weather is making it sluggish. In those events, I try to feed it twice a day until it looks happy again (meaning doubles in less than 12 hours) and/or passes the float test.
Note: Be aware, it can also turn sluggish if it is ready for bigger feedings (like a 1:3:3 or 1:4:4 ratio).
If you keep it in the fridge: once a week(ish)
You can also extend the feed time by keeping it in the fridge, feeding it about once a week (or once it’s fully bubbly and roughly doubled). I primarily use the fridge when I am out of town or during the holidays when I’m busy/stressed/not at home that much.
How much to feed it
As mentioned above, this will change as your starter ages. If you created your starter from scratch, it should graduate to a 1:2:2 ratio anywhere from a few days to a few months after becoming active (passing the float test). If you obtained your starter from someone else, go with the ratios they suggest then adjust over time as needed.
What really matters her are the ratios (which are always starter:flour:water). What this looks like in grams is honestly up to you. I like feeding it 40g flour and water because it means I waste less each day when I discard some. As my starter has aged, I began reducing the amount I reserved until the starter seemed happy. Currently, I only reserve 10g starter each day, feeding it 40g flour and 40g water. You are absolutely welcome to reserve what you feel most comfortable with, just be sure to feed it accordingly.
What to feed it
Flour and water. It’s that simple.
Flour: Feel free to experiment with combinations of flour, as this will change the flavor slightly. I always do at least 75% all-purpose, mostly because it’s inexpensive. I’ve found my starter doubles fastest with 100% all-purpose flour, a little slower with part whole wheat, and slowest with part dark rye. Rye also gives it the strongest sour flavor. When I feed it, I just reset my scale then add a combination of flours until I have 40g total (which is how much total flour I use each feeding).
Water: Always use warm, filtered water. It should be roughly 80F/27C, and never higher than 90F/32C. If your tap water is particularly pure, you can use it instead of filtered.
What is “active” starter?
Recipes usually call for active starter, which is when it’s at it’s peak. Sourdough should always be used for baking at its peak (unless you are making a discard recipe—that can be gathered at any time). The peak is simply when it’s risen as far as it will go (usually doubled in volume, but more lively starters sometimes triple) and the bubbles are visible throughout and breaking the surface. One easy way to test this is the “float test”, which is detailed above.
What do I do with the discard?
Throw it away or make a discard recipe. I usually throw it away. I don’t feel guilty about 40g of flour each day, especially when it yields such great bread. From time to time I’ll play around with discard recipes. And by all means, feel free to try some out and use it all up! The bacteria in sourdough starter is great for you, so it’s another way to have it.
You can save discard for up to 2 weeks. I usually add it to a jar (with the lid tightly on). I label it with the first date I added discard. I keep adding until I have enough for a recipe. Just be sure not to let it go past 2 weeks, as this is generally considered no longer safe for consumption.

How do I make it more sour?
There are a few ways to do this. The best is to start with an older sour, which you can often get from online (or if you’re lucky, from a friend). The simplest DIY method is to try different flours. Rye generally is the best at making sourdough more sour, and I can say from experience that it’s more sour than part-whole-wheat starter. You can also do something rather precarious: stretch it out. Letting a starter go longer between feeds causes it to ferment more (this is also when it produces hooch).
*Switch to a clean jar at least once a month
I do this about once a week, or whenever I make a loaf of bread. This is to ensure the dried bits of starter in the jar don’t begin to mold as well as to ensure you have the correct amount of starter. When you remove 80g, you’re not necessarily left with 20g. Each day, some starter dries to the sides, some gets stuck to the spoon/spatula when you mix, and some weight is lost to evaporation. This means that your total weight is usually less than 100g. Switching to a clean jar from time to time, pouring exactly 20g into it, ensures you don’t eventually discard ALL of your starter before feeding it.

Maintaining a Sourdough Starter
- total time: about 5 minutes, once a day
Ingredients & Equipment:
- 20g starter
- 40g flour (can use half all-purpose, half rye or whole wheat)
- 40g water, filtered and roughly 80F/27C
- kitchen scale
- food thermometer
- clean, clear jar*
Instructions:
Day 1
- For this recipe, you need an already active starter. You can purchase one, obtain some from a friend, or create your own.
-If you created your own, you’ll transition to this maintenance mode once it’s bubbly and active, passing the float test and doubling in volume within 12 hours of feeding.
-If you purchased it, follow directions for activating it before moving onto maintenance mode.
-If you obtained some from a friend, find out how much they typically feed it and continue with those same amounts.
- Remove all but 20g of the starter*. You can throw the discard away or save it for a discard recipe.
-If you know the exact weight of your starter, you can just remove the correct amount from the jar. For example, if you created your own using my recipe, you’ll have 120g each day in the beginning stages. Once it’s very bubbly and active, you can transition to maintenance feeding and remove 100g to leave you with 20g.
-If you’re unsure how much is in there to start, pour 20g into a clean jar.
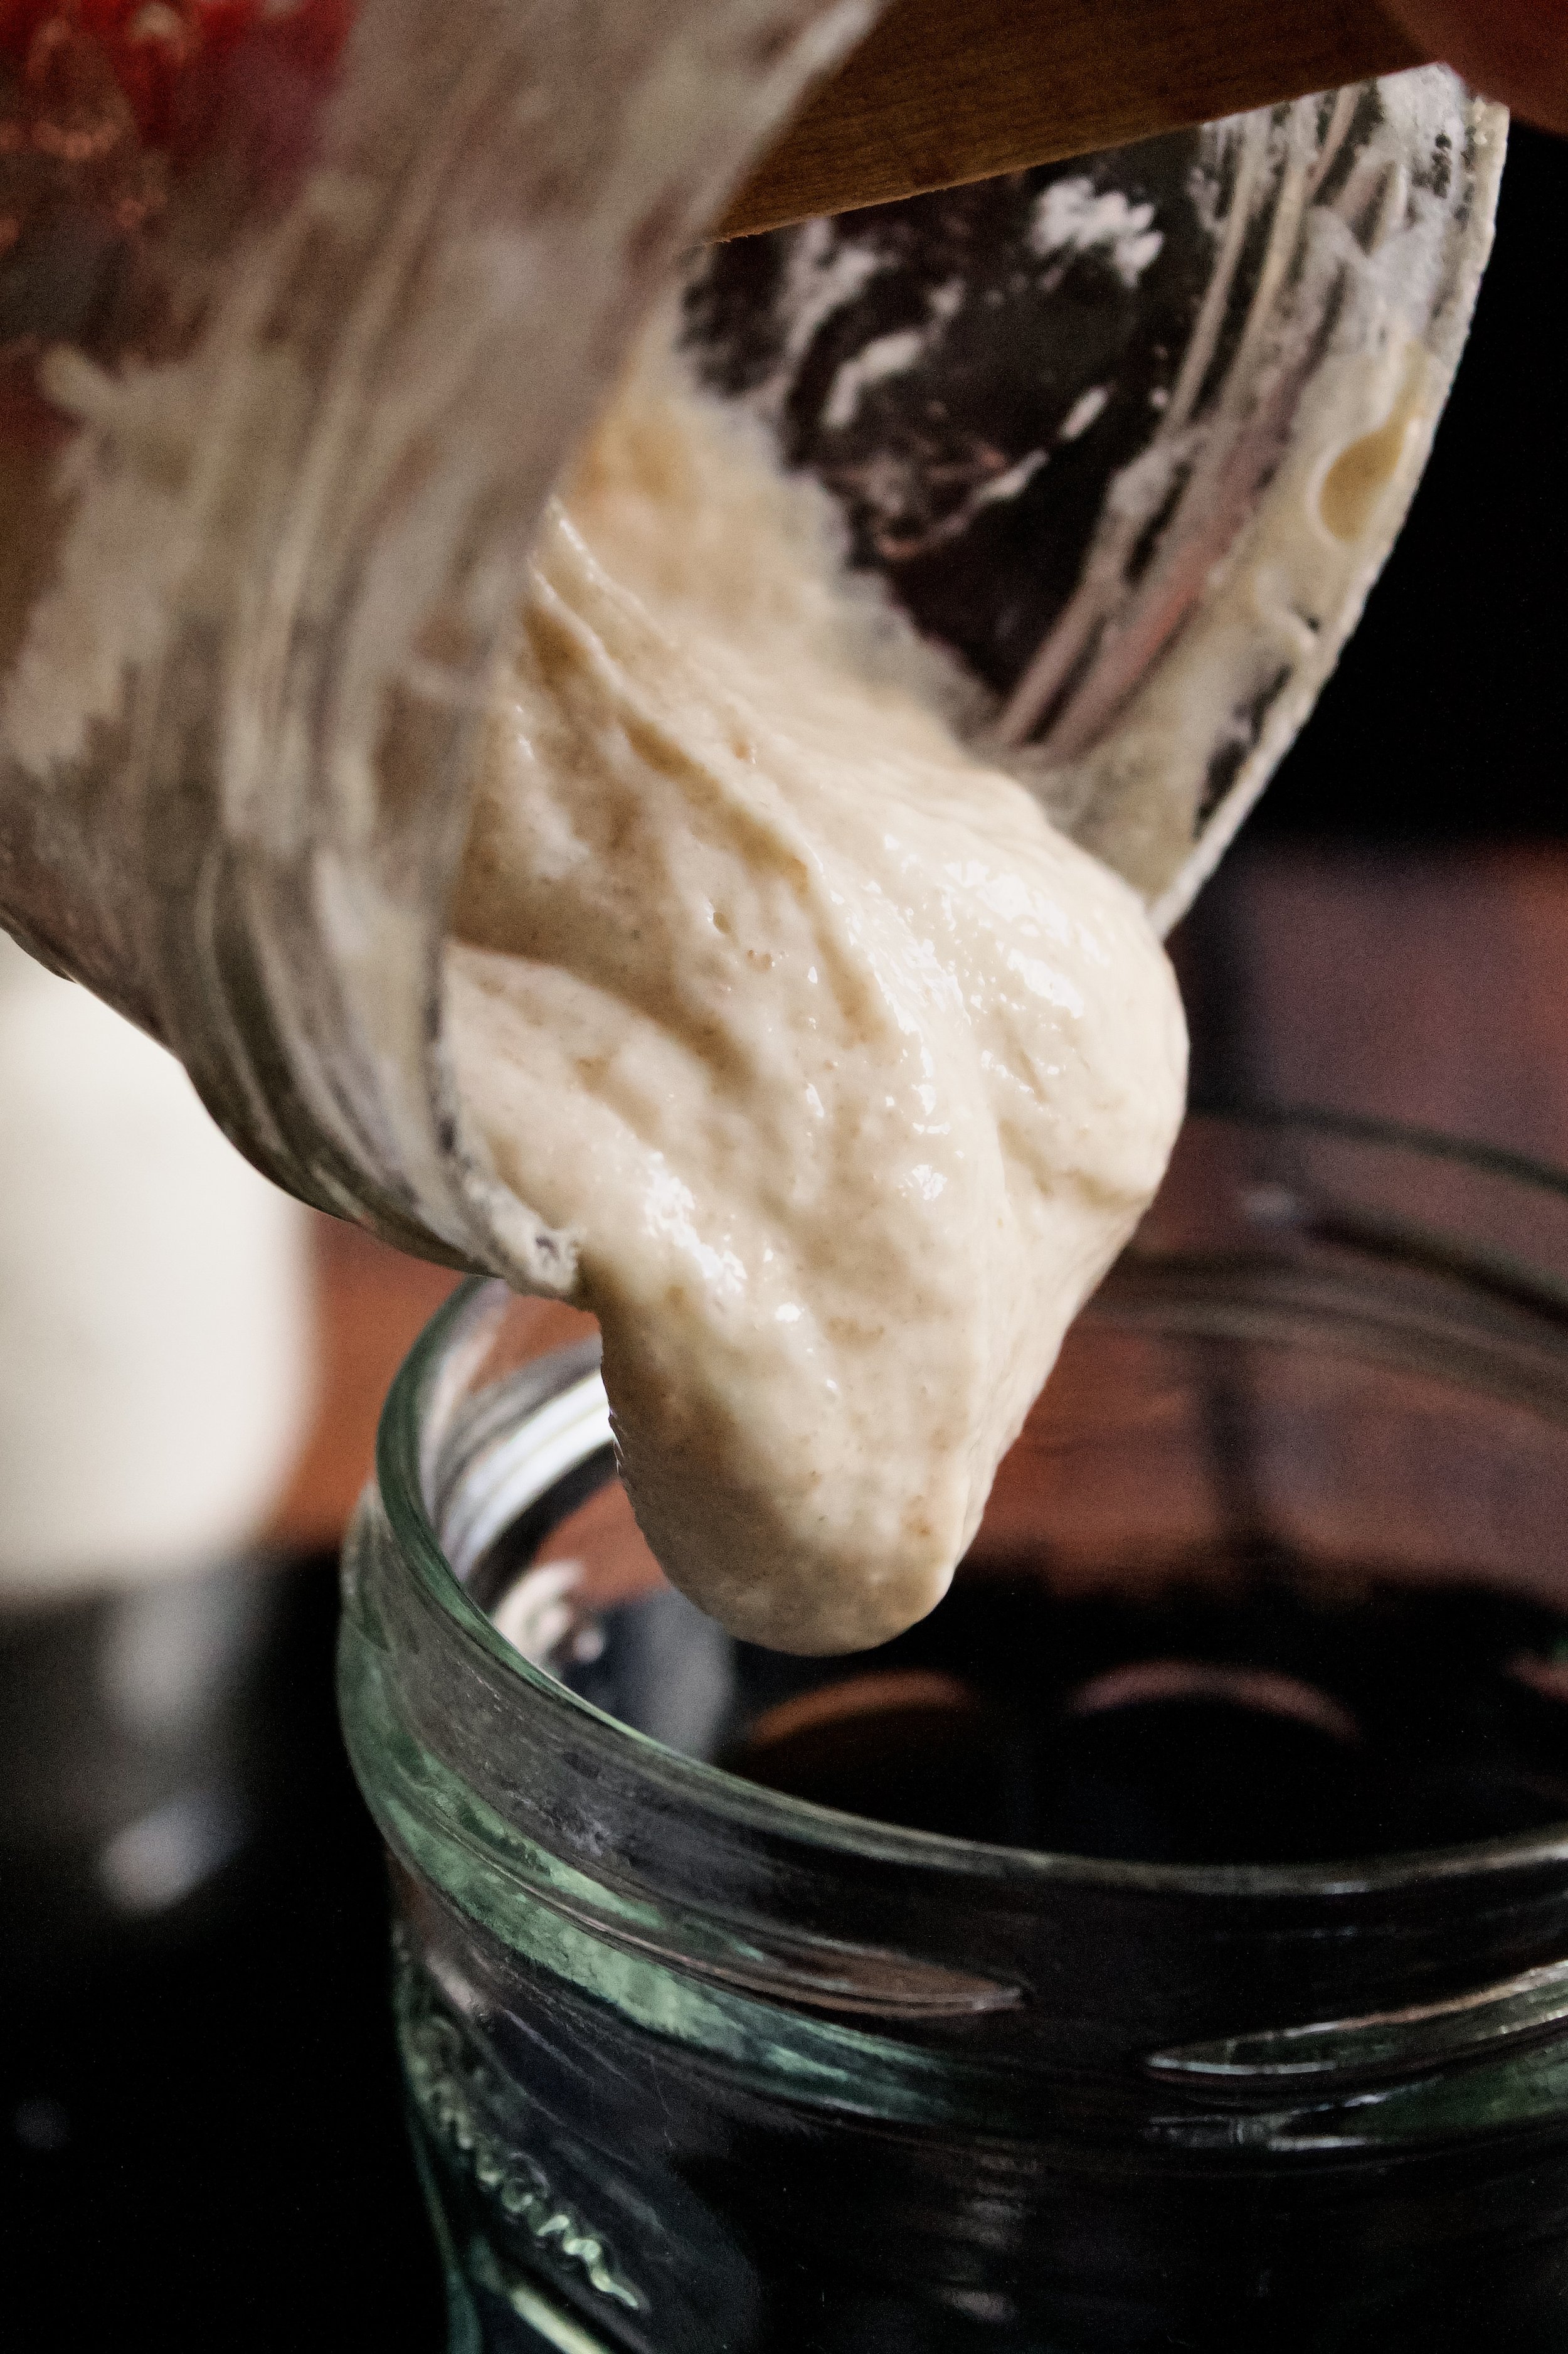
- Zero out your scale (or the “tare” button) and add 40g warm filtered water, about 80F/27C. Stir with a small rubber spatula or spoon until mixed well**.
- Zero out the scale again and add 40g flour. I suggest anywhere from 50% to 100% all-purpose flour. I do roughly 85% or 35g all-purpose. The remainder can be rye, whole wheat, or spelt. While these whole grains are not necessary, they can help create a deeper or more sour flavor.
- Mix well, ensuring there is no dry, unmixed flour and no visible lumps of flour.
- Set the lid loosely on top of the jar but do not screw it on.
- Store in a spot with moderate temperature (roughly 70F/21C). The ideal spot is your counter, so you’ll see the starter and remember to feed it each day, but if for some reason this spot is especially warm or cold, you can place it somewhere else.
Current weight: 100g*
Day 2 (and daily after that)
- Repeat this process, now removing 80g starter*. Alternatively, you can pour 20g starter into a new jar.
- Mix in 40g warm water then 40g flour.
- Store with the lid set on but not tightened, in a place you won’t forget about with moderate temperature (roughly 70F/21C).
- Feed at roughly the same time each day.
- See notes above for how to know it needs more food.
Notes:
- *Switch to a clean jar at least once a month, ideally every week or two. First, this ensures a clean environment. Second, removing 80g starter actually leaves you with slightly less than 20g (due to evaporation, some drying to the sides of the jar, or getting stuck to the spoon/spatula when mixing). This will not hurt your starter in the short term but could leave you with nothing over time. So, at least once a month (or more) pour exactly 20g into a clean jar and feed as normal.
- **I prefer to mix the starter and water before adding flour. You are welcome to add and mix in any order you prefer, as long as it’s mixed thoroughly.
- When preparing to make bread: Early on, it’s best to feed a starter every 12 hours for a day or two before you make your levain (a separate, big batch of starter that goes into bread dough). As your starter matures and you gain more experience, you can get away with no extra feeds as long as your starter has been fed no more than 12 hours before you make the levain.