Espresso Chocolate Tart
Crunchy cookies and cream crust filled with smooth, rich chocolate espresso ganache, topped with espresso whipped cream. This rich, decadent dessert is simple to create, travels easily, and will wow any chocolate or coffee lover!
This post may contain affiliate links from which, at no additional cost to you, I may earn a small commission to keep this site running. Only products I myself would or do use are recommended.
Why this recipe works
The biggest appeal is how simple this recipe is. For the crust, you just grind up Oreos then stir in some melted butter and voila! You have a crust you can easily press into your pan. The key is stirring the butter in, not pulsing it in the food processor. I used to just toss it all in there to avoid making more dishes, but the Oreo’s usually turn gummy if you do this. Instead, stir it all quickly and you’ll get a perfectly crunchy crust.
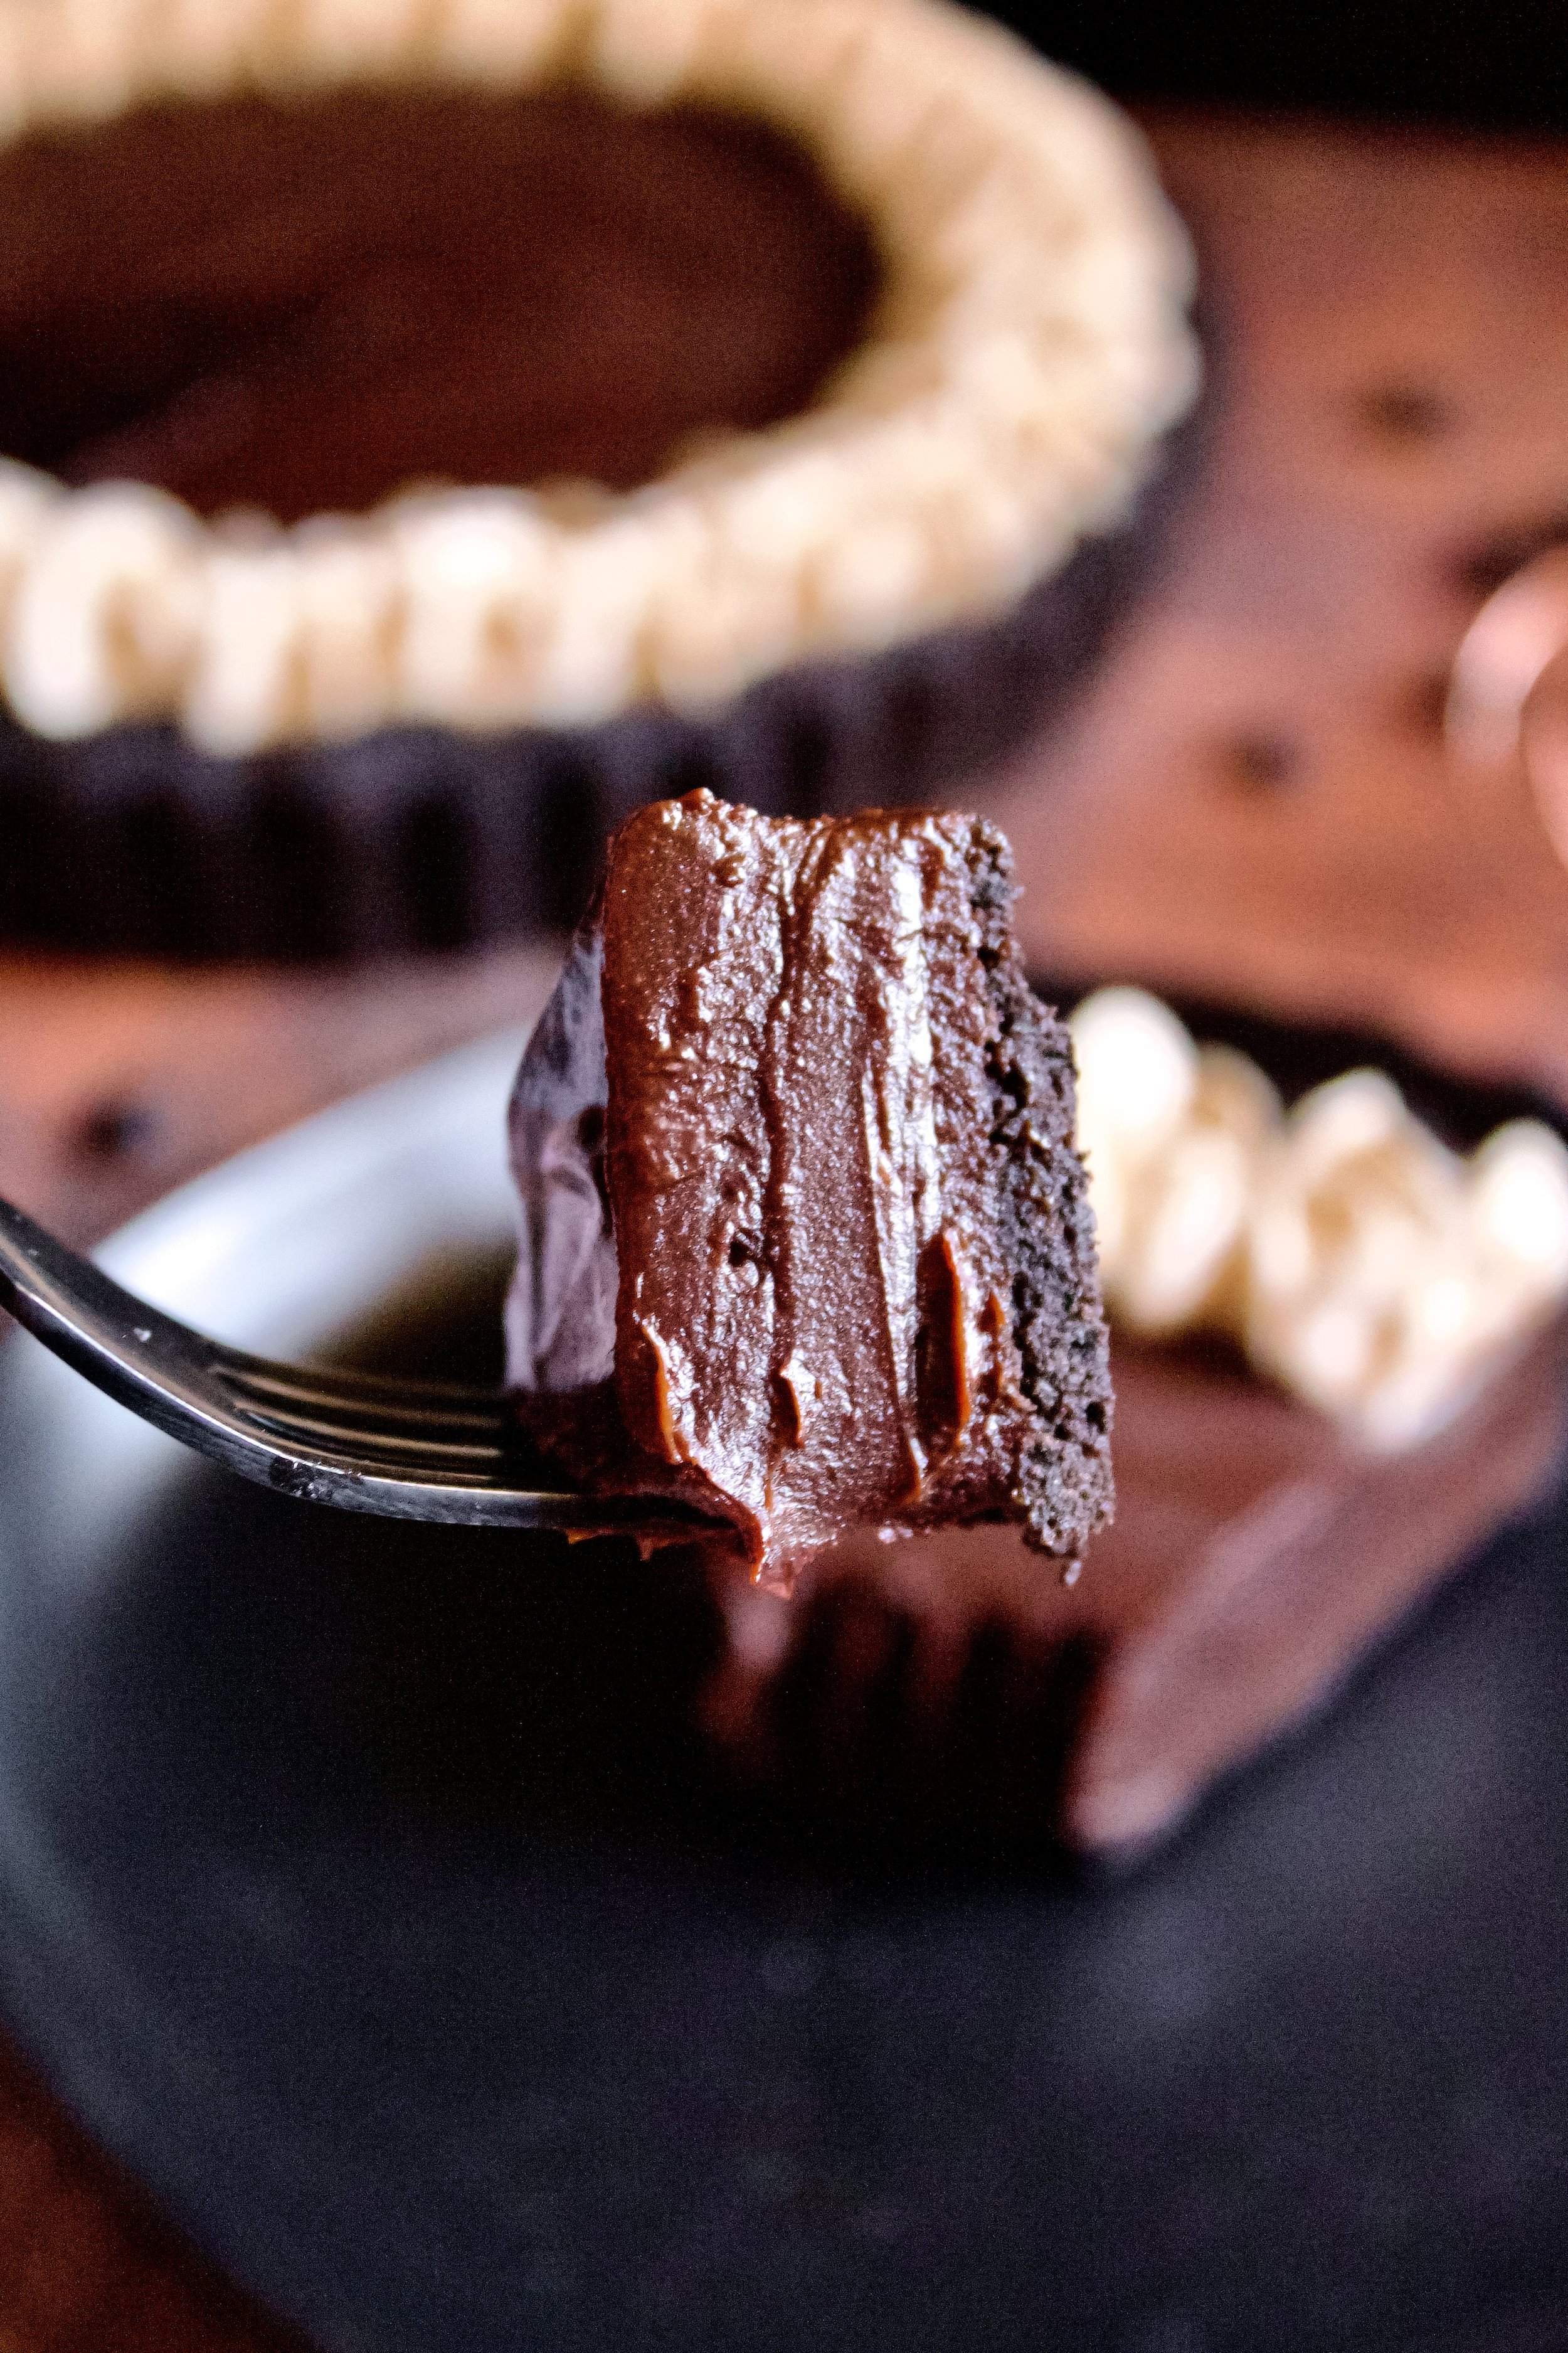
The espresso ganache filling is so simple and so silky smooth and SO delicious. It’s basically a pliable version of chocolate ganache, thanks a perfected ratio of chocolate, heavy cream, and butter. The key is to ensure the instant espresso fully dissolves before adding the chocolate, so your tart isn’t grainy looking. But even if that happens, you can hide it with carefully piped espresso whipped cream.
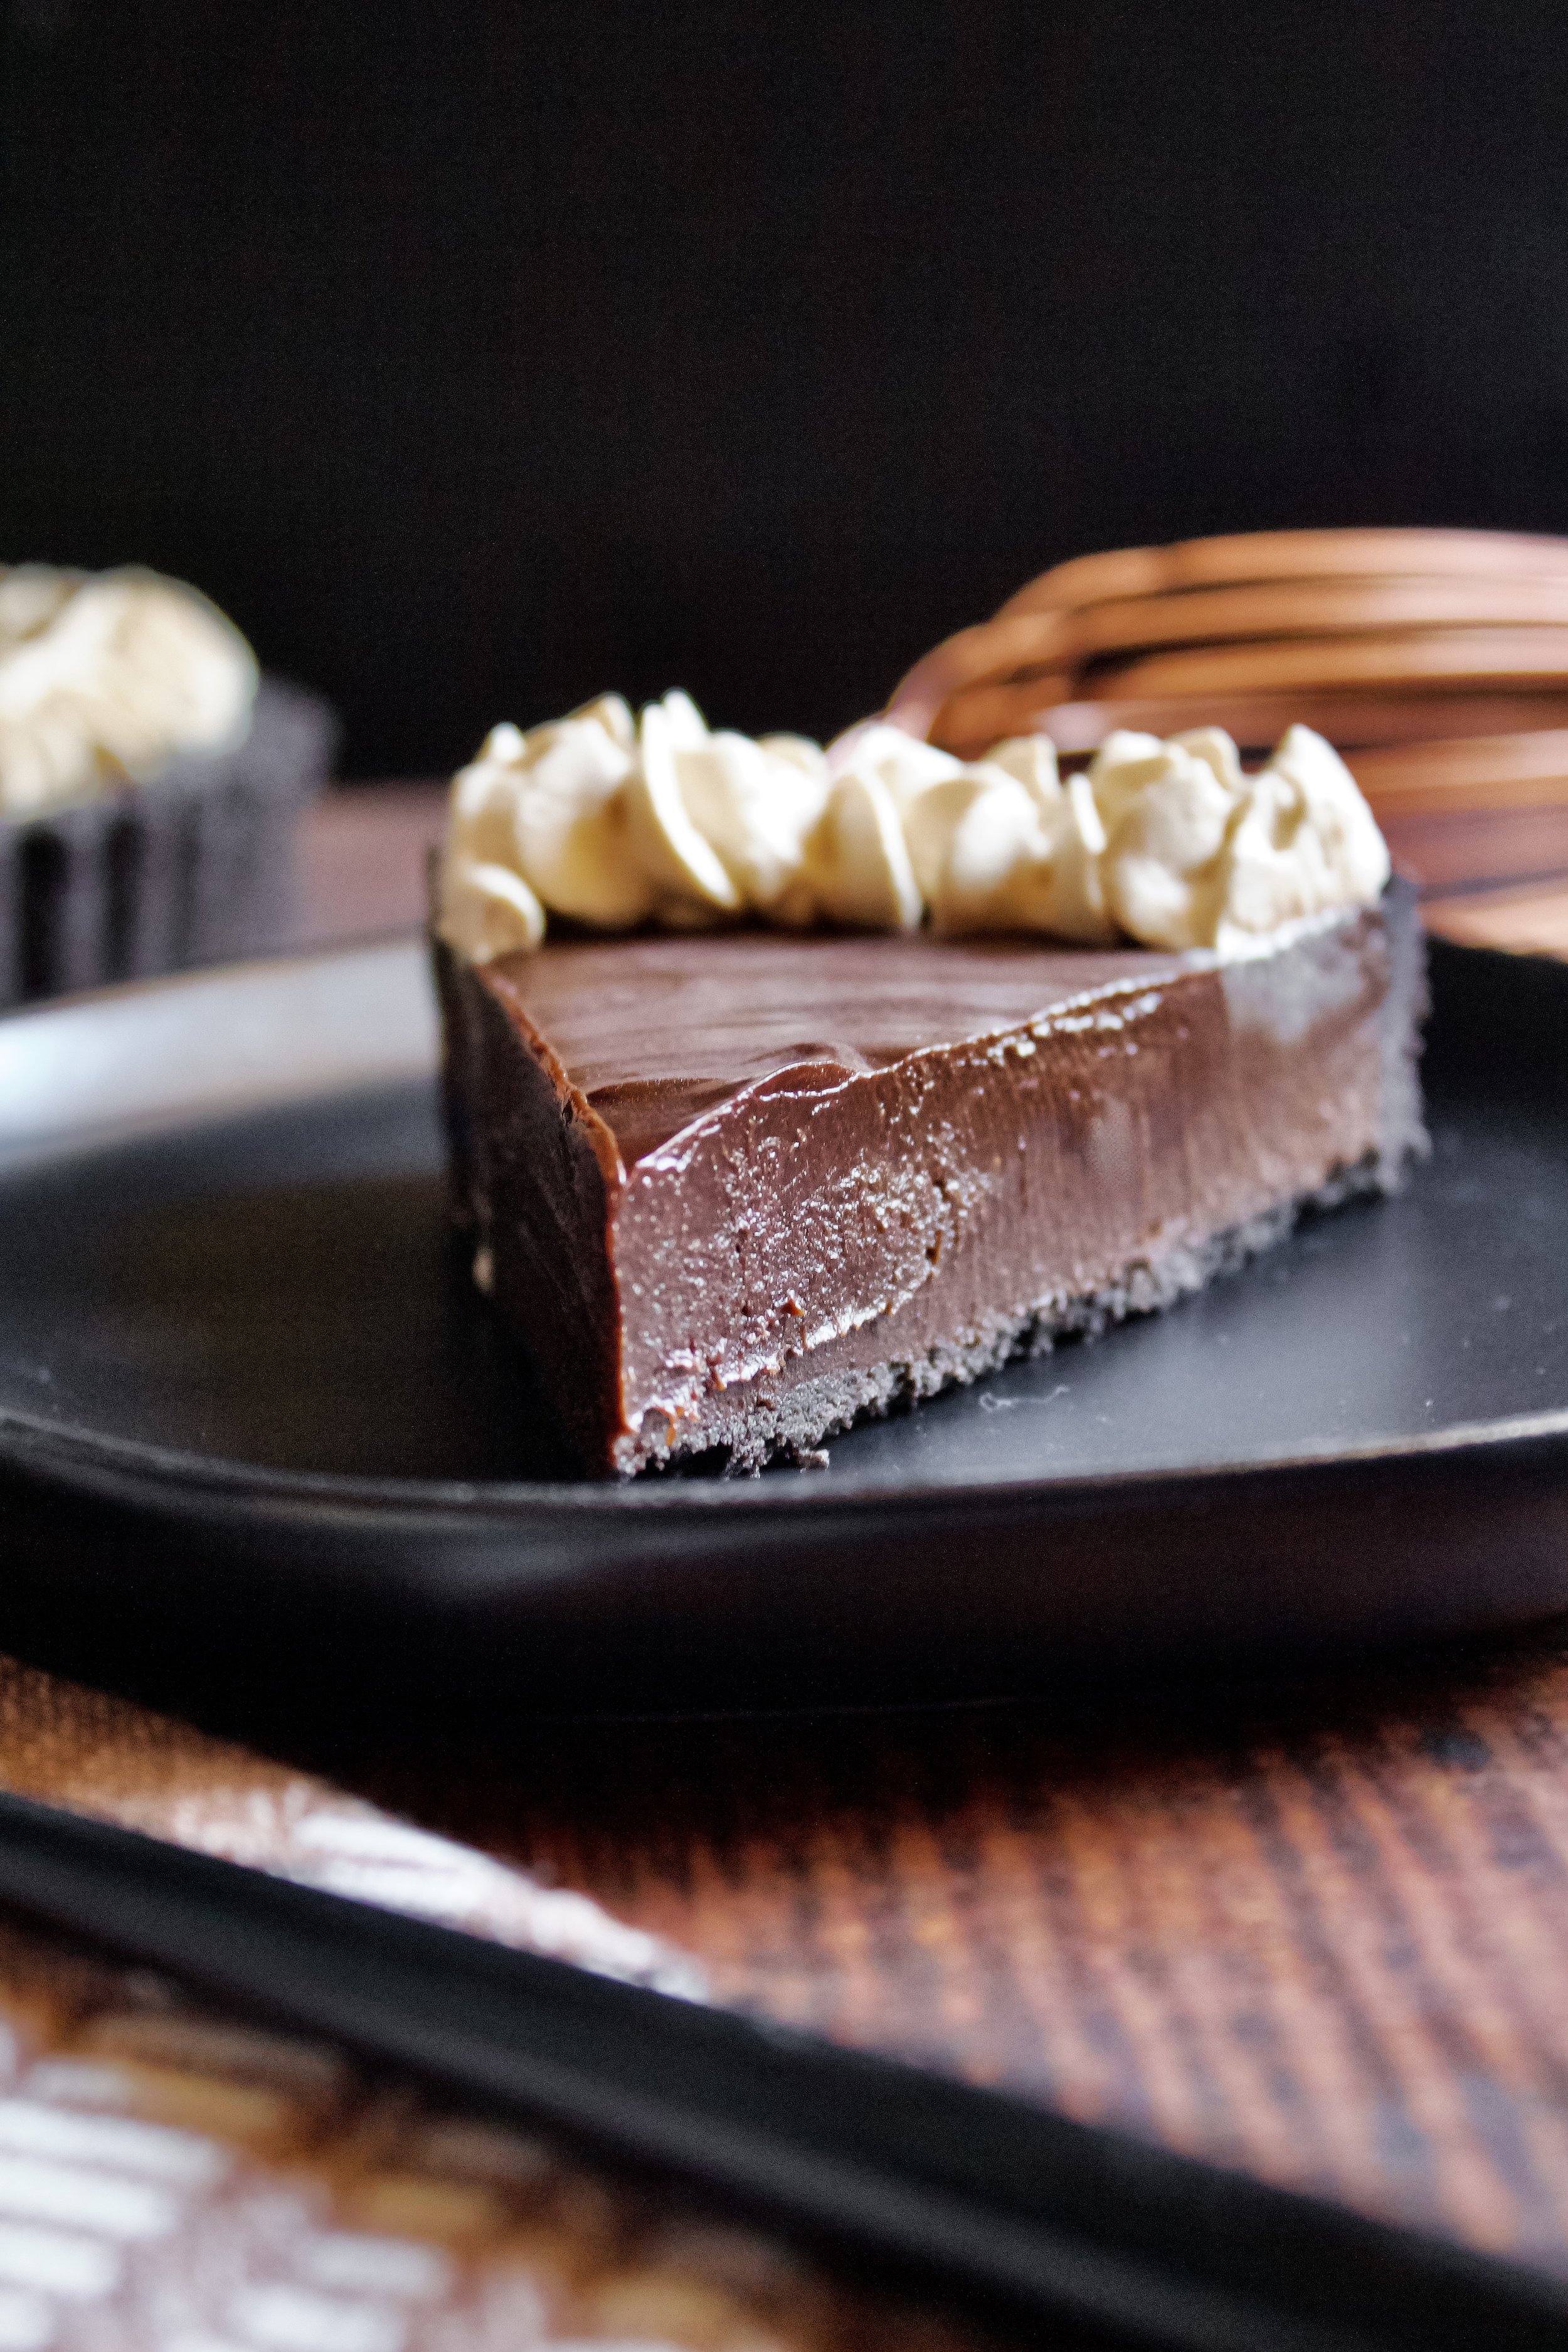
Speaking of, the whipped cream is sooooo good. It’s just cream, powdered sugar, and espresso powder, but it’s addicting on its own and adds a light, creamy flavor and texture to the rich, fudgy tart. It’s not only pretty, but a great balance to this chocolate and coffee lover’s treat.

Key ingredients
Chocolate sandwich cookies. I usually use Oreo’s, but I’ve had great luck with Trader Joe’s Joe-Joe’s (regular and gluten free!).
Butter. If possible, always use European style butter. It’s creamier and has less water.
Chocolate chips. Semisweet is ideal, but your favorite type is fine. You can also use chopped baking chocolate, but you may need a bit more heavy cream to create a silky filling.
Heavy cream. You can sub a 14 ounce can of coconut cream, but in that event, omit the butter from the ganache.
Instant espresso or instant coffee. I prefer instant espresso, but I’ve never found it locally, so if I don’t have any on hand, I grab some instant Starbucks via.
Confectioner’s sugar. This is the secret to the tender texture and perfect sweetness of these cookies.
How to make dark chocolate raspberry tart
Make the crust
1. Crush the cookies. I use my food processor, but a blender would work, too.
2. Stir in the melted butter. Stirring it in a separate bowl rather than blending it keeps the crust crunchy.
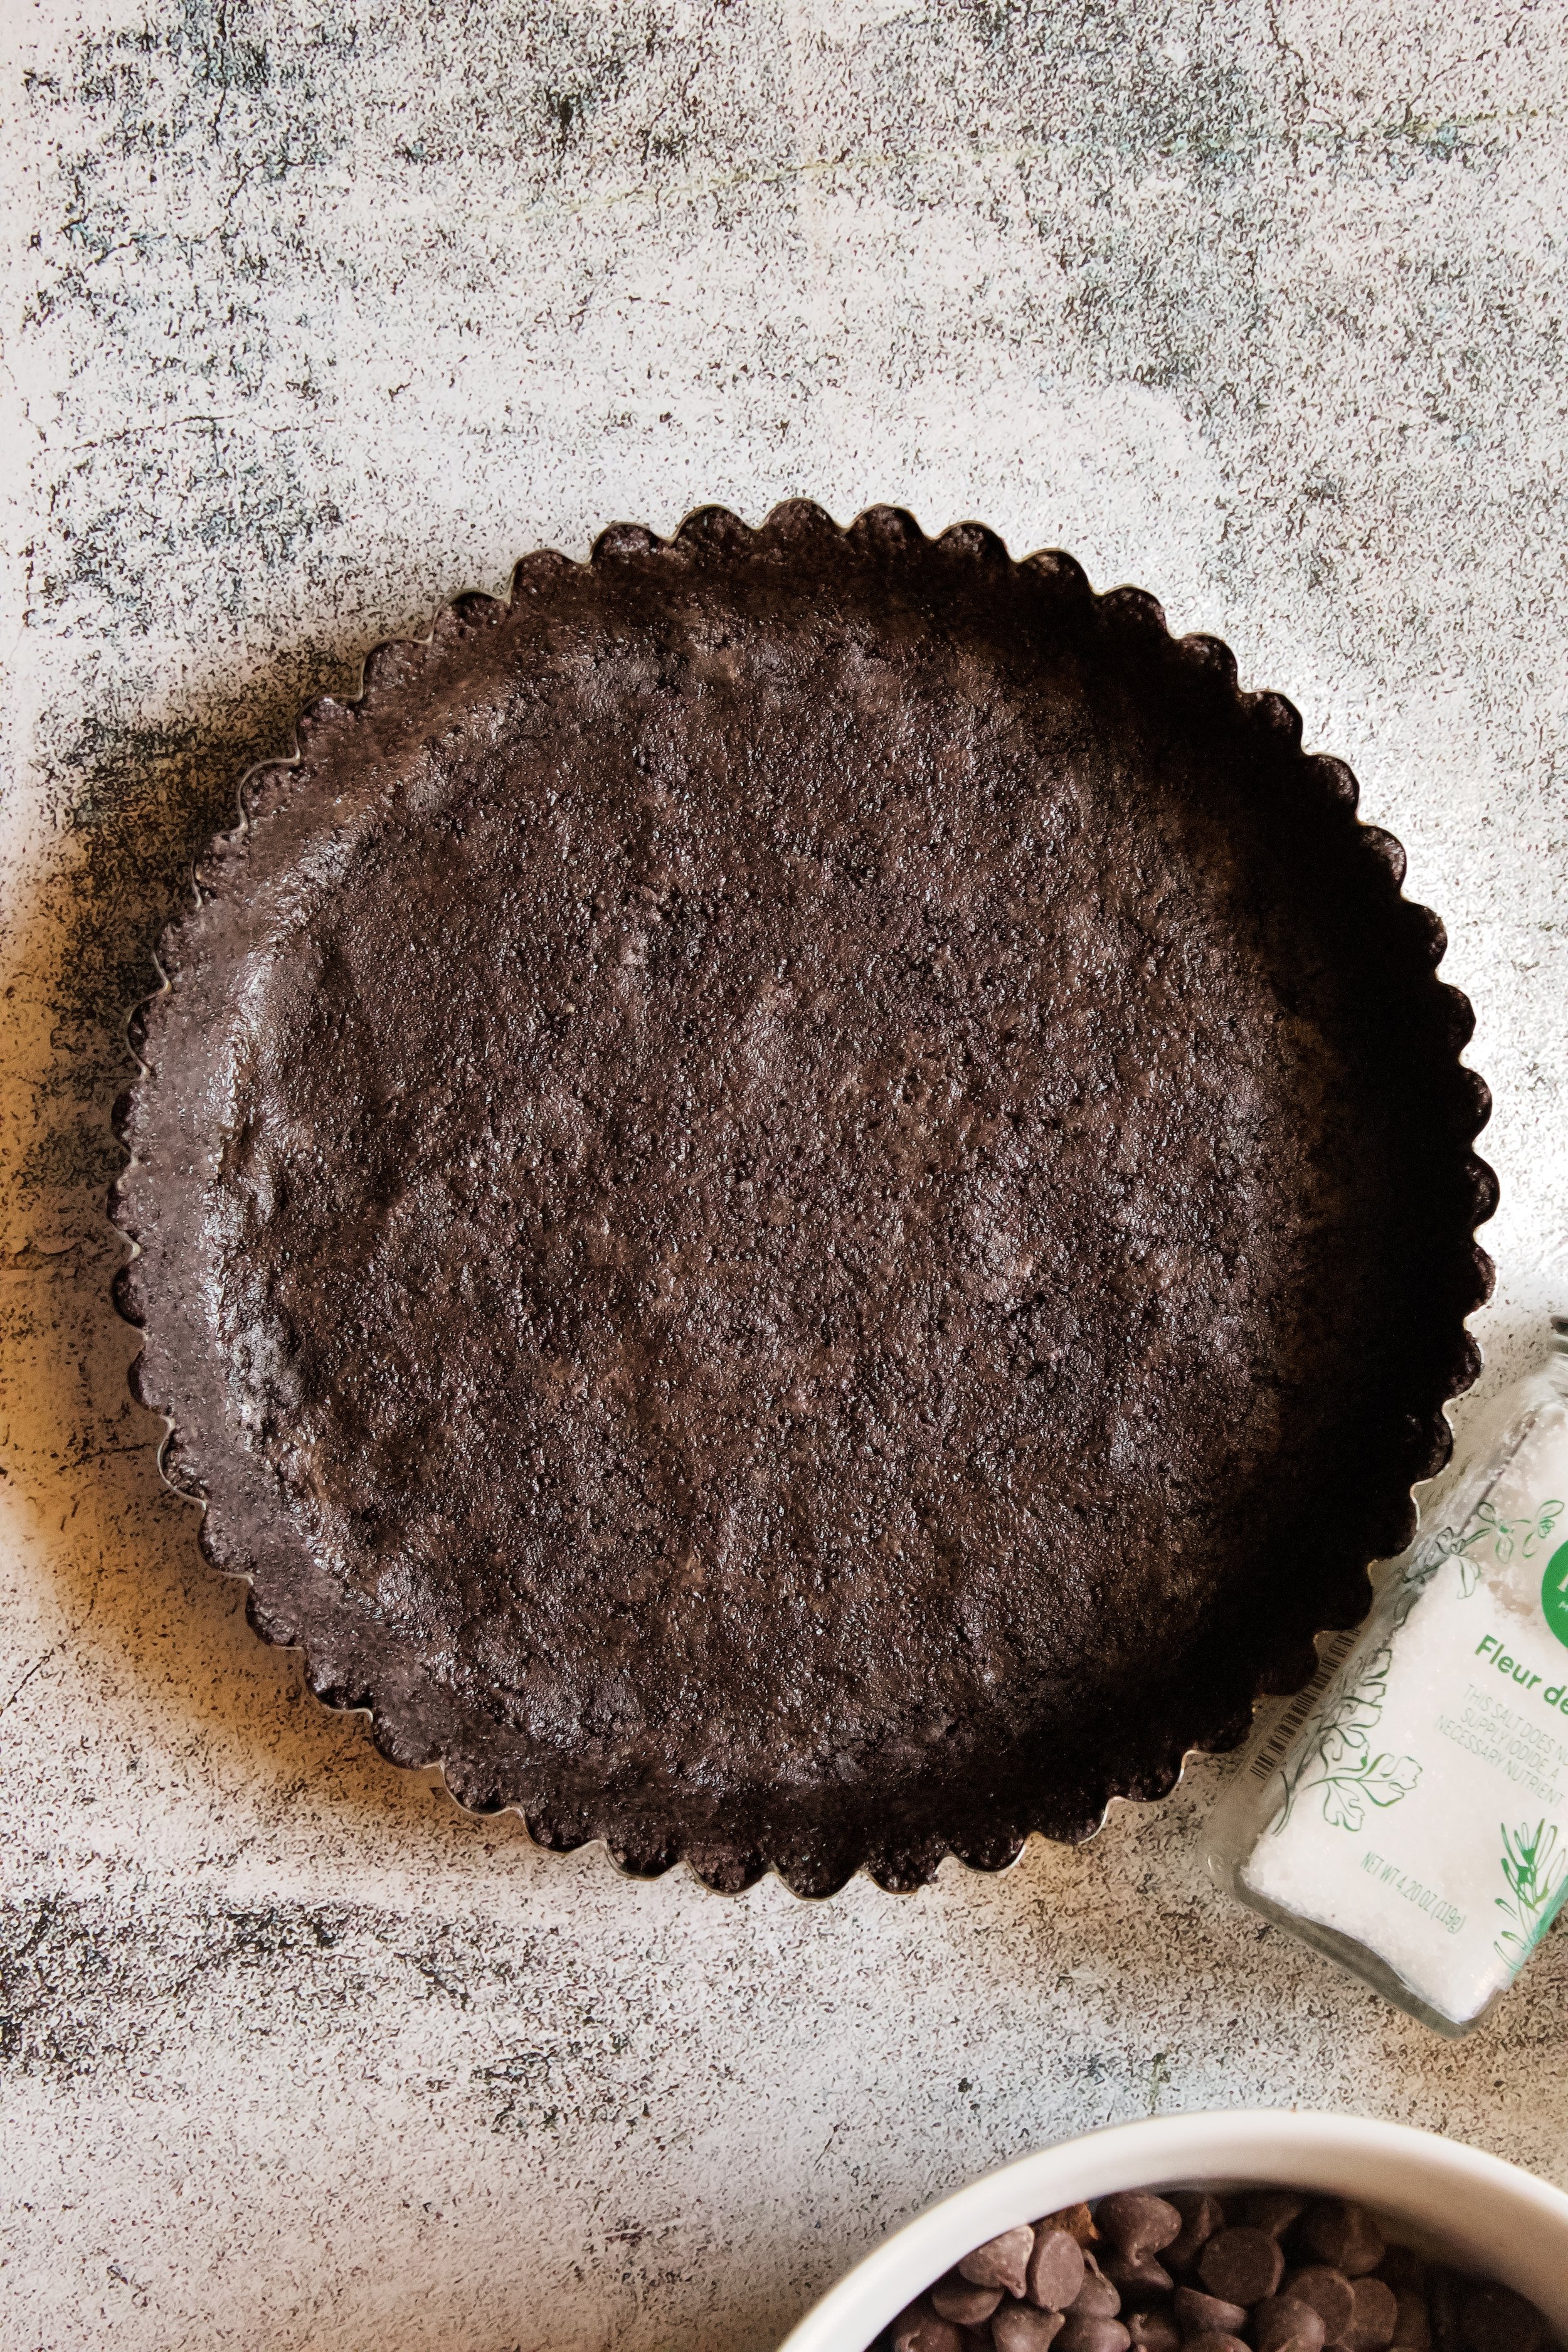
3. Press crust into pan and freeze. I use my hands until it’s mostly in place then use a cup to get it nice and firm.


Make the filling
4. Melt chocolate, cream, butter, and instant espresso. Just a little butter is necessary to help the tart be sliceable. The espresso can be added to taste—every brand is different, as are everyone’s flavor preferences.
5. Pour into crust and set. Spread the filling until smooth. Refrigerate for at least 1 hour (or freeze 30 minutes then transfer to the fridge). Don’t serve until the tart is fully set and no longer jiggly or shiny.
6. Make espresso whipped cream. Stir or whisk cream, powdered sugar, and espresso powder until dissolved. If it’s taking awhile to fully dissolve, let sit (in the fridge) for 5-10 minutes and stir again. Once dissolved, beat on high until stiff peaks form.
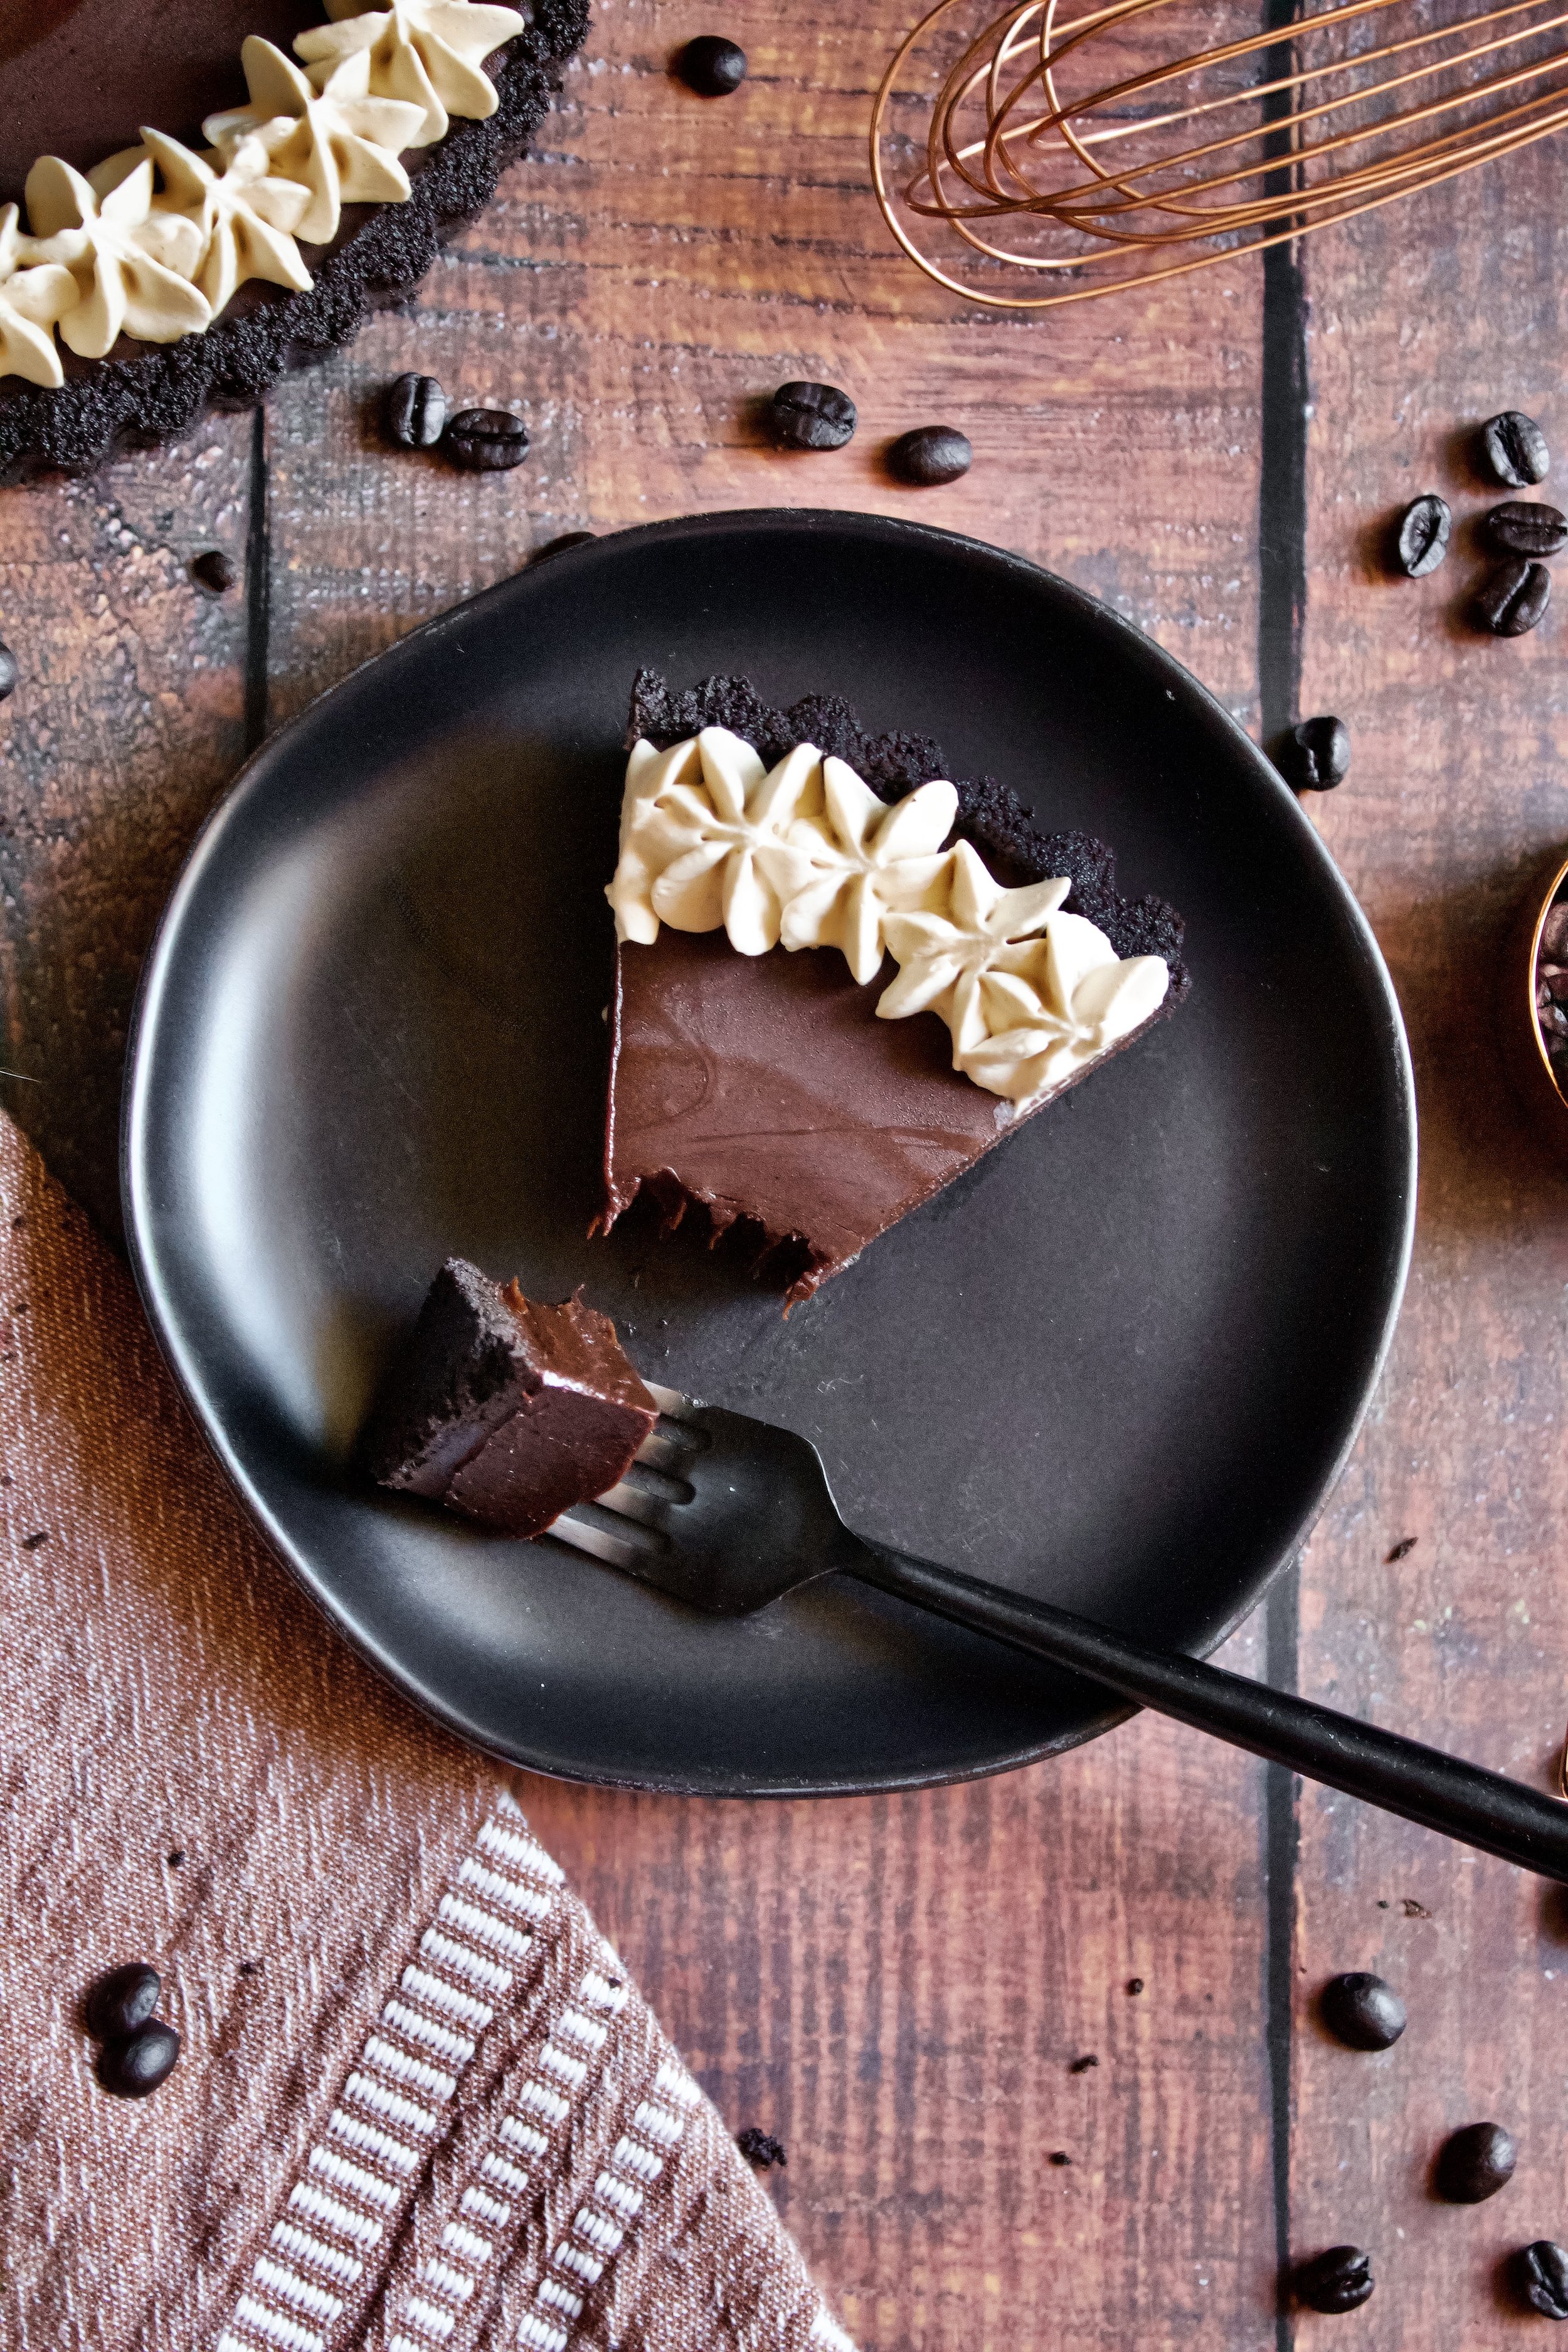
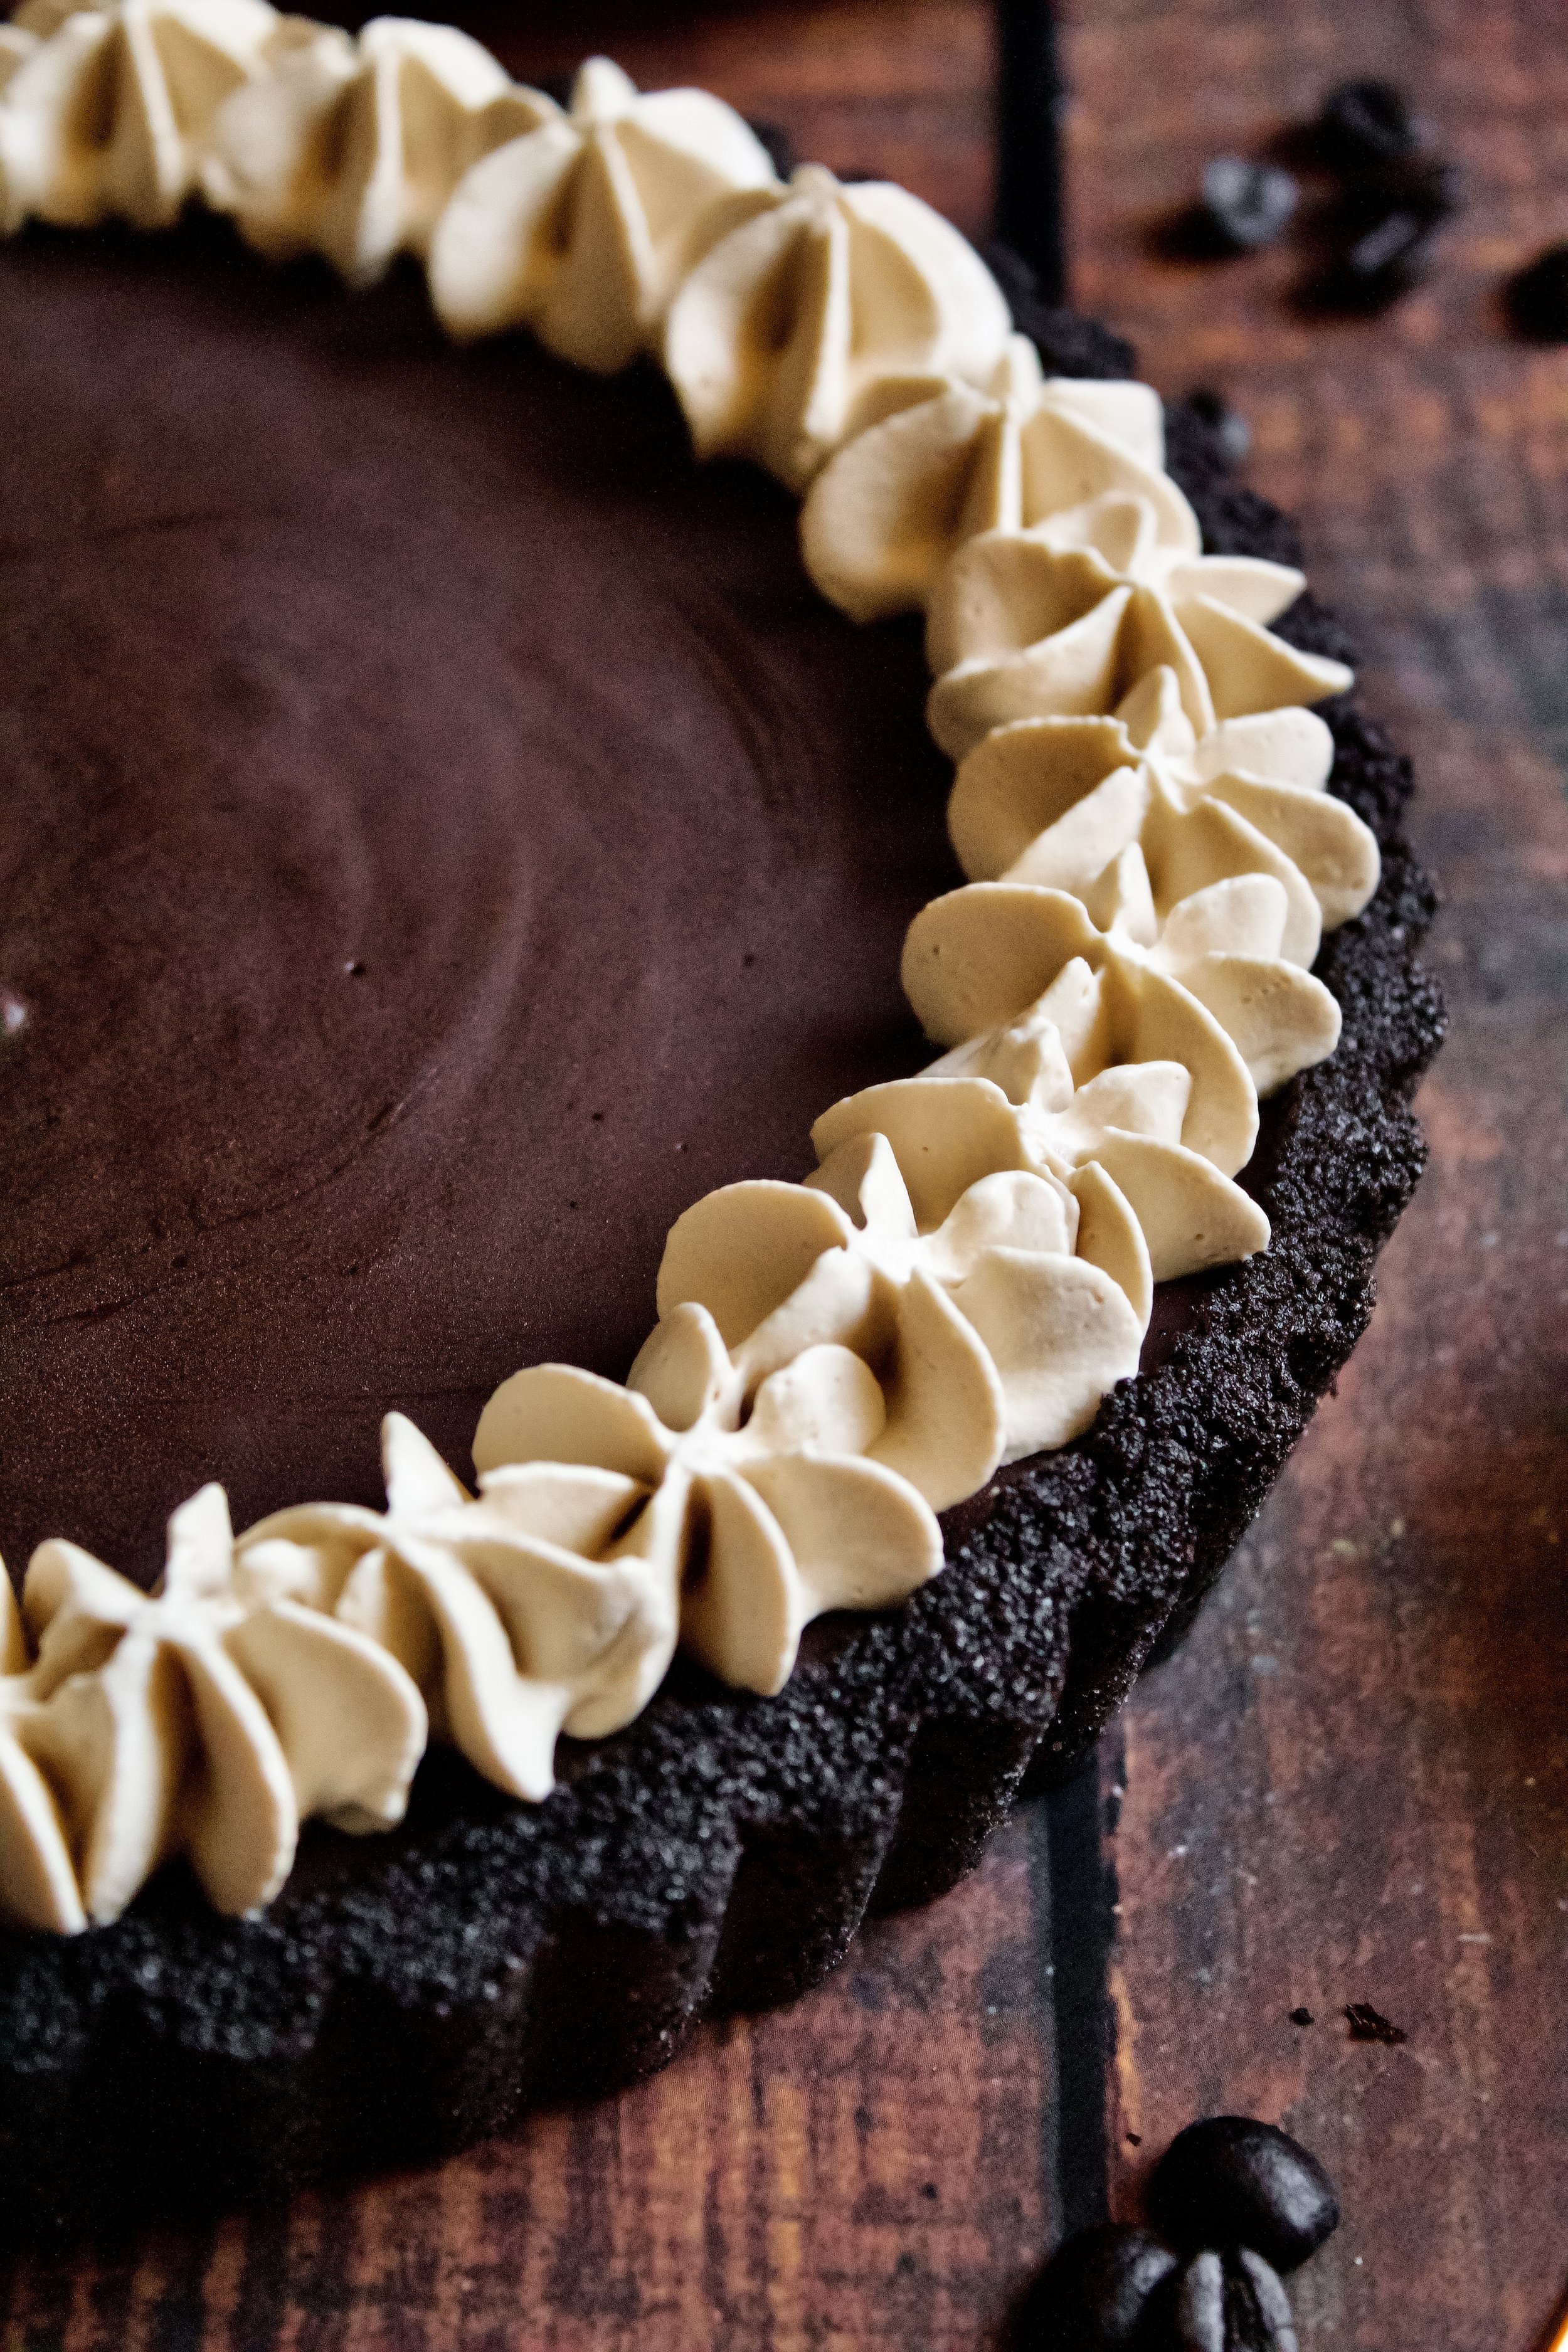
7. Spread or pipe whipped cream onto tart. You can decorate however you like, and nothing’s wrong with just spreading it all over the tart! You can use a spoon to create decorative swirls. If you want to get fancy, you can pipe the whipped cream. I used a 1M tip, but I’ve made similar tarts and used a few sizes, piping rosettes throughout then dollops/dots to fill in the gaps.
Enjoy!


Tips and FAQ’s for this recipe
What kind of espresso should I use?
I have used King Arthur Instant Espresso before and really liked it. However, I have to order it, and that kind of thinking ahead just isn’t always in my skillset. So, I will often sub instant coffee from Starbucks (I’ve found it at Starbucks itself and at my local grocery store). I’ve had good luck with all blends of instant coffee from Starbucks (just not the sweetened ones!), but Pike Place is pretty reliable. There are plenty of high quality instant coffee options out there now, so feel free to try some out!

Can I make this vegan or Gluten Free??
Yes! You’ll need vegan butter and cookies for the crust, which should be a one-to-one substitution. For the filling, use 18 ounces of vegan chocolate, such as Guittard, and a 14 ounce can of coconut cream (not milk—use full fat) and melt as directed with the espresso powder (omit the butter). To top, sub vegan whipping cream (I haven’t tried making vegan whipped cream in years, but I’ve heard vegan whipping cream much easier to work with these days!).
As for GF, the only gluten in this recipe is the crust, so just sub gluten free sandwich cookies. I’ve only tried the Trader Joe’s Joe-Joe’s, but it turned out excellently!

Can I make this tart in advance?
You can make this up to a week in advance. After it’s set, cover well and freeze. Once ready to serve, transfer to the fridge for a couple hours so it’s sliceable. It’s advisable to add the whipped cream after defrosting, as it does not freeze well. Alternatively, you can make it 1-2 days in advance, cover well and keep refrigerated. Add the espresso whipped cream the day of, ideally within a few hours of serving.
Can I use regular espresso?
Yes, but I don’t have exact measurements. You can replace some of the cream with espresso (still use butter, as it keeps the tart soft enough to slice). I made it a long time ago with extra strong espresso replacing some of the cream, but I didn’t write down the exact ratios. It depends largely on how strong you want the coffee flavor, so feel free to experiment!

Can I use any crust?
Yes! A festive option would be a chocolate candy cane cookie crust! simple and delicious and oh-so-Christmasy! You can also make the crust from my peppermint hot cocoa tart, which is a chocolate shortbread. If you don’t want a chocolate crust, you can use my regular shortbread or my ah-mazing espresso shortbread (similar to the chocolate shortbread, freeze for 10 minutes, line with parchment and pie weights, and bake at 350F/175C for 15-20 minutes, remove the parchment and weights, then bake another 5 minutes).
Why won’t the espresso fully dissolve?
Some brands take longer to dissolve, and local climate (such as humidity and temperature) can impact how quickly the instant espresso or coffee dissolve. For the chocolate, it’s not a big deal if the espresso doesn’t fully dissolve. If you are concerned, you can mix it with the heavy cream and let it sit, stirring occasionally until it’s dissolved fully, before melting it with the chocolate. For the whipped cream, the same thing applies—you can let the heavy cream sit (refrigerated for the whipped cream) and stir occasionally until it’s fully dissolved.

My tools
Here are my must-have tools I use for making this tart. Affiliate links provided.
Handheld mixer (or stand mixer, for the espresso whipped cream)
10” tart pan, 9” tart pan, or 8” tart pan
Heavy medium pot (ideal for making a double boiler)
1M piping tip and reusable piping bag (if making decorative whipped cream dollops)


Espresso Chocolate Tart
- prep time: 20-25 minutes
- chill time: 1 hour
- total time: 1 hour, 25 minutes (tart can be made 1-2 days ahead, topping with whipped cream no more than 8 hours before serving)
servings: 10-12
Ingredients:
- 18-24 chocolate sandwich cookies (such as Oreos)
- 3-4 tablespoons (42-56g) melted unsalted butter
- 18 ounces (510g or 3 cups) chocolate chips (or chopped baking chocolate)
- 3-4 teaspoons (9-12g) instant espresso or instant coffee, divided
- 2 tablespoons (28g) cold unsalted butter
- 2 cups (480g) cold heavy whipping cream, divided
- ¼ cup (30g) powdered sugar
Instructions:
- Make the crust. Crush the cookies in a food processor then pulse in the butter (or stir in a separate bowl). If using a 10” pan, you’ll need the full 24 cookies and 4 tablespoons butter. If using an 8” or 9” pan, you’ll need 18 cookies and only 3 tablespoons butter. More information about the crust can be found here.
- Gently distribute crust mixture around your tart pan, spreading an even layer across the bottom and a little up the sides. Using a flat-bottomed cup or measuring cup, firmly press the crust in, going in concentric circles to slowly apply pressure across the tart. If you press too firmly at the beginning, it’ll just make a hole in the crust, so go in circles until it starts to stick in place.
- Freeze for 10 minutes, or chill in the refrigerator for 20-30 minutes, until firm.
- While the crust sets, make the filling. You need a small-ish, heatproof bowl and a small-ish saucepan that the bowl can sit on top of and be about halfway submerged in. Fill the bowl with the chocolate, 1 cup (240g) of the heavy cream, the 2 tablespoons cold butter, and 2 teaspoons of the instant espresso or coffee. Fill the saucepan with one to two inches of water and bring that to a boil. Once it is boiling, turn the burner to medium-low and set the bowl of chocolate over it.
- Stir the chocolate mixture frequently, adjusting the temperature as needed to keep the water at a steady simmer. Once the chocolate is mostly melted, remove the bowl from the saucepan and stir until the chocolate is fully melted. If it doesn't fully melt, you can always return the bowl to the saucepan as needed. Taste the filling. If it needs more espresso or coffee powder, add another teaspoon and mix well, returning to the simmering water if needed to dissolve it.
- Once the coffee flavor is to your liking, pour the chocolate into the hardened crust.
- Chill for about 1 hour, until the filling is set and matte in appearance. Alternatively, you can freeze the tart to set the filling faster, but it will need to go into the fridge as soon as it’s set to make it slice-able.
- Once the tart is set, make the espresso whipped cream. (If making the tart ahead of time, do not make the whipped cream until closer to serving–ideally the day-of or a few hours before serving.)
- In the bowl of your stand mixer fitted with the whisk attachment (or in a medium mixing bowl using a hand mixer), combine the remaining cup of heavy cream, the remaining 1 teaspoon instant espresso or coffee, and the powdered sugar. Whisk or stir by hand until combined and the espresso is dissolved. If it doesn’t dissolve right away, put the bowl in the fridge for 10-20 minutes then stir or whisk again. Taste the mixture, adjusting the flavors as desired.
- Turn the mixer to medium-low, until frothy (to avoid splatter). Slowly increase speed to high. Stop the mixer when the cream reaches stiff peaks (it will become matte in appearance and hold its shape when the whisk is held upright).
- Decorate tart with whipped cream as desired. I used a piping bag with a 1M piping tip held perpendicular to the tart to create star-shaped dollops along the edge.
Enjoy! Keep tart refrigerated until serving.