
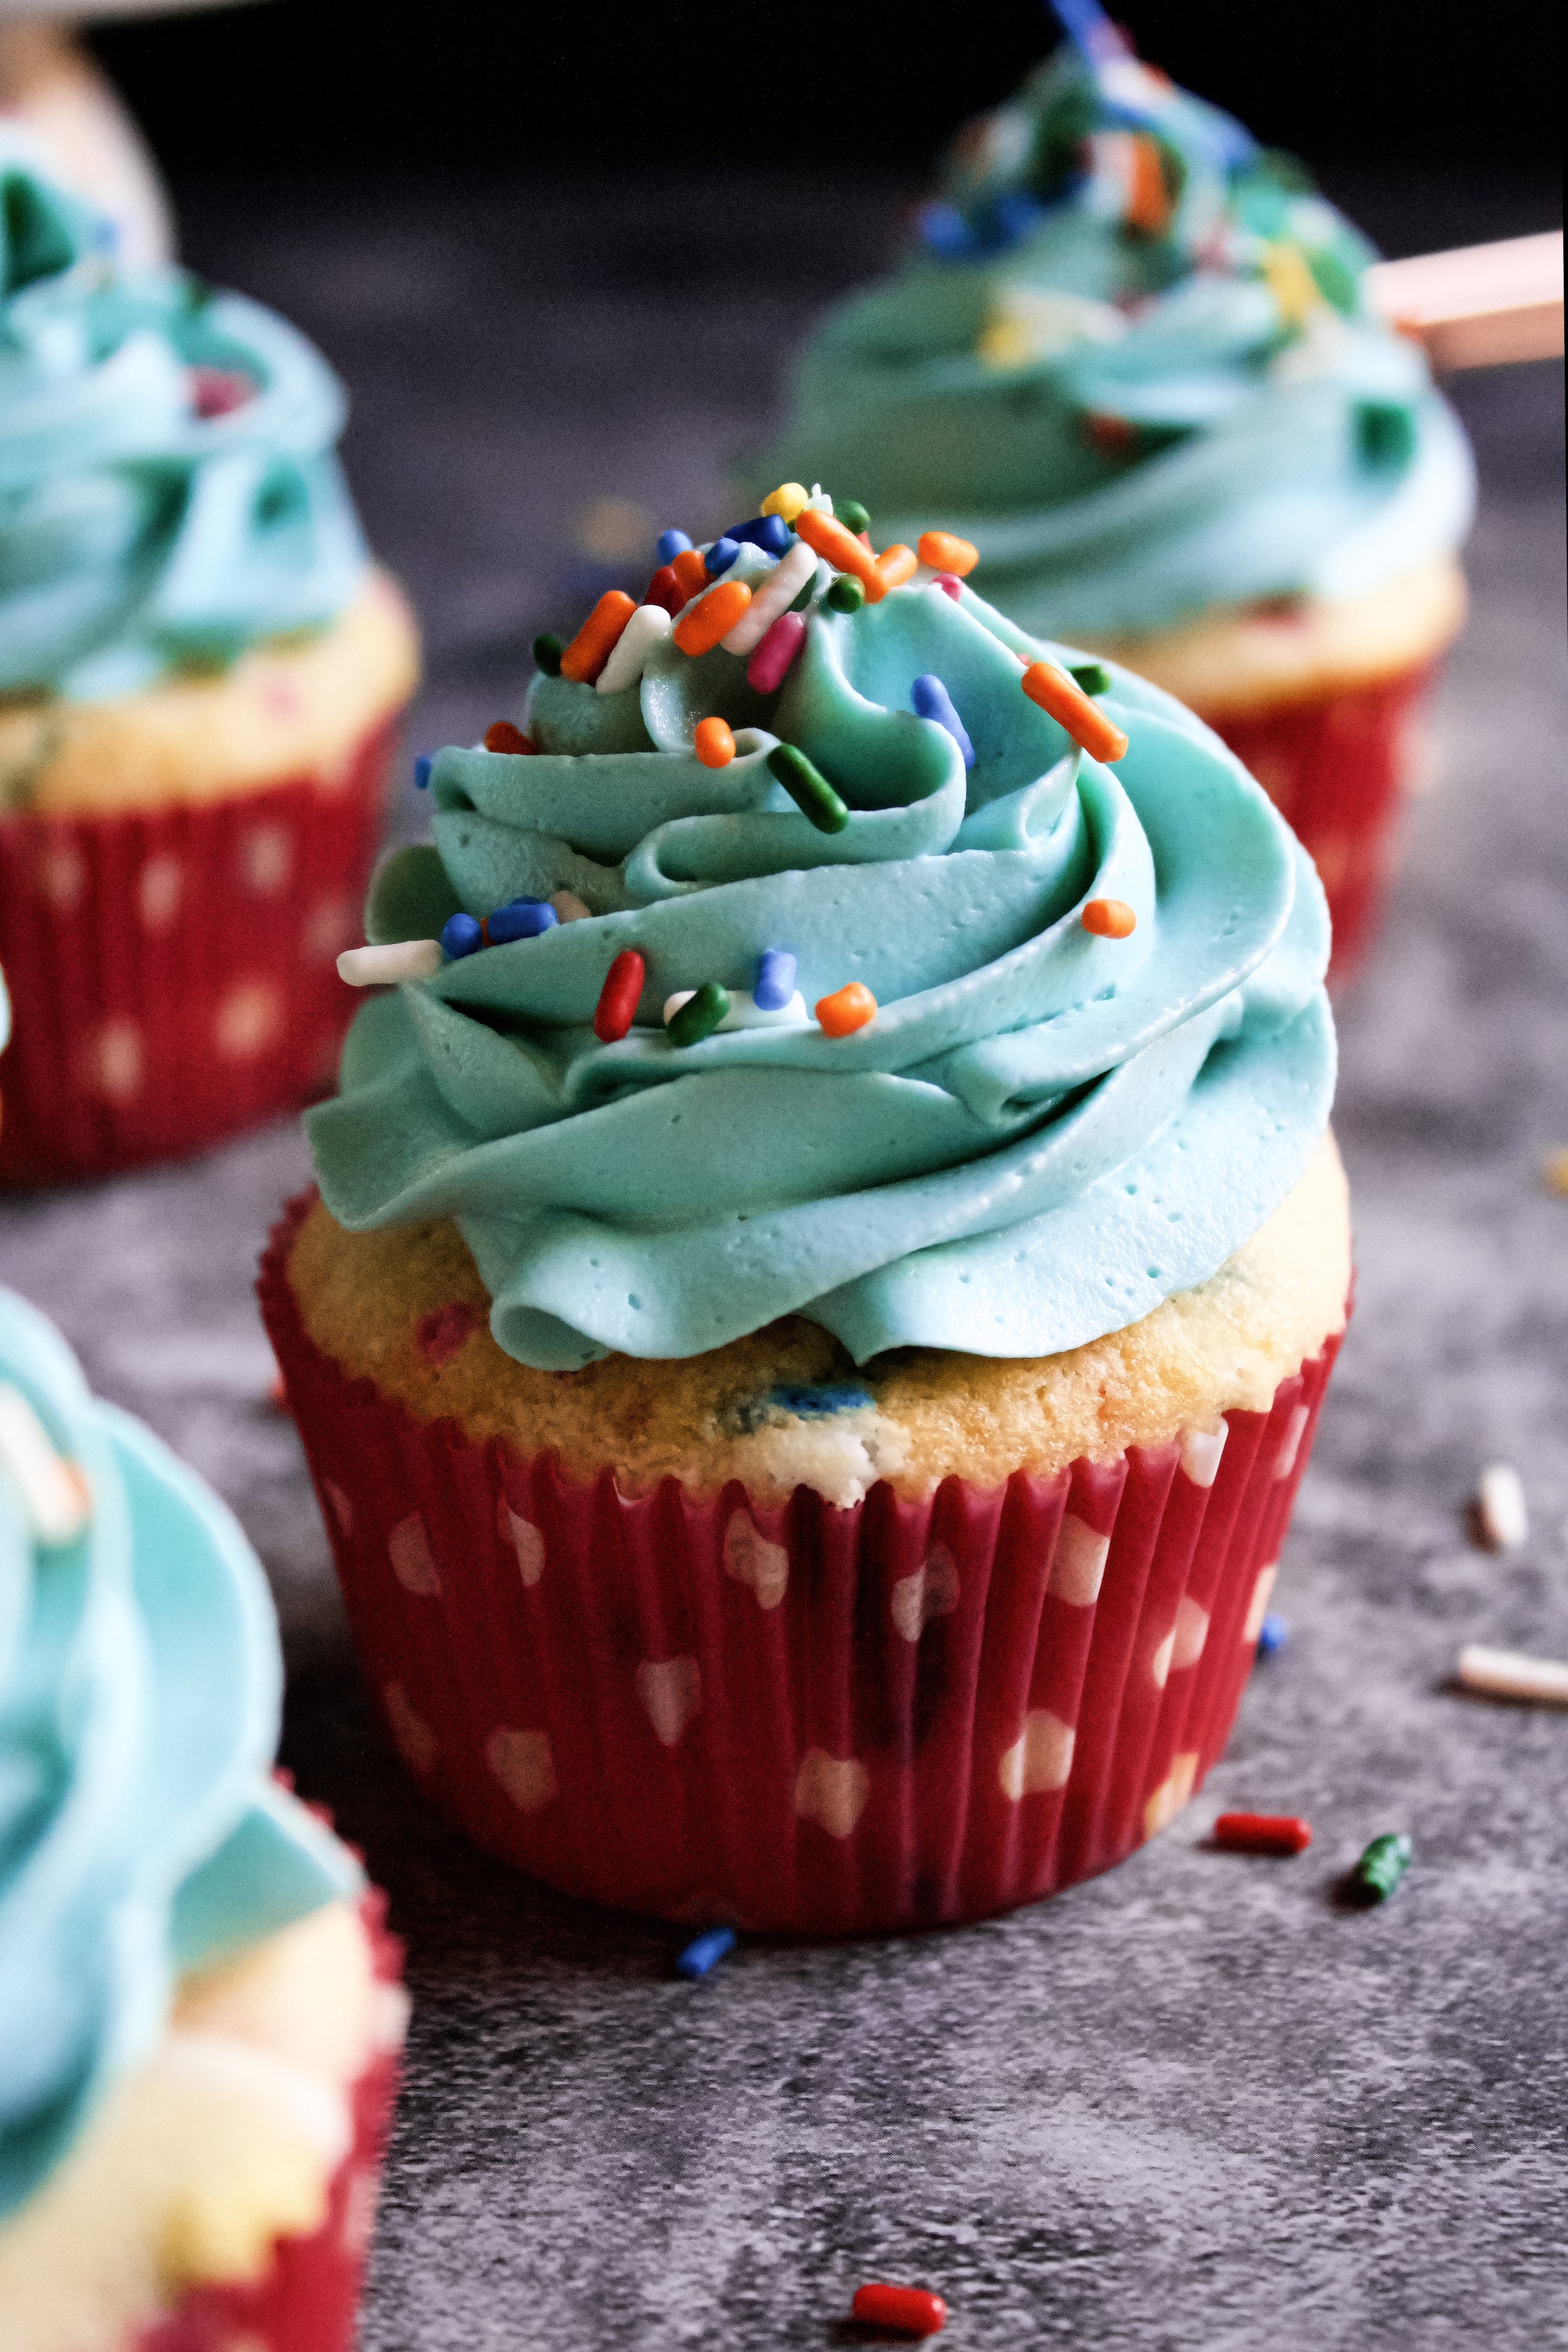
Confetti Cupcakes
Tender, fluffy vanilla cake filled with sprinkles and topped with a smooth, creamy, blue frosting and more sprinkles. This confetti cake is not only adorable but delicious as well! Perfect for any celebration or just because!
This post may contain affiliate links from which, at no additional cost to you, I may earn a small commission to keep this site running. Only products I myself would or do use are recommended.
Well, I survived my first full week of classes. The first week of school never seems to count—we have two days of school then the entire school goes off on a three day mountain retreat. So…not a lot of actual teaching or classroom management happens until week two.
And I didn’t die!
In fact, my classes are going really well. I like all of my classes (of course some are more fun than others) and I’m not having issues with any students or classes (which may sound like the same thing, but there’s definitely a difference).
I almost don’t trust it.
Like, am I doing something wrong? Will this backfire? Am I missing something? Is this a honeymoon period and they’ll all rebel once I give them harder work???
Whatever. I’m actually enjoying them already, which doesn’t always happen for a few weeks at least. I’ll take any wins I can get these days.

Speaking of wins—these cupcakes!!! I tried a thing and I was really happy with it. I made these awhile back for my sister’s birthday, which was a combo party with her daughter’s first birthday and her husband’s 40th birthday. Yeah, things have been rough and we hadn’t been able to see them for months.
So, everyone got their own birthday cake. My brother-in-law got a chocolate hazelnut cake. My niece got a melting ice cream smash cake. All the guests got melting ice cream cake pops. (All recipes coming soon.) And my sister got these confetti cupcakes.
Cake for everyone!
I’ve struggled with homemade vanilla/white/sprinkle cakes over the years. I only recently found a lemon cake recipe that I love, which was the closest I’d come to a good non-chocolate or non-spiced cake. But I’d never tried it as just vanilla. And since the lemon version is oh-so-good, I thought I’d try just vanilla.
What resulted was a nearly white cake (that still uses real butter and whole eggs) that was fluffy and moist and delicious! This recipe was hard-earned through much trial and error over the years, and I’m so happy I finally have a good one to fall back on!

Why this recipe works
The vanilla cake is one of my favorites. I’ve been playing around with this basic recipe since I made this brown sugar spice cake that was to-die-for. Since then, almost all of my non-chocolate cakes are based on this recipe. However, I knew that to make a confetti cake, I’d want it as close to a white cake as possible. Using my lemonade cake variation as inspiration, I used all granulated sugar and subbed cake flour (to keep it moist, since removing the brown sugar removes some moisture). And, for good measure, I added just a bit of oil to help keep it moist. You get fluffiness from the butter and moisture from the oil—the best of both worlds. And, obviously, I stirred in some jimmies to make things festive!
The frosting is a simple vanilla American buttercream. Whipping it up for a few minutes helps make it nice and smooth, and using extra vanilla gives it more flavor, so it tastes like more than just…sugar. I also decided to dye it sky blue, partly because it reminds me of my favorite celebration cake at my favorite local bakery. It’s not necessary, but it adds a fun pop of color.

Key ingredients
Cake flour. You can make your own. For this recipe, you’d want to use 4 1/2 tablespoons (1/4 cup plus 1/2 tablespoon) cornstarch and add that to 1 3/4 cup plus 1 1/2 tablespoons flour. Sift and whisk twice before using in the cake.
Baking powder. Be sure it’s fresh—not open for longer than 6 months (regardless of the expiration date on the box).
Salt. Sea salt is ideal.
Butter. European butter is best for this recipe, as it has less water.
Sugar. Use granulated sugar for a classic yellow cake.
Eggs. Use fresh, large, room temperature eggs.
Oil. Just a tiny bit of oil (avocado, grape seed, or canola) helps keep this cake moist.
Vanilla. Use pure extract, not imitation.
Whole milk. Whole milk will make a better cake.
Sprinkles. Jimmies are the most classic tasting here, but you can use any sprinkles you like as long as they’re not too thick or large.
Vanilla buttercream. You can use any frosting you’d like, but I think these cupcakes are perfect with classic vanilla.
Sky blue gel food coloring. This is entirely optional. You can use another color or just go with a classic off-white frosting.

How to make confetti cupcakes
Make the frosting
1. If possible, make the frosting ahead so the color can deepen in the fridge. If you don’t want it to be blue or don’t have time, you can make it while the cupcakes bake and cool.
Make the cake
2. Sift and whisk flour, baking powder, and salt.
3. Beat butter and sugar until light and fluffy. 2-3 minutes on medium high.


4. Beat in eggs, one at a time. Beat on medium 30-60 seconds after each addition.
5. Beat in oil and vanilla. Beat on medium 30 seconds.
6. Alternate adding flour and milk on low. Beat on low until mostly combined, with some flour still unmixed—the next step will take care of that.


7. Gently fold in sprinkles. Don’t over stir. The flour should be all mixed in and the sprinkles roughly evenly distributed.
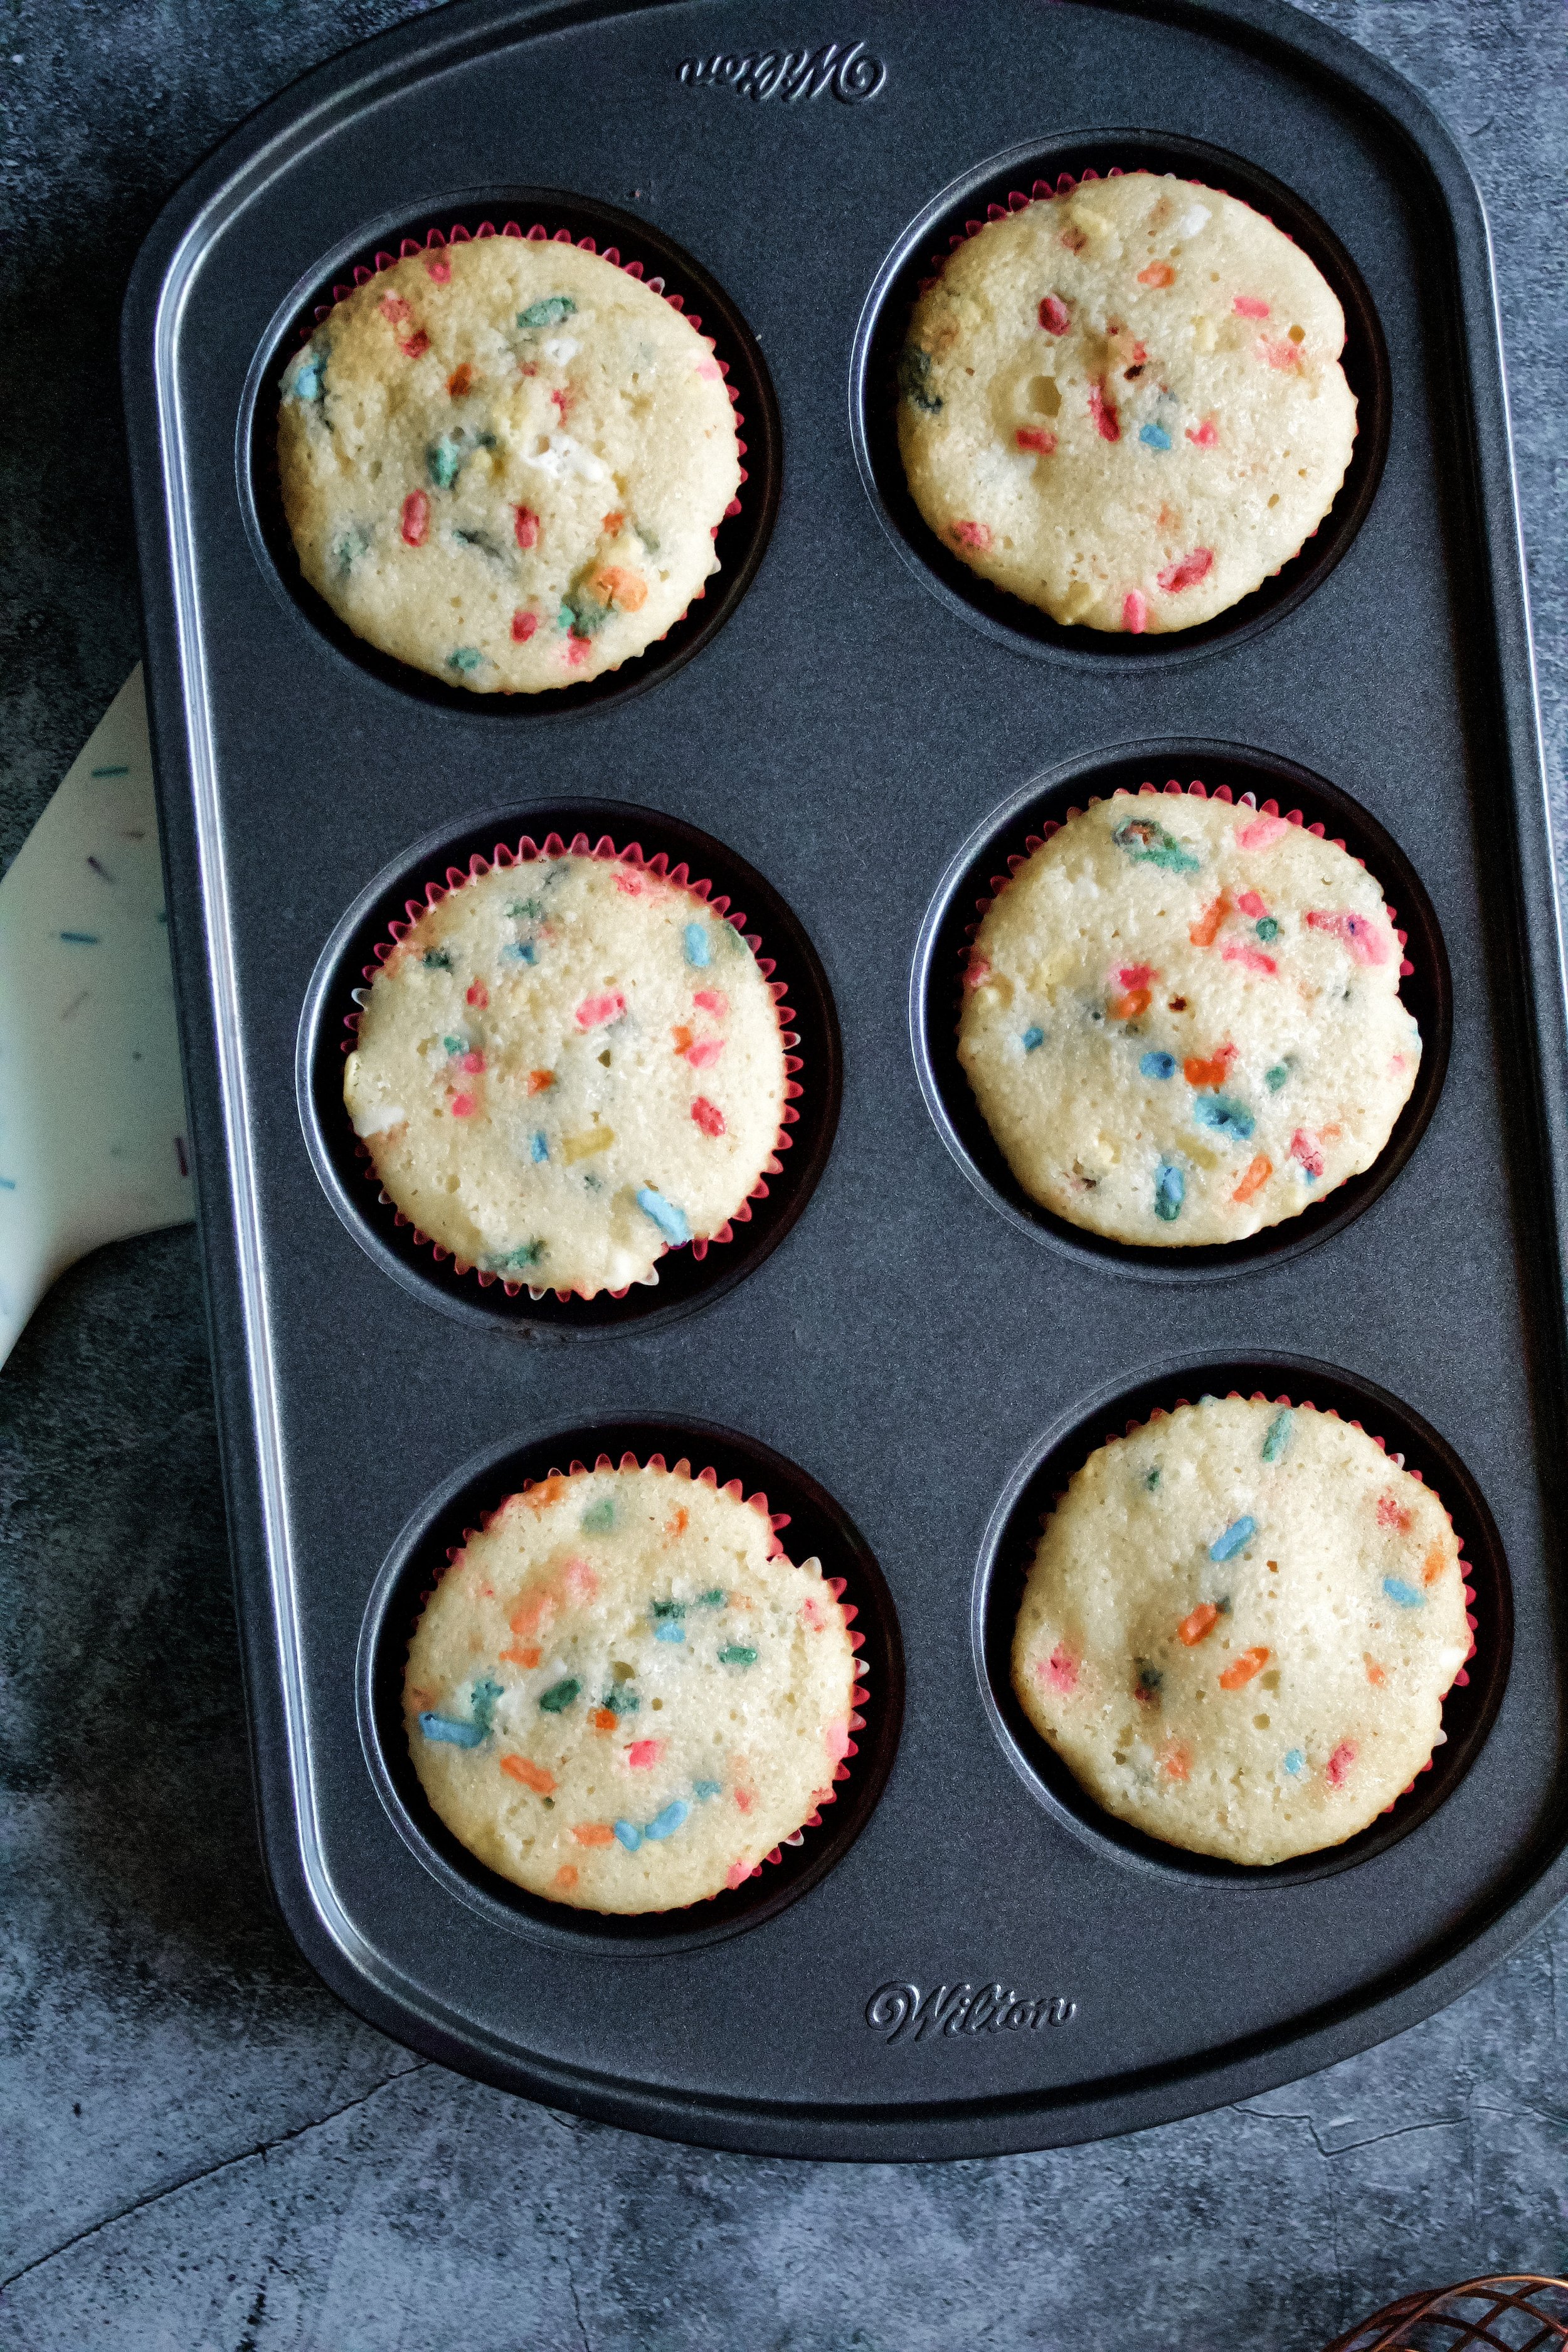
8. Bake. Pour into lined cupcake pans and bake 12-15 minutes, until a toothpick comes out with just some moist crumbs.
Assemble
9. Pipe frosting using a 1M tip. You can use any tip you like or just frost these by hand, but a 1M is my go-to.
10. Decorate with more sprinkles immediately. This is a crusting buttercream, meaning sprinkles won’t stick to it after it’s dried. Try to frost then sprinkle a few at a time so the sprinkles stick.
Enjoy!


Tips and FAQ’s for this recipe
Make your own cake flour!
I often make my own, because it’s so easy. One cup of cake flour is just 2 tablespoons cornstarch plus 7/8 cup all-purpose flour. Our, in simpler terms, 2 tablespoons cornstarch scooped into a 1 cup measuring cup then you scoop enough all-purpose flour over that to equal 1 cup (be sure to level it off with the back of a knife). Or, for a more mathematically accurate option for this exact recipe: use 4 1/2 tablespoons (1/4 cup plus 1/2 tablespoon) cornstarch and add that to 1 3/4 cup plus 1 1/2 tablespoons flour. Sift and whisk twice before using in the cake.
What kind of sprinkles should I use?
Any kind! I prefer jimmies, because they’re the most classic confetti cake sprinkle. However, you can use any kind you like. Nonpareils are another good option, but be careful not to mix too much or the color could bleed. I don’t recommend super large sprinkles or those jumbo nonpareils, as they are just uncomfortable to bite into and could cause the cupcakes to fall apart.
Spoon then level your flour
Don’t scoop your flour! I never knew this until I started blogging, but it seriously makes a big difference. You will end up with roughly 25% more flour than the recipe called for if you just doonk (official baking term right there) your measuring spoon into the flour container and scoop. Gently spoon your flour into your measuring cup then level it off with the back of a knife. Trust me! It makes a difference.

Can I make this into a cake?
Yes! This would work in two 8” or 9” pans, three 6” pans, or one 9x13” pan. For any circular cake, you’re always welcome to cut the layers in half or divide the batter into more pans to make room for more filling—it’s a total personal choice. Baking time will increase, from 20-25 minutes for 6” pans (unless using more than three pans—that will bake faster) to 40-45 minutes for a 9x13 pan. Be sure the cake isn’t any higher than the middle rack of your oven or the top could get a little dark in a larger pan. Tenting with foil toward the end should help with this.

Can I use a different frosting?
Yes! I’ve made these with marshmallow frosting and it’s so very delicious. Just be sure to add the food coloring BEFORE the marshmallow fluff, so it doesn’t turn gummy from all of the mixing and adding more dye that’s usually required. It will lighten up a bit after you add the fluff, so dye a little darker than you want. Another classic combo is chocolate frosting, and making these with rainbow frosting is just about the cutest thing ever. Beyond those options, you of course could use any frosting recipe you like, but it may not be quite the same as a classic confetti cupcake.

Don’t overmix the sprinkles
You want to gently fold them in (meaning stir by scraping along the edges then pulling that toward the middle at the end of your stir). Stirring to vigorously or too long could cause the sprinkles to dissolve and dye your cake a funny color. They will disperse a little more during baking, so don’t worry too much about getting them perfectly stirred in.

Split up your work
I know I did! I made this blue frosting just hours before finding out that the party it was for had been postponed—by a month. And then it was postponed again. Ah, the joys of kids who bring home colds. Anyway, I froze the frosting until I was sure we were on for celebrating, then let it defrost on the counter and fluffed it up using my hand mixer. After beating it for a minute on high, I stirred it by hand for a bit to release any air bubbles. You can freeze the frosting for about 2 months or refrigerate it for up to 2 weeks, just be sure to give it time to warm up and always stir or beat it to make it smooth again.

My cupcake tools
Here are my must-have tools I use for making these cupcakes. Affiliate links provided.
Reusable silicone piping bags (These are super easy to clean—just turn inside out, wear like a mitten, and wash! I stand mine like a cone hat on my tea kettle to dry.)
All-rubber spatula (this makes scraping the bowl easier so the batter and frosting doesn’t get all over a wooden handle!)
Mesh sieve (because sifting is KEY for a fluffy cake)
Cupcake pans (I’ve used many over the years and these are the most consistently successful.)
Sky Blue gel food coloring (optional—you can use another color or none at all!)


Confetti Cupcakes
- prep time: 40-45 minutes
- bake time: 12-15 minutes
- total time: 1 hour (plus cooling time)
servings: 24
Ingredients:
for the confetti cupcakes
- 2 cups plus 2 tablespoons (244g) cake flour, spooned then leveled
- 2 teaspoons (8g) baking powder
- ½ teaspoon (3g) sea salt
- ¾ cup (170g) unsalted butter, room temperature
- 1 ⅔ cups (335g) granulated sugar
- 3 large eggs, room temperature
- 2 tablespoons (27g) avocado or vegetable oil
- 1 tablespoon (13g) vanilla extract
- 1 cup (240g) whole milk, room temperature
- ½ cup (about 150g) sprinkles (like rainbow jimmies)
to frost
- one batch vanilla buttercream
- Sky Blue gel food coloring (optional)
- more sprinkles (optional)
Instructions:
make the blue frosting in advance
- If possible, make the buttercream ahead of time so the color can deepen in the fridge. Follow directions for the vanilla buttercream. After the taste is to your liking and before the “whipping stage” (where you mix it on high for a few minutes), add a pea-sized amount of blue gel food coloring and mix on high until blended. Continue adding small amounts of coloring until you are happy with the color. You can also deepen the color by refrigerating overnight.
- Once you are happy with the color, beat on high for 2-3 minutes, scraping the bowl halfway through.
- Once it is light and fluffy, stir for 1-2 minutes (or run your mixer on low for about 5 minutes, scraping bowl occasionally). If possible, place in an airtight container and refrigerate overnight or up to 2 weeks (or freeze up to 2 months).
- When ready to use, bring to room temperature on the counter. This takes about 2-3 hours. If you only refrigerated it overnight, you can fluff it up by stirring by hand. If it was refrigerated longer or frozen for any length of time, use a stand or hand mixer to beat it on medium for about a minute to fluff it back up.
- Place in a piping bag fitted with a 1M tip.
make the confetti cupcakes
- Preheat oven to 325F/165C (350F/175C if at high elevation). Line two cupcake pans with liners.
- In a medium mixing bowl, use a large fine mesh sieve to sift then whisk together cake flour, baking powder, and salt. Set aside.
- In the bowl of a stand mixer fitted with a paddle attachment (or a large mixing bowl with a hand mixer), beat the butter on high until fluffy, about 1 minute. Add the sugar and beat until light and fluffy, about 3 minutes. Scrape the bowl as necessary, at least once.
- Add the eggs, one at a time, mixing on medium until light and fluffy (about 30 seconds) and scraping the bowl after each addition. Add the vanilla and oil and mix on medium until well blended.
- Add half of the flour and mix on low until just barely blended. Add the milk and mix on low until just barely blended. Add the remaining flour and mix on low until just barely blended with some flour streaks still visible.
- Using a rubber spatula, gently fold in sprinkles until evenly mixed in. This will also help mix in the remaining streaks of flour.
- Divide evenly between your cupcake liners, filling about ⅔ full (no more than ¾ full). Bake for 12-15 minutes, or until a toothpick inserted in the middle cupcake comes out clean. Check early, around 10 minutes, as climate, elevation, and individual ovens can cause the bake time to vary.
- Let cupcakes cool in the pan 5-10 minutes, then remove to a wire rack to cool completely.
assemble
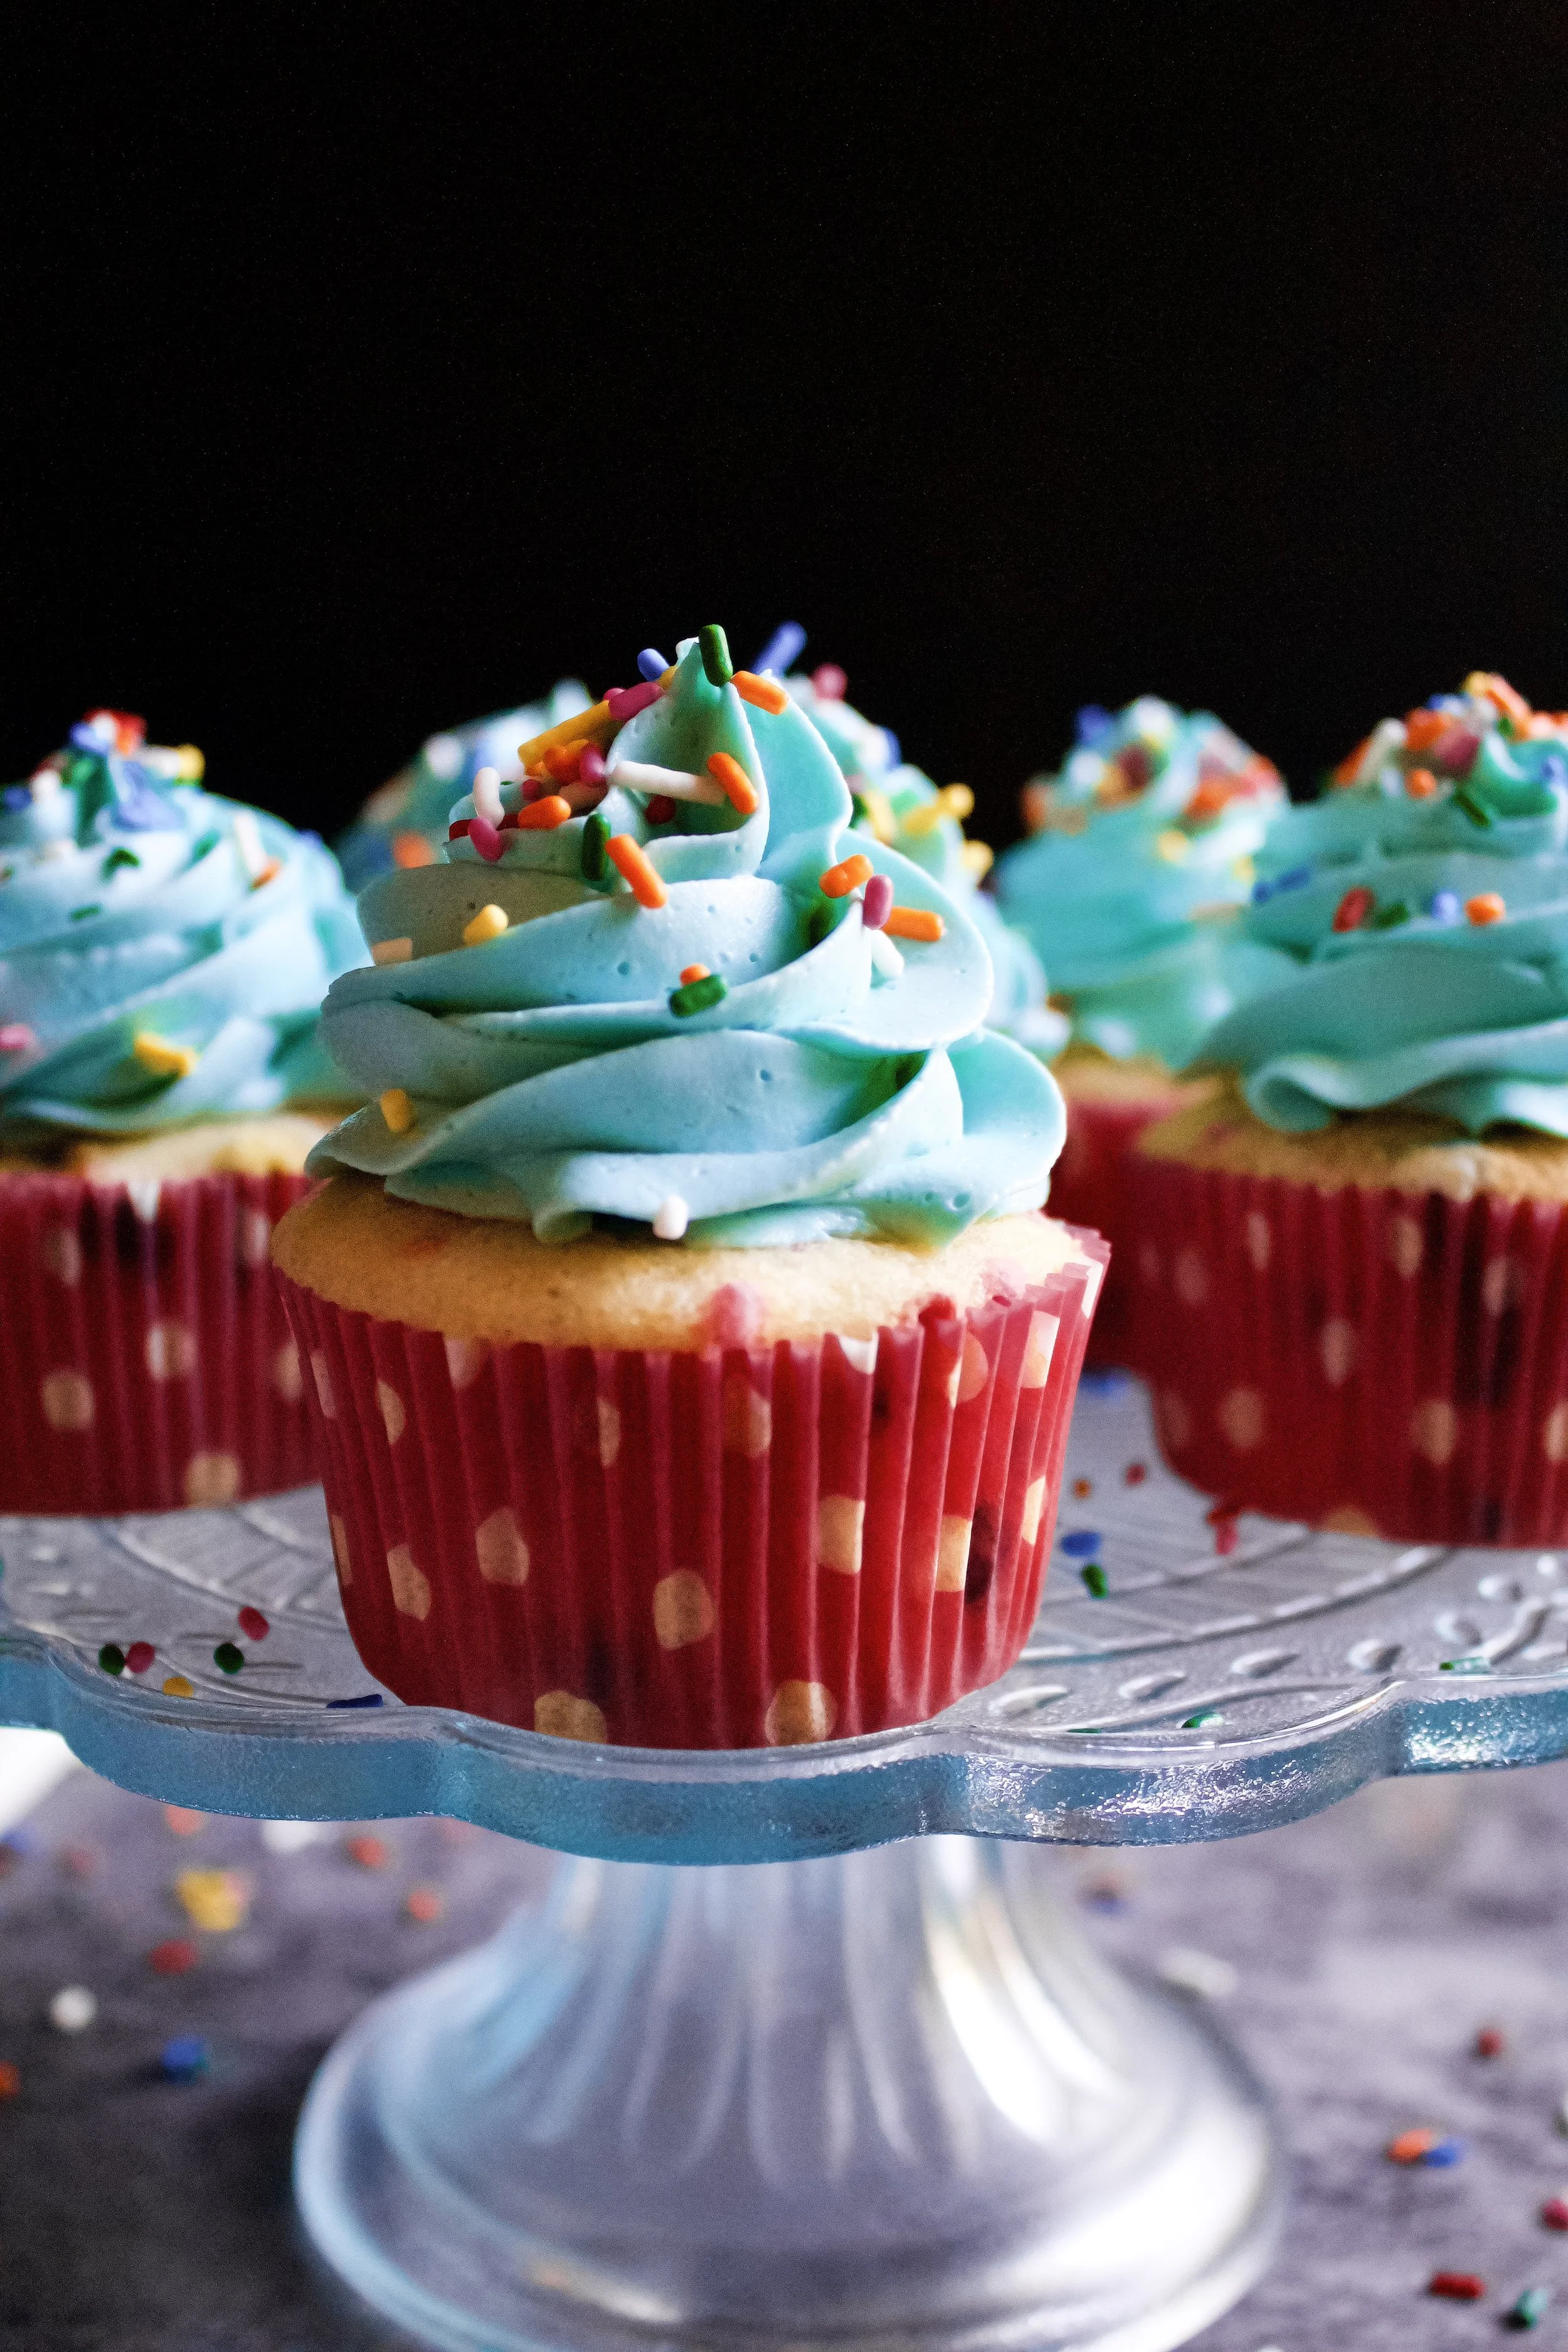
- When the cupcakes are cool, pipe desired amount of frosting on each cupcake. For this design, I started on the outside and piped a spiral inward, creating a base to move upward and create the tall cone of frosting. (Yes, I’m very technical and professional here.)
- Sprinkle immediately with more jimmies so they adhere before the frosting sets.
Enjoy!
Cupcakes should be stored in a truly airtight container. If using a typical cupcake caddy, wrap the seam with plastic wrap to preserve freshness. Cupcakes will last 3-5 days at room temperature.
*I highly recommend European style butter! It has less water and makes a richer dessert.
**If your butter has become shiny or oily, put it back in the fridge for 5-10 minutes until it firms up a bit (not hard) and is matte in appearance.
