
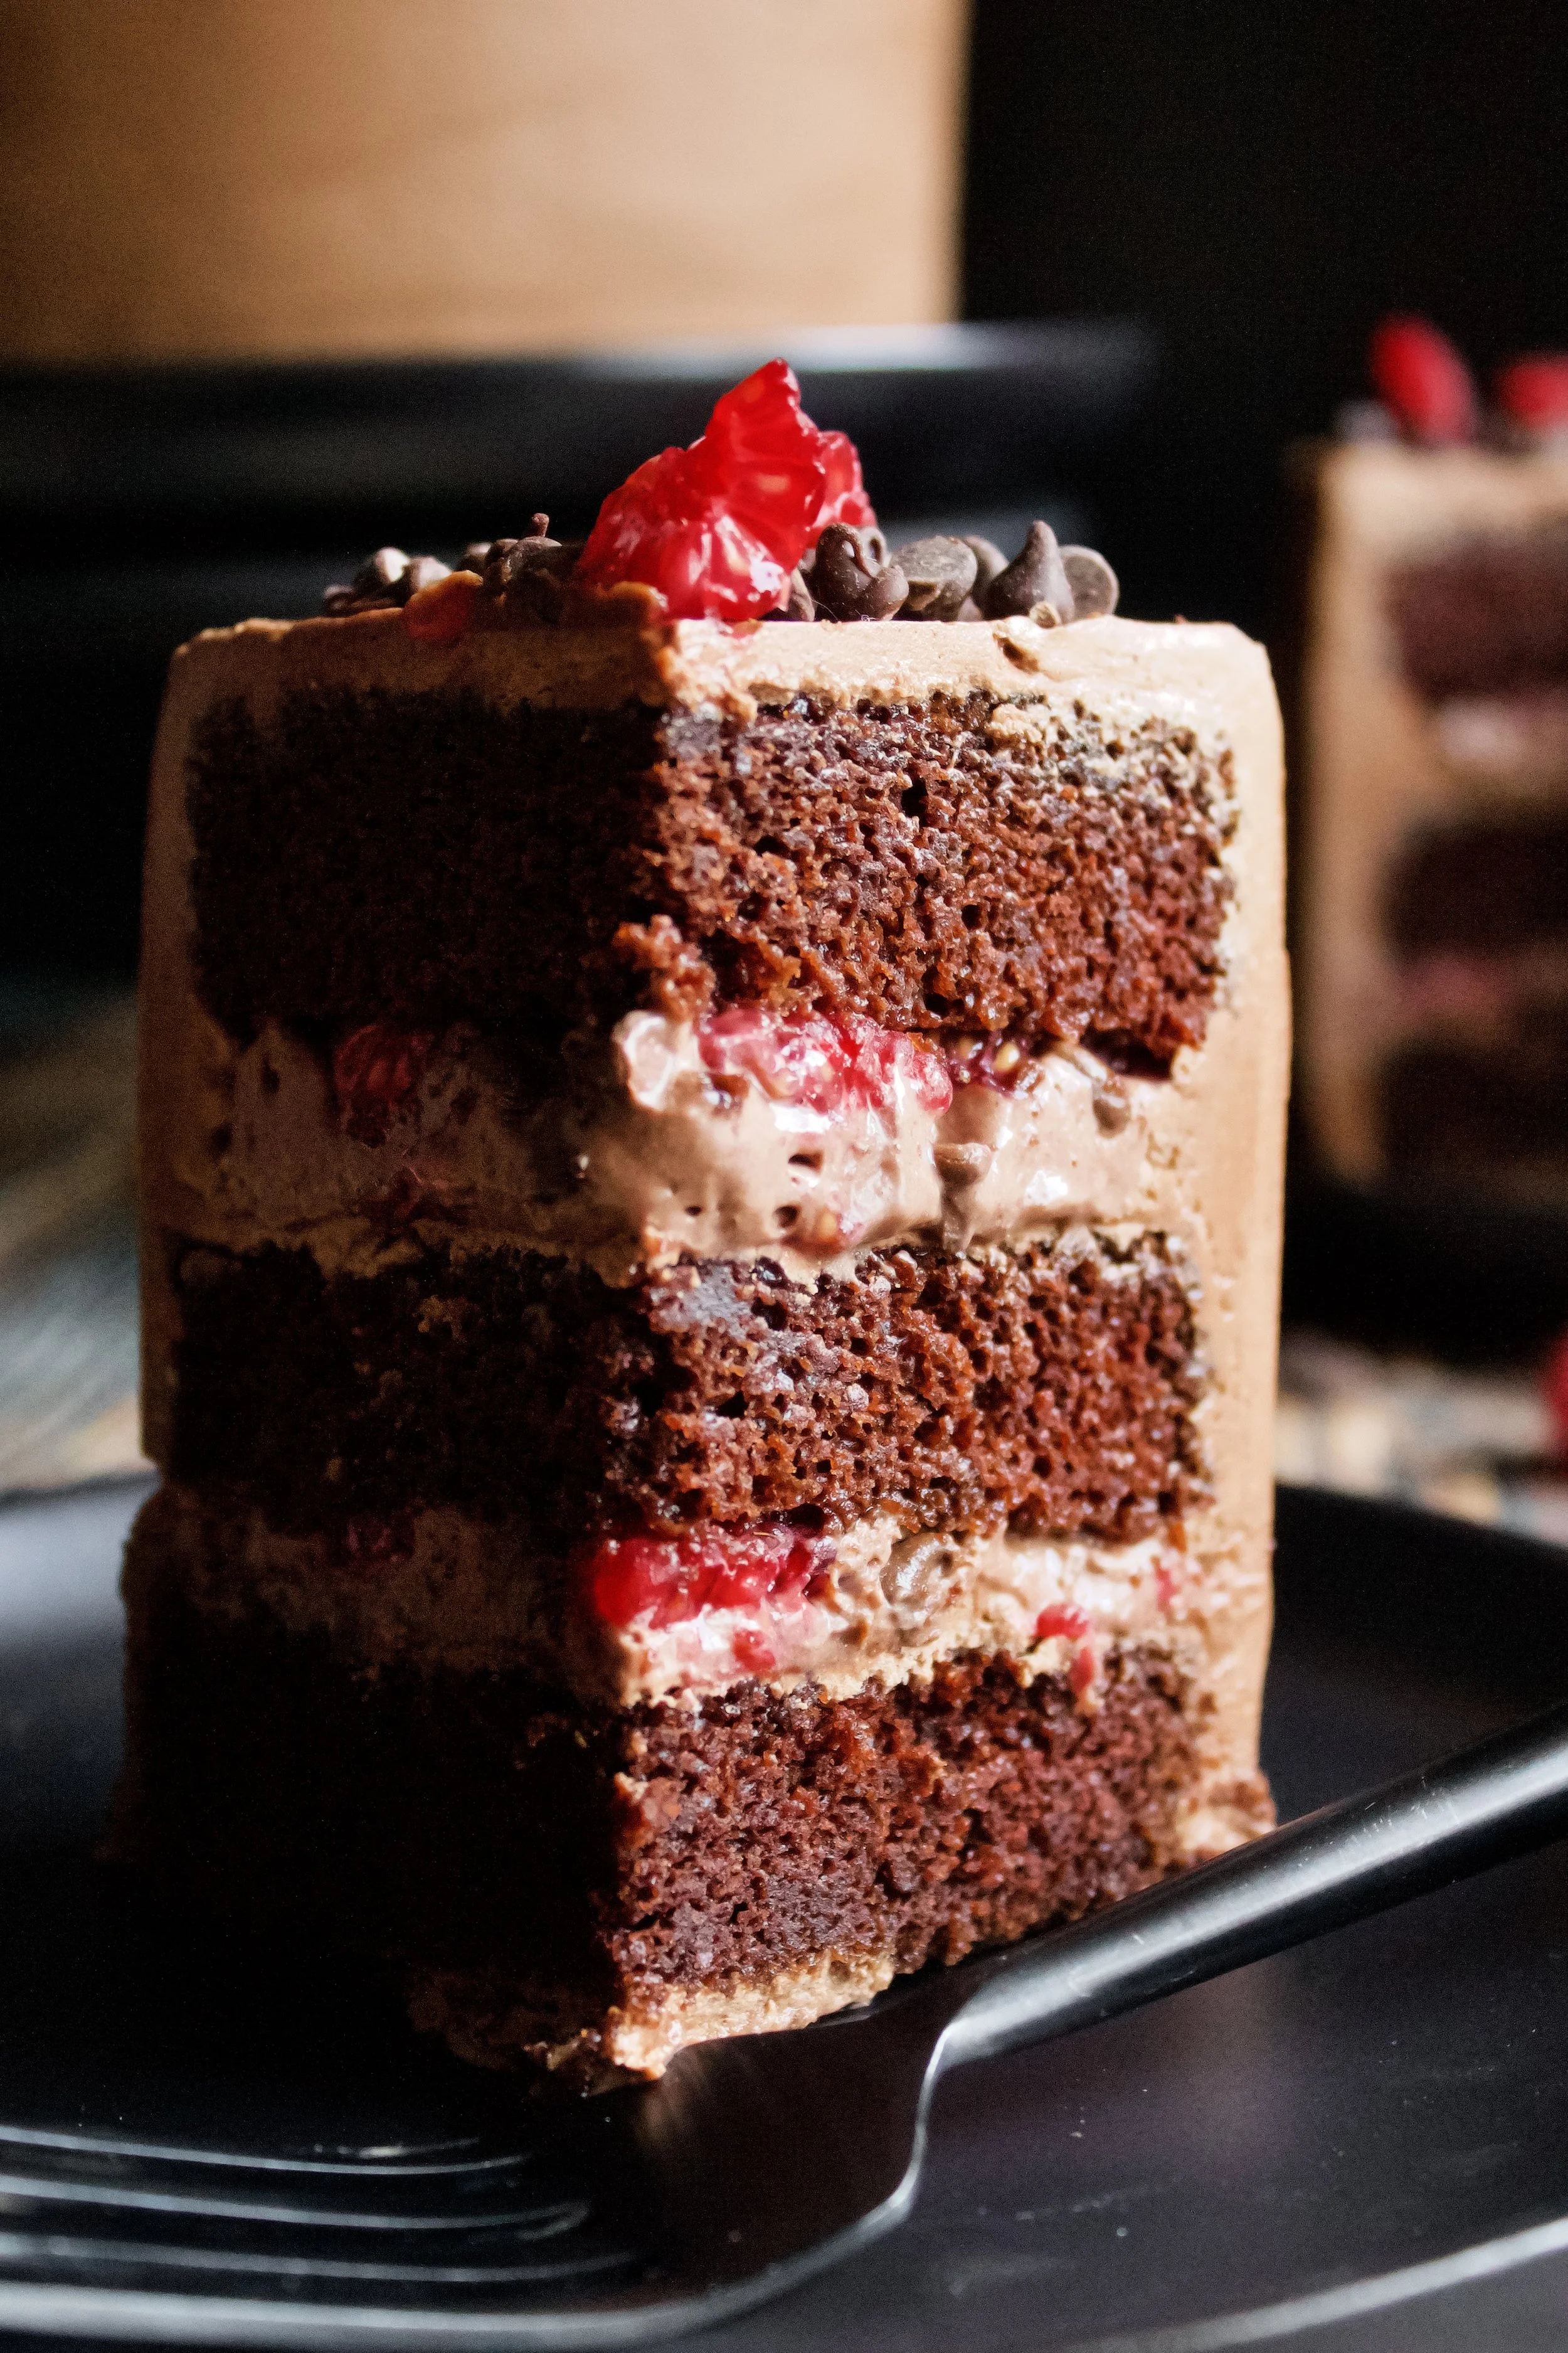
Chocolate Raspberry Mousse Cake
Fluffy, moist chocolate cake filled with chocolate raspberry mousse, fresh raspberries, and mini chocolate chips, and frosted with chocolate ganache buttercream. This cake is at once rich yet light, fully of flavor, and always a crowd pleaser!
This post may contain affiliate links from which, at no additional cost to you, I may earn a small commission to keep this site running. Only products I myself would or do use are recommended.
This cake! My chocolate-hating sister actually ate this cake (mostly for the raspberries, but I’ll take it!). I started making it a few years ago and it’s been my go-to for so many birthdays, parties, and even just hanging out with friends. Because random weekend barbecues demand cake, and this cake is at once rich and decadent yet light and refreshing. Making it perfect for just about any occasion and any weather.
What I love are all of the different textures and flavors. Rich and fluffy chocolate cake. Creamy cream cheese based chocolate raspberry mousse, fresh raspberries, chocolate chips, and a super decadent chocolate ganache buttercream.
This cake has all the things.

Why this recipe works
First, the chocolate cake. It’s just SO good. Fluffy yet moist, rich but not overly so, and the perfect amount of sweet. It’s my absolute favorite chocolate cake. It’s that white whale of cakes: fluffy and moist yet sturdy and reliable. It’s great for stacking nice and tall.

Then there’s the filling. It’s a bit of a mix of a few recipes, including the filling in my chocolate cream pie. It has cream cheese for stability and a bit of tang, cocoa powder and raspberry jam for a wonderful flavor combo, and whipped cream to give it that silky mousse texture. Plus, I sprinkled mini chocolate chips and raspberries on it for more texture variety and because they’re just delicious.

Finally, the frosting. This is my baby, my random frosting creation that’s always so, so good. It is a bit on the softer side, so if you plan to travel with the cake, you may want to freeze it for an hour before leaving. However, it works well here because the cake has to be refrigerated (due to the filling), so it keeps the frosting nice and sturdy.

Key ingredients
Flour. Be sure to spoon then level your flour so you don’t pack it in, and always sift with a fine mesh sieve!
Cocoa powder. Sifting this is a must, as it tends to clump. Be sure you use unsweetened cocoa. Regular is preferred, but Dutched will work as well.
Sugar. Obviously! You’ll need this in the cake as well as the caramel sauce.
Baking powder/soda. Both are needed to help the cake rise properly. Be sure they haven’t been open longer than a few months or they do start to lose their umph, regardless of the indicated expiration date. And be sure they’ve been well-sealed! Any moisture getting in will stop them from working properly.
Salt. Again, needed in all elements of this cake. I highly recommend sea salt, as it helps complement the sweetness better.
Buttermilk. I always make my own by adding 1 tablespoon white vinegar to a 1 cup measuring cup. I then fill it the rest of the way with room-temperature whole milk.
Oil. I prefer avocado or grape seed oil, as they are light and tasteless but still heart-healthy. Vegetable or canola oil work, too.
Eggs. Use fresh, large eggs and make sure they have reached room temperature.
Vanilla. Always use pure extract in baking, not imitation.


Hot coffee. Be sure your coffee is piping hot when you use it. You can make it as strong or light as you’d like. I prefer blond coffee in most cakes, but you really can’t taste it if you use a dark roast. It just serves to bring out a more intensely dark chocolate flavor.
Cream cheese. This helps the filling have some stability and adds a bit of tangy flavor to the mousse.
Powdered sugar. Also called confectioner’s or icing sugar. Sift if it has become clumpy.
Raspberry jam. This only goes into the filling, and is optional. However, I started adding it a few years ago and love it!
Heavy cream. Used in the filling and frosting. Be sure you have heavy whipping cream (also called double cream).
Fresh raspberries. Be sure to at least halve these, or the cake won’t stack well.
Mini chocolate chips. Optional, but why wouldn’t you add these?? They give the filling some
Chocolate ganache buttercream. My first original recipe. This luscious, creamy, rich frosting isn’t super sweet and is so full of flavor.

How to make chocolate raspberry mousse cake
Make the cake
1. Sift and whisk dry ingredients. Don’t skip the sifting! It’s key to making this cake nice and fluffy.
2. Whisk eggs, buttermilk, oil, and vanilla. Whisk very well to fully emulsify (blend) it all, especially the eggs and oil.
3. Slowly whisk hot coffee into wet ingredients. Whisk very quickly and pour slowly to avoid scrambling the eggs. If you do think you scrambled some, you can run it through your fine mesh sieve.
4. Slowly stir wet ingredients into the dry. Do this on low and immediately stop and scrape the bowl once everything is combined.
5. Beat on medium for exactly 2 minutes. Set a timer so you don’t under or over mix.
6. Bake. Bake until a toothpick or cake tester comes out with just some moist crumbs—not fully clean, as this can mean it’s over baked. Remember that it continues to bake a little when you take it out of the oven.


Make frosting and filling
7. Make the buttercream. You can also do this ahead of time but while the cake cools is plenty of time to make it and have it fresh for frosting.
8. Make the filling. You’ll beat the cream cheese, cocoa, part of the sugar, and raspberry jam then beat the whipped cream and remaining powdered sugar separately, folding the two together.
Assemble
9. Fill with mousse, chopped raspberries, and mini chocolate chips. Be sure to pipe a ring of frosting around the edge, first, to keep the filling inside.
10. Frost and decorate cake. I made a ring of berries and chocolate chips for fun, but you can decorate as desired.
Enjoy


Tips and FAQ’s for this recipe
Can I make this ahead of time?
Yes! I always split up my work for this cake. I like to make the frosting a few days in advance and keep it refrigerated. You can also make the first part of the filling (prior to folding in the whipped cream) in advance and keep it refrigerated up to one day. When ready to use, whip the cream and fold it in right before you assemble the cake.
The cake layers as well can be made the night before and kept (well-covered) on the counter overnight, but only if you will be frosting the cake in the morning. Otherwise, it’s best to let the cakes cool completely then wrap them in a double layer of plastic wrap and freeze them. Just be sure to let them defrost jut enough to be able to cut any domed tops off—you want to avoid freezing cut cake layers.

What if I’m traveling with the cake?
You have two options. First, you can freeze the cake for about an hour before you leave. This will help set the frosting and filling so they don’t move around in the car. Another is to use plain chocolate buttercream, which is sturdier. (Of course, you could also adjust the ratios in the filling to use less heavy cream or more cocoa powder, but this will make it much thicker than intended and the taste could be off.)

Does it have to be refrigerated?
Yes. The cream cheese and whipped cream in the filling must be refrigerated. They can last at room temperature for up to two hours, so if you want it on display at a party (I’ve done that!) you can do so. However, be sure to refrigerate any leftovers immediately, because the filling will start to spoil after two hours. If you need it at room temperature longer, you’ll want to freeze the cake for at least an hour (longer if it’ll be in warm temperatures) and simply let it defrost during your event.
If you cannot keep it refrigerated, a great alternative option are these chocolate raspberry cupcakes! They use the same cake and frosting, but with raspberry jam filling.

Can I use a different berry?
Sure! Any berry that goes with chocolate is fine. Blackberries or strawberries are ideal, although you’ll want to blot the chopped strawberries with a paper towel before using or their high water content could cause the filling to separate.
Can I add more jam?
Yes, but not to the filling. It’s a fairly loose filling, which works just fine because it’s refrigerated. However, if you add more jam, it will make the filling too loose and the cake will likely split or slide apart. Instead, spread a thin layer of it on the cake before you add the filling. Or, drizzle a little jam on top of the berries and chocolate chips, before stacking the next layer of cake.

How to do I keep the filling from leaking out the sides?
Don’t skip piping that ring of frosting! This is very important in mousse cakes, where the filling is too soft to not squish out the sides. If your house is especially warm while filling the cake, it could help to refrigerate the filling and frosting for 5-10 minutes so it’s not too loose to work with.
Do I have to use coffee in the cake?
Probably. You could technically use just hot water, but I have never been a fan of how this cake tastes without coffee. Trust me, you will not taste the coffee if you use light roast. If you’re worried, you can make it half strength, which should be enough to bring out the chocolate flavor.

Measure dry ingredients carefully
Always spoon flour and cocoa into your measuring cup then level with the back of a knife or other straight edge. And be sure to sift with a fine mesh sieve so your cake is nice and fluffy.
Sift your dry ingredients
Usually, you don’t need to sift the dry ingredients unless it’s cake. However, I realized that every time I tried making brownies, my cocoa left little clumps that in turn caused me to over mix my batter. Instead, sifting the dry ingredients means you can simply fold them into the wet ingredients without over mixing, resulting in a tender, fudgy brownie that’s not dense.

Use room temperature ingredients
This is another baking must. Room temperature ingredients (when called for) are non-negotiable. I have seen the difference in cakes that are tough and don’t rise. Plan ahead and make sure your ingredients have had time to sit out.
Use quality cocoa
Since cocoa is the main flavor here, you want a good brand. Opt for something organic and fair trade, if possible, because this usually means it was produced in smaller batches and thus higher quality and is often fresher, too. Plus, the flavor of the high quality cocoa is always noticeable in the brownies. My go-to is Volupta, from Costco, but some other good options are Ghirardelli, Guittard, Scharffen Berger, Anthony’s, or even Hershey’s Special Dark in a pinch.

My tools
Here are my must-have tools I use for making this cake. Affiliate links provided.
Mesh sieve (because sifting is KEY for a fluffy cake)
All-rubber spatula (this makes scraping the bowl easier so the batter and frosting doesn’t get all over a wooden handle!)
Silicone liners for 8” cake (or for 6” cakes)
8” aluminum cake pans or 6” aluminum cake pans (I’ve found nonstick doesn’t bake as evenly)
Offset spatula (for frosting the cake)


Chocolate Raspberry Mousse Cake
- prep time: 40-45 minutes
- bake time: 20-25 minutes (varies by pans used)
- total time: 1 hour, 10 minutes (plus cooling time)
servings: 12-16
Ingredients:
for the cake
- 1 ⅔ cups (333g) granulated sugar
- 1 ⅔ cups (227g) flour, sifted
- ¾ cup (75g) unsweetened cocoa or cacao powder, sifted
- 2 teaspoons (8g) baking powder, sifted
- 1 teaspoon (5g) baking soda, sifted
- ½ teaspoon (3g) fine ground Himalayan sea salt (or 1 teaspoon table salt, but sea salt gives a better flavor)
- 2 large eggs, room temperature
- 1 cup (240g) buttermilk*, room temperature
- ½ cup (120g) avocado or olive oil
- 1 tablespoon (13g) pure vanilla extract
- 1 cup (240g) very hot coffee (light or dark roast is fine)
for the chocolate raspberry mousse filling
- 8 ounces (227g) cream cheese, room temperature
- 1 ⅓ cups (173g) powdered sugar, separated
- ⅓ cup (28g) unsweetened cocoa powder, sifted
- 1 tablespoon (13g) pure vanilla extract
- 2 tablespoons (28g) raspberry jam (optional, can use homemade or store bought)
- 1 cup (240g) heavy whipping cream, cold
to assemble
- one batch chocolate ganache buttercream
- 12 ounces fresh raspberries, washed and dried
- ½ cup (85g) mini chocolate chips (or more, to taste)
Instructions:
make the cake
- Preheat your oven to 325F/165C. Lightly grease and flour three to four 8” or 9” cake pans or 6” cake pans (or use baking spray) and line the bottom with parchment paper or silicone baking mats. Optionally, you can make two layers and cut each one in half.
- In the bowl of stand mixer (or large bowl), whisk together sugar, flour, cocoa, baking powder, baking soda, and salt, being sure to sift as instructed. I prefer using a hand whisk for this step as the whisk attachment doesn't always get the very bottom mixed in. Fit this to your stand mixer with the paddle attachment. You can also use a large mixing bowl with a hand mixer. * I also like to make my coffee at this time so it’s fresh and hot.
- In a separate bowl, whisk together eggs, buttermilk, oil, and vanilla.
- VERY slowly, pour coffee mixture into the egg mixture, whisking the eggs quickly and constantly to avoid scrambling them. Feel free to do it in increments if this is your first time.
- Turn mixer to low. Slowly pour wet ingredients into dry. It will clump up halfway through then settle into a liquid-y consistency. Immediately turn off mixer once all ingredients are combined then scrape down sides with a rubber spatula, making sure to get to the very bottom. Beat on medium for exactly 2 minutes. Do not overmix!
- Pour batter evenly into prepared pans. Gently tap pans on the counter a couple times to get some of the bubbles out.
- Bake for 20-25 minutes if using three pans or 15-18 minutes if using four pans, until a toothpick inserted in the middle comes out with some moist crumbs but no raw batter. Always check cakes a little early, as oven time can vary. If not using a convection oven, rotate cakes halfway through.
- Cool in pans 5-10 minutes then remove to a cooling rack until completely cooled.
make the filling and frosting
- While the cakes cool, make the frosting. This can also be made ahead and kept refrigerated up to 2 weeks (well-sealed) or frozen up to 2 months. Let come to room temperature on the counter.
- When ready to assemble, make the mousse filling. Beat cream cheese, 1 cup powdered sugar, cocoa, vanilla, and jam on low until combined then beat on high for 1 minute until light and fluffy and completely smooth (aside from the raspberry seeds).
- In a separate bowl, beat the heavy cream and remaining ⅓ cup powdered sugar until stiff peaks form (but don’t let it become grainy). Fold ⅓ of it into the cream cheese mixture until fully combined. Follow with another ⅓ of the whipped cream, then the last, folding each addition in until fully combined. Use immediately, as it will firm up quickly and become difficult to spread.
assemble the cake
- Cut your clean raspberries in half or quarters (up to personal preference). Cutting them is optional, but does help make the cake more sturdy.
- Trim any rounded tops off of the cake layers with a long serrated knife or cake leveler. If you only made two layers, carefully cut each layer in half to make room for more filling.
- Place about 1 cup of the frosting in a piping bag with a ½ inch trimmed off the end. Pipe a ring of frosting around the edge of the bottom layer of cake. Optionally, you can spread a thin layer of frosting or jam on it, first.
- Spread a layer of filling within this frosting ring. If you made 3 cake layers, use about half of the filling. If you made 4 layers, use ⅓ of the filling.
- Sprinkle some cut raspberries and mini chocolate chips on top of this. Be sure to save enough raspberries for each successive layer of cake as well as on top to decorate.
- Continue stacking and filling each layer in this method until all layers of cake are stacked. Cover the cake in a crumb coat of frosting and refrigerate at least 20 minutes. If the cake is already shifting as you try to crumb coat it, you can refrigerate it for a few minutes to set the filling before adding the crumb coat.
- Frost cake to desired thickness. Top with more raspberries and chocolate chips, as desired.
Enjoy! Cake should be refrigerated. Take out 20 minutes (or up to 2 hours) before serving. Cake will 2-3 days in the fridge, if well covered. If traveling with it, freeze for an hour first to help the frosting stay put in the car.
*You can make your own buttermilk by adding 1 tablespoon of white vinegar to a 1 cup measuring cup then filling the rest of the way with room temperature whole milk. Stir and let sit 5-10 minutes.
