
Baking with Sourdough Starter: Levains
Everything you need to build a levain to be used in a loaf of sourdough bread. While there are several methods for levains, this particular recipe is simple, reliable, and predictable, meaning your bread making will be easy and seamless.
This post may contain affiliate links from which, at no additional cost to you, I may earn a small commission to keep this site running. Only products I myself would or do use are recommended.
If you’re new to the world of sourdough, check out this post about creating a starter and this post about maintaining a starter. And, if need be, check out this post about troubleshooting a sourdough starter.
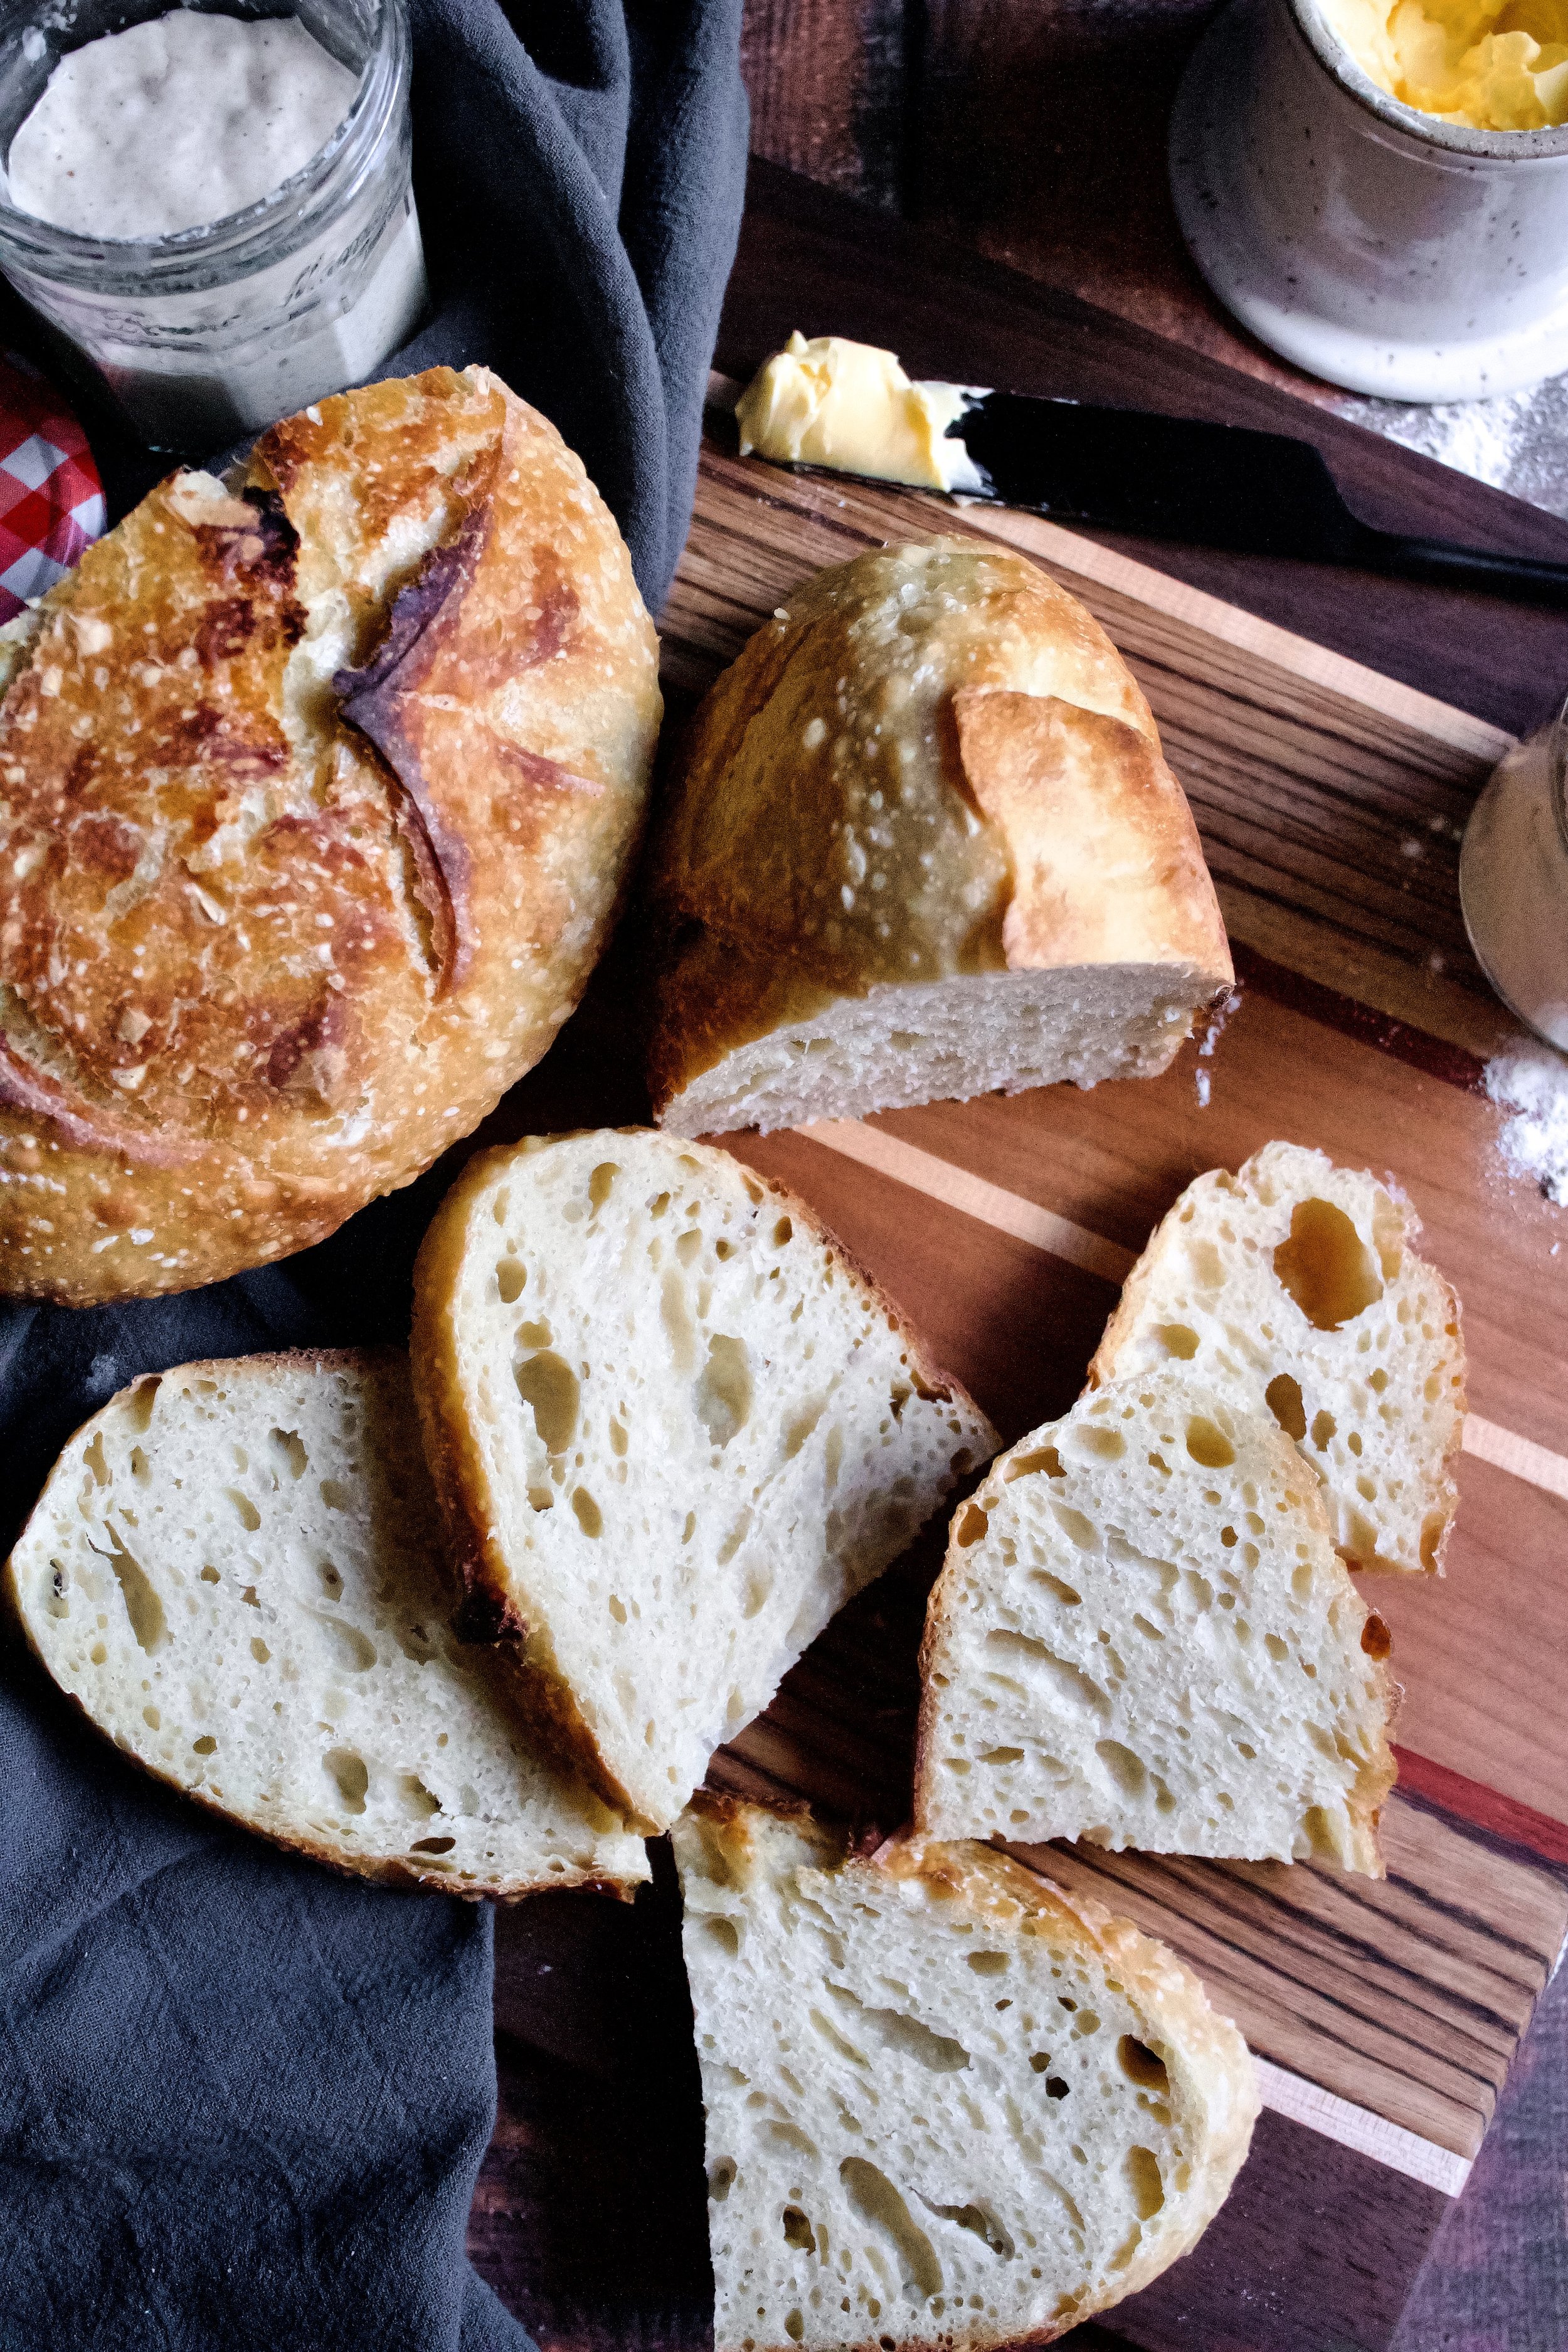
Sourdough is a fantastic way to make bread that is both delicious and has a bit of health to it. The bacteria formed in sourdough is actually very healthy for you! Sourdough bread is often easier on your stomach, making it ideal for those with IBS or those with gluten sensitivities (although not allergies—those with Celiac cannot have sourdough).
But before we bake that first amazing loaf of sourdough, we need to prepare a levain.
What is a levain?
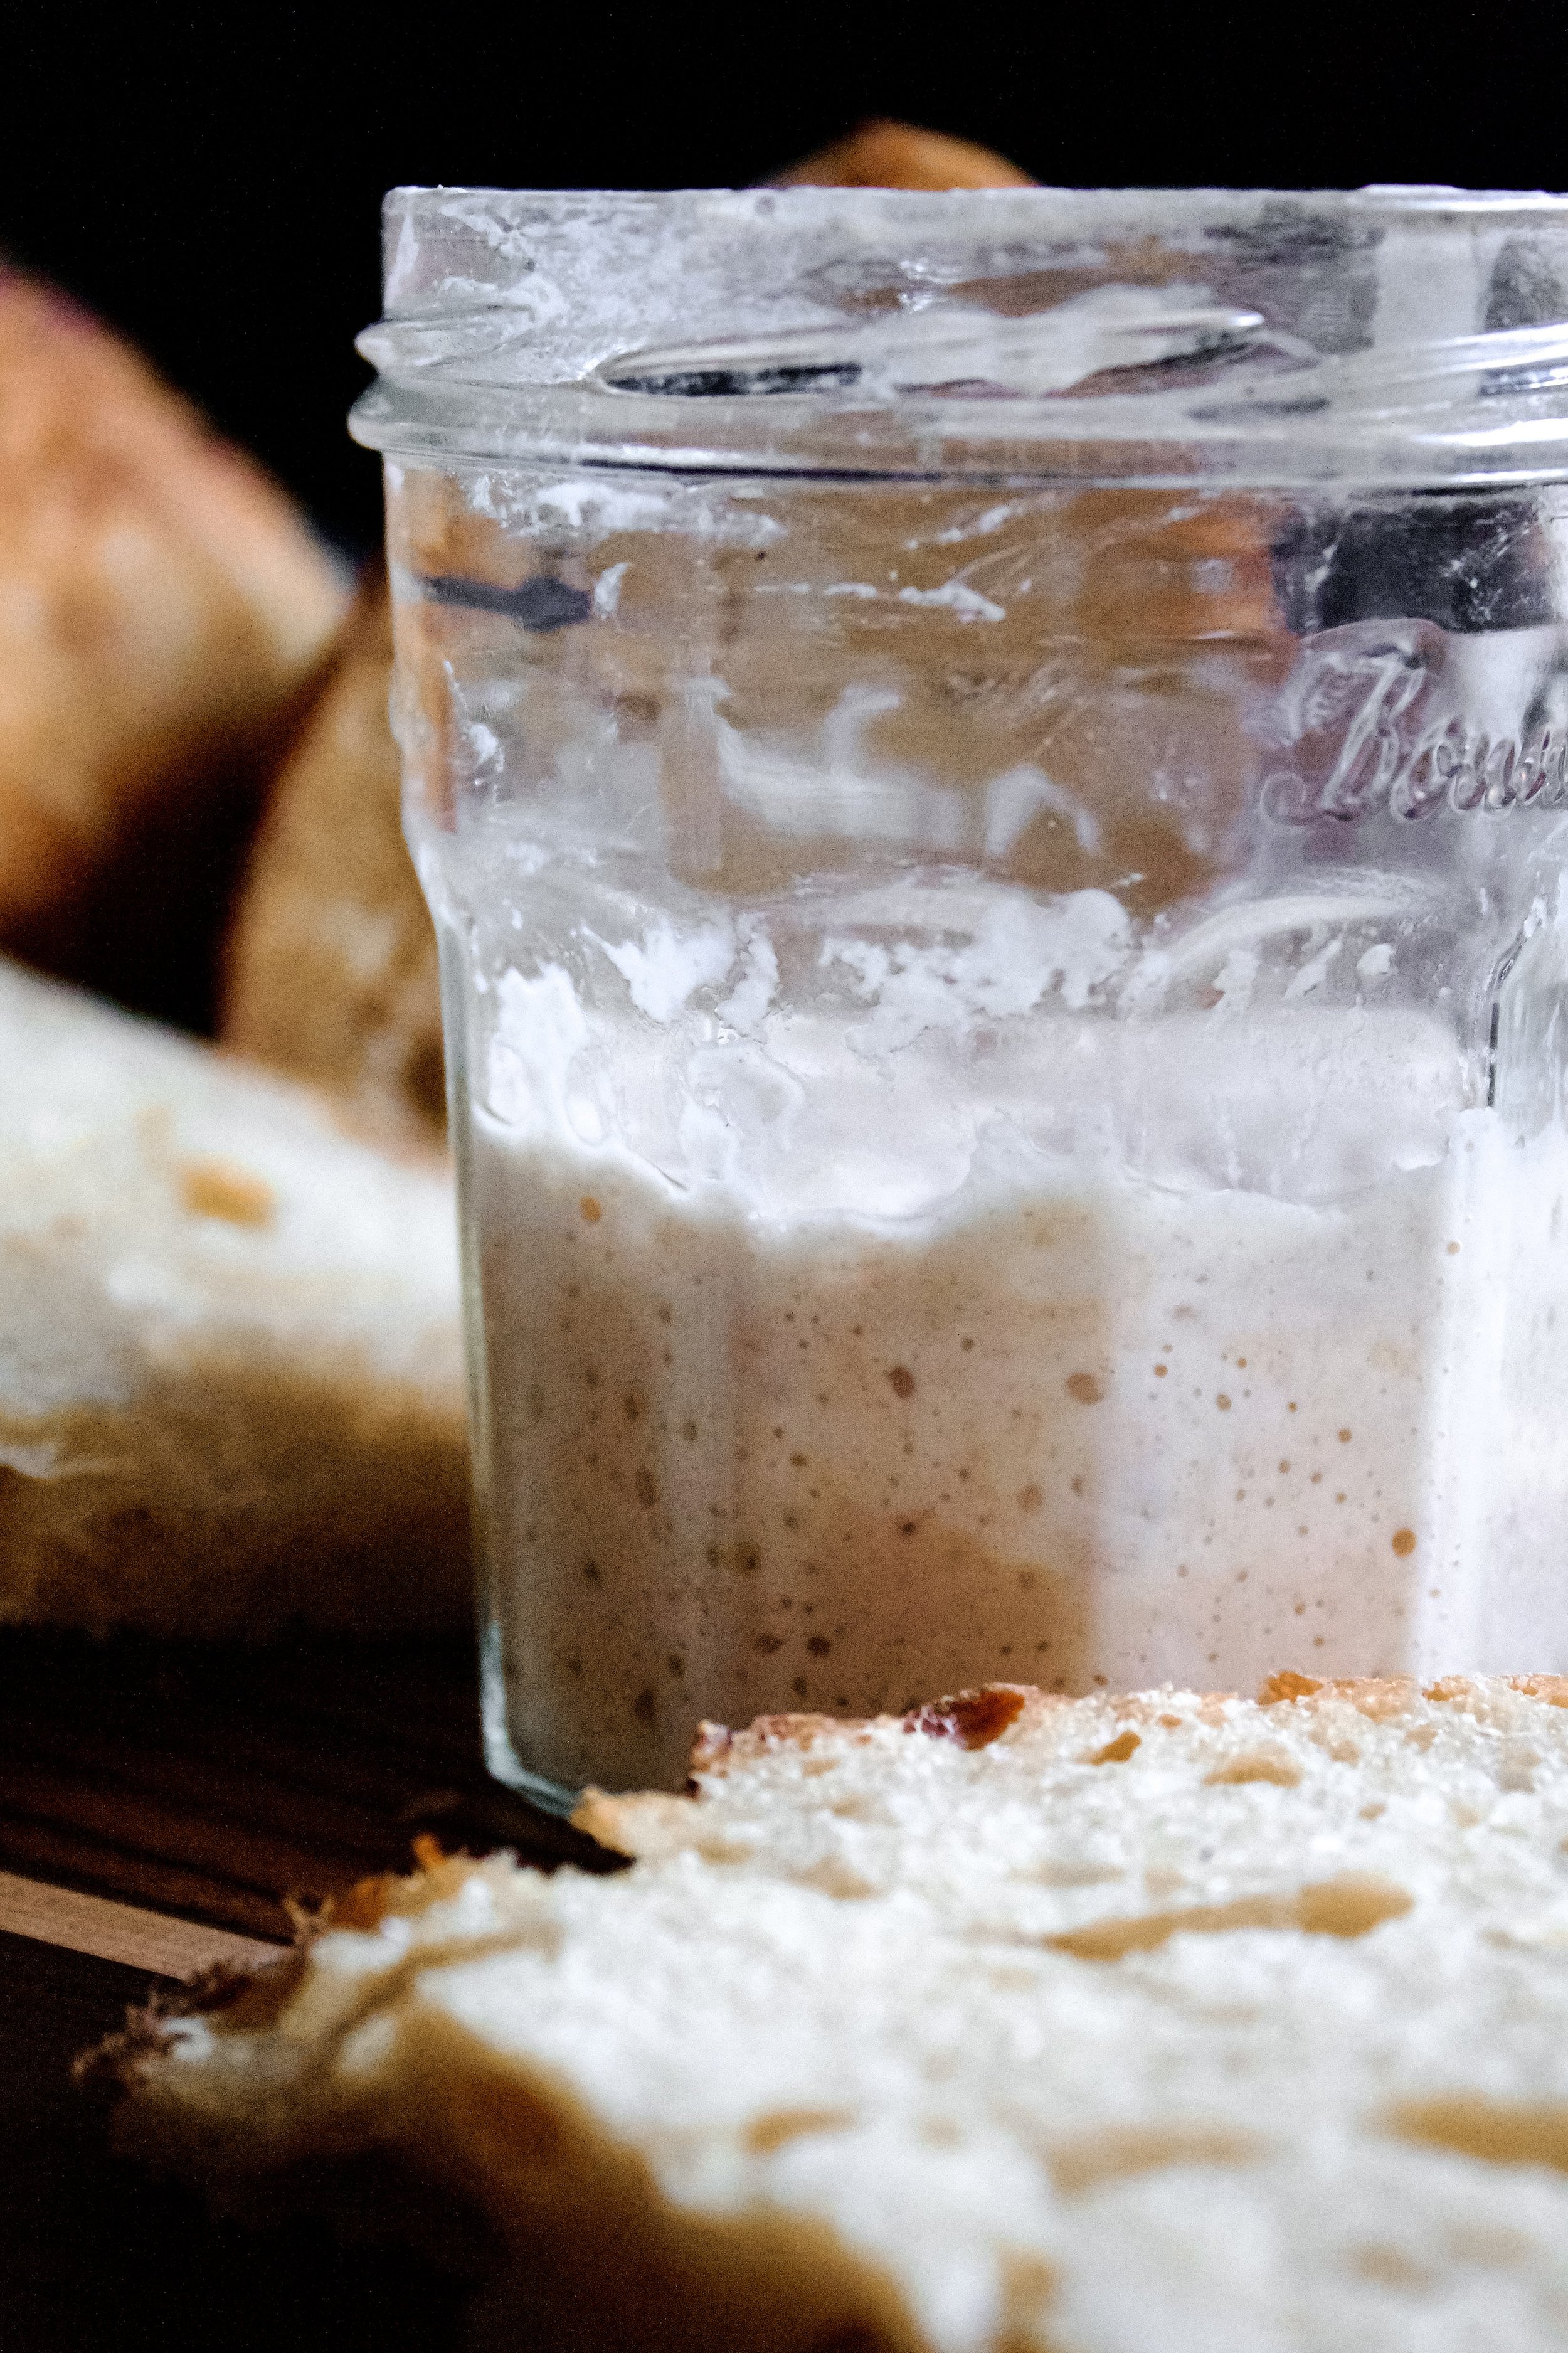
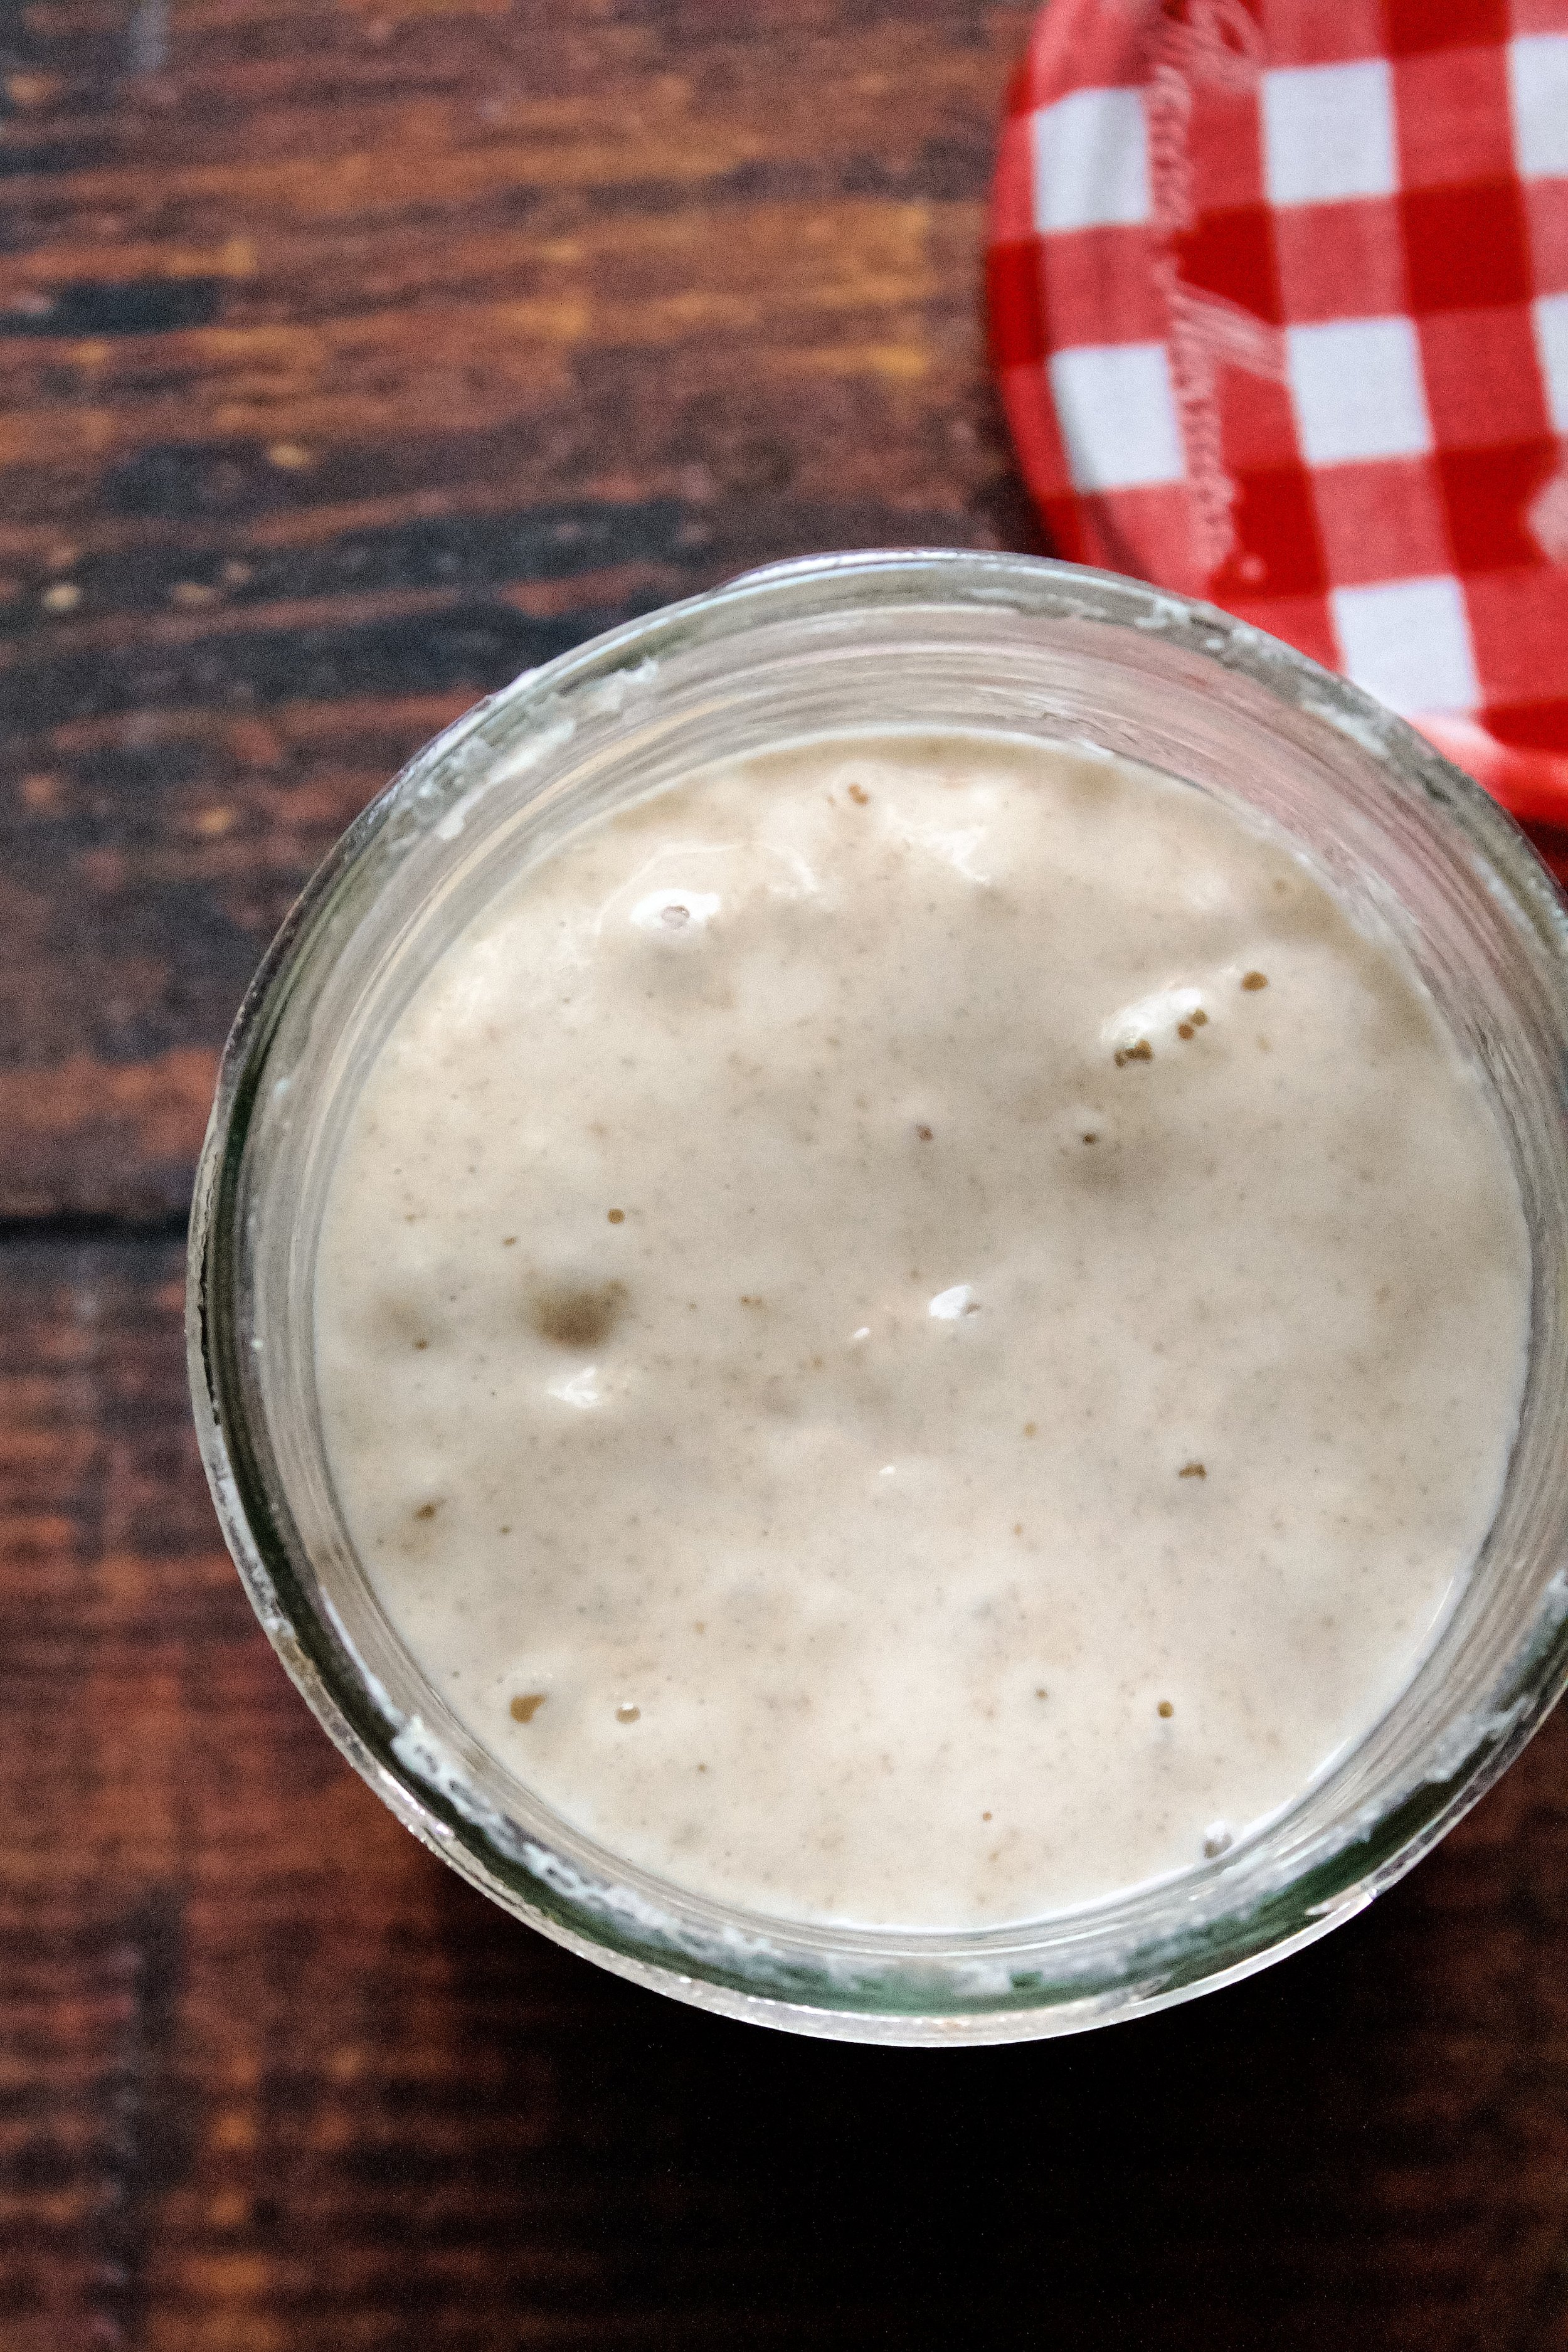
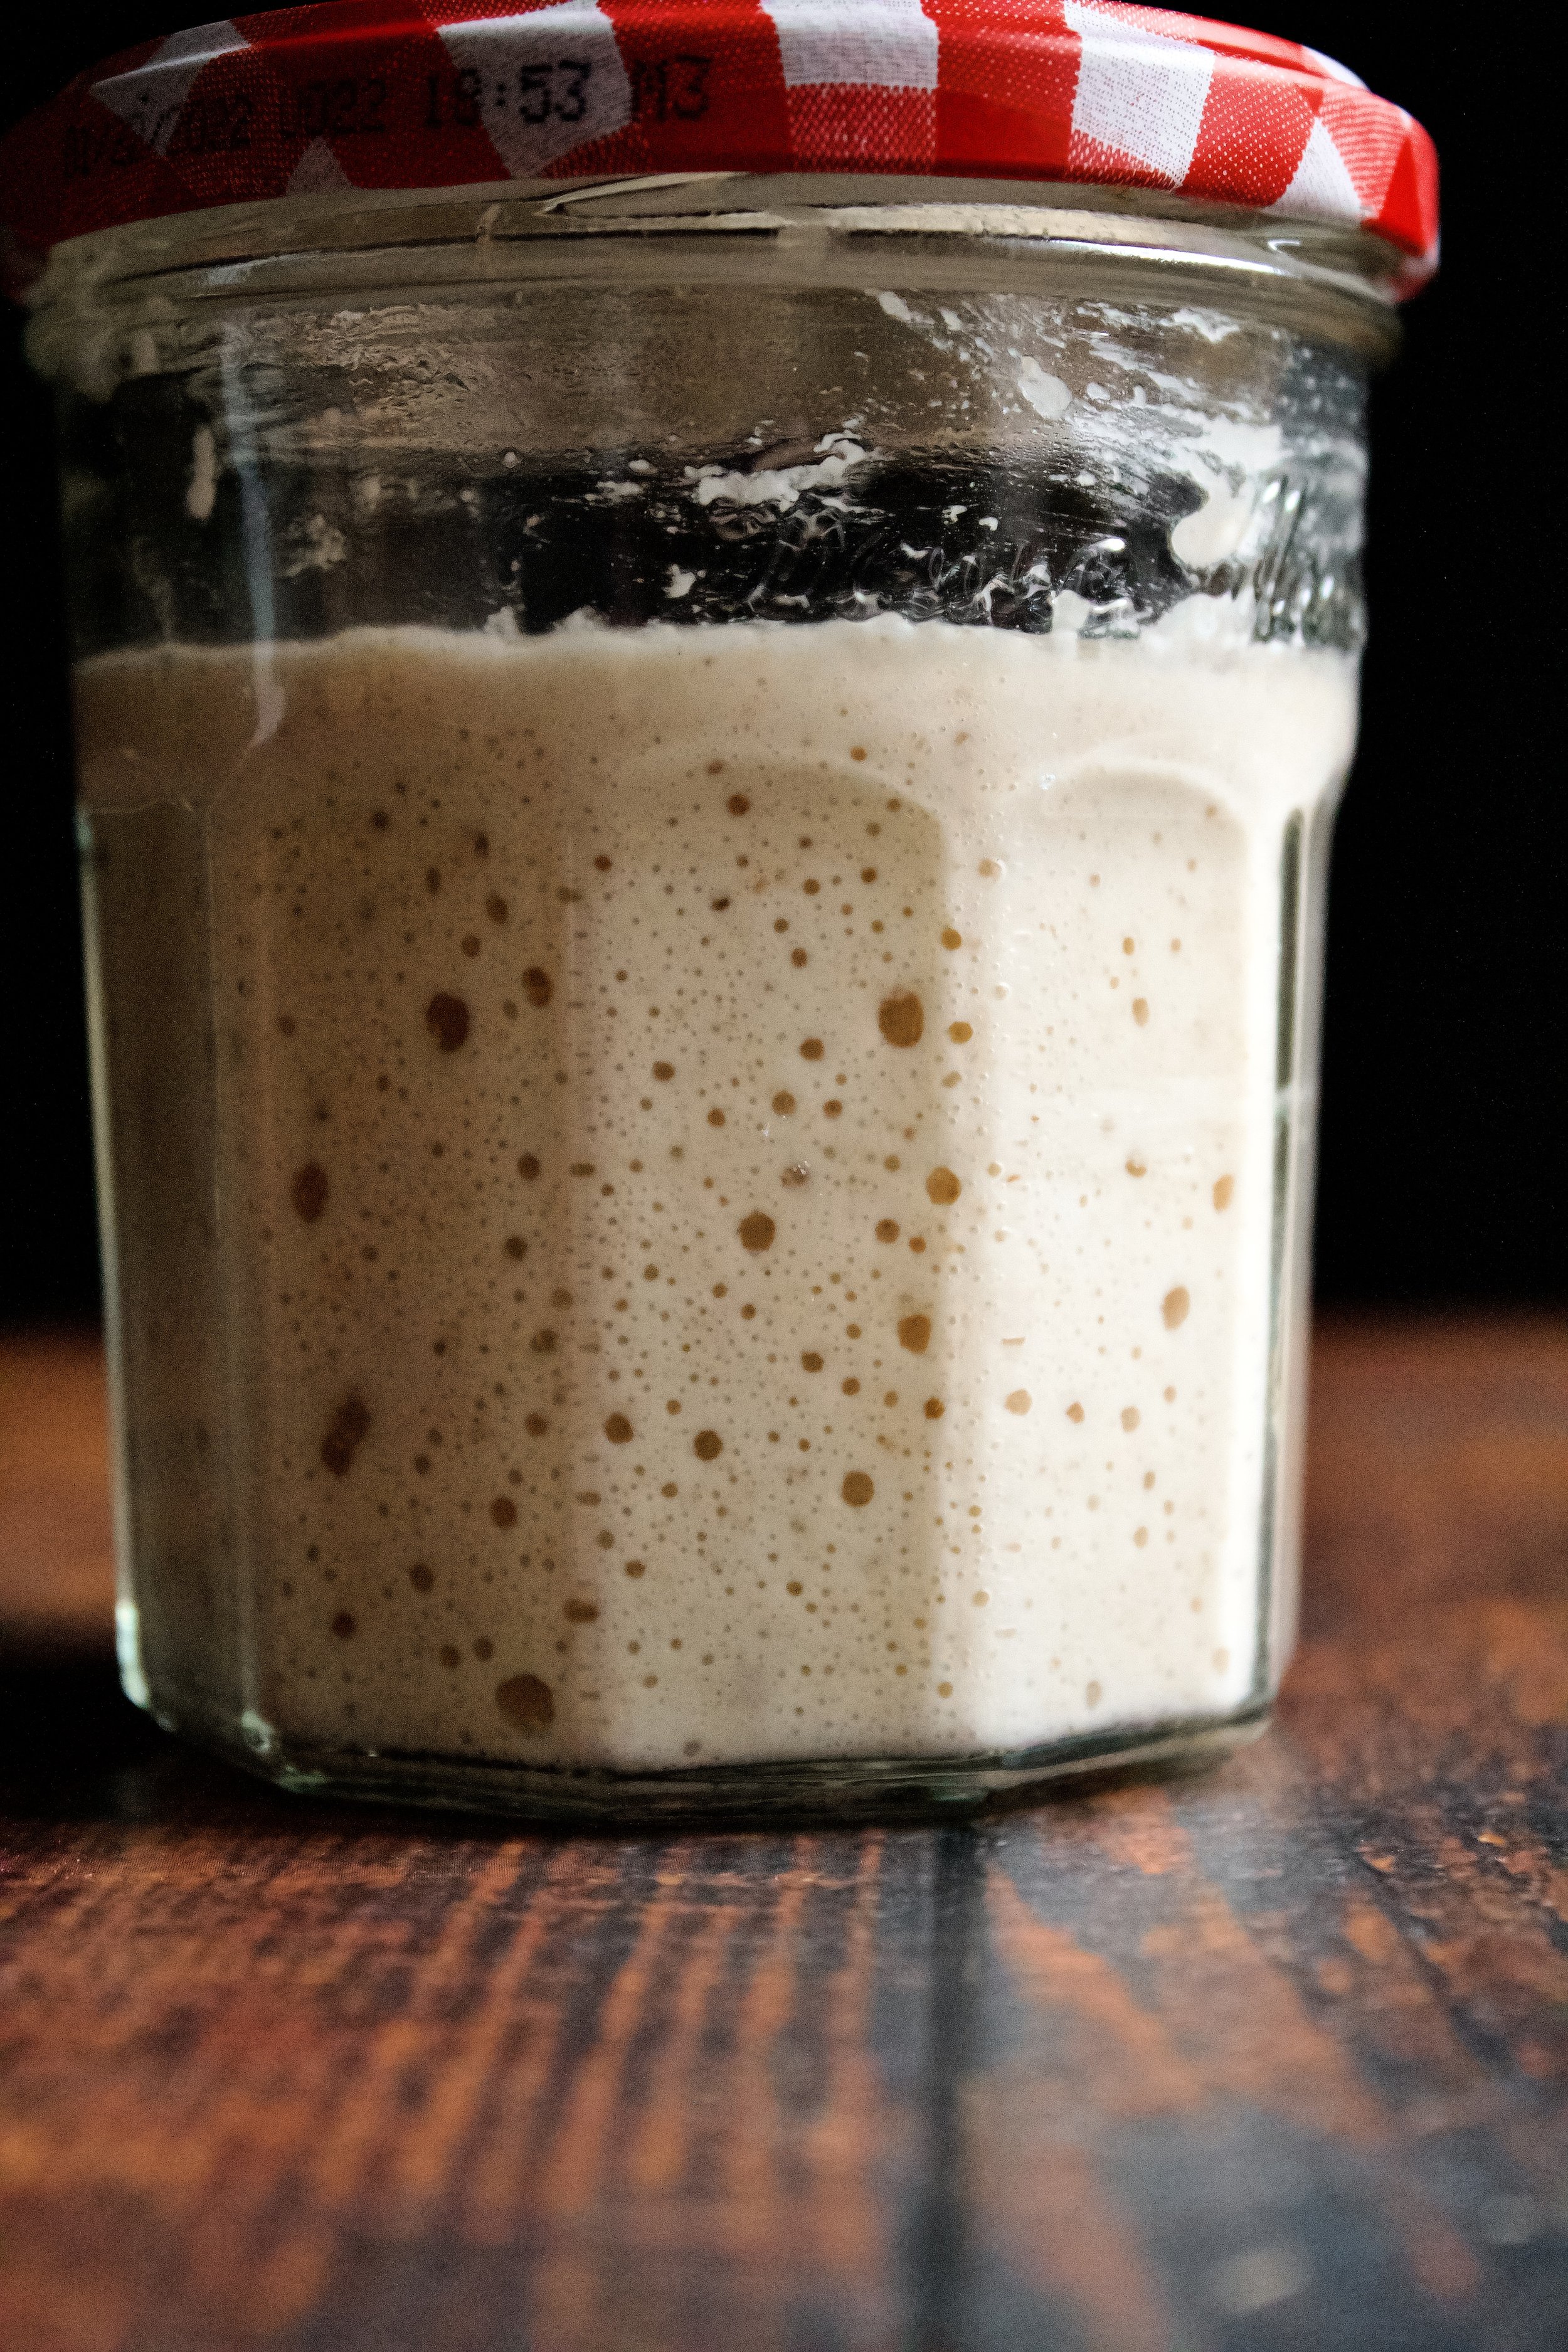
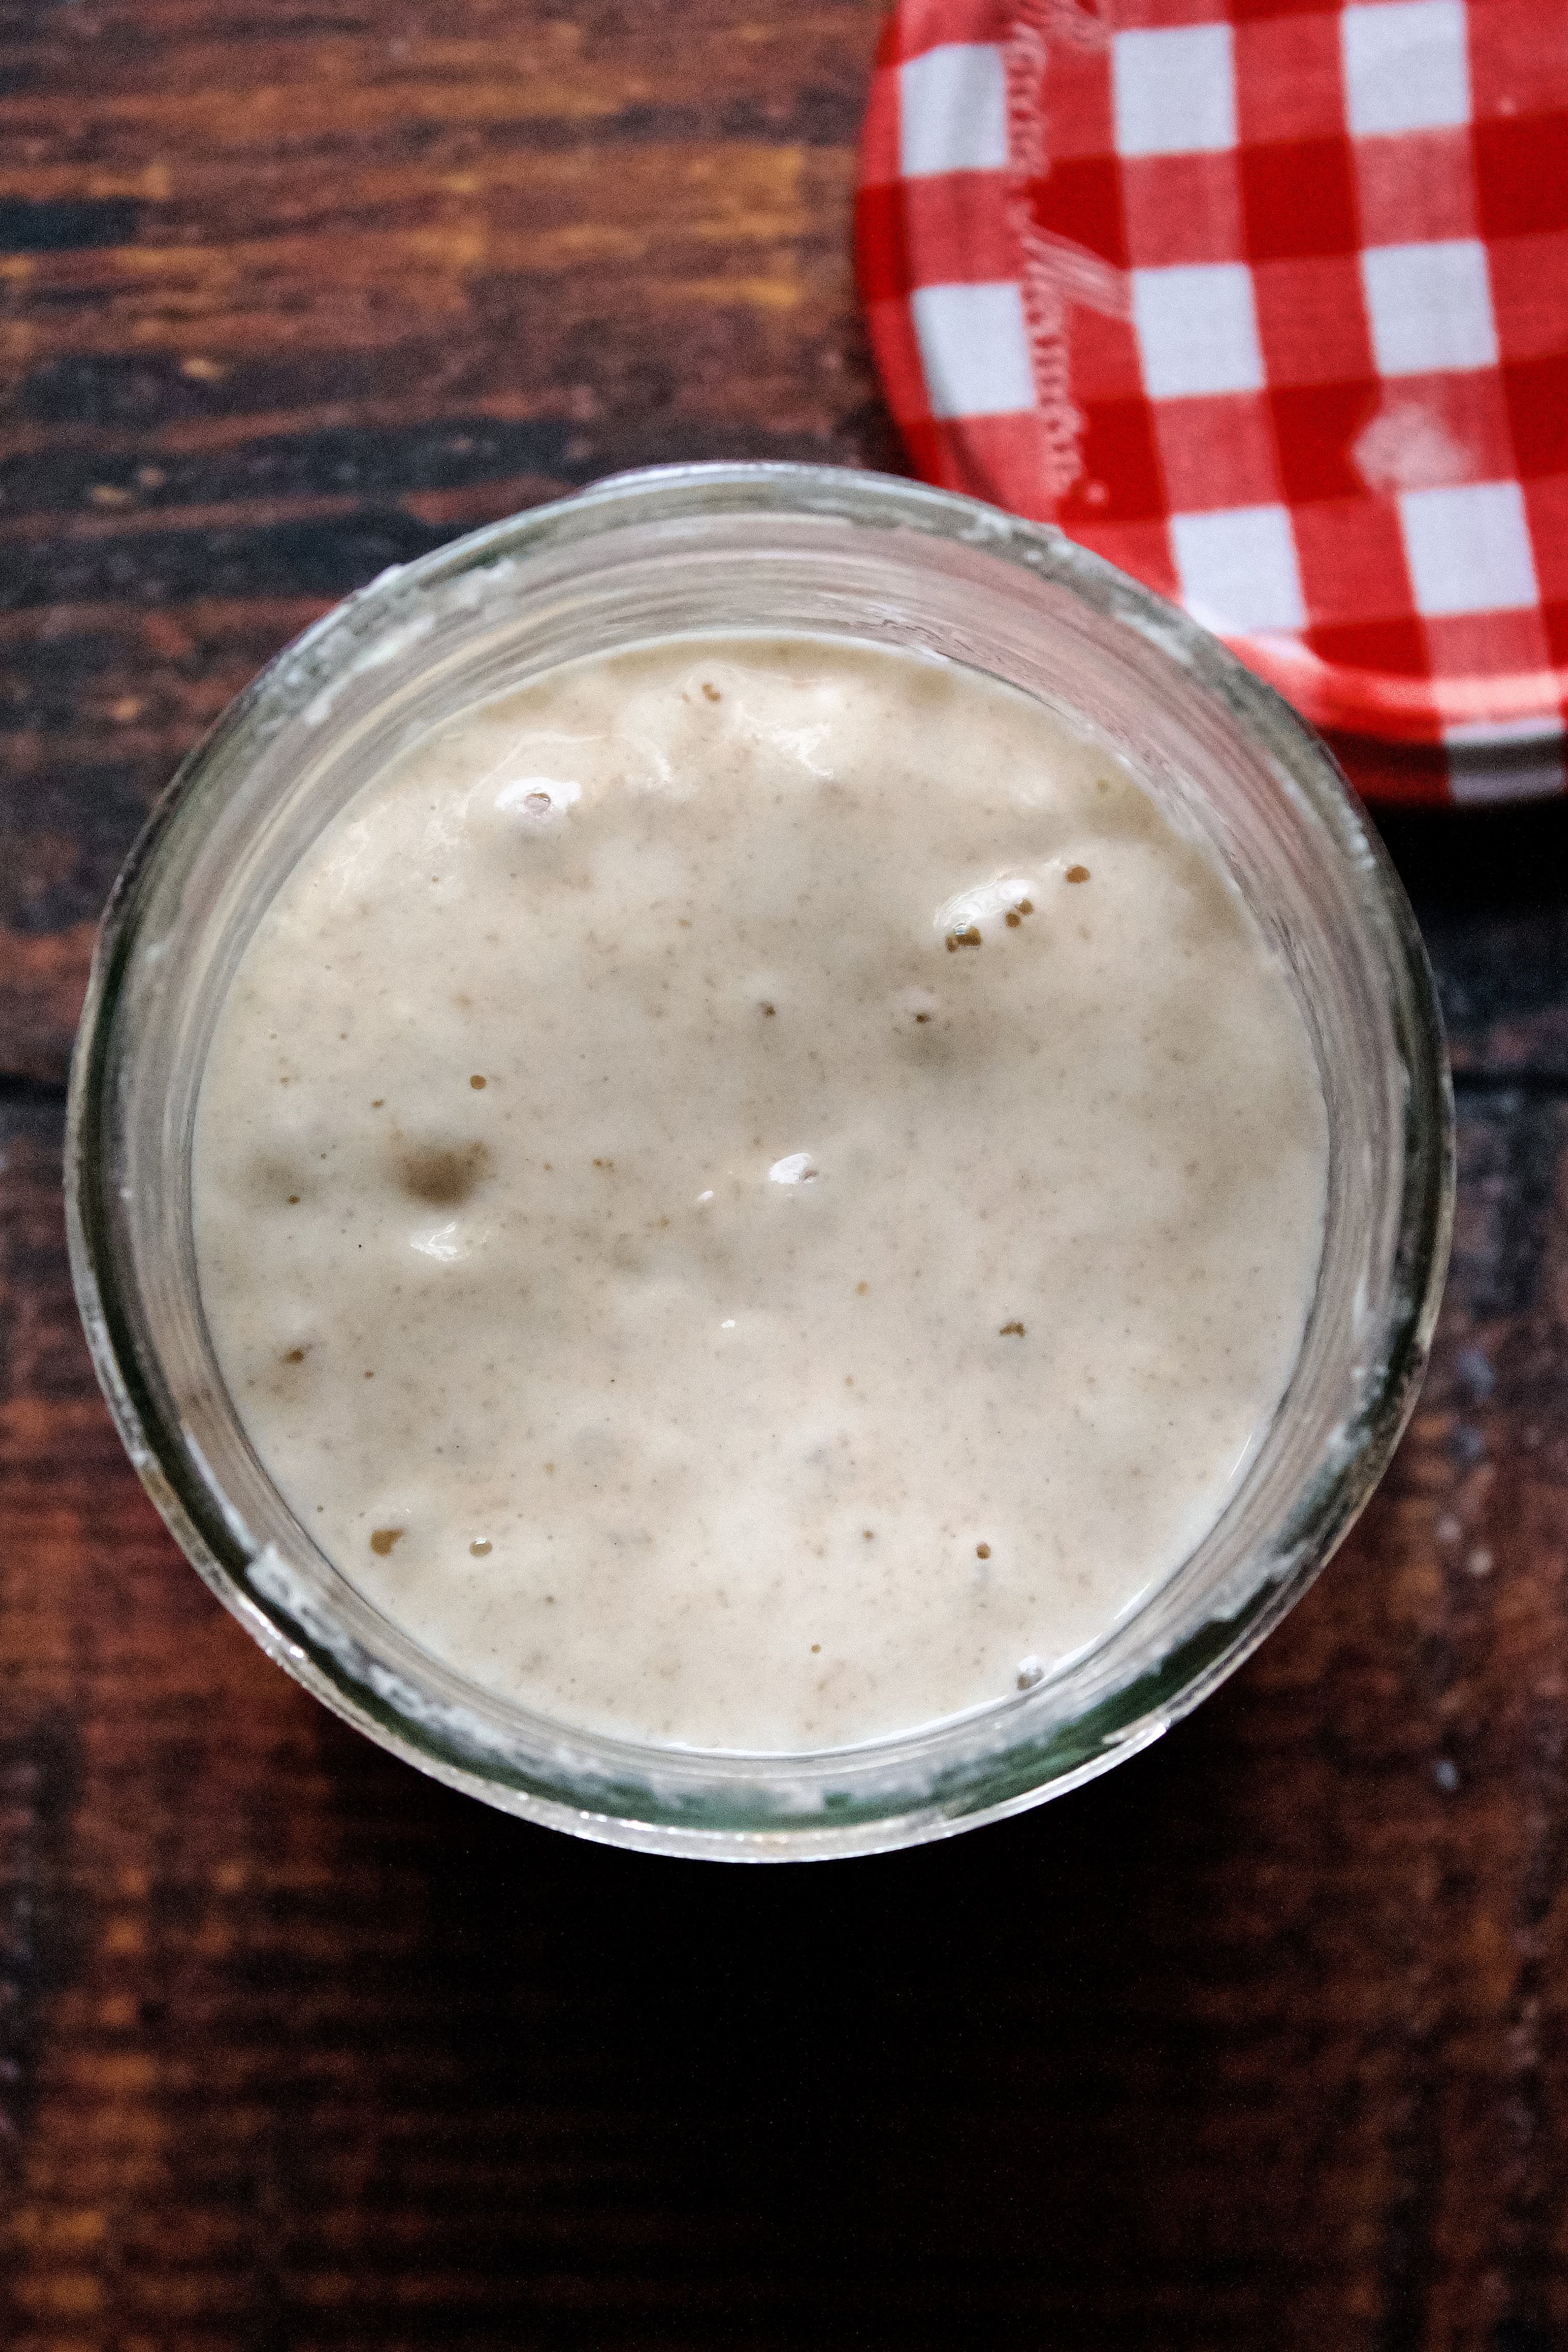
Simply put, a levain is a bit of starter that you section off, feed so that the total volume is enough for your recipe (usually with a 1:2:2 ratio), and let rise so that it can be used to make a loaf of bread. It doesn’t really differ from starter unless you choose to do something different to it. Some people use bread flour for the levain or add in some whole grain flour to help get it ready for a whole grain loaf. You’ll want to use it in the “peak” window (when it’s doubled in volume, is bubbly throughout and has bubbles breaking the surface, and can pass the float test).
Why build a levain?
First, I honestly don’t know why it’s called “building a levain” rather than just making one. But it’s the term I’ve gotten used to from all my sourdough reading, so it’s what I use.
You could theoretically just bulk up your starter so you have enough discard to use for a loaf of bread (often about 100g). However, if you keep your starter in the fridge or feed it at a different time than you want to start your loaf of bread (which usually takes several hours), then building a levain from a bit of starter is ideal. Most people feed their starter once a day (or once a week if using the fridge method), and you want to add your levain to your dough around 8-12 hours after creating it, meaning the timing of a levain may differ from feeding your starter.
Additionally, you can experiment with levains, using different kinds of flours or trying different temperatures that work for you and your starter.

Key ingredients
Starter. Ideally, use active starter that is bubbly throughout. This usually means feeding it 12ish hours before building a levain.
Flour. You can use any flour or combination of flours you like. I suggest early on using the same flour as your starter OR just all-purpose. You could also use bread flour, to prep it for the bread flour you’ll (hopefully) be using in the bread dough. I usually use all-purpose flour and a bit of rye or whole wheat, depending on what I plan to put in the loaf itself.
Water. I suggest filtered water, but tap will work if it’s really clean. It must be warm—about 80F/27C. Never use higher than 90F/32C.
Kitchen scale. Be sure it’s reliable. I highly suggest weighing everything for sourdough, as measuring cups can pack in the flour and cause your ratios to be wildly off. Until you’re experienced, it’s best to carefully weigh ingredients.
Thermometer. Again, be sure it’s reliable. If you don’t have one or it breaks, you can use the boiled water method: bring 1/3 cup water to a boil and add it to 2/3 cup cold water. You won’t actually need this much, but it’s easier to boil 1/3 cup water than 1/3 of the 40g we need.
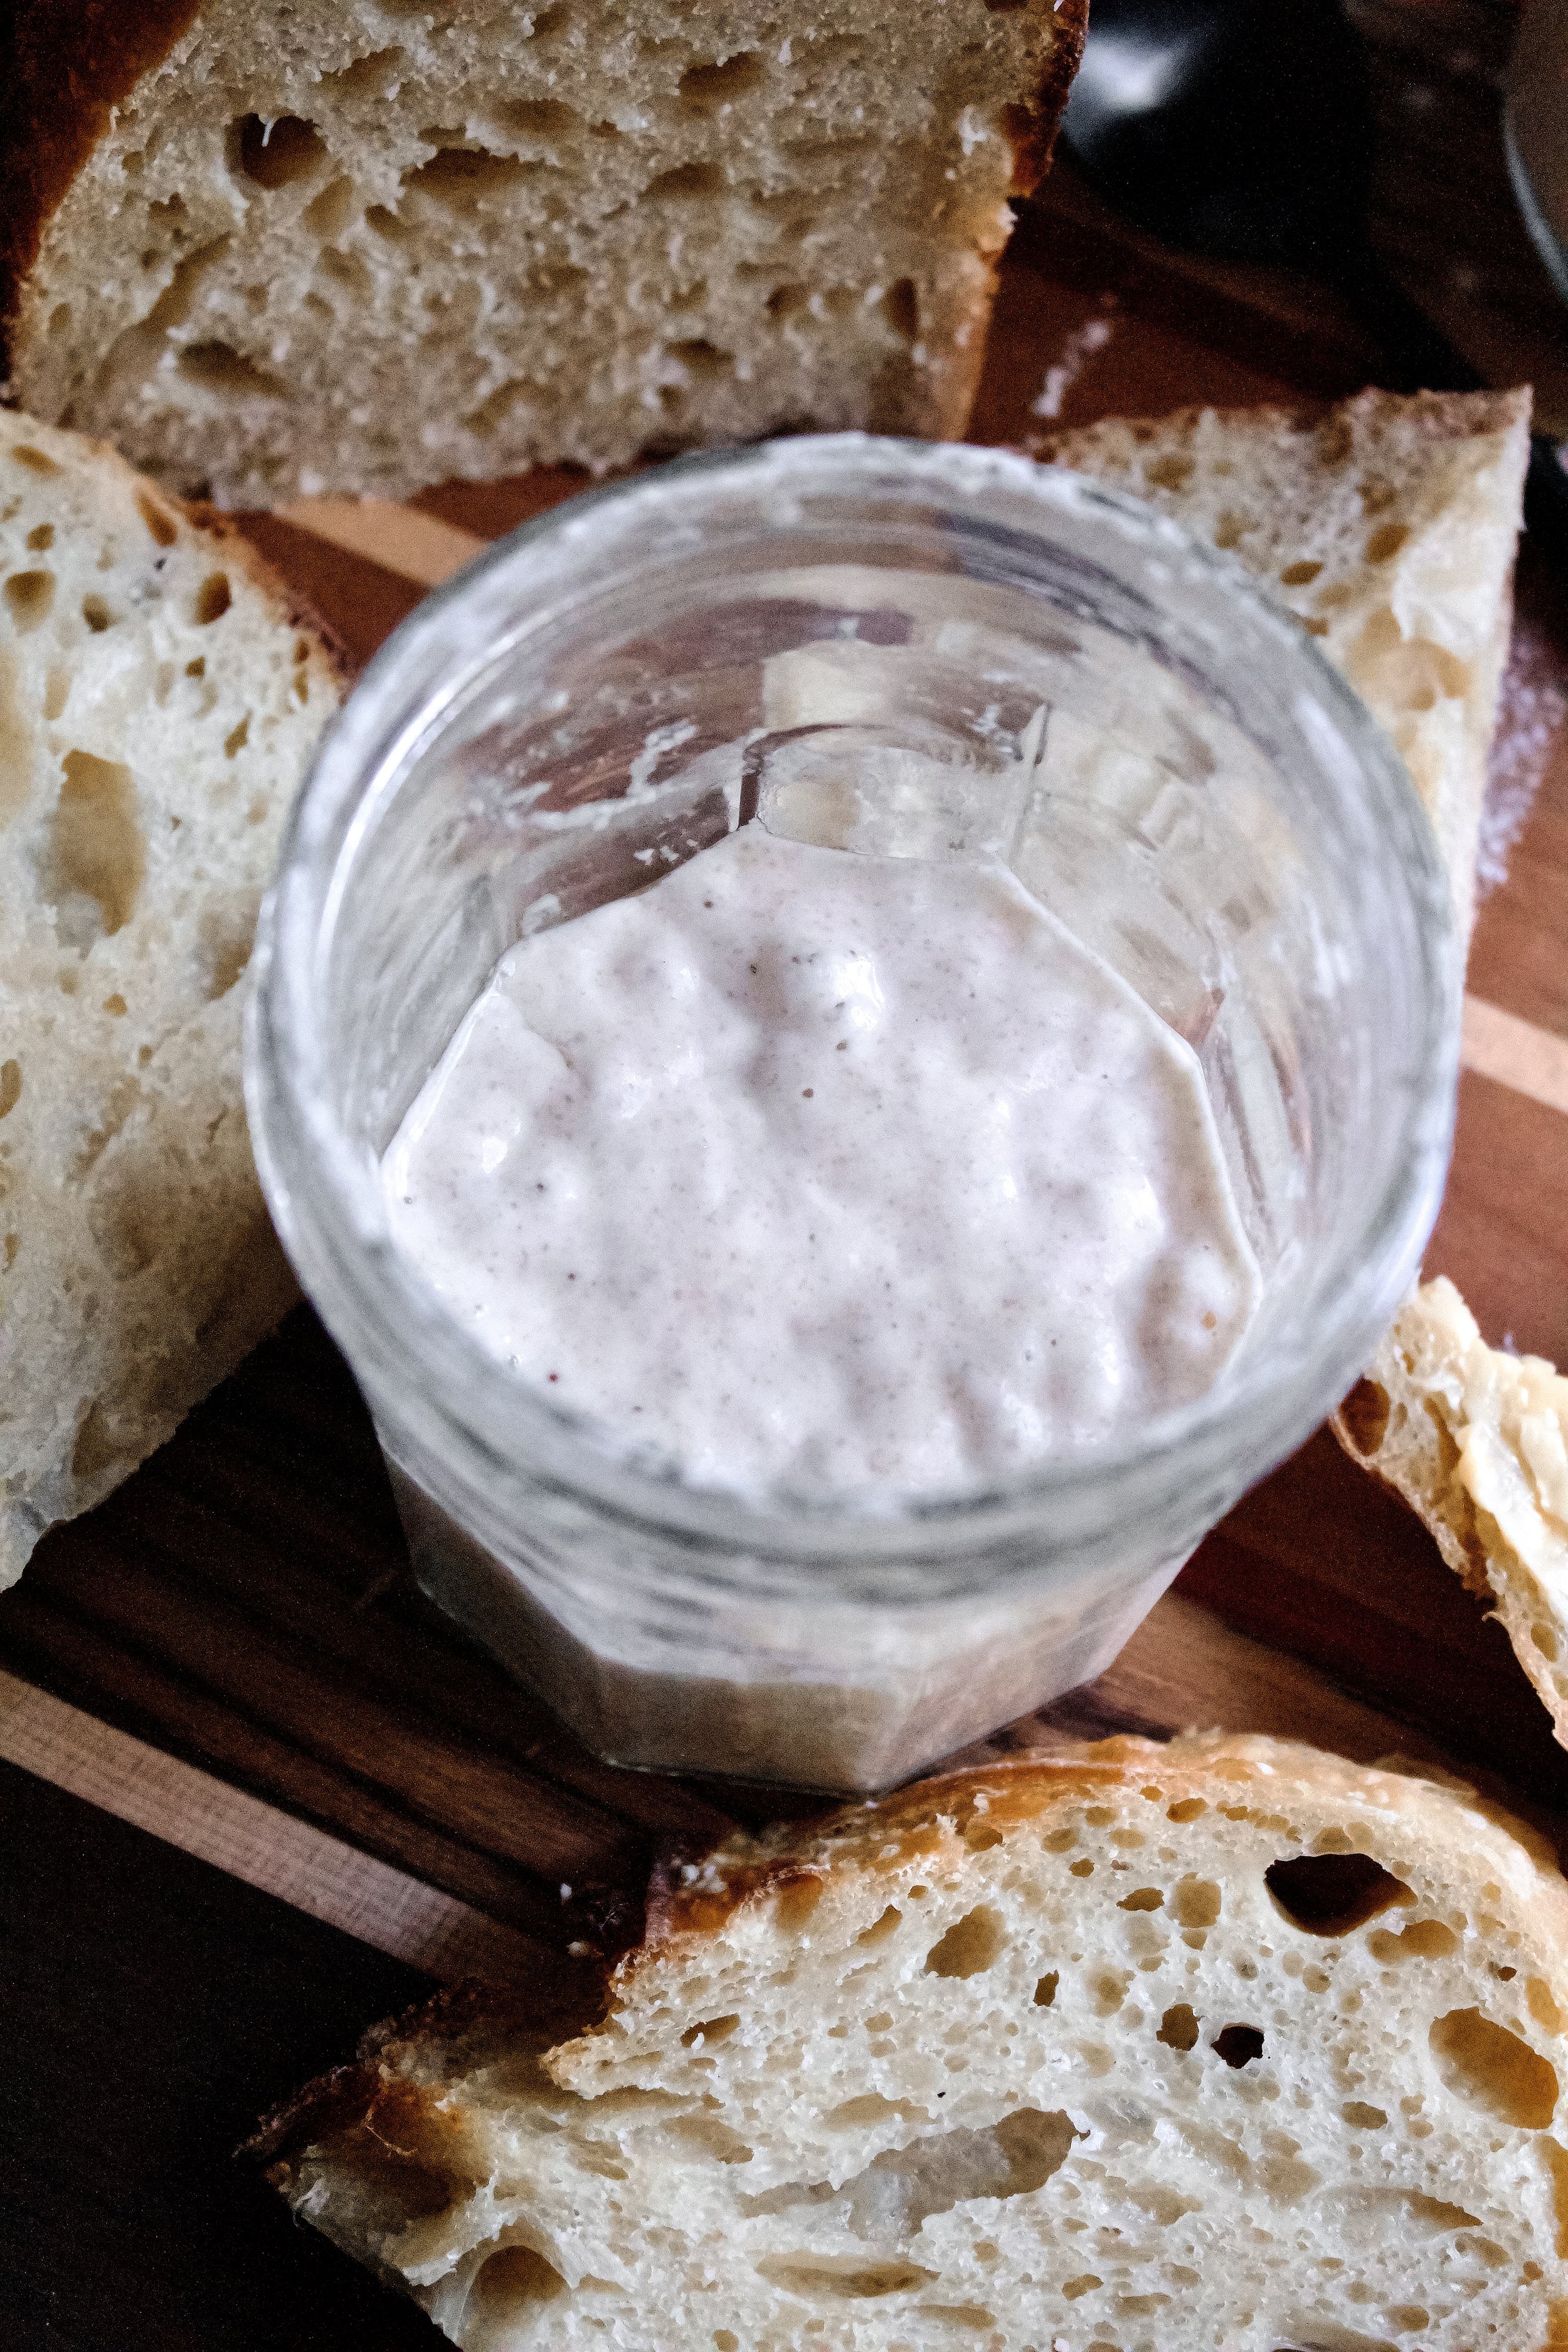
Jar with lid. You’ll need a clear, straight-ish jar with a wide opening so you can stir easily. I suggest one with a lid that you can just loosely set on top. Another option is a cup with a towel set on top (you can keep it on with a rubber band), but this can be prone to drying out and will take much longer to become active. I have the best luck with a lid set on top (but not screwed on) or a piece of plastic wrap placed over it.
Mini spatula. This is entirely optional, but I exclusively use mini Christmas spatulas because 1) Christmas is the best and 2) they’re the easiest to mix well with and to scrape down the jar to avoid a lot of dried starter making things yucky.

How to build a levain
The math here is based on the average loaf of bread calling for 100g levain (sometimes just called “active starter,” which is really what this is—a separate, large batch of active starter). You’ll be creating a little more than 100g so you have extra to do the float test and because some inevitably gets stuck on your spatula or jar. If your recipe calls for more than 100g starter, adjust the math accordingly. Some common numbers are provided below.
1. Add 25g active starter to a jar or small bowl. Remember that this will double in volume, so be sure your container is big enough.
2. Add 50g filtered water that is 80F/27C. I like to mix the starter and water first, which makes the flour easier to stir in.
If you don’t have a thermometer, you can use the boiled water method mentioned in the section above.
3. Add 50g flour. I’ve tried all kinds of flour combinations, from 100% all-purpose to 50% whole wheat. I’ve found I like the taste when I use a bit of wheat or rye flour, so feel free to experiment!
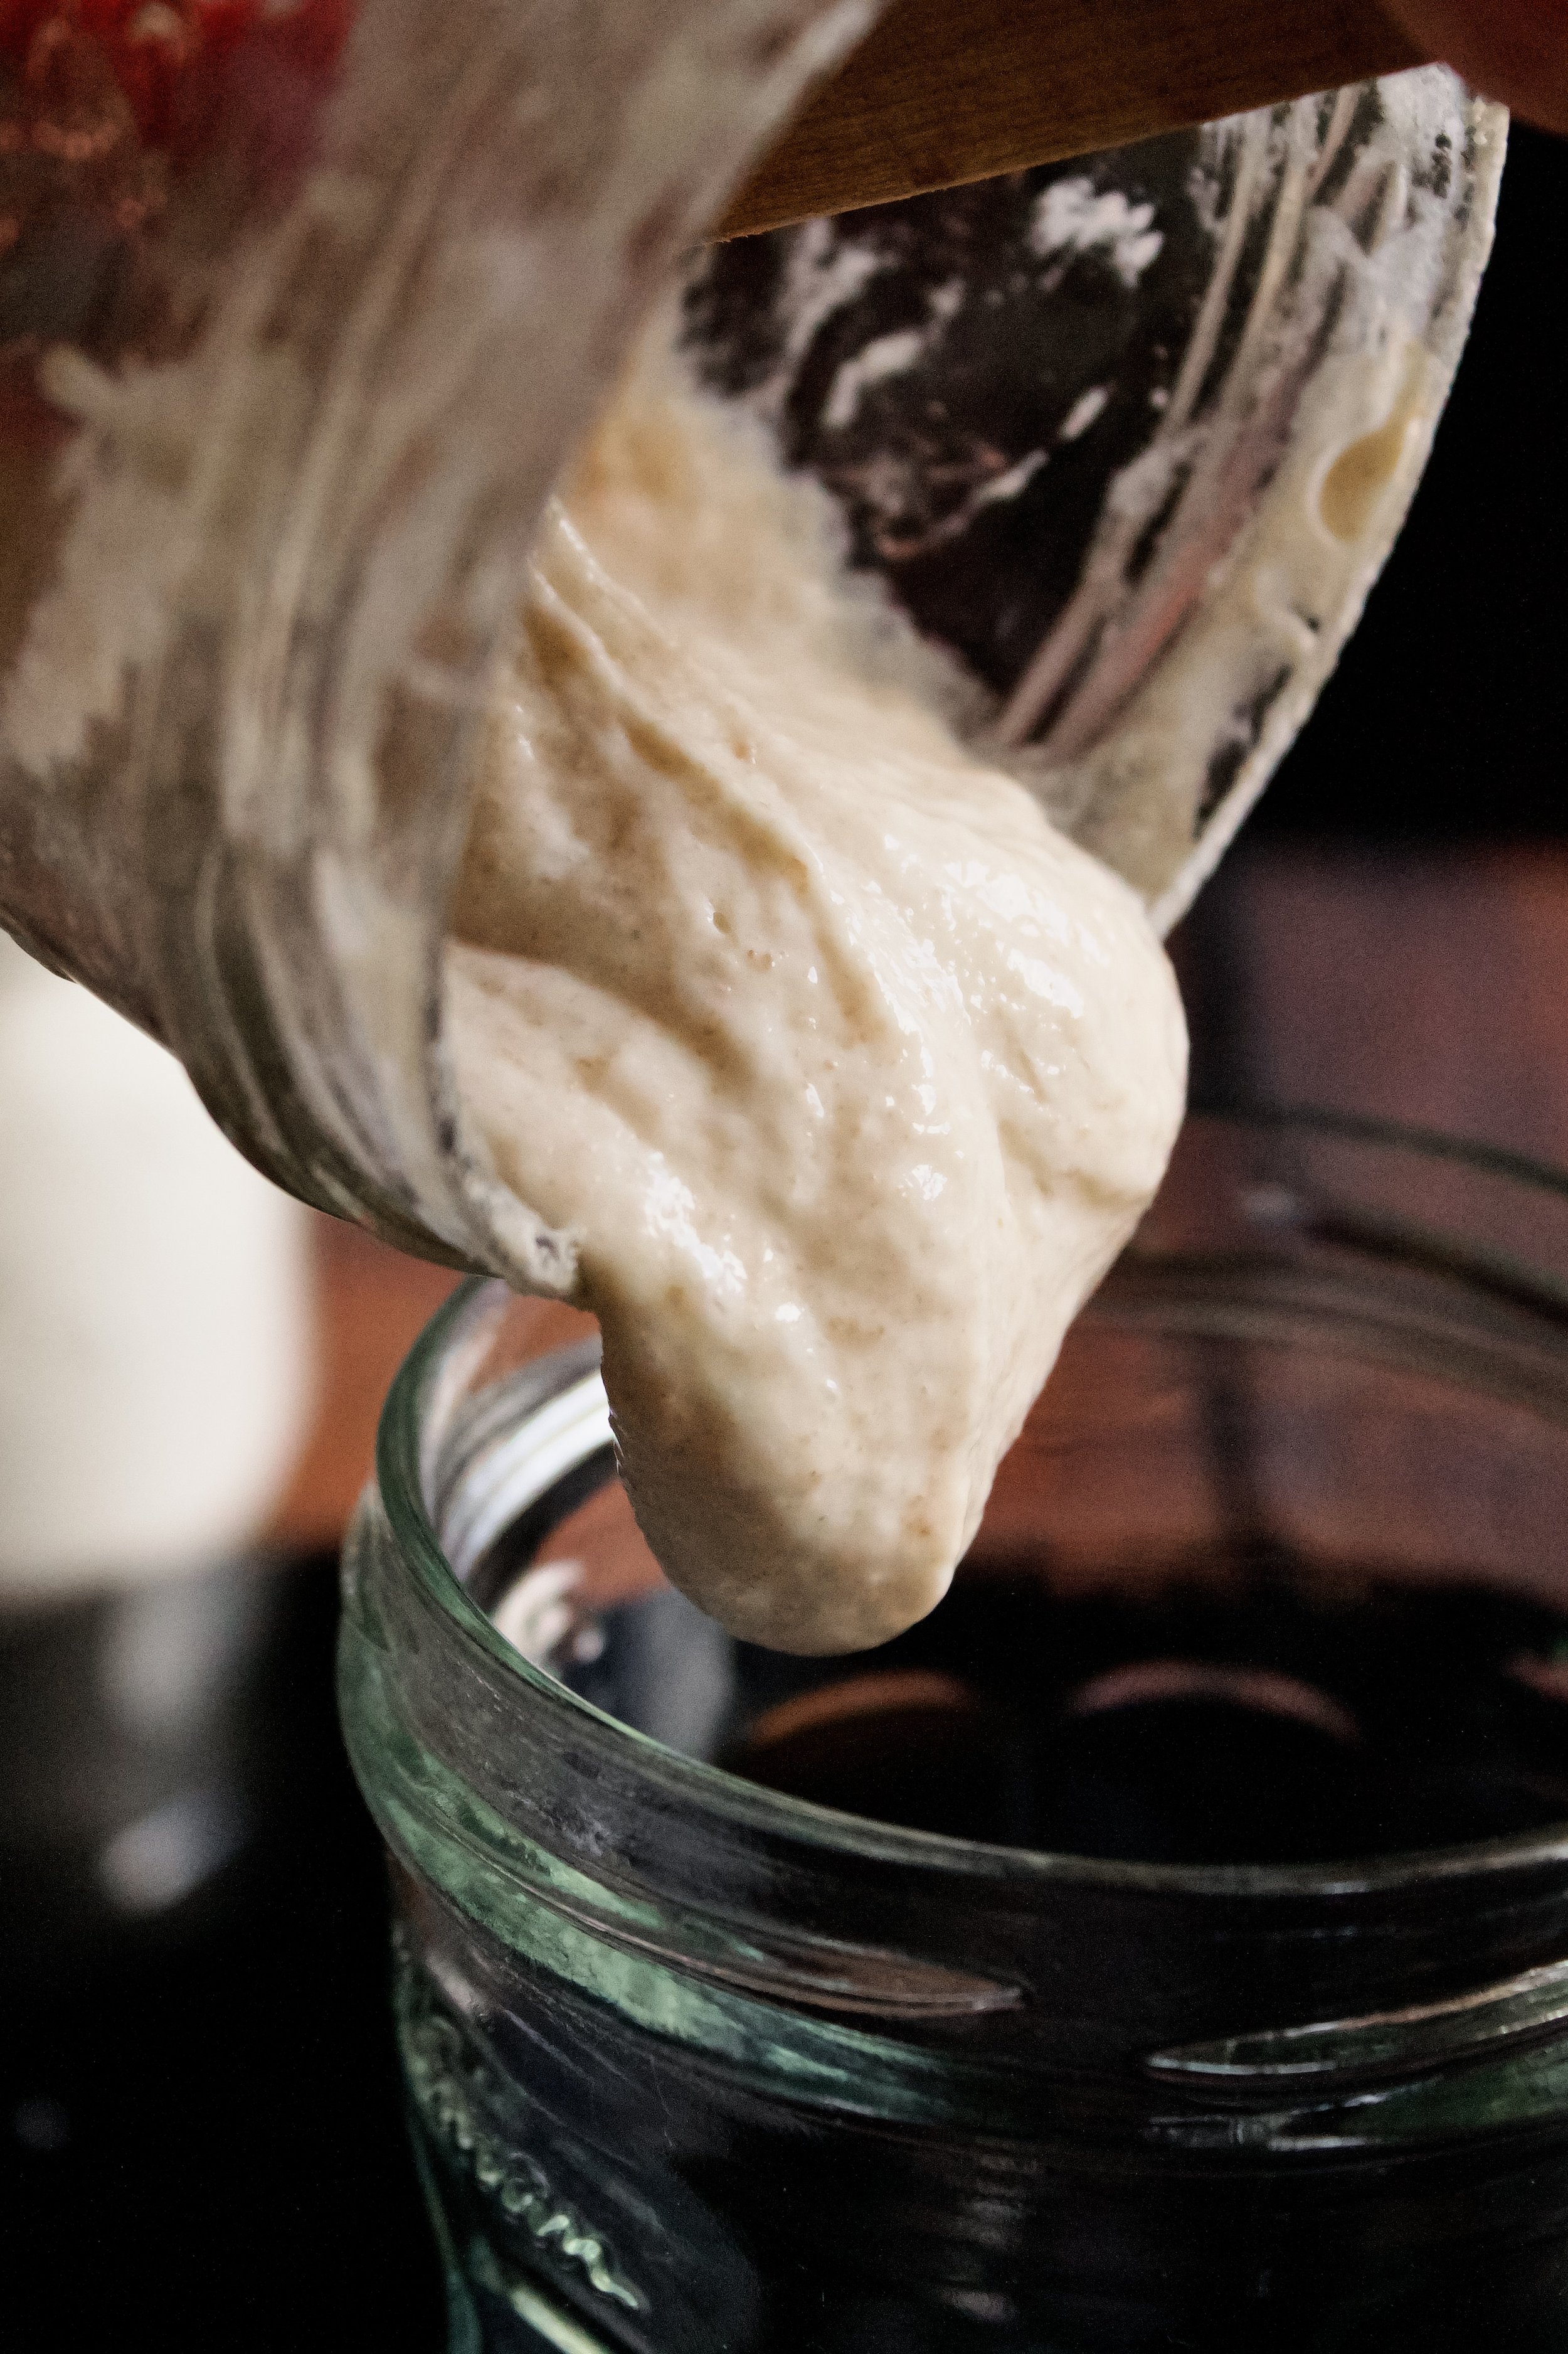
4. Mix well. Be sure there are no pockets of dry flour, as this will slow the rising and could throw off your levain’s rise time or even its ability to be used.
5. Cover loosely. I just set my lid on and don’t screw it on. When making a larger batch of levain, I use a small mixing bowl and cover it with plastic wrap.
6. Let rise 8-12 hours. See below for how to know when it’s ready to use. Many people use a rubber band to mark where it started so they know when it has doubled, but I prefer noting the bubbles or the float test. Also see “Timing your levain” for the oven light method if you need it ready sooner than 8 hours.
Alternate amounts: Below are some alternate amounts based on how much you need in your recipe. Each levain will have about 25g extra so you can still do the float test.
For 150g: 35g starter, 70g flour, 70g water (total weight: 175g)
For 200g: 45g starter, 90g flour, 90g water (total weight: 225g)
For 250g: 55g starter, 110g flour, 110g water (total weight: 275g)
For 300g: 65g starter, 130g flour, 130g water (total weight: 325g)


The float test
The float test is an easy way to know when your levain is ready to use. Within 6-12 hours of feeding (or as little as 4 if using the oven light method), it should double in volume, have bubbles throughout, and have bubbles that break the surface. At this point, you can test it to be sure it’s ready for baking.
The float test: Take a small spoonful of levain. Place it in a glass of room temperature water. If it floats, it’s ready.
If it doesn’t float, it may need more time OR you missed the peak. Be sure to watch it carefully. Over time you’ll get to know your starter/levains and its peak times.
Note: There is a window of opportunity with levains—they usually pass the float test once a few bubbles break the surface and will continue to be active for a couple hours, until the whole surface has bubbles and the levain begins to sink back down.
Other issues include:
It’s too cold and needs to be in a warmer spot.
The starter is young or was kept in the fridge for a long time and needed more feeds before building a levain.
You missed some starter feeds and it needs some time of regular feeding (every 12-24 hours) to become active again.

Timing your levain
This is the tricky part. It can even vary by season, so it will take some practice.
Timing your starter feeds:
In colder months or when using a young or sluggish starter (such as one kept in the fridge), you may need to plan ahead, feeding every 12 hours for a day or two before you build your levain. Additionally, I always try to feed my starter 12ish hours before building my levain. Since I usually build levains in the morning, I don’t do anything different from my regular evening starter feeds. However, when I do the overnight method I always do an extra feed that morning so my starter is fresh for my levain.
Overnight levain method:
I suggest that, early on in your sourdough days, you build the levain the night before you want to make a loaf of sourdough, around 10pm. Ideally, you’ll have fed the starter that morning, so that it’s active in the evening when you build the levain.
I’ve had my levain take a solid 12 or so hours to be ready for use in the winter, so this gives you that wiggle room. Then, in the morning (6-8am), you can check if it’s ready to use (bubbly and active, passing the float test). This also gives you wiggle room if your levain is taking 12+ hours to be ready, which is common early on or in cold weather.
Day levain method:
This is what I do during the school year if I’m baking on a weekday. I will feed my starter at night, then in the morning I’ll build my levain (7am). When I get home from school (3:30ish), I’ll mix my dough. This doesn’t really work in late summer and late spring, when my house is hotter. However, most months of the school year the 8+ hours I’m at school is perfect for my levain.
Oven light levain method:
I only use this on the weekends or during the summer. I’ll feed my starter at night then build my levain first thing in the morning then stick it in the (turned off) oven with the light on. My levain is generally ready in 3-5 hours, depending on the weather, although early on it was closer to 5-6.
Tips and FAQ’s for this recipe
Use active starter to build your levain
Using active starter is important because it means your levain will rise predictably. If your starter is young, be sure it consistently passes the float test each day before you try to build a levain (and then use it in a loaf of bread). Technically (and speaking from experience), you can use a starter before or after it’s hit its peak window (meaning it’s doubled in volume, is bubbly throughout, and passes the float test). However, using a starter that isn’t yet active or has sunk back down to build a levain can be unpredictable. It may take a lot longer than expected to rise or may not give your loaf the proper rise. Usually, when I use un-ideal starter to build a levain, my loaf is a little flat and dense, so it’s important to use peak/active starter.

What kind of flour shoulr I use for a levain?
That’s honestly up to you. You can stick with whatever you use to feed your starter or try experimenting with various combinations of flours. Another good option is to use the same flour(s) you’ll be using in your bread. I rarely use bread flour in my levain, because I haven’t noticed a difference, but it’s certainly worth a try since every starter is different.
Can I just use discard for a levain?
Maybe. If you have enough discard each day to use in your recipe and it’s at its peak when you’re ready to start your recipe, you can do this. It’s essentially what I do (see below). However, I’ve found I have the best luck with a levain that’s fed 1:2:2 (one part starter to two parts flour and two parts water), whereas my starter is fed 1:4:4. This wouldn’t hurt the loaf of bread, but it would likely throw off the rise times and could lead to a dense loaf. So if you’ve been using this method and struggling with your loaves, this might be the reason.

Do I have to section off my levain from my starter?
Nope! I write all of my recipes using the “sectioned off” method, because it’s pretty standard and also ensures you don’t use up ALL of your starter and have nothing left to keep. Early on, it’s the ideal method to ensure no confusion.
However, I almost exclusively dump all of my starter into a small mixing bowl, feed it, and use that to be mostly levain, leaving a small bit—about 10g-15g—to be fed and put back in a jar as my starter (sometimes called “mother dough”). I like doing this because it feels easier, but again, I have to be very mindful not to use all of my levain/starter in my bread and to avoid contaminating the reserved bit. I make sure to use two separate spatulas, because I usually feed and store my starter after I’ve mixed up all of my bread dough, which contains salt. I don’t want to reuse this spatula to mix my reserved starter, as it will contaminate the starter with salt.
As long as you feel you can keep the two separate—the bit to be reserved as starter and the bigger chunk to be used as levain—you can go this route.
What if my starter is refrigerated?
Personally, I suggest taking the whole thing out of the fridge for a day or two, feeding it every 12 hours until active (passes the float test). This helps deepen the flavor of the starter itself. However, you could just use it straight from the fridge if it’s an older starter, but you may need to experiment with it to ensure it leads to a good loaf.
What if my levain is ready before I am?
Luckily, there is a peak window for levains. They usually can be used for 1-2 hours, once bubbles start to break the surface but before the whole surface is bubbly and starts to sink down.
Theoretically, you can put the levain in the fridge if it’s rising faster than you expected. However, this doesn’t always stop it from rising further (or worse, sinking back down). It also slows the yeast, meaning it will be sluggish when you add it to your dough and can throw that timing off.
This is why I like the oven light method. It’s more consistent and doesn’t require me to leave my levain out overnight, when I won’t be awake to notice if it’s ready sooner than expected.
My sourdough tools
Here are my must-have tools I use for making sourdough starter. Affiliate links provided.

Sourdough Levain
- prep time: 5 minutes
- rise time: 3-12 hours (depending on ambient temperature and age of starter)
- total time: 12 hours (or less)
Ingredients & Equipment:
- 25g active sourdough starter
- 50g flour
- 50g water, filtered and roughly 80F/27C
- kitchen scale
- food thermometer
- clean, clear jar
Instructions:
- Place 25g active starter in a medium jar or small mixing bowl.
- Zero out your scale (or the “tare” button) and add 50g warm filtered water, about 80F/27C. Stir with a small rubber spatula or spoon until mixed well*.
- Zero out the scale again and add 50g flour. You can use any combination of flours, but it you are just starting out, you can play it safe with all-purpose or bread flour.
- Mix well, ensuring there is no dry, unmixed flour and no visible lumps of flour.
- Set the lid loosely on top of the jar or cover with plastic wrap.
- Store in a spot with moderate temperature (roughly 70F/21C) for 8-12 hours, until it has doubled in volume, bubbles begin to break the surface, and it can pass the float test. Alternatively, you can place it in your turned-off oven with the light on and let it rise for 3-6 hours, depending on climate and the age of your starter.
Notes:
- The Float test: to know if a levain is “active” and ready to use, do the float test. When the levain has doubled in volume and the bubbles begin to break the surface, take a small spoonful and place in a cup of room temperature water. If it floats, it’s active and ready to use. If your starter is relatively new, you may need to do the float test a couple times. This could mean you need to build a larger levain so that you have enough extra to do multiple float tests. See note #3 for alternative amounts.
- There is a window of when you can use a levain (i.e. add it to your bread dough). It can be used when just a couple bubbles break the surface or when the surface is very bubbly. That’s why I like the float test, at least when starting out with sourdough, to know it’s ready for sure.
- You can adjust the amounts based on your recipe (such as doubling the recipe to make two loaves). I always figure out how much I need total, add 25g more (to do the float test and because some gets stuck to the spatula or jar), then divide that by 5. That’ll tell me how much starter I need. I’ll need double that in flour and water (so 1 part starter, 2 parts flour, and 2 parts water–meaning 5 parts total). See the post above for some common amounts.
- *I prefer to mix the starter and water before adding flour. You are welcome to add and mix in any order you prefer, as long as it’s mixed thoroughly.