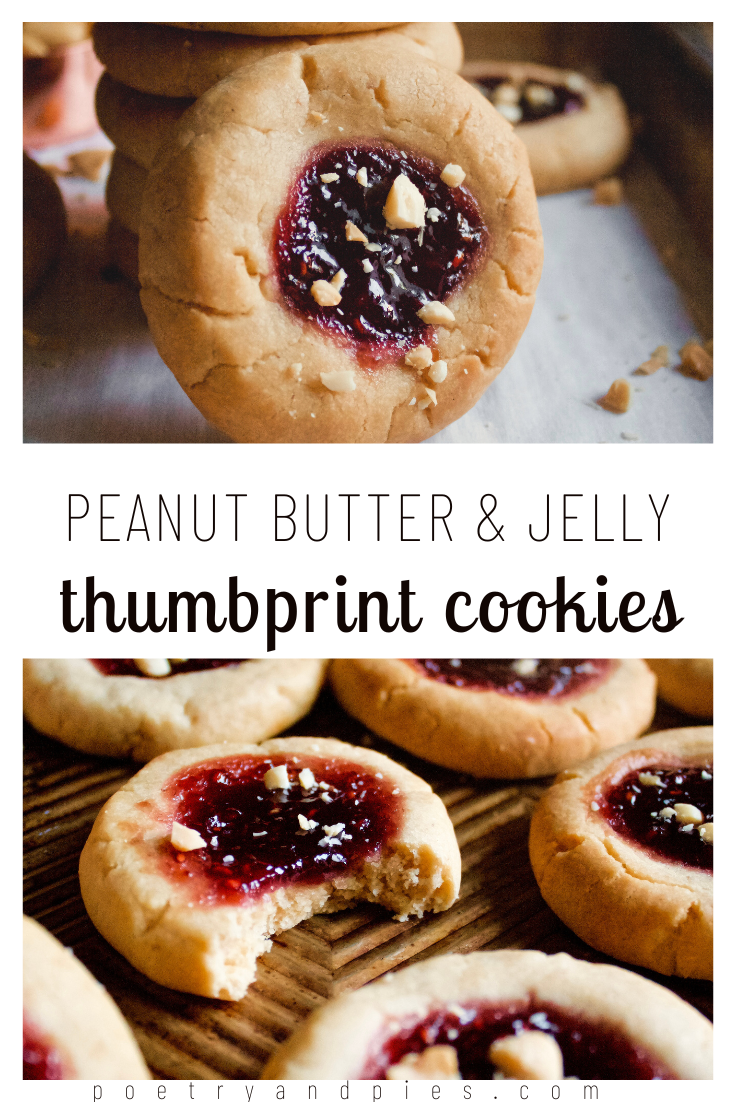
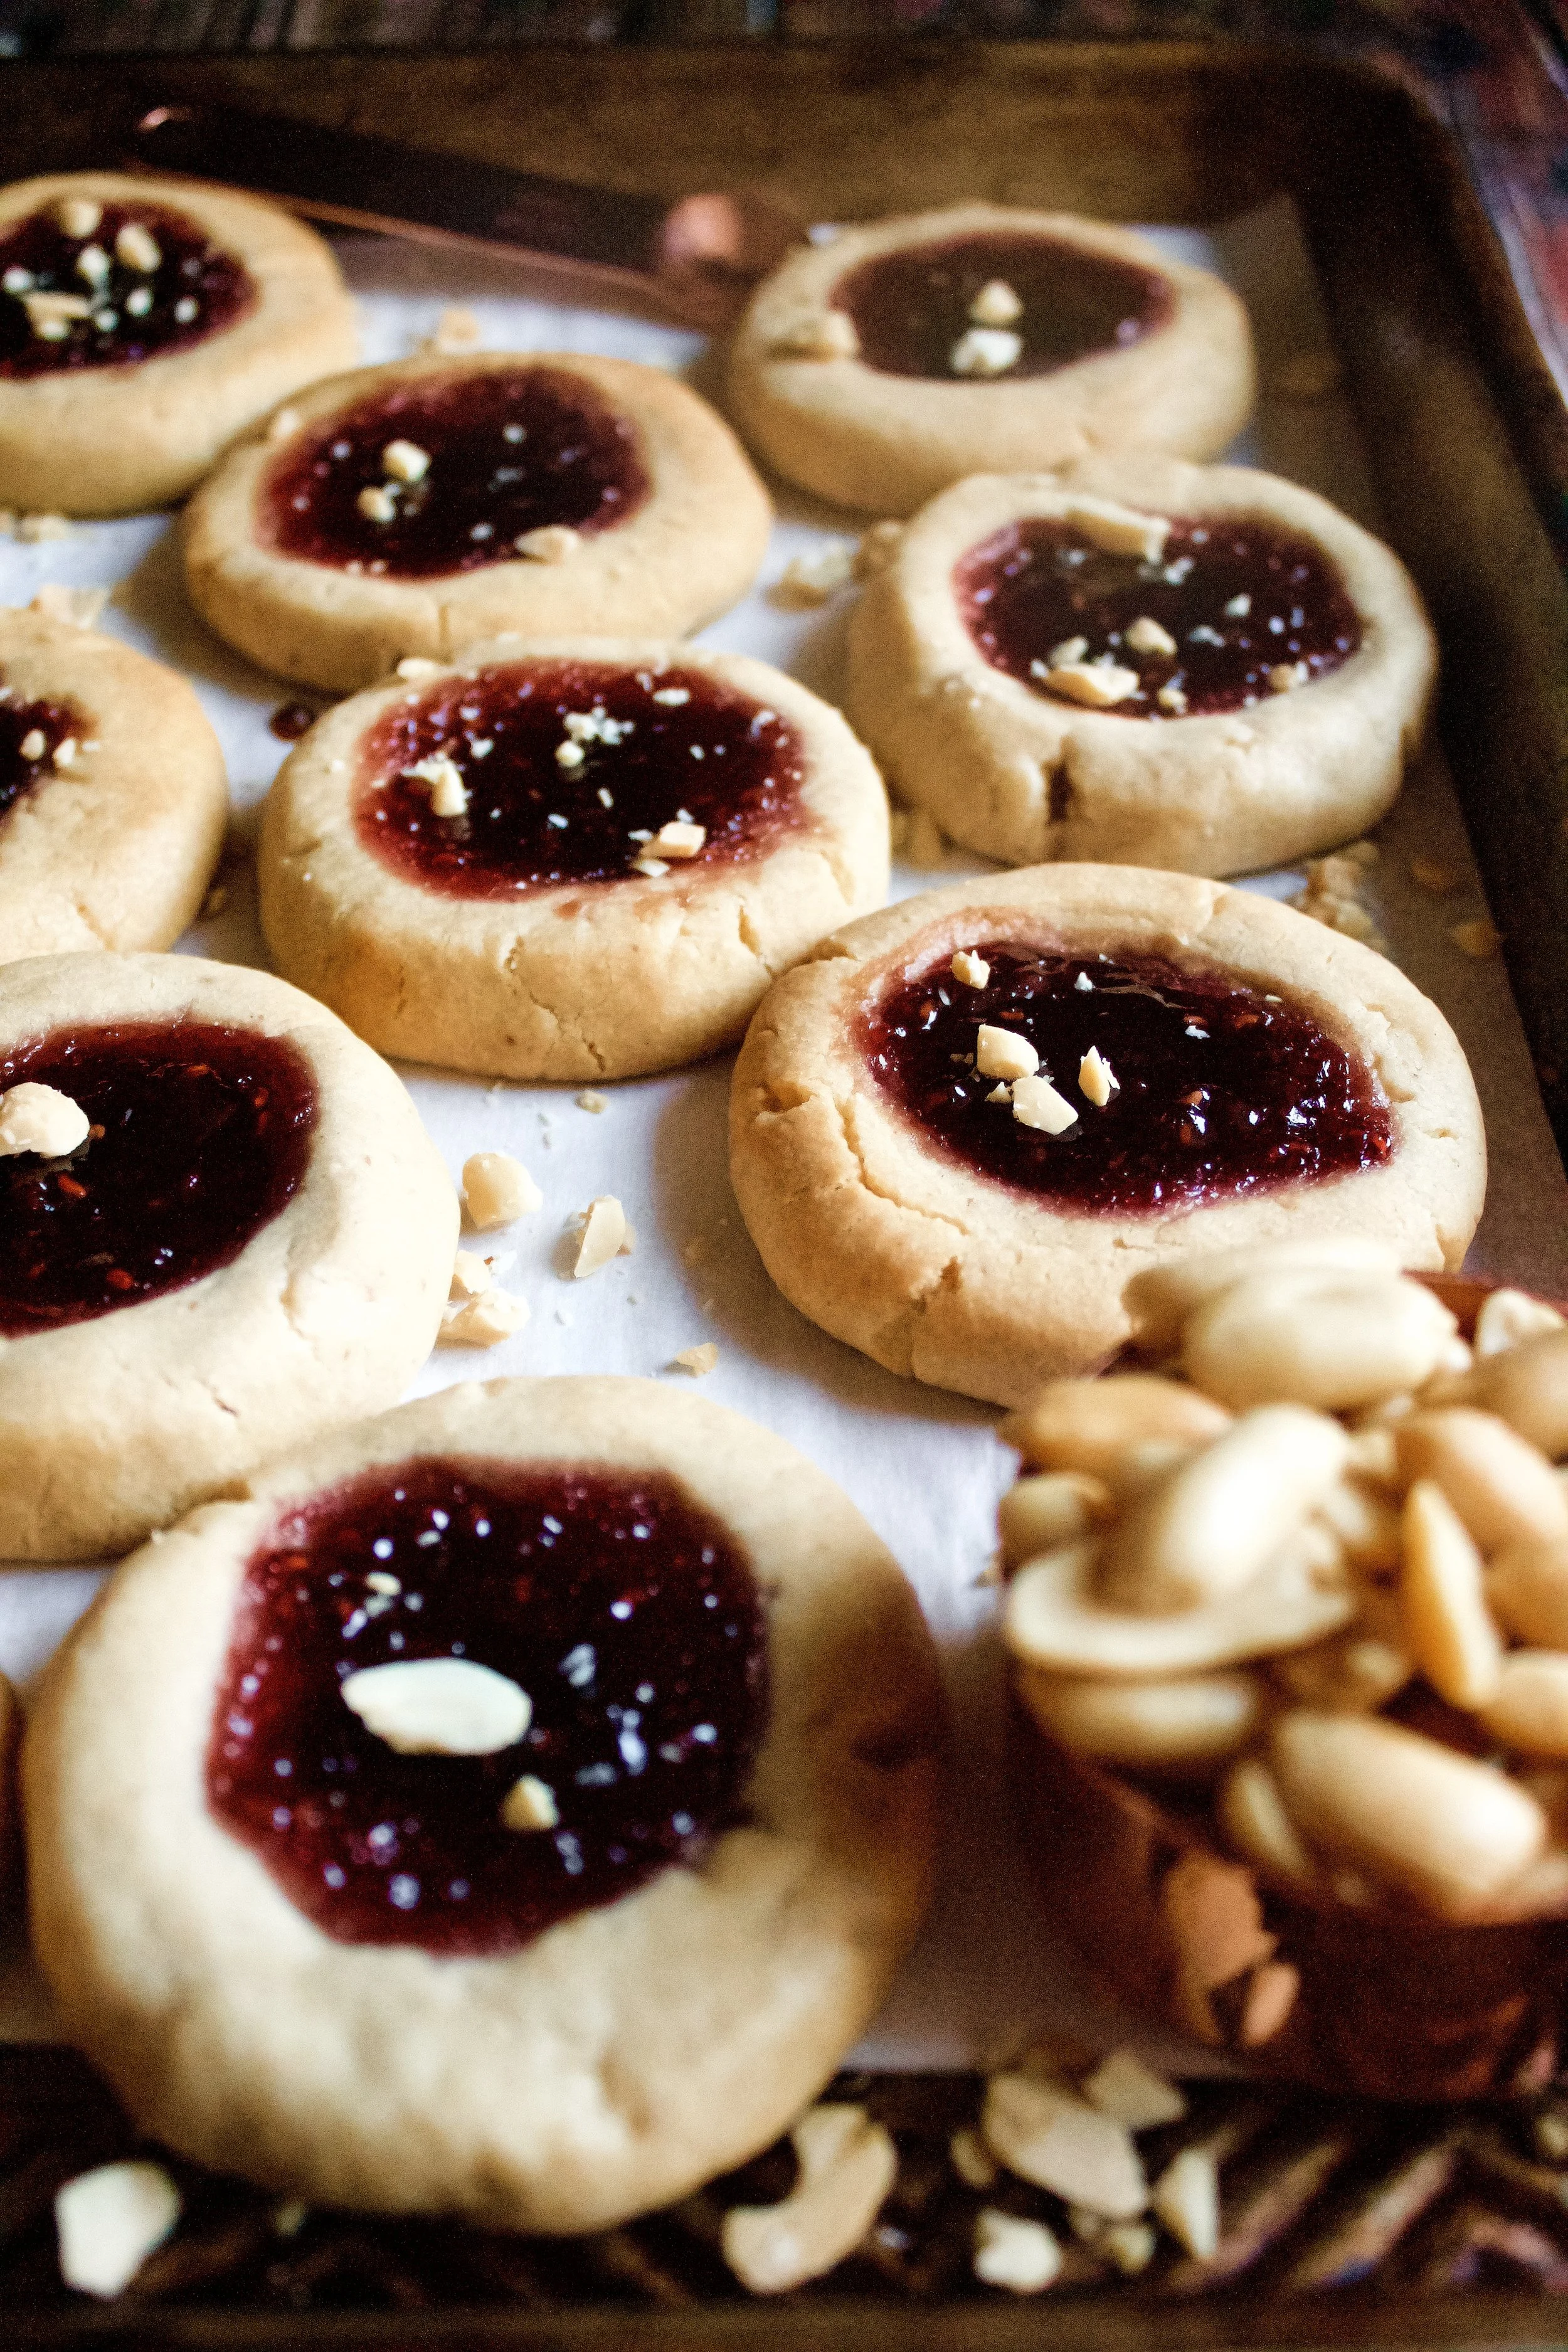
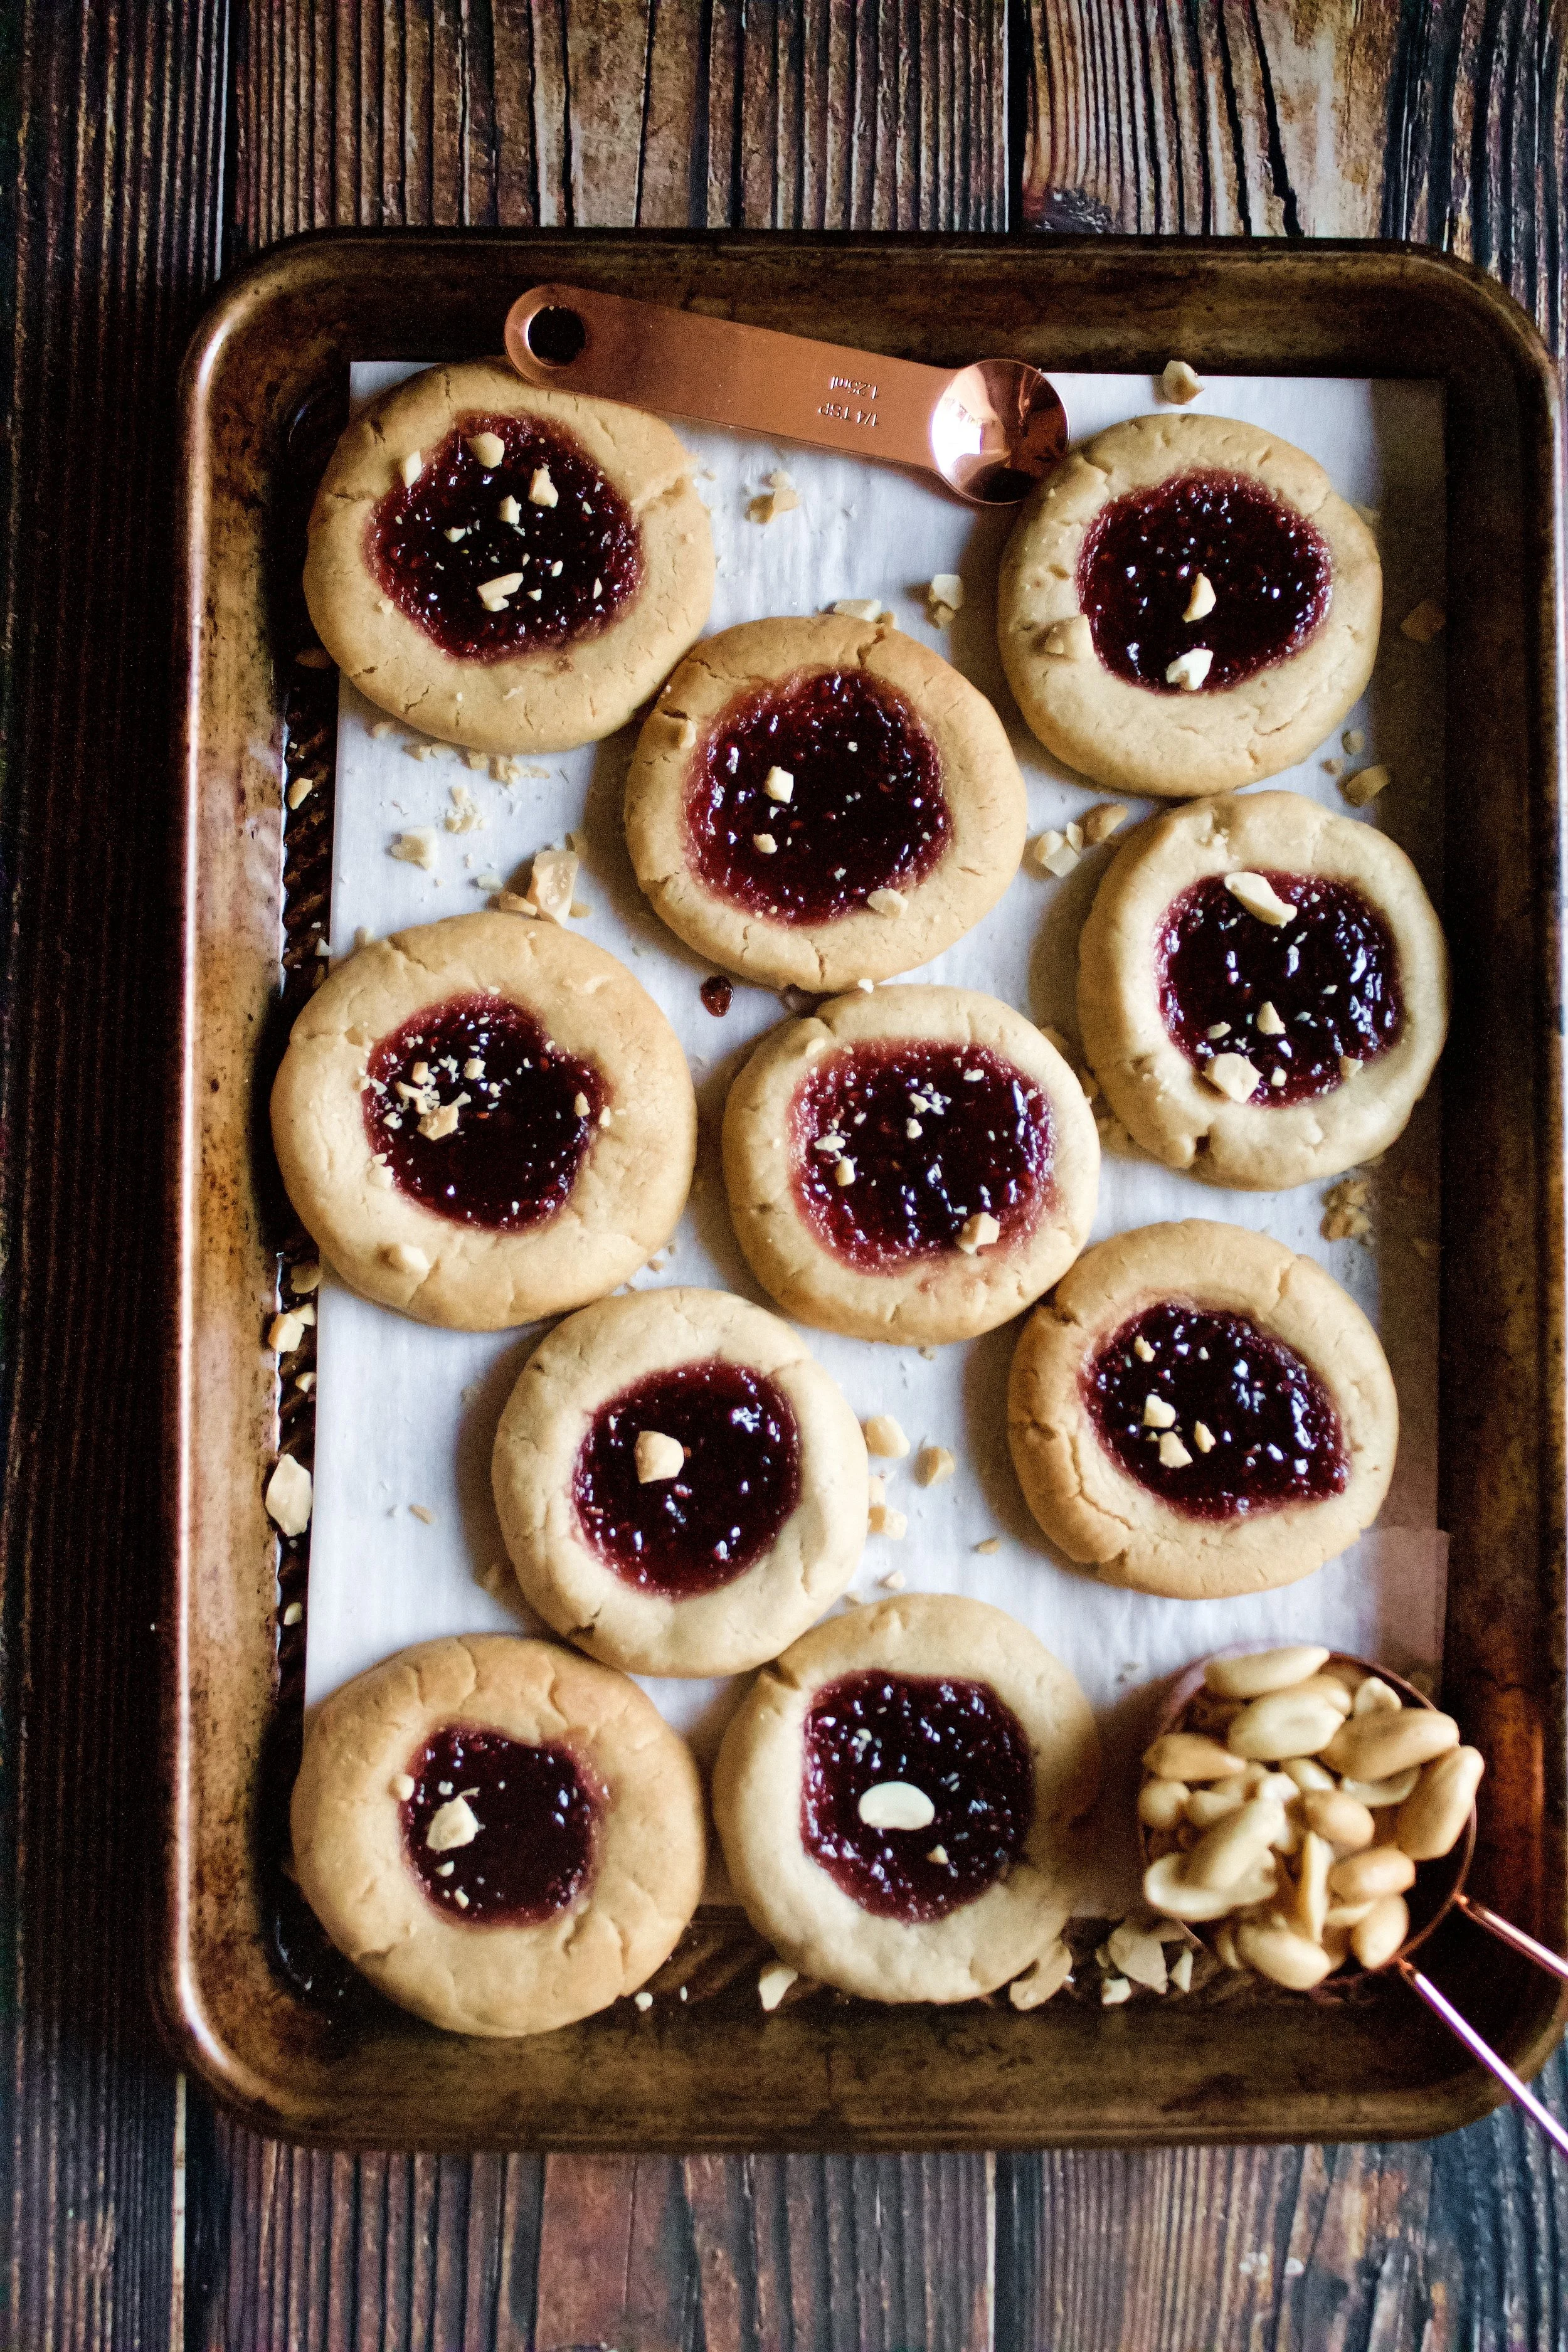
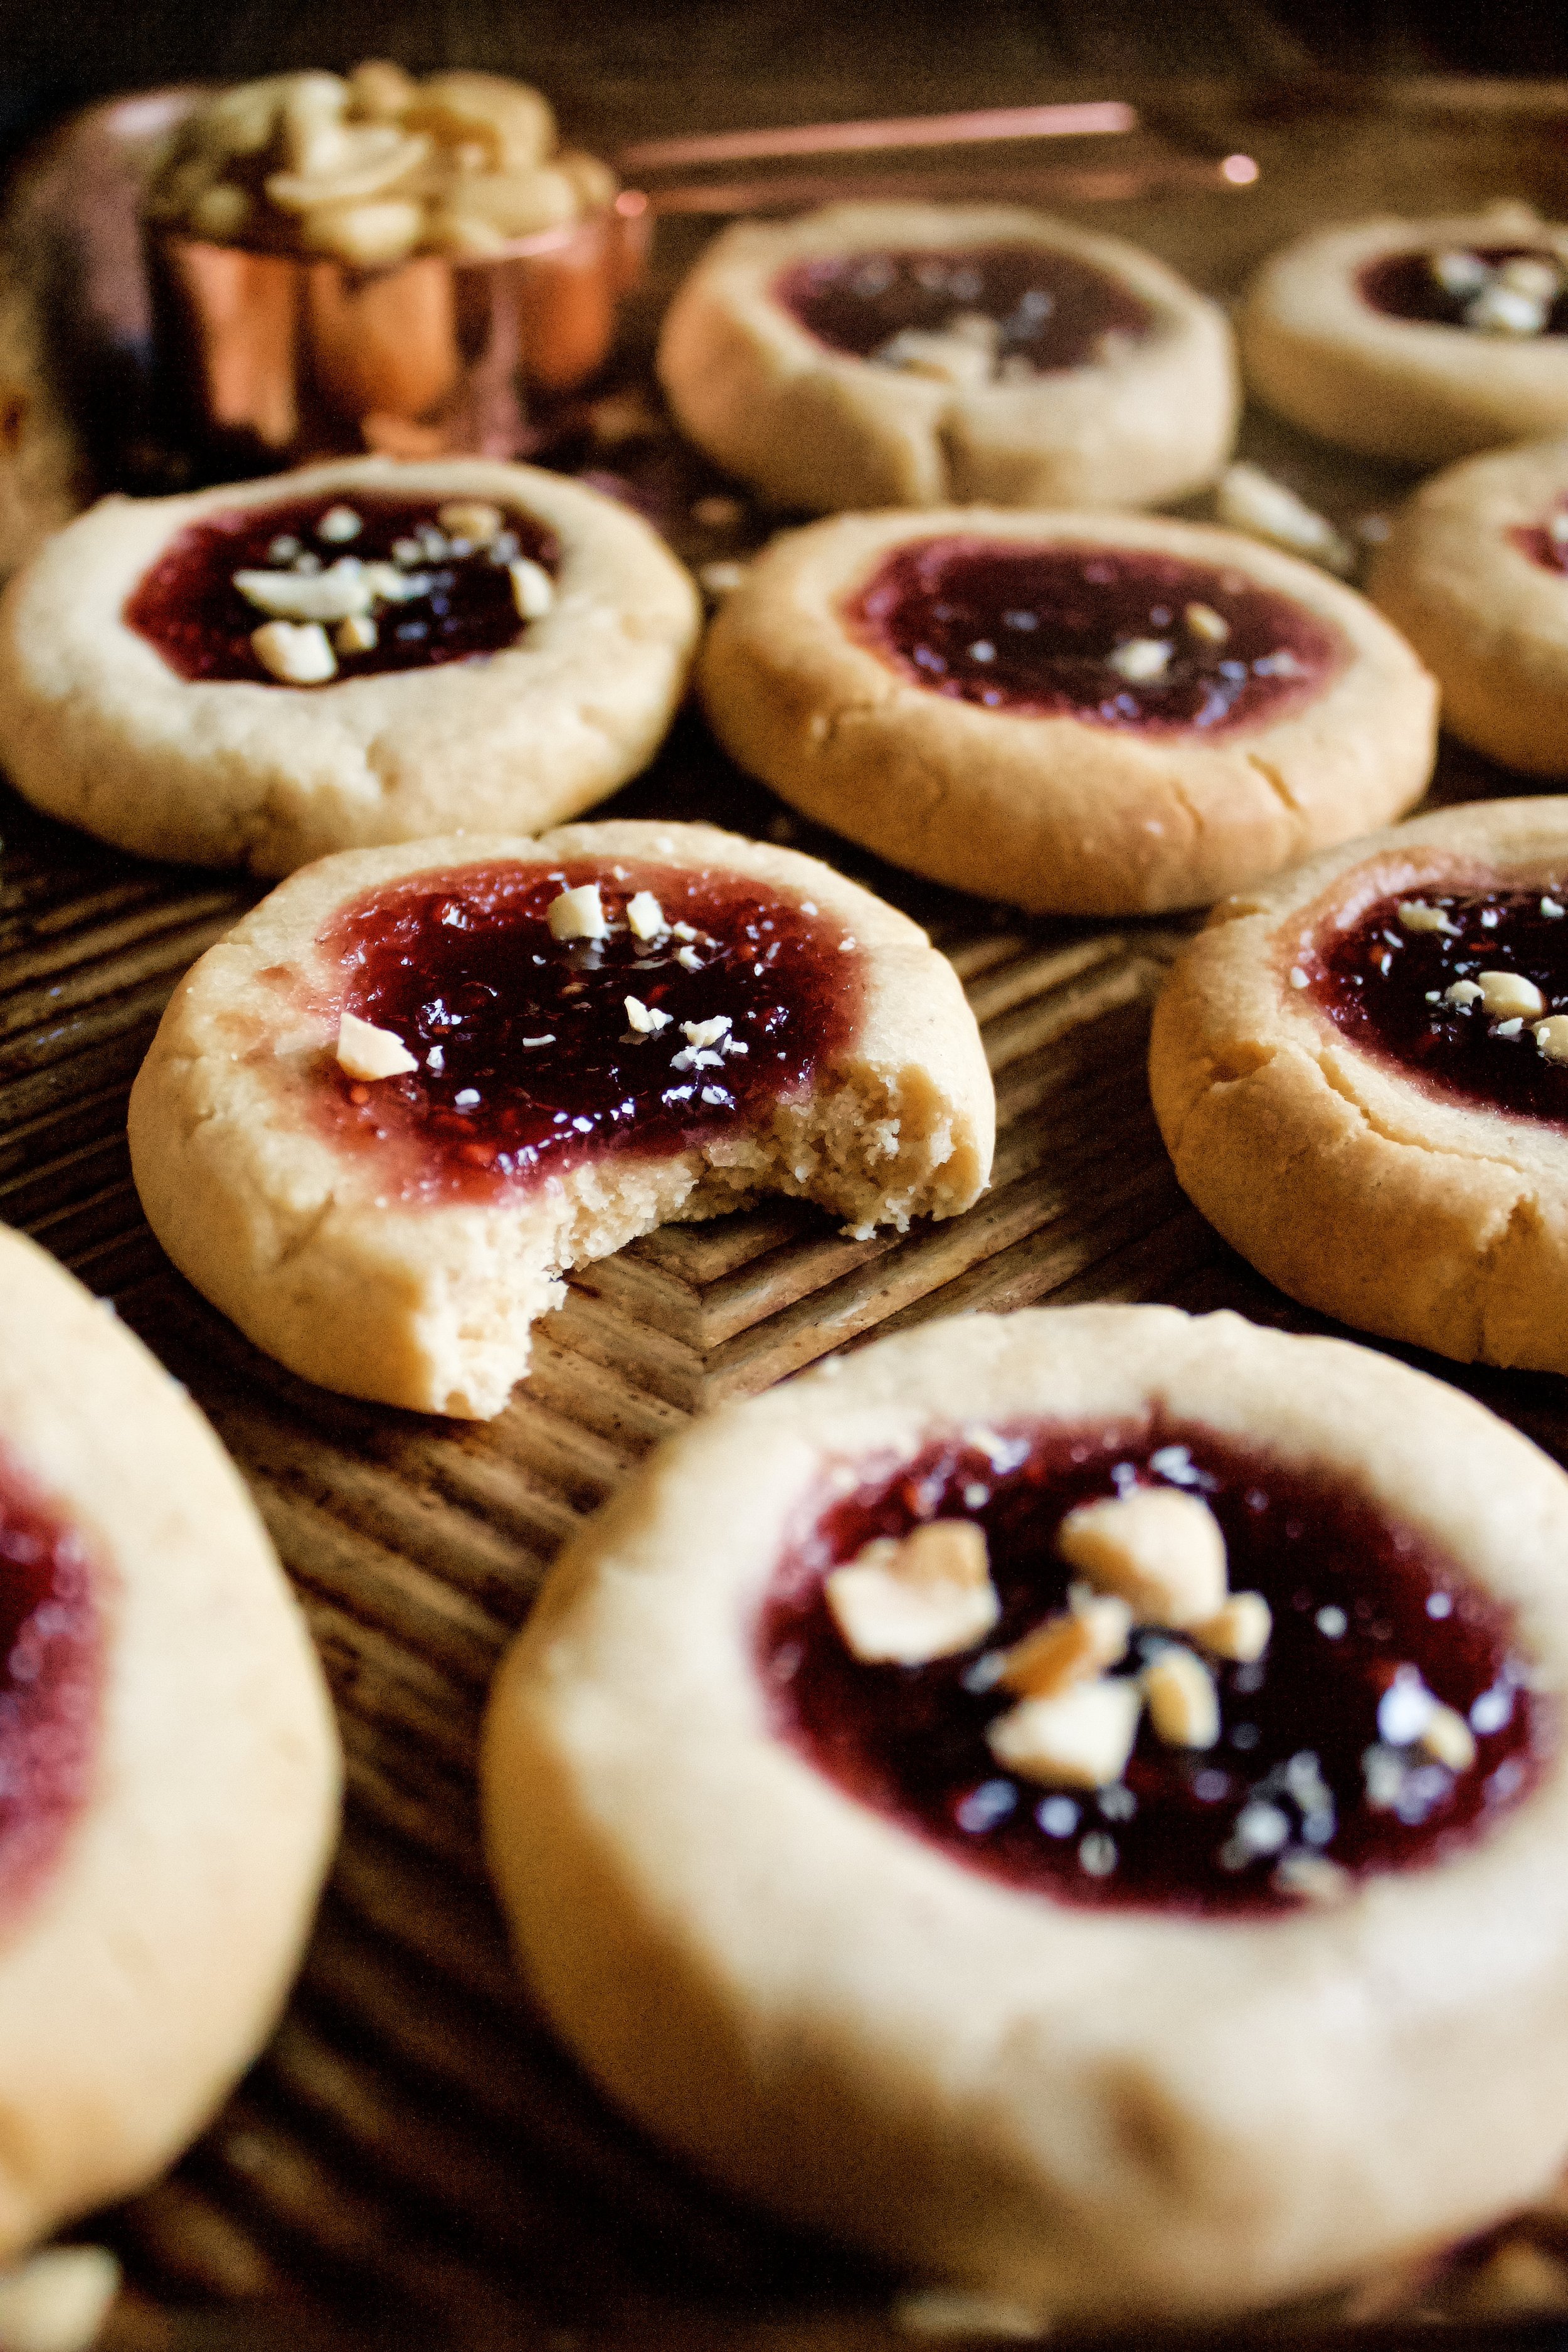
Peanut Butter & Jelly Thumbprint Cookies
Tender peanut butter shortbread filled with delicious raspberry jam. These cookies couldn’t be simpler and taste just like a PB&J. Their delicate texture and nostalgic taste make them a huge hit anytime I make them!
This post may contain affiliate links from which, at no additional cost to you, I may earn a small commission to keep this site running. Only products I myself would or do use are recommended.
I have been done with school for two weeks and yet somehow I’m exhausted. I’ve been baking up a storm, and I actually think I overdid it this week. But oh my goodness, was it delicious. This week was filled with crumble toppings and sprinkles—basically a LOT of unnecessary but delicious sugar.
Last week, I was on my own with my three year old, so I baked here and there during her naps (thank the Lord she actually napped last week, as opposed to this week…). And I am SO glad I was able to squeeze in making these cookies.
I made these on a whim last August for my mom’s 60th birthday party. They were one of those “in case we don’t have enough” additions. Which for the first time ever, we apparently needed. Because there were no desserts leftover after her party. Instead, I heard a lot of compliments, particularly, “Can I have that cookie recipe?” From a lot of people. About a dessert I made last-minute that, somehow, actually worked. Really well.
So, here it is.
Why this recipe works
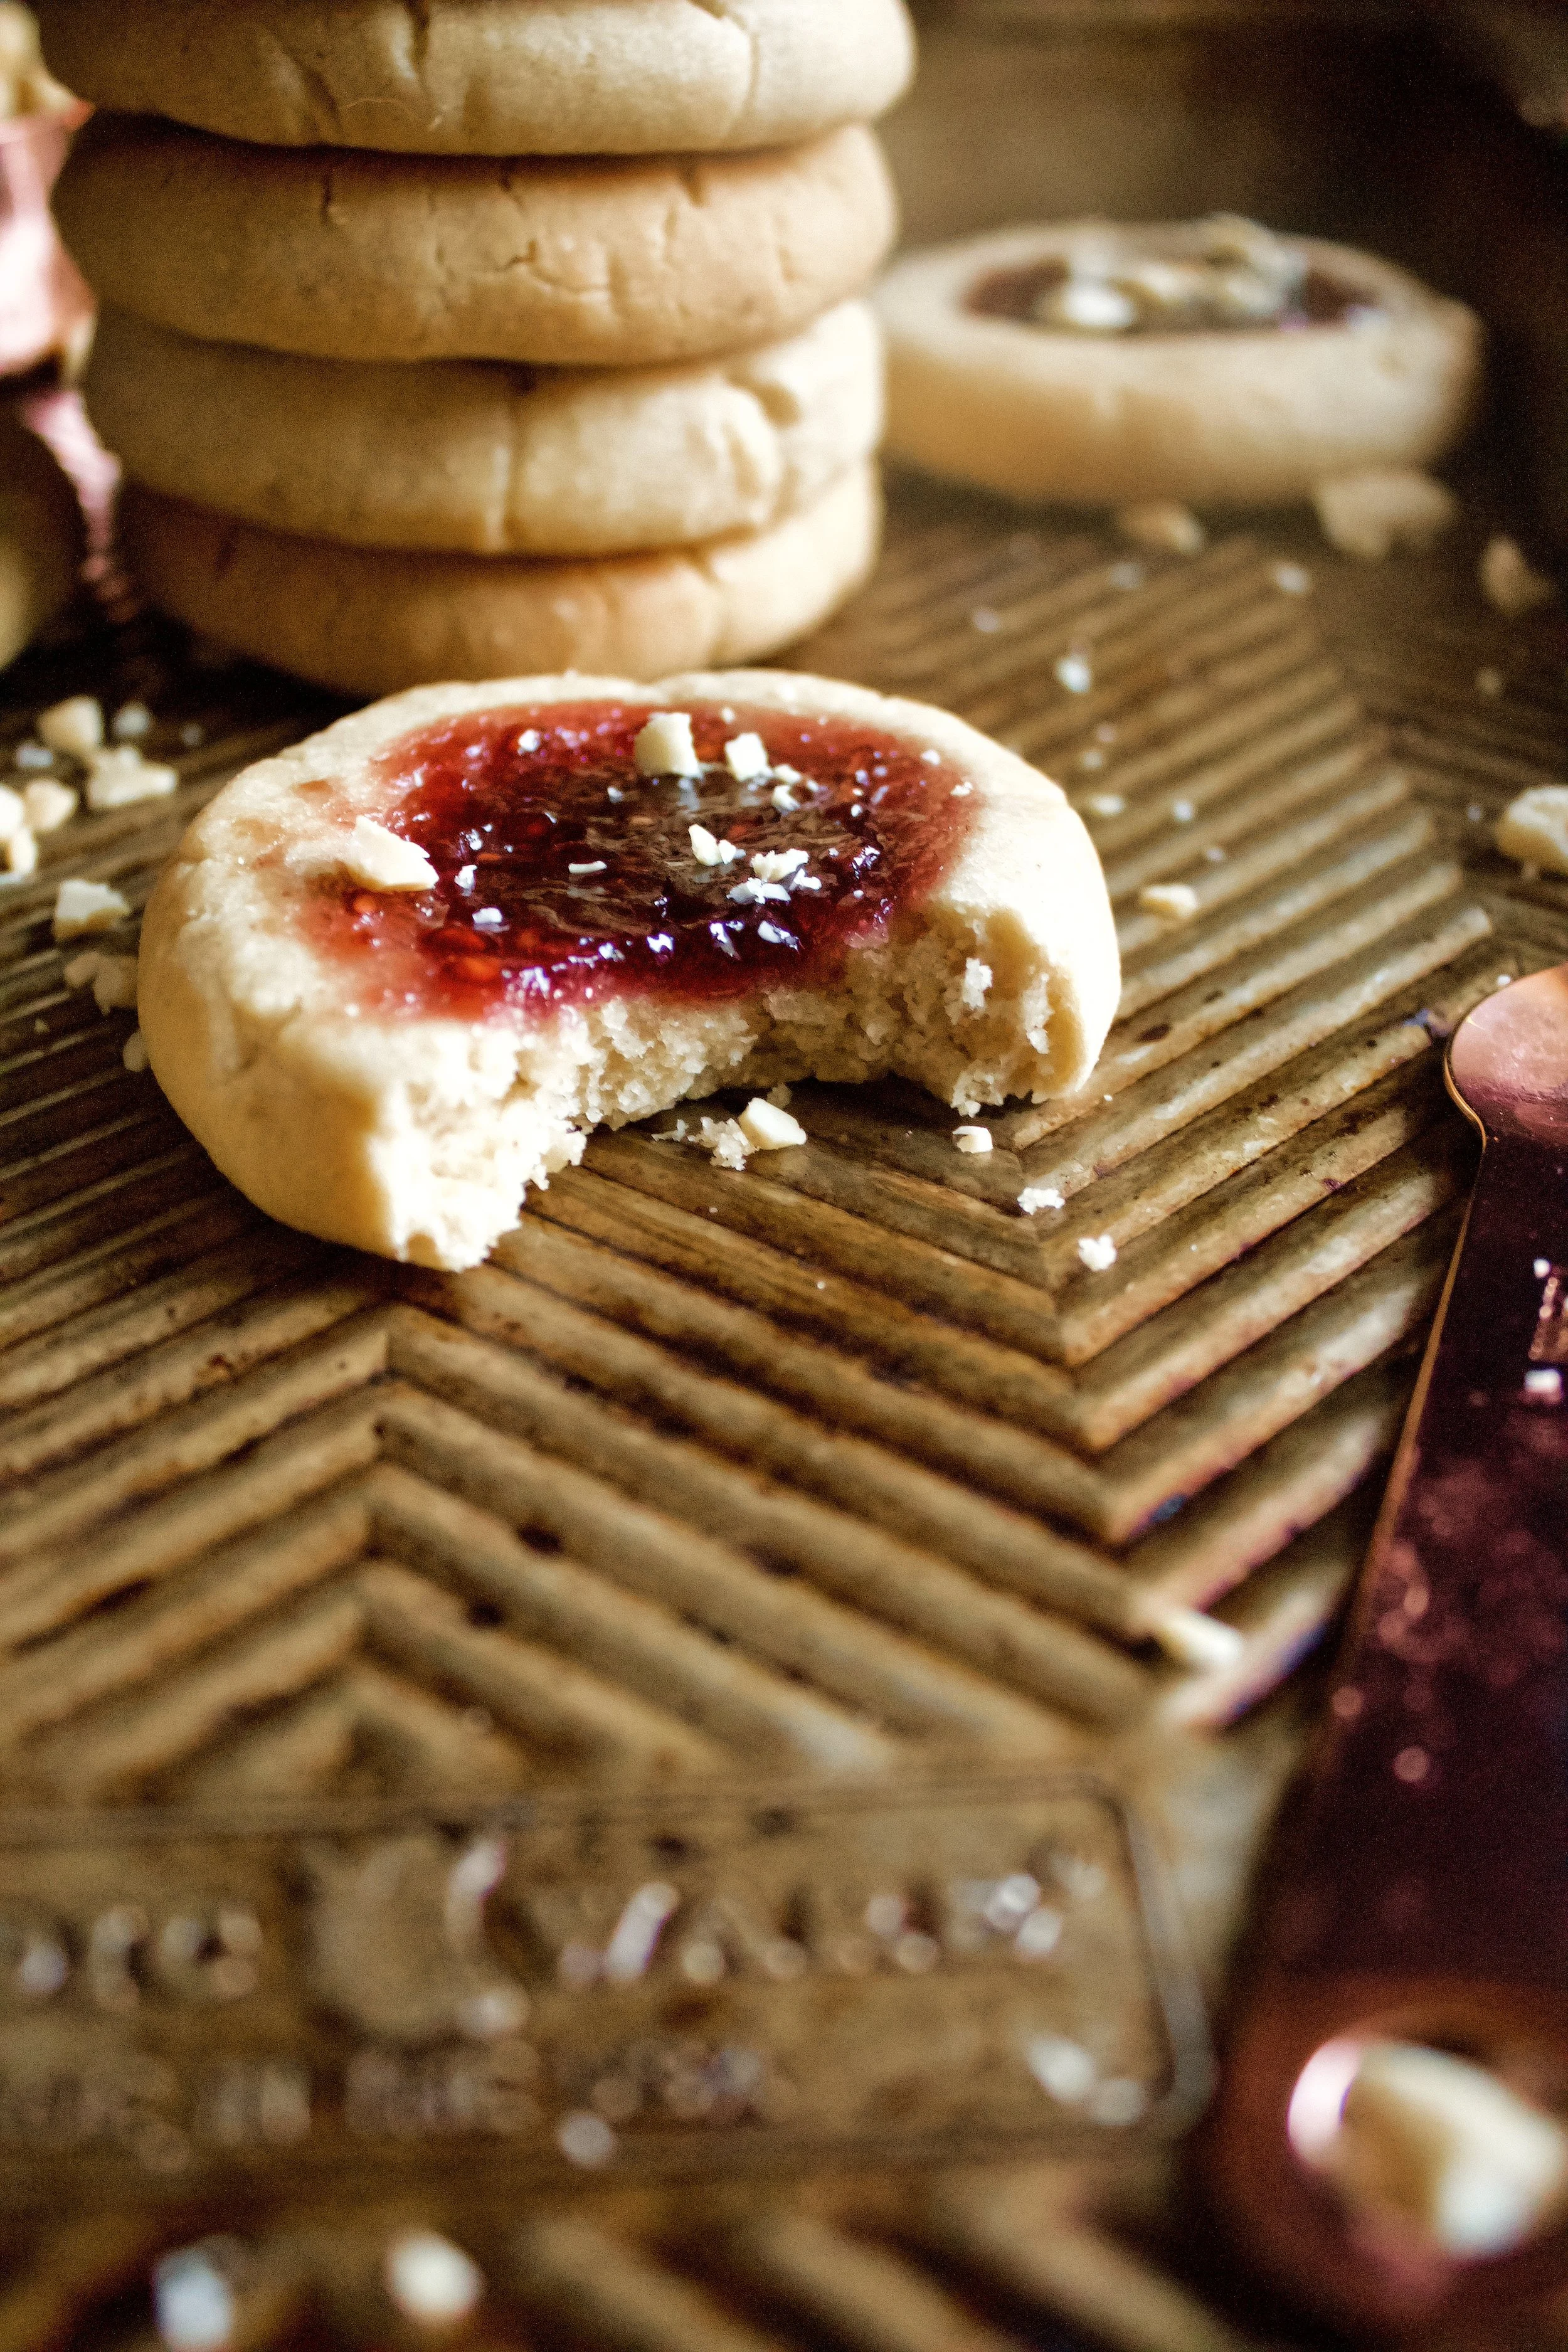
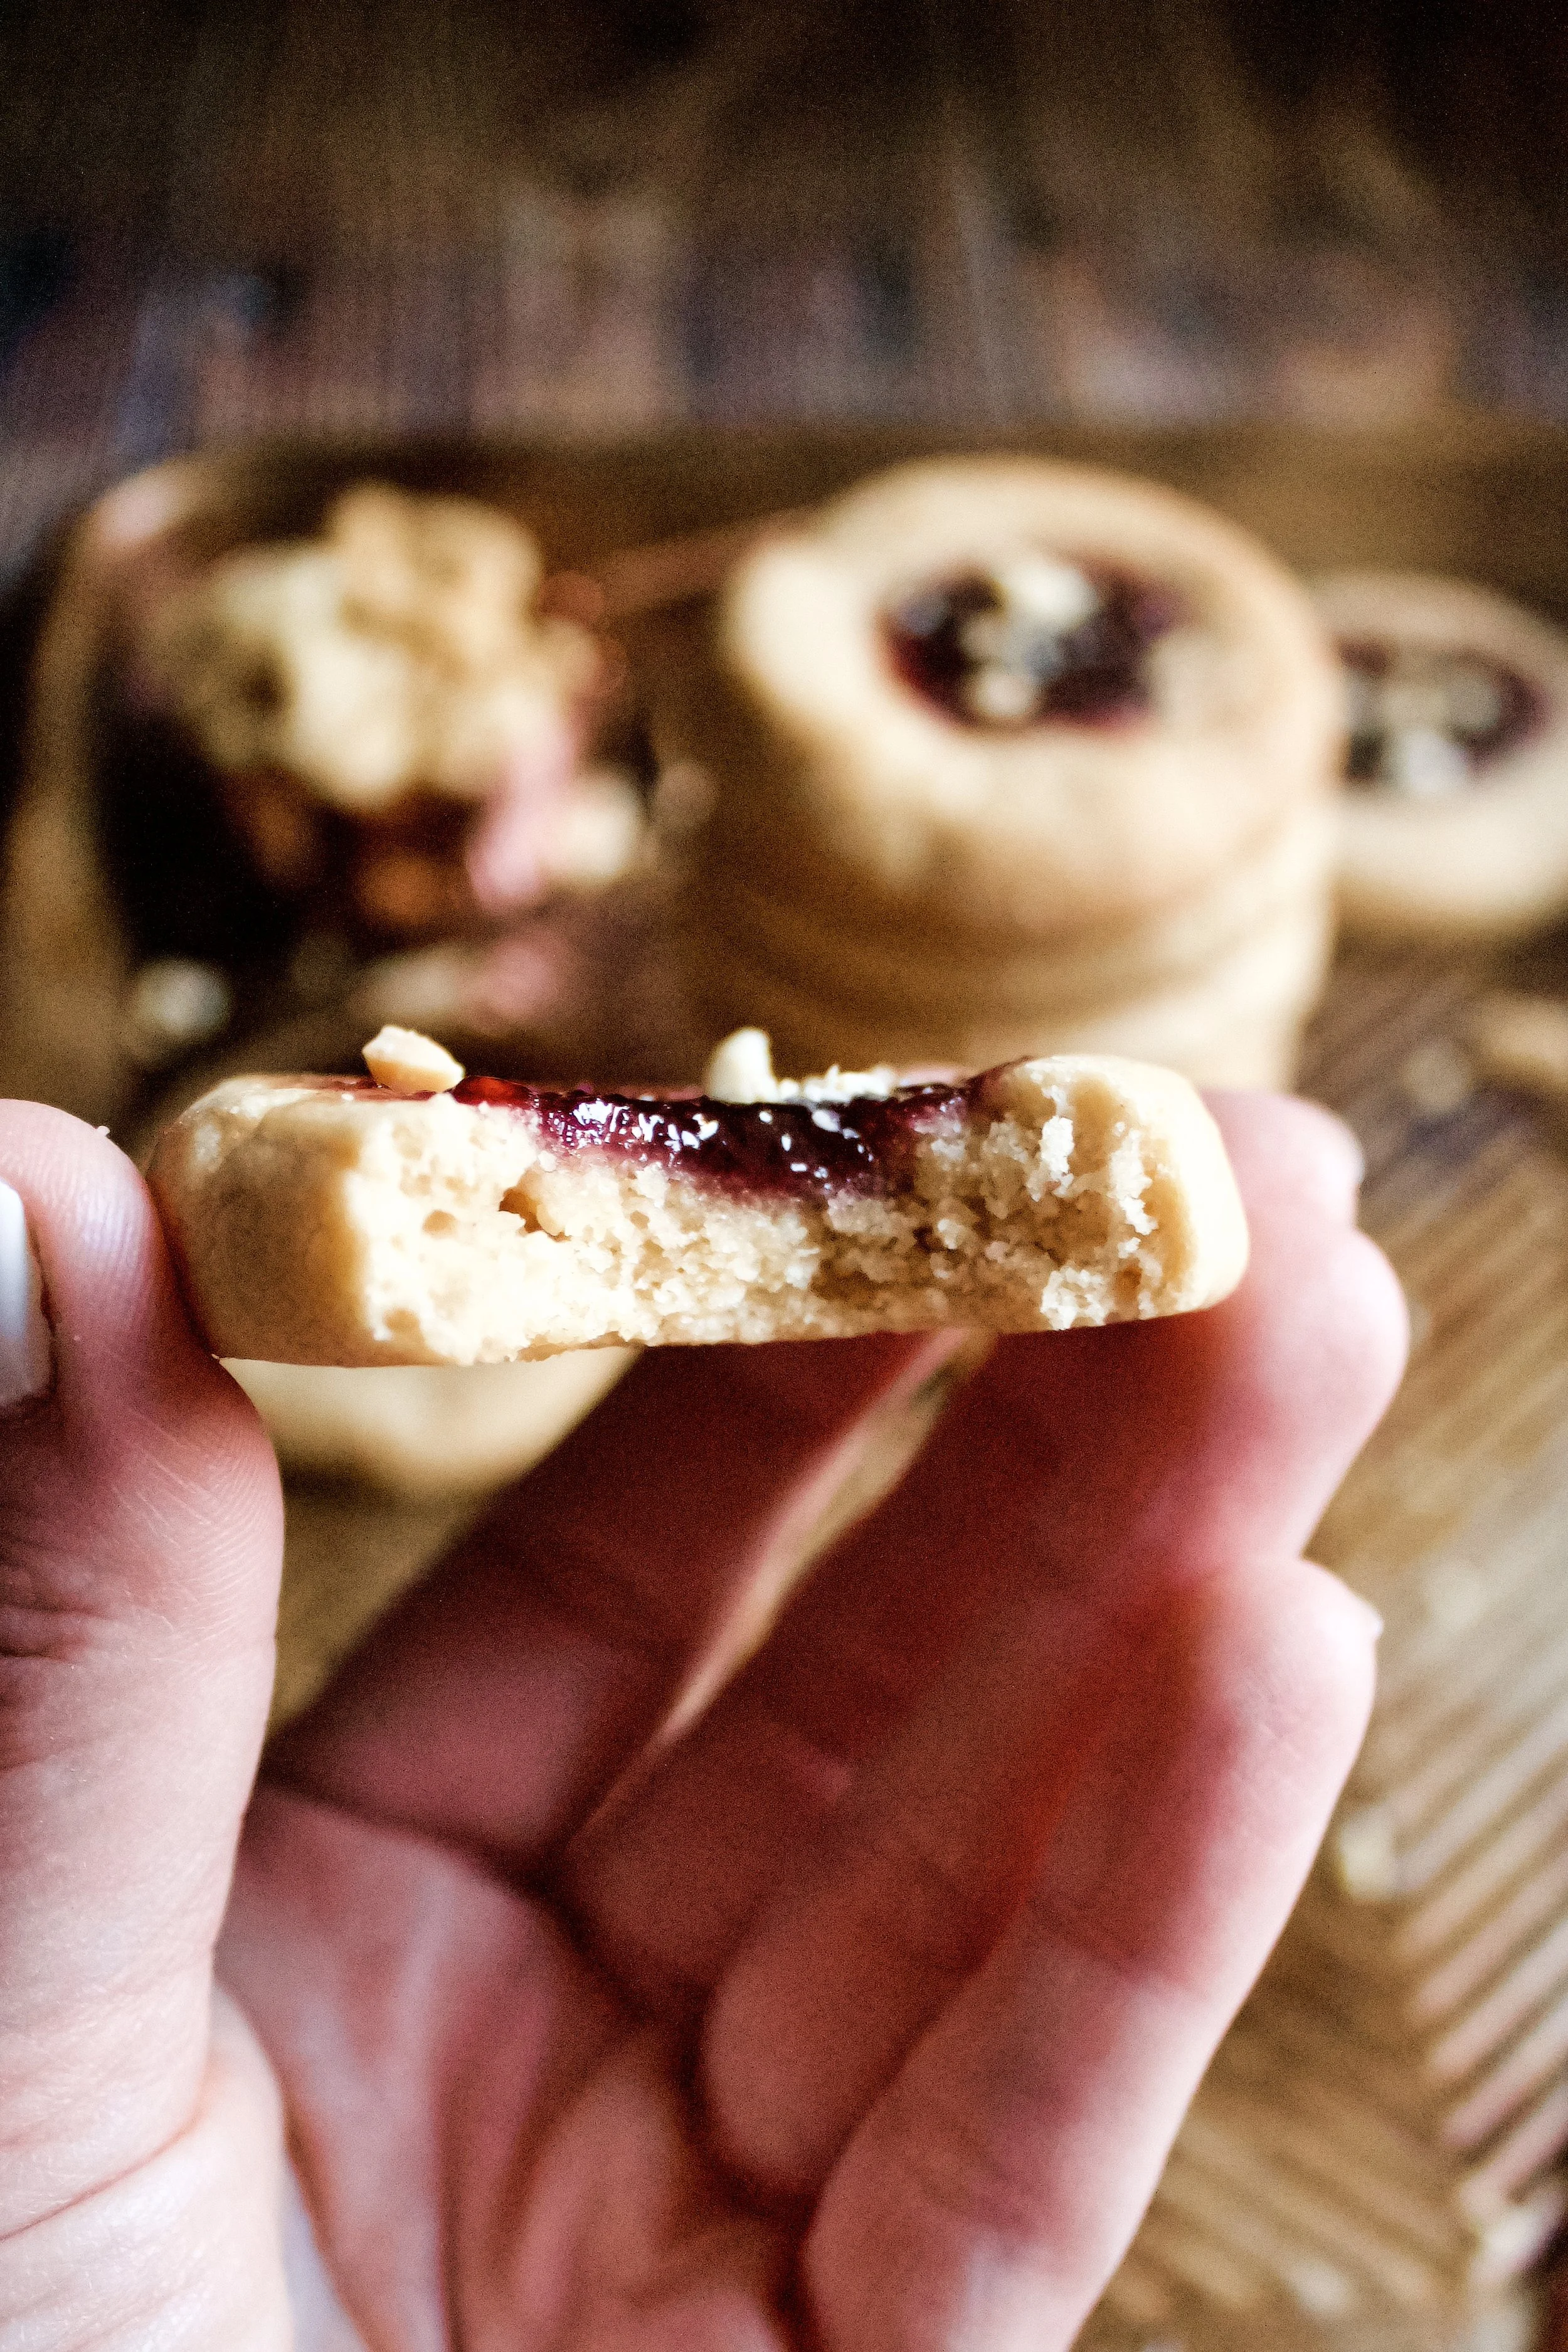
The basic shortbread I used here is one of my most popular recipes because of the use of powdered sugar and European butter. Both make these incredibly tender and delicate, and the butter gives that addictive buttery taste that you just can’t get enough of. Switching out some of the butter for peanut butter maintains that soft, delicate texture while adding a wonderful nutty taste.
I used homemade raspberry jam for the filling, but any jam, jelly, or preserve will do (such as blueberry!). The important thing is to go with your favorite, to capture that quintessential peanut butter & jelly sandwich taste.
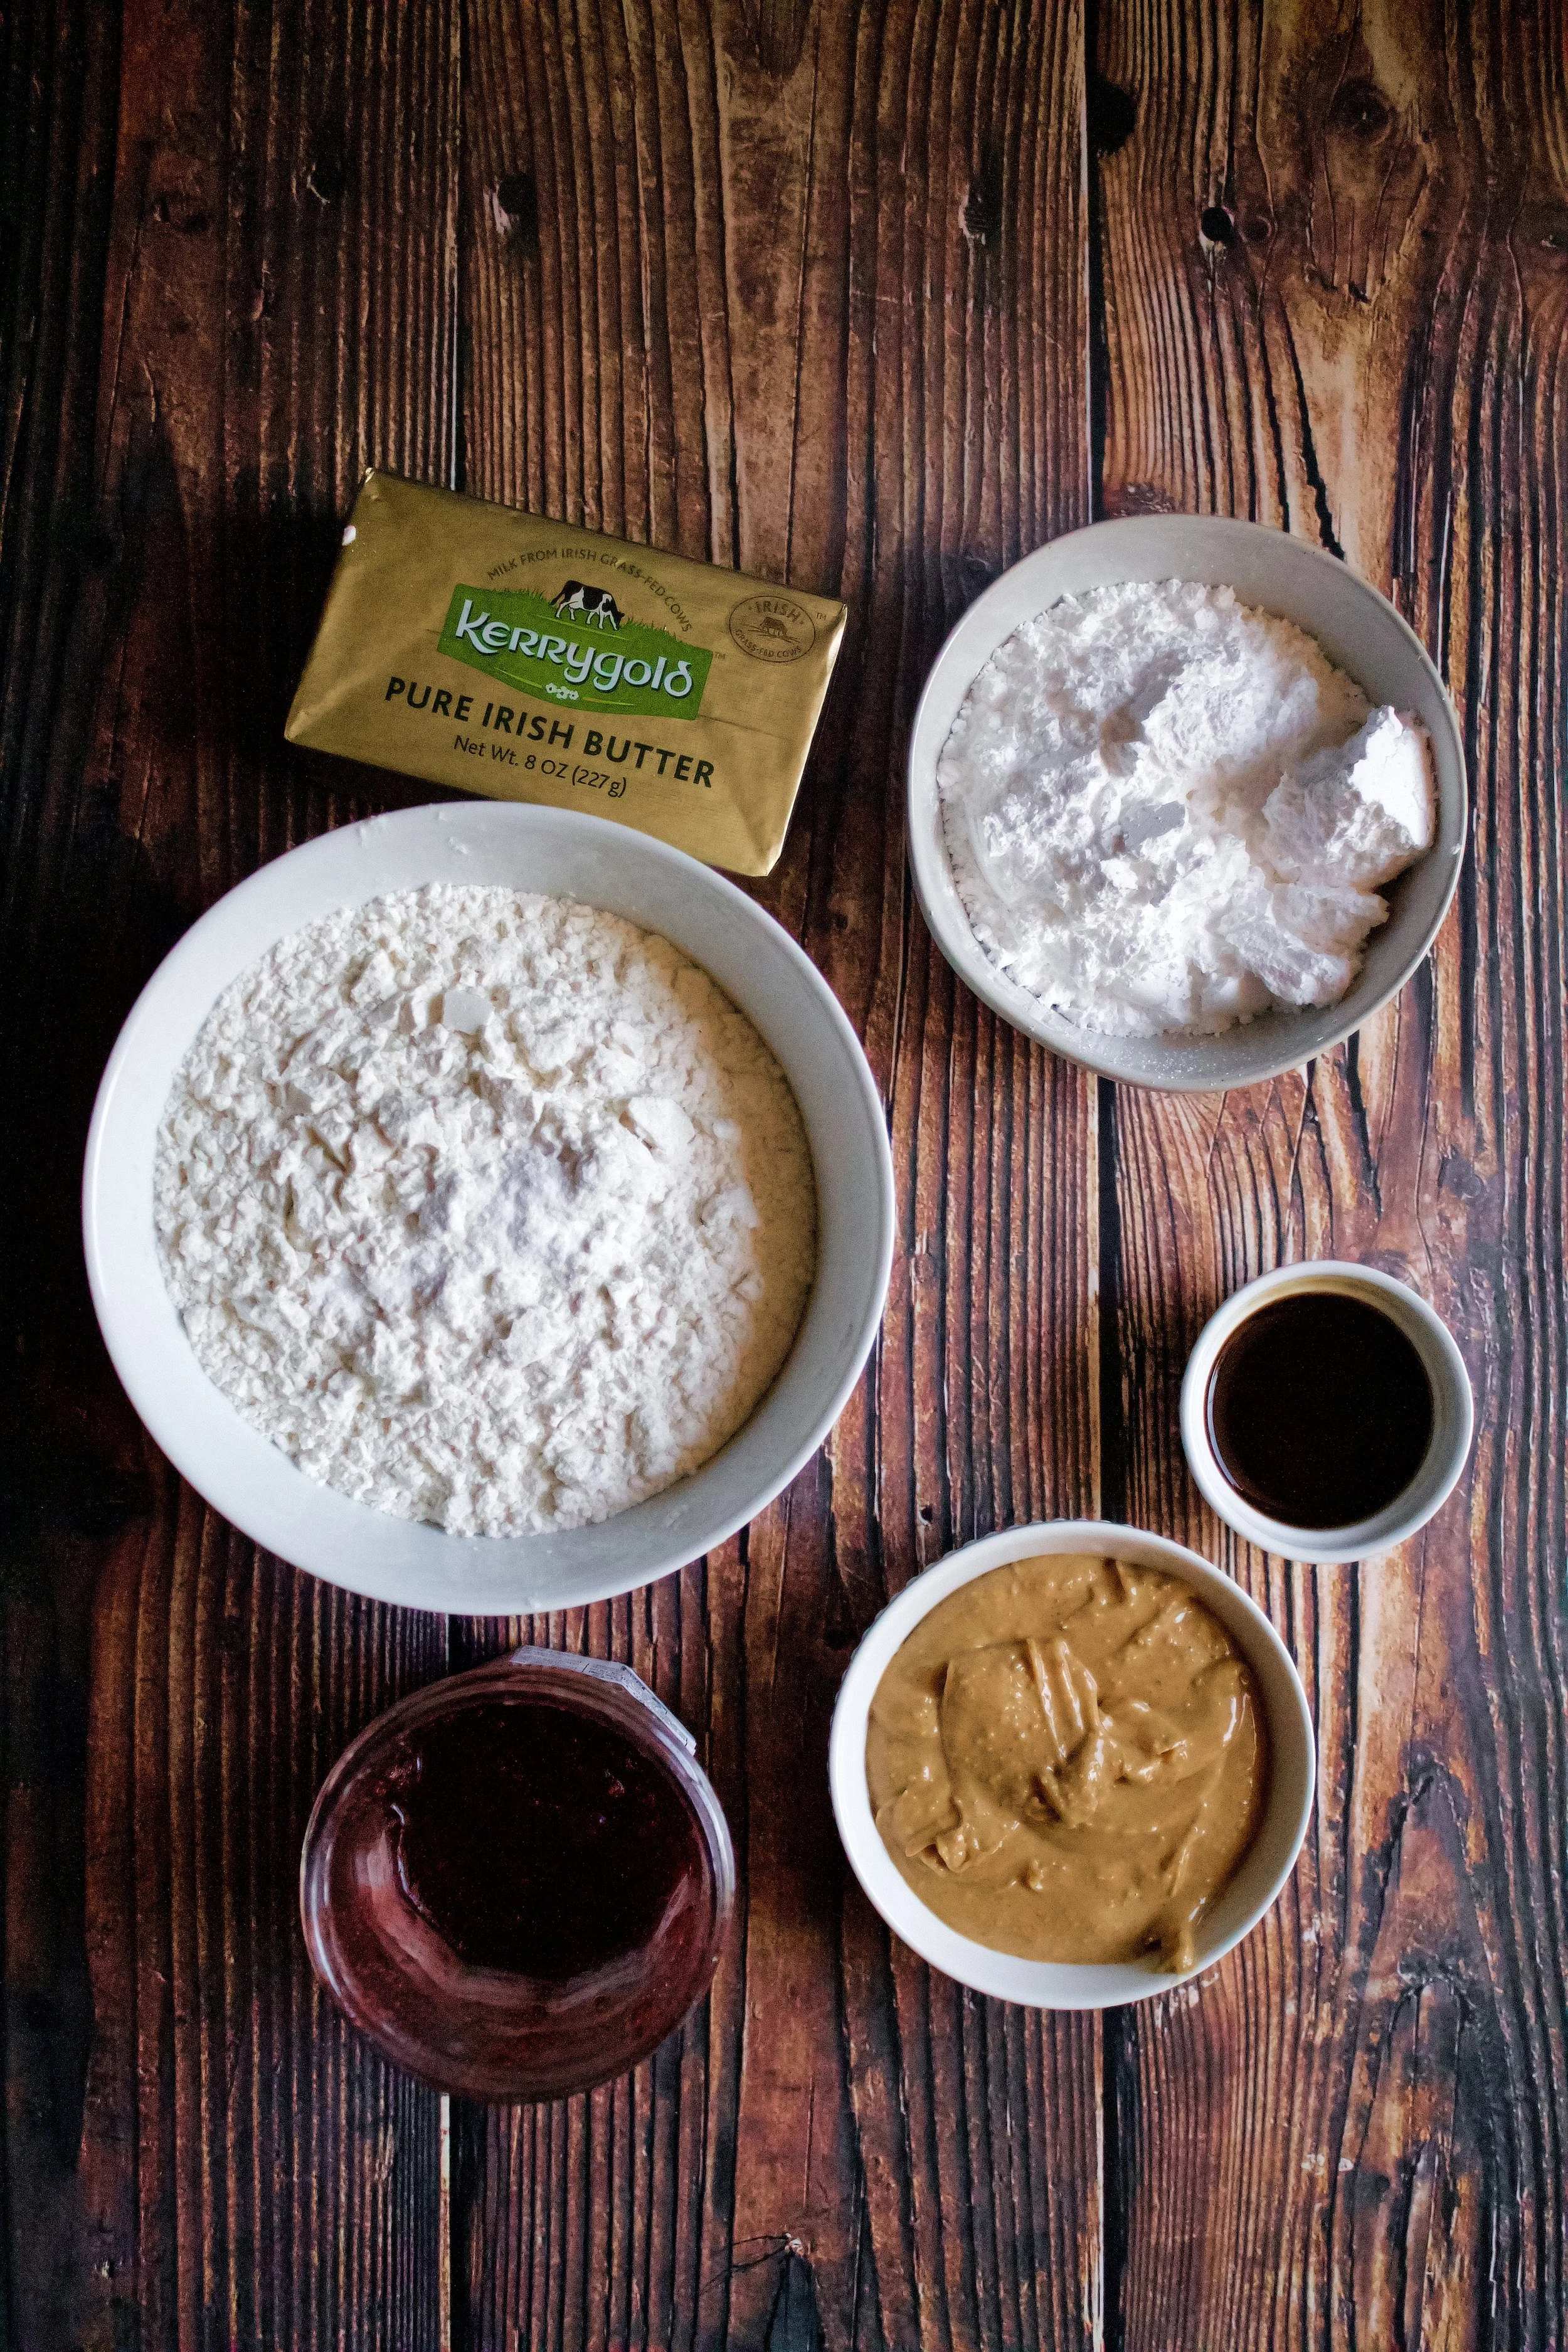
Key ingredients
Butter. As mentioned above, always use European style butter in shortbread. It’s creamier and has less water.
Peanut butter. Be sure to use creamy, not chunky. And try to use a natural one, so you don’t add anything but pure peanut butter flavor. I used a natural peanut butter, which didn’t have a purely smooth texture but still worked well.
Confectioner’s sugar. This is the secret to the tender texture and perfect sweetness of these cookies.
Vanilla extract (optional). I usually add this, but it’s optional and not as traditional, but I think it adds the something special that these cookies need.
Salt. Only use a pinch or so if using salted butter.
Flour. Optionally, you can sift this before using, making the cookies even more tender and delicate.
Jelly or jam. Or preserve or compote. Honestly, anything that pairs will with peanut butter works here. My favorite is raspberry, but whatever you prefer is fine!
How to make pb&j thumbprints
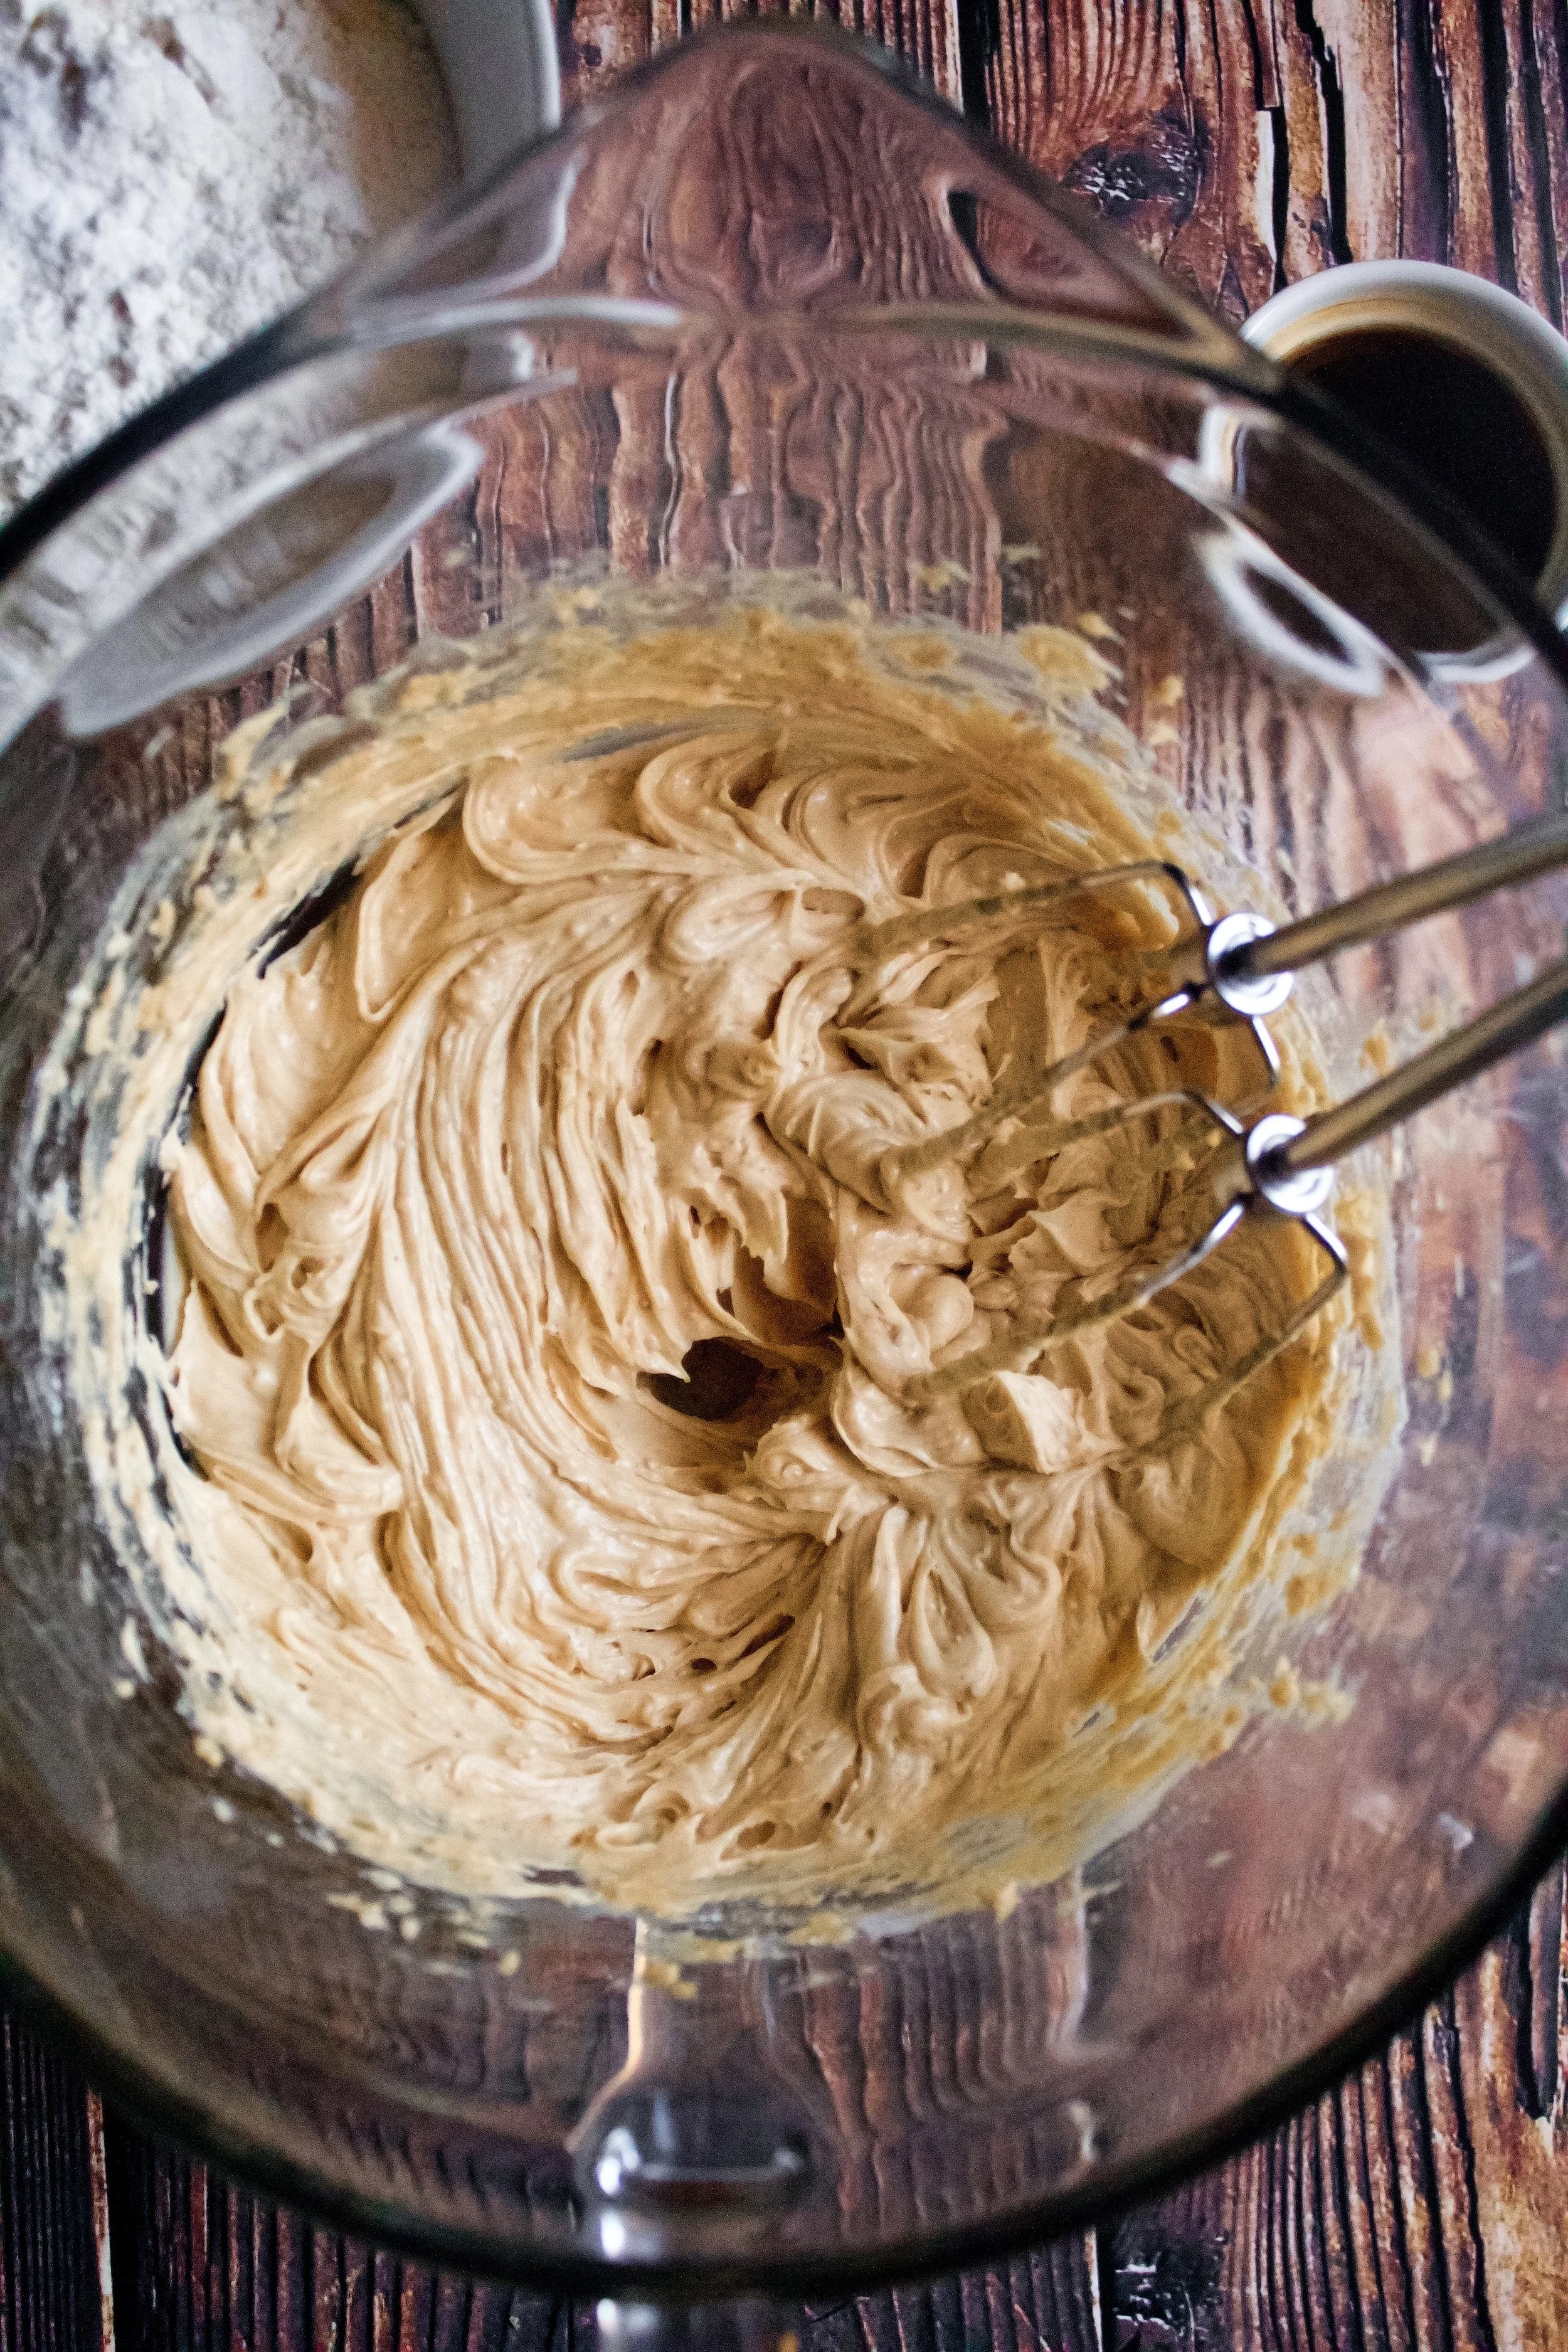
1. Cream butter and peanut butter. Mix until fully blended.
2. Beat in powdered sugar. You don’t need to beat it for a long time, just make sure it’s well-combined and perfectly smooth.
3. Add vanilla and salt. Reduce salt to a pinch if you used salted butter. Be sure it’s very smooth so that the flour can be mixed in minimally.
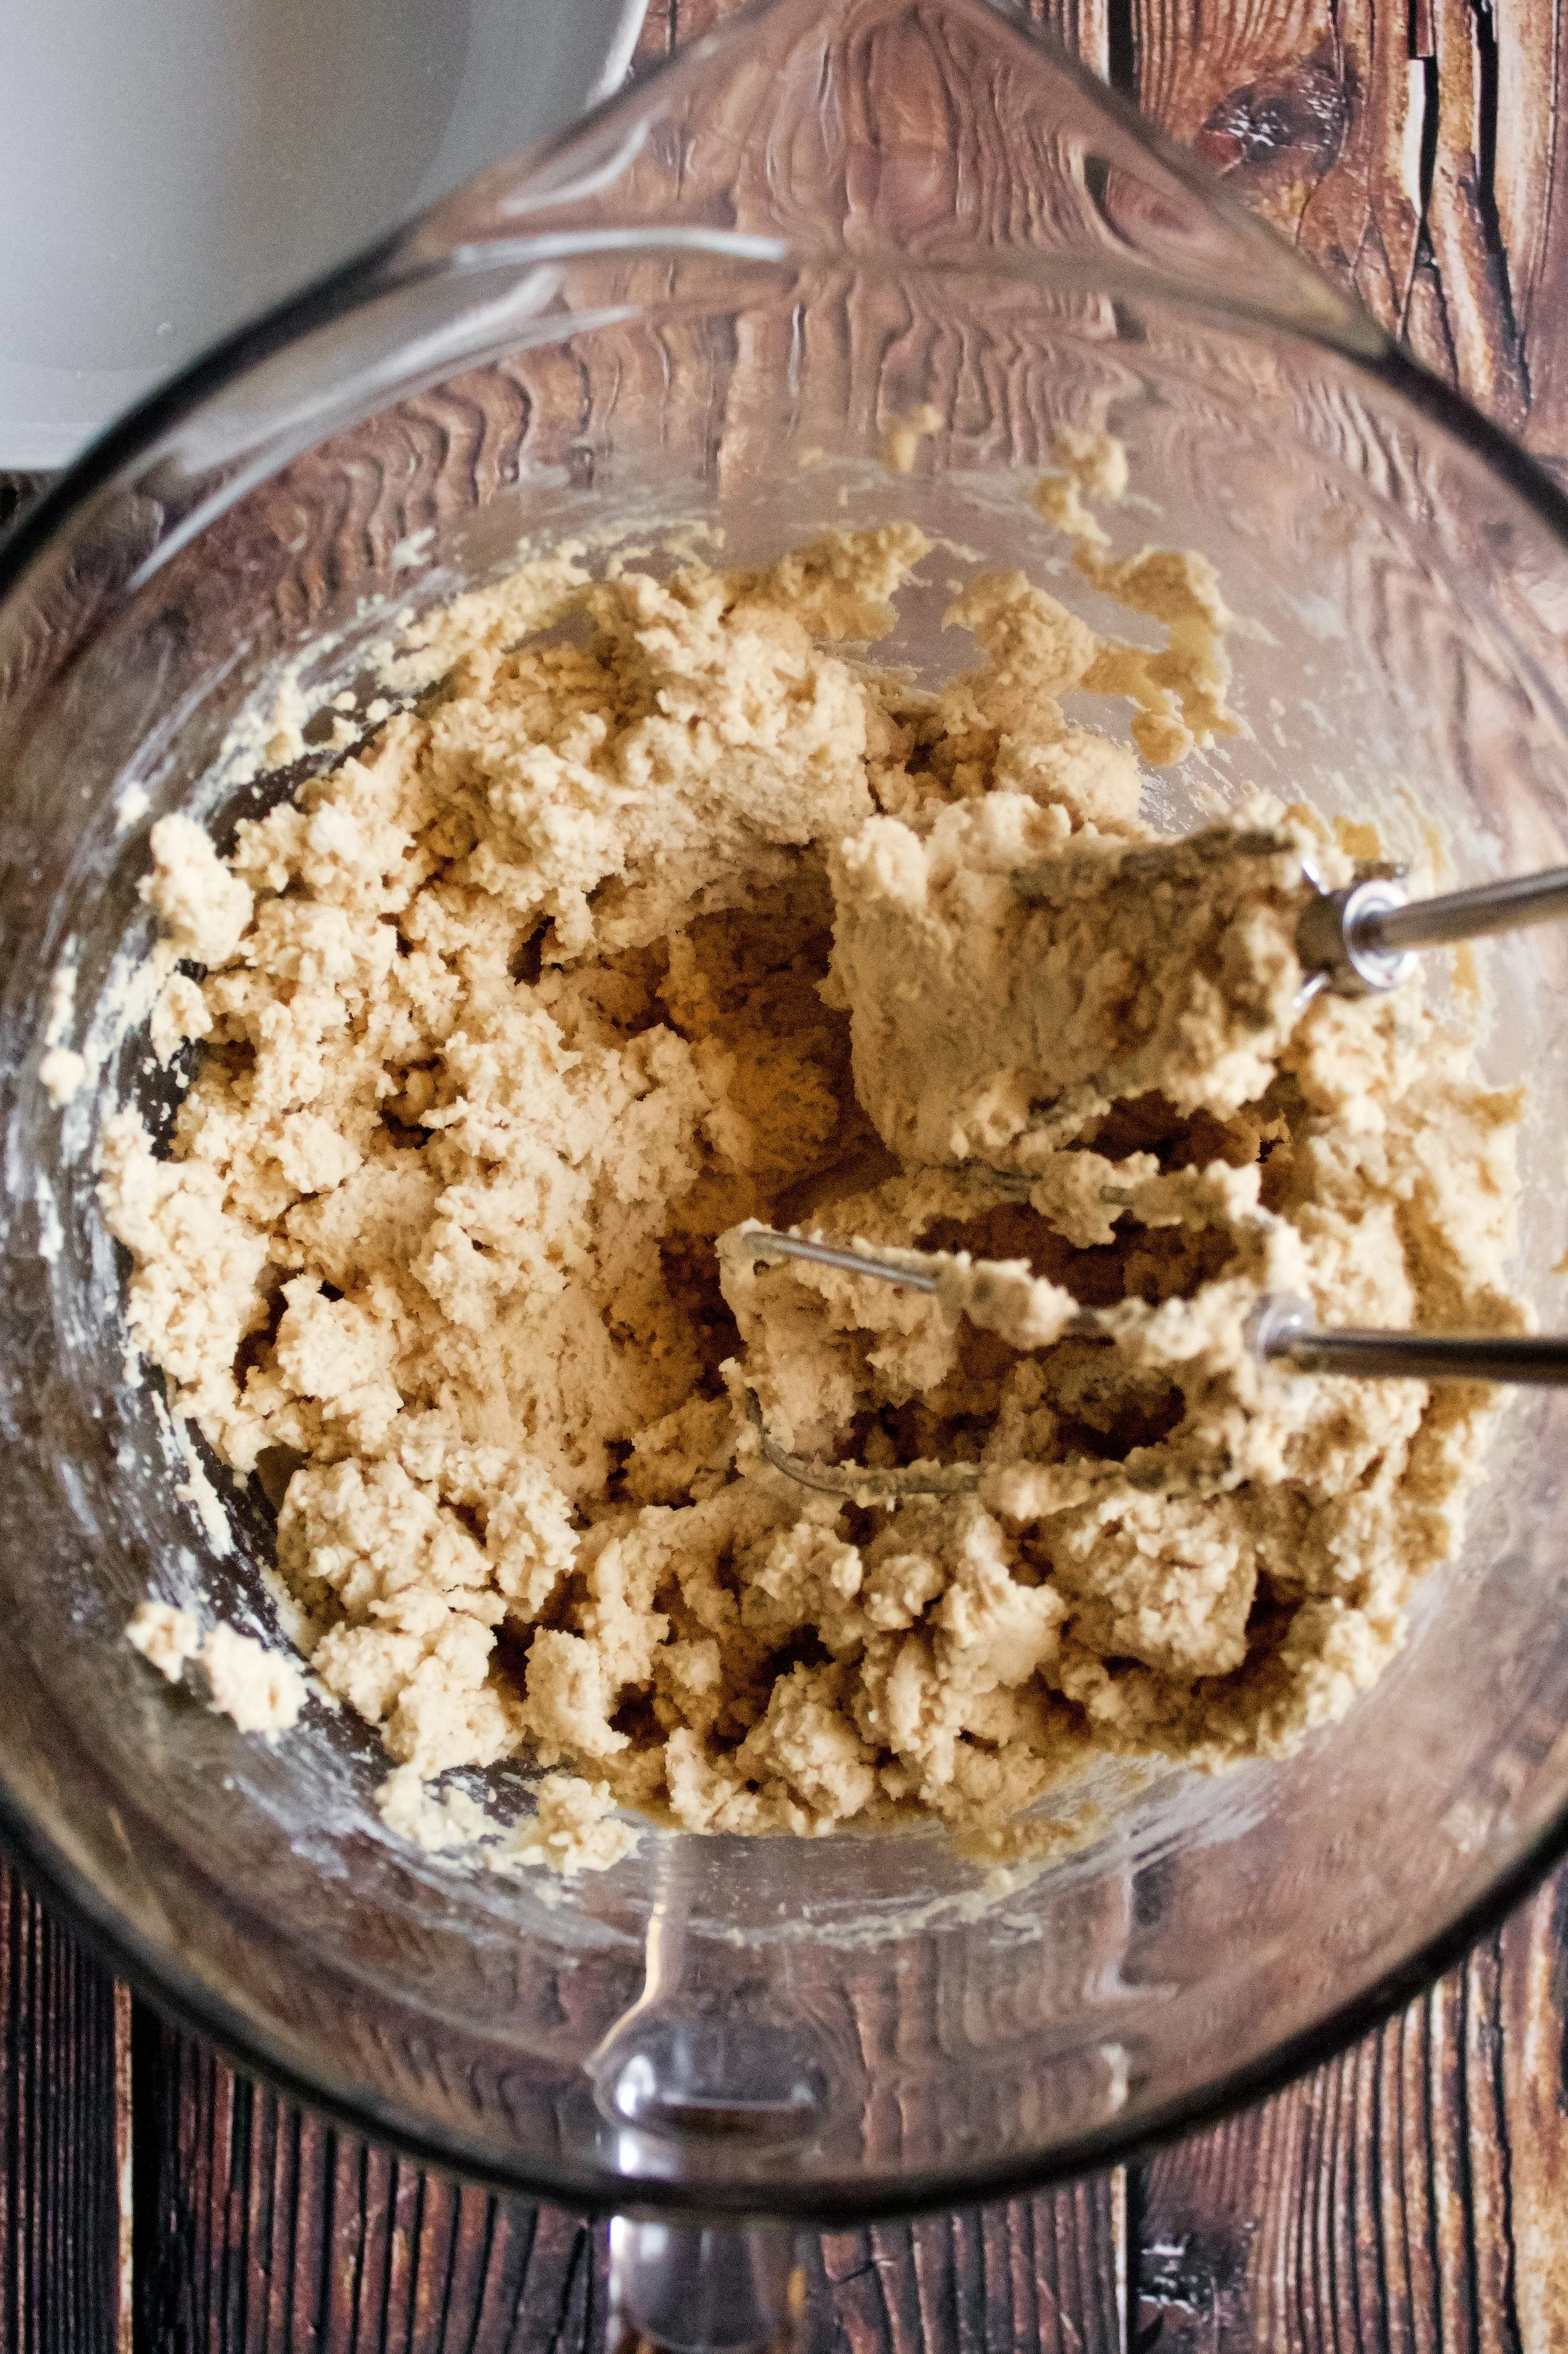
4. Stir in flour. Technically, you could sift and whisk the salt and flour, but that requires an extra bowl, and I just don’t have the patience for more dishes.

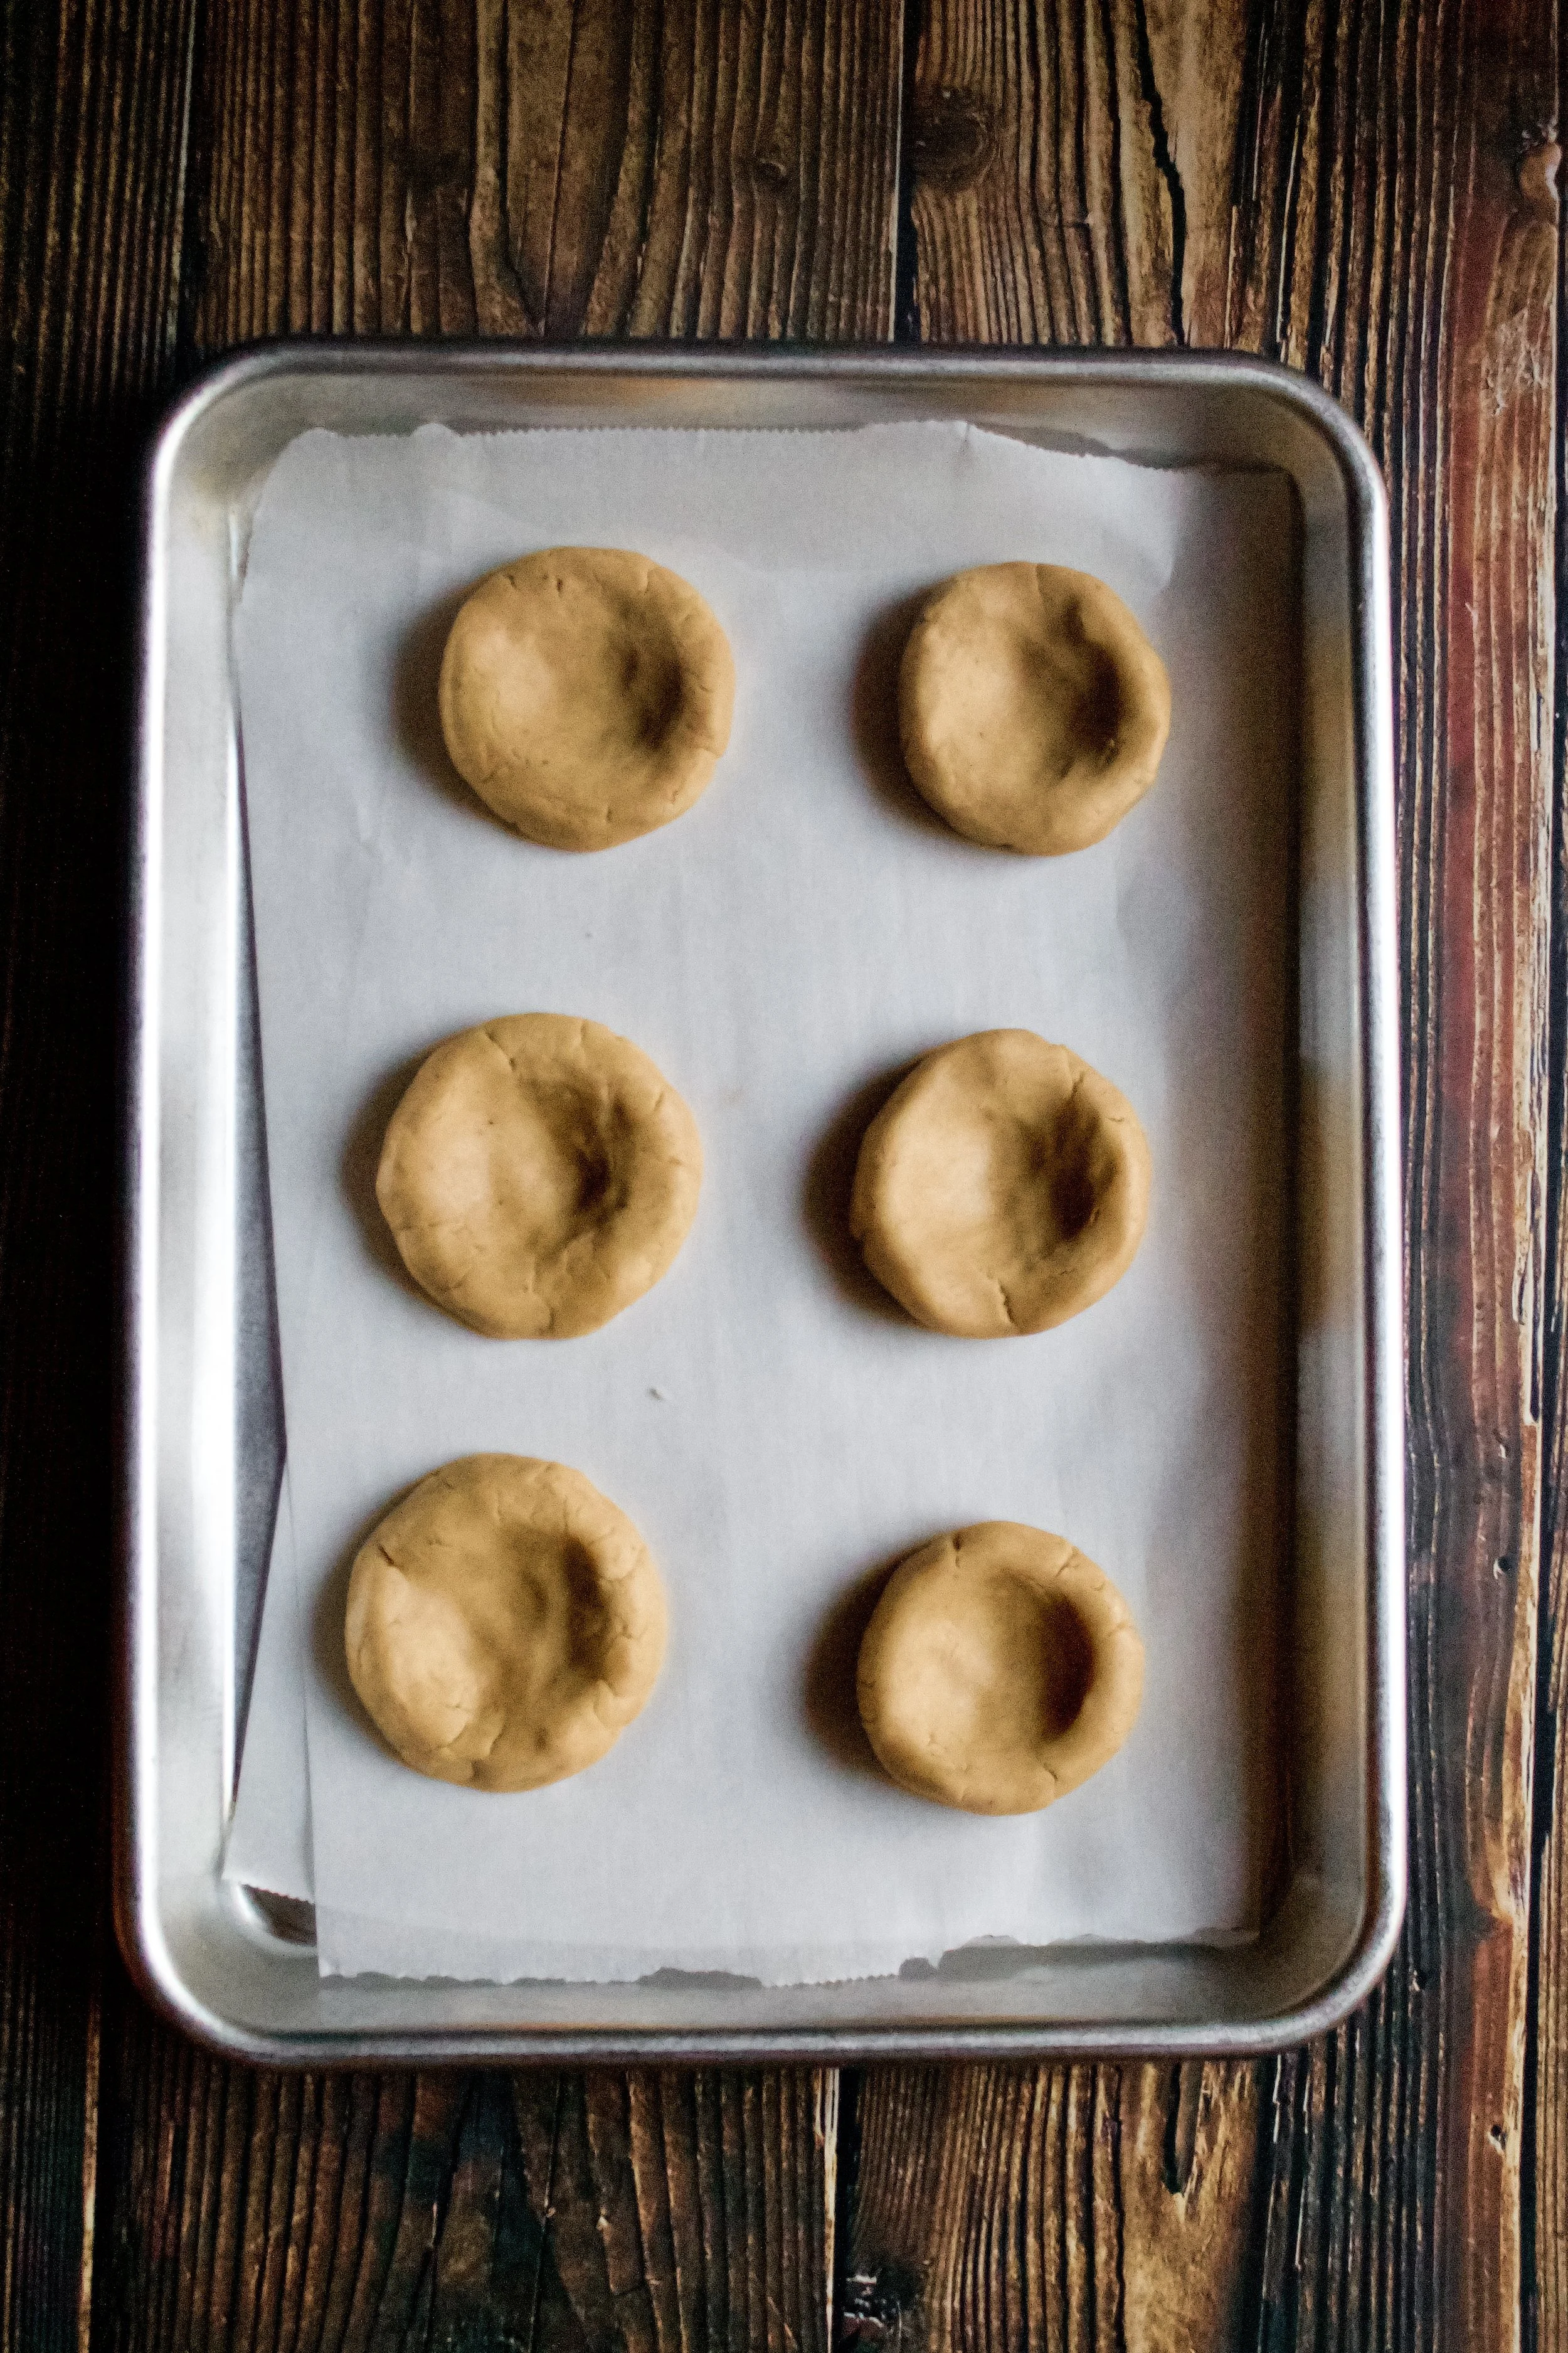
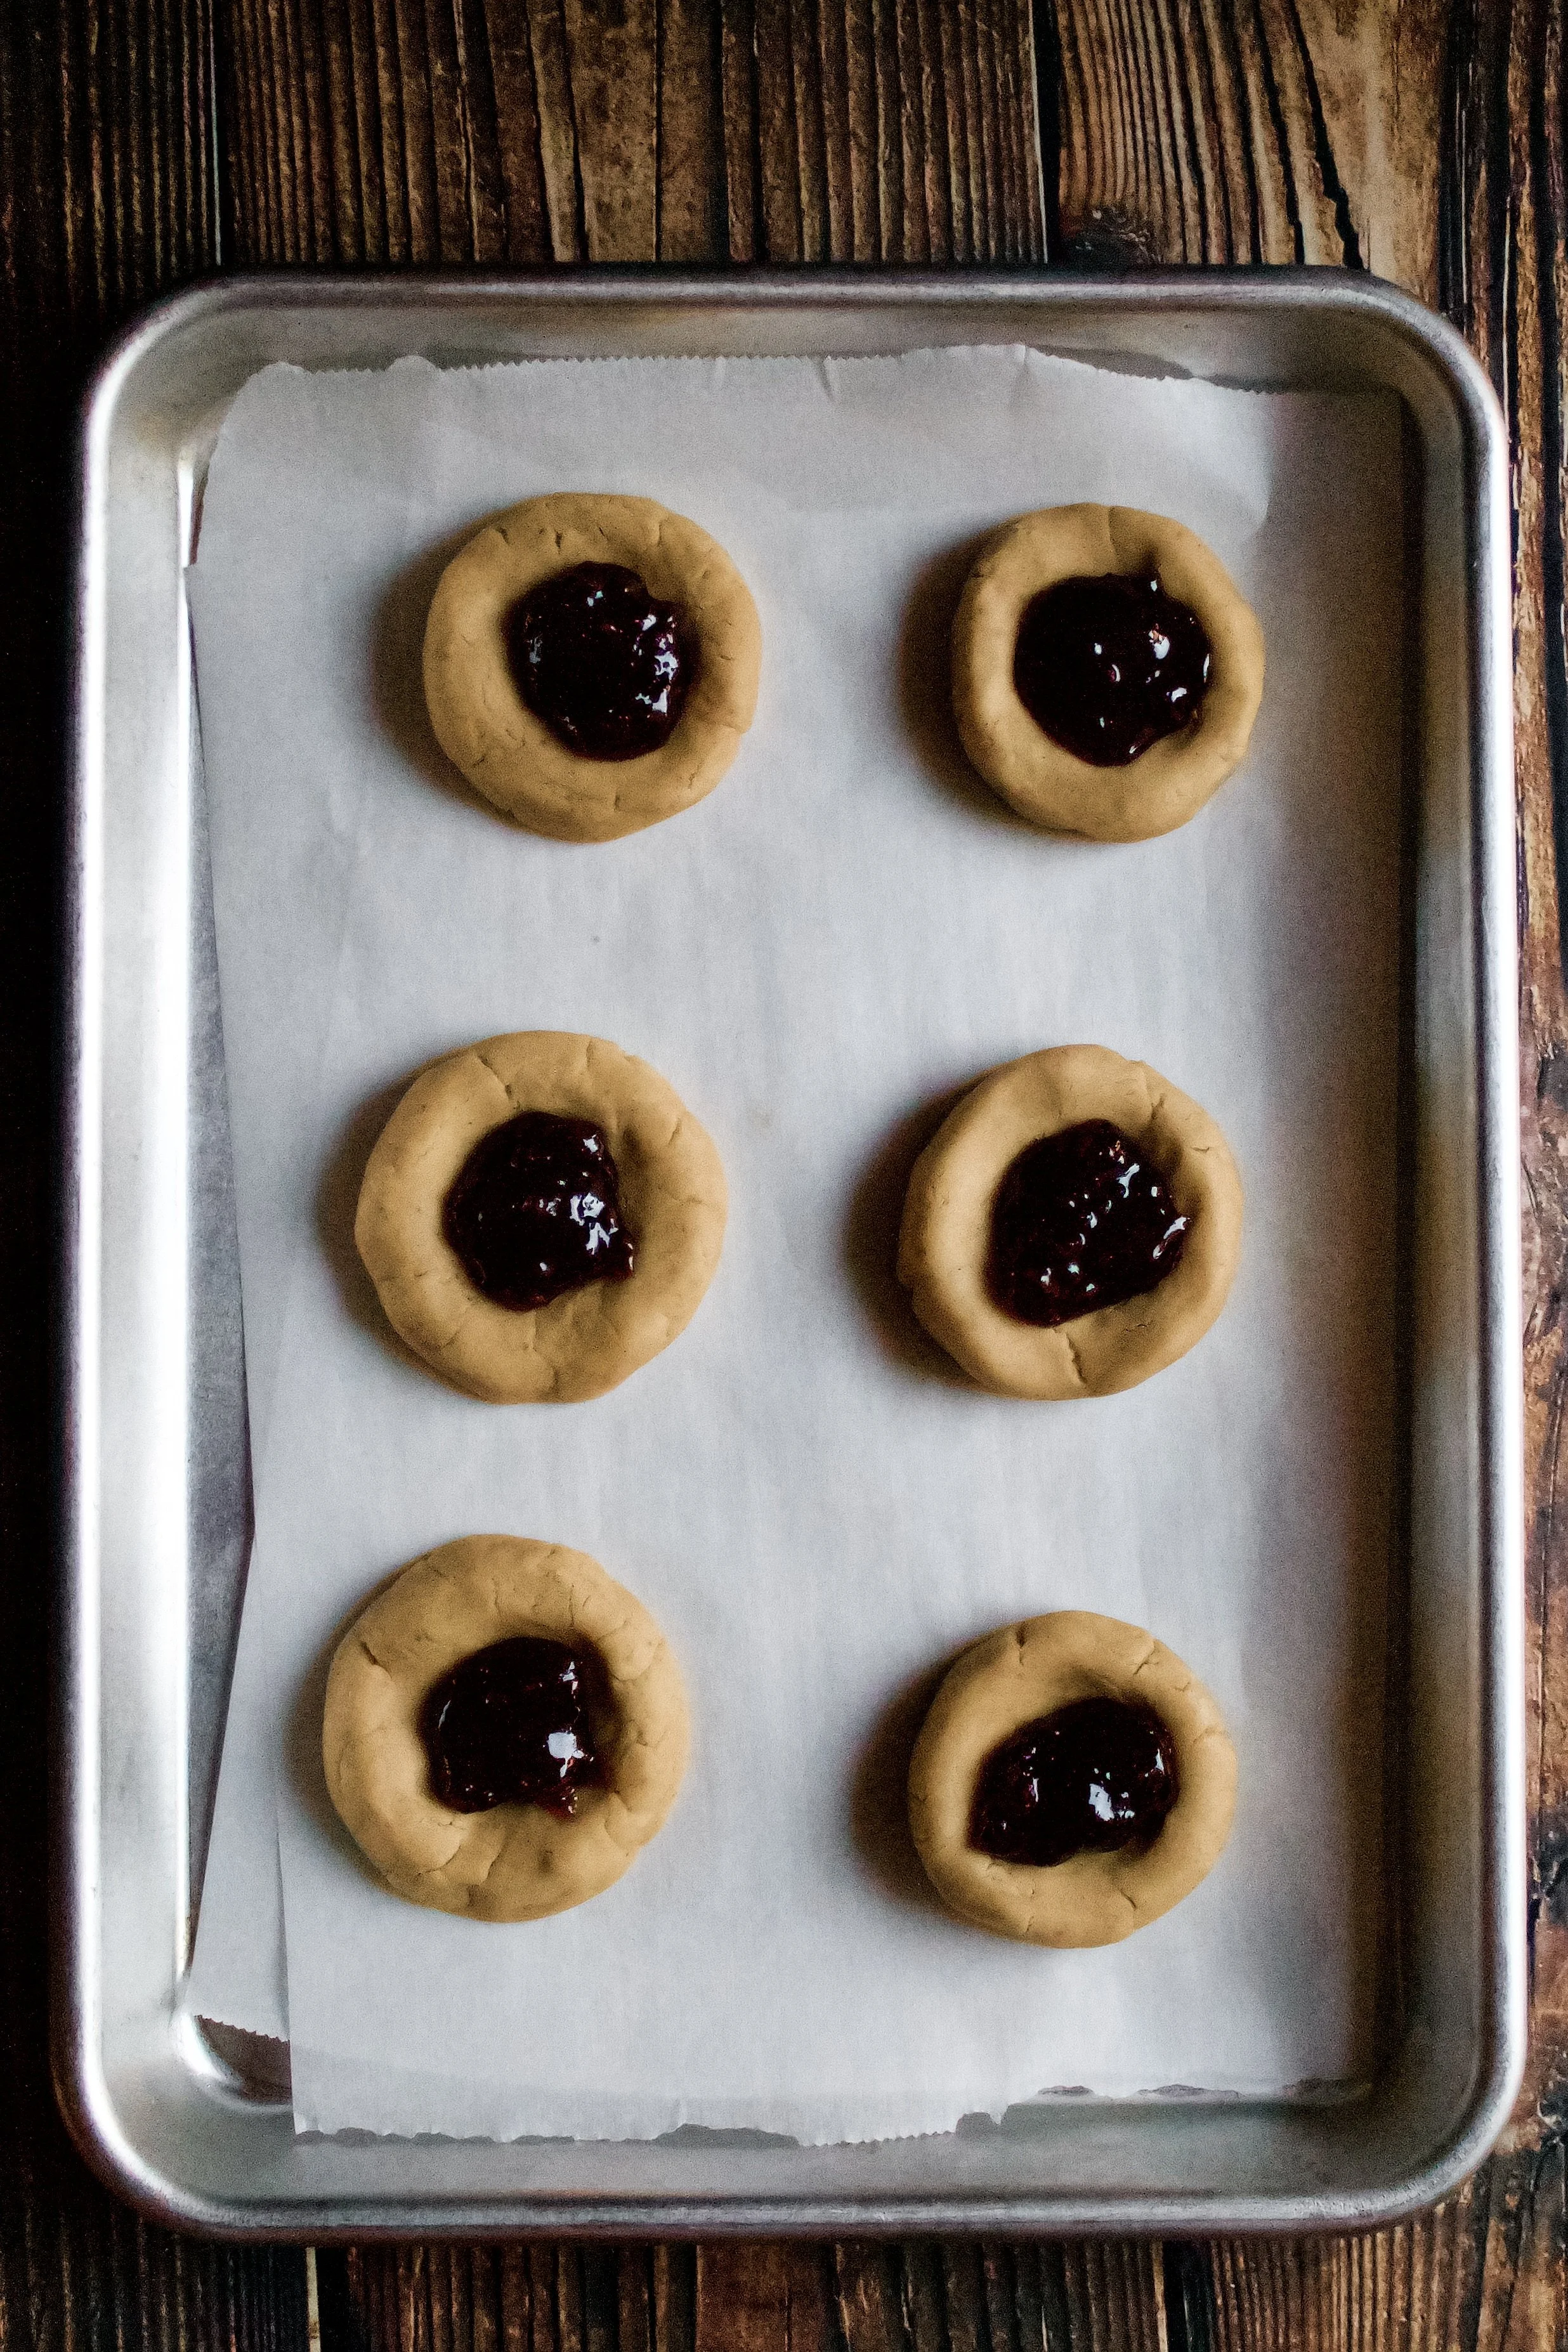
4. Shape into thumbprints. Use your hands to help keep it from cracking (these are a very delicate dough). I usually cup mine in a sign language f (or an “okay” sign) in one hand and use my thumb and forefinger on the other hand to gently shape it into a disc then form a dimple in the middle of it. This helps keep it smooth along the edges.
5. Add jelly. I use about 1 teaspoon of jelly.
6. Bake. You can either press it into a parchment lined 8x8 pan or roll the dough out onto parchment sprinkled with flour and cut into desired shapes. I did both for this recipe and personally liked the rounds, because they had a bit of a crunch to them, but both methods are amazing.
Let cool and enjoy!

Tips and FAQ’s for this recipe
How do I know when the cookies are baked?
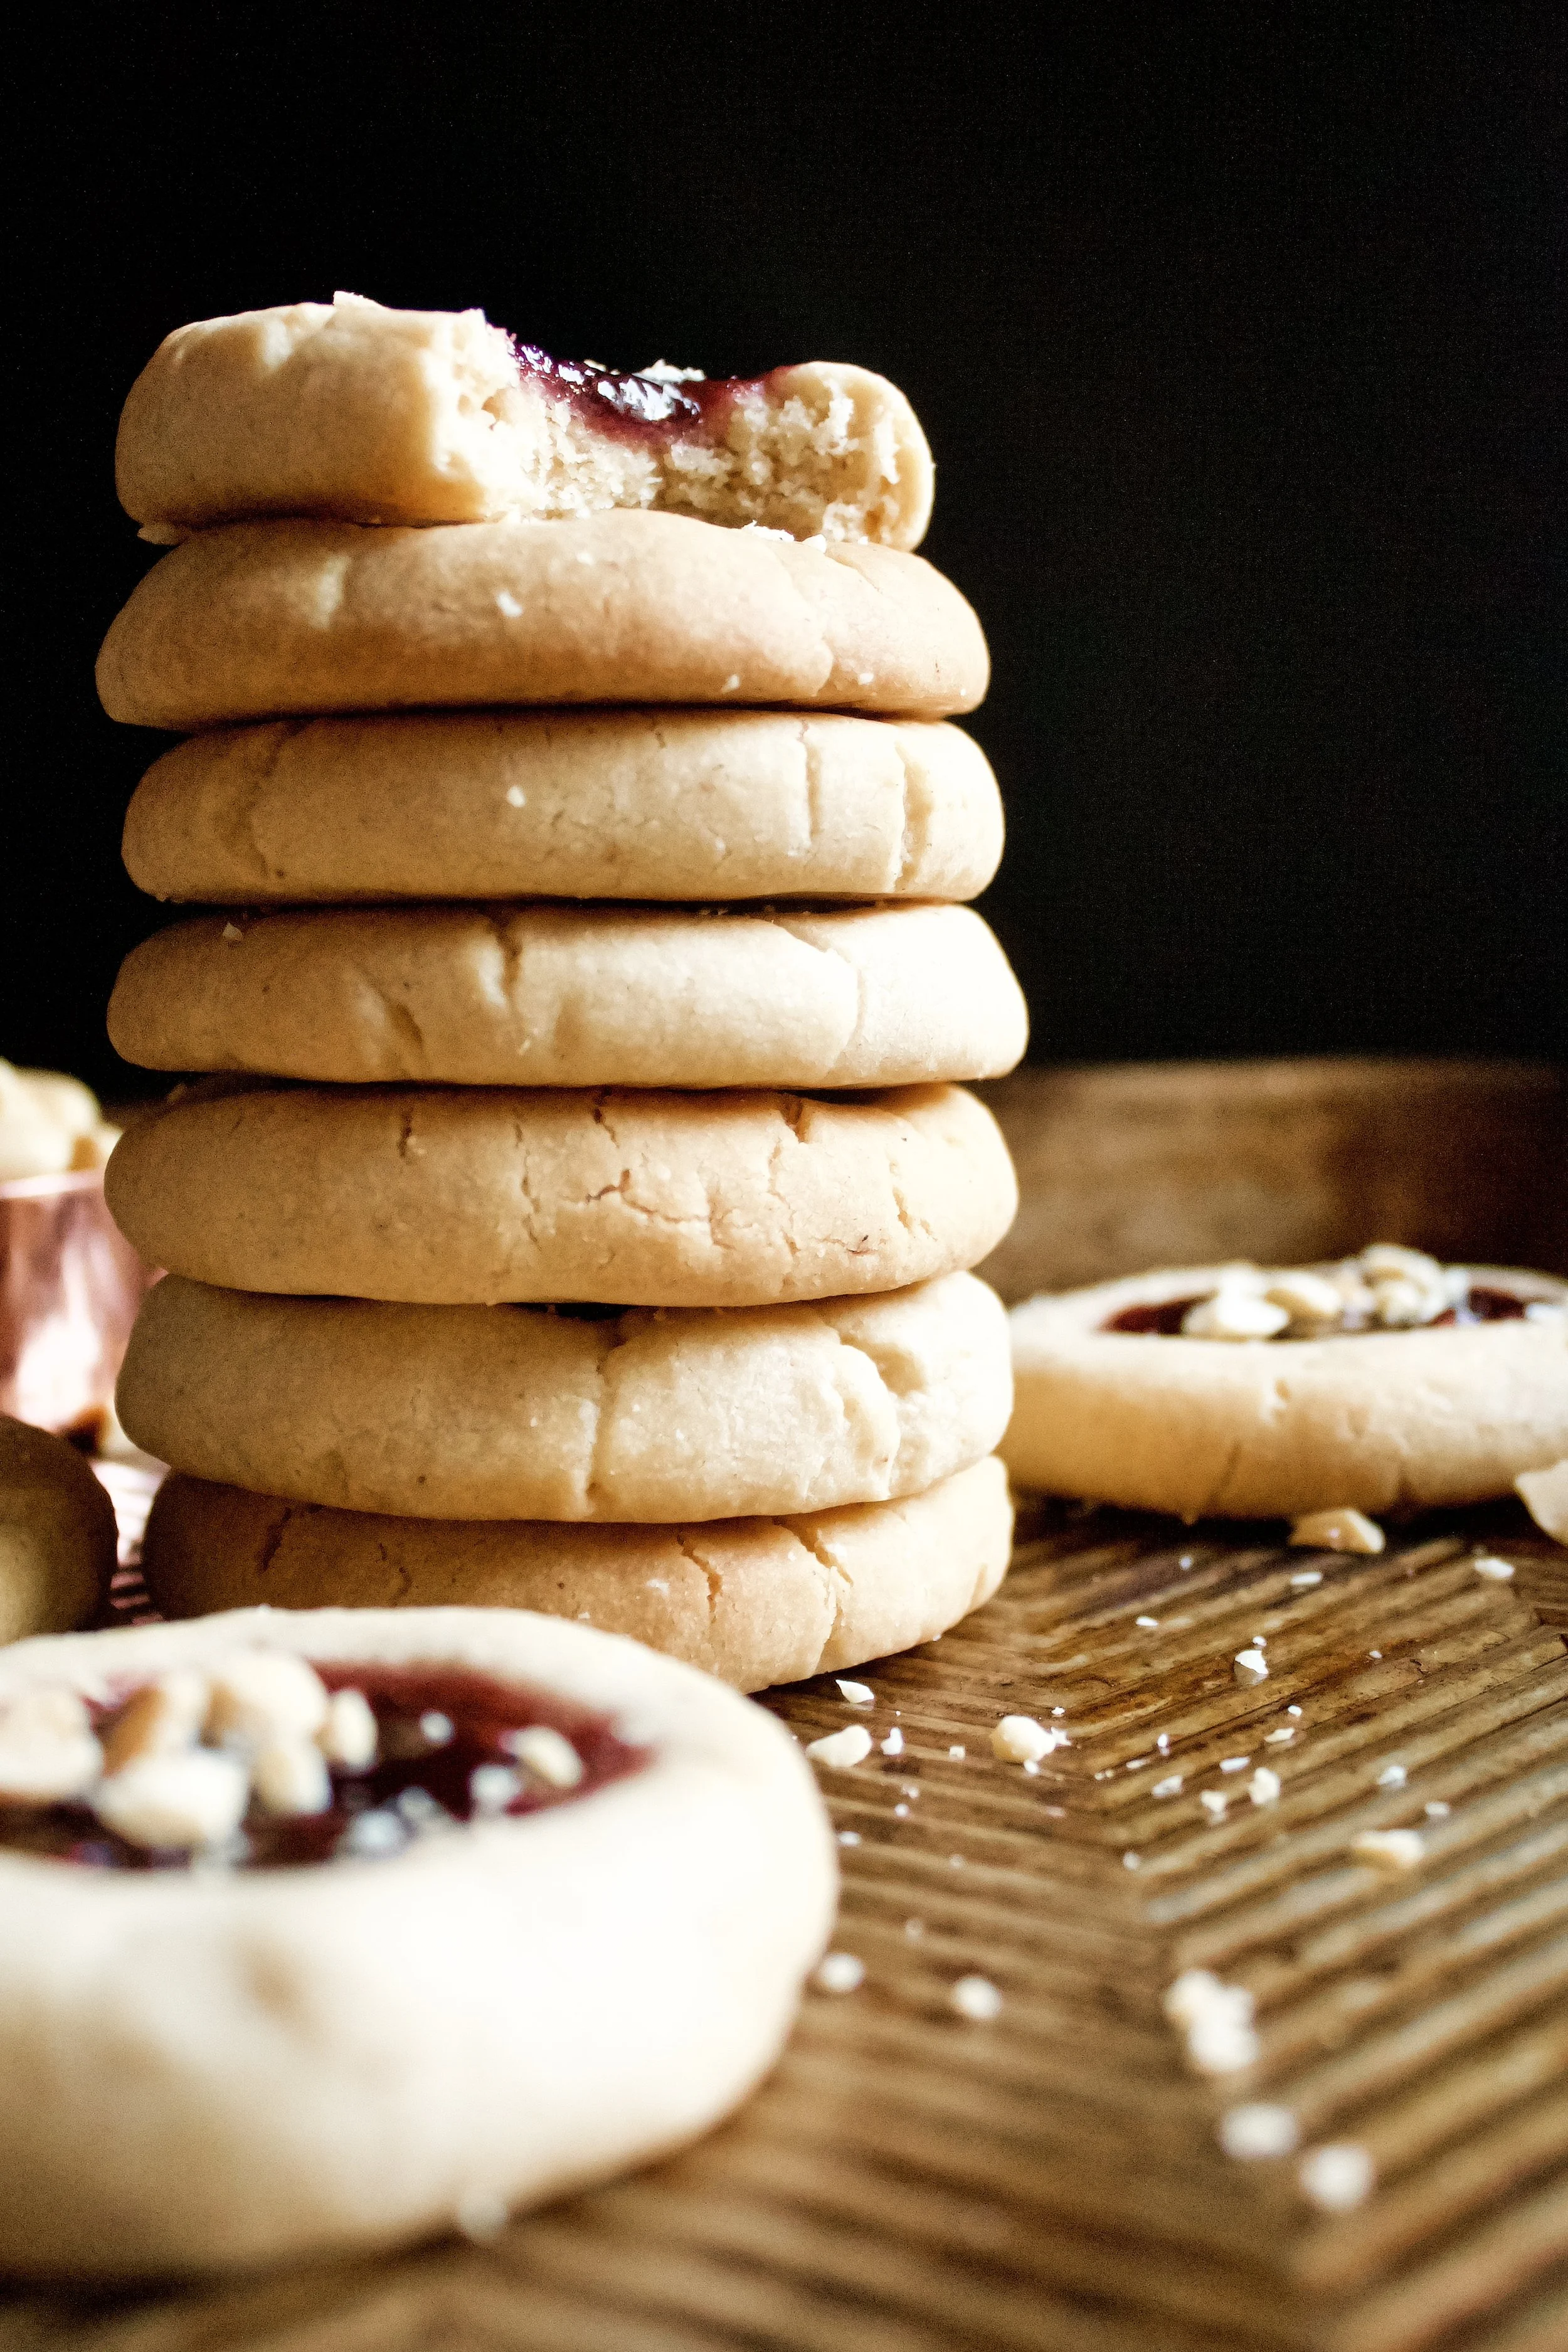
You don’t want these to brown, like chocolate chip cookies. You want them to be completely matte in appearance, with some cookies along the edge beginning to turn lightly golden on their edge. That’s it! These are an incredibly tender cookie, so avoid over baking them.
Do I have to chill the dough?
Yes! This is key to helping it bake without spreading or going flat. It’s not that long, and I usually preheat the oven while the dough chills.

Do I have to use European butter?
Personally, I think it makes a huge difference. It’s creamier and has a very different consistency than sweet cream butter. Since you only have a few ingredients here, you want to make sure each one is of the highest quality. But don’t worry—you can often find it at places like Costco on sale!

What if I don’t have powdered sugar?
You can technically make your own, but I can’t vouch for its efficacy in cookies (it works well in buttercream). Simply place 1 cup granulated sugar and 1 tablespoon cornstarch in a blender and mix until fine—the texture of powdered/confectioner’s/icing sugar. You can of course increase the amount, but this will give you more than you need already.
What kind of jelly do I use?
I personally like using raspberry. It’s just my absolute favorite. But you can use any kind you like, homemade or store bought. Just be sure it’s a flavor that goes well with peanut butter (which is why I don’t recommend something like strawberry basil or blackberry lavender).
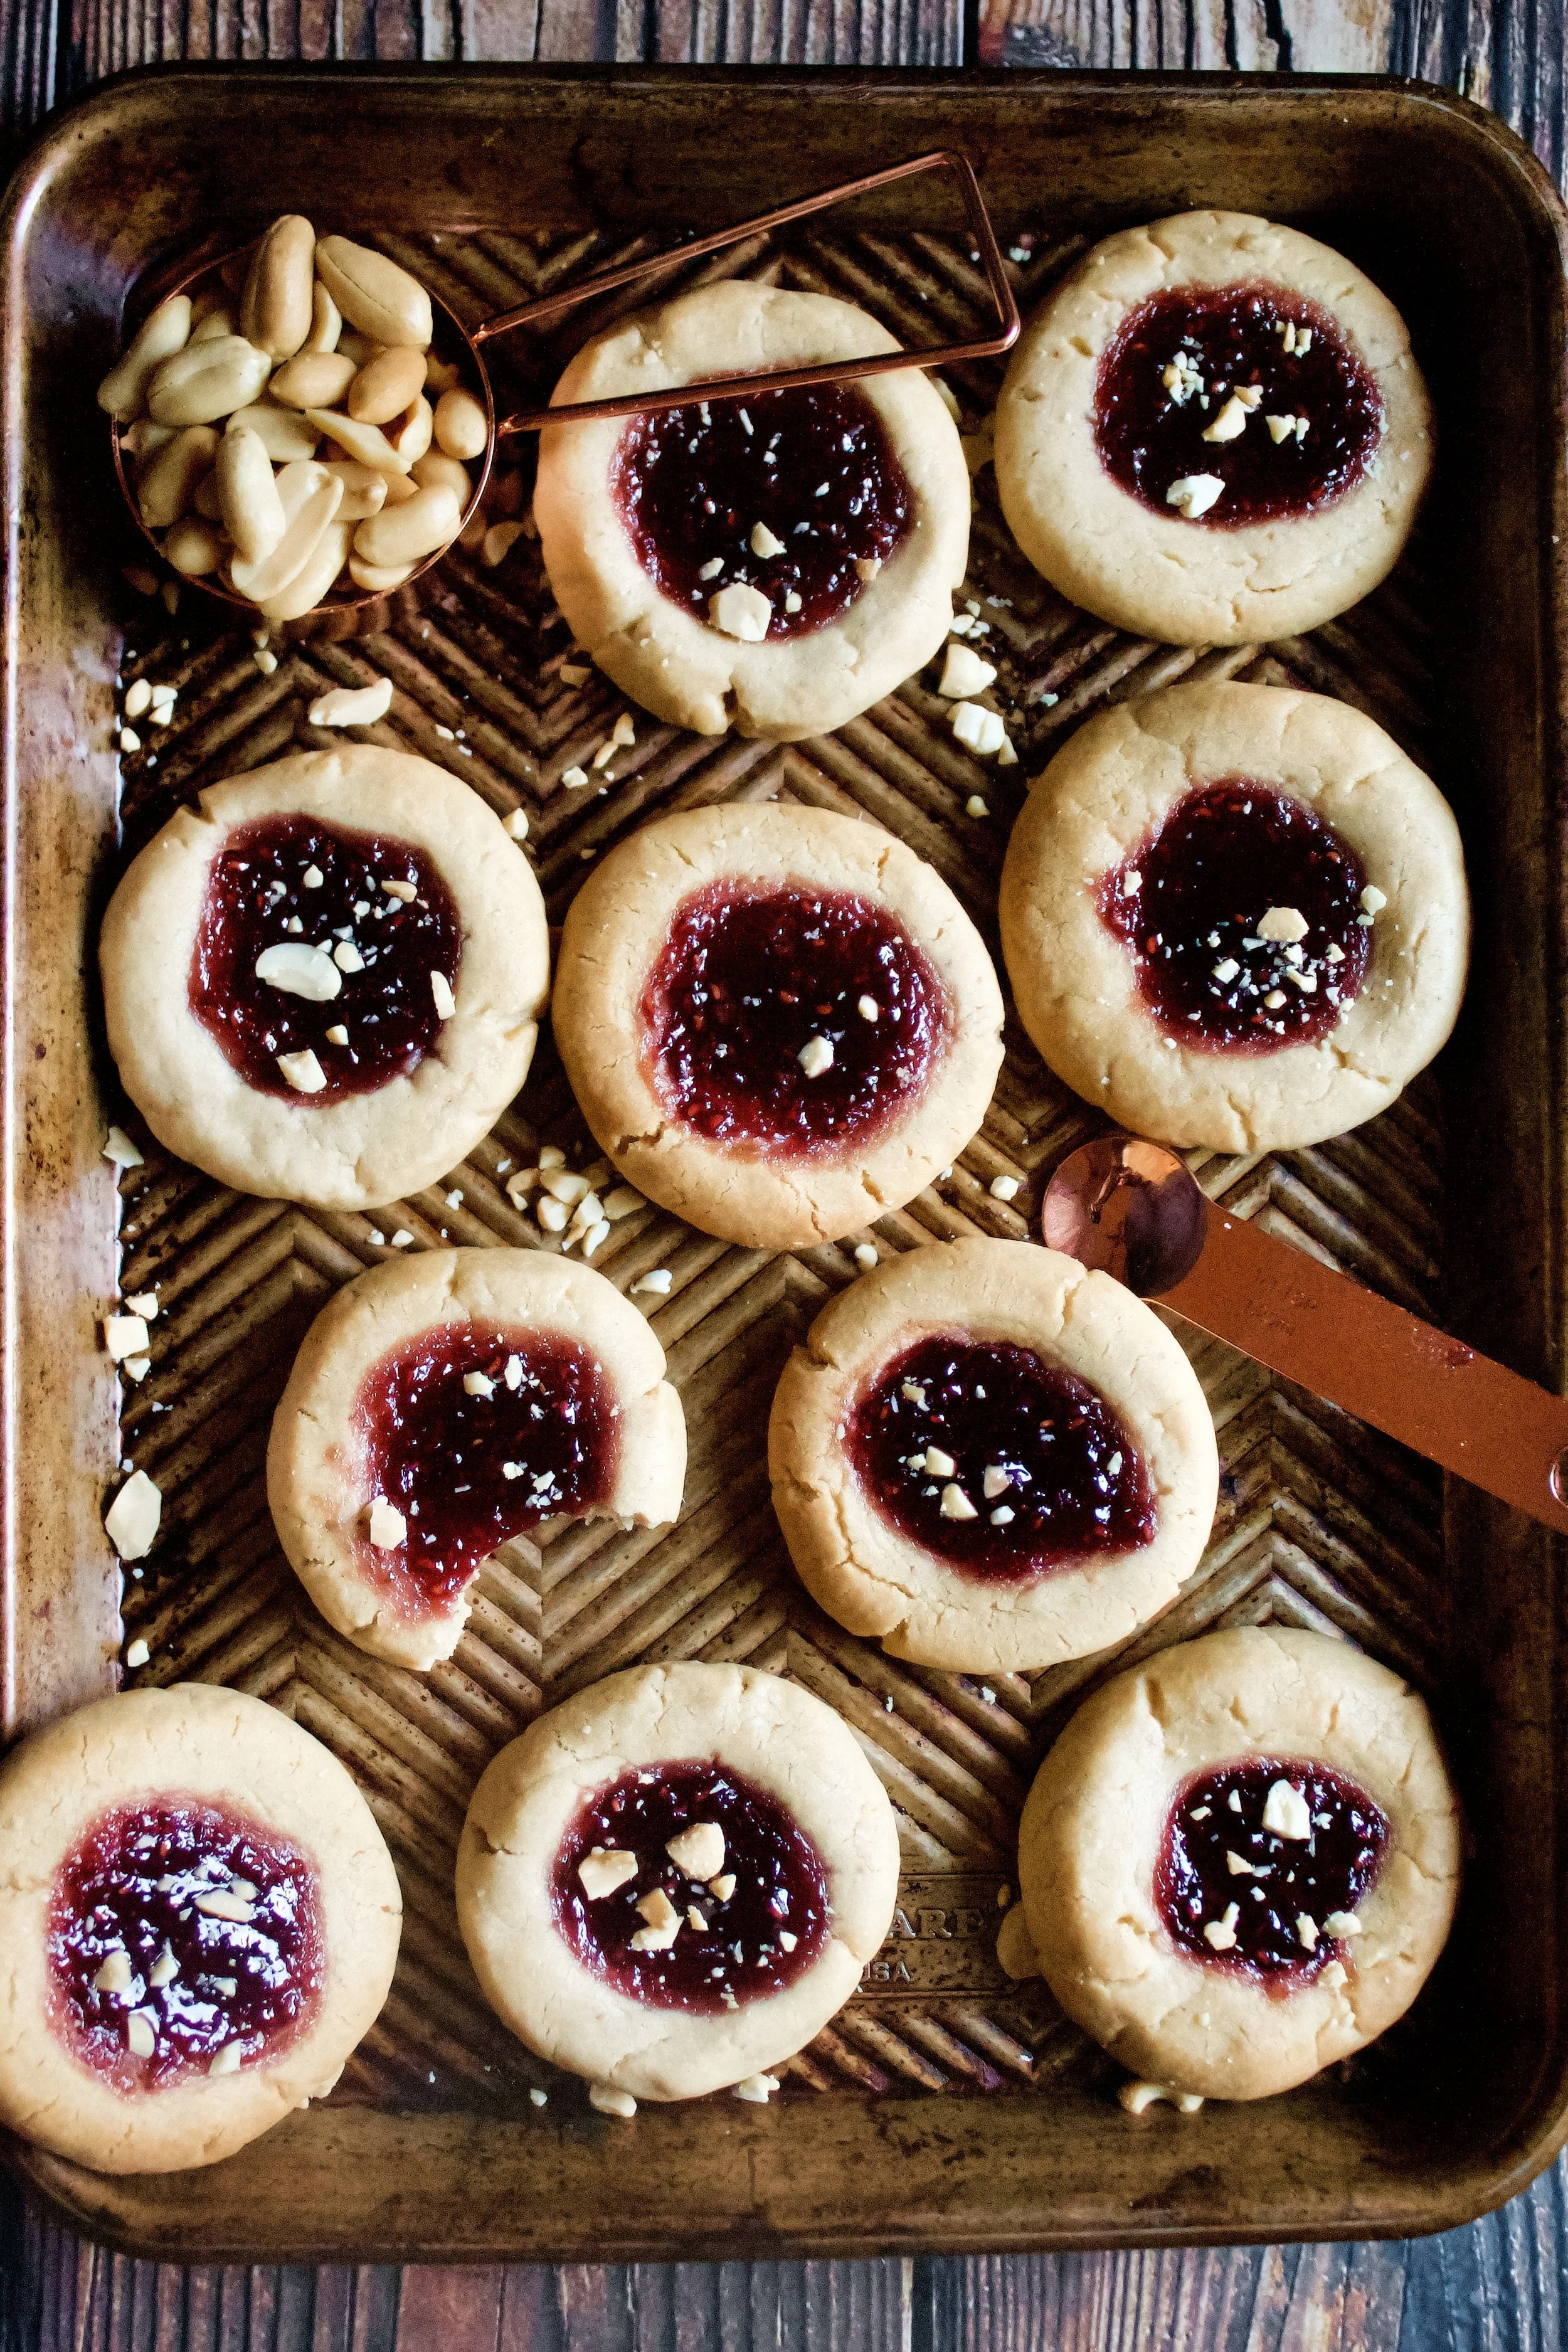
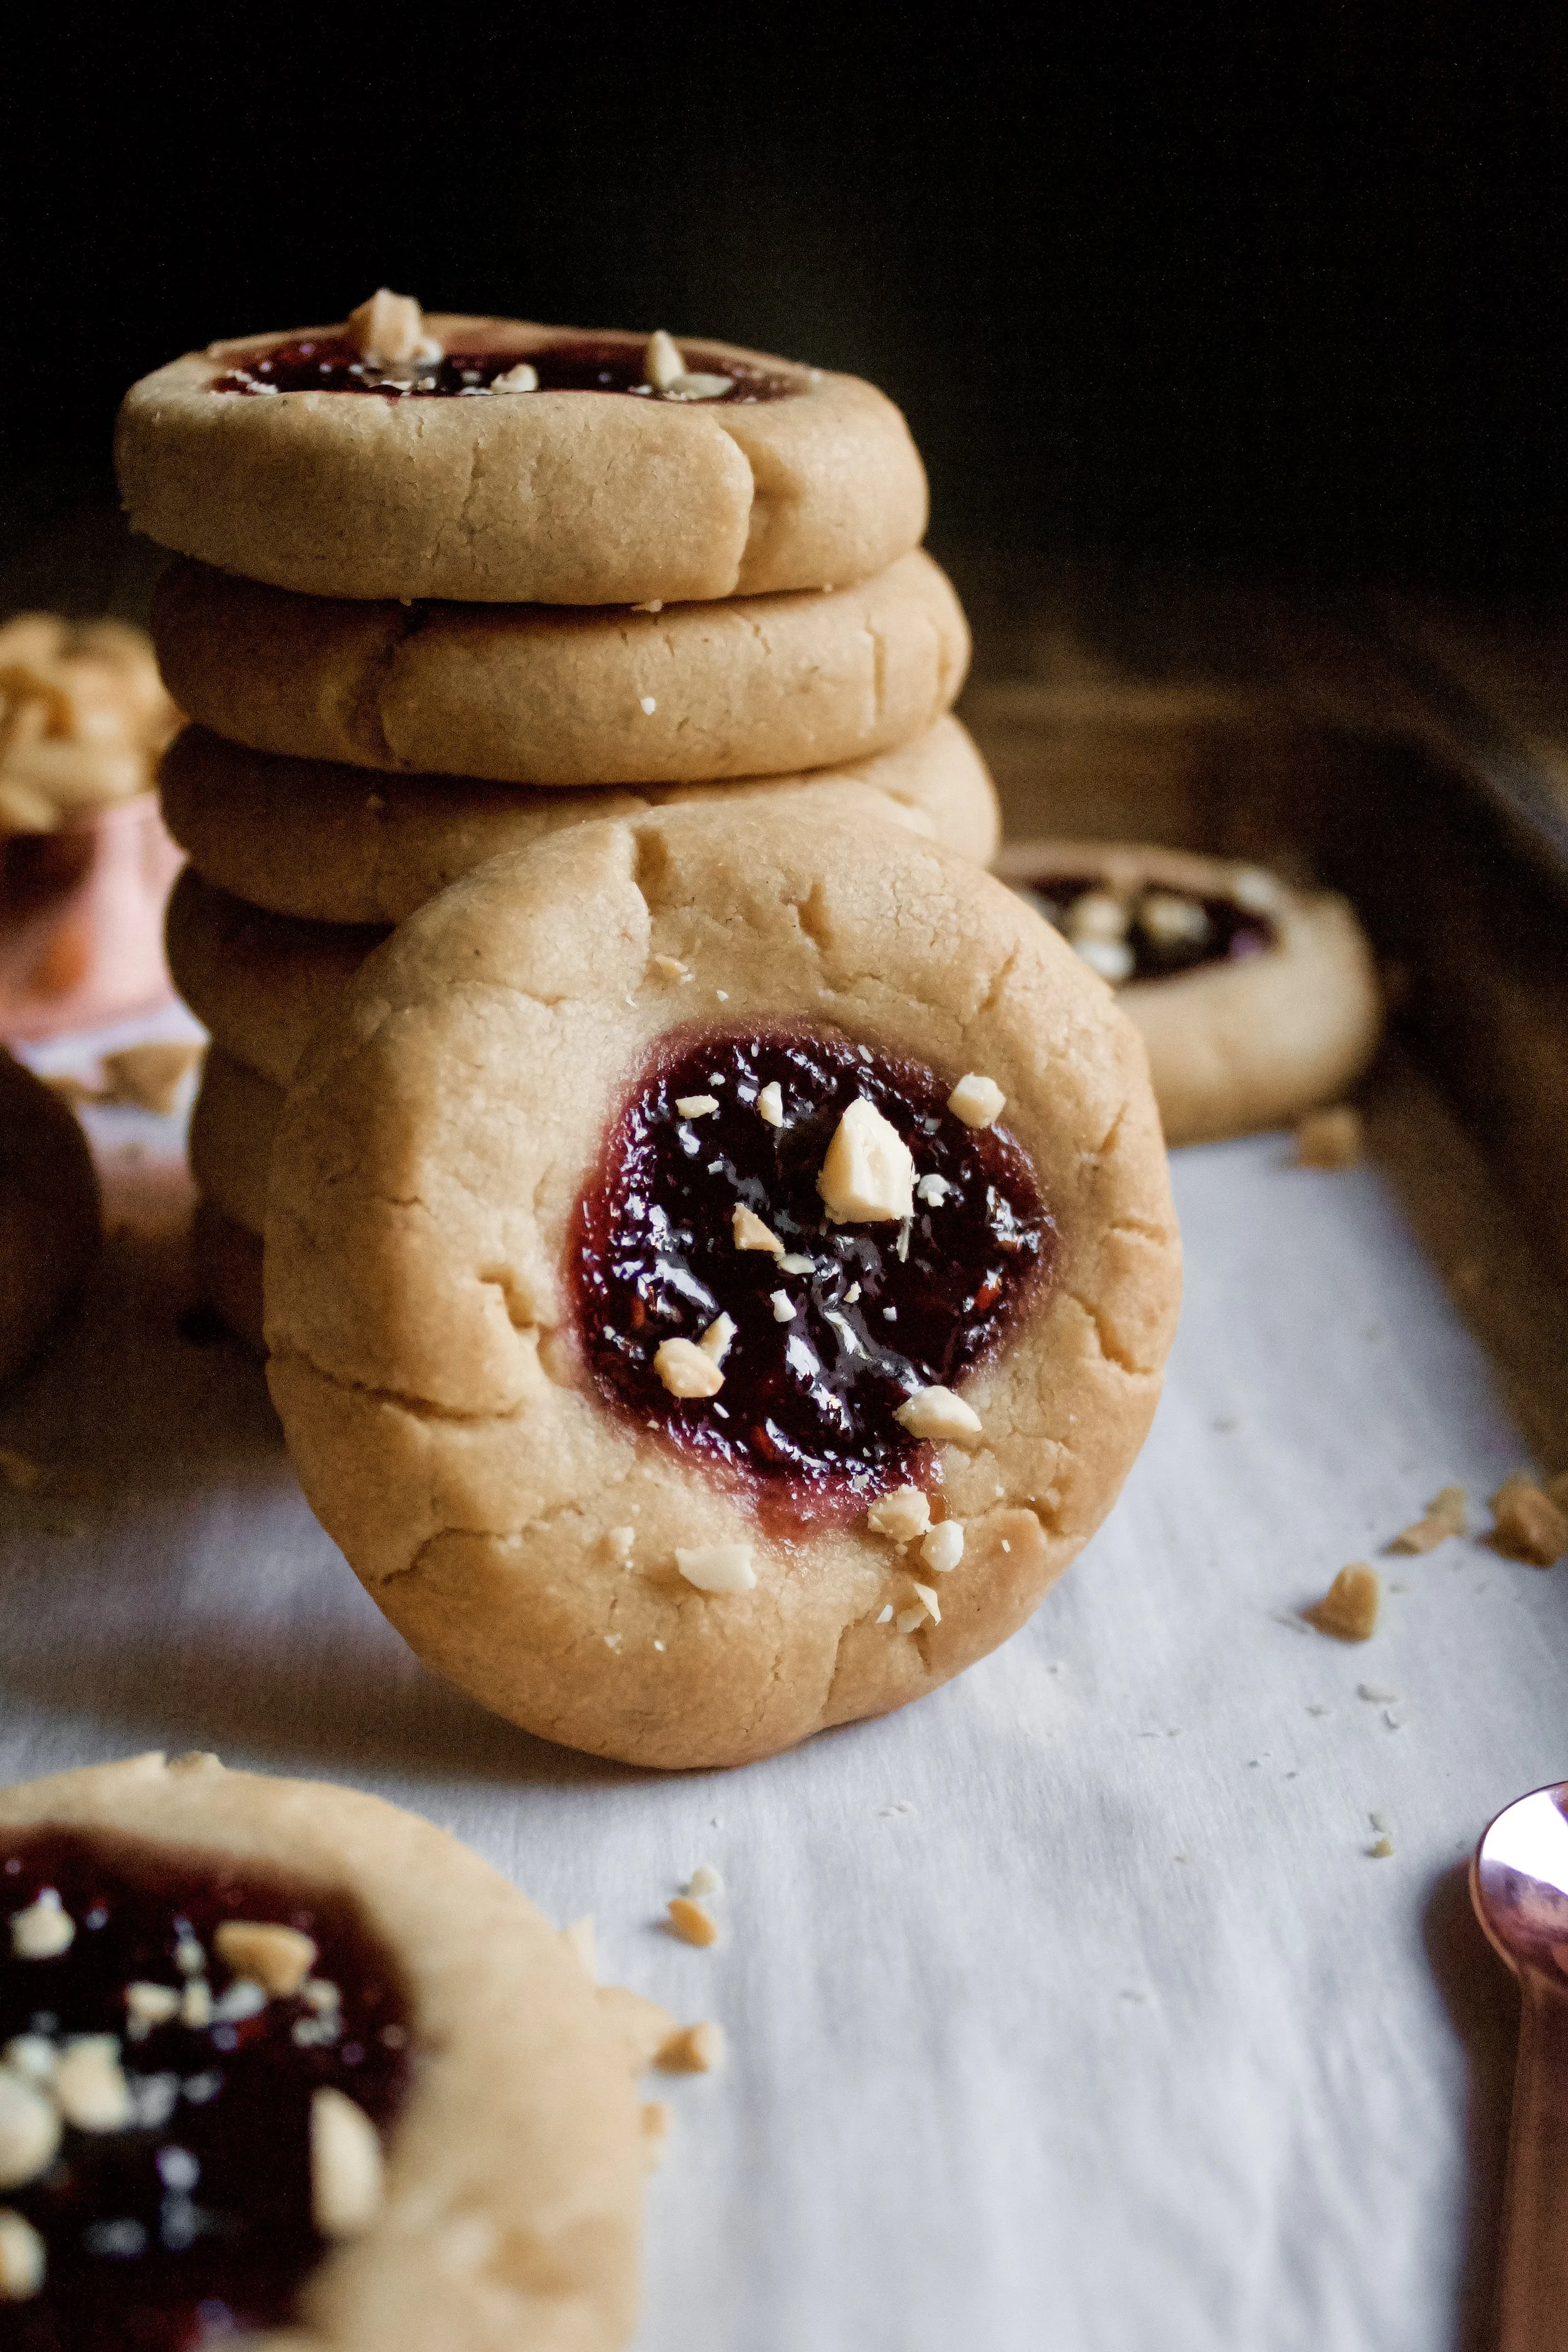
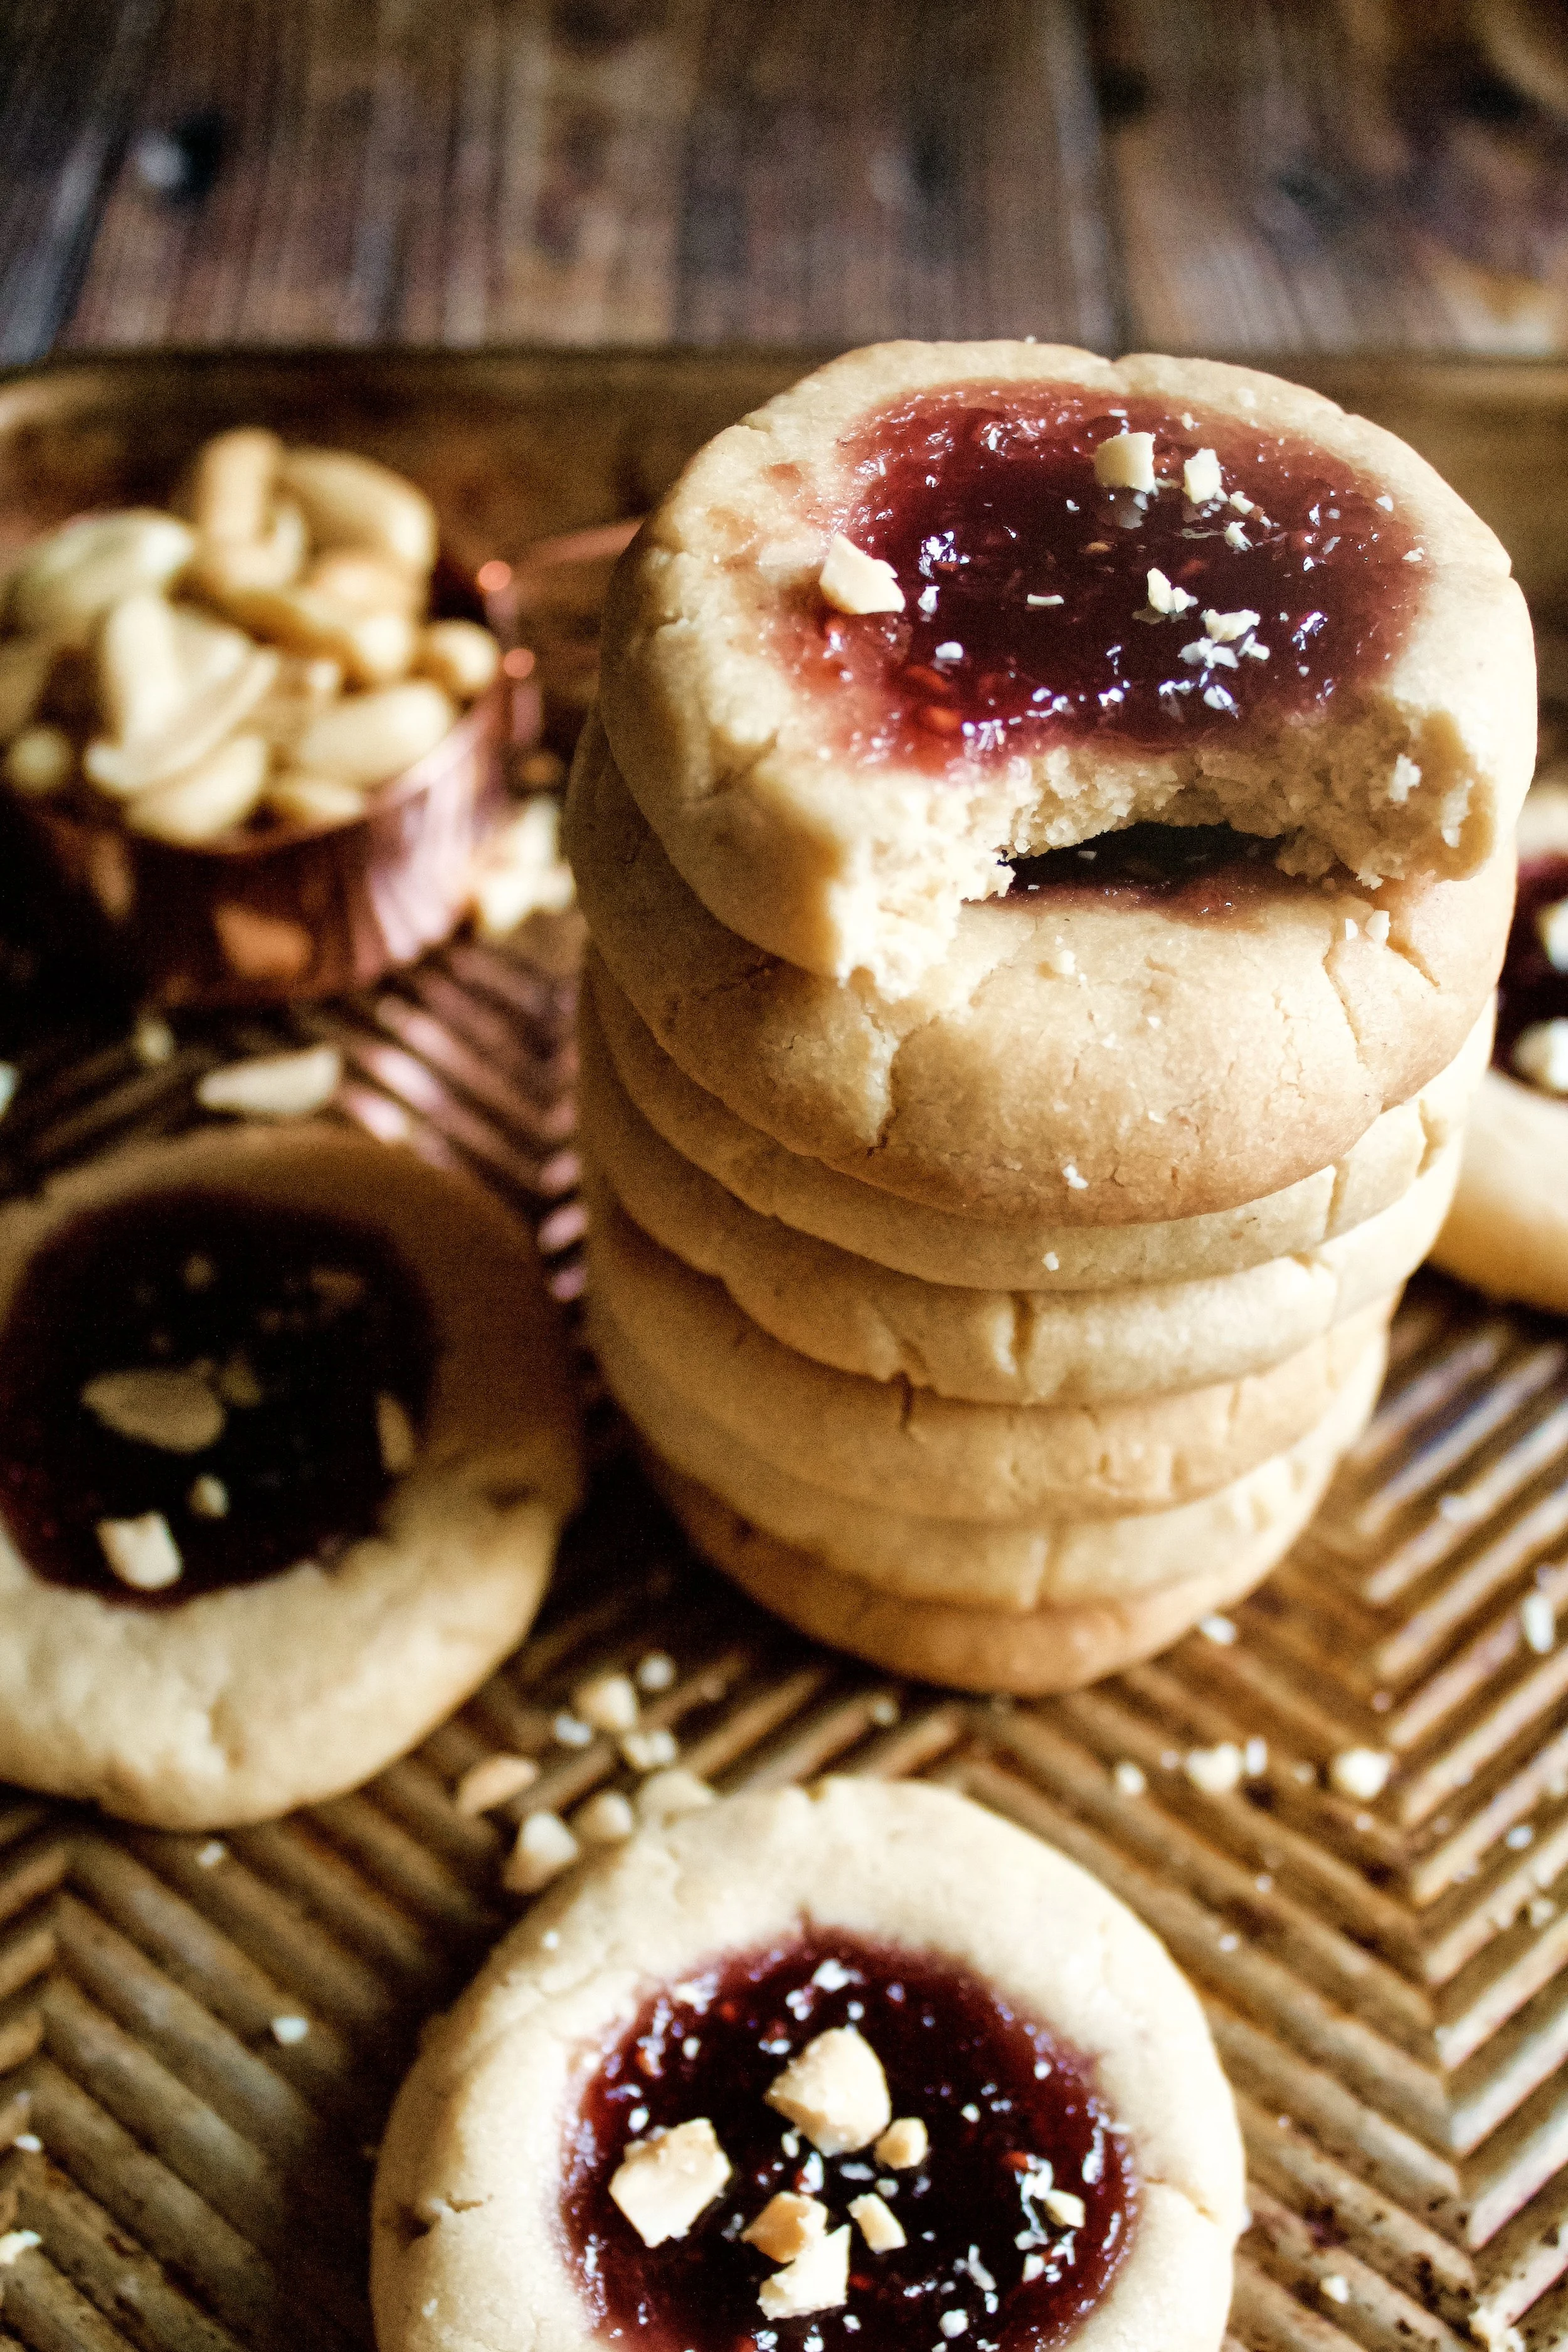
Top with chopped peanuts
I debated drizzling these with peanut butter or sprinkling with chopped peanuts. In the end, peanuts were less messy and actually provided just a hint of crunch that was delicious. It’s entirely up to you—these are delicious plain, too!
My tools
Here are my must-have tools I use for making these cookies. Affiliate links provided.
Mesh sieve (because sifting is KEY for a perfect shortbread cookie)
You might also like:
Chocolate Candy Cane Thumbprints
White Chocolate Cranberry Orange Thumbprints
Kourabiethes (Greek shortbread cookies)
Peanut Butter & Jelly Thumbprint Cookies
- prep time: 5-10 minutes
- chill time: 10-20 minutes
- bake time: 10-12 minutes
- total time: 42 minutes
servings: 18-24
Ingredients:
- 2 cups (272g) flour, spooned and leveled then sifted
- ¼ teaspoon (2g) finely ground sea salt
- ¾ cup (170g) unsalted butter, softened
- ⅓ cup (85g) creamy peanut butter (unsweetened)
- ⅔ cup (87g) powdered sugar
- 1 tablespoon (13g) vanilla extract
- ¼ to ⅓ cup (75-100g) your favorite jam or jelly or preserve
Instructions:
- Preheat oven to 350F/175C. Line two cookie sheets with silicone mats or parchment.
- Make your shortbread by whisking the flour and salt together. Be sure your flour was spooned and leveled into the measuring cup then sifted. Set aside.
- Beat the butter and peanut butter on high until smooth. Add powdered sugar and beat on low then increase to high until very smooth, about 1 minute. Add vanilla and beat until smooth.
- Add flour and beat on low just until combined.
- Roll about 1 ½ to 2 tablespoons of dough (about the size of a gumball) into a ball. Place on the mat and press down gently with two fingers, until about 1 to 1 ½ inches in diameter. Use a rounded ½ teaspoon measure (or your thumb) to create a round dip in the middle of the cookie. Don’t press all the way to the pan, as you want a bit of dough on the bottom to hold the jam.*
- Freeze the dough for 10 minutes or refrigerate for 20 minutes. You can chill them longer, but be sure to cover them so they don’t absorb any smells from your fridge (which happens in even the cleanest of fridges or freezers!). You can even place the frozen shortbread in freezer safe storage and bake straight from frozen at your leisure.
- After freezing, add about 1 teaspoon jelly or jam or preserve. You want to fill the indentation but not overflow it.
- Bake for 10-12 minutes, until the cookies are matte in appearance and a few edges begin to turn lightly golden (not dark). Let cool on the pan 5-10 minutes then remove to a cooling rack to cool completely. Top with chopped peanuts, if desired.
Enjoy! Cover leftovers and keep at room temperature for up to 1 week. If you keep them in an airtight, locking container, they will actually soften after a day or two. In that case, you can pop them in the oven for a couple minutes to get that crisp back.
*Note: if the cookies are cracking around the edges, try instead forming the ball into a disc between your thumb and forefinger of one hand (think sign language for the letter f or the okay sign), pressing gently with the thumb and forefinger of your other hand. Once in a disc shape, continue rotating the cookie and making an indentation in the middle.