
Old Fashioned Chocolate Mousse
Silky, rich chocolate mousse that is light yet creamy. This family recipe requires you to whisk quickly but is simple and sooooo delicious. Perfect for a date night, Galentine’s Day, or just about any day, any time of the year!
This post may contain affiliate links from which, at no additional cost to you, I may earn a small commission to keep this site running. Only products I myself would or do use are recommended.
As a child, mousse was my all time favorite dessert. I tried some from Disney’s Epcot and felt so sophisticated for trying something so grownup. So anytime I could have or even make mousse, I would. Usually, I’d mix chocolate pudding and whipped cream. It’s a stretch to call that mousse, but it works.
Since then, I’ve taken to making mousse by combining whipped ganache and whipped cream. That’s how I made this Nutella Mousse as well as this Chocolate Coconut Mousse Pie.
But rarely have I ever tried making mousse with eggs. It’s finicky and has to be done correctly to avoid raw eggs and an overall unsafe dessert.
But this recipe is based on one my mom came up with in high school, and I knew I had to at least try it and see what happened.
The result was a light, silky smooth, perfectly rich mousse. I learned so much from making this and am so excited to share my newfound mousse-making knowledge with you!
Why this recipe works
Whipping the egg whites separately creates a light, airy texture. You do have to work quickly so that the heated chocolate cooks the eggs sufficiently, but I’m sharing all of my tips for how to do this easily so you don’t have to stress like I did! As well, using whipped cream and egg yolks helps make the mousse rich and silky yet also nice and creamy.
The beauty of this recipe is that even if some of your chocolate seizes, that’s okay! You’ll have little chunks of chocolate in your mousse that may not look traditional but are soooo yummy.

Key ingredients
Chocolate chips. Use high quality chocolate that you really enjoy eating, as that brings most of the flavor to this mousse.
Eggs. Be sure they’re fresh and separate them carefully so that your whites have absolutely no yolk in them.
Heavy whipping cream. Nope, not a health food, but soooooo creamy and delicious.
Powdered sugar. Just a bit to help bring out the sweetness of the chocolate chips.
Vanilla. Always necessary! Use pure extract, not imitation.

How to make old fashioned chocolate mousse
1. Separate all ingredients into appropriate bowls. This ensures you are able to focus on whisking and stirring at the appropriate times!
2. Beat the whipped cream, powdered sugar, and vanilla to stiff peaks. Set in the fridge while you make everything else.
3. Beat the egg whites to soft peaks. This helps create an airy texture for the finished mousse.
4. Beat the yolks until frothy. This helps them mix into the chocolate well (and quickly).
5. Melt the chocolate over a pot of simmering water. Stir constantly as you do this and remove from heat when nearly all of the chocolate is melted, stirring off-heat until smooth.


6. Quickly stir in the yolks. See note below for cooking the yolks instead of stirring them in raw. Both methods work well and are safe, but cooking the yolks first provides extra assurance if you are worried about or avoiding the risk of raw eggs (there shouldn’t be any raw egg in this, but there’s always a slight risk).
7. Quickly fold in the whites. Working quickly prevents seized chunks of chocolate, although those are delicious and I never complain about them. It also ensures you cook the whites through.
8. Gently fold in the whipped cream. By this point, you can slow down, because the egg part is done. Fold gently to create a light, creamy texture.
9. Refrigerate until set. At least one hour.
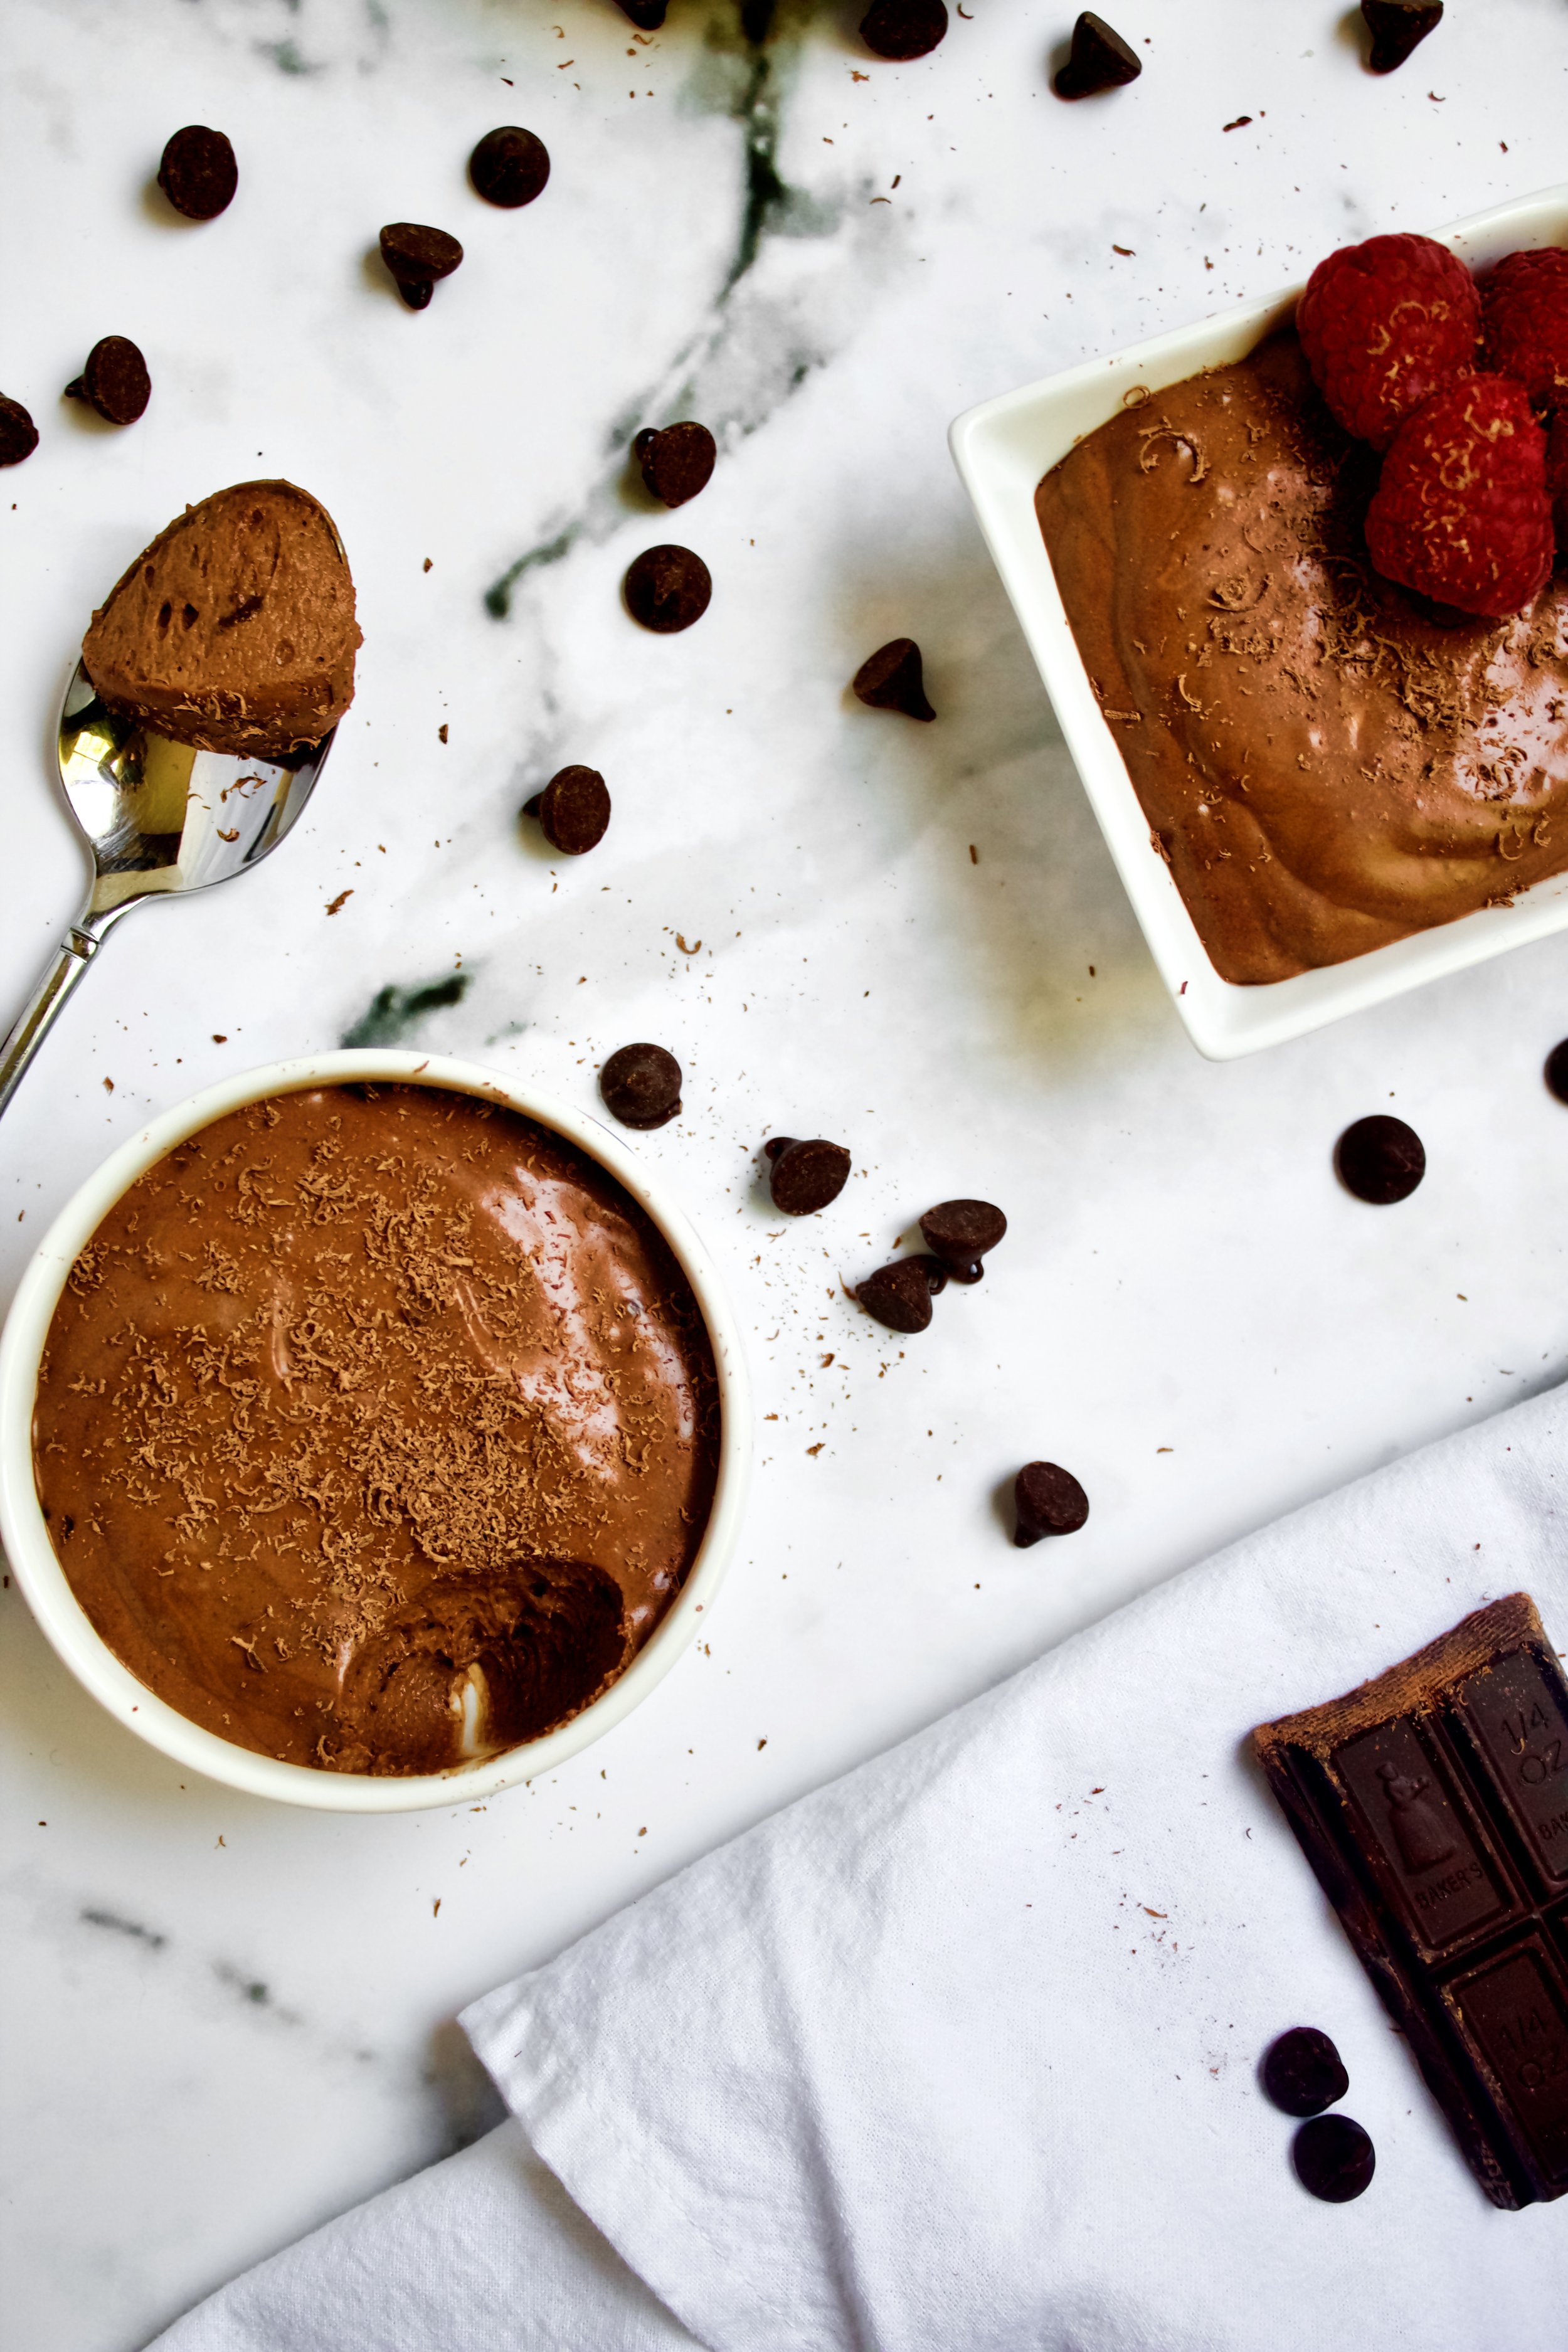
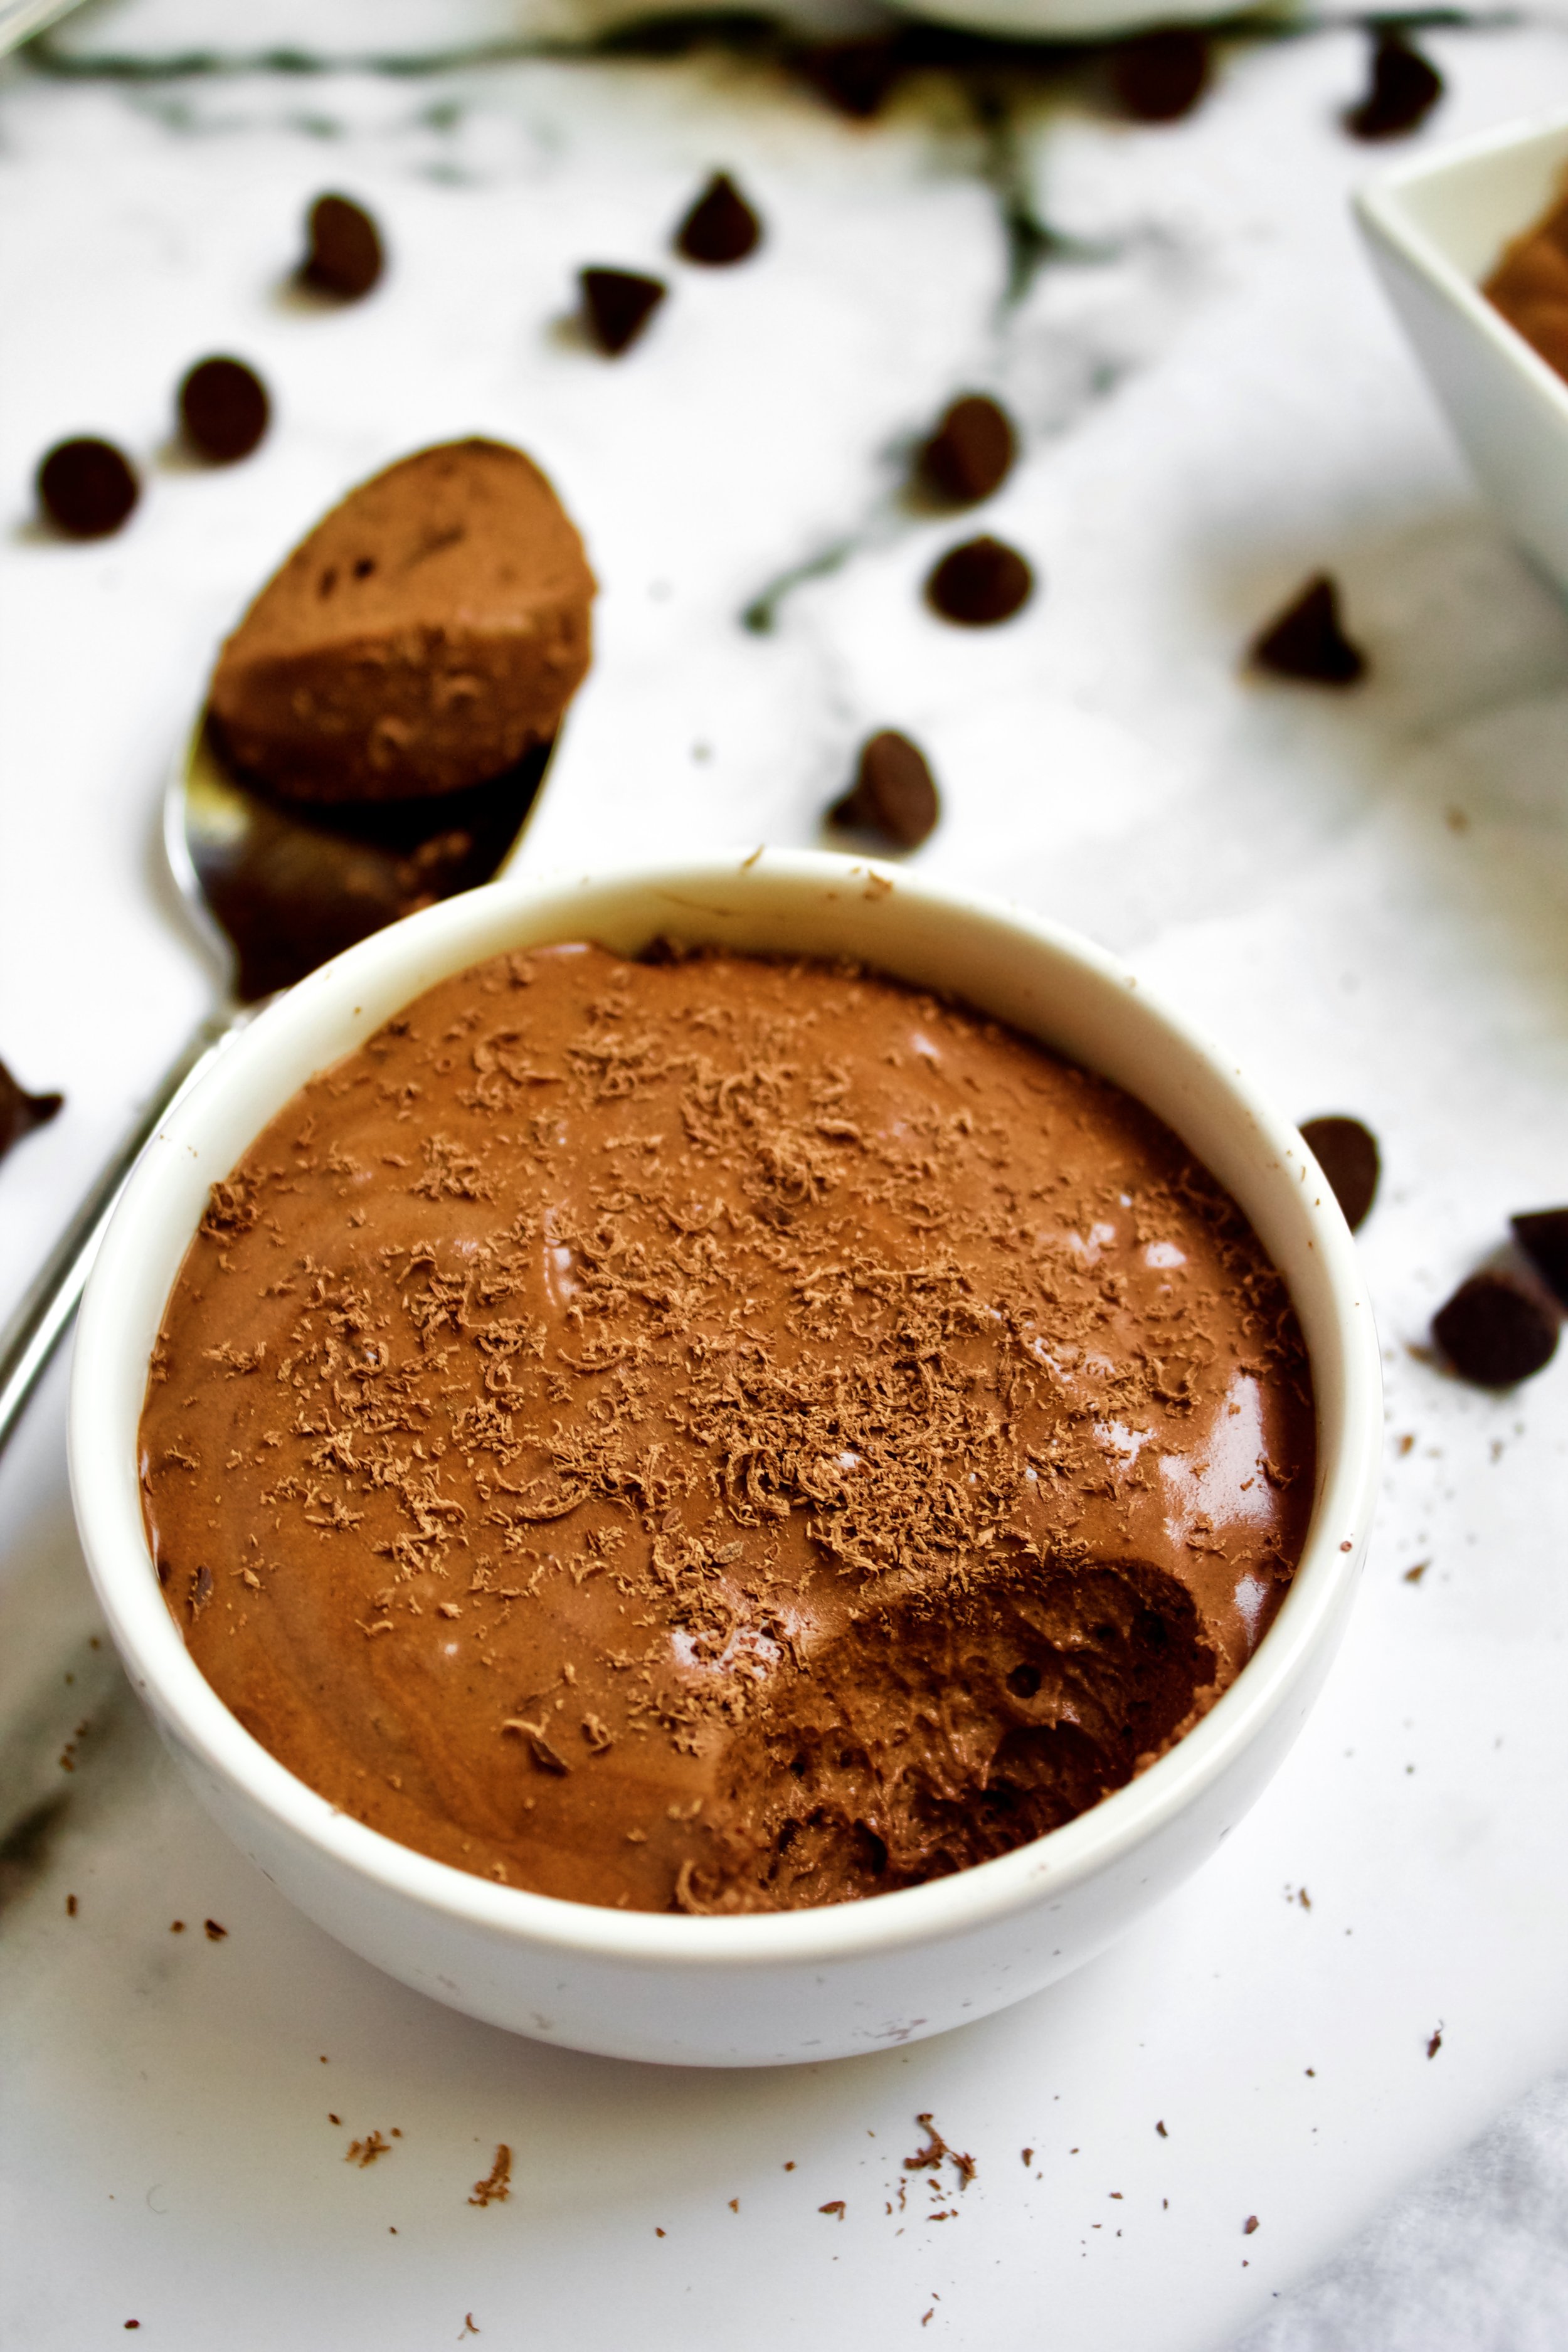
10. Add grated chocolate before serving. This is optional, and you can also add some fresh whipped cream, but it does add a bit of texture and makes the dessert look elegant and complete.
Enjoy!

Tips and FAQ’s for this recipe
Is this safe to eat?
Yes! If you use fresh, pasteurized eggs, it is safe to eat unless you are pregnant, breastfeeding, or have a health condition that requires you avoid raw eggs. The yolks do get cooked in this recipe, but if you are unable to work quickly enough, the whites may only be partially cooked.

Can I cook the eggs first to be safe?
Yes! I am sharing my mom’s recipe as-is, but a lot of similar recipes call for cooking the yolks in a double boiler with some sugar until frothy and 165 degrees. This would mean the mixture is still quite hot and will cook the whites as you add those in, leaving very little chance any of the egg remained raw. If you would like to pursue this route, heat the yolks with 1/3 cup granulated sugar over a pot of simmering water, until frothy and pale and a thermometer reads 165. Do this before you melt the chocolate, set aside, then simply stir the two together once the chocolate is melted. It also reduces the stress!
You will want to reduce the amount of powdered sugar in the whipped cream to about 2-3 tablespoons, to avoid an overly sweet mousse.
How should I serve this?
Honestly, just with a spoon! I like to add some grated chocolate, for looks and for some texture. You can add a dollop of whipped cream, especially if you don’t like rich chocolate. I also love serving this with some fresh berries!

What kind of chocolate should I use?
Use one you really love. I used Guittard, since it has a great taste and melts well. But any high quality chocolate will do just fine, as long as you love the taste.
My mousse tools
Here are my must-have tools I use for making this mousse. Affiliate links provided.
All-rubber spatula (this makes scraping the bowl sooo much easier)
Vegetable peeler or cheese grater (for the grated chocolate on top)


Old Fashioned Chocolate Mousse
- prep time: 20-25 minutes
- chill time: 1 hour
- total time: 1 hour, 25 minutes
servings: 8-12
Ingredients:
- 1 bag (12 ounces ro 340g) semi-sweet chocolate chips (or chopped baking chocolate)
- 5 large eggs, room temperature and separated*
- 1 cup (232g) heavy whipping cream, cold
- ⅓ cup (45g) powdered/icing sugar, sifted
- 1 tablespoon (13g) pure vanilla extract
- optional: 1-2 squares baking chocolate (or your favorite chocolate bar), to decorate
Instructions:
- Place all of your ingredients into the appropriate bowls first. Place the chocolate chips in a large, heatproof bowl. Place the yolks in a small bowl and the whites in a large bowl. Place the heavy cream in a large bowl with the powdered sugar and vanilla.
- First, whip the heavy cream, powdered sugar, and vanilla on high with a handheld mixer or the whisk attachment of a stand mixer, until stiff peaks just begin to form. Place the bowl in the fridge until ready to use.
- Again using a (cleaned) handheld mixer or the whisk attachment of a stand mixer, beat the egg whites on high until soft peaks form. Set aside.
- Whisk the yolks until frothy.*
- From here on out, be sure you have read each step and are prepared to work quickly.
- Place the chocolate chips over a medium pot of simmering water (bring it to a boil then turn down to low before setting the chocolate on top). Stir constantly with a rubber spatula, until the chocolate has almost completely melted. Remove bowl from the pot and stir until smooth and all chocolate has melted. If needed, set the bowl back on the pot for 30 seconds to help melt the chocolate completely.
- Add the egg yolks to the chocolate and stir very quickly to combine.
- Add ⅓ of the egg whites and fold in quickly, followed by another third then the final third. Try to do this very quickly, to avoid the chocolate seizing as well as to ensure the egg whites get cooked sufficiently.
- Next, take a breath! By now the chocolate should be fairly cooled. If not, stir until room temperature.
- Fold in the whipped cream, ⅓ at a time, until smooth and fully combined.
- Pour into individual bowls or ramekins or a large dessert dish. Refrigerate at least 1 hour.
- When ready to serve, use a vegetable peeler to grate some of the chocolate bar over each serving (optional). You can also add some fresh whipped cream and fresh berries for serving.
Enjoy!
Refrigerate until serving. If not serving that day, cover with plastic wrap until ready to eat.
*See note above for cooking the egg yolks if preferred. The eggs in this recipe should be cooked through if the directions are followed, but the mixing can get a bit stressful, so pre-cooking the yolks adds a layer of precaution.
