
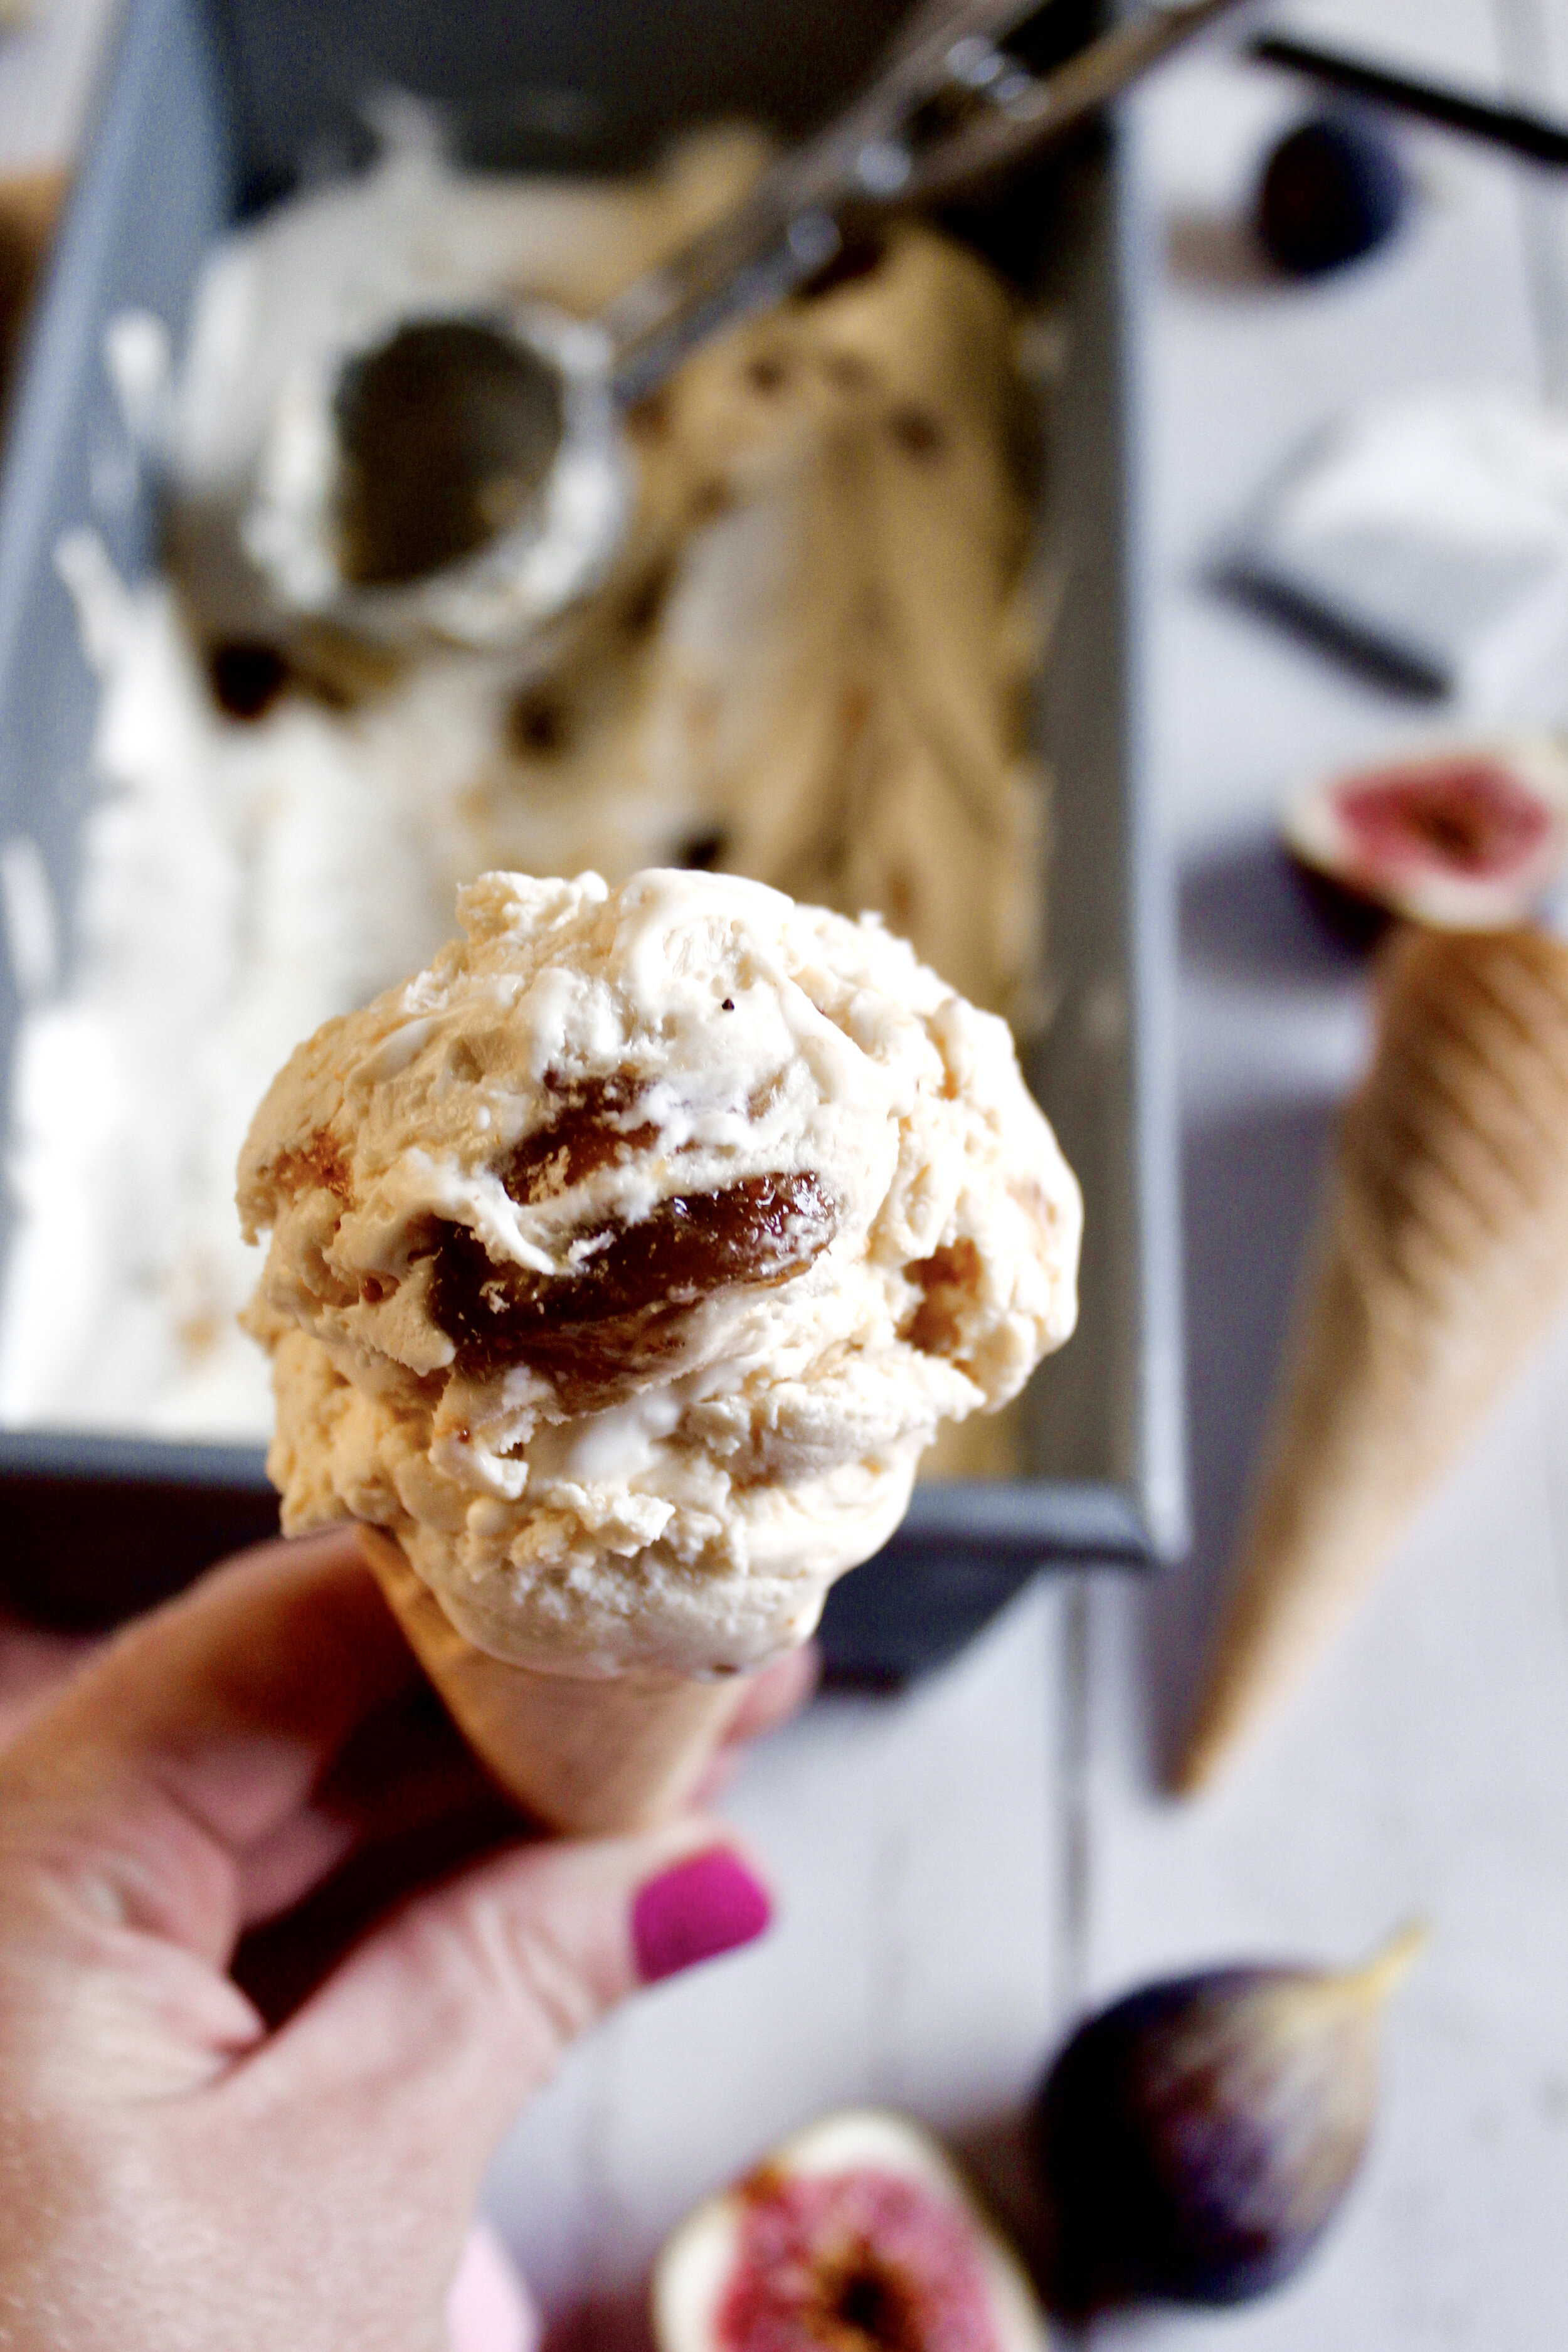
No-Churn Earl Grey Fig Ice Cream
A perfect blend of sweet, creamy Earl Grey tea and fig jam meet up in this easy-to-make ice cream. Now you can enjoy these quintessentially fall flavors even when the summer heat still lingers!
This post may contain affiliate links from which, at no additional cost to you, I may earn a small commission to keep this site running. Only products I myself would or do use are recommended.

This recipe reminds me of my childhood. I’m a nerd and grew up watching Star Trek: The Next Generation. I even bought the whole series on DVD and used to watch it in the background while I graded papers. And anyone who’s seen it knows that Captain Picard loved his “Tea. Earl Grey. Hot.” The only thing I love more about him is that he was played by Patrick Stewart, who doesn’t get enough credit for his work to end violence against women.

Anyway, Earl Grey is one of my favorite teas. And this ice cream showcases it in the best way! It’s lightly sweet and creamy with that distinct Earl Grey flavor. Then the fig jam swirl just comes in to complement everything perfectly. It’s like a warm summer evening meets a quiet rainy day.
If you’ve never tried no-churn ice cream, you really should give it a go! I do own three different types of ice cream makers, so I’m not dismissing that freshly churned texture. But no-churn ice cream is just SO easy. It works because the heavy cream is whipped up first, replacing the churning process. And the sweetened condensed milk is a perfect substitute for the custard base of classic ice cream. Easy peasy!

Key ingredients
Heavy whipping cream. Don’t use plain cream! You need heavy whipping cream, also known as double cream. You will whip it to the very beginning of stiff peaks, but if you’re not sure where that is, just stay in the soft peak stage. Soft peaks means it holds its shape if you pull the whisk out, but flops over a bit. It’s also still shiny, as opposed to the matte appearance of stiff peaks.

Earl Grey tea bags. Use high quality! This is where most of your flavor will come from, so don’t skimp. You can tone down the flavor by adding in a bit more heavy cream (be sure to dump a little or save it for a tea latte—you don’t want to end up with too much heavy cream).

Sweetened condensed milk. While I’m still experimenting with alternatives to this, it’s not as “junk food” as I used to think. Sweetened condensed milk really is just milk and sugar that’s been cooked down. The consistency is similar to custard and is just sweet enough to mean you don’t need added sugar!

Vanilla extract. This is key to creating a more rounded flavor profile. It helps highlight the flavors of the Earl Grey, which is why it’s a key ingredient in things like London Fog lattes.
Fig jam. You can use store bought or try my homemade version, omitting the cardamom if you’re not a fan. The flavors of fig (and cardamom) pair well with Earl Grey, with a bright contrast to its bold flavor.

How to make no-churn Earl Grey fig ice cram
1. Steep the tea in the heavy cream. Ideally, do this overnight.
2. Make the fig jam. You can also buy it, but it’s so easy to make and is great for any excess figs you have (hello compulsive farmers market shopping!).
3. Strain the tea and whip the cream. I like the stir the vanilla into the condensed milk at this point.
4. Slowly fold the whipped cream into the condensed milk. I do this in three additions, but some people just do two.


5. Layer ice cream and swirls of fig jam. A loaf pan or fancy ice cream container works well for this.
6. Freeze 4-5 hours. I usually freeze it overnight, but 4-5 hours should be sufficient.


Enjoy!
Tips, notes, and FAQ’s for this recipe
Don’t over whip the cream
You don’t actually want true stiff peaks, but barely soft peaks will end up soupy when you mix it, which will turn icy as it freezes. There’s a perfect sweet spot where the cream is still soft and creamy but can also hold its shape decently well. Just be sure it hasn’t gone matte in appearance and you’re good!

Adjust the Earl Grey to your liking
I used quite a few tea bags and squeezed them as much as I could to get all of the Earl Grey flavor out. I was afraid the flavor would get diluted after the whipping and combining with the condensed milk. However, the flavor actually intensified a bit once the ice cream set. So the key time to adjust the flavor is when you remove the tea bags. If you remove them and like the taste of the heavy cream (remember: it’s unsweetened at this point), then just toss the bags. However, if you think it’s too weak, gently press the bags in a fine mesh sieve to get out more of the flavor. Stir and taste the cream as you do this, until you’re happy with the strength.

Stir the jam or thin it out
This is more for appearances. You can easily just put dollops (that sounds nicer than globs, right?) as you layer the ice cream base. But I liked the look of swirled jam. Plus, I liked getting swirls of it in my scoops, not big dollops. So if your jam is on the thick side, try to stir it up or add just a squeeze of lemon juice to thin it out.

My ice cream making tools
Here are my must-have tools I use for making ice cream. Affiliate links provided.


No-Churn Earl Grey Fig Ice Cream
- prep time: 15-20 minutes
- steep time: 8 hours
- freeze time: 4-5 hours
- total time: 13 hours, 20 minutes (mostly hands off)
servings: about 12
Ingredients:
- 3 cups (693g) heavy whipping cream
- 10-15 Earl Grey tea bags (use high quality tea!)*
- 14 ounces (397g) sweetened condensed milk
- 1 tablespoon (13g) pure vanilla extract
- one batch honey cardamom fig jam (or one jar store bought fig jam)
Instructions:
- First, steep the heavy heavy whipping cream and tea bags. Place the heavy whipping cream in a 3-4 cup container that can be well-sealed. Add the tea bags, making sure the tags are not in the cream. I used 15 and it was nice and strong without being overkill. If you want a more subtle flavor, 10 would do. Seal tightly and refrigerate 8 hours or overnight. You can do up to 24 hours if you really like Earl Grey.
- Next, make the fig jam and let it cool completely in the fridge. You can make this up to 1-2 weeks ahead of time and store it in an airtight container in the fridge.
- When ready to make the ice cream, remove the tea bags from the heavy whipping cream and pour the cream into the bowl of your stand mixer. I suggest tasting the cream to see how strong the flavor is at this point. If it’s not strong enough, place the tea bags in a fine mesh sieve and set it over the bowl. You can use a rubber spatula to gently press more of the cream out of the bags. Continue to gently press then taste until the flavor is as strong as you’d like. The flavor won’t really change much in intensity once the ice cream is made.
- Beat the cream on medium until frothy and bubbles start to form, about 30 seconds. Slowly turn it up to high (you can start out on high, but you’ll most likely get quite a bit of splatter on you and your kitchen). Let mix for 1-2 minutes, until stiff peaks just start to form. Watch it carefully, as your mixer and kitchen temp can alter the time this takes. You want it to be mostly soft peaks with a little bit of stiff peaks forming. Remove the whisk and set aside. If you need to pause at this point for any reason (hello, toddler mom life!), refrigerate the whipped cream so it doesn’t deflate.
- When the heavy cream is done (or while it beats), stir together your sweetened condensed milk and vanilla in a large mixing bowl until fully combined.
- Add about ⅓ of the steeped whipped cream to the condensed milk and stir/fold it in gently until fully combined. Add another ⅓ of the whipped cream and fold it in gently until fully combined. Add the remaining ⅓ and fold it until fully combined. (Doing this in 3 additions helps keep it fluffier and get that “slow churned” texture without actually churning your ice cream.)
- In a bread loaf pan or similarly sized dish, spread about ⅓ of the Earl Grey ice cream on the bottom. Stir the fig jam well and drizzle some over the ice cream. If it’s too thick, you can thin it out with a splash of lemon juice. Use a knife to swirl the jam into the ice cream. Spread another ⅓ of the ice cream, followed by another few spoonfuls of the fig jam. Repeat this one last time with the remaining ice cream and more jam. You can use as much or as little jam as you’d like.
- Cover and freeze at least 4-5 hours, or overnight, until set. Depending on your freezer, you may need to let it sit on your counter about 5 minutes before scooping.
Enjoy!
Store leftovers in an airtight container. Ice cream should last at least a month, but this can vary depending on your freezer and how well-sealed it is.
*Note: I used Twinnings tea, which produced a great flavor. Use a brand you like, but make sure it’s a high quality one as the flavor definitely shines through in this ice cream


