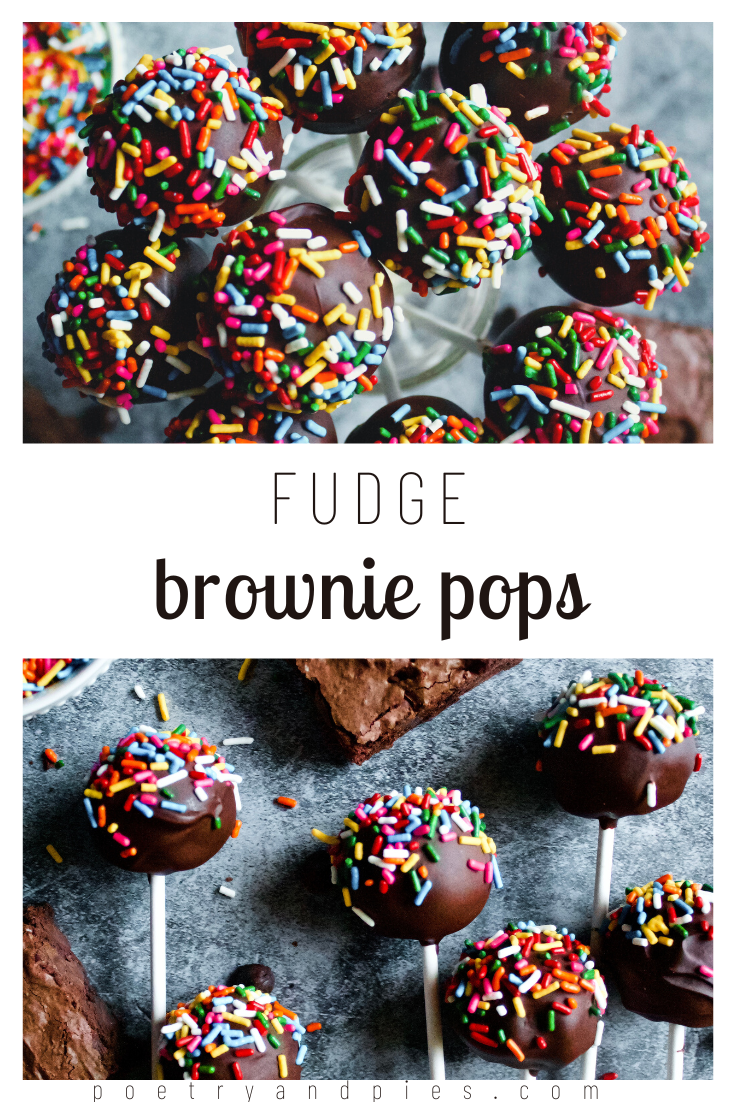
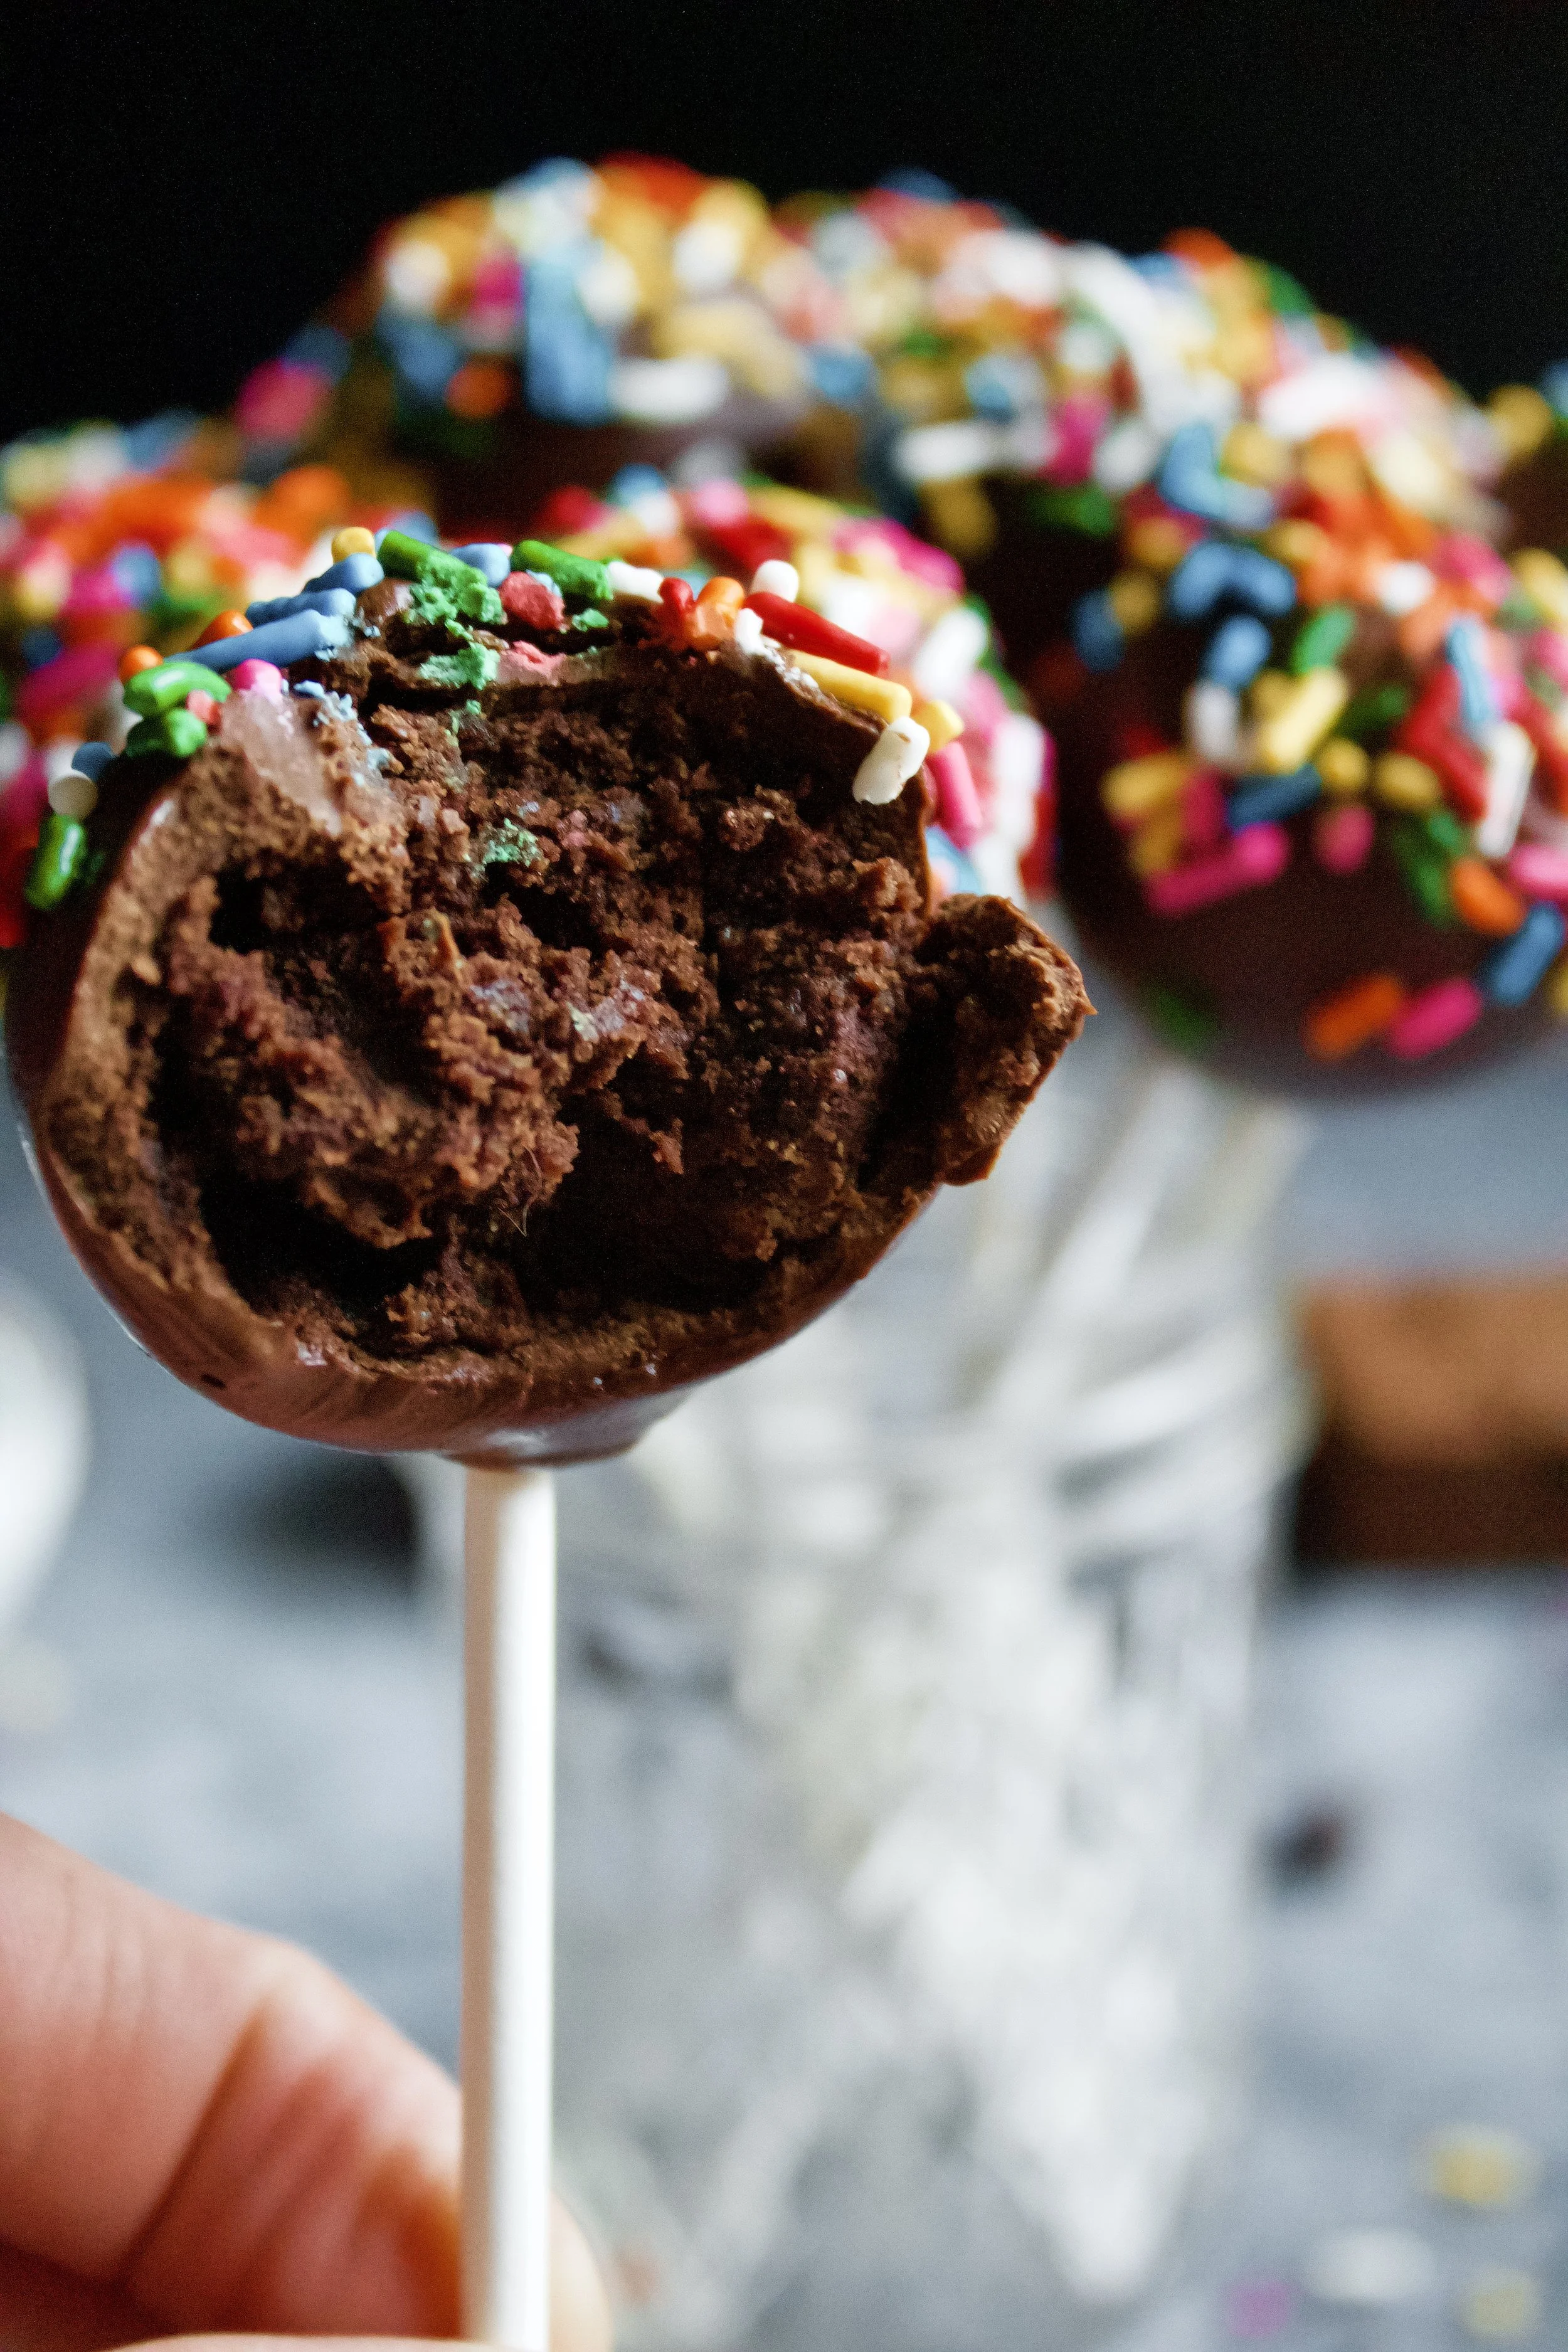
Fudge Brownie Pops
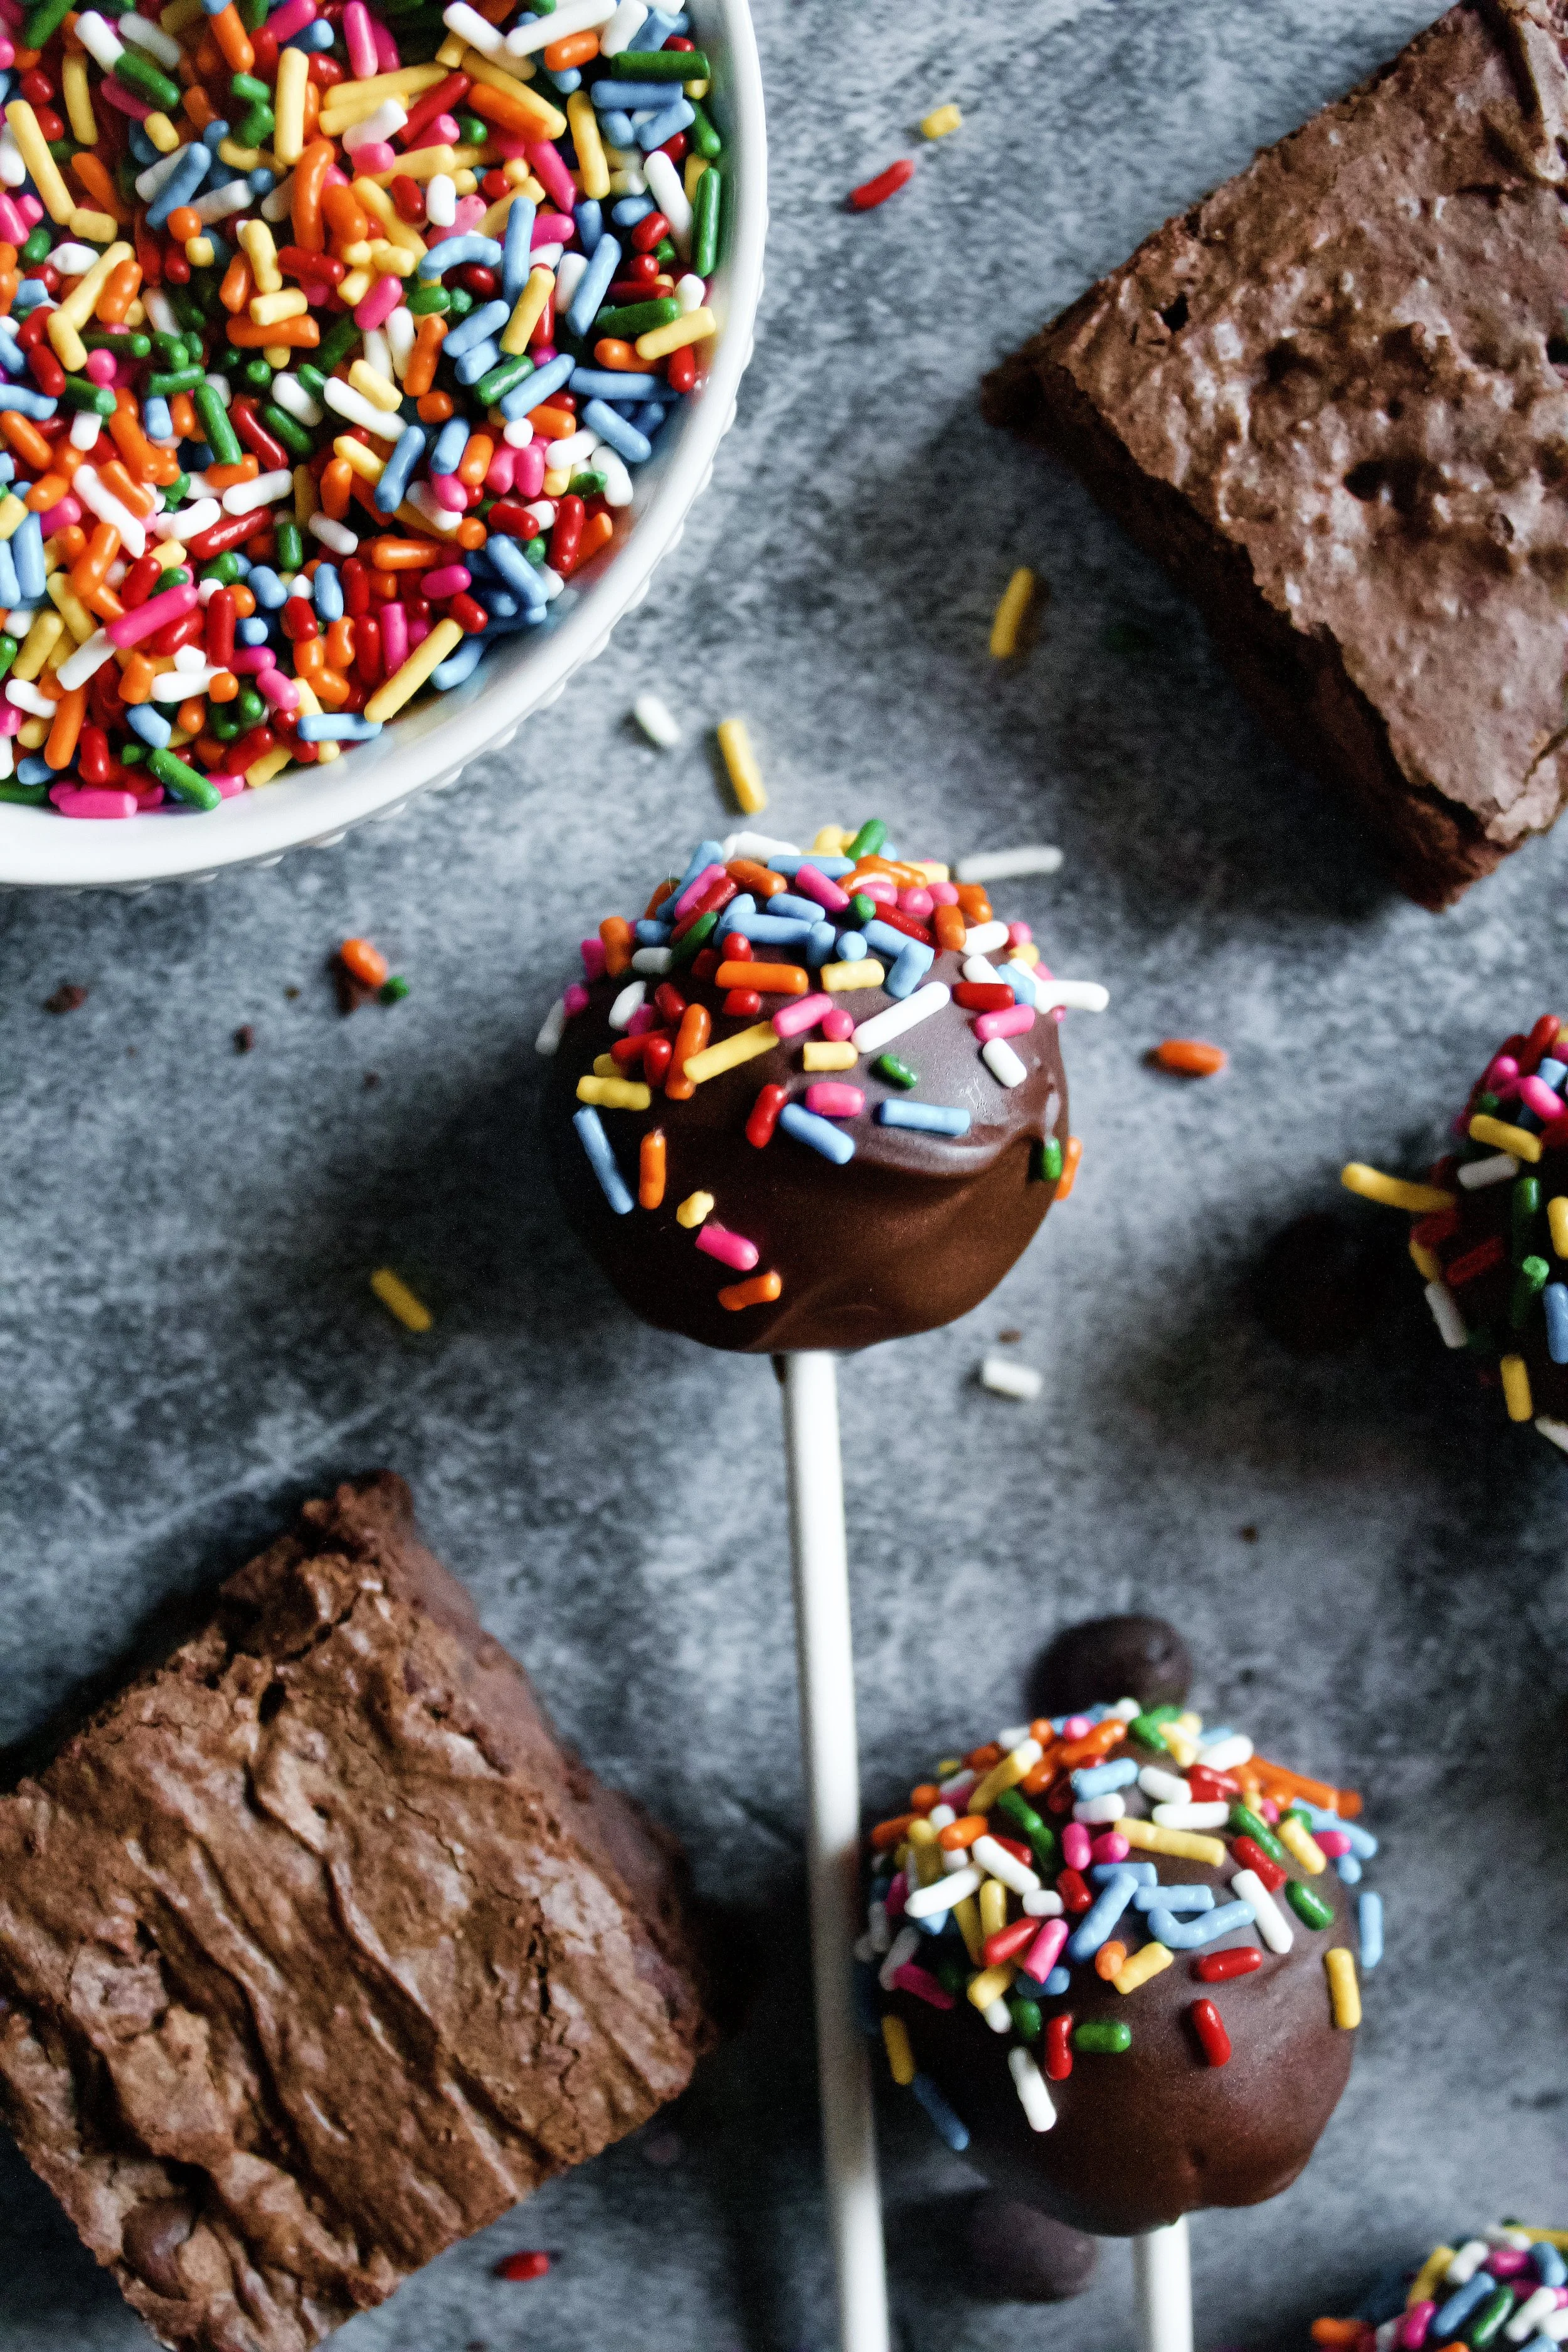
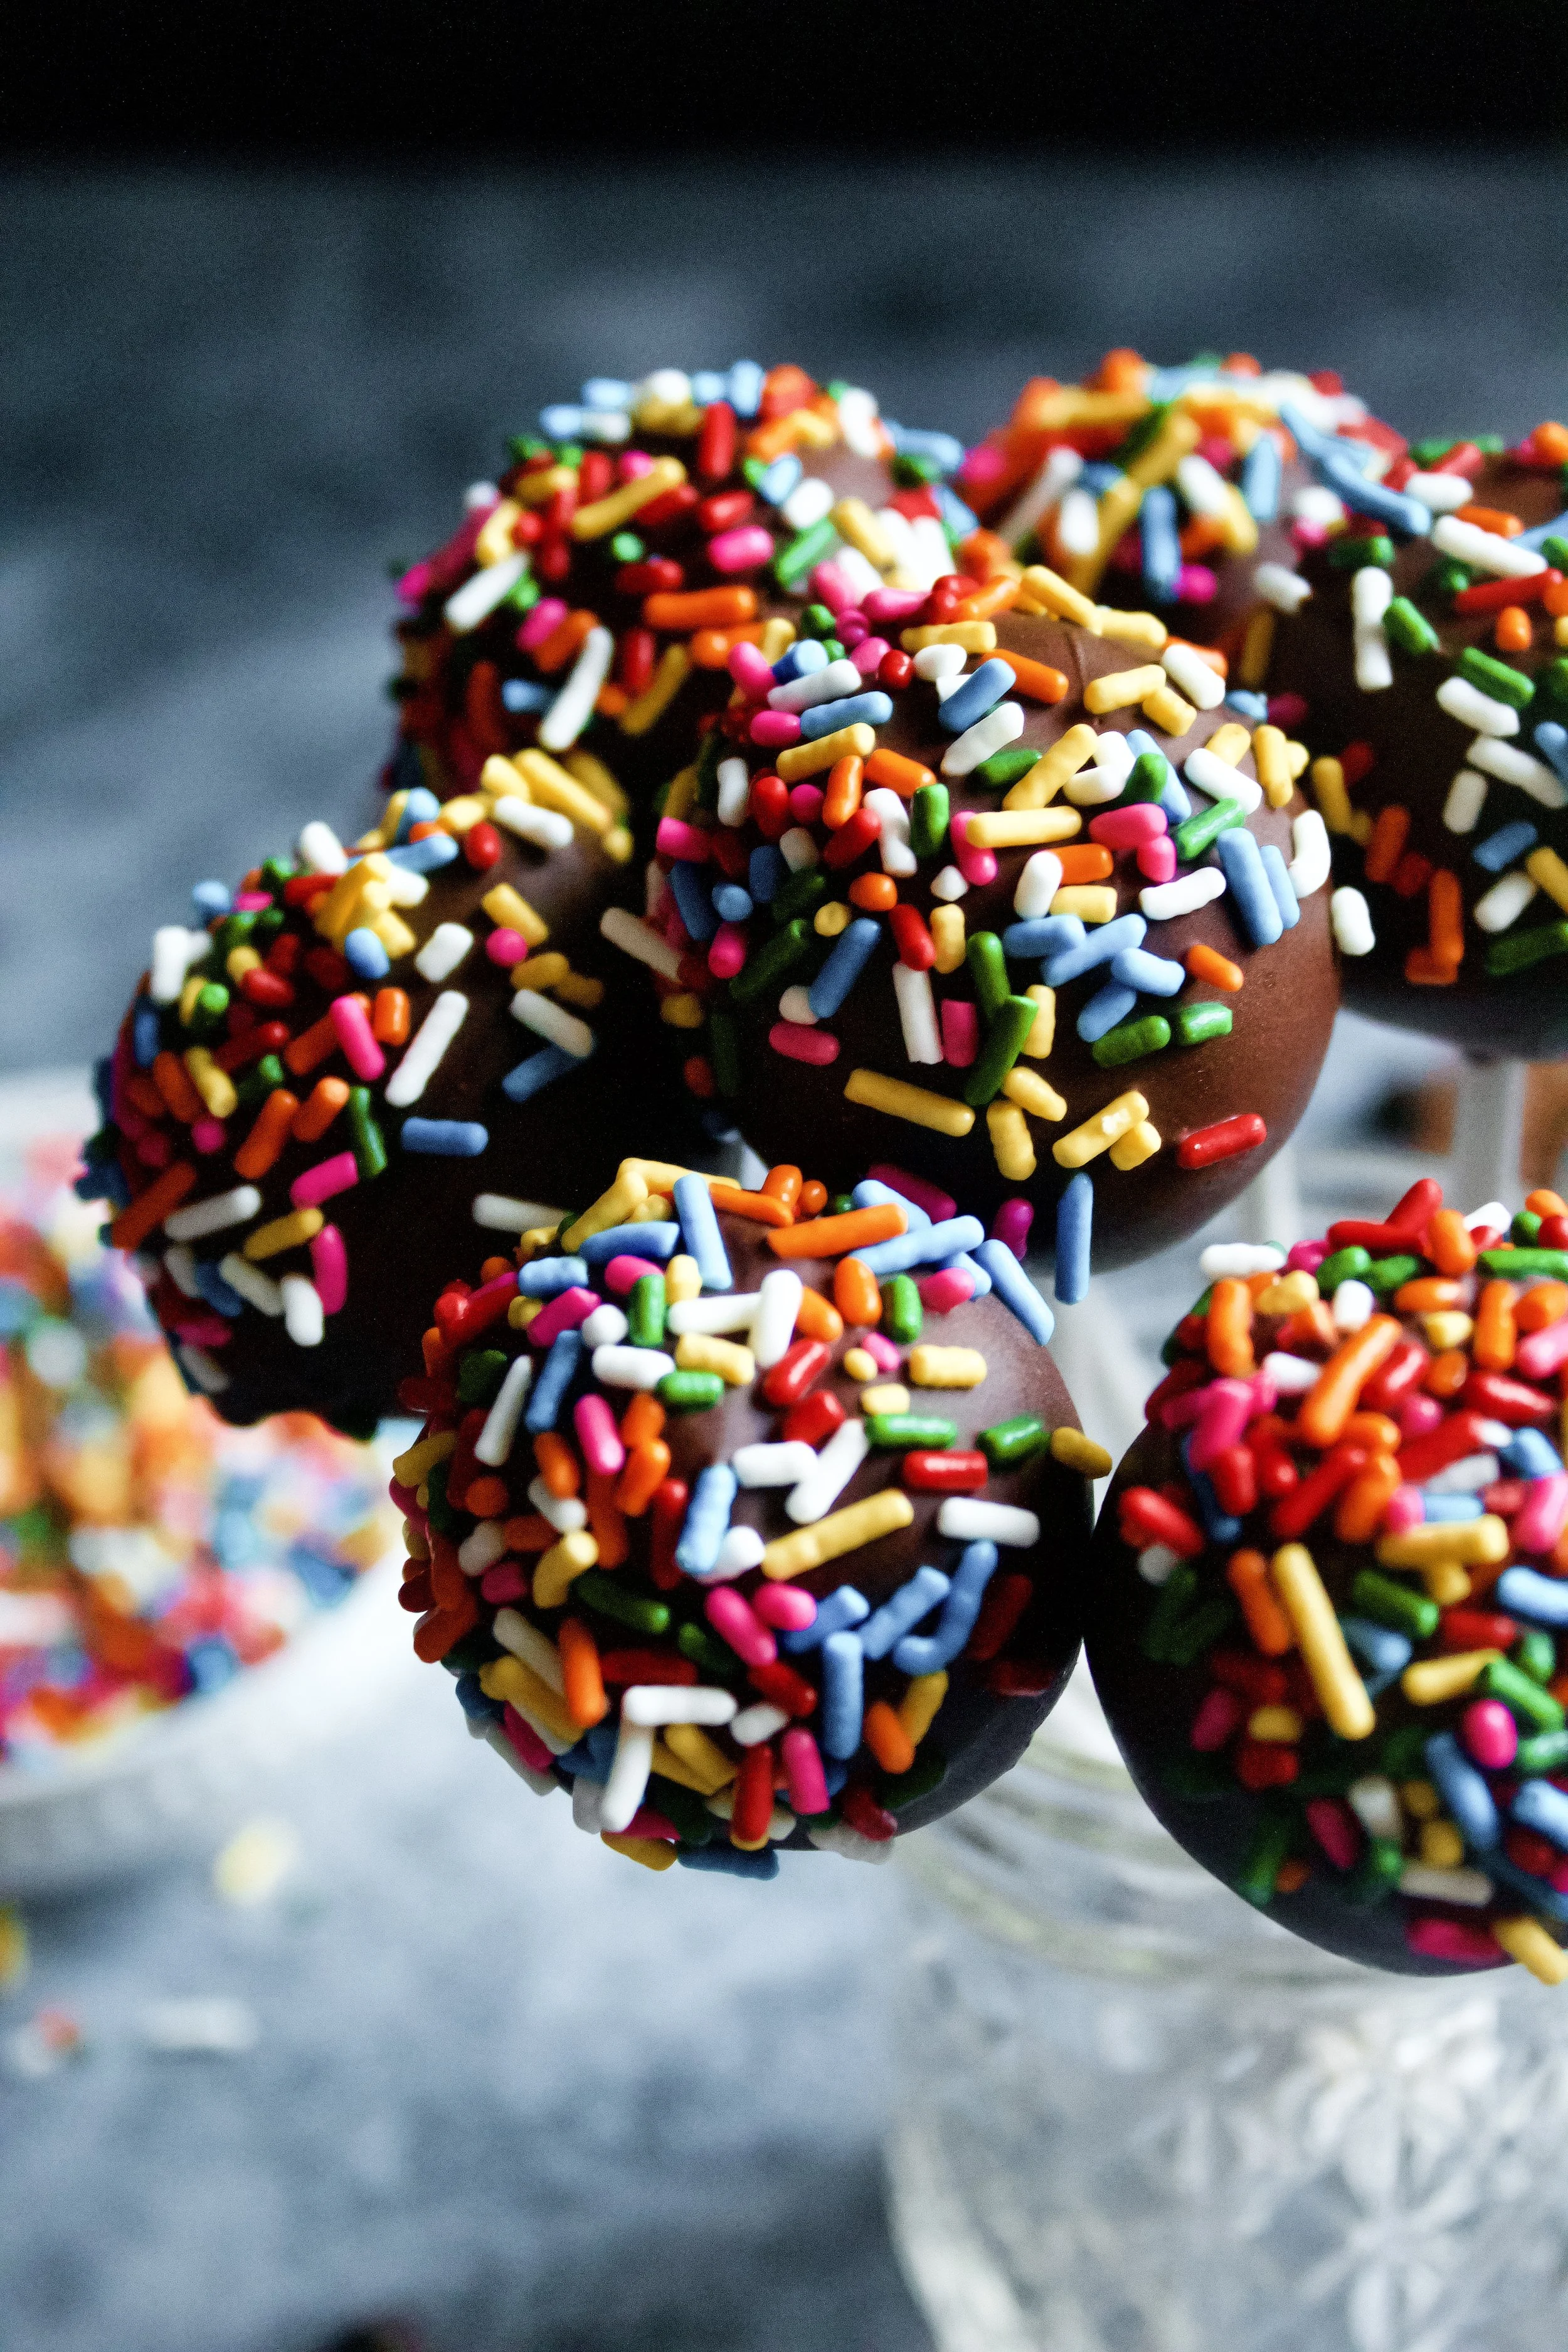
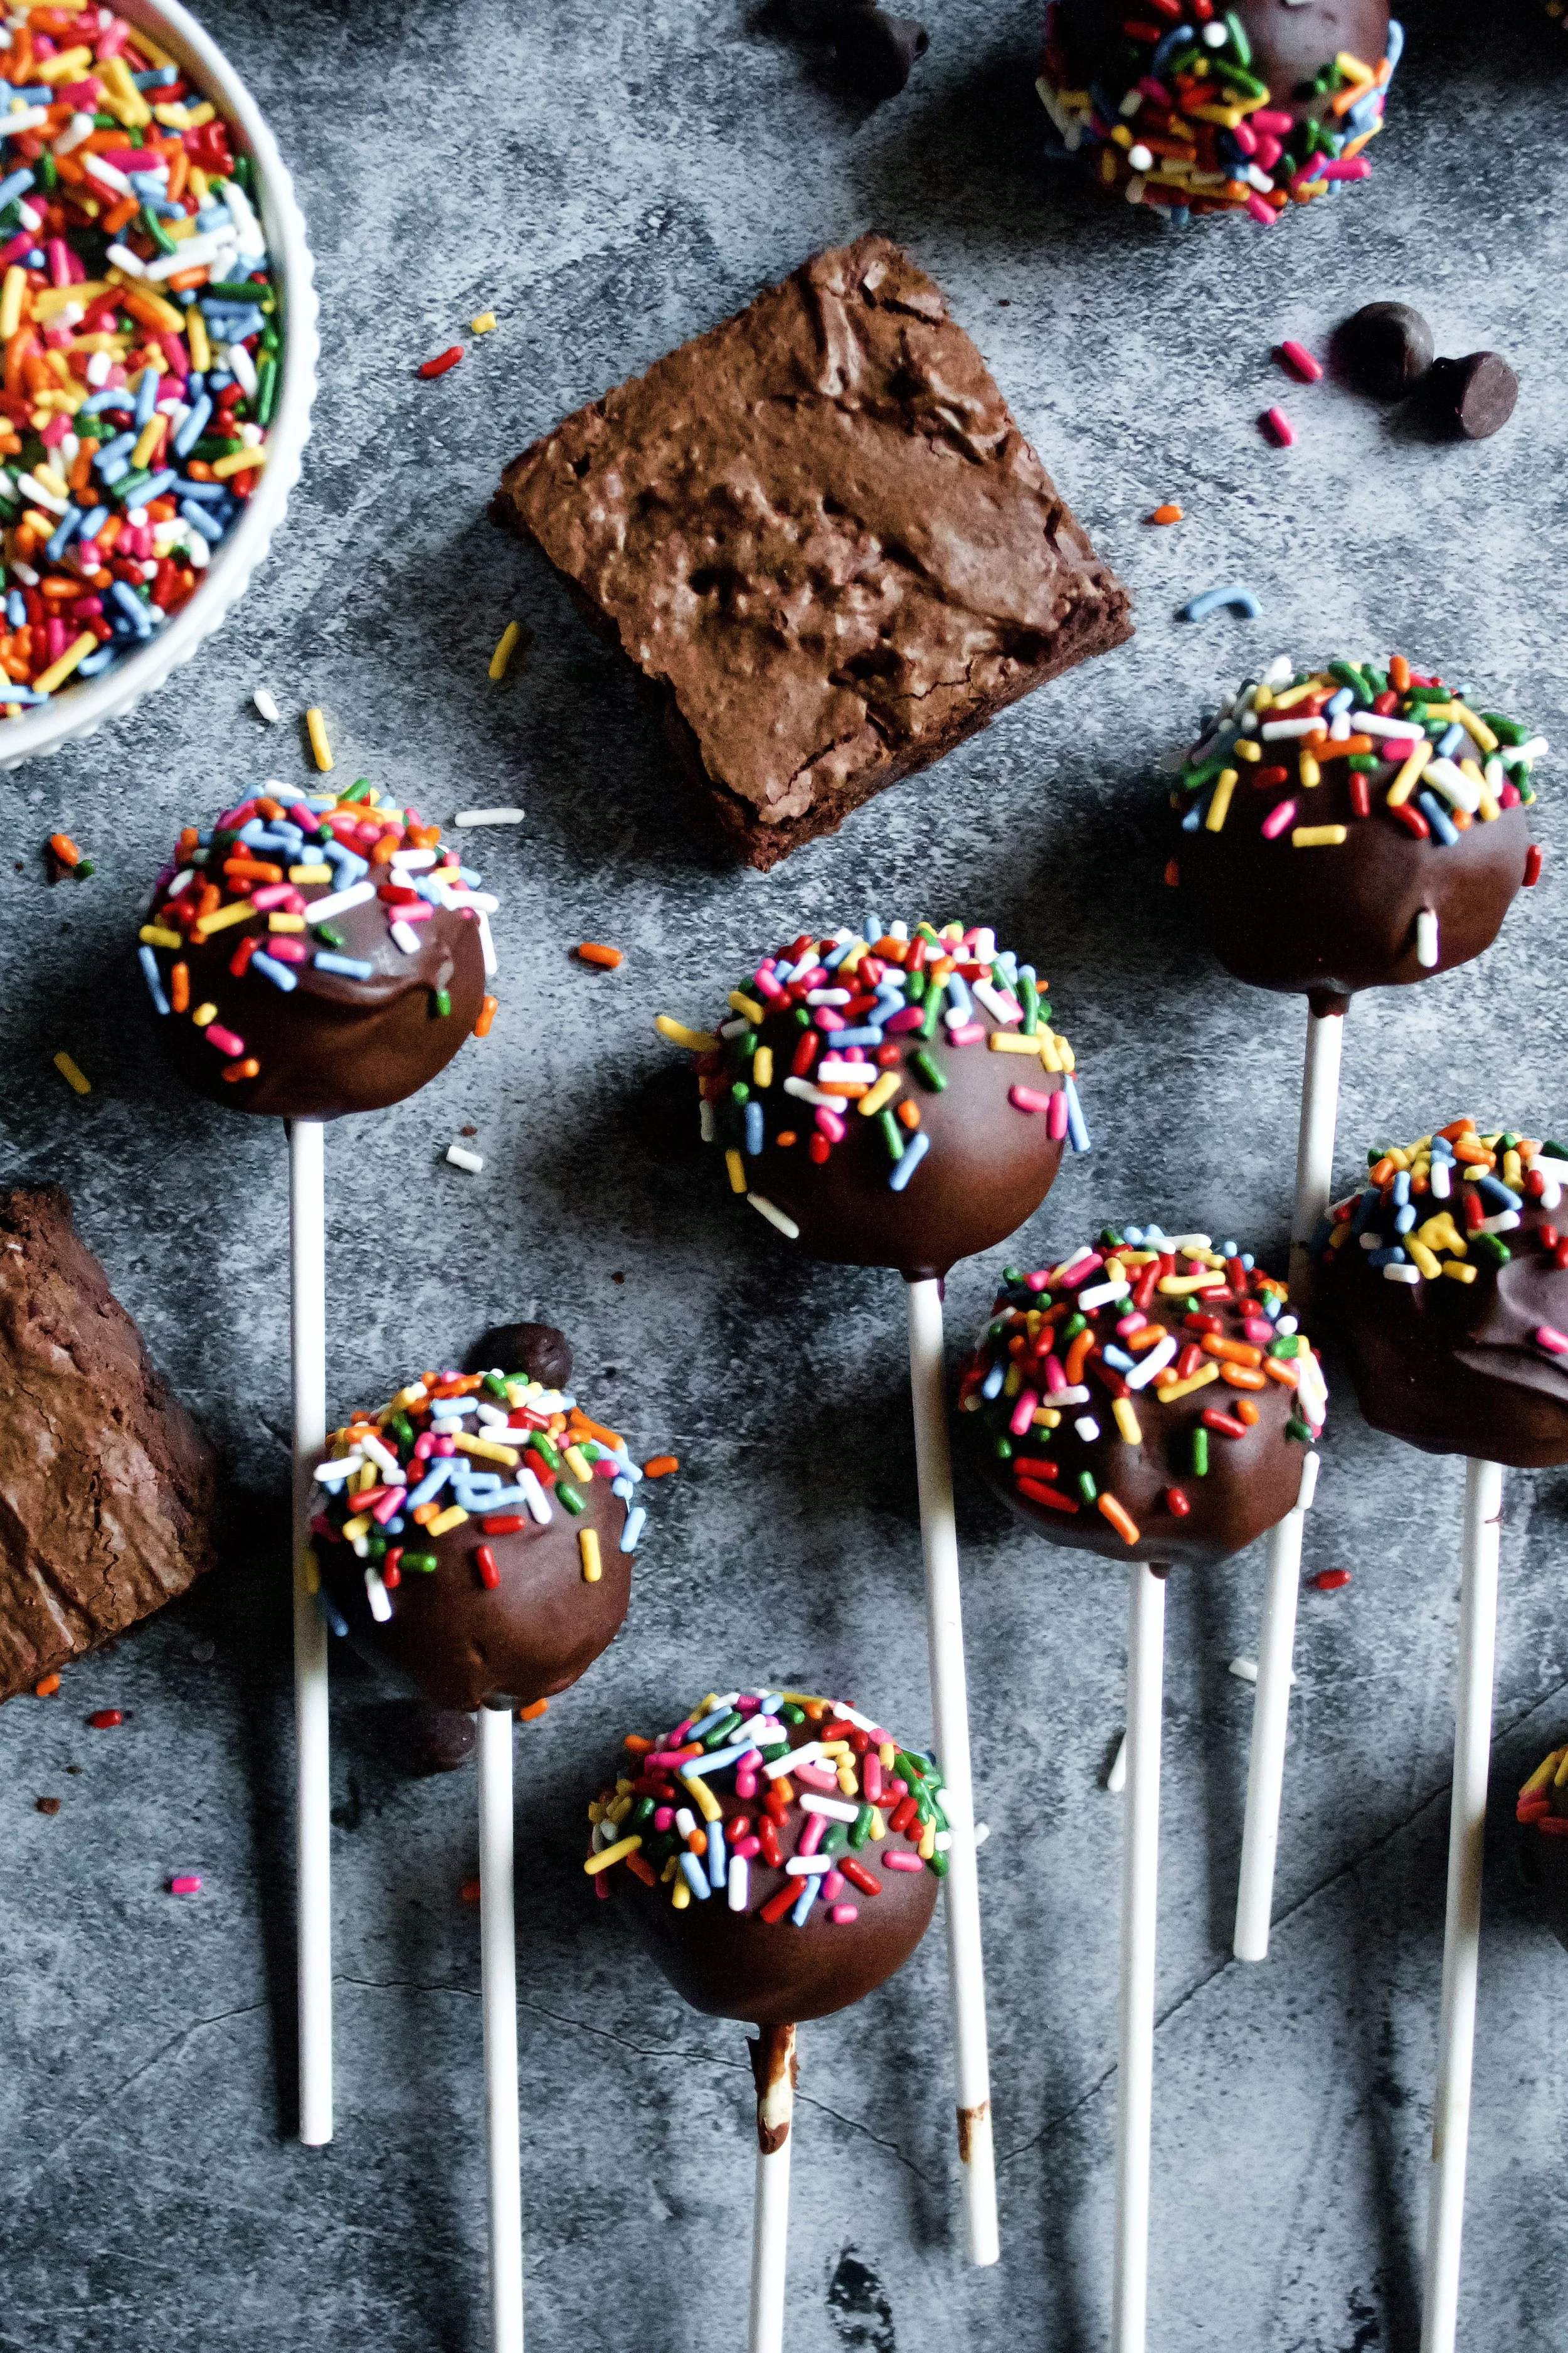
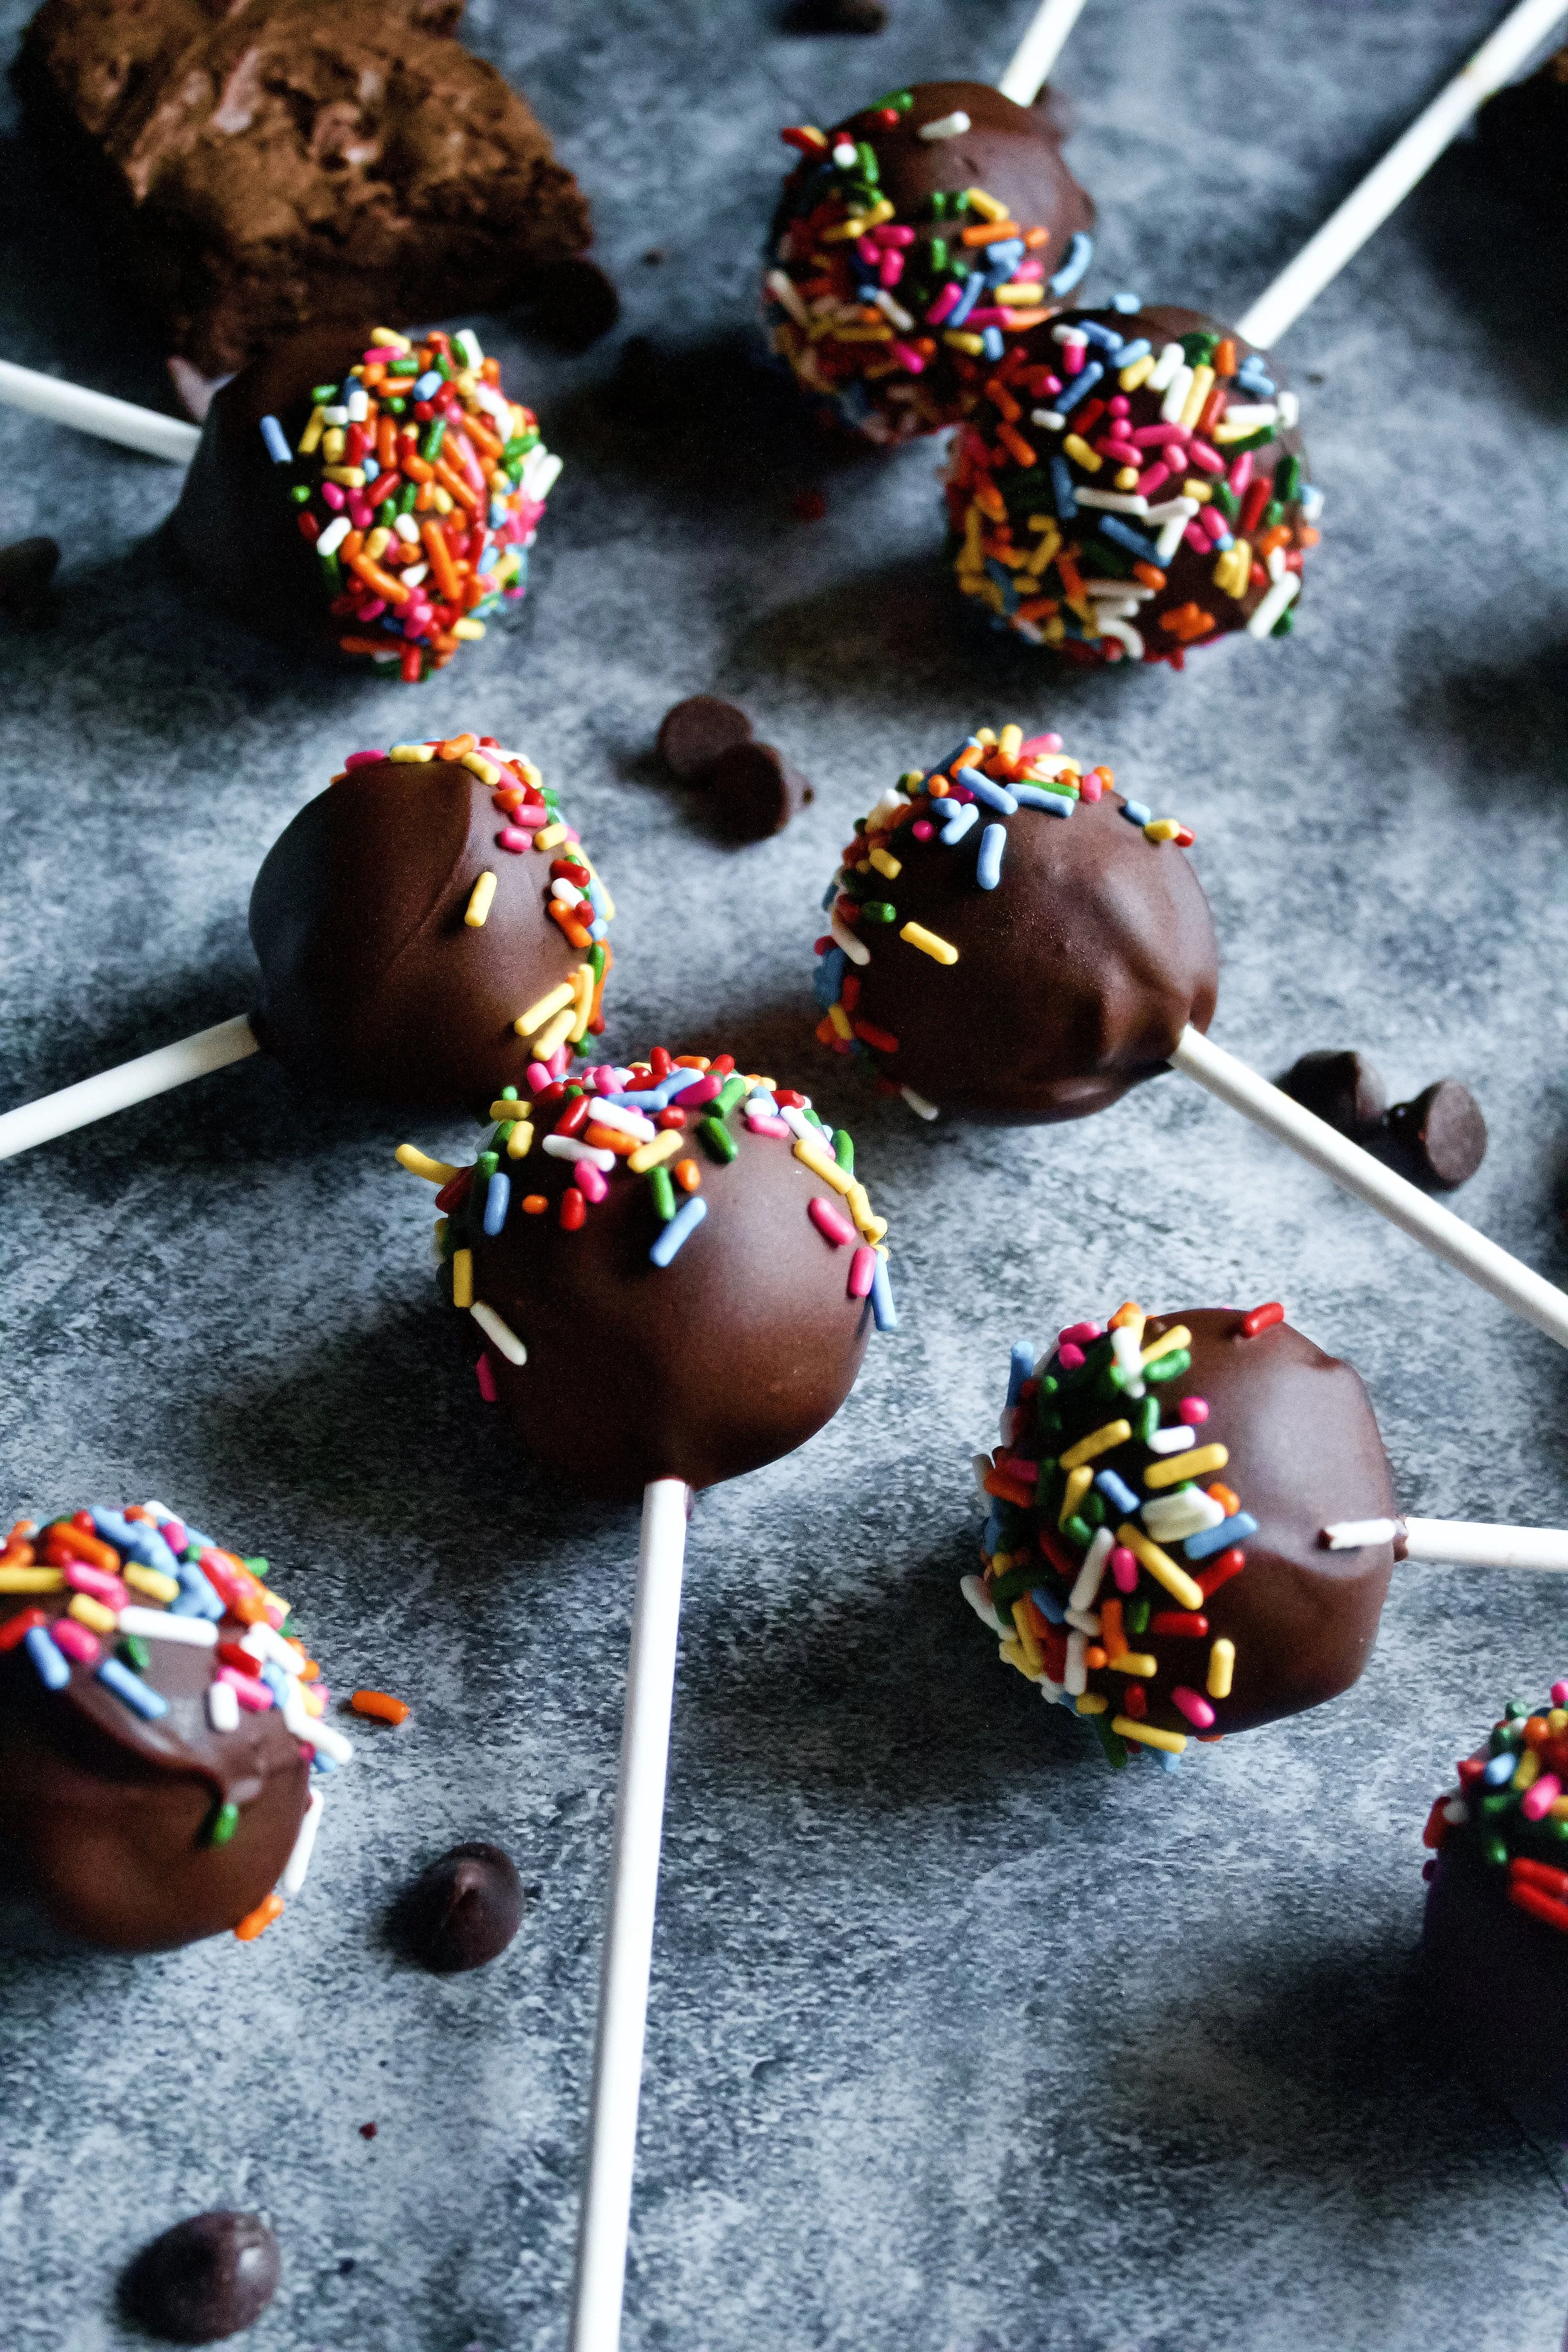
Rich, chocolate fudge brownies enrobed in more delicious chocolate and covered in sprinkles. Take your brownies to the next (and more fun) level with these brownie pops!
This post may contain affiliate links from which, at no additional cost to you, I may earn a small commission to keep this site running. Only products I myself would or do use are recommended.
Welp. I went back to school this week. Not actual teaching, just in service. And wow am I tired. Who knew it could be exhausting just sitting there reading through a teacher handbook and prepping lessons?
Guys, please know that your child’s teacher(s) is working SO HARD right now trying to make this year normal and enriching and engaging. And at the same time, we are people. We have our own lives, our own families, our own things we are dealing with.
Oh, and we aren’t paid nearly enough for how hard we work.
Anyway, brownie pops. They have nothing to do with going back to school, although they are bright and fun and I have one (or five) in my freezer that I am saving for the first day of school.
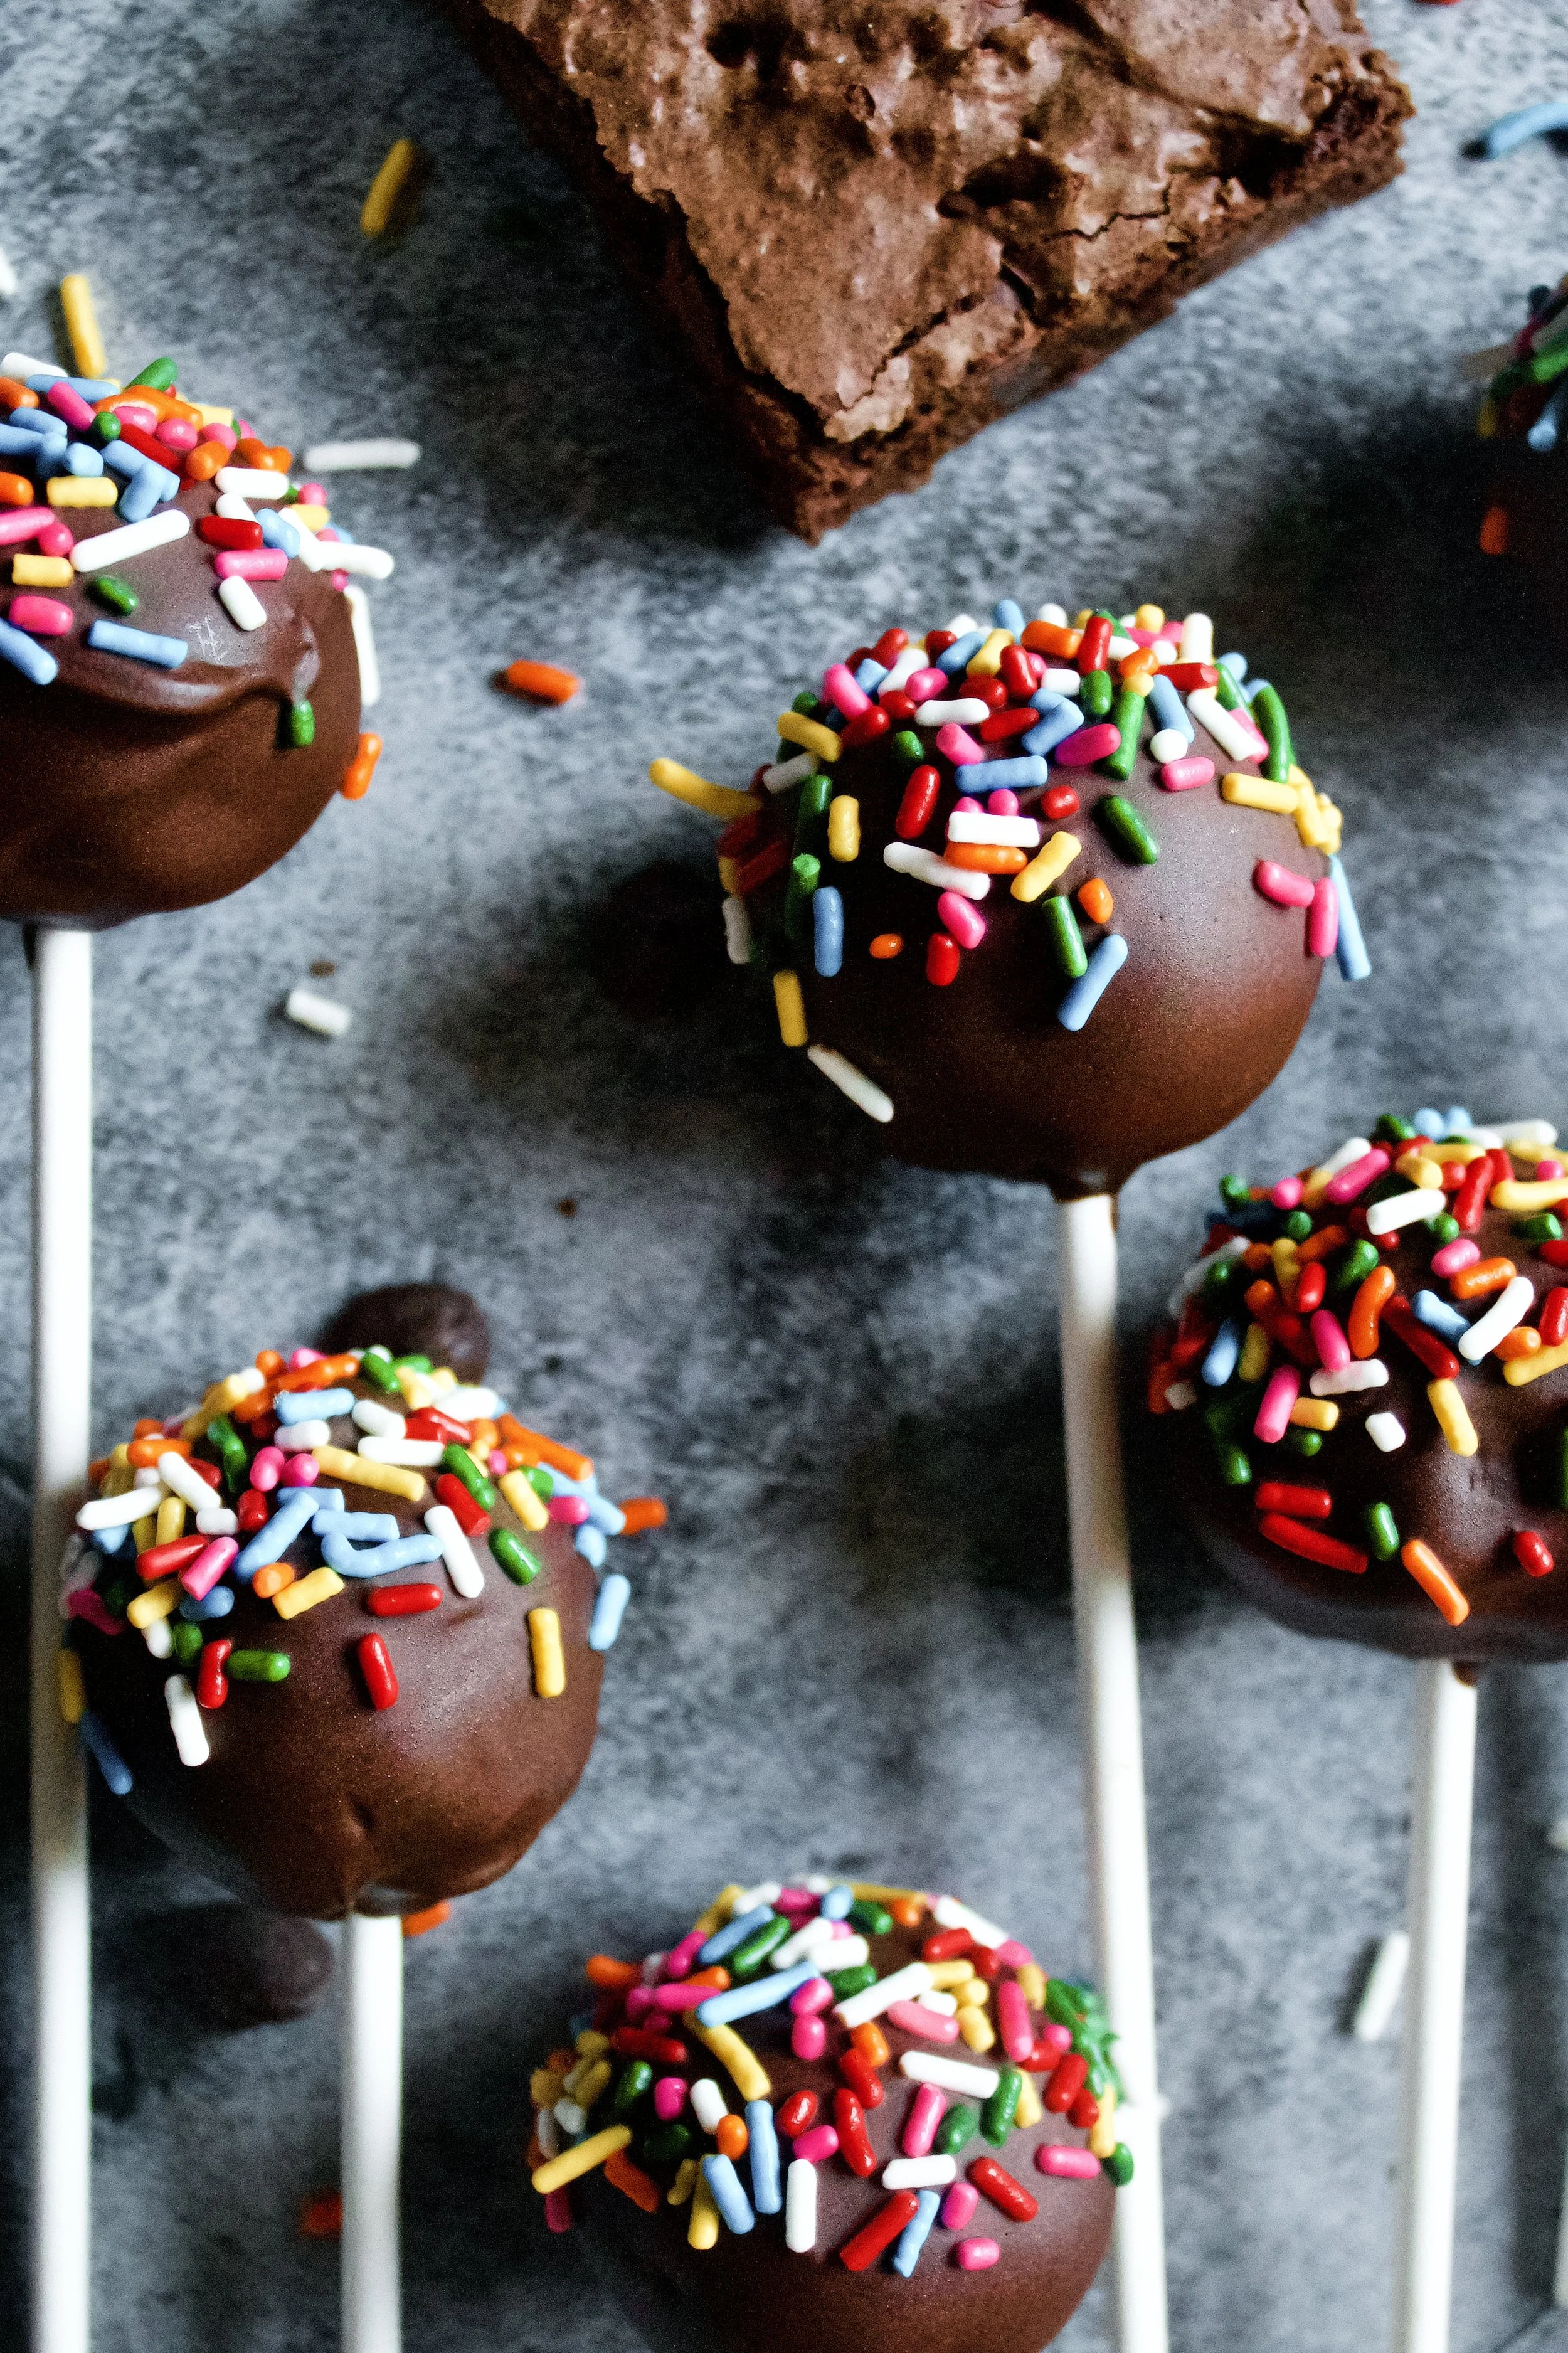
These pops are in my mind doubly perfect. They not only are fun and delicious (who doesn’t want their dessert dipped in chocolate and covered in sprinkles???), but they are a great way to use up leftover brownies.
Which, maybe sounds like a bad thing. Who doesn’t eat all their brownies right away??
But if you foresee not finishing your brownies before they dry out, or you need a dessert that can be made a few days in advance and still taste ah-mazing and impress all your friends, this recipe is for you. Rolling the brownies up and dipping them in chocolate seals in the freshness and taste so they are as delicious in a month as the day you made them.
These will last at room temperature for 3-5 days, although the chocolate may start to change color if it was overheated during dipping. The ideal option is to wrap them in plastic wrap and refrigerate or freeze them to lock in the moisture and freshness.
Easy, delicious, and impressive? I’d say that’s the perfect dessert.
Why this recipe works
The fudge brownies are also known as my perfect brownies. There’s some kind of magic in these. I’ve been tweaking the recipe for a couple of years now. People often ask if they’re Ghirardelli boxed brownies (which is the ultimate complement in my opinion). They are fudge and chewy without falling apart. They’re packed with chocolate chips. And they are a perfect balance of rich chocolate and sweetness. Best yet, they are the perfect consistency to roll into pops without adding frosting. Then, dipping into melted chocolate helps seal that flavor and moisture in for quite a while.
One other key success to this recipe is the trick I discovered: double dipping. Sort of. Many cake pop recipes call for dipping the stick into the chocolate before inserting it in the cake or brownie ball. I have you to a step further and chill (or freeze) them after this step to harden that chocolate glue and keep that brownie pop well adhered to the stick. I had zero issues dipping these after adding this simple step.
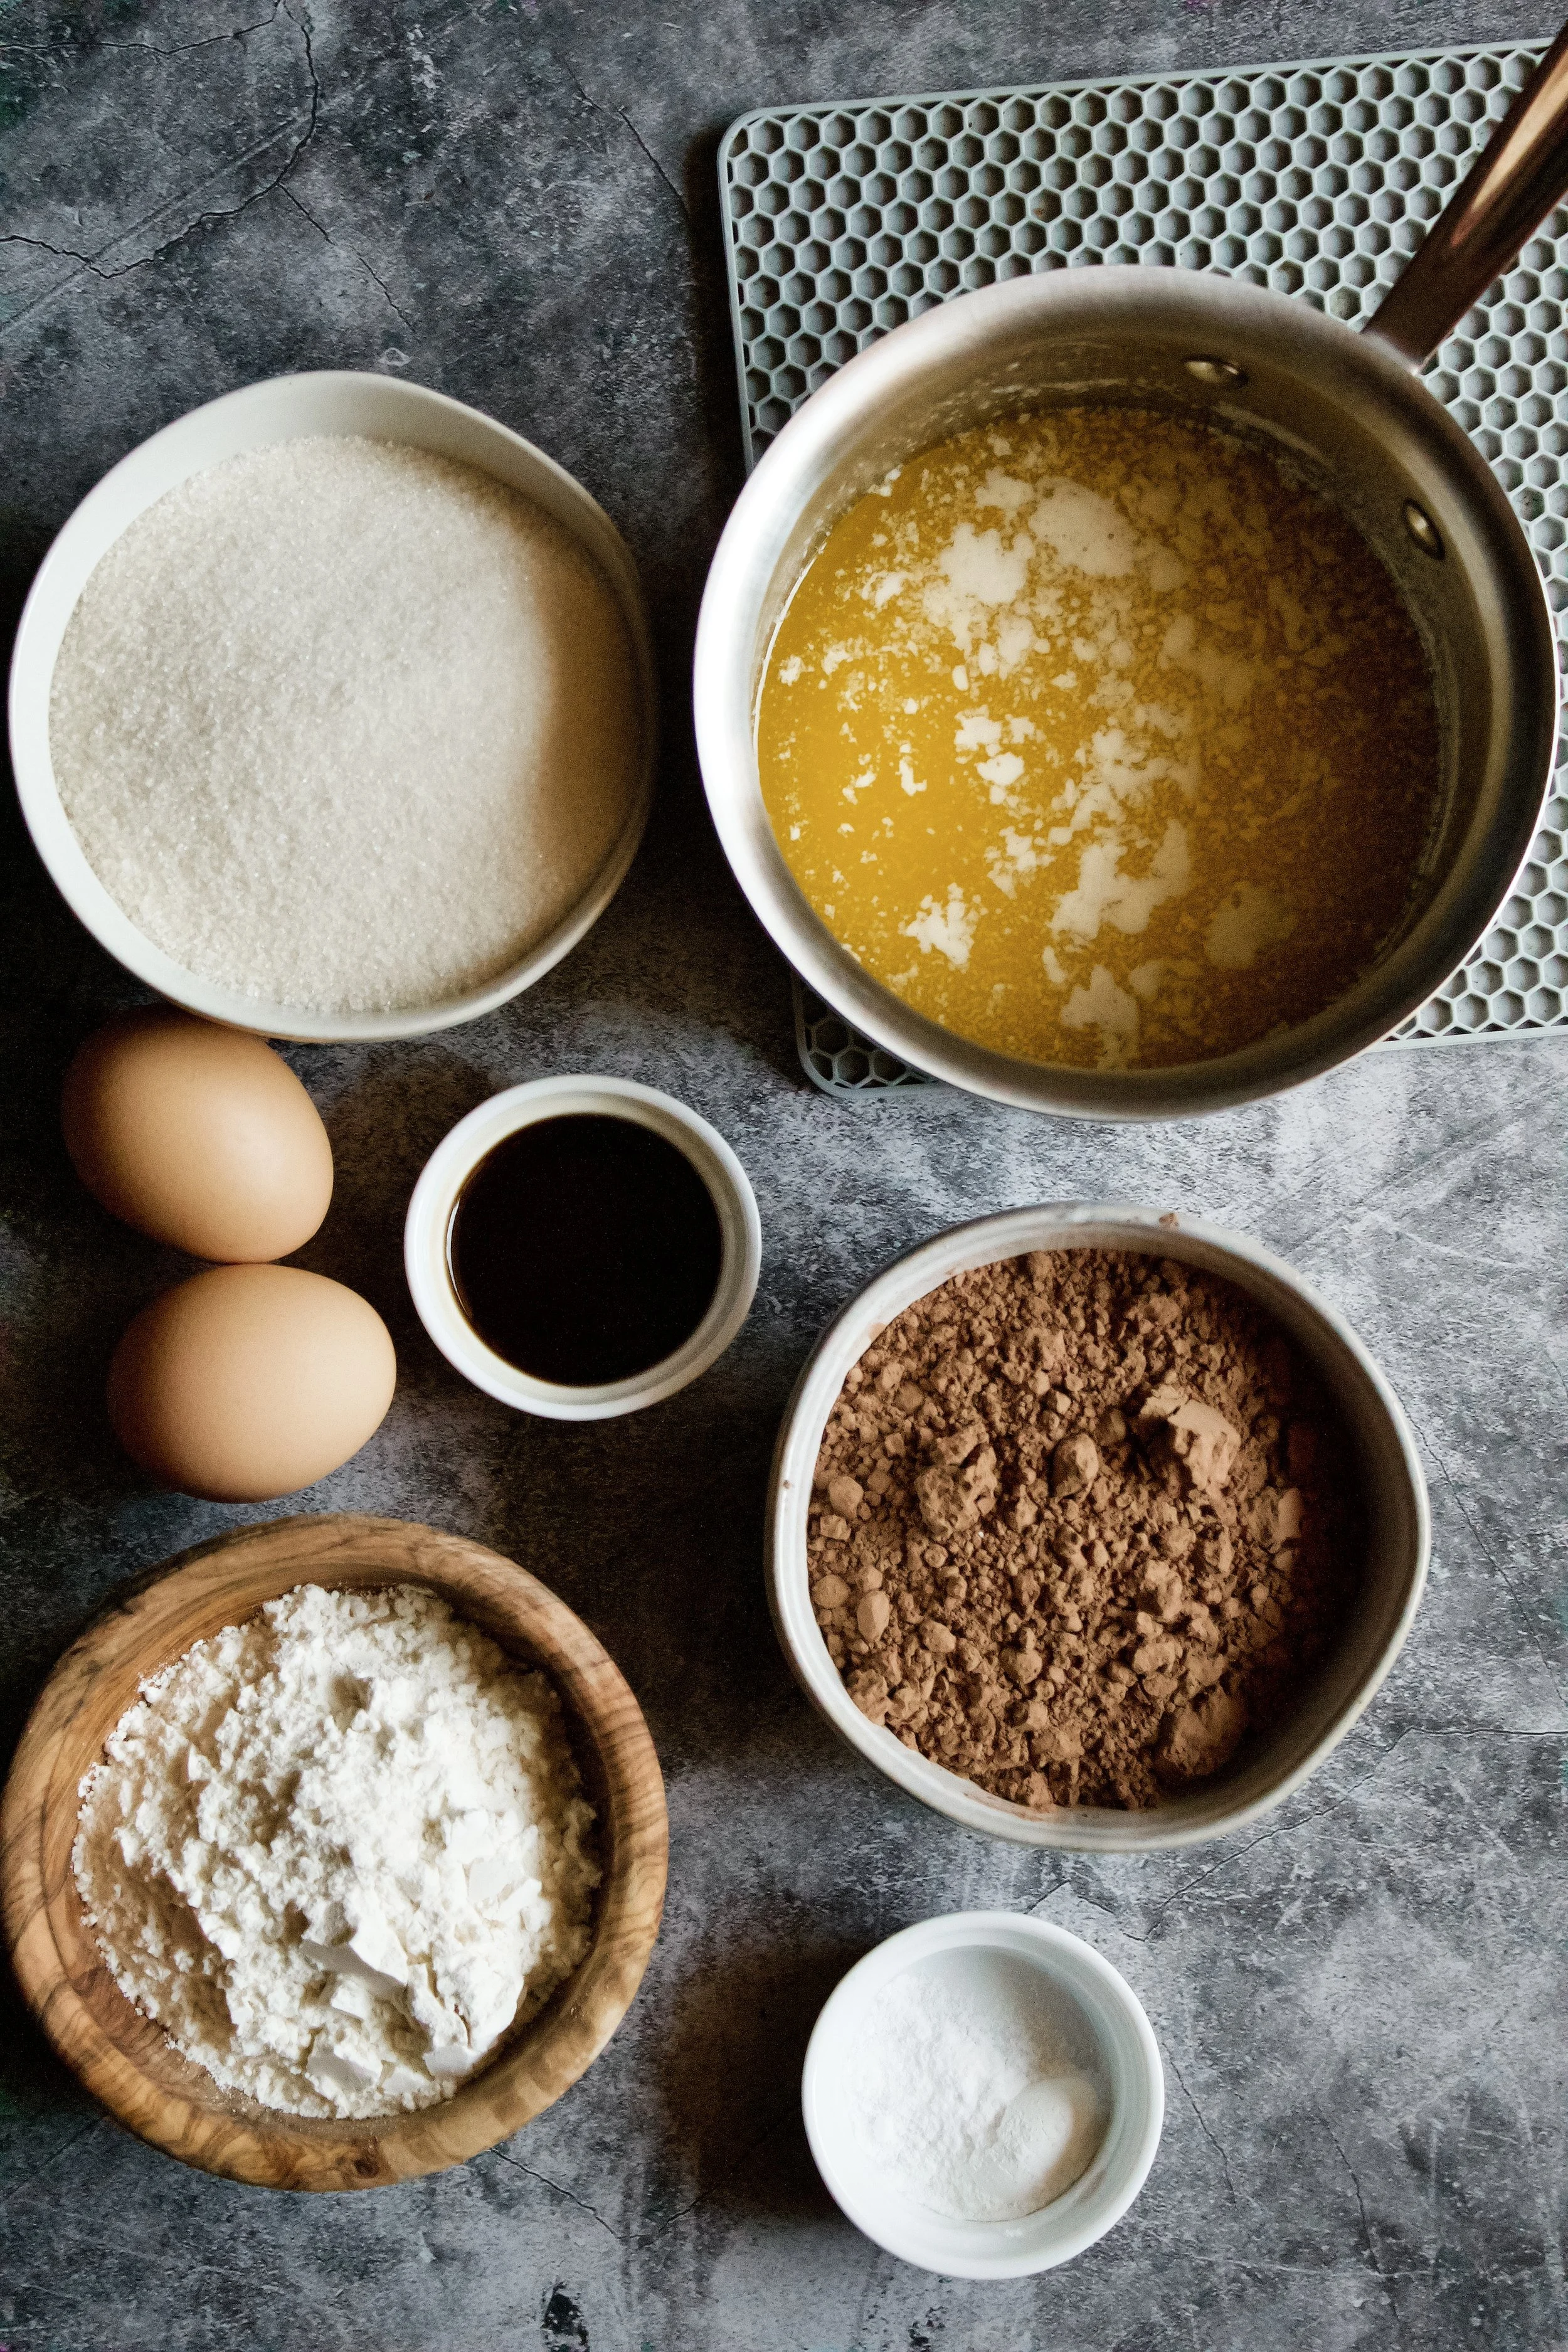
Key ingredients
Flour. Be sure to spoon then level the flour so you don’t have too much.
Cocoa powder. Use unsweetened cocoa, and do not skip the sifting!
Baking powder. Use fresh baking powder, meaning not opened longer than 6 months.
Salt. Sea salt is ideal.
Butter. European butter is best, as it has less water.
Sugar. Use granulated sugar.
Eggs. Use fresh, large, room temperature eggs.
Vanilla. Use pure vanilla extract, not imitation.
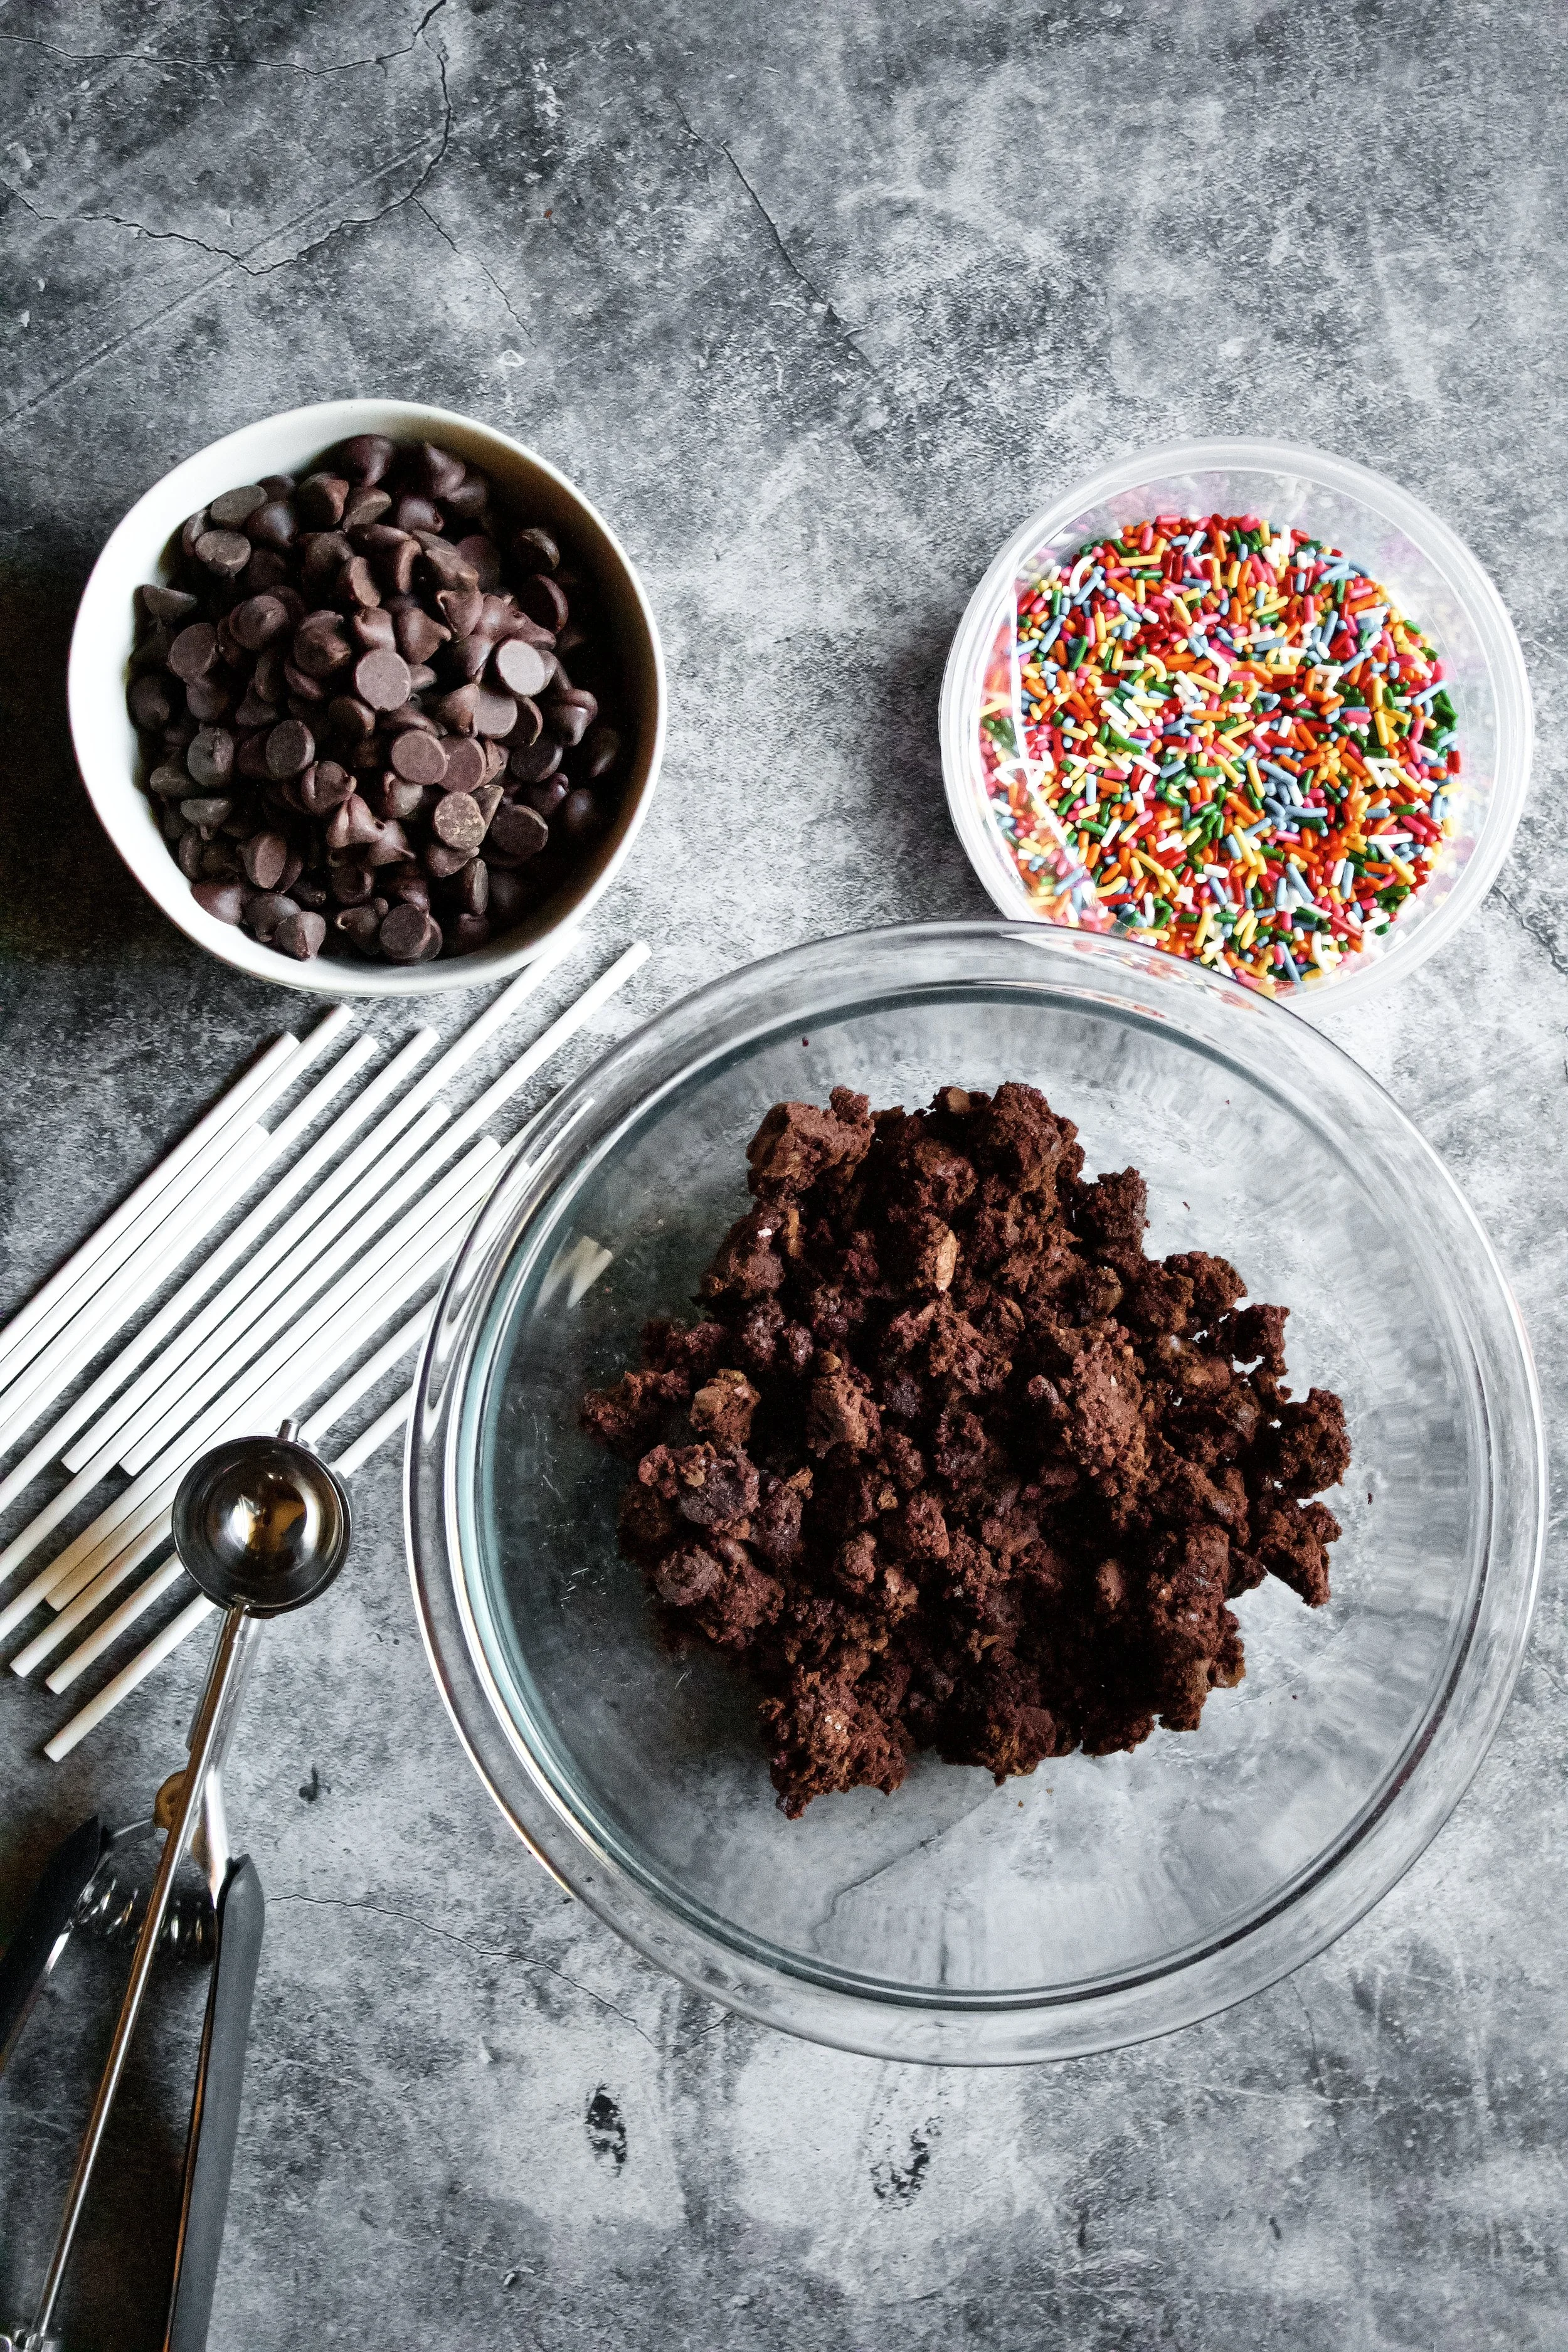
Chocolate Chips. You can use any size and flavor you’d like! I used semisweet.
Baking chocolate or melts. You could also use chocolate chips, but those don’t always harden as well and could melt in warm weather.
Sprinkles. Any sprinkles will do, and you can also use coconut, chopped nuts, or mini chocolate chips.
Cake pop sticks. You could actually omit these and just make brown truffles, but I actually found it easier to dip these with a stick!
How to make fudge brownie pops
Make the brownies
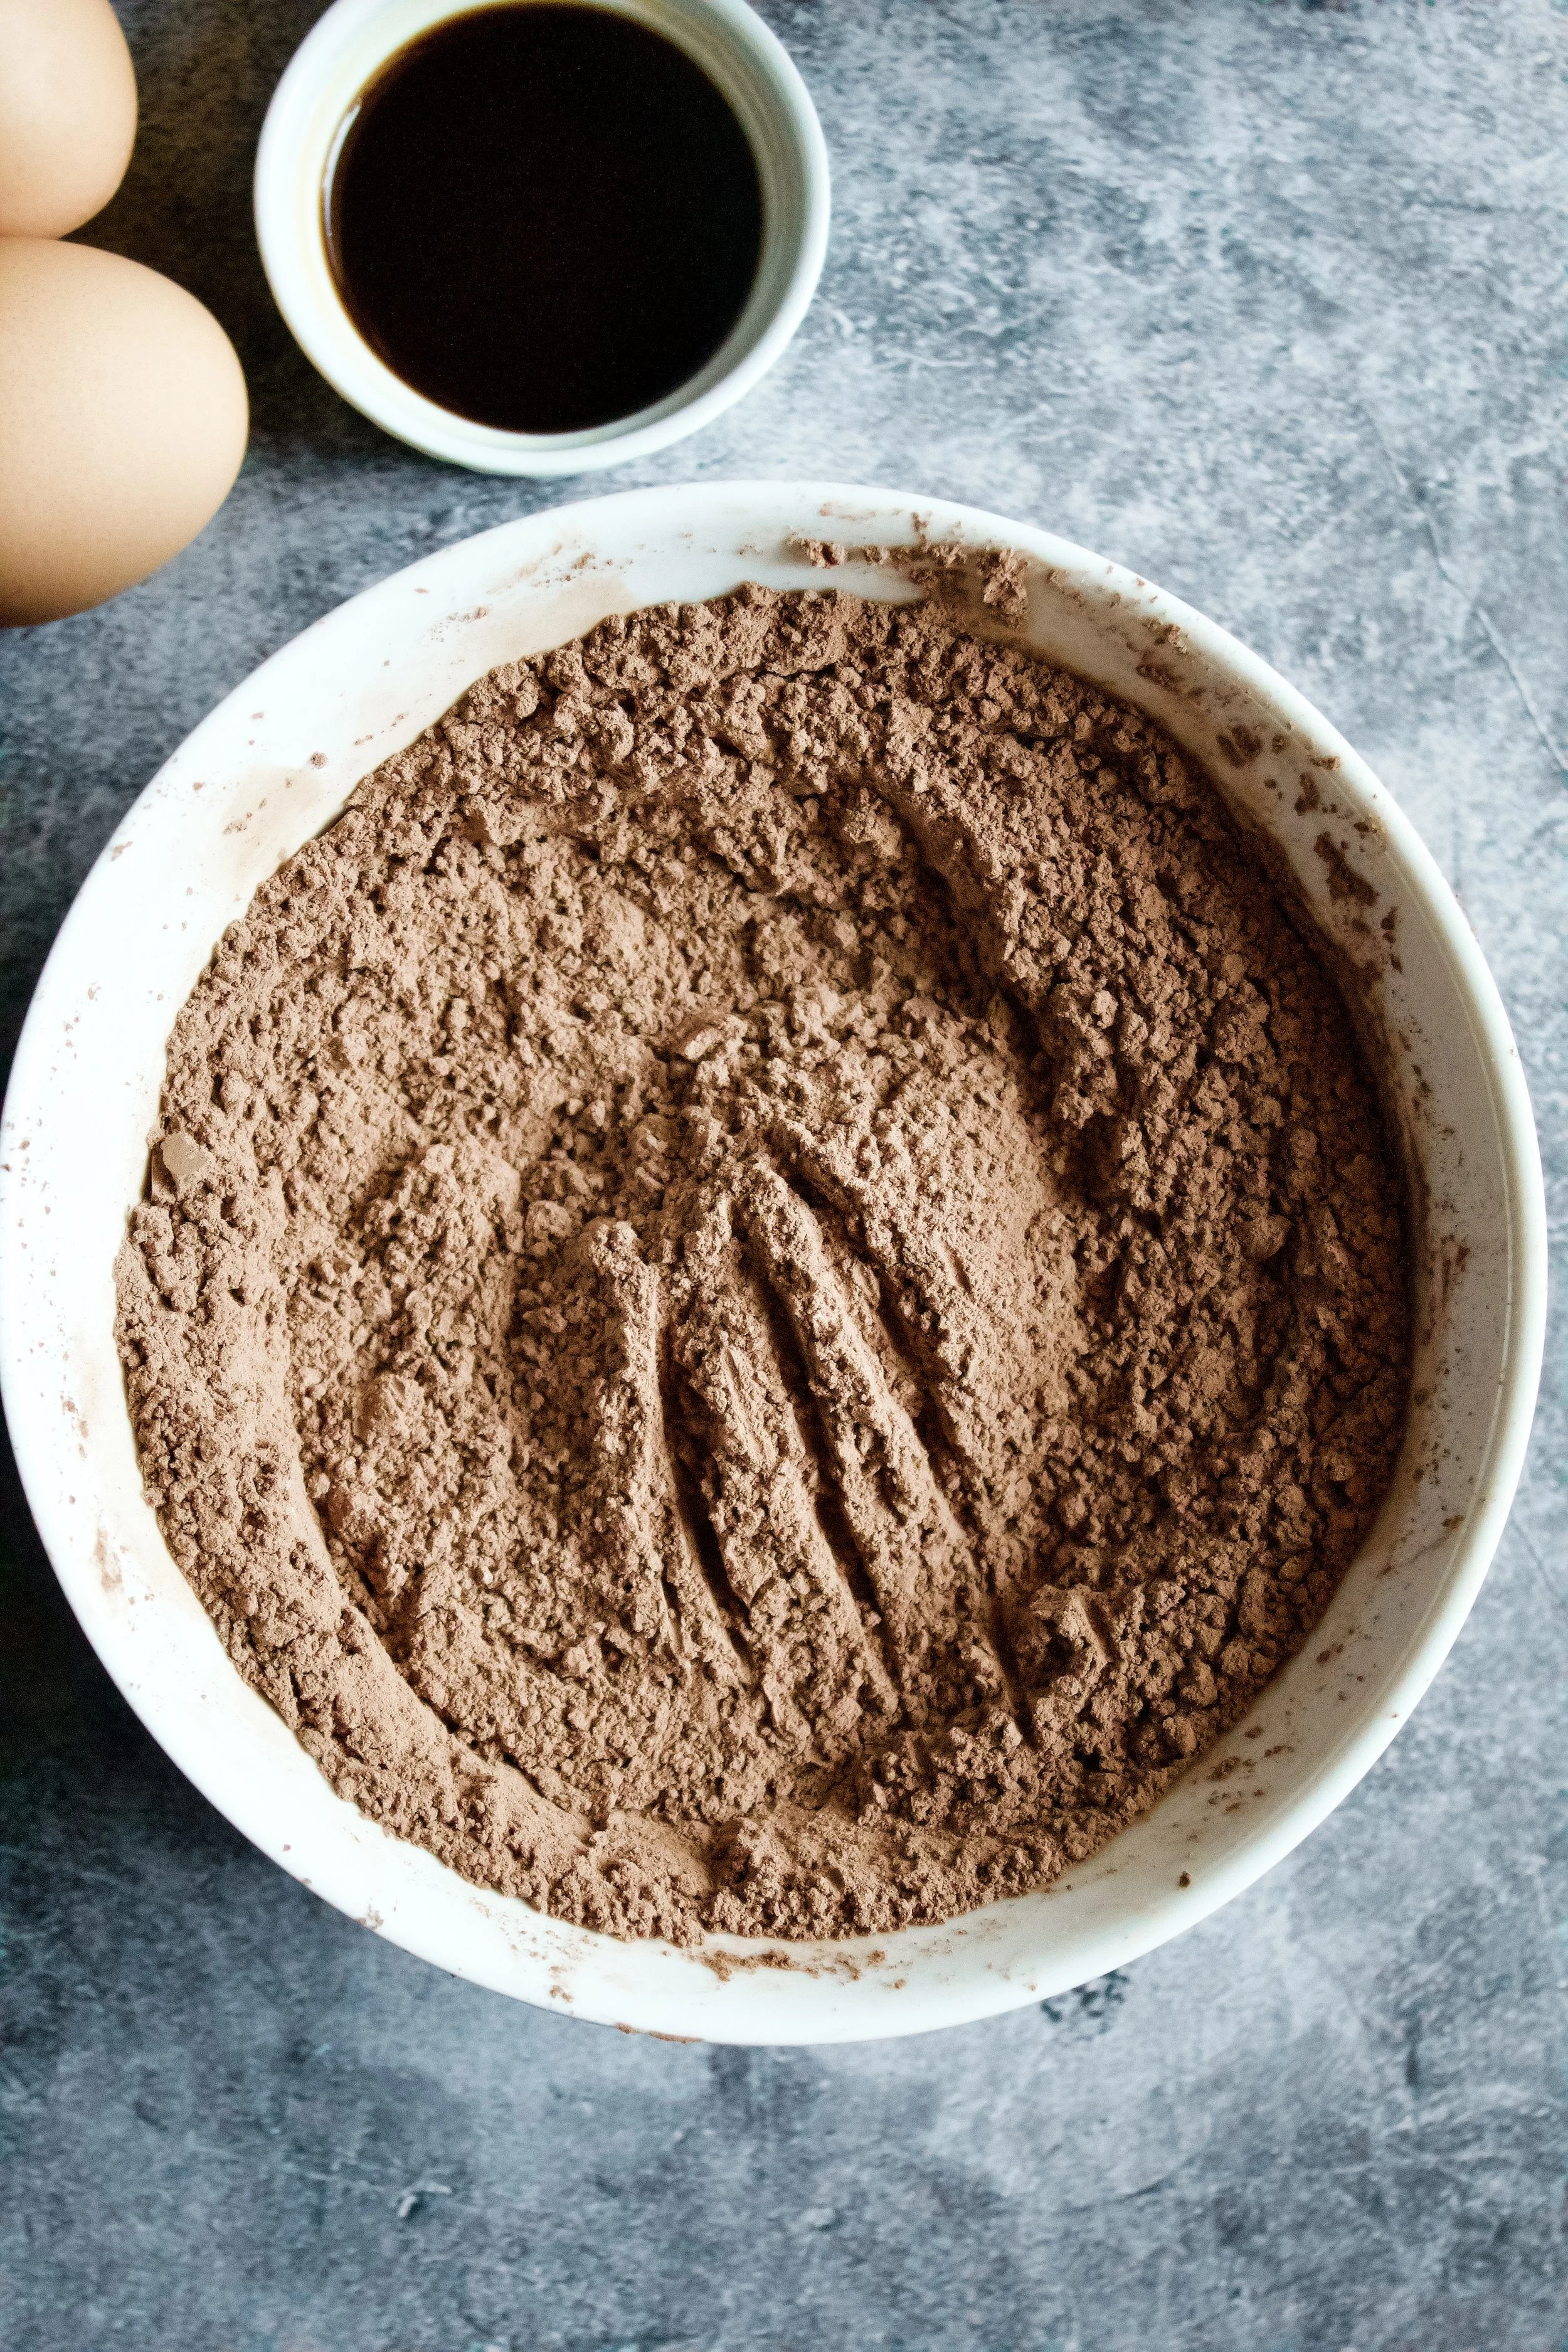
1. Sift and whisk the flour, cocoa, baking powder, and salt.
2. Melt the butter.
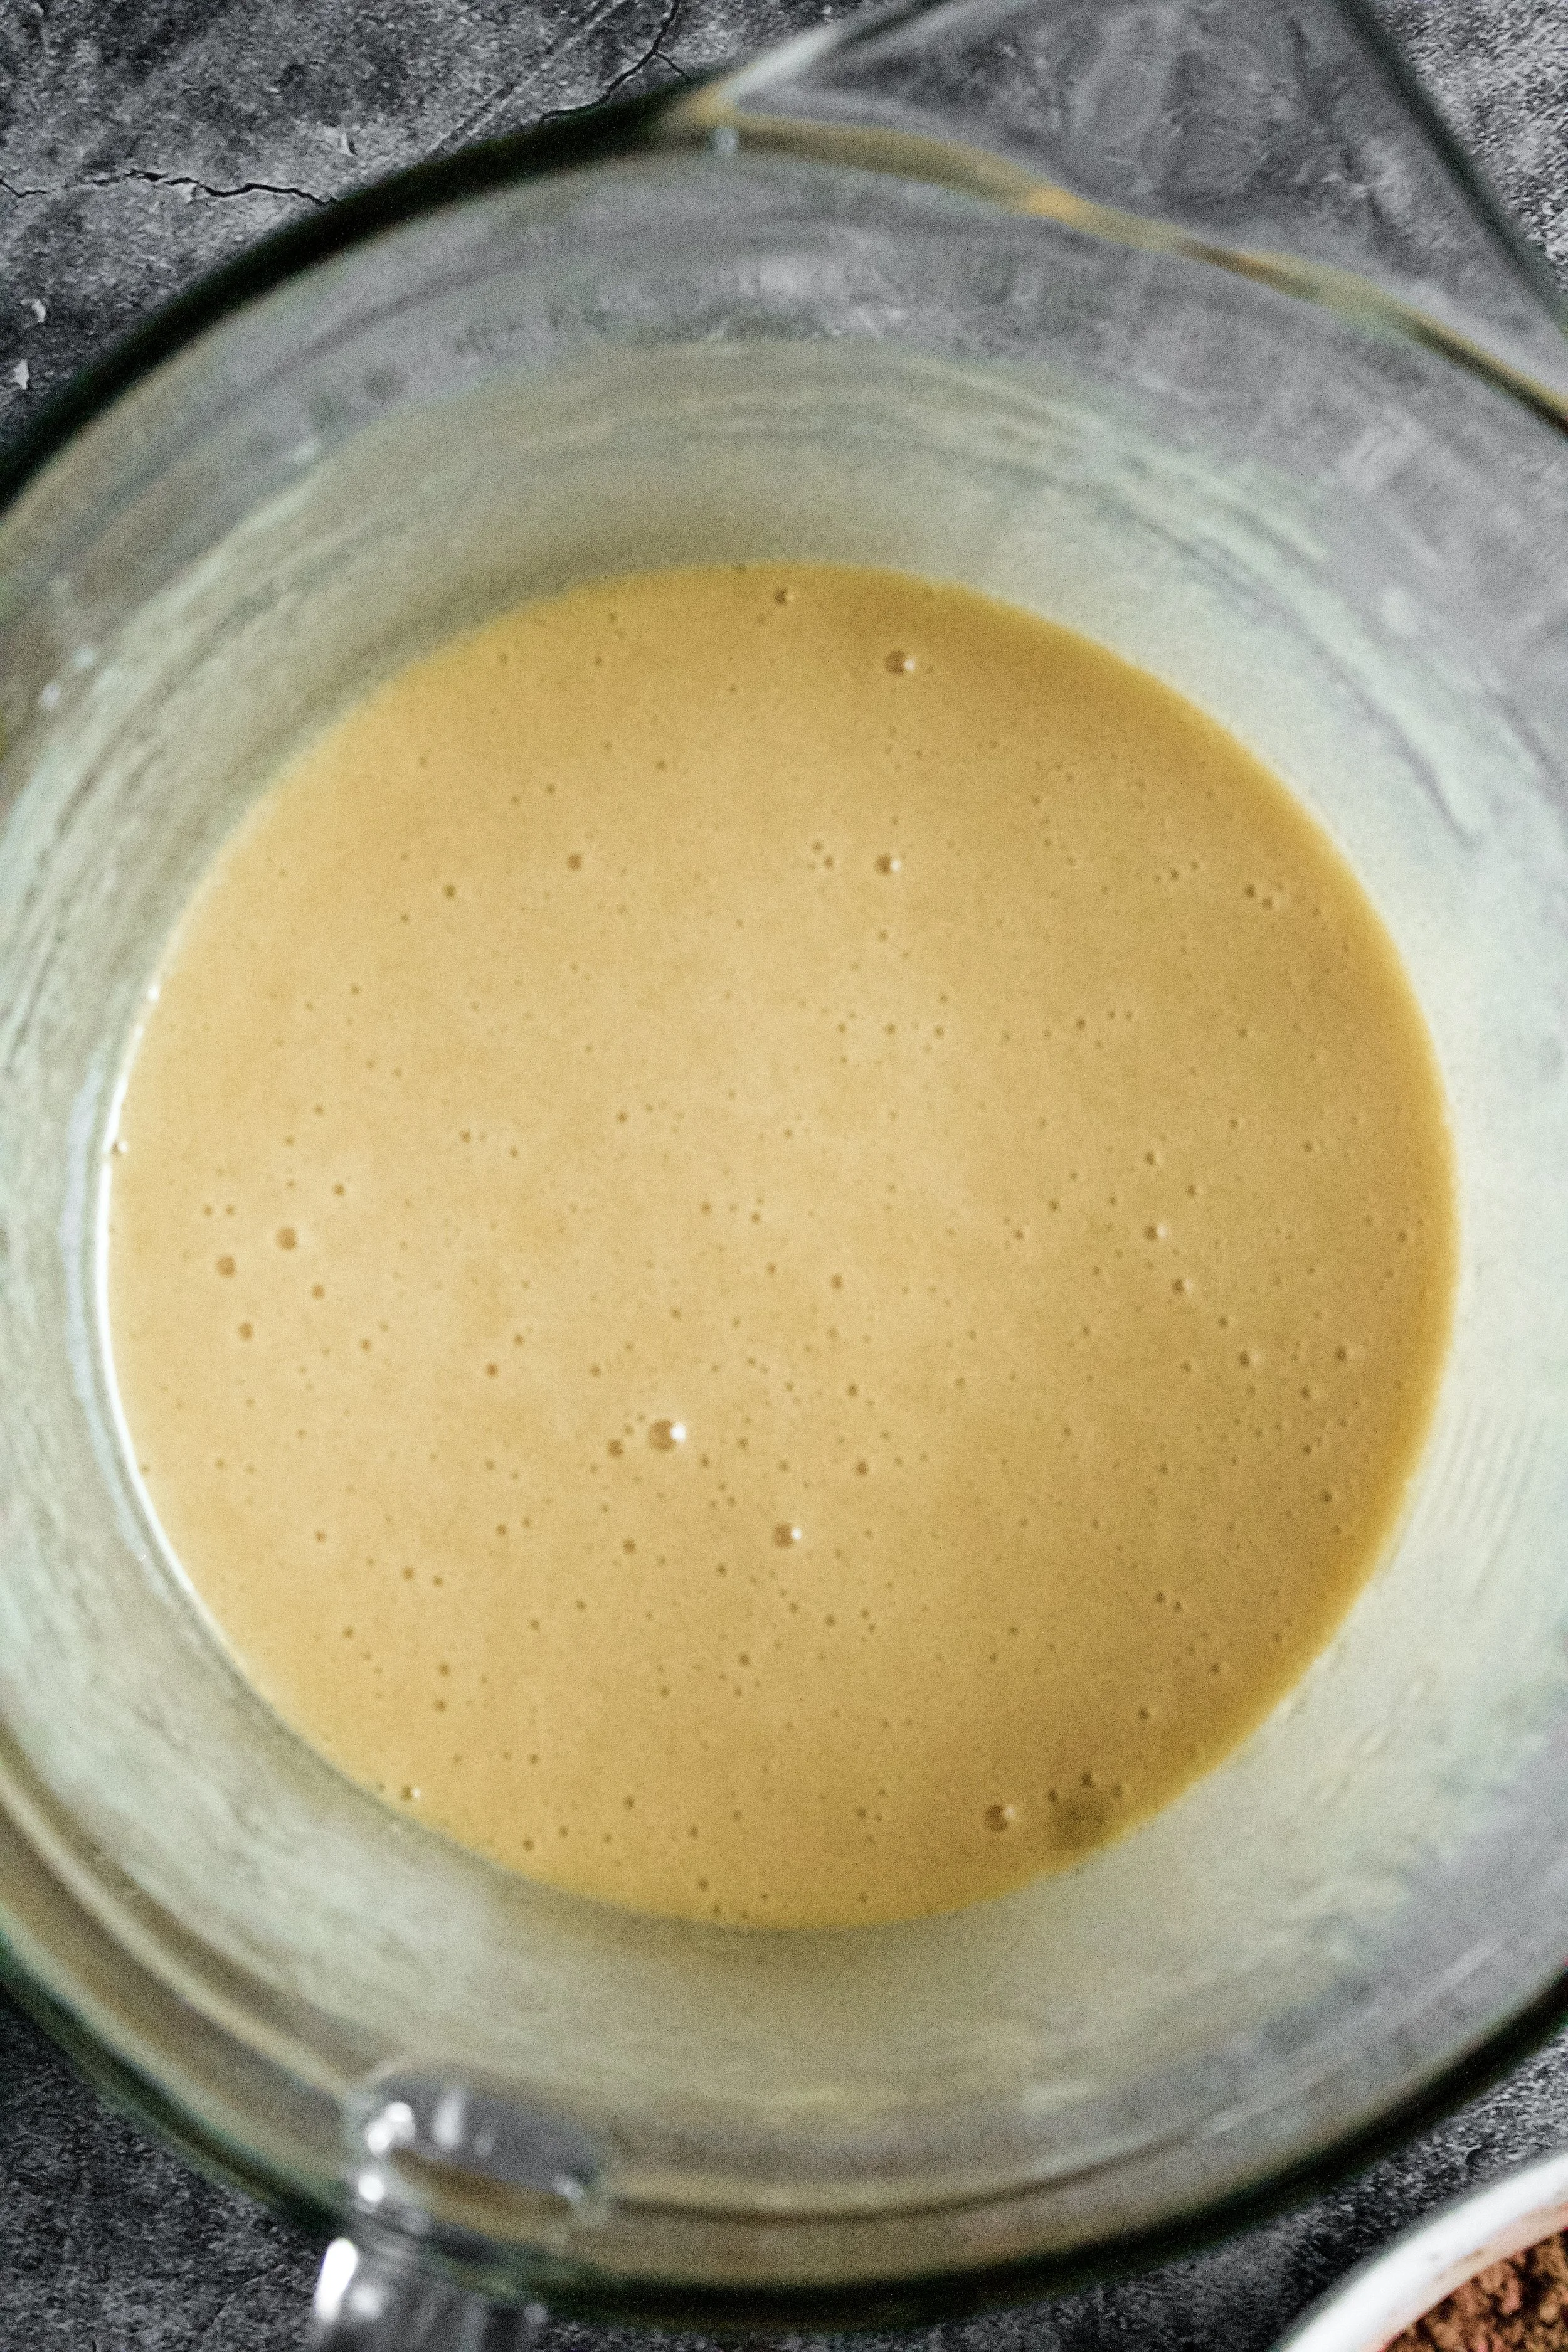
3. Whisk still-hot butter into the sugar. Whisk for a good minute or so to help it begin to dissolve.
4. Add the eggs and vanilla, one at a time. Whisk about a minute after each egg. Add the vanilla and whisk well again.


5. Gently fold in dry ingredients. Leave some streaks of flour.
6. Fold in the chocolate chips. This step should take care of the remaining streaks of cocoa and flour.
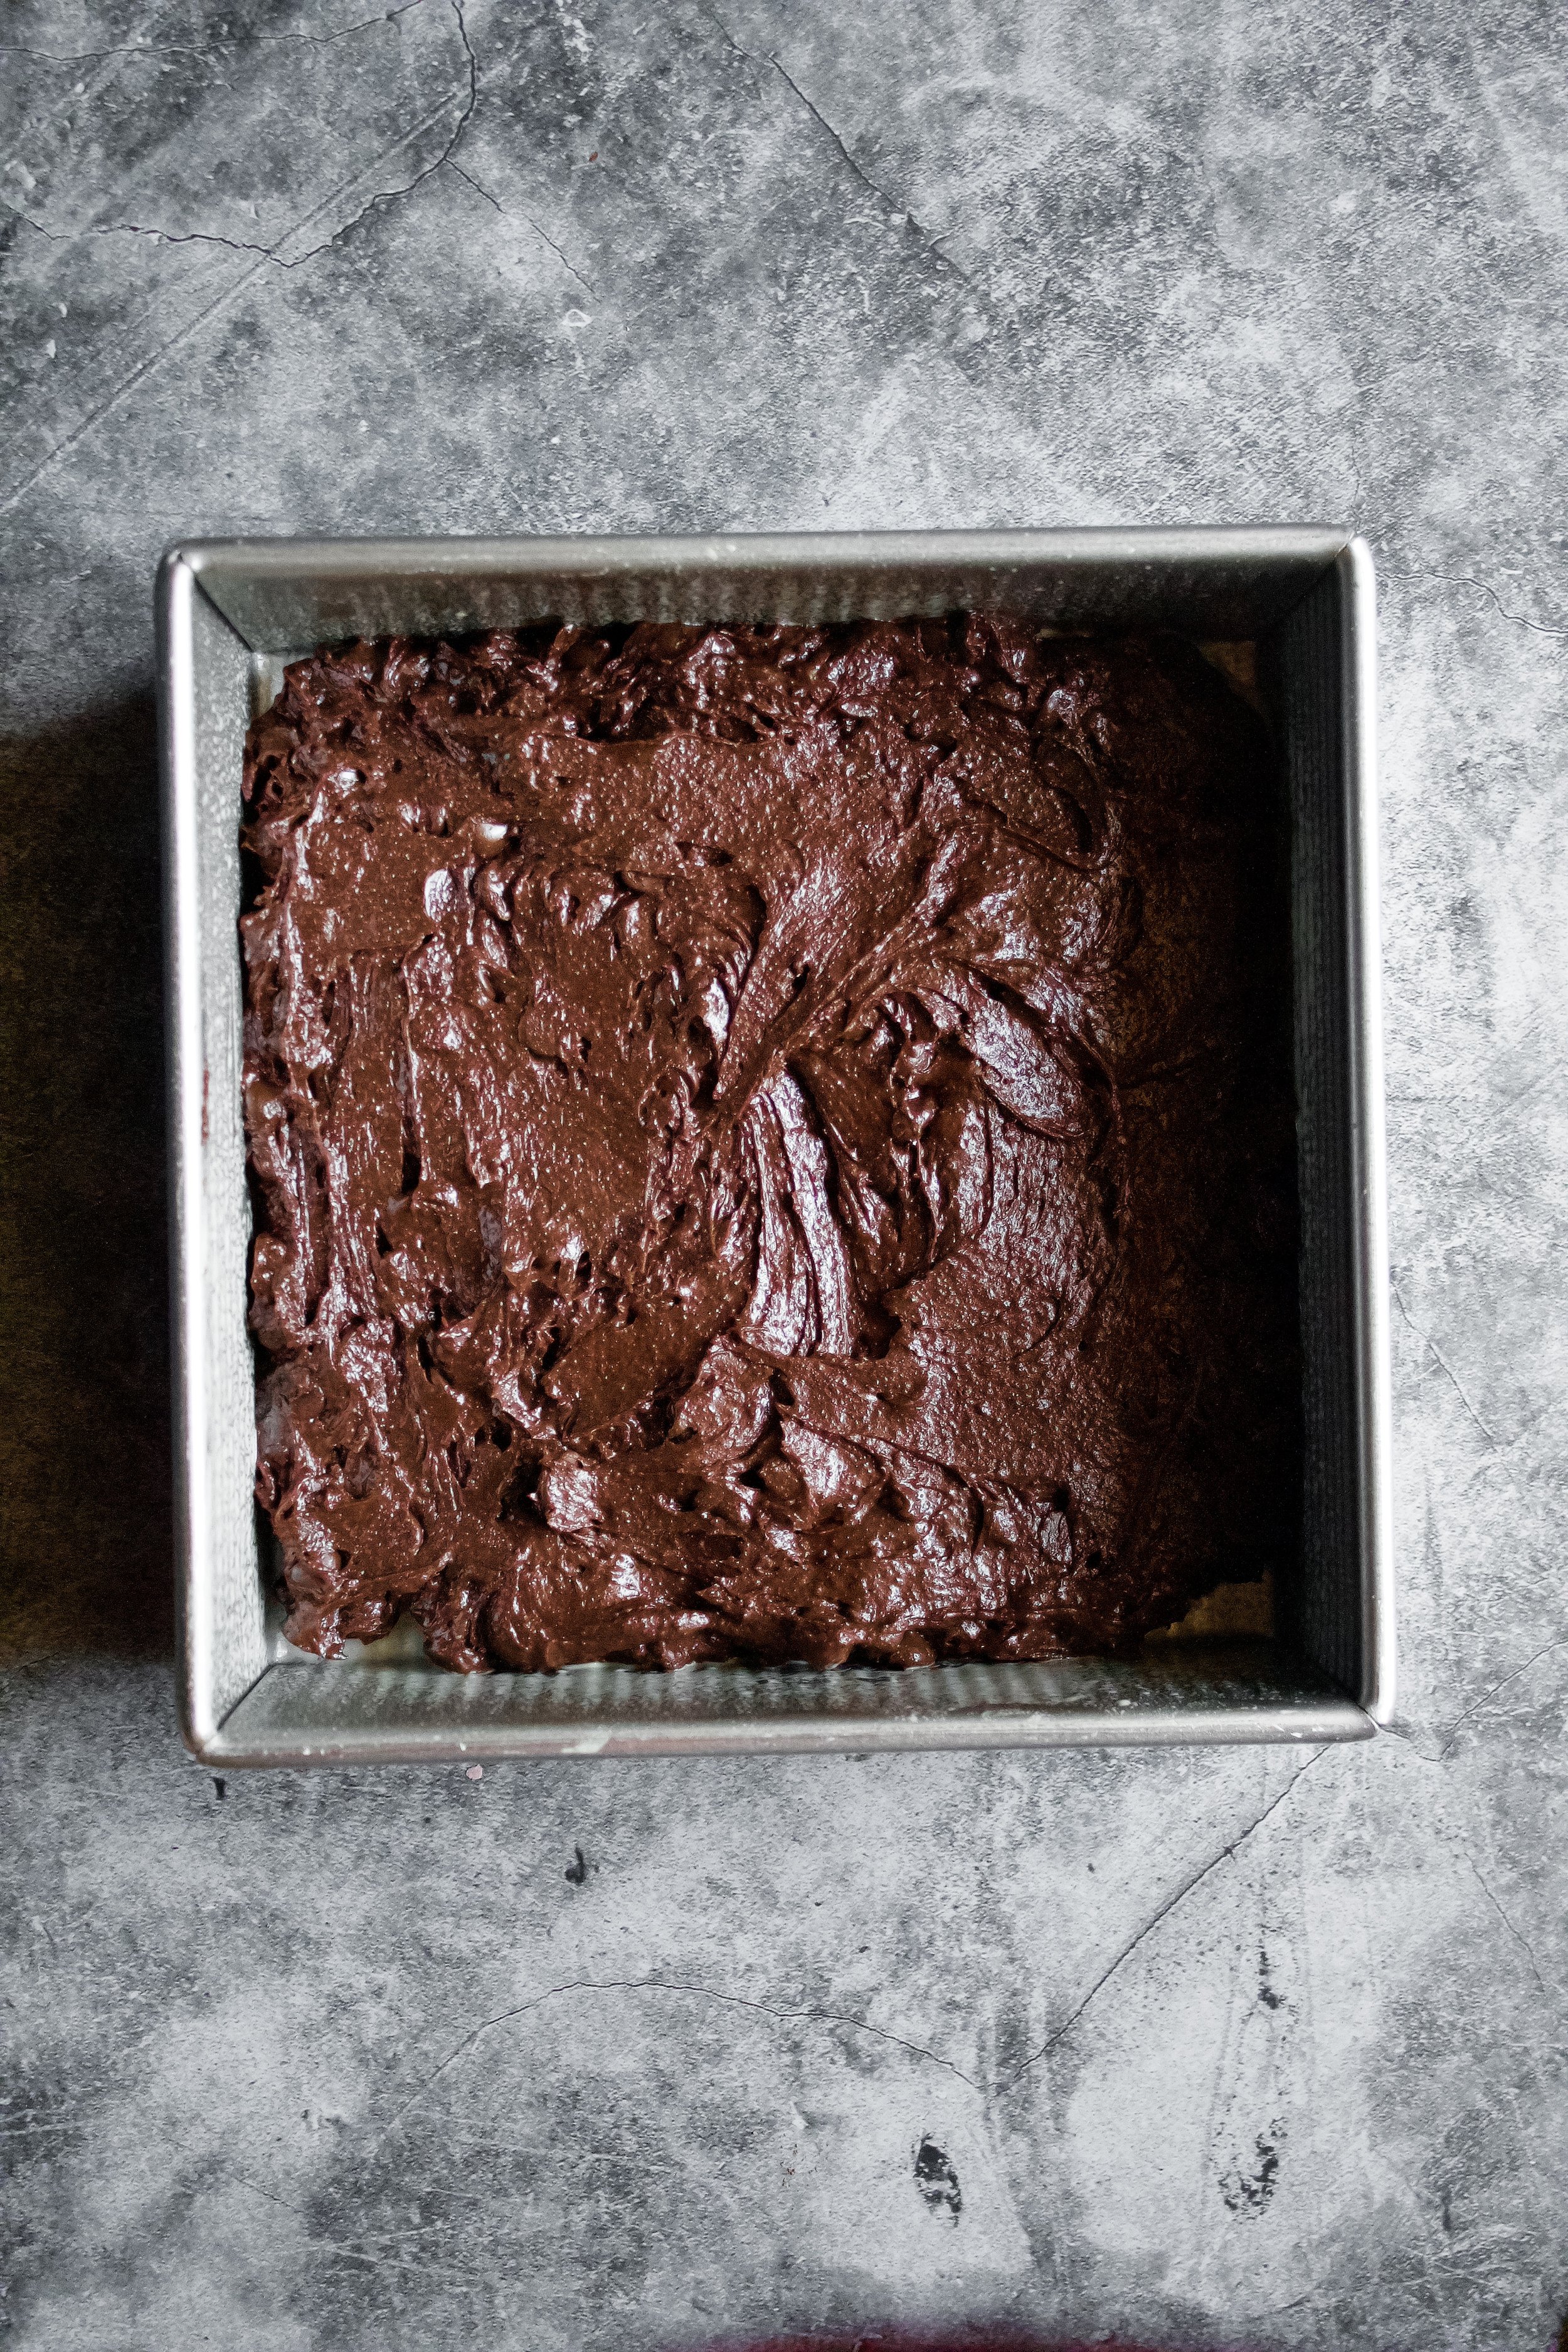
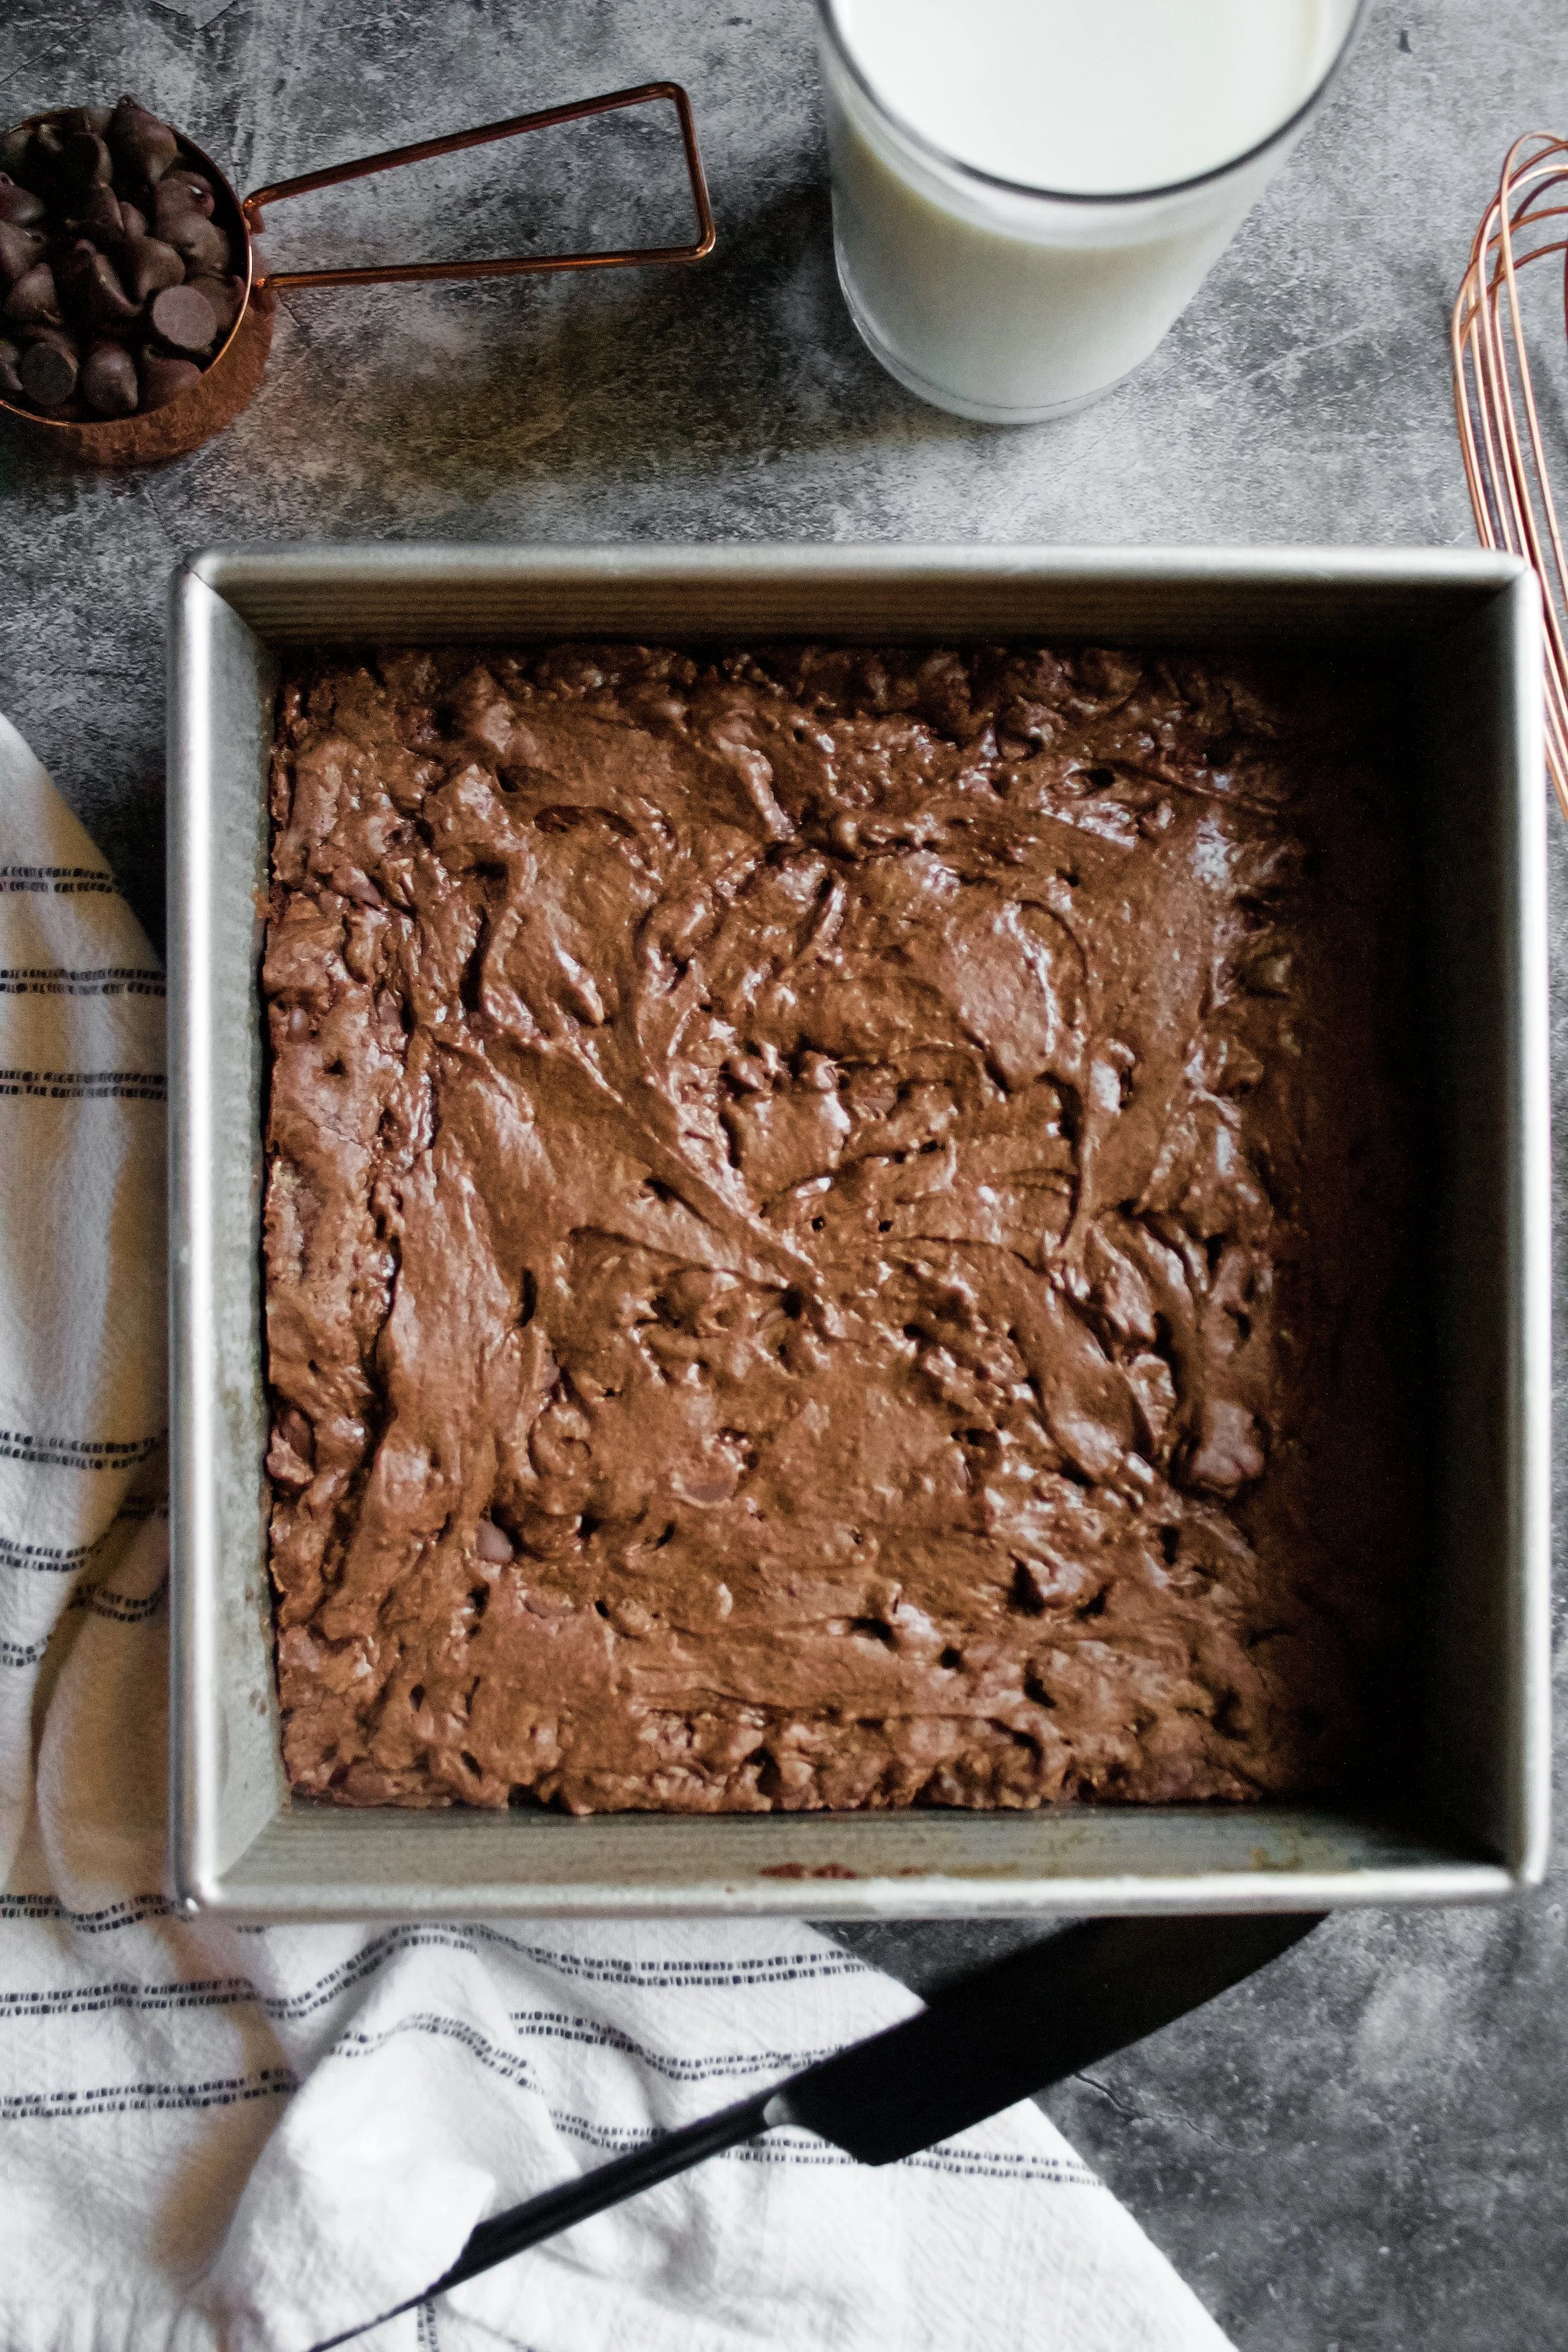
7. Pour into a greased pan and bake. Brownies are done when the top is no longer shiny and the middle is slightly jiggly but not liquidy. You can also use a toothpick, but most people like it when about half of the toothpick comes out with some doughy (not raw) batter on it. Let cool completely in the pan.


Make the brownie pops
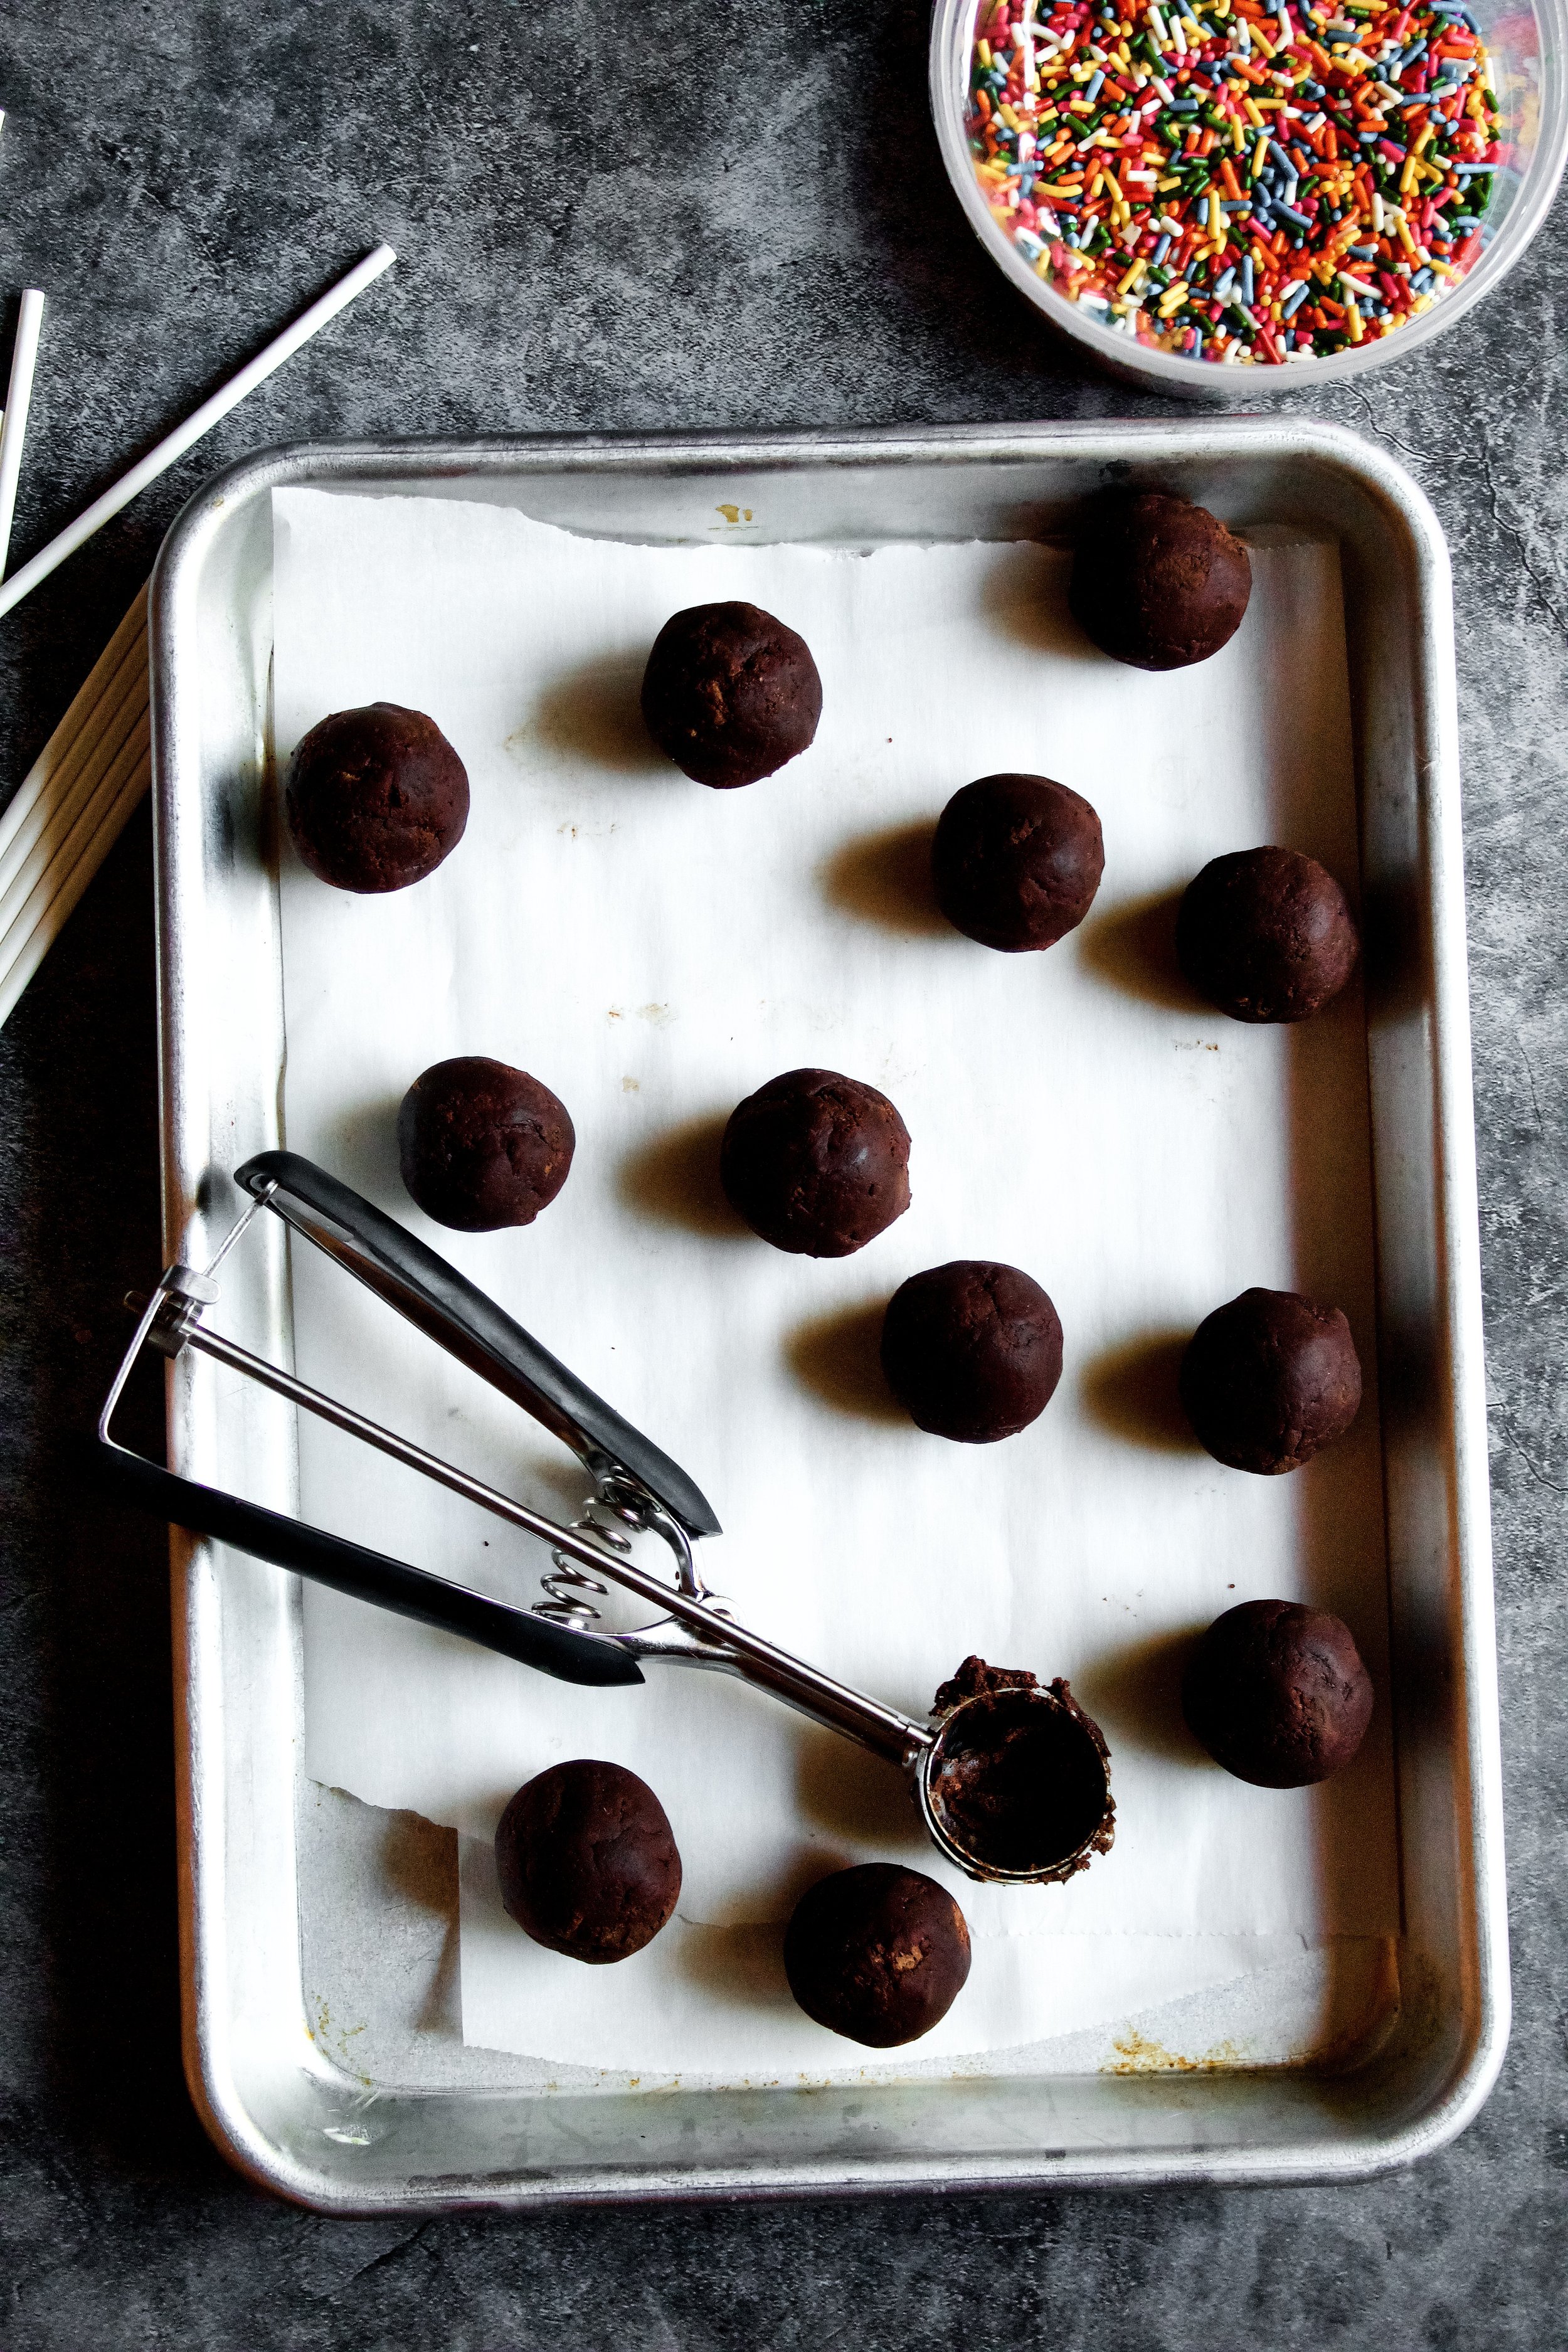
8. Crumble then roll cooled brownies into a ball. You don’t have to crumble them finely like cake pops, but you want to make sure the corners and edges are crumbled and mixed throughout. Squeeze the brownie together then roll into a ball.
9. Chill 2 hours. This helps the brownies set in their round shape. You can chill them longer, but cover with plastic wrap if you need to do that.
10. Glue the pops onto the sticks and CHILL. You’ll dip the stick in the melted chocolate, insert it into the brownie pop, then either refrigerate or freeze these naked brownie pops until that stick is nice and set—you don’t want it falling off while you dip the rest of the brownie.
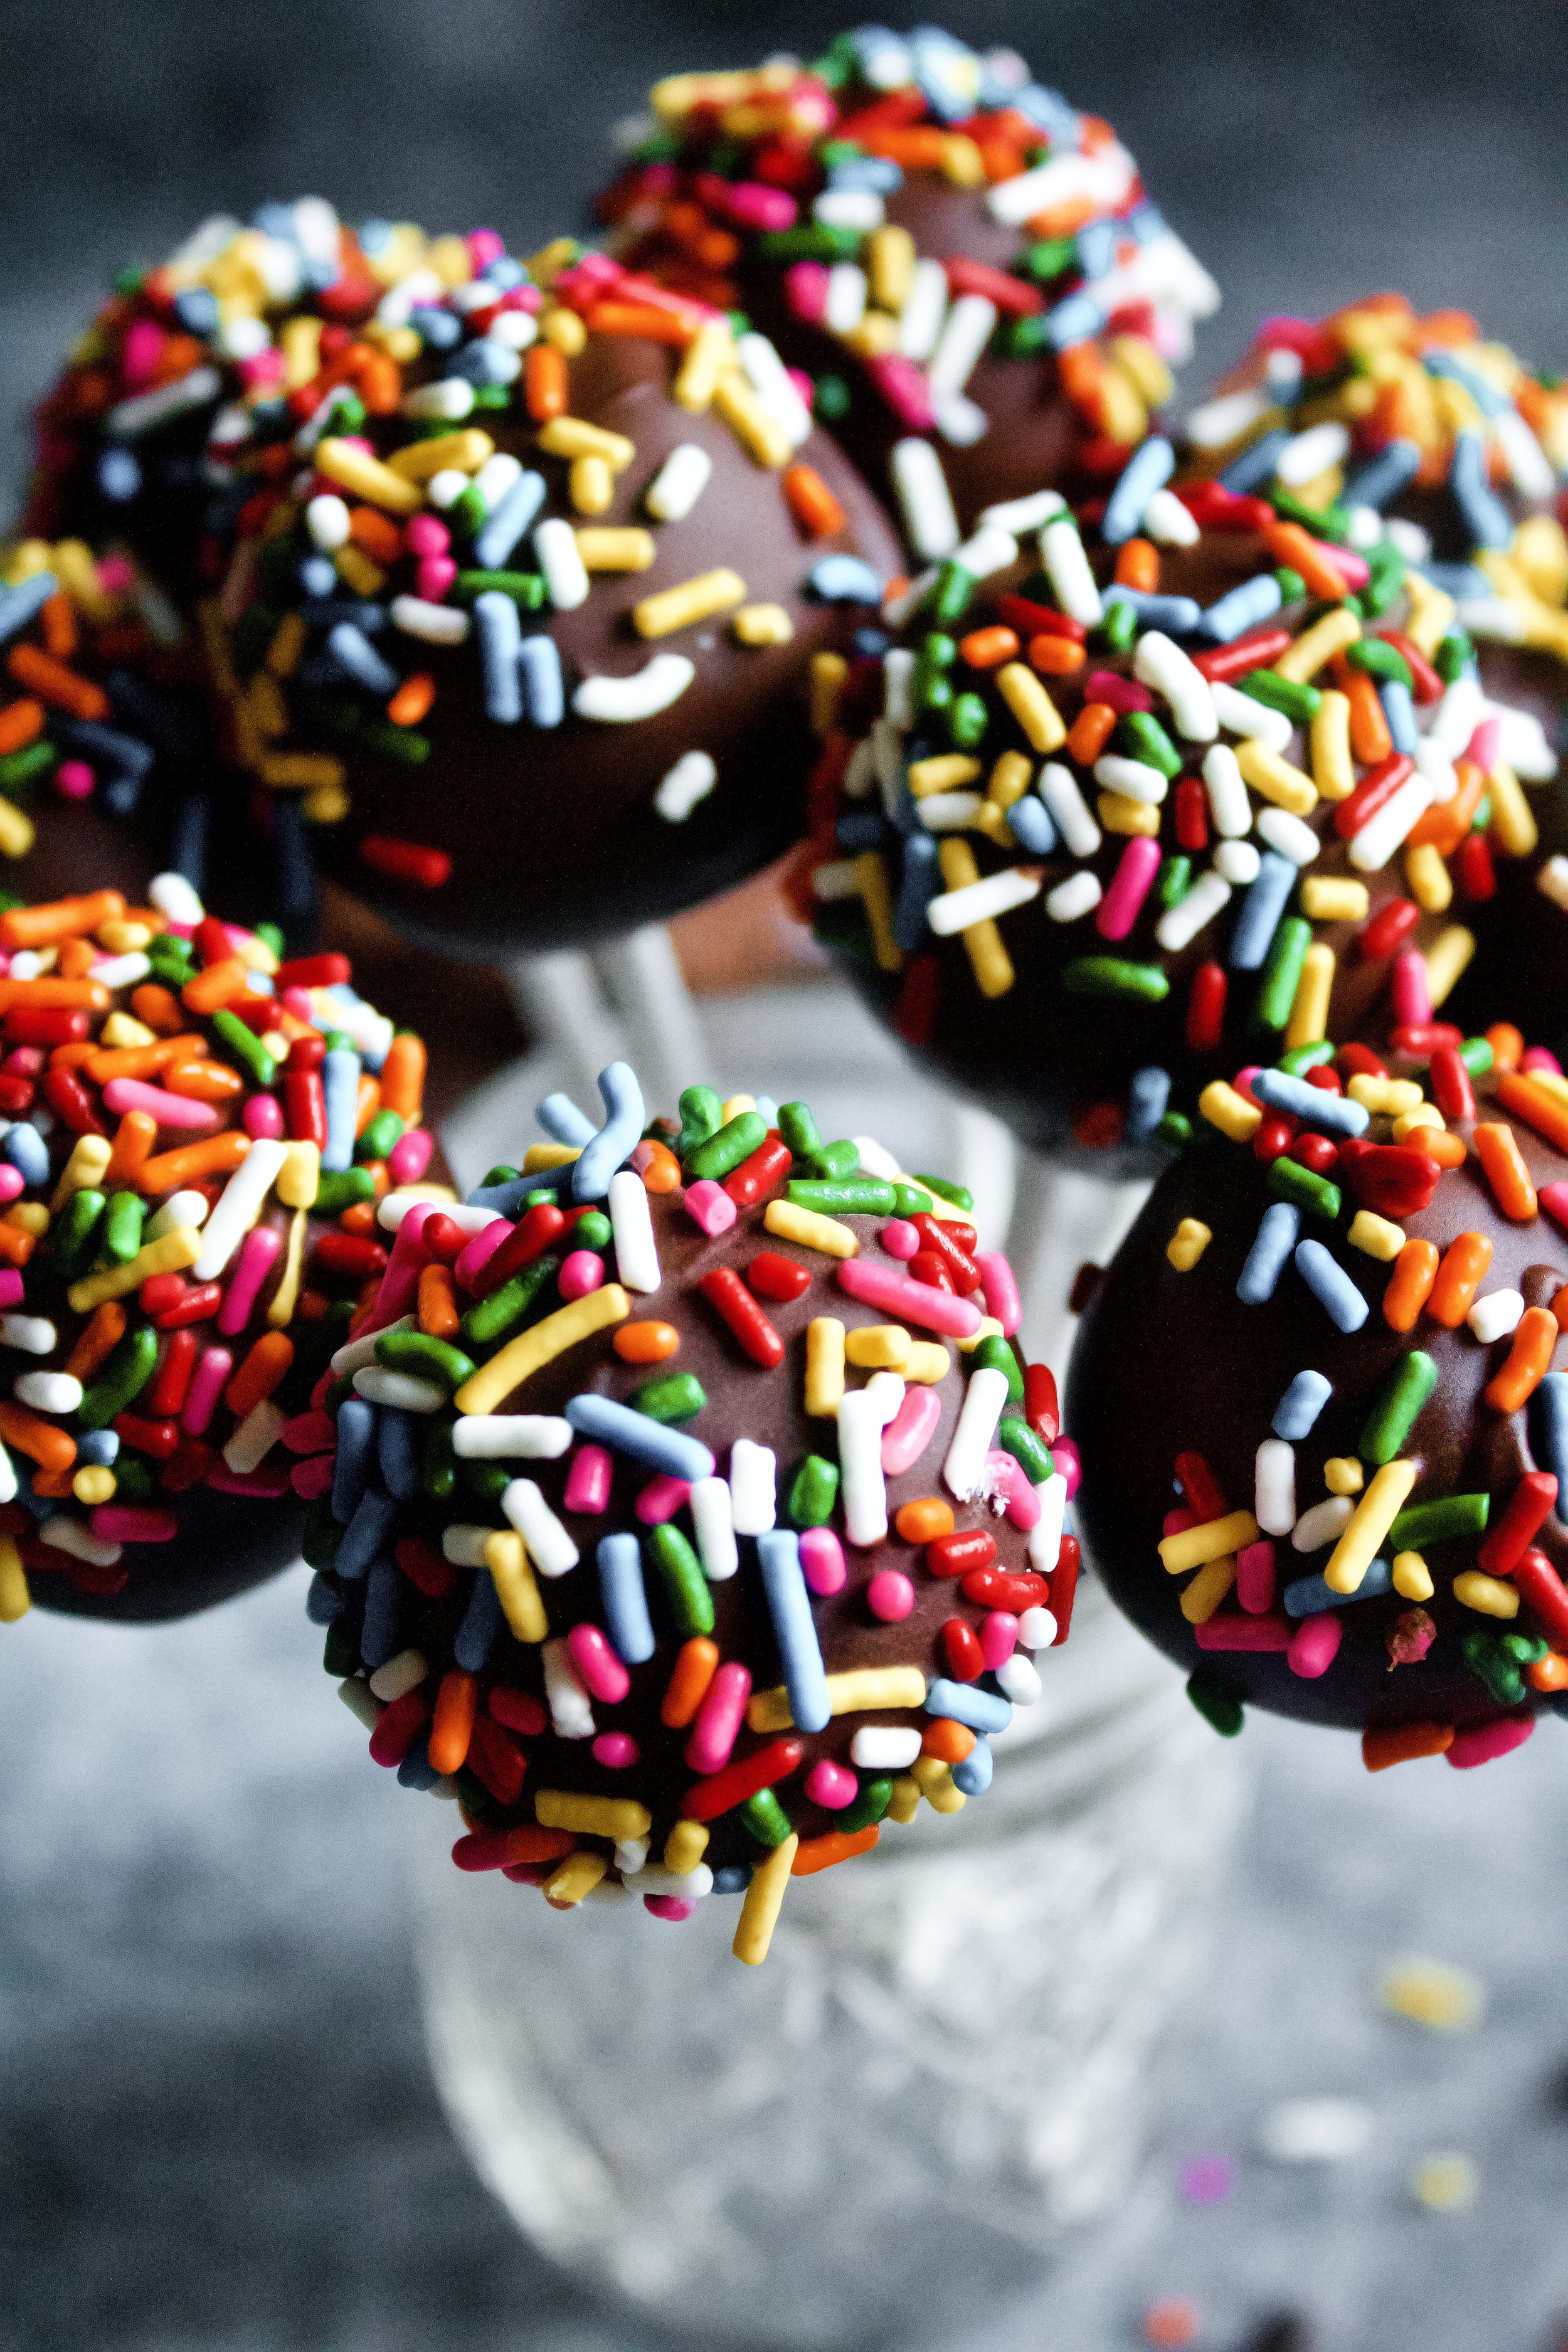
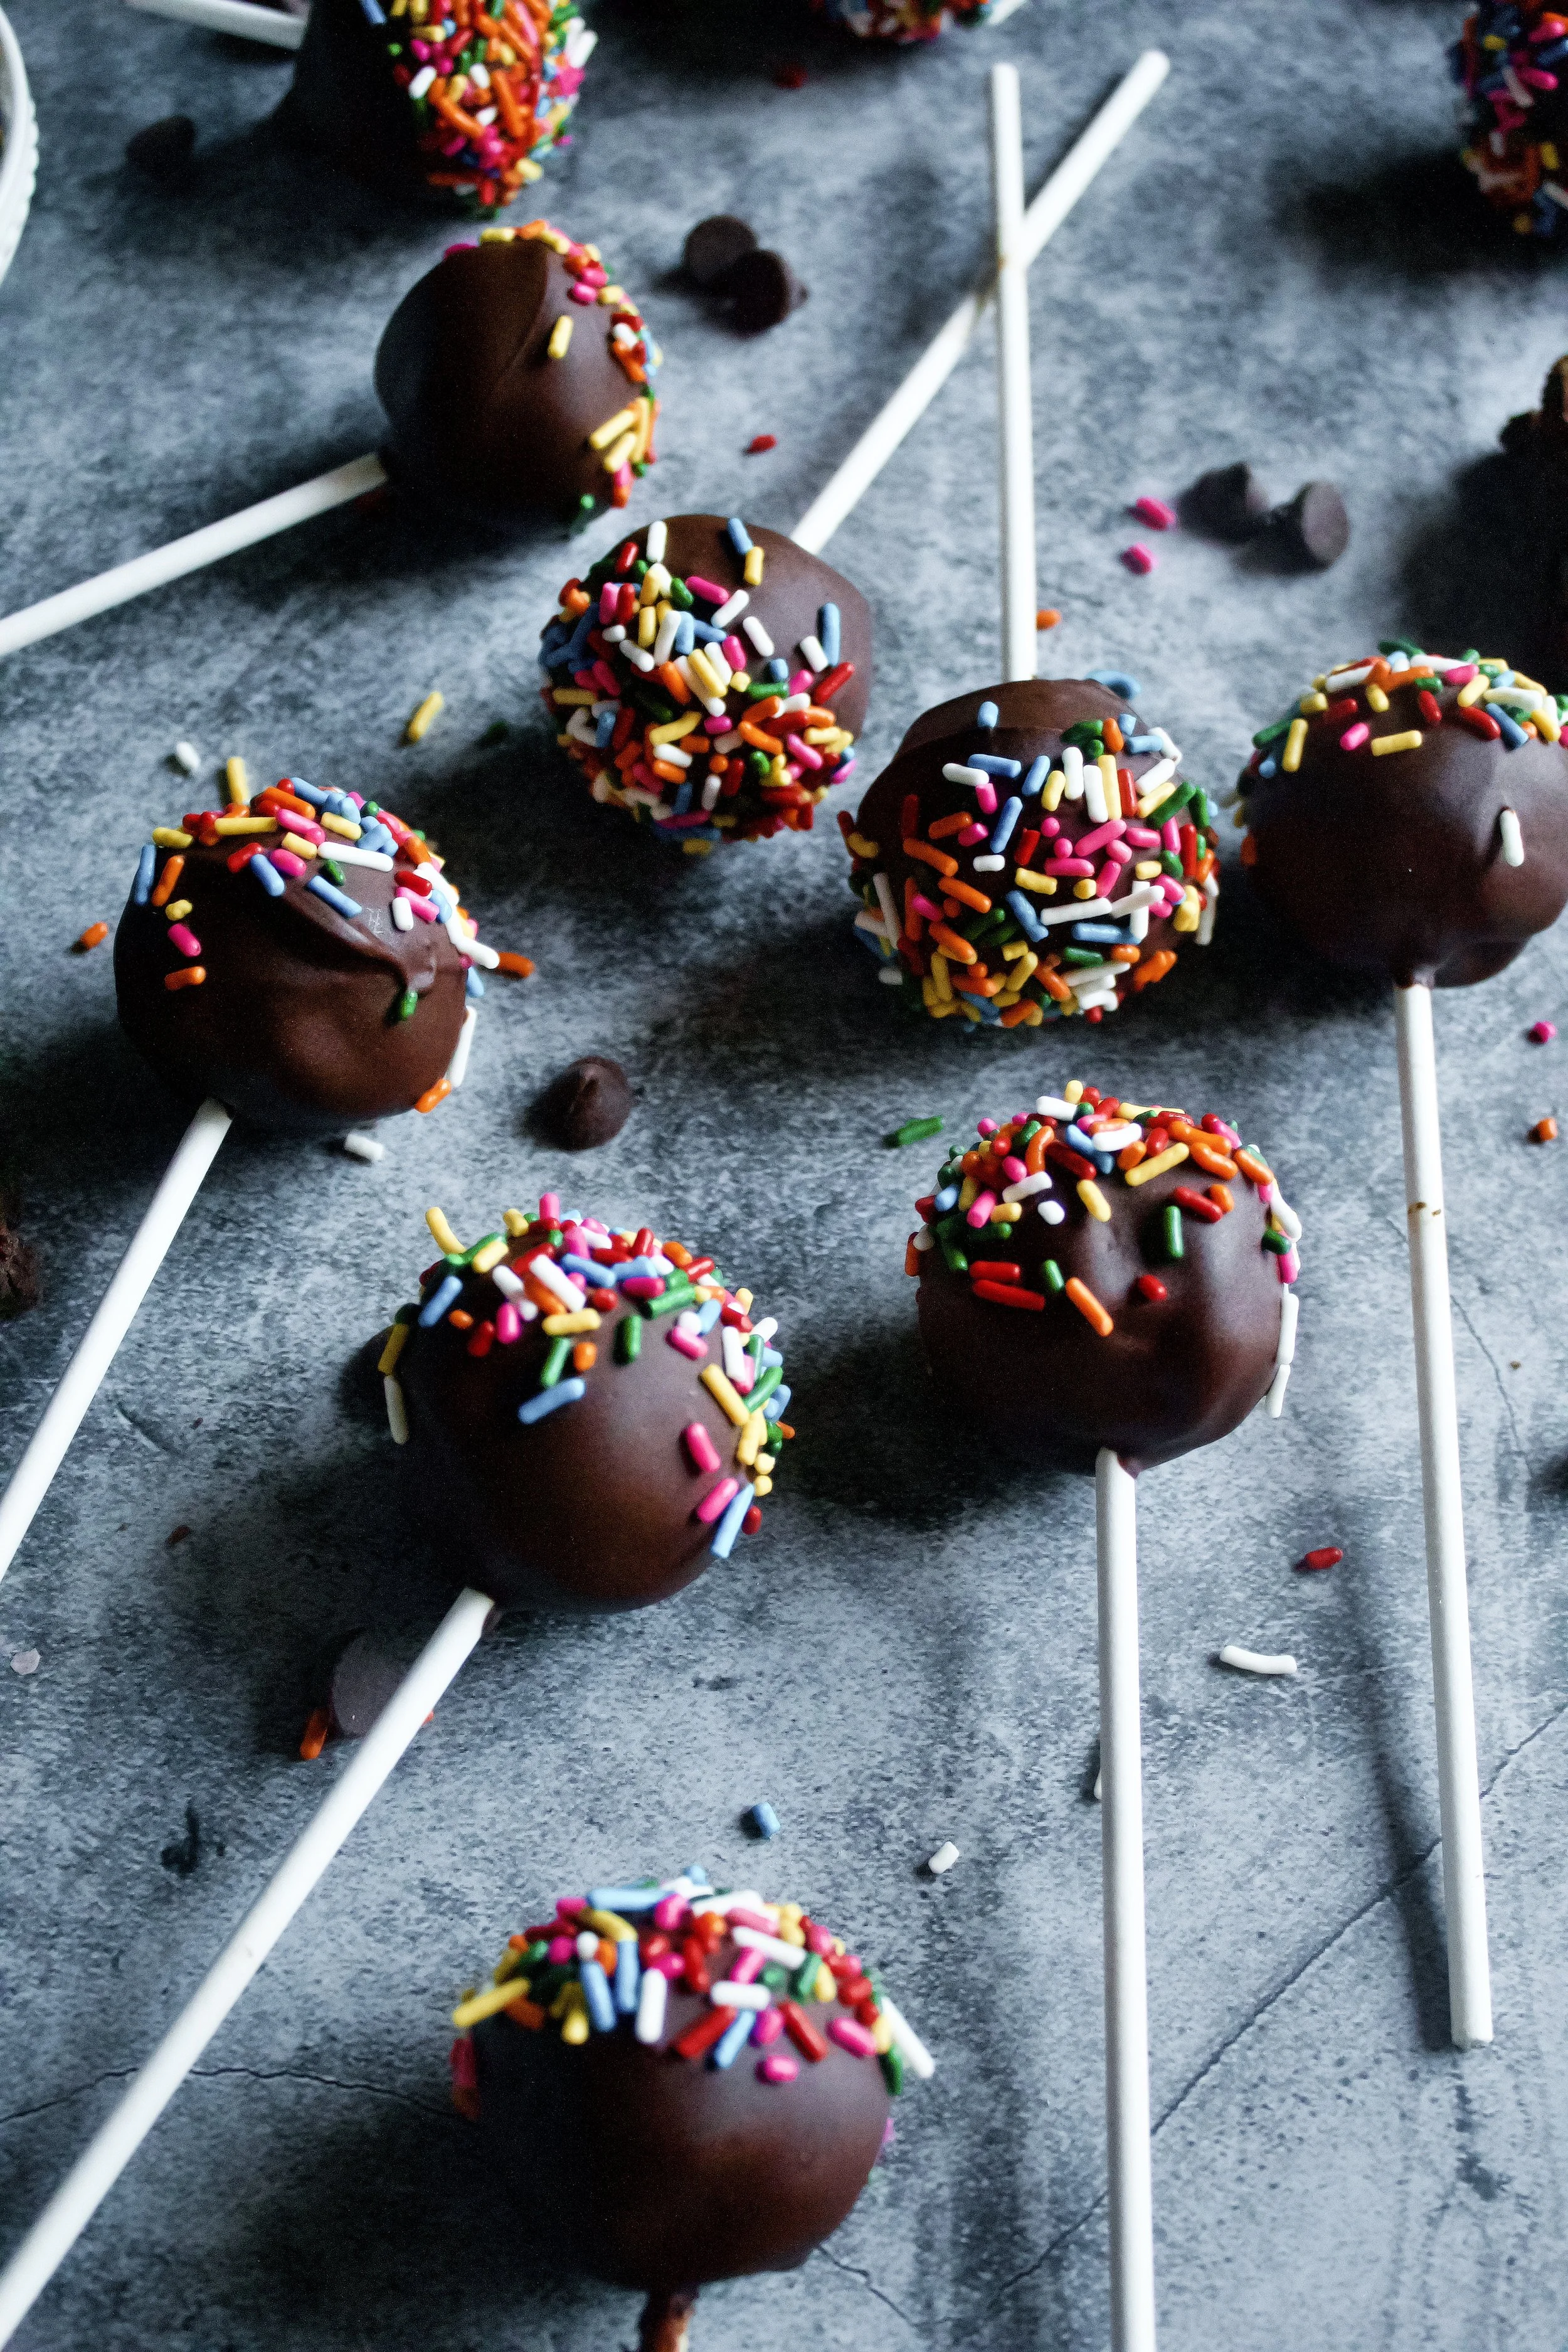
11. Dip brownies in chocolate, decorate, and let dry. Let the excess drip off then twirl as you turn it right side up to avoid a wonky blob of chocolate dripping off the side. Decorate immediately then insert the stick into a block of styrofoam, cardboard box, or other stand type device to let them dry. They can dry at room temperature (1-2 hours) or in the fridge (30 minutes).
Enjoy!
Tips and FAQ’s for this recipe
Split up your work
These can easily be made over a few days. I made my brownies one day, rolled them into balls the next day, then dipped them in chocolate the third day. Just be sure to cover the brownies well until they’re dipped, which will seal in moisture and flavor. Also, feel free to make these a day or two before you’ll need them (see below). Even if you split up your work and have them fully made before you need them, they’ll still be fresh and delicious!
Can these be made ahead?
Yes! You can keep them at room temperature for a day or two (longer does work, but the chocolate can begin to discolor). They’ll last in the fridge (covered with plastic wrap or in an airtight container) for 1-2 weeks or in the freezer (again, covered) 1-2 months.
Can I use boxed brownies?
Yes! I just love my homemade brownies, so I used those. I actually had made a big batch to share on the blog and knew we wouldn’t be able to eat them all before they started to dry out, so I made them into pops. Boxed brownies should work just the same as this recipe, but follow the note below if you’re struggling to get them to roll into balls.
Why won’t my brownie pops stay together?
Usually, brownies are moist enough to roll into balls quite easily. However, if yours are too dry to come together even when squeezed a little, you can add just a little bit of frosting. Start with no more than 2-4 tablespoons, which should be enough to cause these to come together.
Can I dip these in candy melts?
Yes! I really wanted a chocolatey brownie pop, so I used baking chocolate. However, you can candy melts instead, which come in so many adorable colors now! And fun fact: you can create your own colors. There are ratio charts online, but just be sure to never mix colors from two different brands, as they can have different melting points and not mix well.
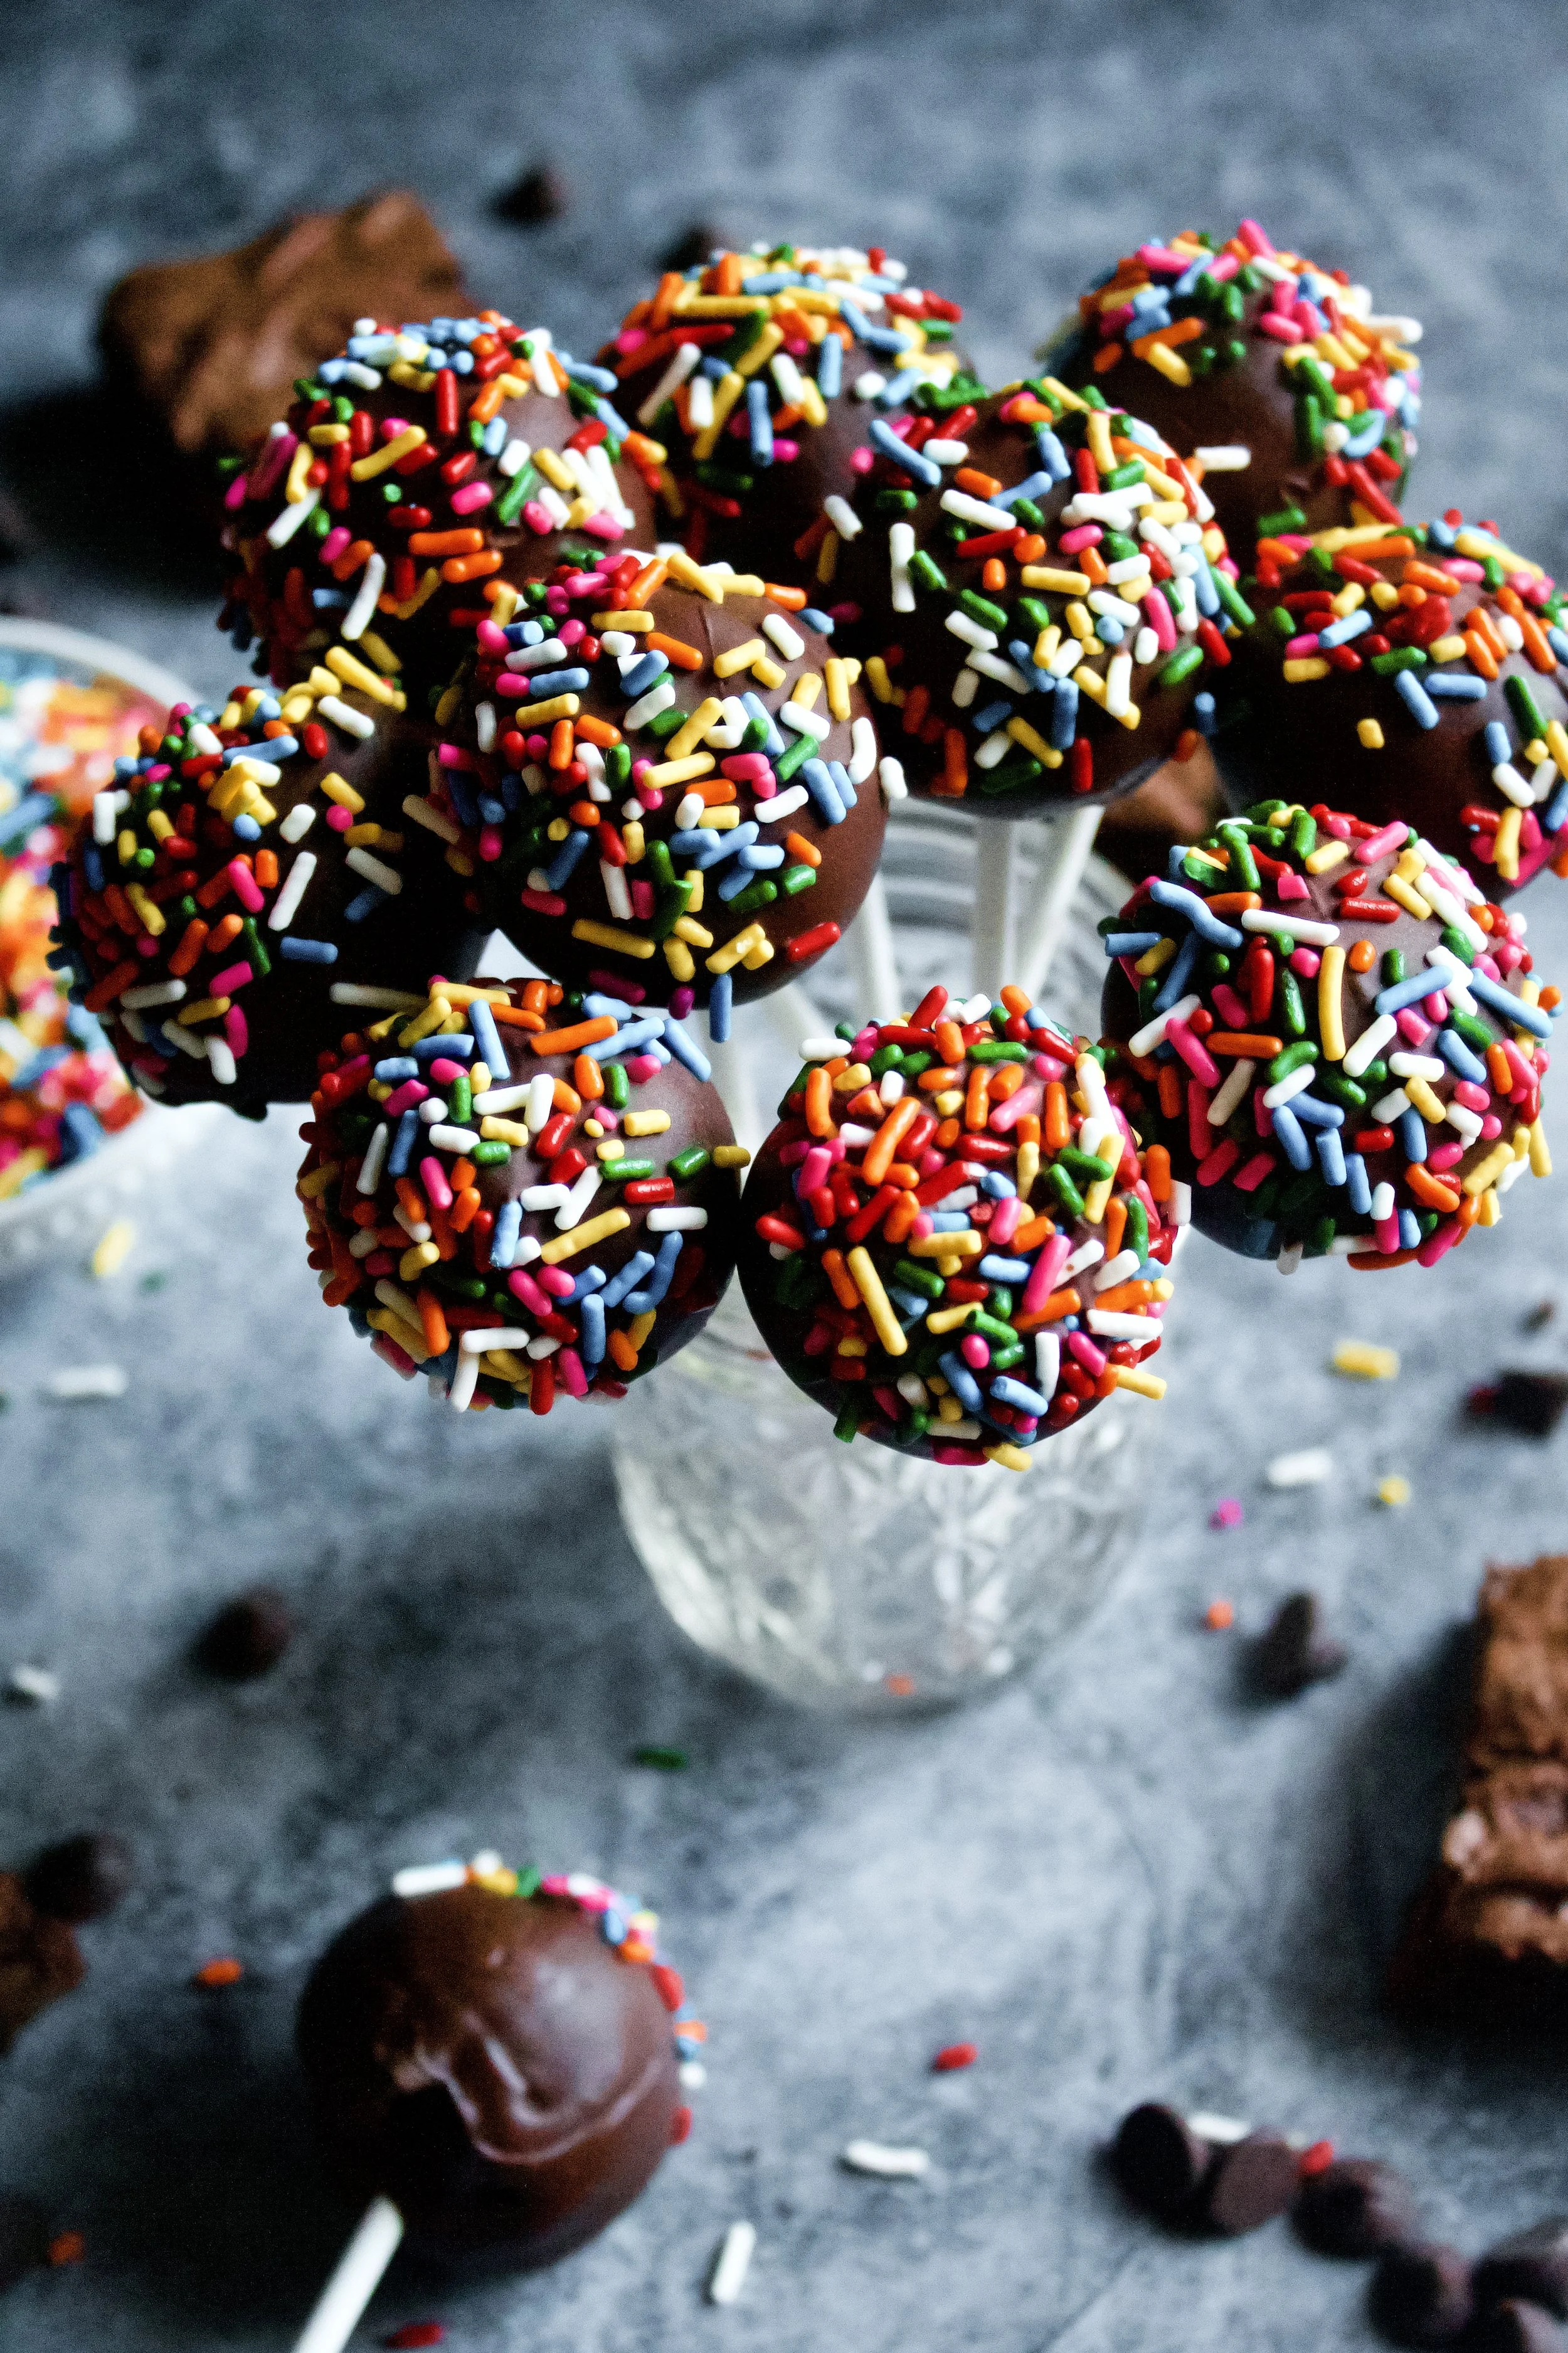
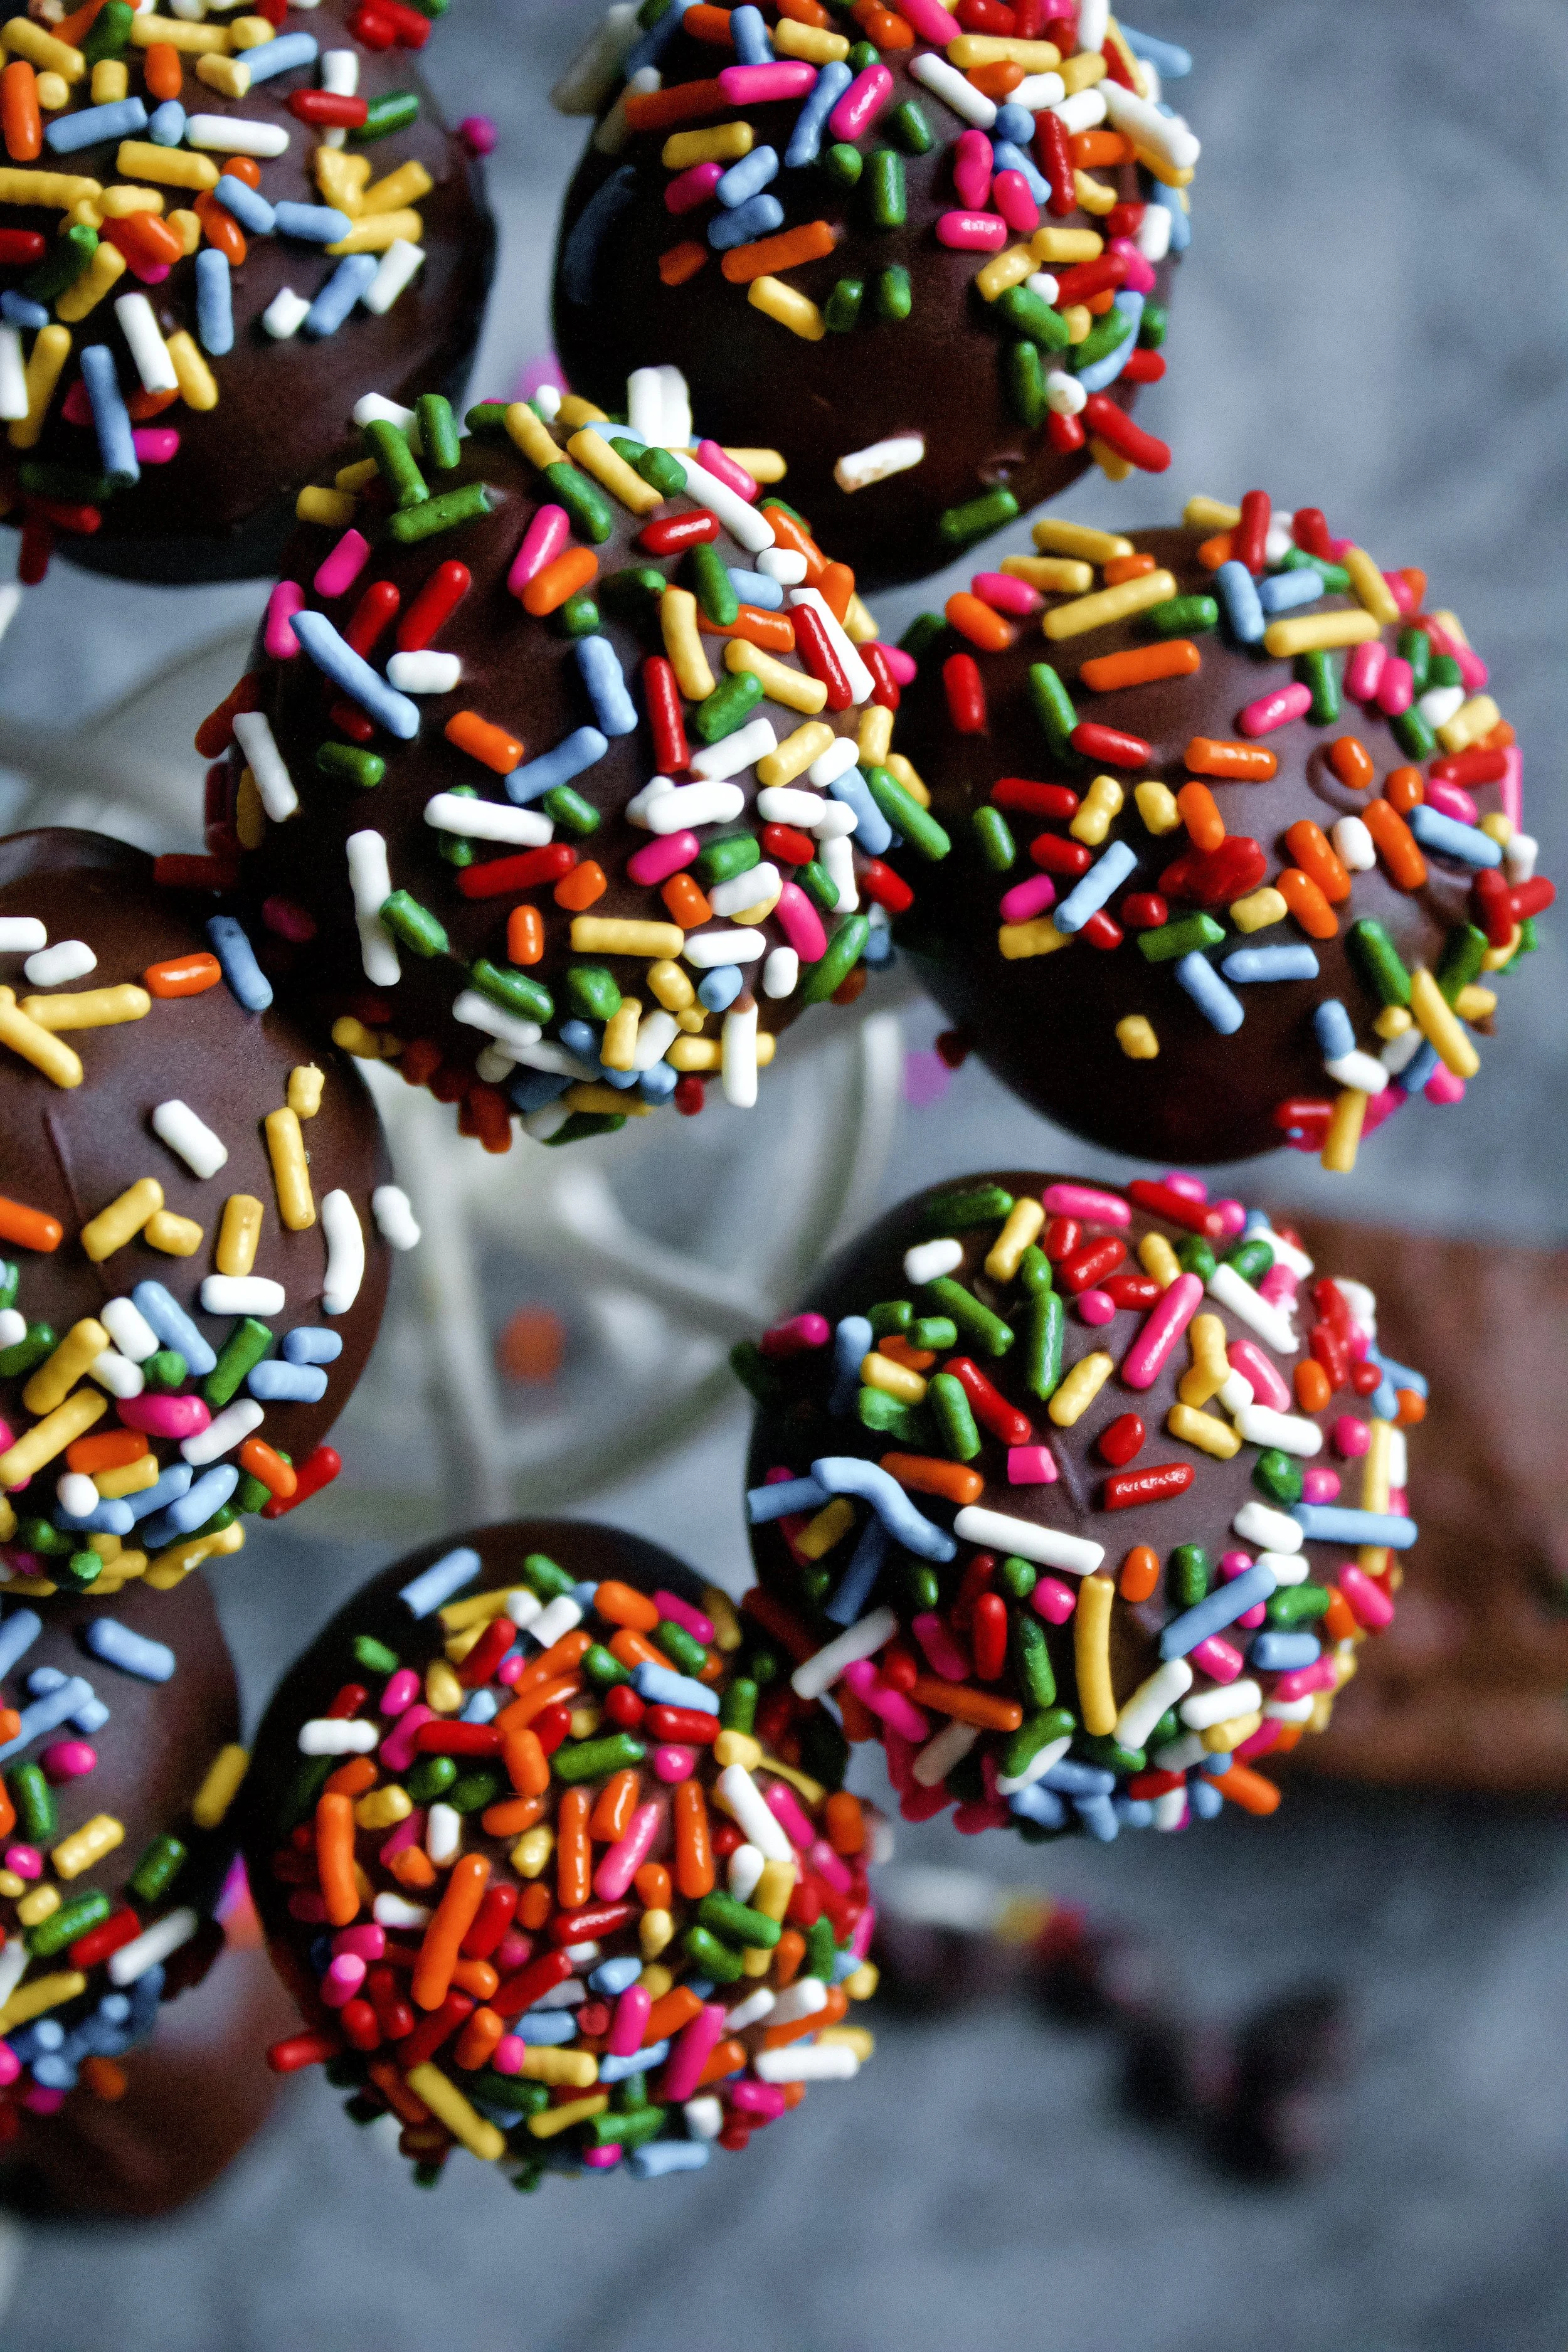
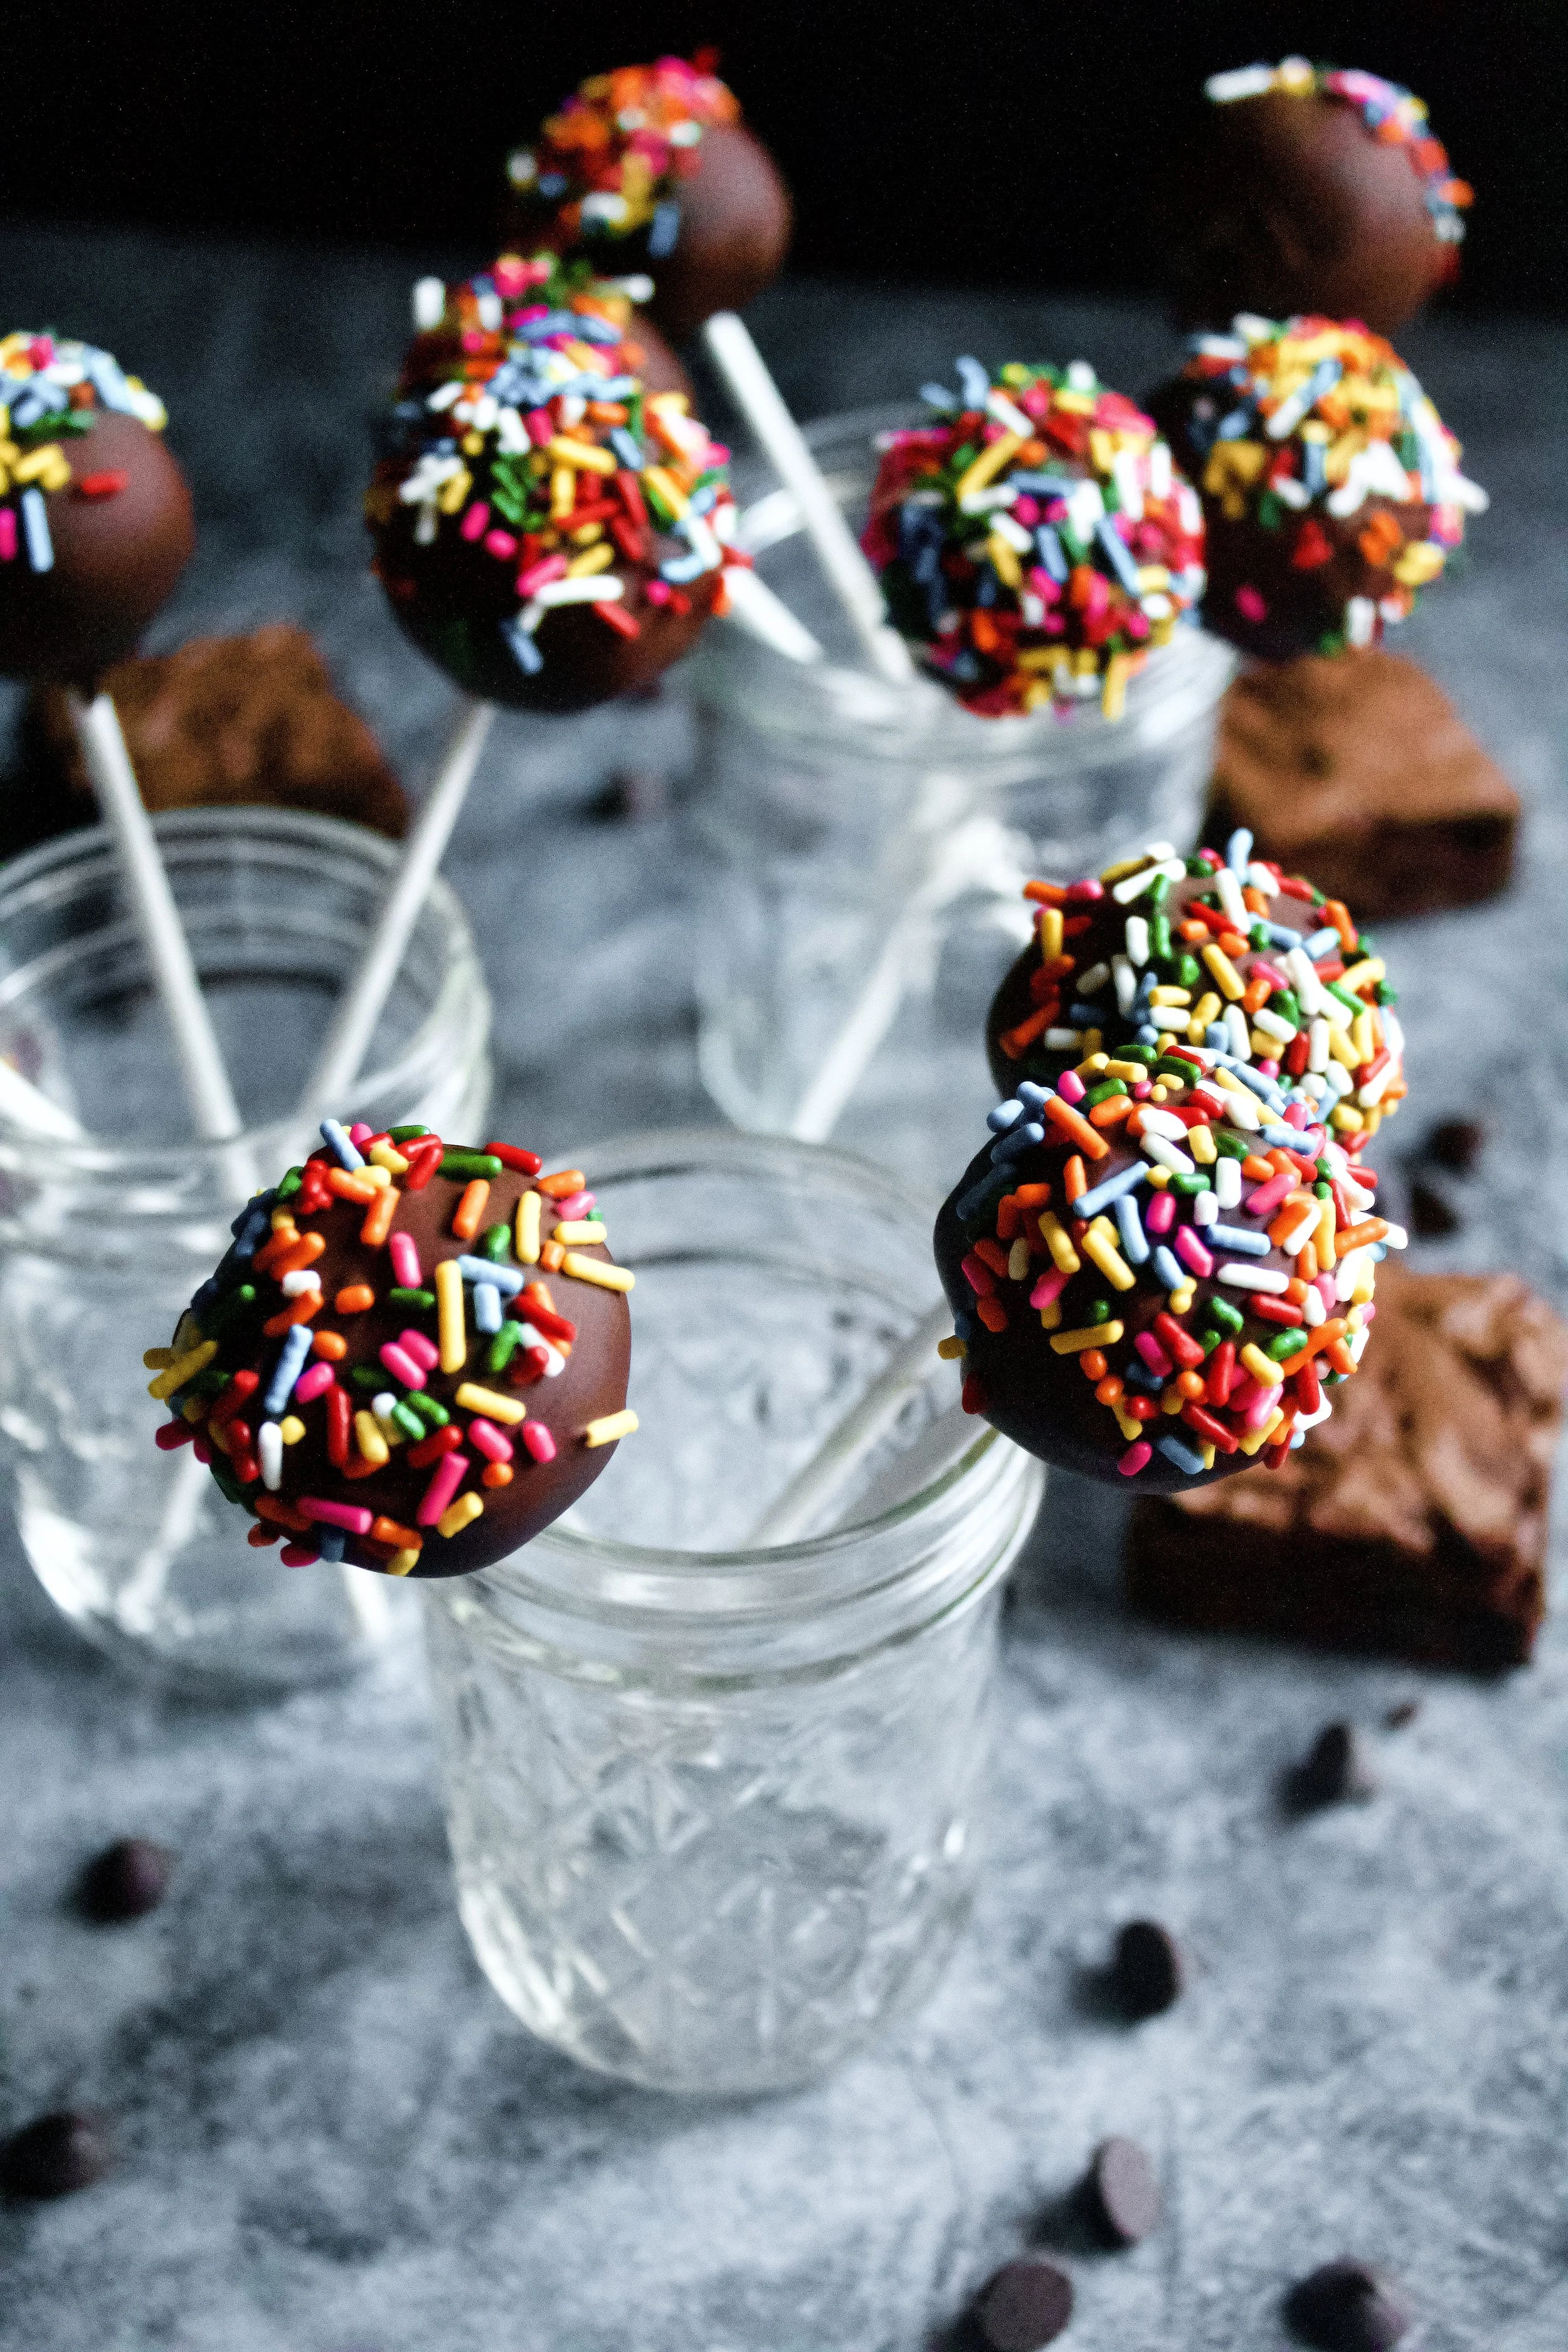
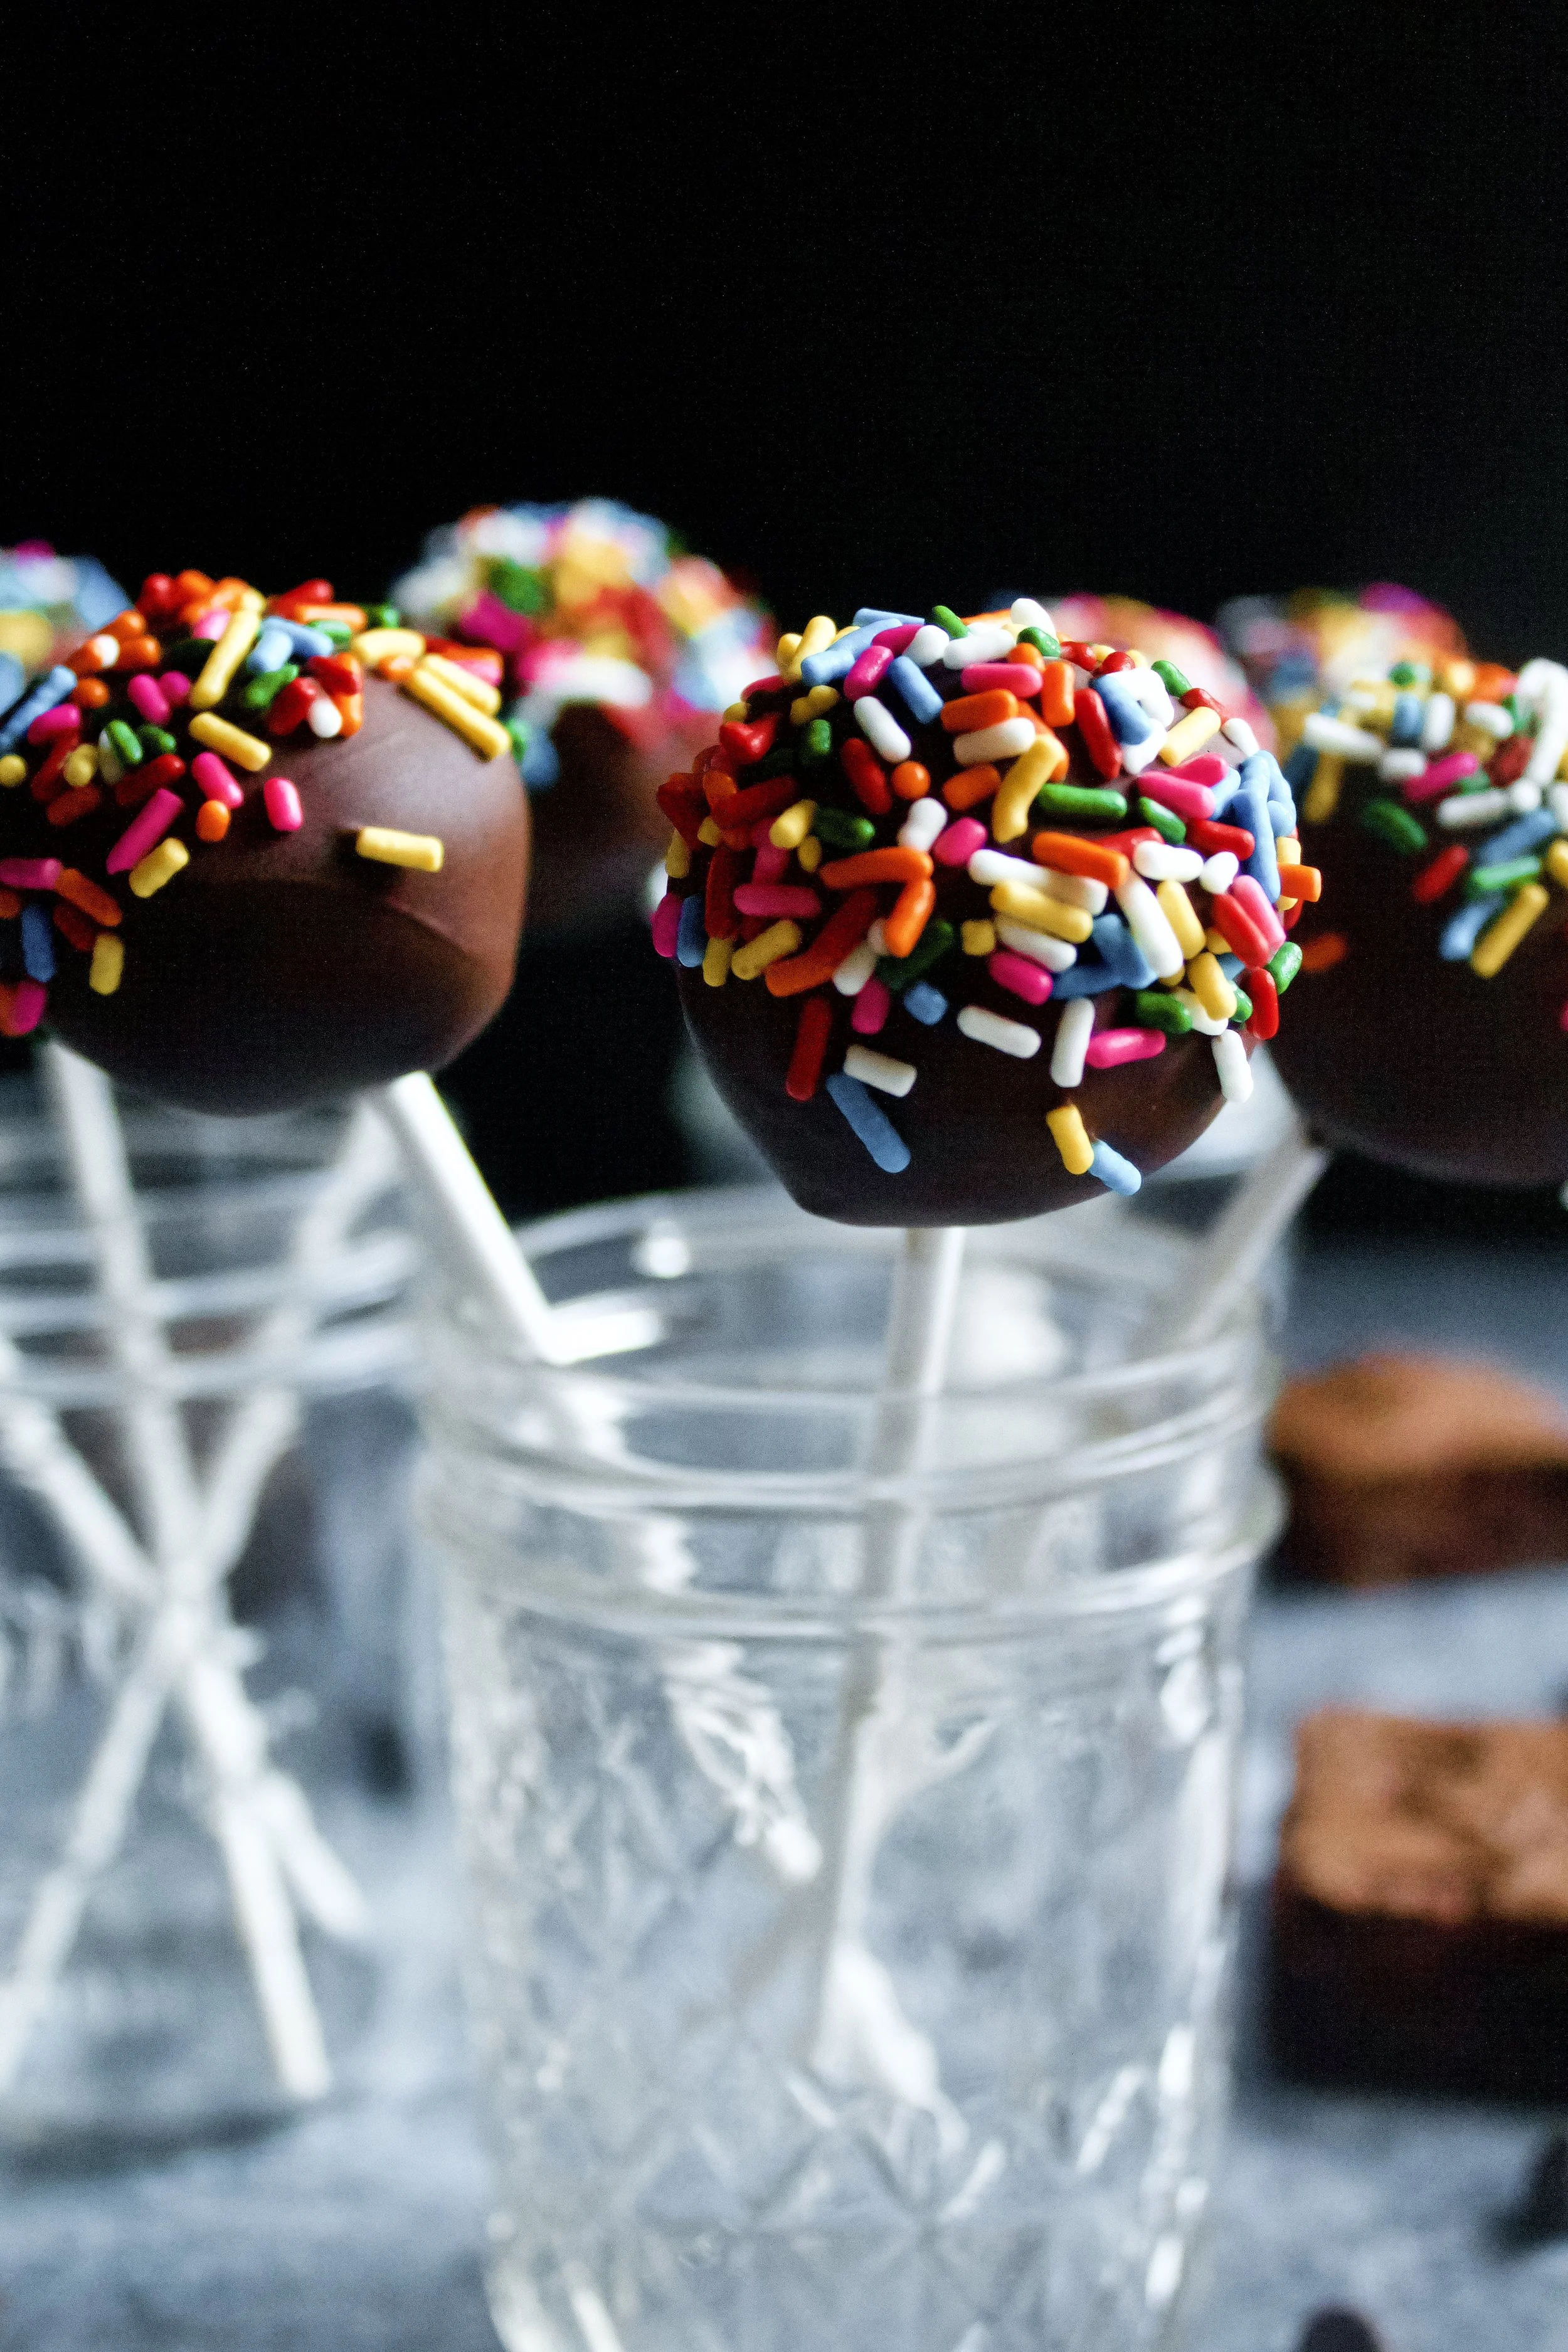
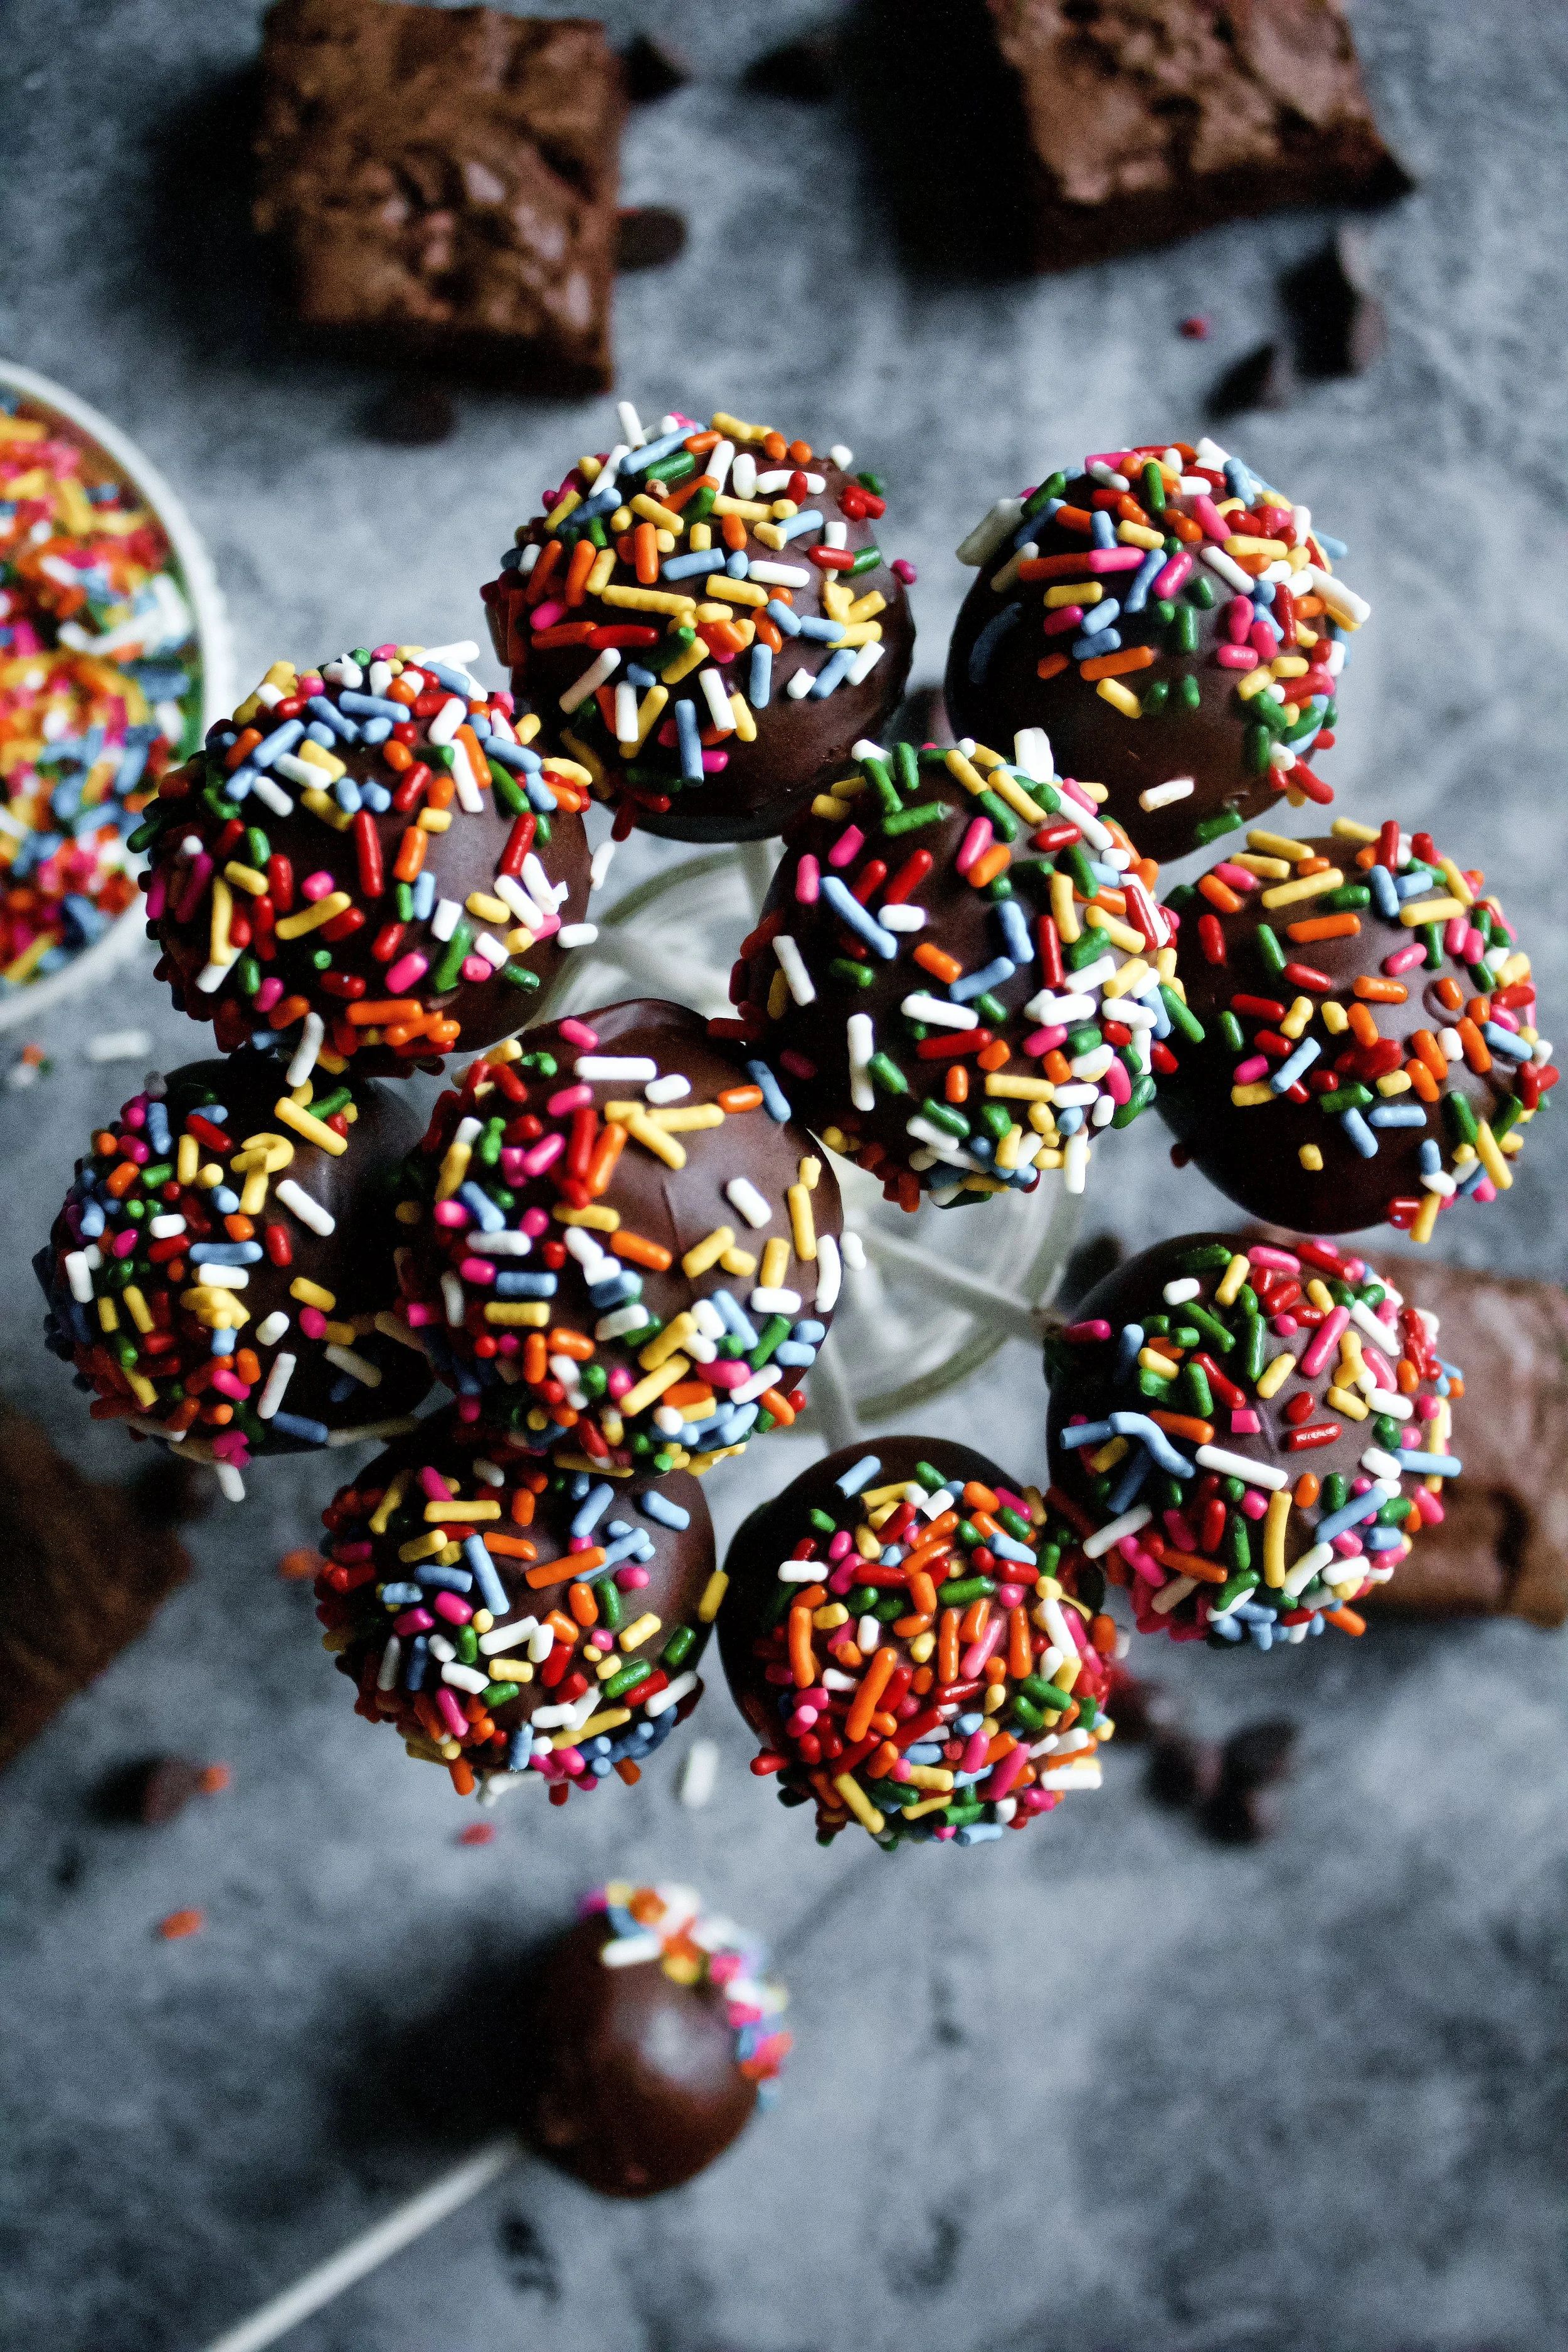
How do I display these?
Any way you’d like! Once they’re dry, you don’t have to worry about keeping them separate or not letting them touch. I arranged mine in a mason jar to take these photos, but the next week I made some adorable hunny pot cake pops for a Winnie the Pooh baby shower and displayed them in little flower pots with styrofoam situated inside. Any cup or similar item will work.
How do I dry dipped brownie pops?
I happened to have some blocks of styrofoam that I just stuck these in. You could also poke some holes in a cardboard box or turn a colander over, as long as the holes aren’t too big and just let the pop slip right through. Just be careful to arrange them concentrically so one side doesn’t get too weighed down and fall over. Cause that definitely happened to me.

My tools
Fine mesh sieve (because sifting is KEY)
All-rubber spatula (this makes scraping the bowl easier so the batter doesn’t get all over a wooden handle!)
Fudge Brownie Pops
- prep time: 25-30 minutes
- bake time: 18-23 minutes
- chill time: 2 hours
- total time: 2 hours, 53 minutes
servings: 18-24
Ingredients:
for the fudge brownies
- ½ cup (68g) all-purpose flour
- ⅔ cup (53g) unsweetened cocoa powder
- ½ teaspoon (2g) baking powder
- ¼ teaspoon (2g) sea salt (or ½ teaspoon (3g) table salt)
- ½ cup (113g) unsalted butter*
- 1 ¼ cups (250g) granulated sugar
- 2 large eggs
- 1 tablespoon (13g) pure vanilla extract
- 1 cup (170g) mini chocolate chips (mini chips make rolling easier)
to assemble
- 2 cups (340g) chopped baking chocolate (chocolate chips or melts work, too)
- small cookie scoop (for consistently sized pops)
- sprinkles, coconut, chopped nuts, or other topping of choice
- cake pop sticks
- parchment (for rolled brownies to chill on)
- styrofoam, cardboard box, or other stand for pops to dry on
Instructions:
make the fudge brownies
- Preheat oven to 350F/175C. I’ve found 350 is good for convection and regular, which is weird but at least it works! Grease an 8x8 square pan with butter and flour or baking spray.
- Using a fine mesh sieve set over a small mixing bowl, sift then whisk together the flour, cocoa powder, baking powder, and salt. Set aside.
- In a small saucepan, melt the butter until completely liquid. Immediately combine it with the sugar in a large mixing bowl and whisk for about a minute, until it comes together and the sugar begins to dissolve.
- Add the eggs, one at a time, whisking for about a minute after each egg. Add the vanilla and whisk well again (half a minute should do this time).
- Add the dry ingredients and gently fold in with a wooden spoon or rubber spatula, until almost blended and some streaks of flour remain.
- Gently fold in the chocolate chips. You can use regular sized or even chopped baking chocolate, but mini chips or finely chopped chocolate make it easier to roll these into pops.
- Pour into your prepared pan, smoothing the top and getting the batter mostly into the corners (I like to leave a ½ inch gap that will absolutely fill in during baking but prevent an overly crunchy corner).
- Bake for 18-23 minutes, or until the top is no longer shiny/raw looking and the middle is slightly jiggly but not liquidy. You can try a toothpick, but that should actually come out with some matte-looking batter (not quite raw dough, not quite crumbly brownies). If you prefer fully cooked, non-fudgy-middle brownies, cook a little longer until a toothpick comes out with several brownie crumbs rather than a smear of almost-cooked batter.
- Let cool completely before rolling and dipping.
make the brownie pops
- Once the brownies are cooled (enough so that you can crumble and roll them easily), use your hands or a hand mixer to break up the brownies. Be sure the crunchy edges are well crumbled and distributed.
- Using a cookie scoop or spoon, gather about 1 ½ to 2 tablespoons of brownie in your hands. Gently squeeze it together into a rough ball that stays together. Roll between your hands into a round ball. If it’s not staying together, squeeze gently. If it still just will not stay together, you can add about ¼ cup of frosting to the entire batch and stir gently to combine well then try rolling out again.
- Place round brownie balls onto a cookie sheet lined with parchment. Refrigerate at least 2 hours, to set the brownie balls.
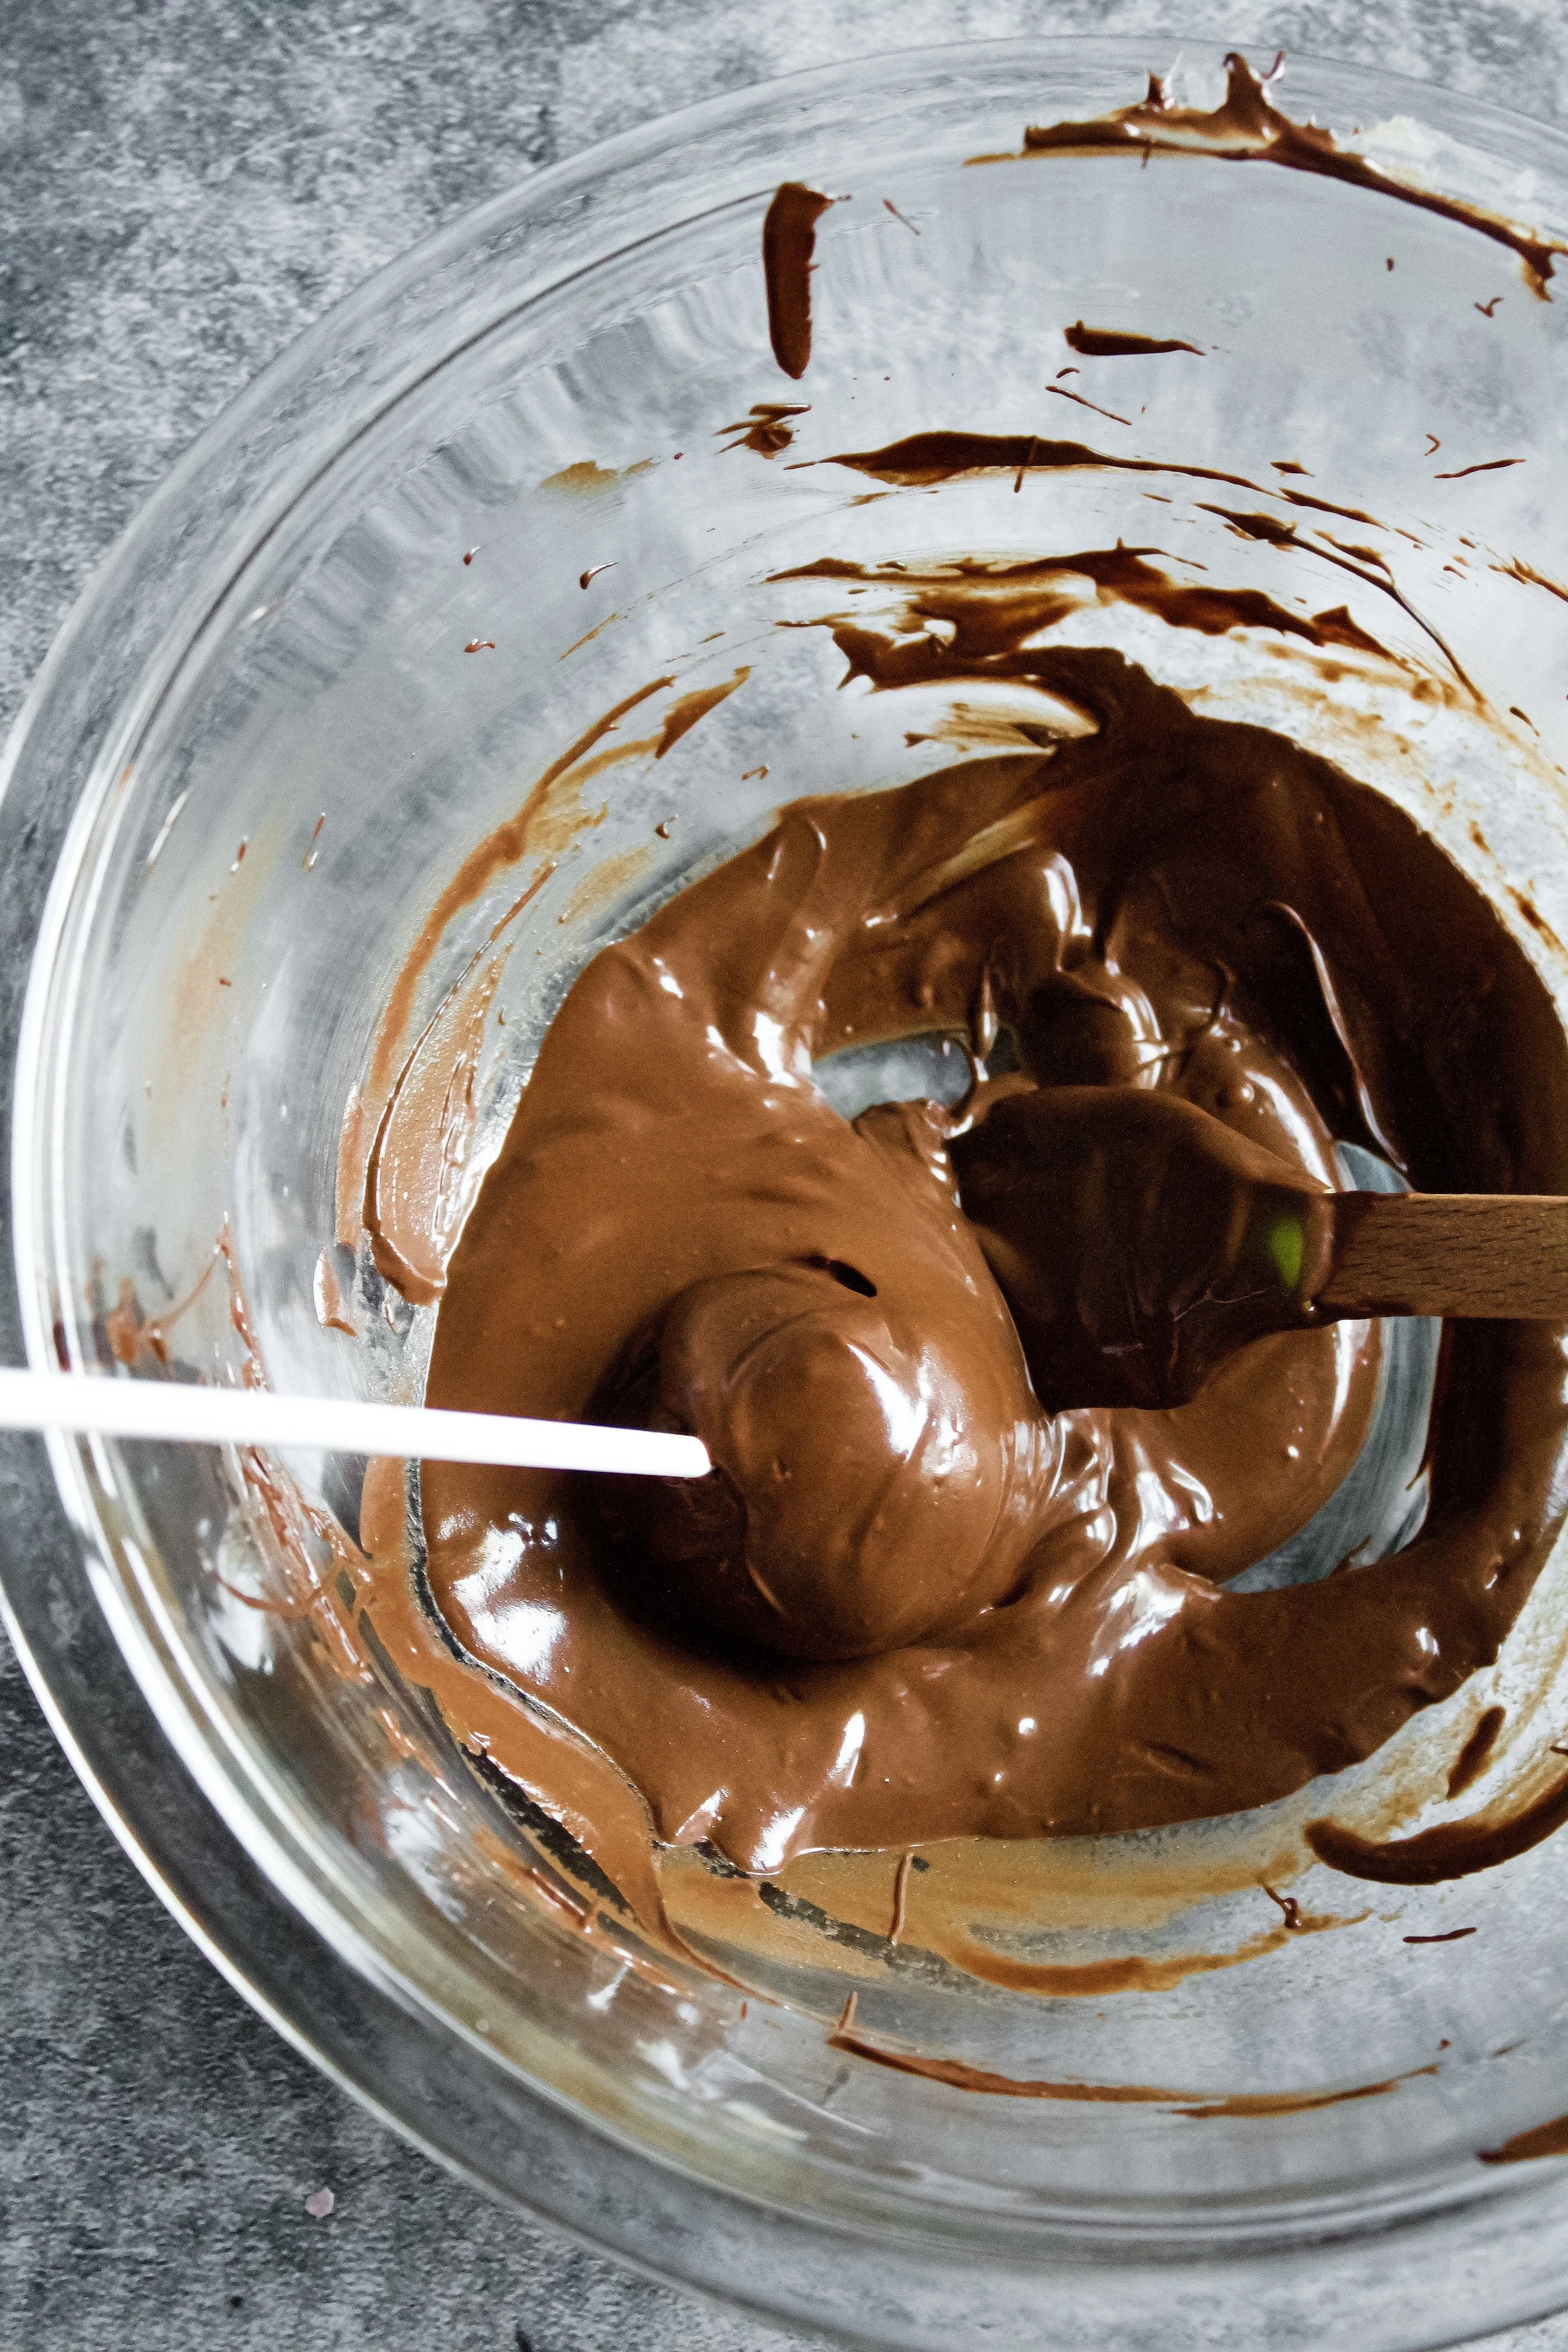
- Once set, place your baking chocolate (melting chocolate, candy melts, or even chocolate chips will work, too) in a medium heatproof bowl. Melt the chocolate one of two ways. Use a microwave set at half power, heating in 15 second intervals and stirring in between. Or use a makeshift double boiler: bring 1-2” water to a boil in a medium saucepan the turn the heat down to low. Set the bowl of chocolate over the saucepan and stir constantly until the chocolate is about 75% melted. Remove the bowl from the pan and stir until completely smooth. You can place it back over the pan if it won’t get fully smooth.
- Take 2-3 brownie balls out of the fridge at a time, so they do not warm up as you work. Dip a cake pop stick into the melted chocolate then insert it gently into one of the brownie balls. Place this back in the fridge while you glue all brownie balls onto their sticks.
- Once finished, the first few sticks should have chilled and the chocolate on their sticks will be hardened. The ensures they stay put while you dip the actual brownie into the chocolate.
- If needed, very briefly warm the chocolate again. Don’t overheat it.
- Also be sure you have a place ready to stand the pops upright as they dry. This can be a block of styrofoam, a cardboard box with small holes cut out for the sticks, or any kind of stand you plan to use for the pops.
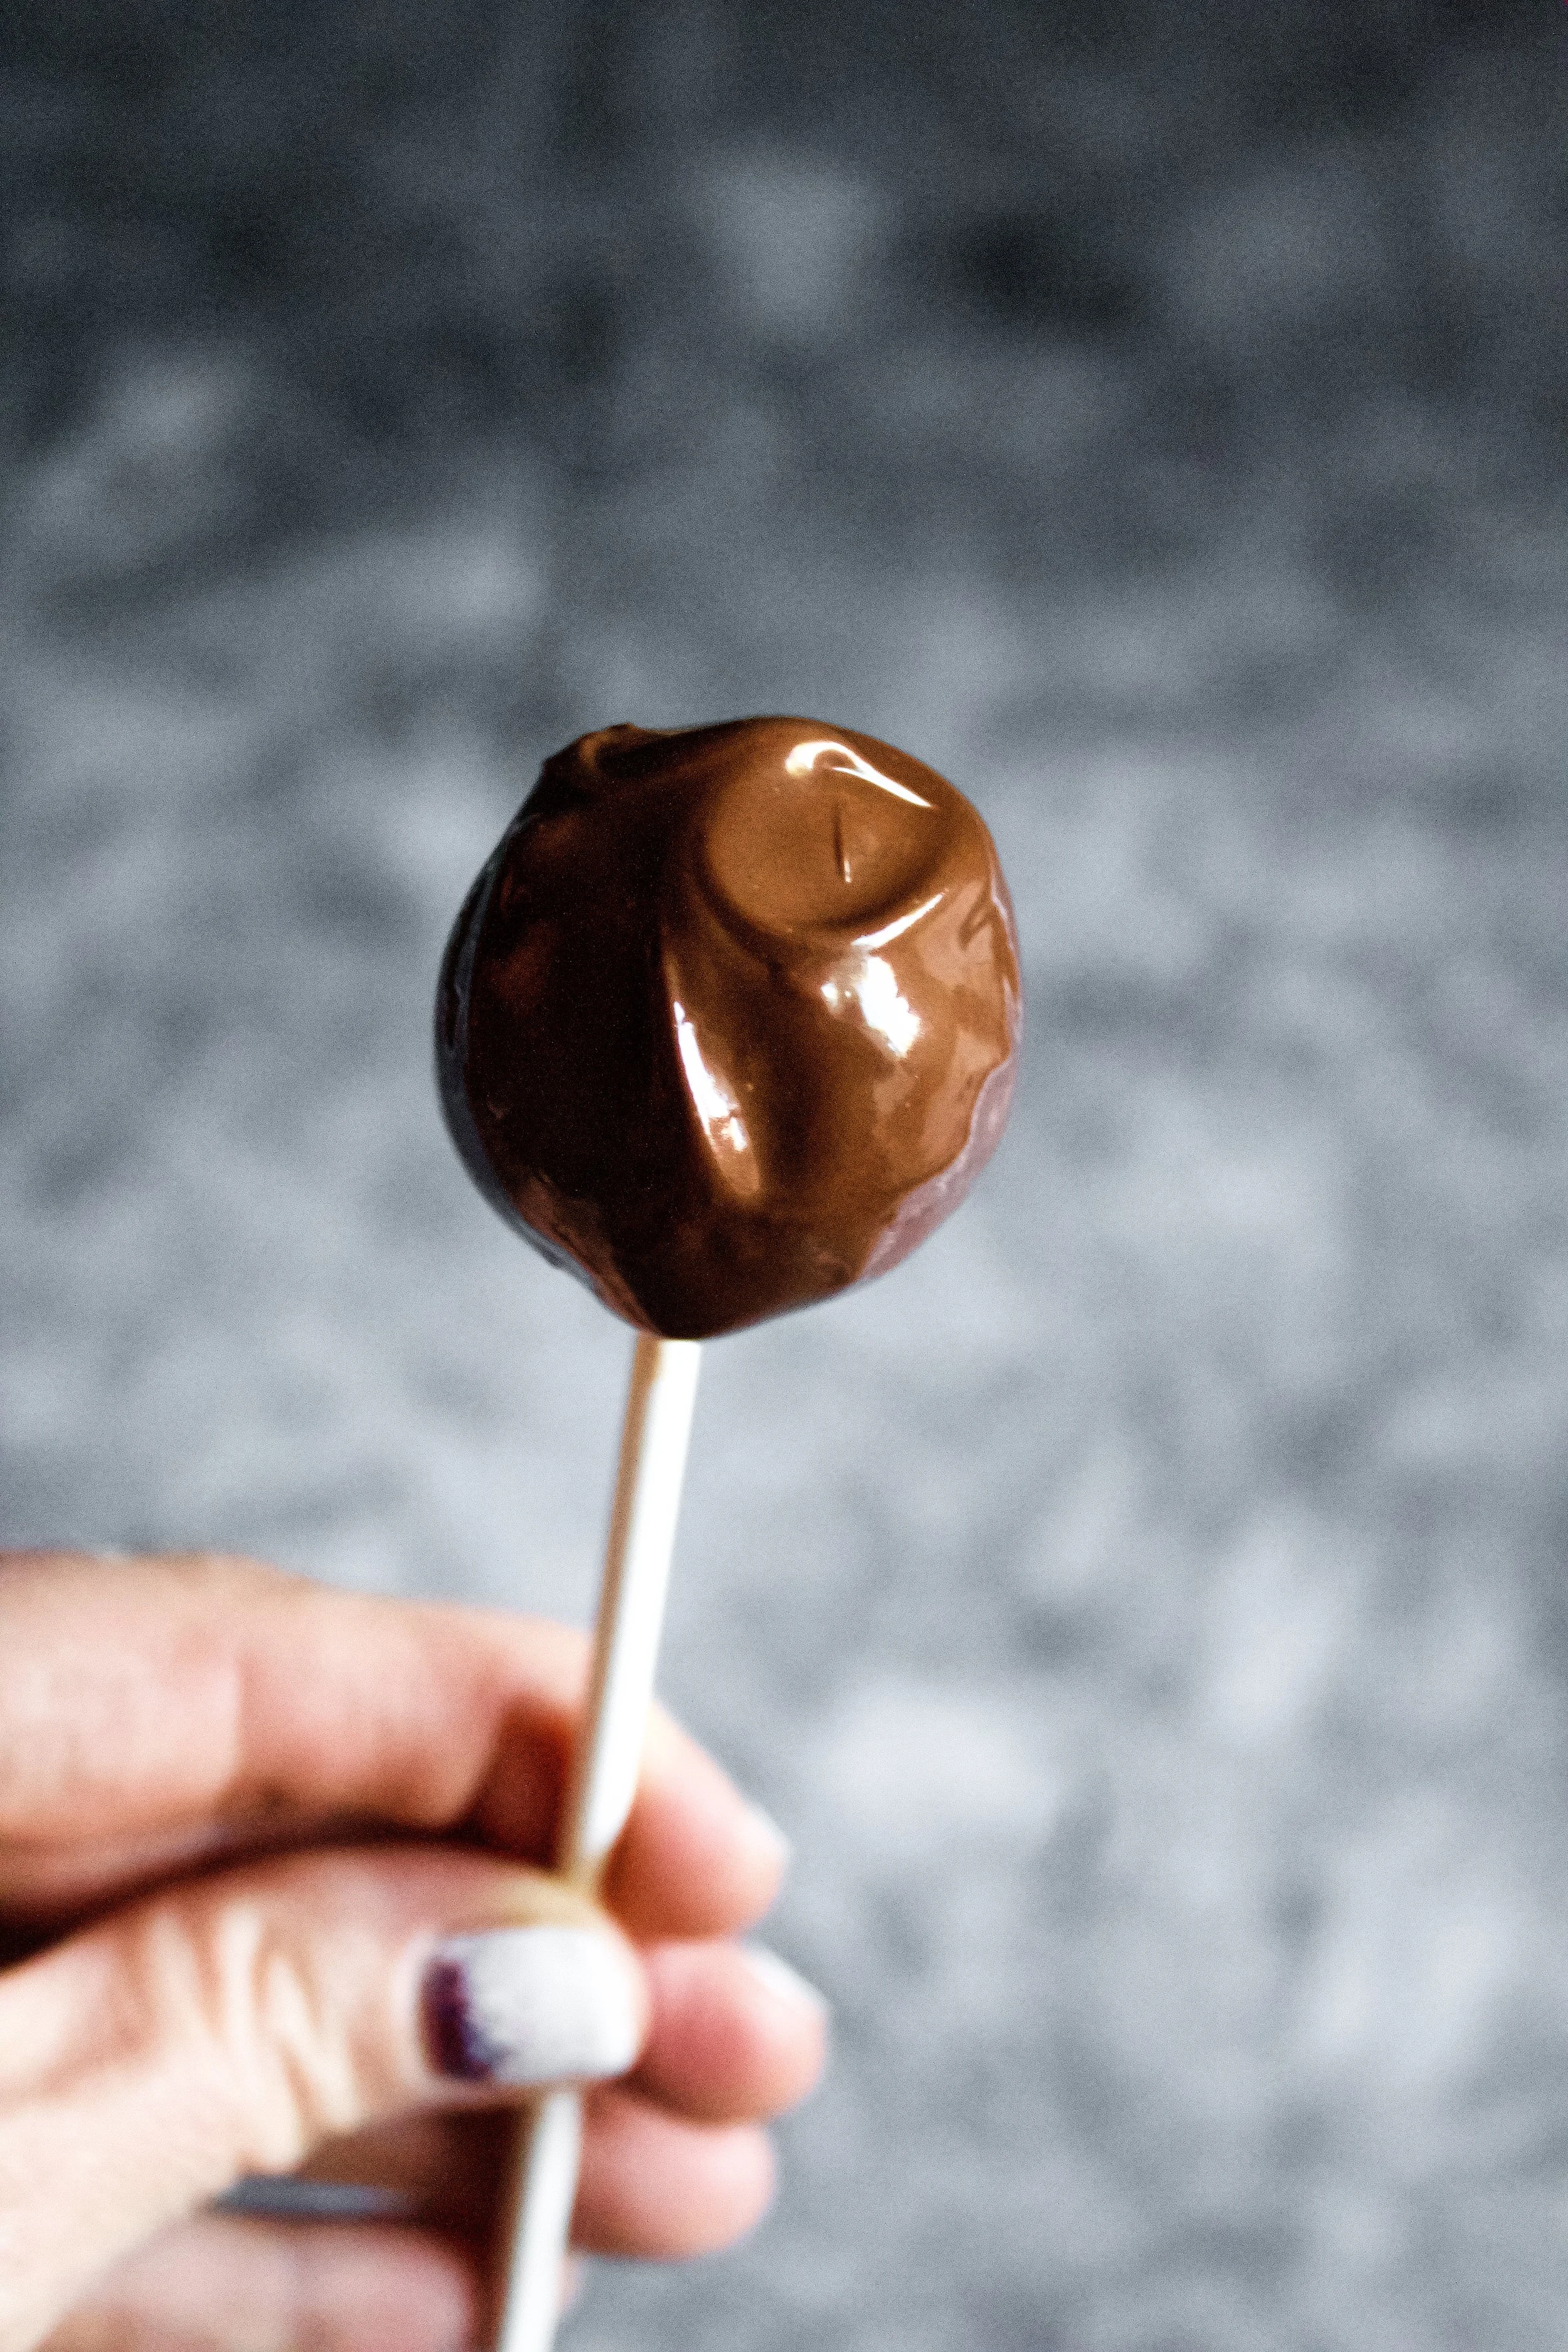
- Starting with the first brownies you glued onto sticks and holding the stick gently, begin dipping each brownie pop into the chocolate, coating it entirely and gently tapping the stick on the edge of the bowl to remove excess chocolate. From there, turn it fully upside down (with the stick facing upward) and swirl it as you turn it right side up. This will create a cute little swirl of chocolate on top out of the drip.
- Immediately place in your stand and sprinkle with your topping of choice.
- Let cool completely. Pops will set after 1-2 hours at room temperature or about 30 minutes in the fridge.
Enjoy!
Brownie pops will last at room temperature for 3-5 days. You can also wrap them in plastic wrap and refrigerate them 1-2 weeks or freeze them 1-2 months.
*European butter is best! It has less water and makes a better brownie, in my opinion.