
Brown Sugar Cinnamon Galette Crust
Far easier than a traditional pie, this rustic, free form crust uses the fraisage method to create a tender, flaky crust that is still strong enough to fold over a yummy filling without leaking or splitting. The addition of brown sugar and cinnamon makes this sweet and warm and earthy—perfect for a wide variety of fillings all year long!
This post may contain affiliate links from which, at no additional cost to you, I may earn a small commission to keep this site running. Only products I myself would or do use are recommended.

To be entirely honest, I forgot about Pi Day. And if you don’t know (I didn’t until all the math majors made it a thing in college), Pi Day is March 14 or 3/14…like how pi is 3.14 (plus a never ending series of non-repeating numbers, but who’s counting).
My first year realizing people celebrated Pi Day was when one math major wrote out pi in chalk from one end of west campus to another. It probably spanned a couple blocks of sidewalk. Then, when I started teaching, I found out math teachers make 3/14 a whole party day and have everyone bring in pie. It’s all very nerdy and very punny, and as an English teacher and the creator of Poetry & Pies, I suppose today ought to be my day.
But to be honest, I forgot about Pi Day. For all my Ms. Frizzle life goals, I forgot. I simply got lucky that I had a few recipes in my stash and a galette (i.e. a rustic or free form pie) was one of them. Thank you, Jesus, that I happened to have a pie ready to share or I’d have to hang my head in shame.
How to make brown sugar cinnamon galette crust
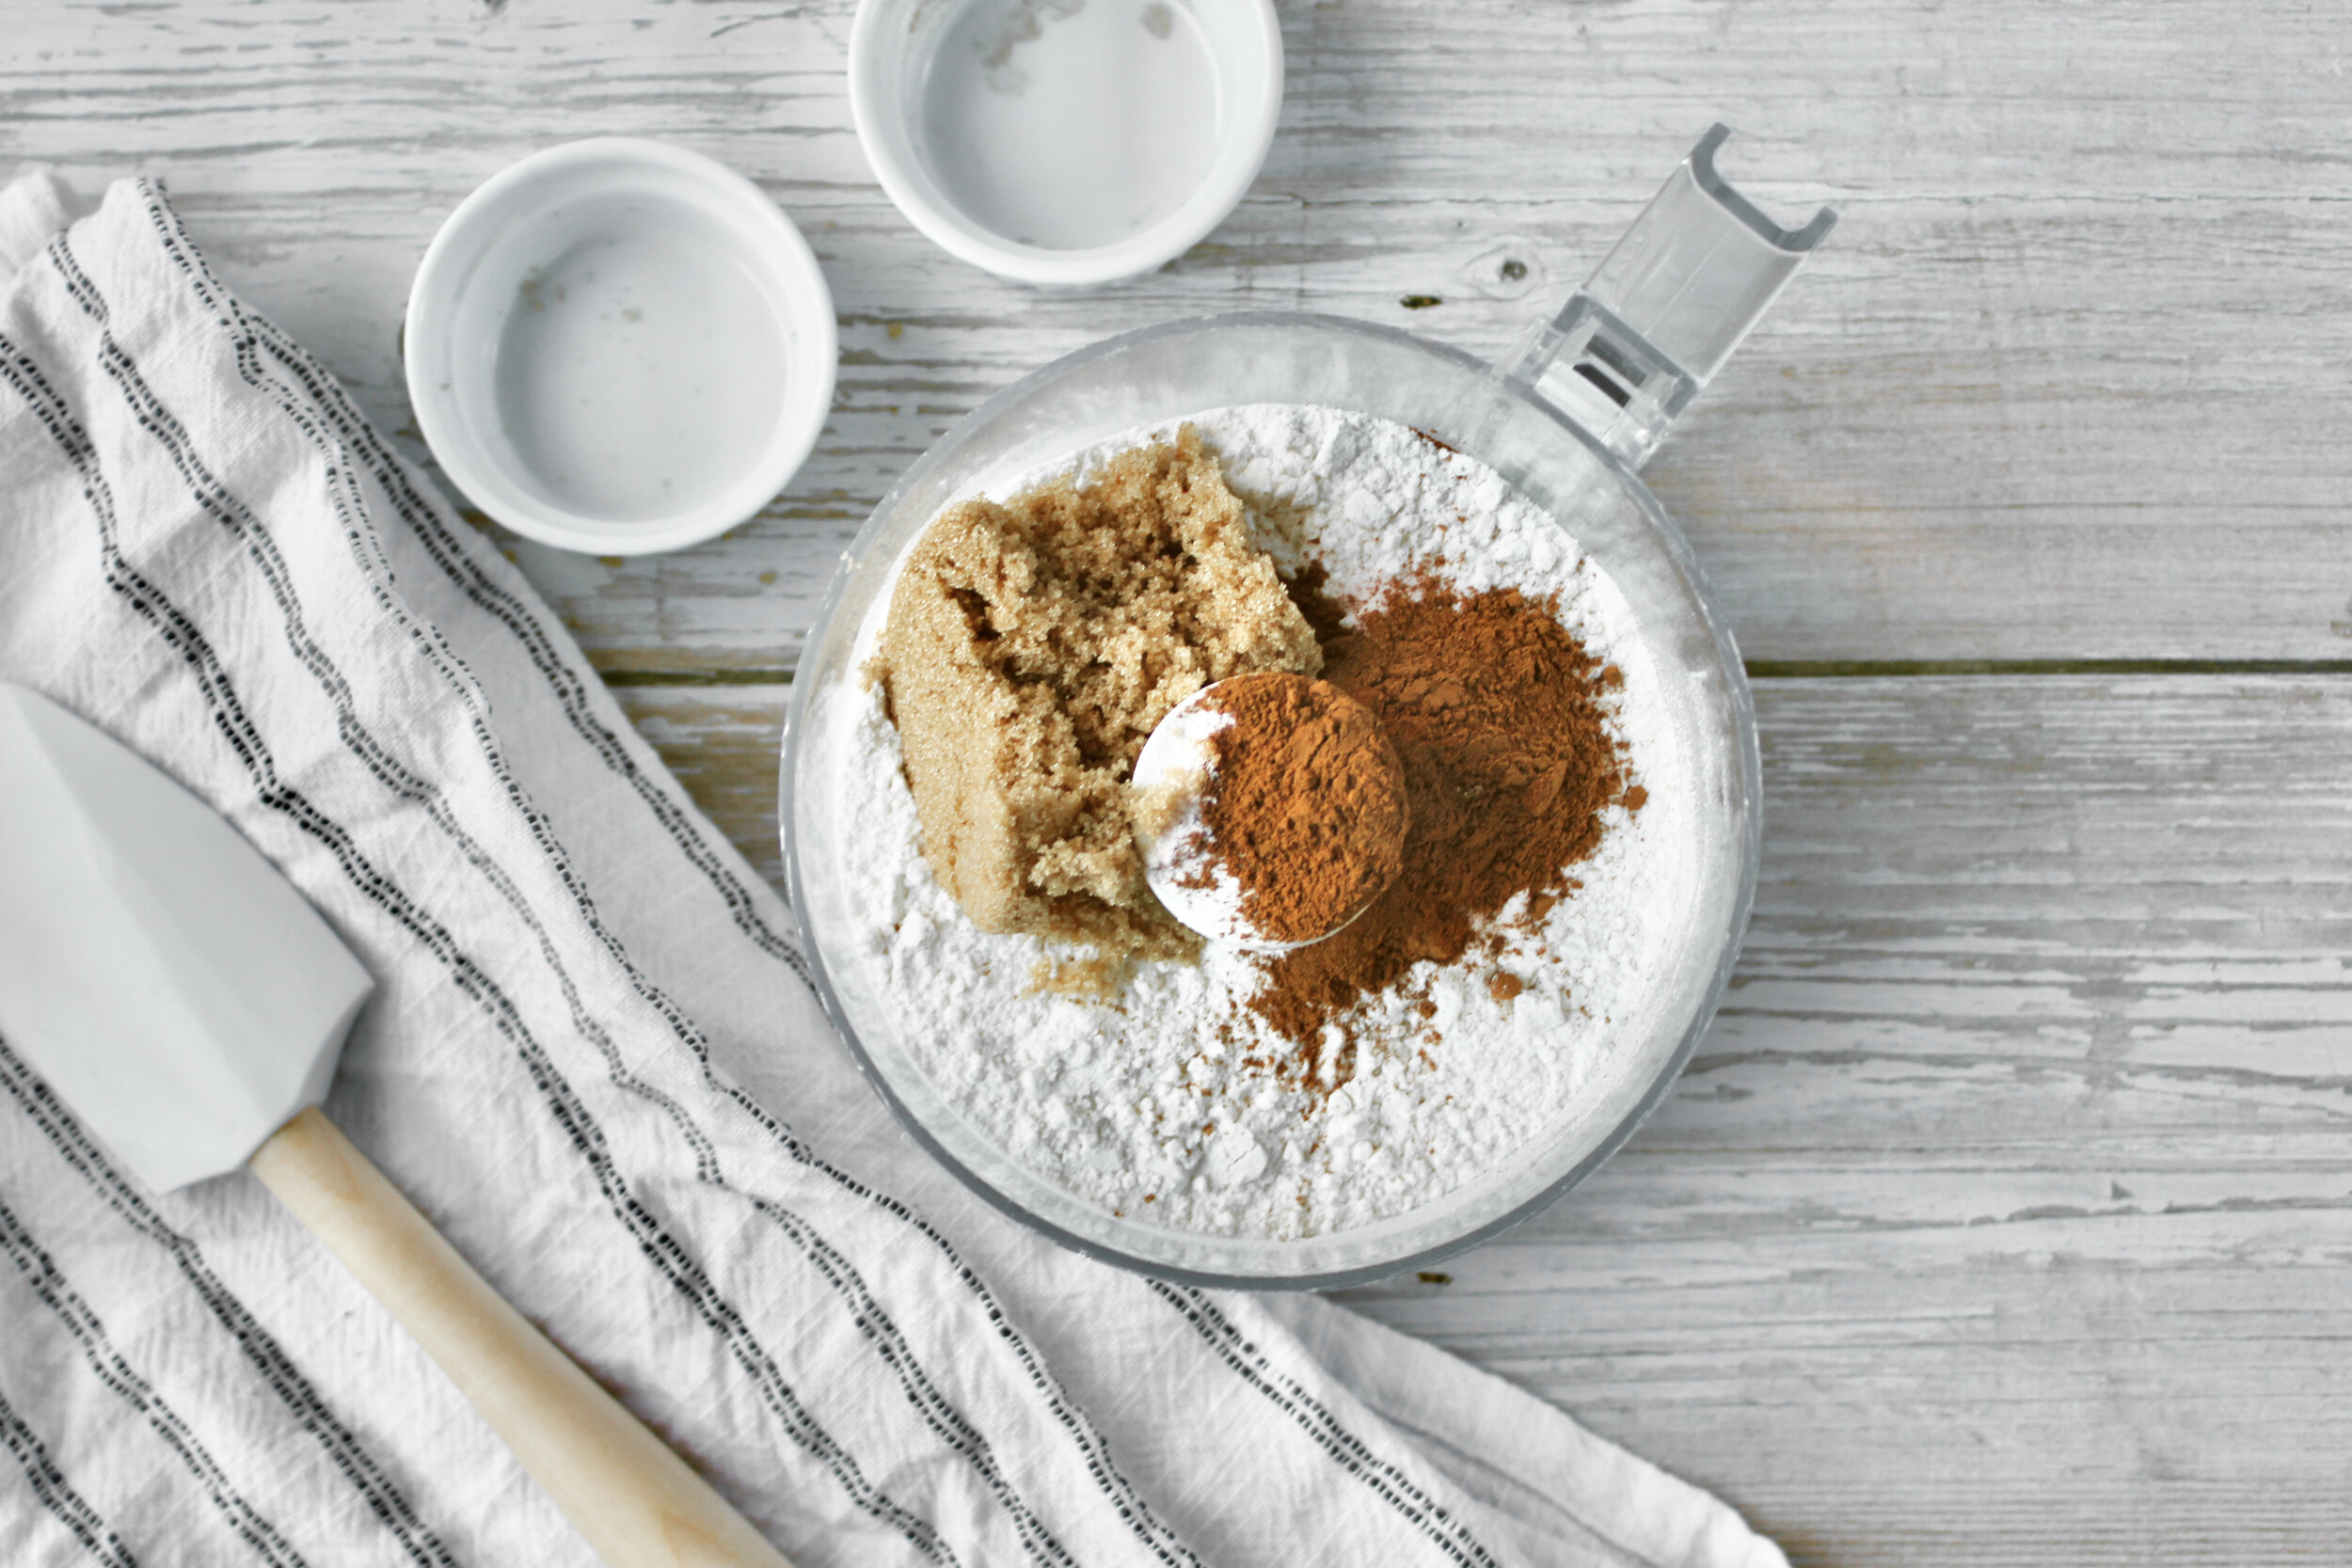
This is actually a simple recipe for a pie crust. First, mix the flour, brown sugar, cinnamon, and salt in your food processor.
Next, add cubed butter and pulse until the size of small peas. Don’t over process.

Dump this into a bowl and stir in the water, one tablespoon at a time, mixing well to evenly distribute the water.

Pour this onto a lightly floured surface and gather into an oblong pile. Using the heel of your hand, spread a small portion of the edge out with a quick, firm motion. Repeat this until all the dough is worked. The goal is to create long, thin strips of butter. This method is called fraisage and is what makes the crust tender and flaky yet strong enough to hold a filling without a pie or tart pan.
Forgive my terrible photo, it was the best I could get of this method.

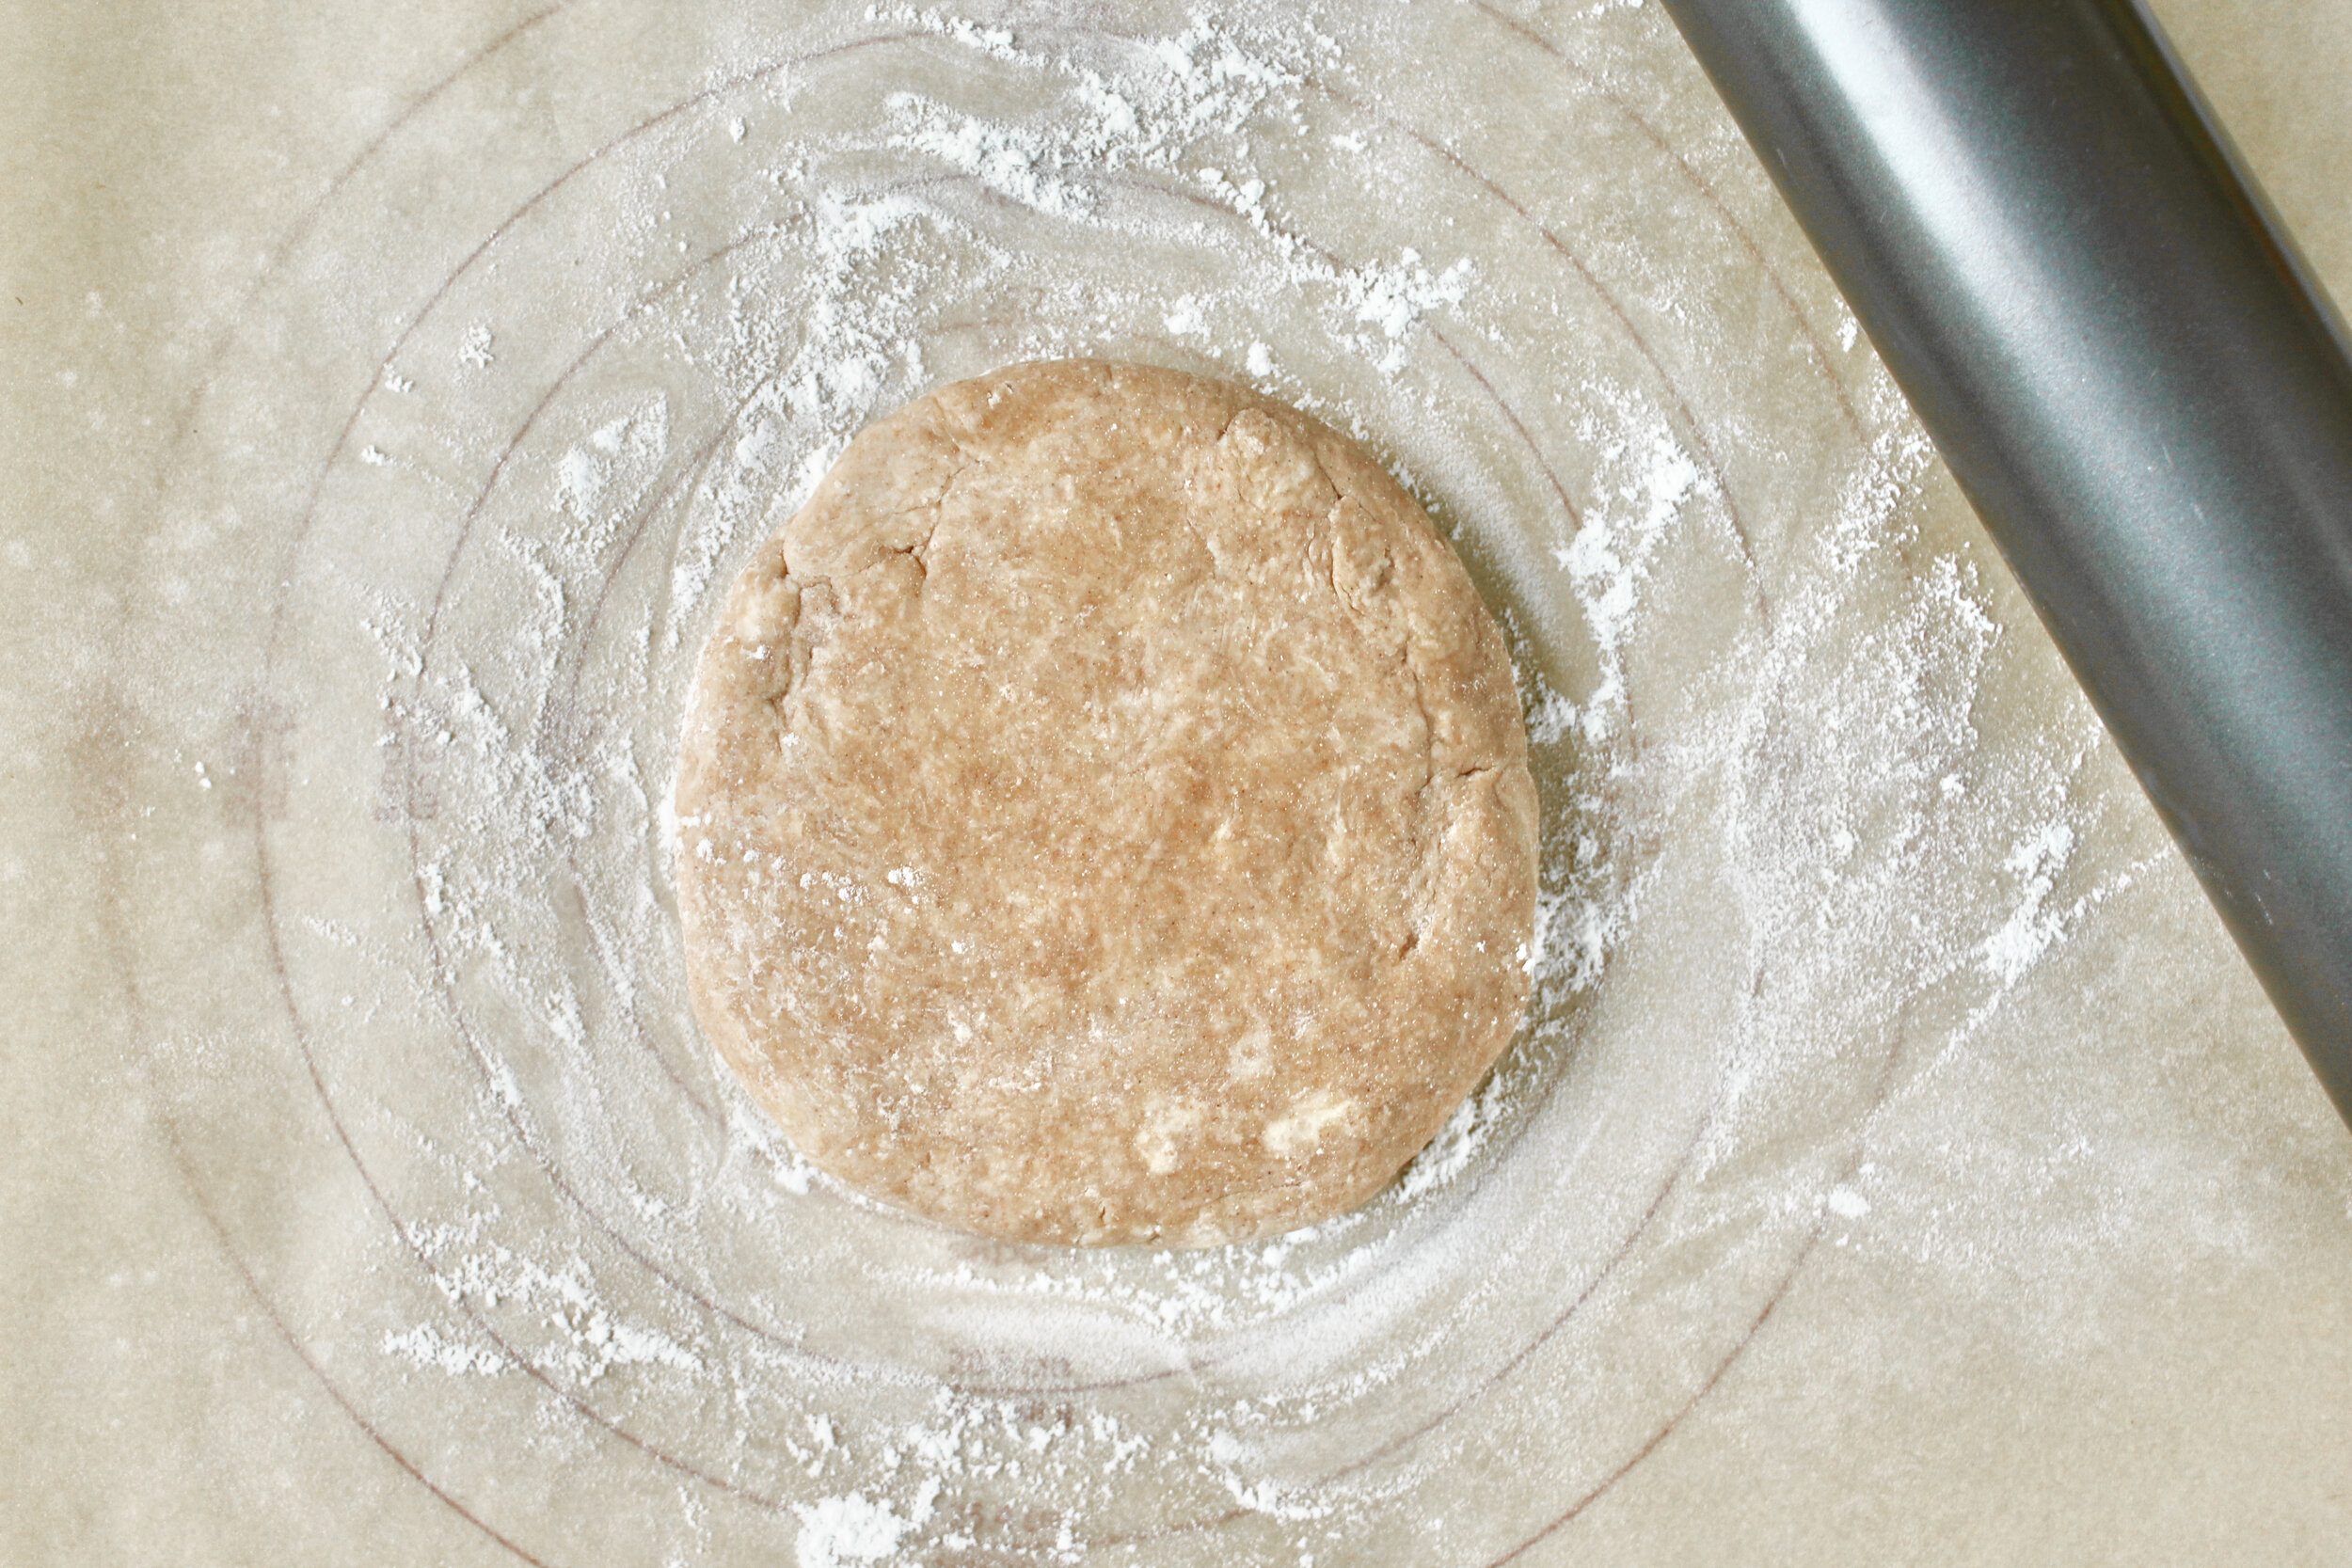
If the crust is still crumbly, you may need to gather it together and repeat the process. Gather the dough into a 6 inch disc and wrap in plastic wrap. Chill at least 1 hour or up to 2 days.

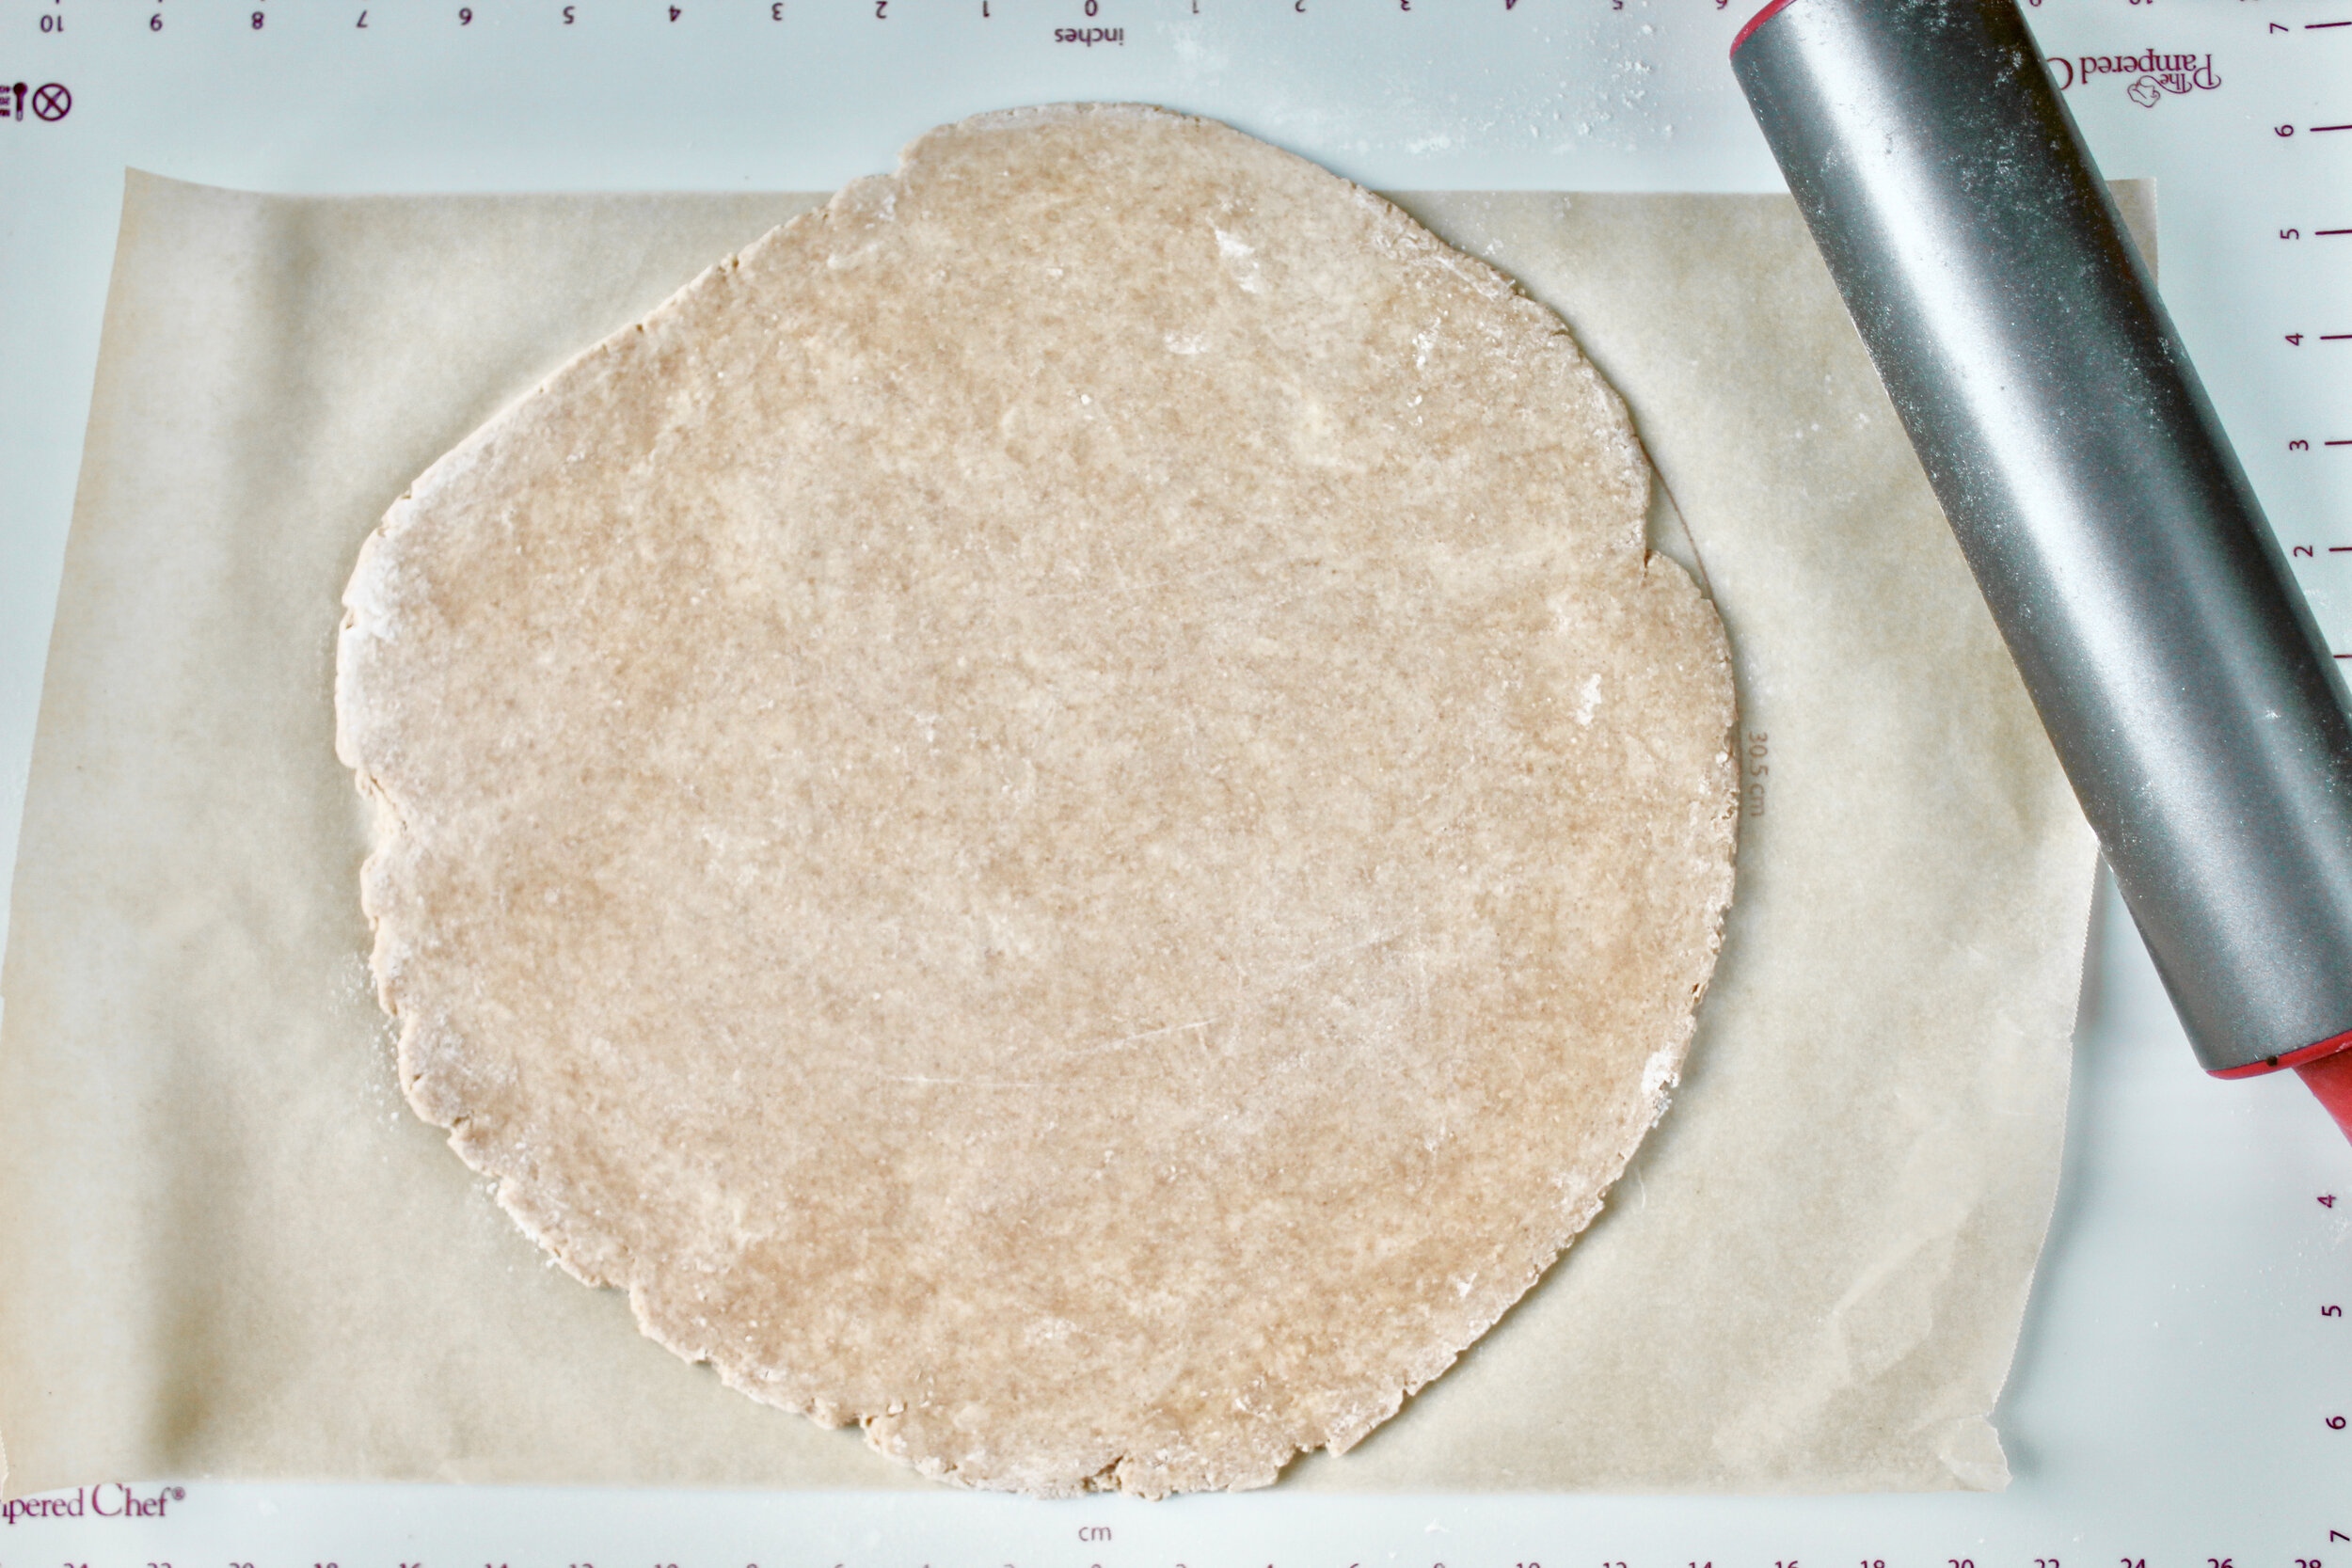
When ready to use, roll out on a lightly floured piece of parchment paper, rotating and flipping and adding flour as needed to keep it from sticking or rolling out unevenly.
Fill as desired, leaving at least 2 inches crust around the edge. Pull that crust up and over the filling (not tightly—leave a very small gap), pleating every 2-3 inches.

Brush with milk or cream (or egg wash) and sprinkle with cinnamon sugar. Bake at 400 for 45-50 minutes, or as directed by your recipe.

Tips and notes for this recipe
Don’t over process the butter
Since you’re using fraisage to create long strips of butter, you want some butter chunks left after processing that you can smear into long strips. Remember that whole pea size rule and make sure a good chunk of the butter is still that size when you stop processing.

Add water in slowly
Adding the water in too quickly or in one large pool can make an unevenly hydrated and even chewy crust. If you fold it in (stir around the edge and fold the spatula back over the middle once you’ve made one full circle), you should be fine. This will help you evenly distribute the water so you don’t have a really wet section and a really dry section. So just go slowly with the water to get a perfectly hydrated crust.

Fold crust gently over filling
If you pull the crust tightly over the filling, you’re likely to see some holes and end up with a filling that leaks beyond the typical dribble that just about any fruit pie or galette creates. Remember to keep a small gap between the filling and the edge of the crust so you get that crusty, strong galette that is fun and easy to eat!

Brown Sugar Cinnamon Galette Crust
- prep time: 10-15 minutes
- chill time: 1 hour (up to 2 days)
- bake time: 40-50 minutes
- total time: 2 hours, 5 minutes
servings: 8-12 (makes an 8” galette)
Ingredients:
- 1 ½ cups (204g) flour
- 2 tablespoons brown sugar
- ½ tablespoon cinnamon
- ¼ teaspoon sea salt
- 10 tablespoons (142g) unsalted butter, cubed then chilled
- 3-6 tablespoons (44-88g) ice cold water
Instructions:
- In a small food processor (or large mixing bowl with a whisk), pulse together flour, brown sugar, cinnamon, and salt until thoroughly mixed, about 5-10 seconds.
- Add butter and pulse (or cut with a pastry blender) until it’s the size of small peas, about 10-15 pulses. If you can’t get all the butter in at once (I couldn’t), you can do two batches and pulse the first one about 5 times and the second one 5-10 times, which actually helps create large and small pieces of butter to help make a strong yet flaky crust. Note: If using fingers (hey, it works!), squeeze and break up butter until small-pea size then refrigerate for 10 minutes to account for your hands warming it up.
- Dump the dough into a bowl and stir in the ice water, one tablespoon at a time, until you can pinch some and it stays together in a clump. Be sure to stir well after each addition.
- Next, fraisage your crust! Dump the dough (it should be slightly crumbly) onto a clean, lightly floured surface or rolling mat. Gather it into an oblong pile. Using the heel of your hand, firmly and quickly smear the furthest edge of the dough into a long strip away from you. Keep doing this until you have worked all the dough. If it’s still a little crumbly, gather it all back up again and repeat once. Tip: I’m far from perfect on this, but the best I can compare the motion you want to use is the same motion I learned in infant heimlich--a firm pulse with the heel of your hand.
- Gather dough into a smooth 6 inch disc and wrap tightly in plastic. Chill 1 hour or up to 2 days.
- When ready to use, let the dough sit on the counter 5-10 minutes, until a little pliable. Place dough on a lightly floured piece of parchment paper. Sprinkle a little more flour over the dough. Begin rolling out the dough, rotating the rolling pin as you go. I like to imagine it’s a clock and I need to roll it over every hour—so top down is 12 and 6, left right is 3 and 9, etc. Be sure to flip and rotate the dough every so often, sprinkling a tiny bit more flour as needed to 1) keep it from sticking and 2) ensure you’re rolling evenly. I tend to roll the bottom left too thin and the top right too thick. Rotating balances this out.
- Roll it to about 12 inches. If any bits of the edge crack or break, gently press them back together with your hands. If your crust has become warm, chill on the parchment paper for 20 minutes.
- Fill your tart with at least 2 inches border around the edges. Fold the edges over the filling, making pleats every 2-3 inches. Try not to pull the crust tight over the filling, leaving a small gap between the edge of the filling and the edge of the crust. Make sure the filling that’s not covered by crust is mounded up slightly, as it will fall during baking.
- Brush the edge of the crust with milk or heavy cream and sprinkle with 1 tablespoon sugar mixed with a pinch of cinnamon.
- Unless otherwise noted by your recipe, bake at 400 for 45-50 minutes on the parchment paper on a rimmed baking sheet, until the filling bubbles and the crust is golden. Let cool on the pan for at least 30 minutes.
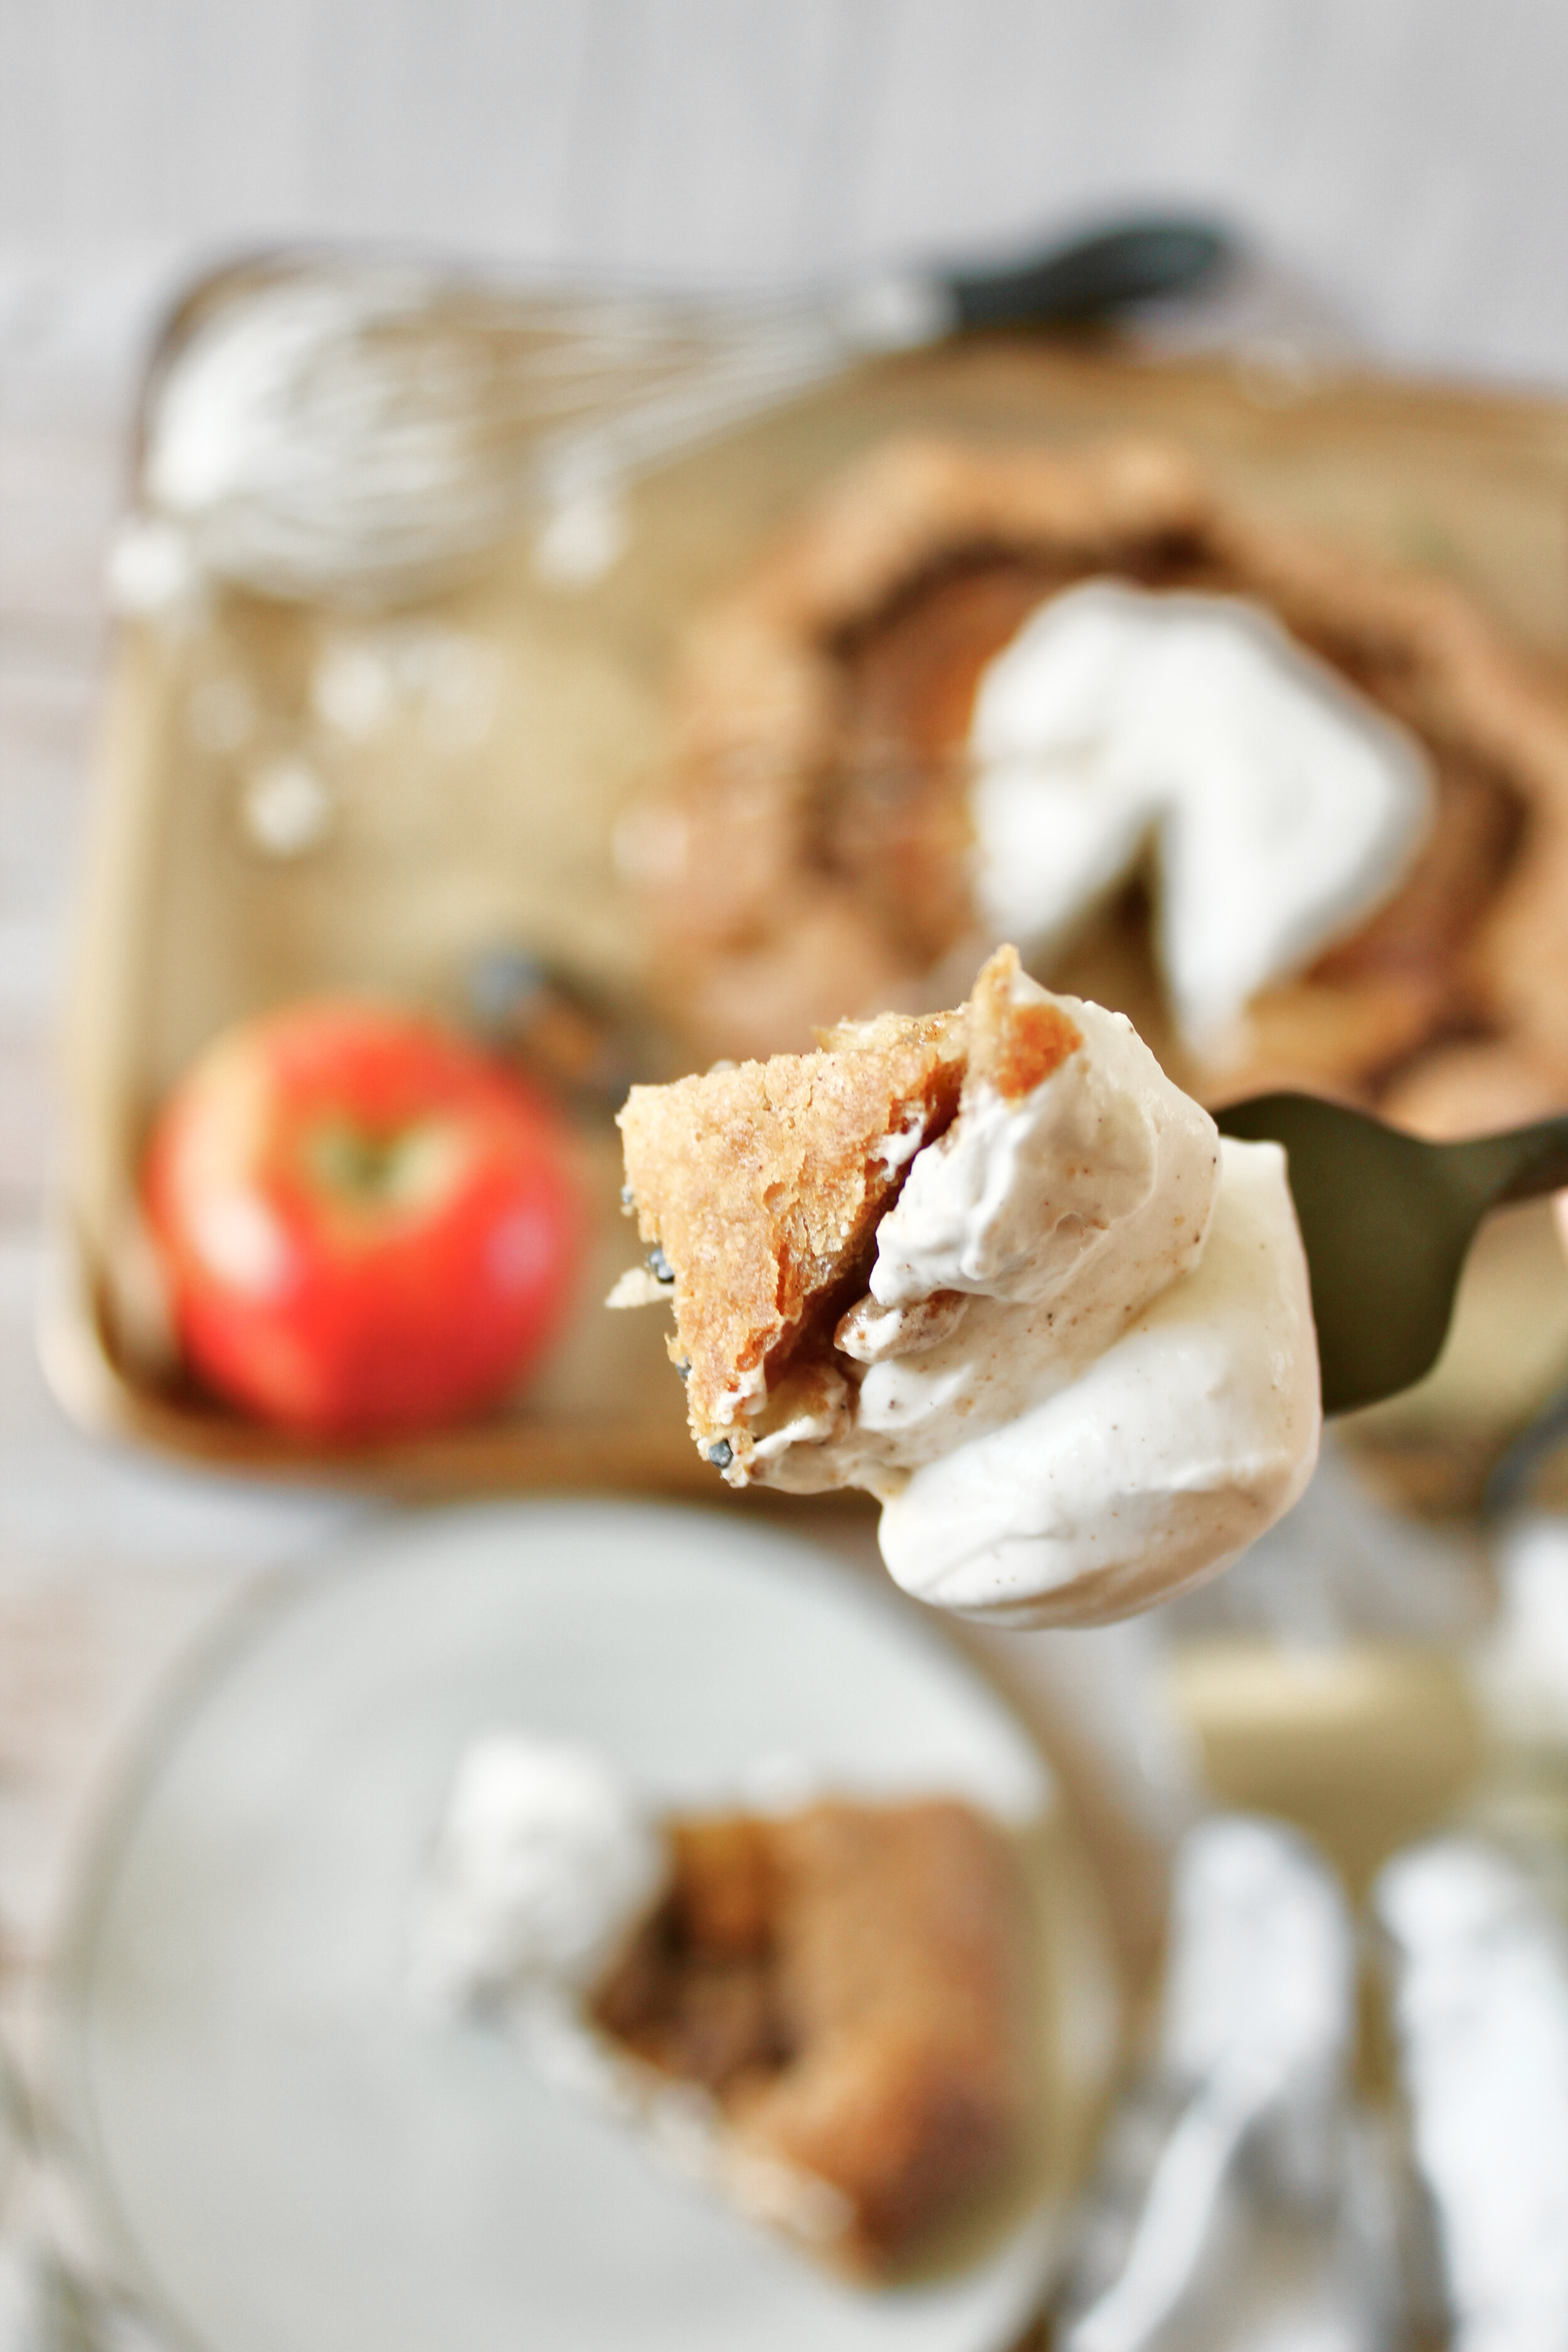
Enjoy!
- Note about flour: be sure to spoon then level the flour into your measuring cup OR weigh it to prevent packing it in and ending up with too much.
- European butter is better for pie crust because it has less water and will make a flakier crust.
- I often use a combination of water and vodka, since the vodka will evaporate faster in baking to create a flakier crust.
