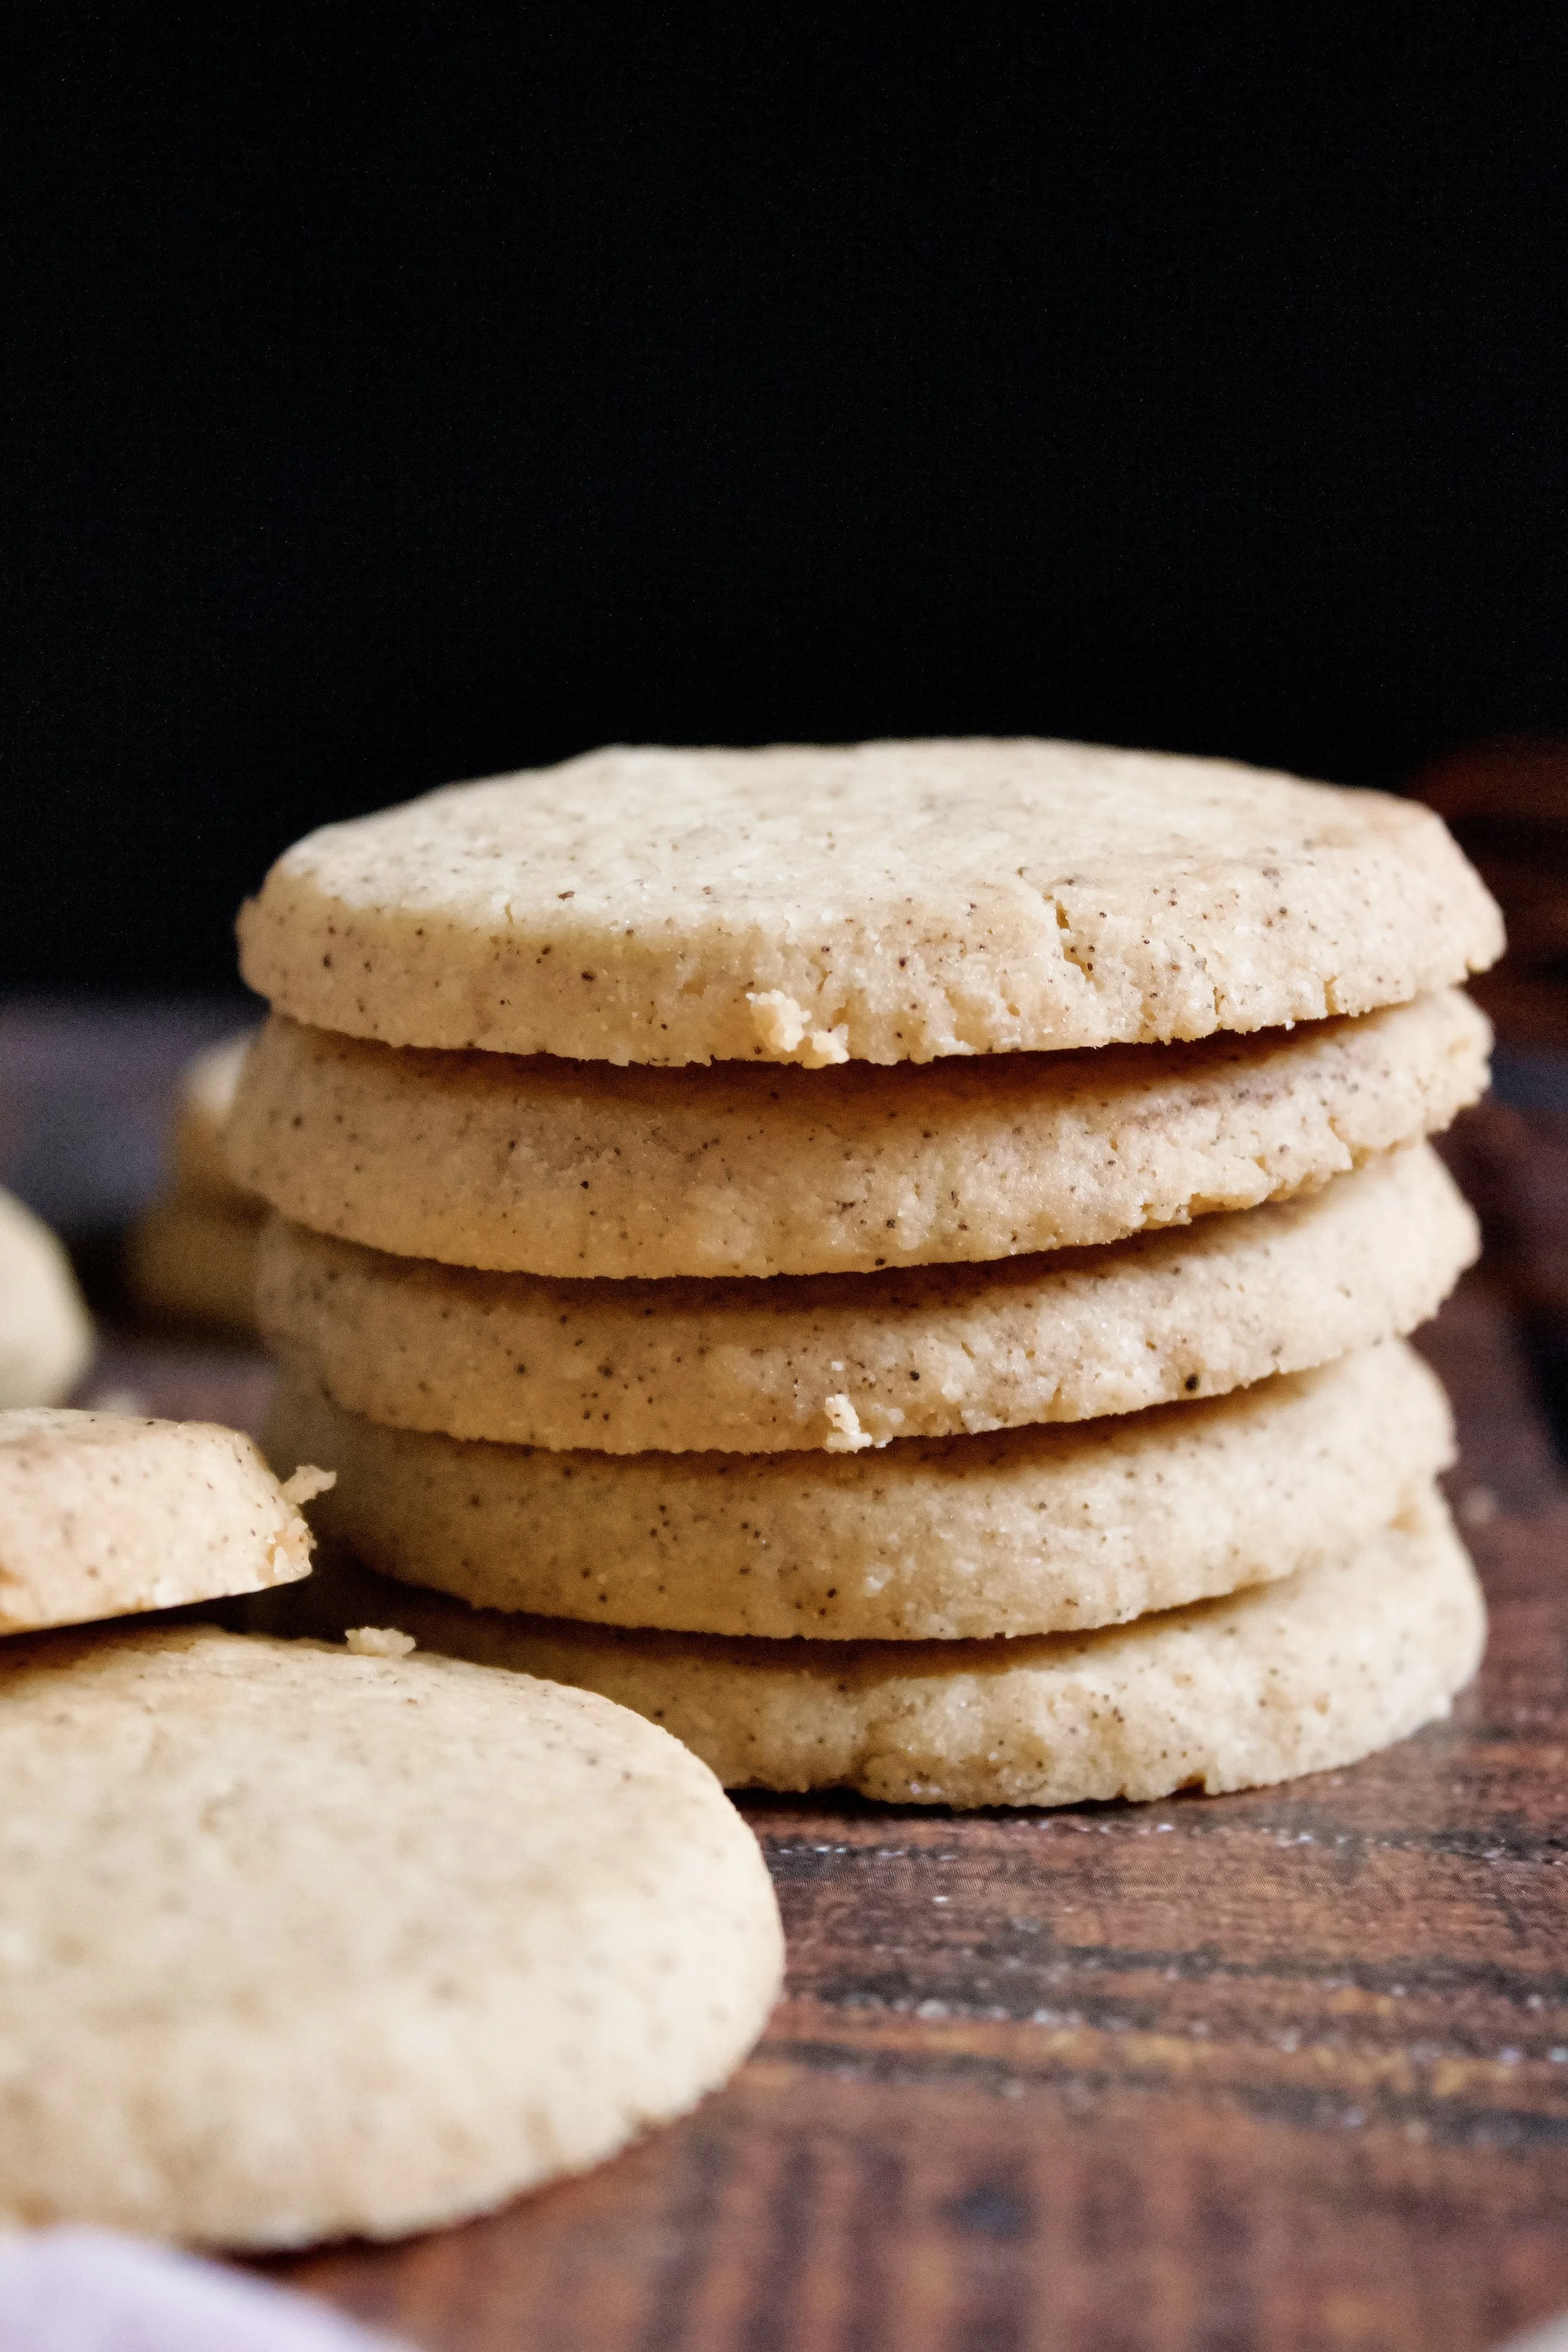
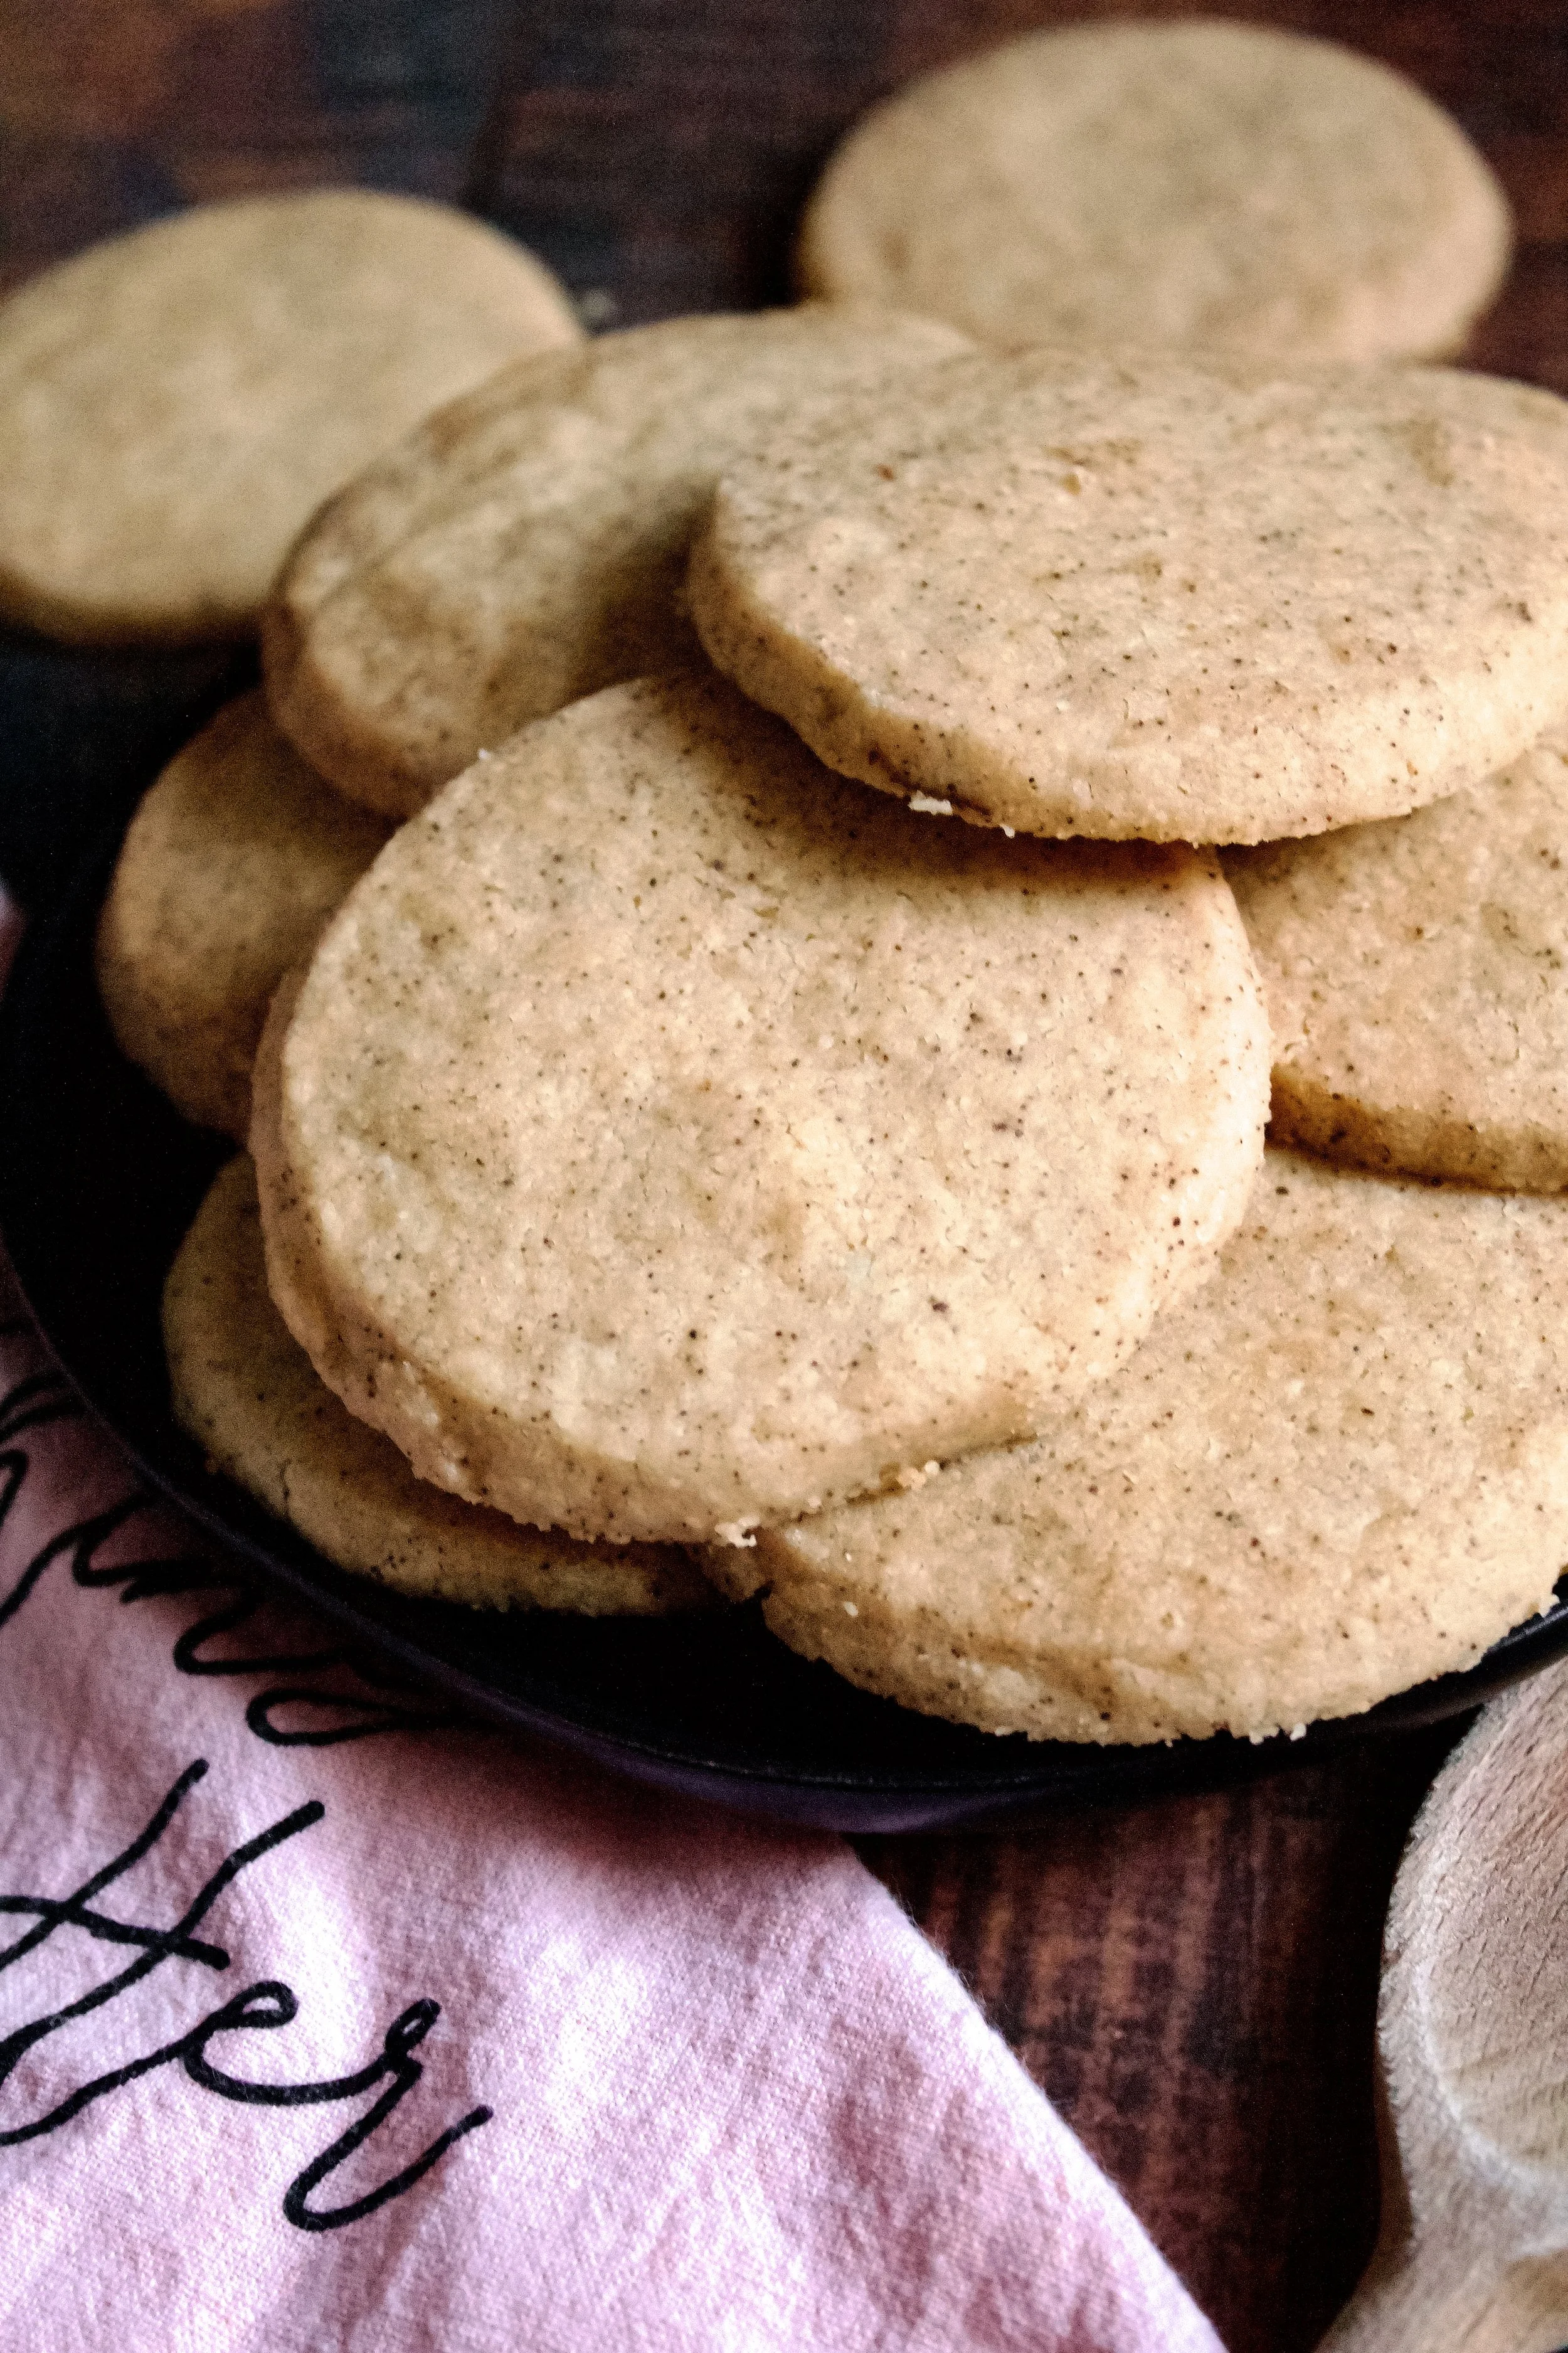
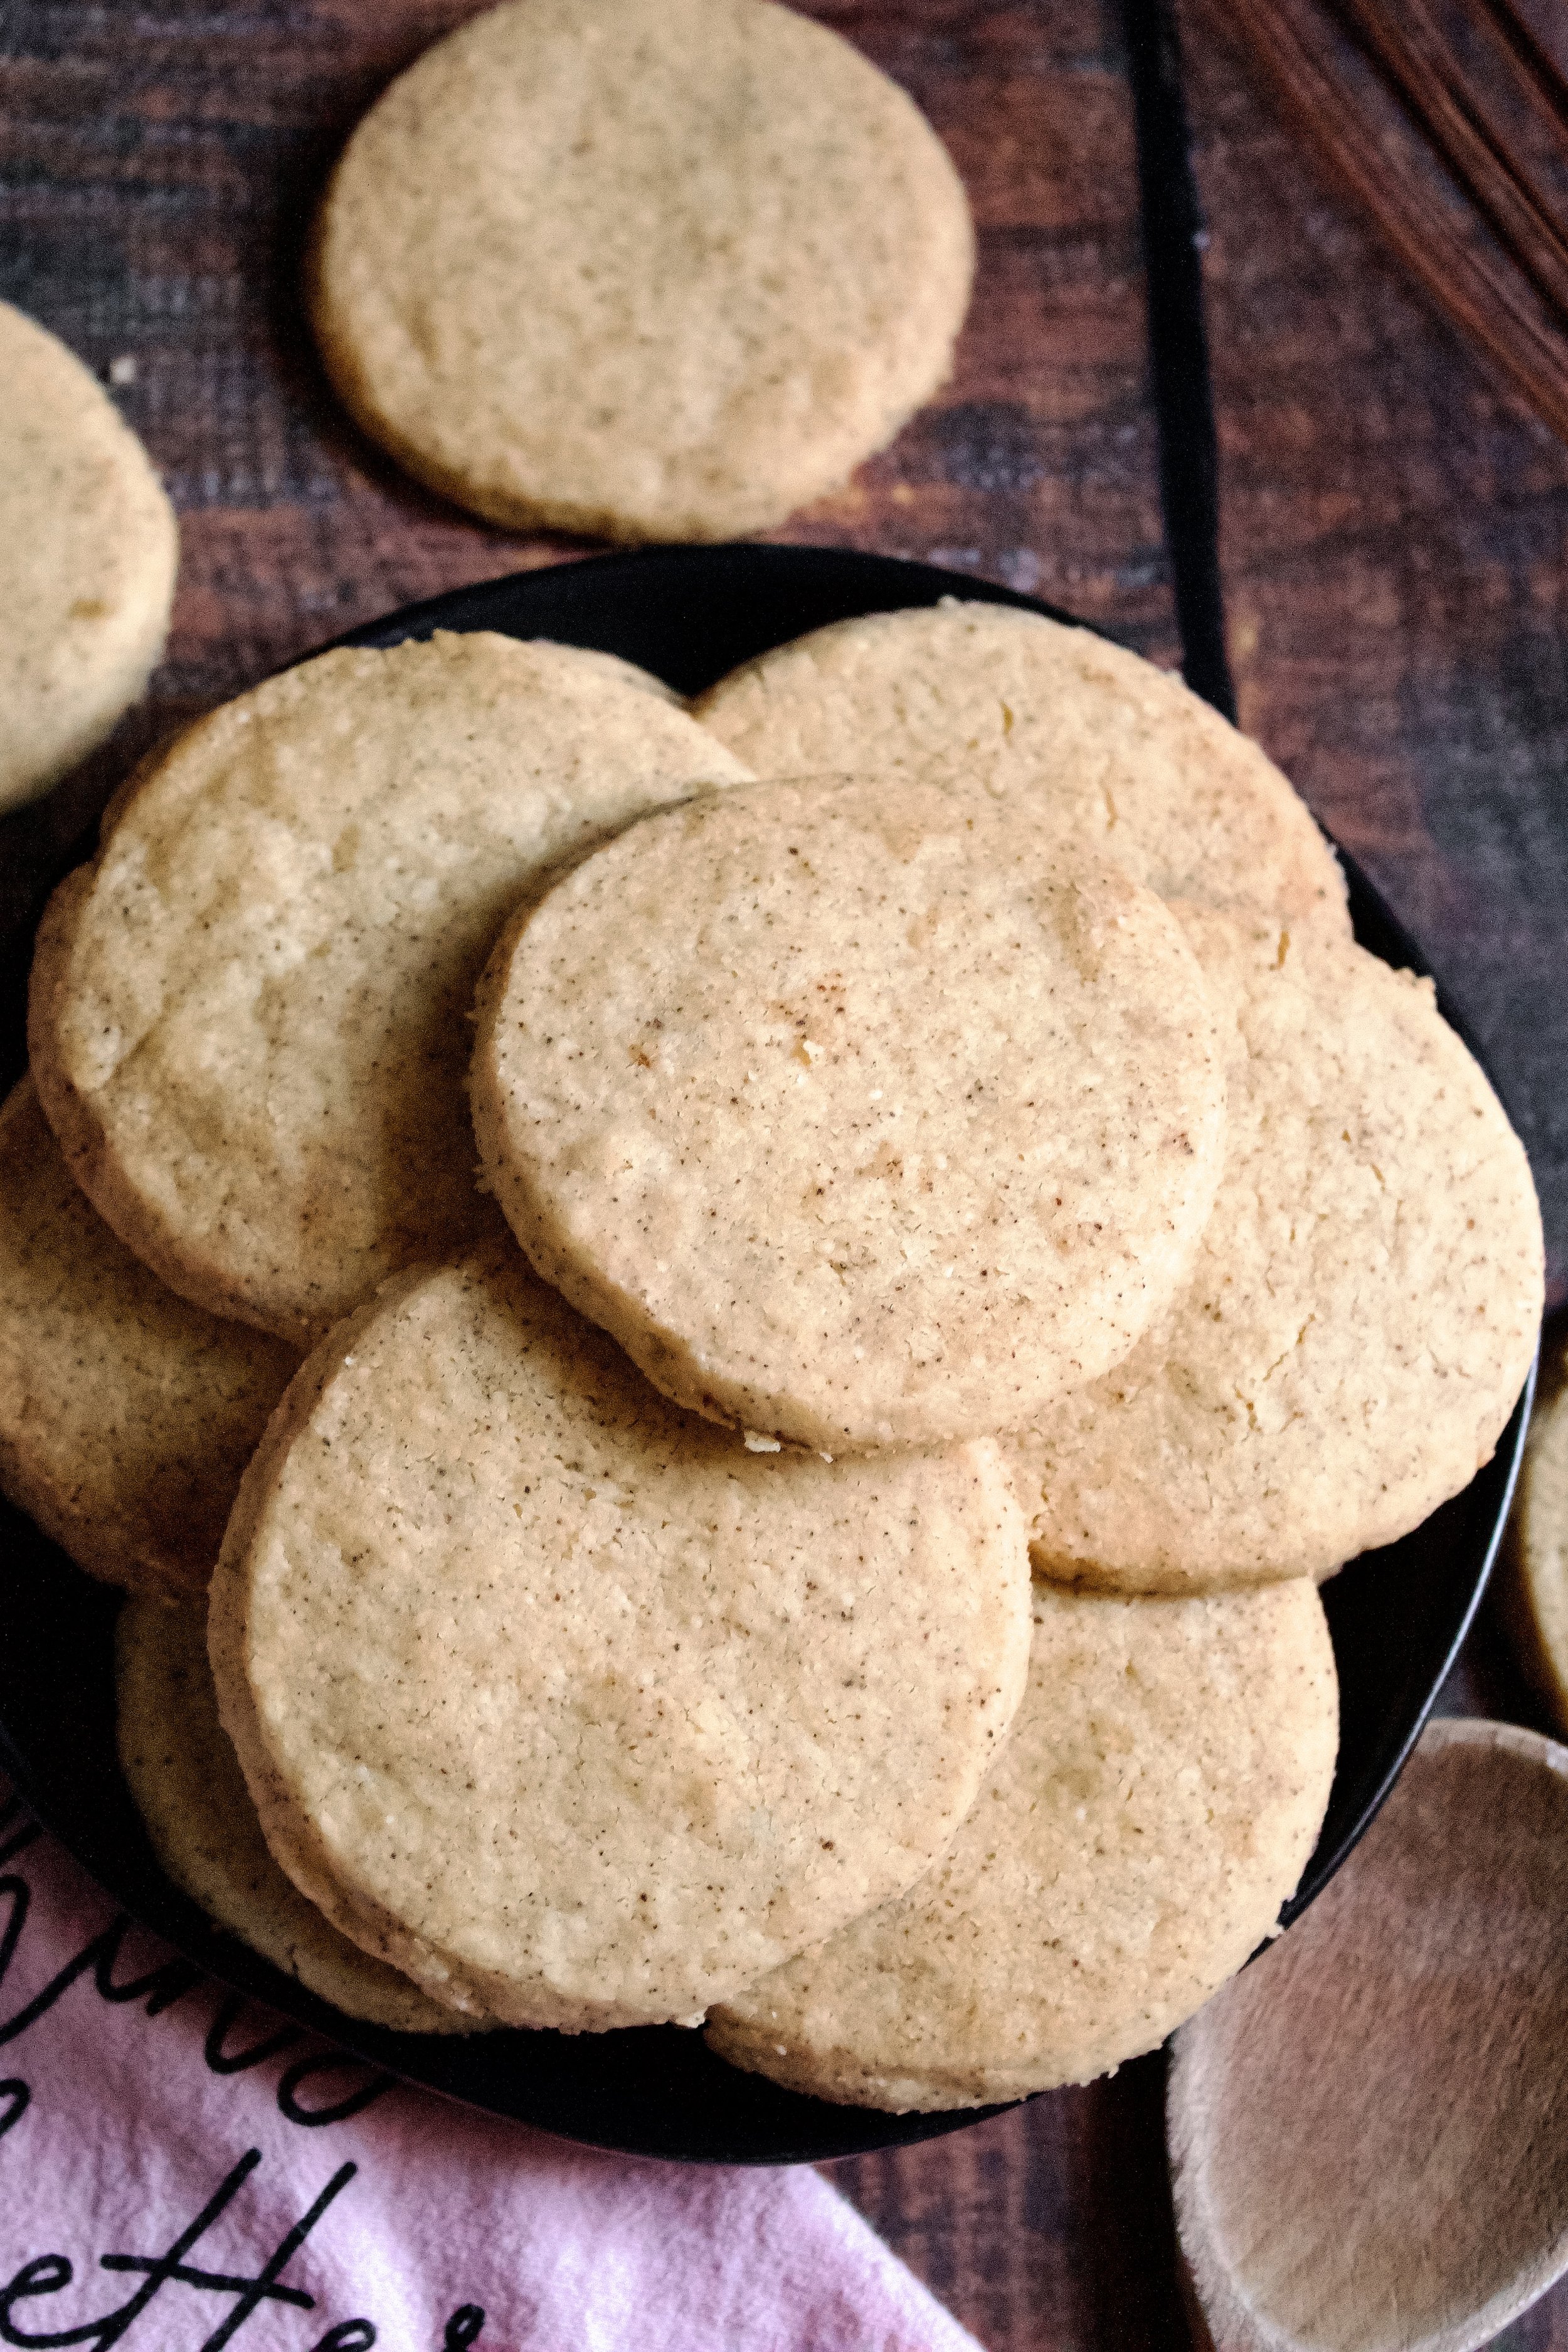
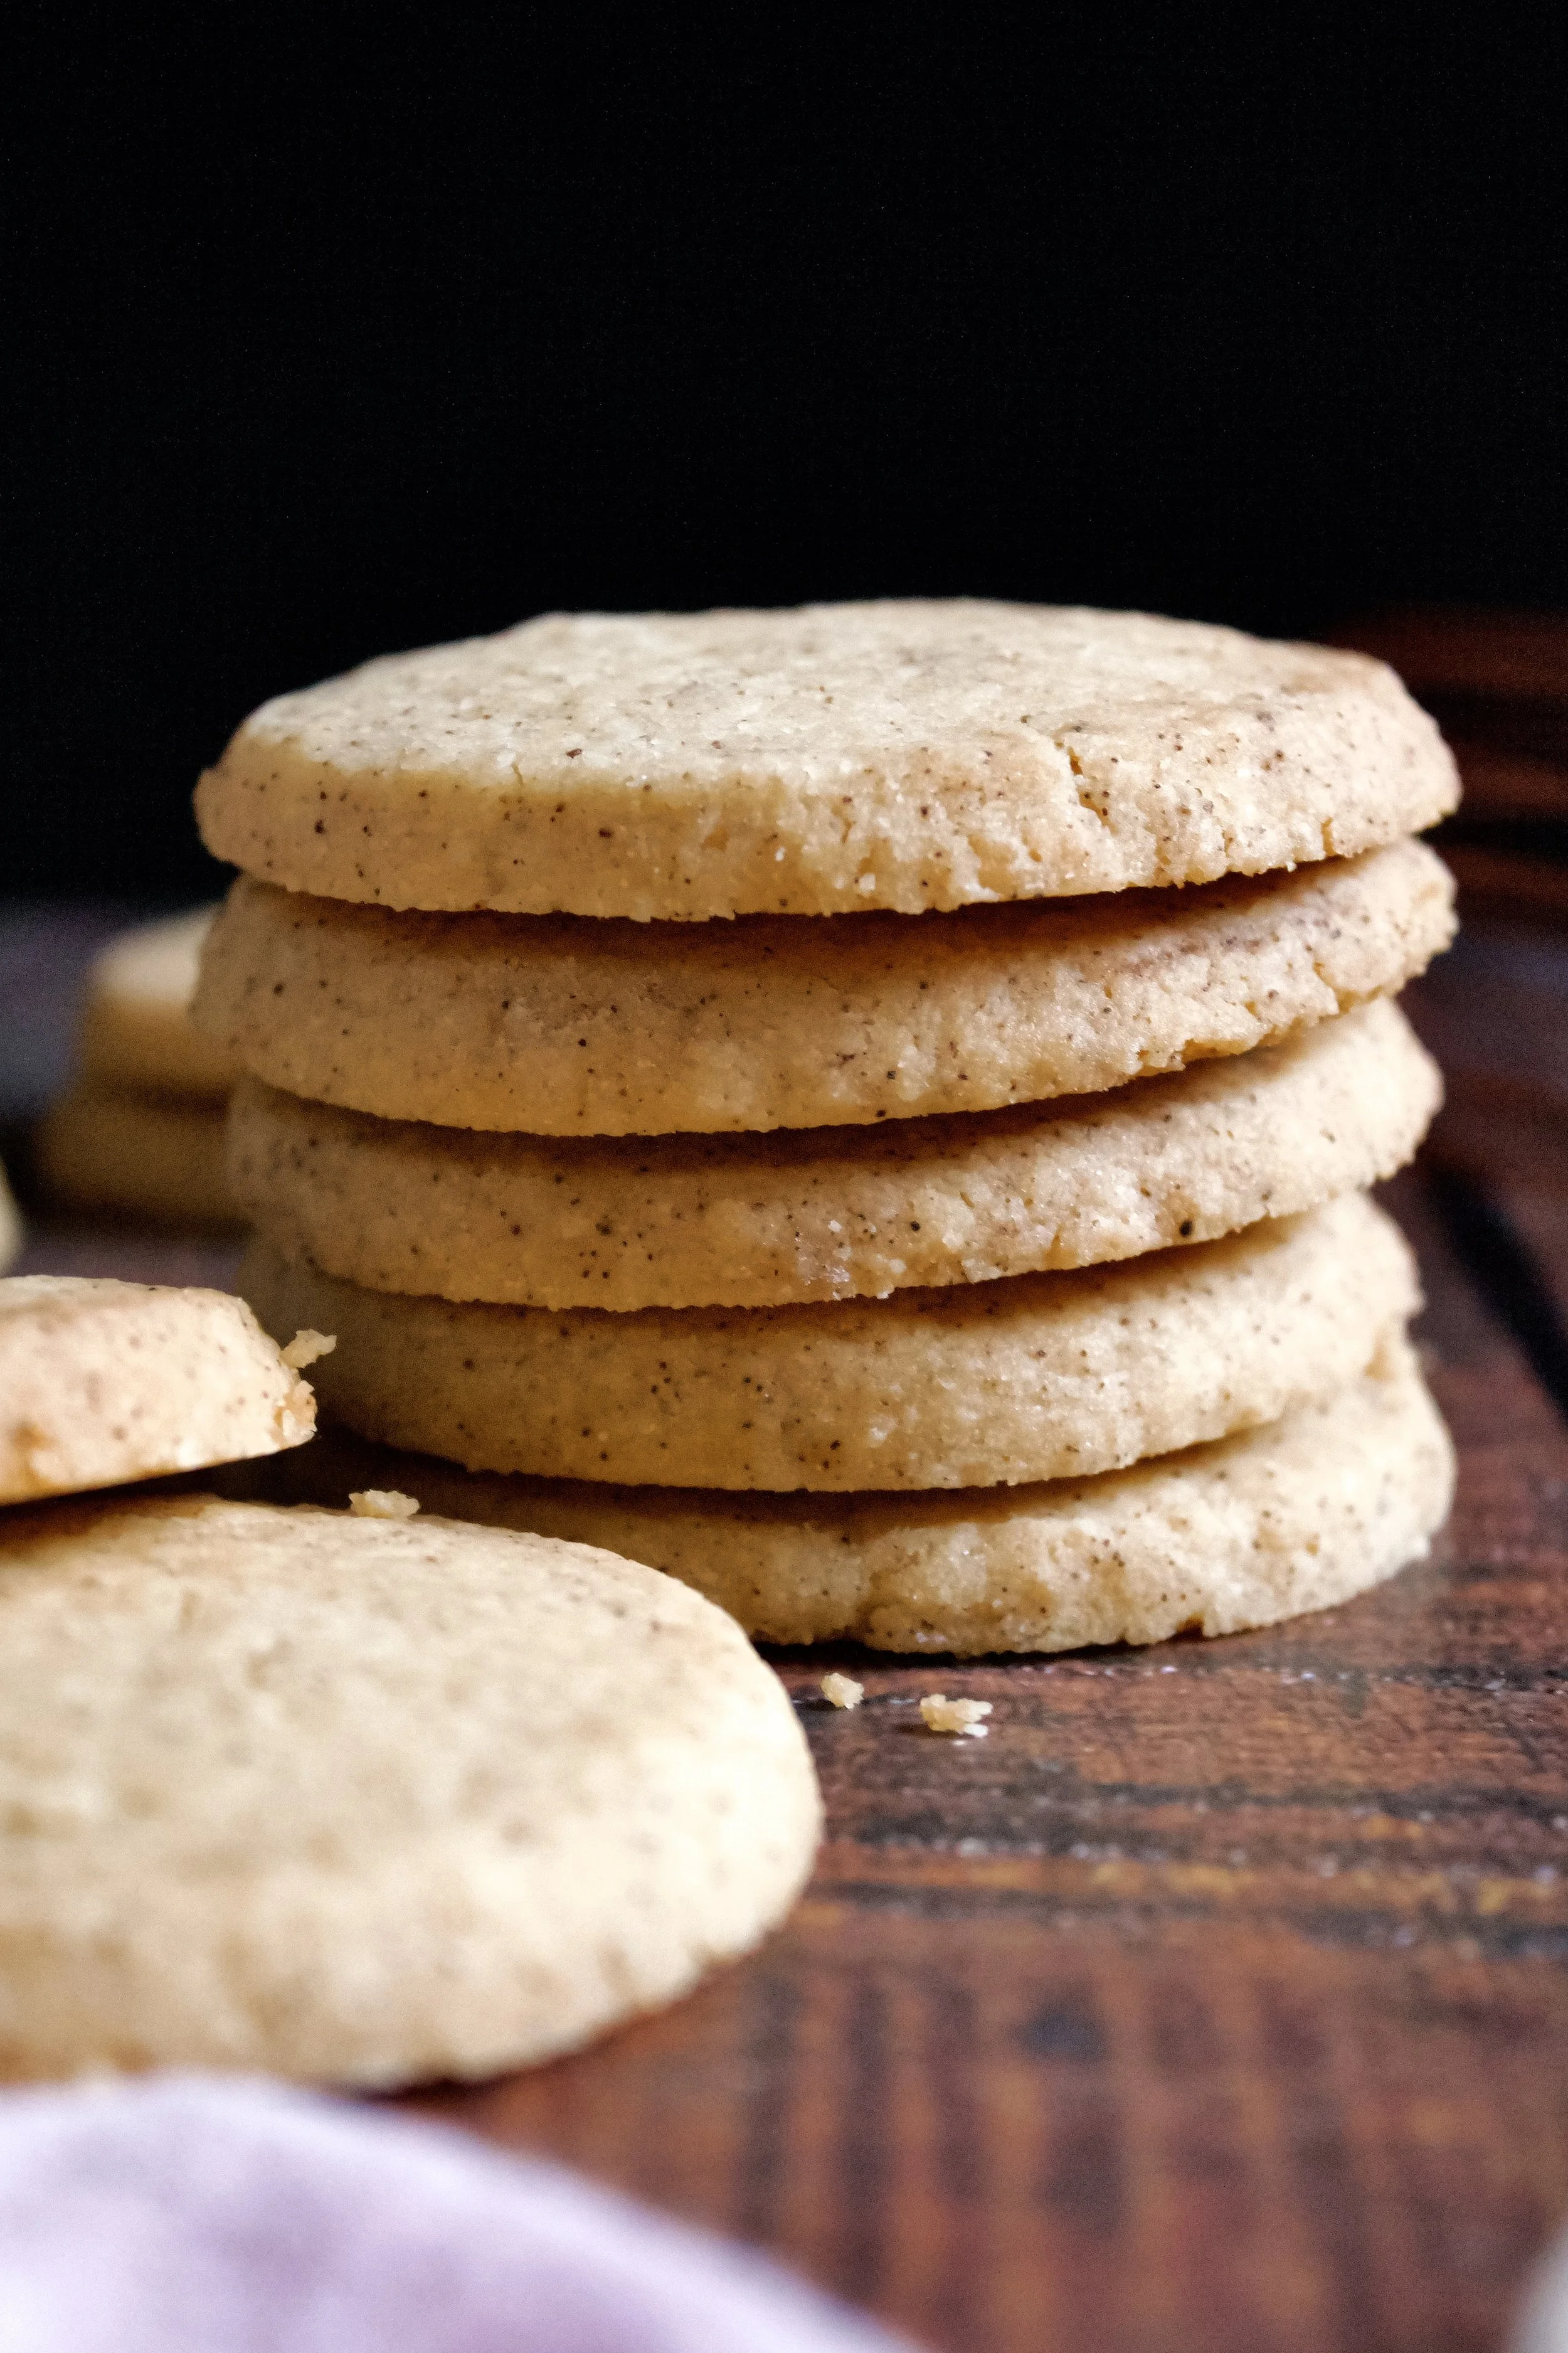
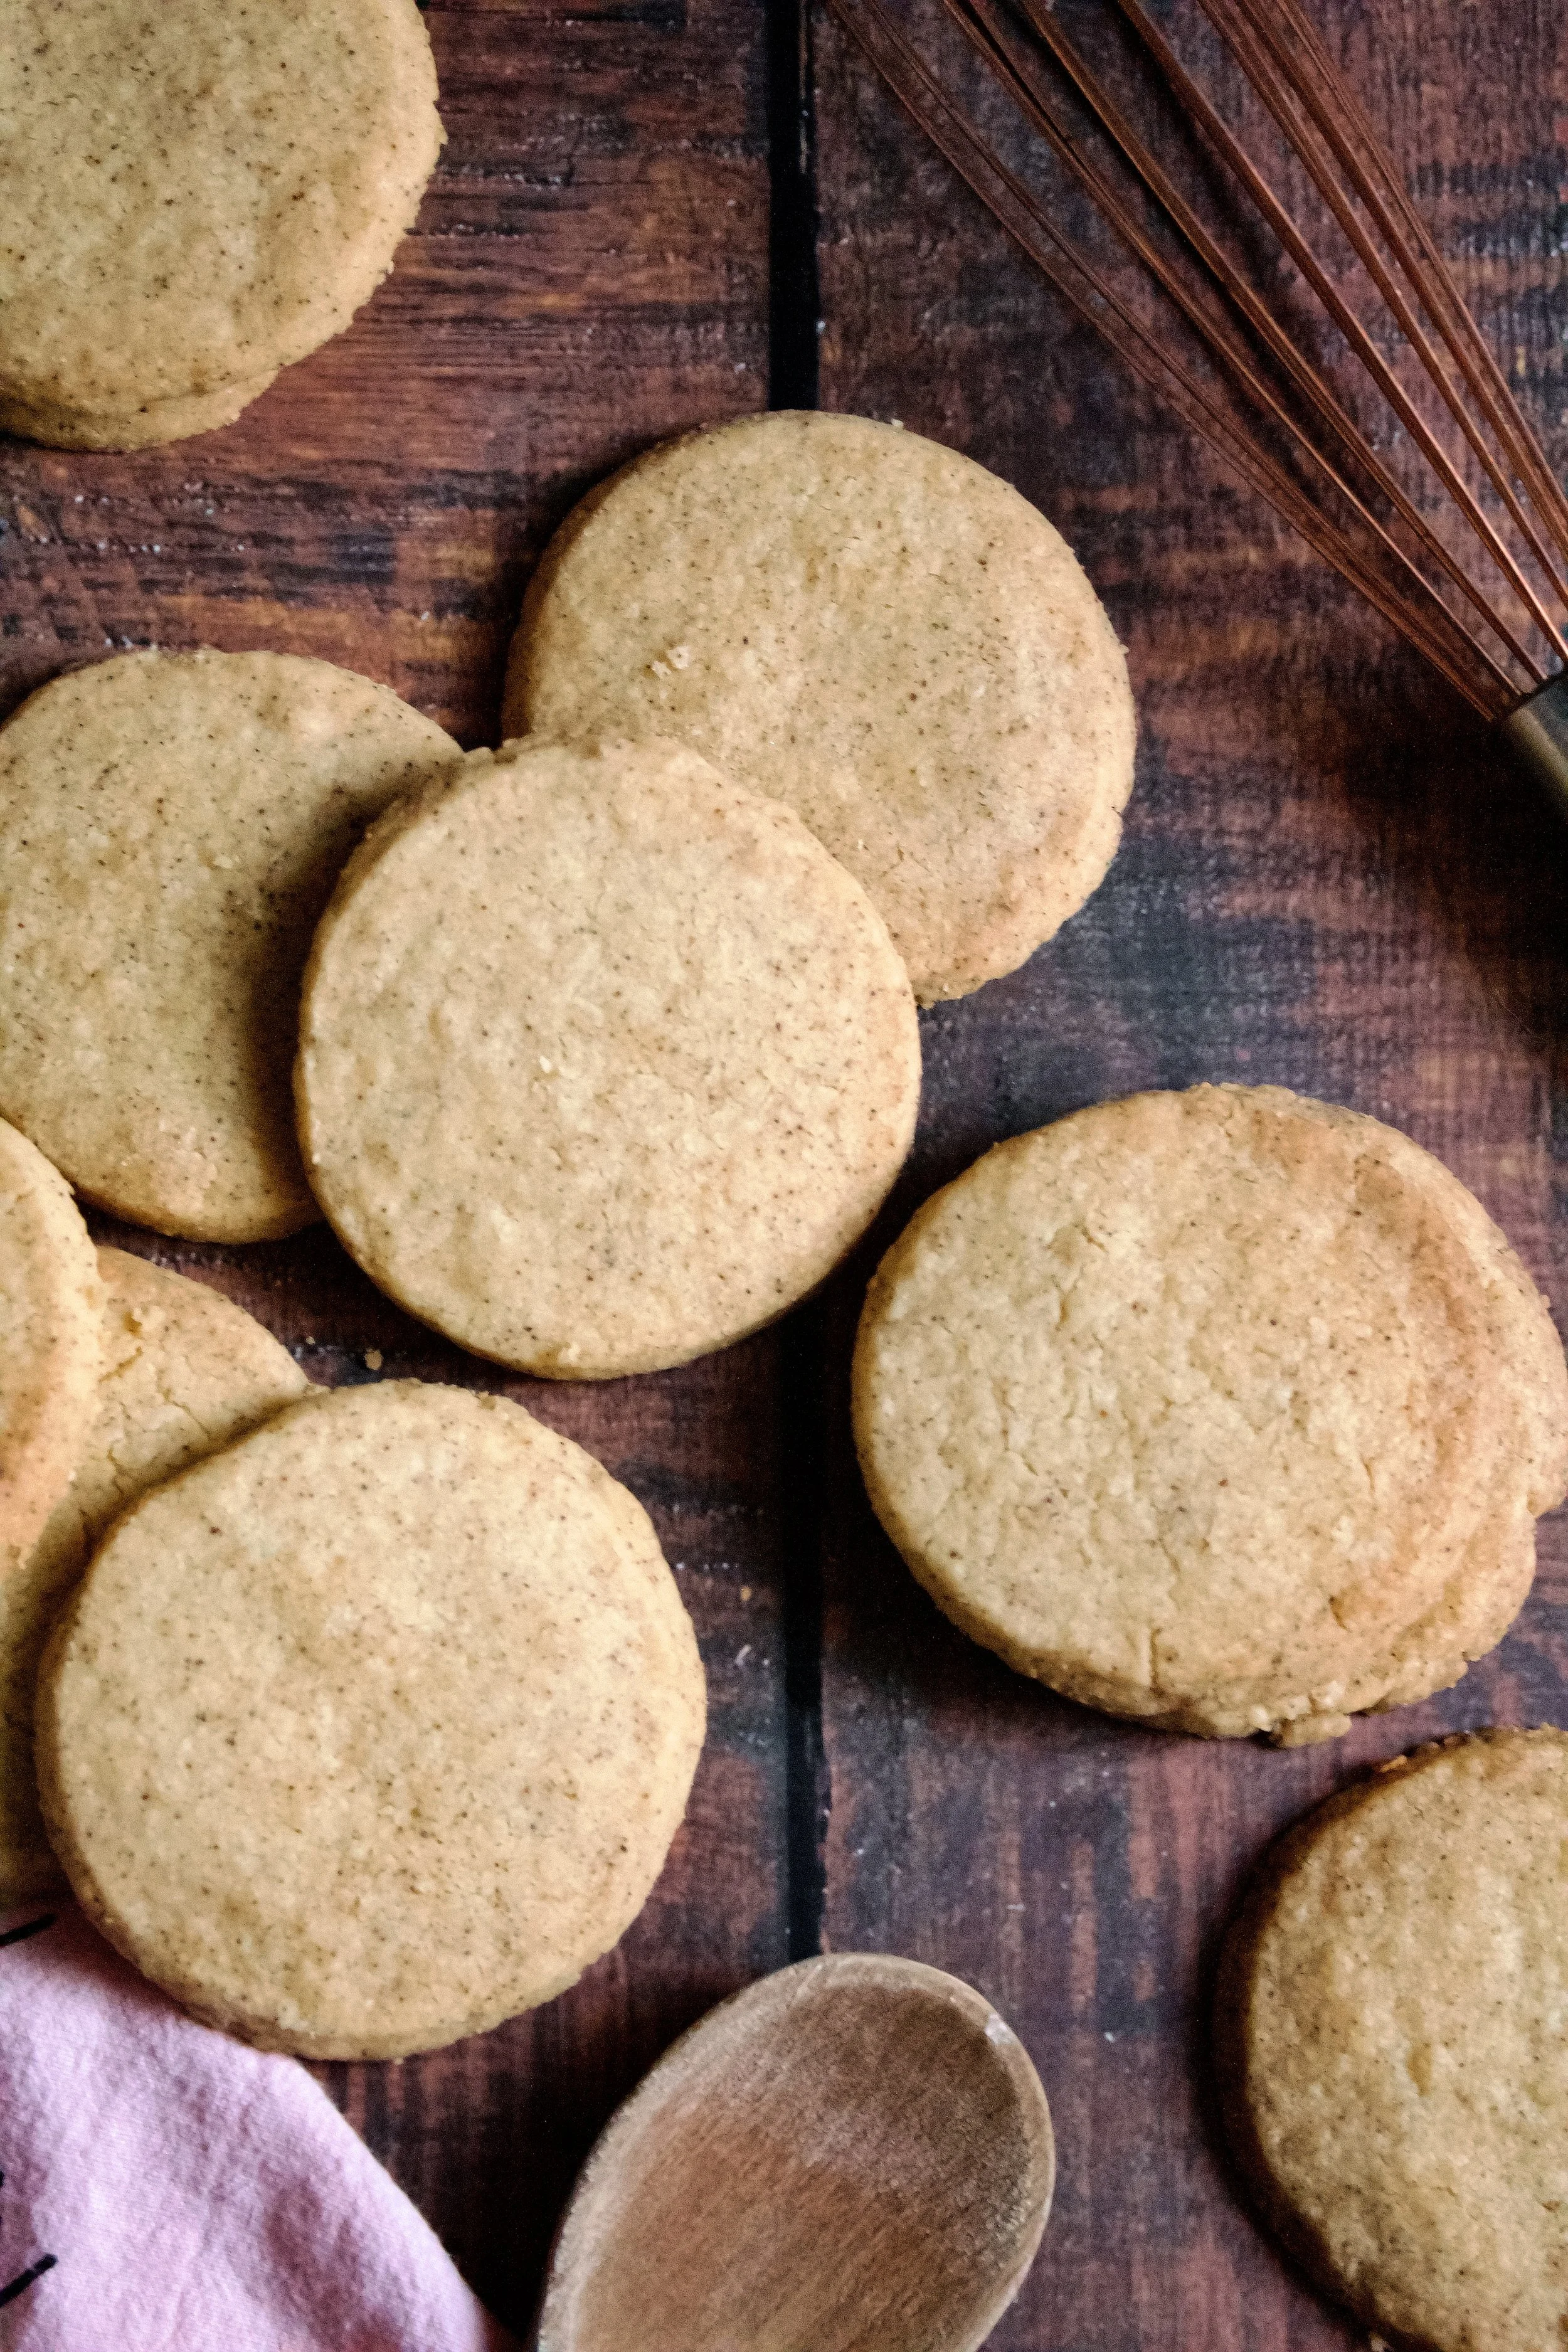
Brown Butter Shortbread
Perfectly tender shortbread made with browned butter for a toasty, nutty flavor and fun pop of color. The browned butter makes these delicious, easy-to-make cookies even more tender, for that perfect melt-in-your-mouth crumble!
This post may contain affiliate links from which, at no additional cost to you, I may earn a small commission to keep this site running. Only products I myself would or do use are recommended.
I’m a little behind in sharing this recipe…like, almost a month. Oops! I made these to celebrate baby Brooklyn turning two months old! If I baked my way through my pregnancy, I figure I have to bake my way through each of her milestones now that she’s here.
January was all about survival. I hate to say it, but it was. Our poor girl has reflux, which impacts so many things. I can’t lay her down after she eats, there’s so much laundry, and her poor tummy is usually uncomfortable, making her cranky. I think it’s why she hates being in the car, although I can now sometimes find a sweet spot of when she’ll tolerate it. But rarely on our needed schedule.
And her sleep. I’m sure half of it is waking up because her tummy hurts or laying down makes her gassiness worse. But she’s a very light sleeper. Can’t fall asleep. Can’t stay asleep. Gets overly tired easily. January saw many rough days and nights of lots of tears just trying to get her to sleep.
But January also saw her first smiles and the first hints of laughter. We started having good days and trips in the car without crying. We went to the zoo as a family and she was generally happy (except for the car ride home…).
So here’s to surviving month two with our (usually) sweet girl.

Why this recipe works
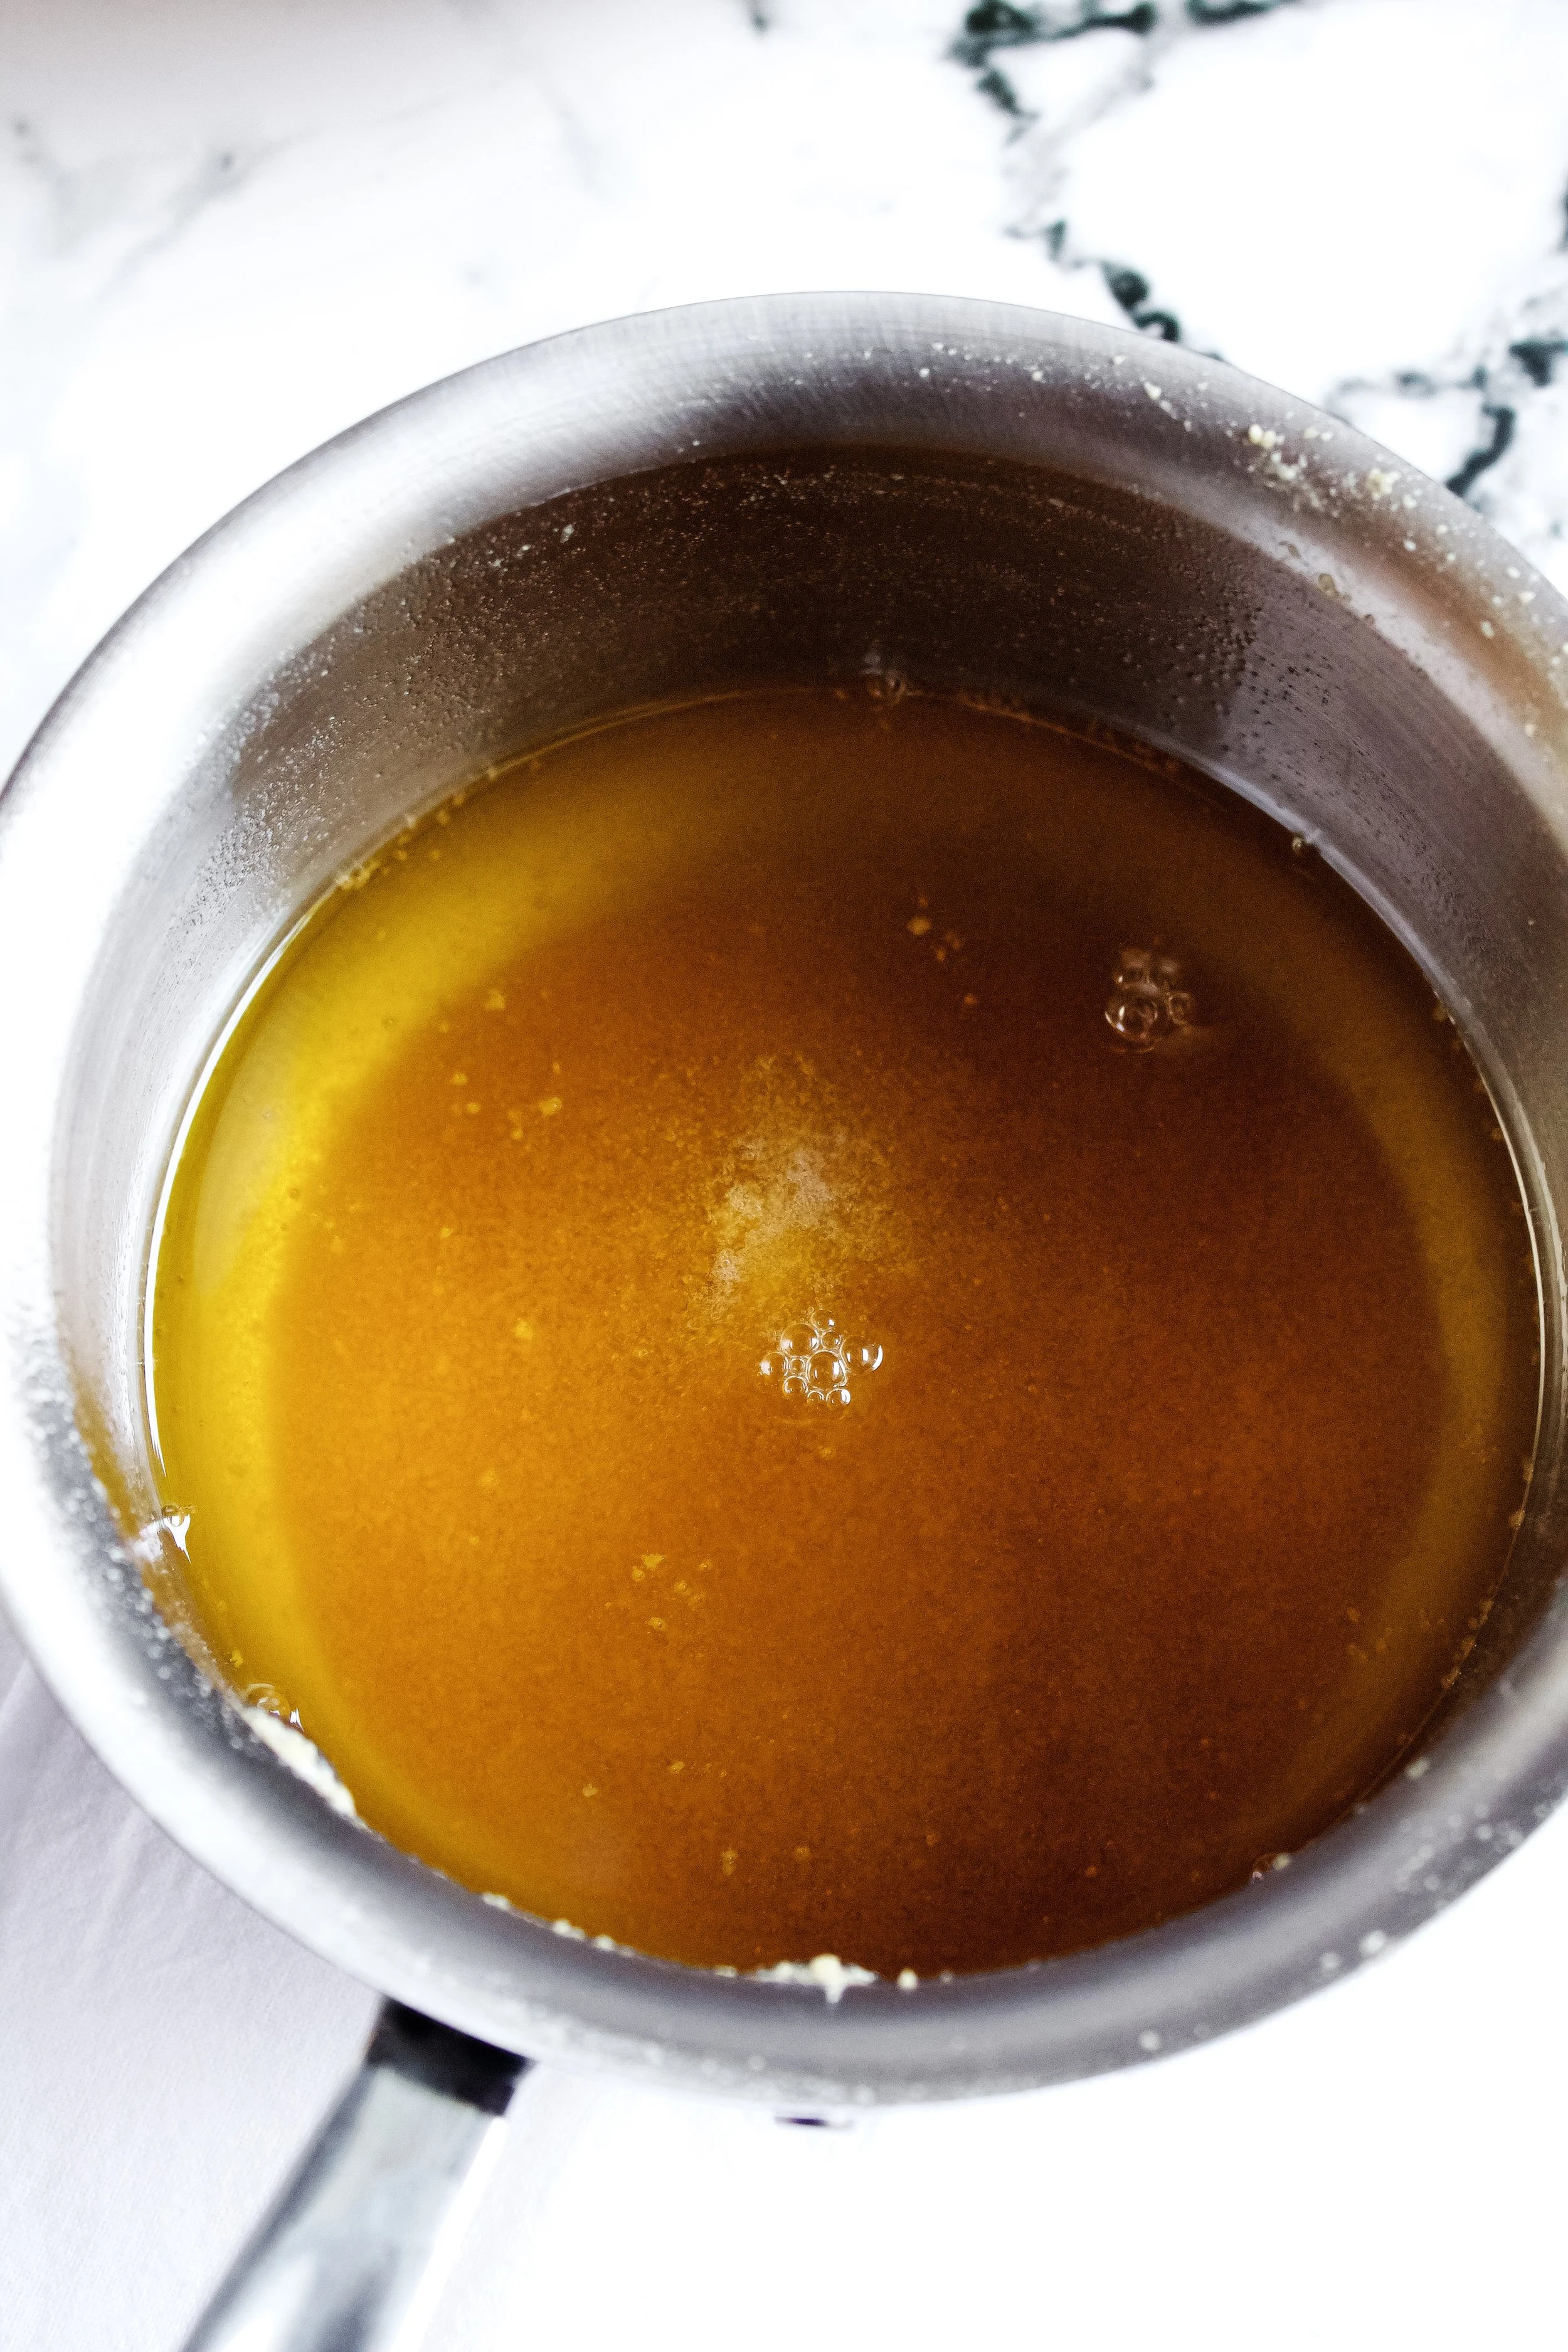
I took my beloved shortbread and simply browned the butter and reduced the flour (since browned butter is reduced in volume). Browning the butter not only makes it a more tender cookie, it also adds a lovely toasty, nutty flavor that is addicting!
As well, European style butter is a game changer. It has far less water and is a MUCH creamier butter, making softer, more tender cookies. I get Kerrygold from Costco (in fact, it keeps going on sale and now we have at least 18 pounds in our fridge for all my summer baking…). But any European style butter will do. I often use salted butter, meaning I only add a pinch of salt. This is because I know Kerrygold and know how salty it will make my dessert. If you’re using a different brand or are unsure, try to use unsalted so you can better control the salt.
The other secret to my shortbread is powdered sugar. It is a very fine texture, meaning you’ll get a smooth, fluffy dough without any large sugar crystals. And while some recipes call for beating granulated sugar until nearly dissolved, I’ve found that to be 1. often impossible and 2. too much air in the dough for the delicate, crumbly cookie we want. Additionally, confectioner’s sugar has a small bit of cornstarch. Cornstarch is that secret rising agent that gives just a slight poof. It keeps these cookies from being dense yet isn’t powerful enough (like baking powder/soda) to make them rise like a chocolate chip cookie. It creates that perfect in-between rise.
Key ingredients
Butter. As mentioned above, always use European style butter in shortbread. It’s creamier and has less water.
Confectioner’s sugar. This is the secret to the tender texture and perfect sweetness of these cookies.
Vanilla extract. Use pure vanilla extract, not imitation.
Salt. Only use a pinch or so if using salted butter.
Flour. Optionally, you can sift this before using, making the cookies even more tender and delicate.
How to make brown butter shortbread
1. Brown your butter. This will take about 10 minutes over medium heat. Be sure to use a medium to large pan, because the butter will bubble up to about 10x its original volume. Learn from my greasy, buttery messes and use a larger pan than you think you’ll need! Once the bubbling starts to calm down and you see brown streaks as you stir and smell a nutty aroma, it should be cooked. Let cool completely (it will become opaque).
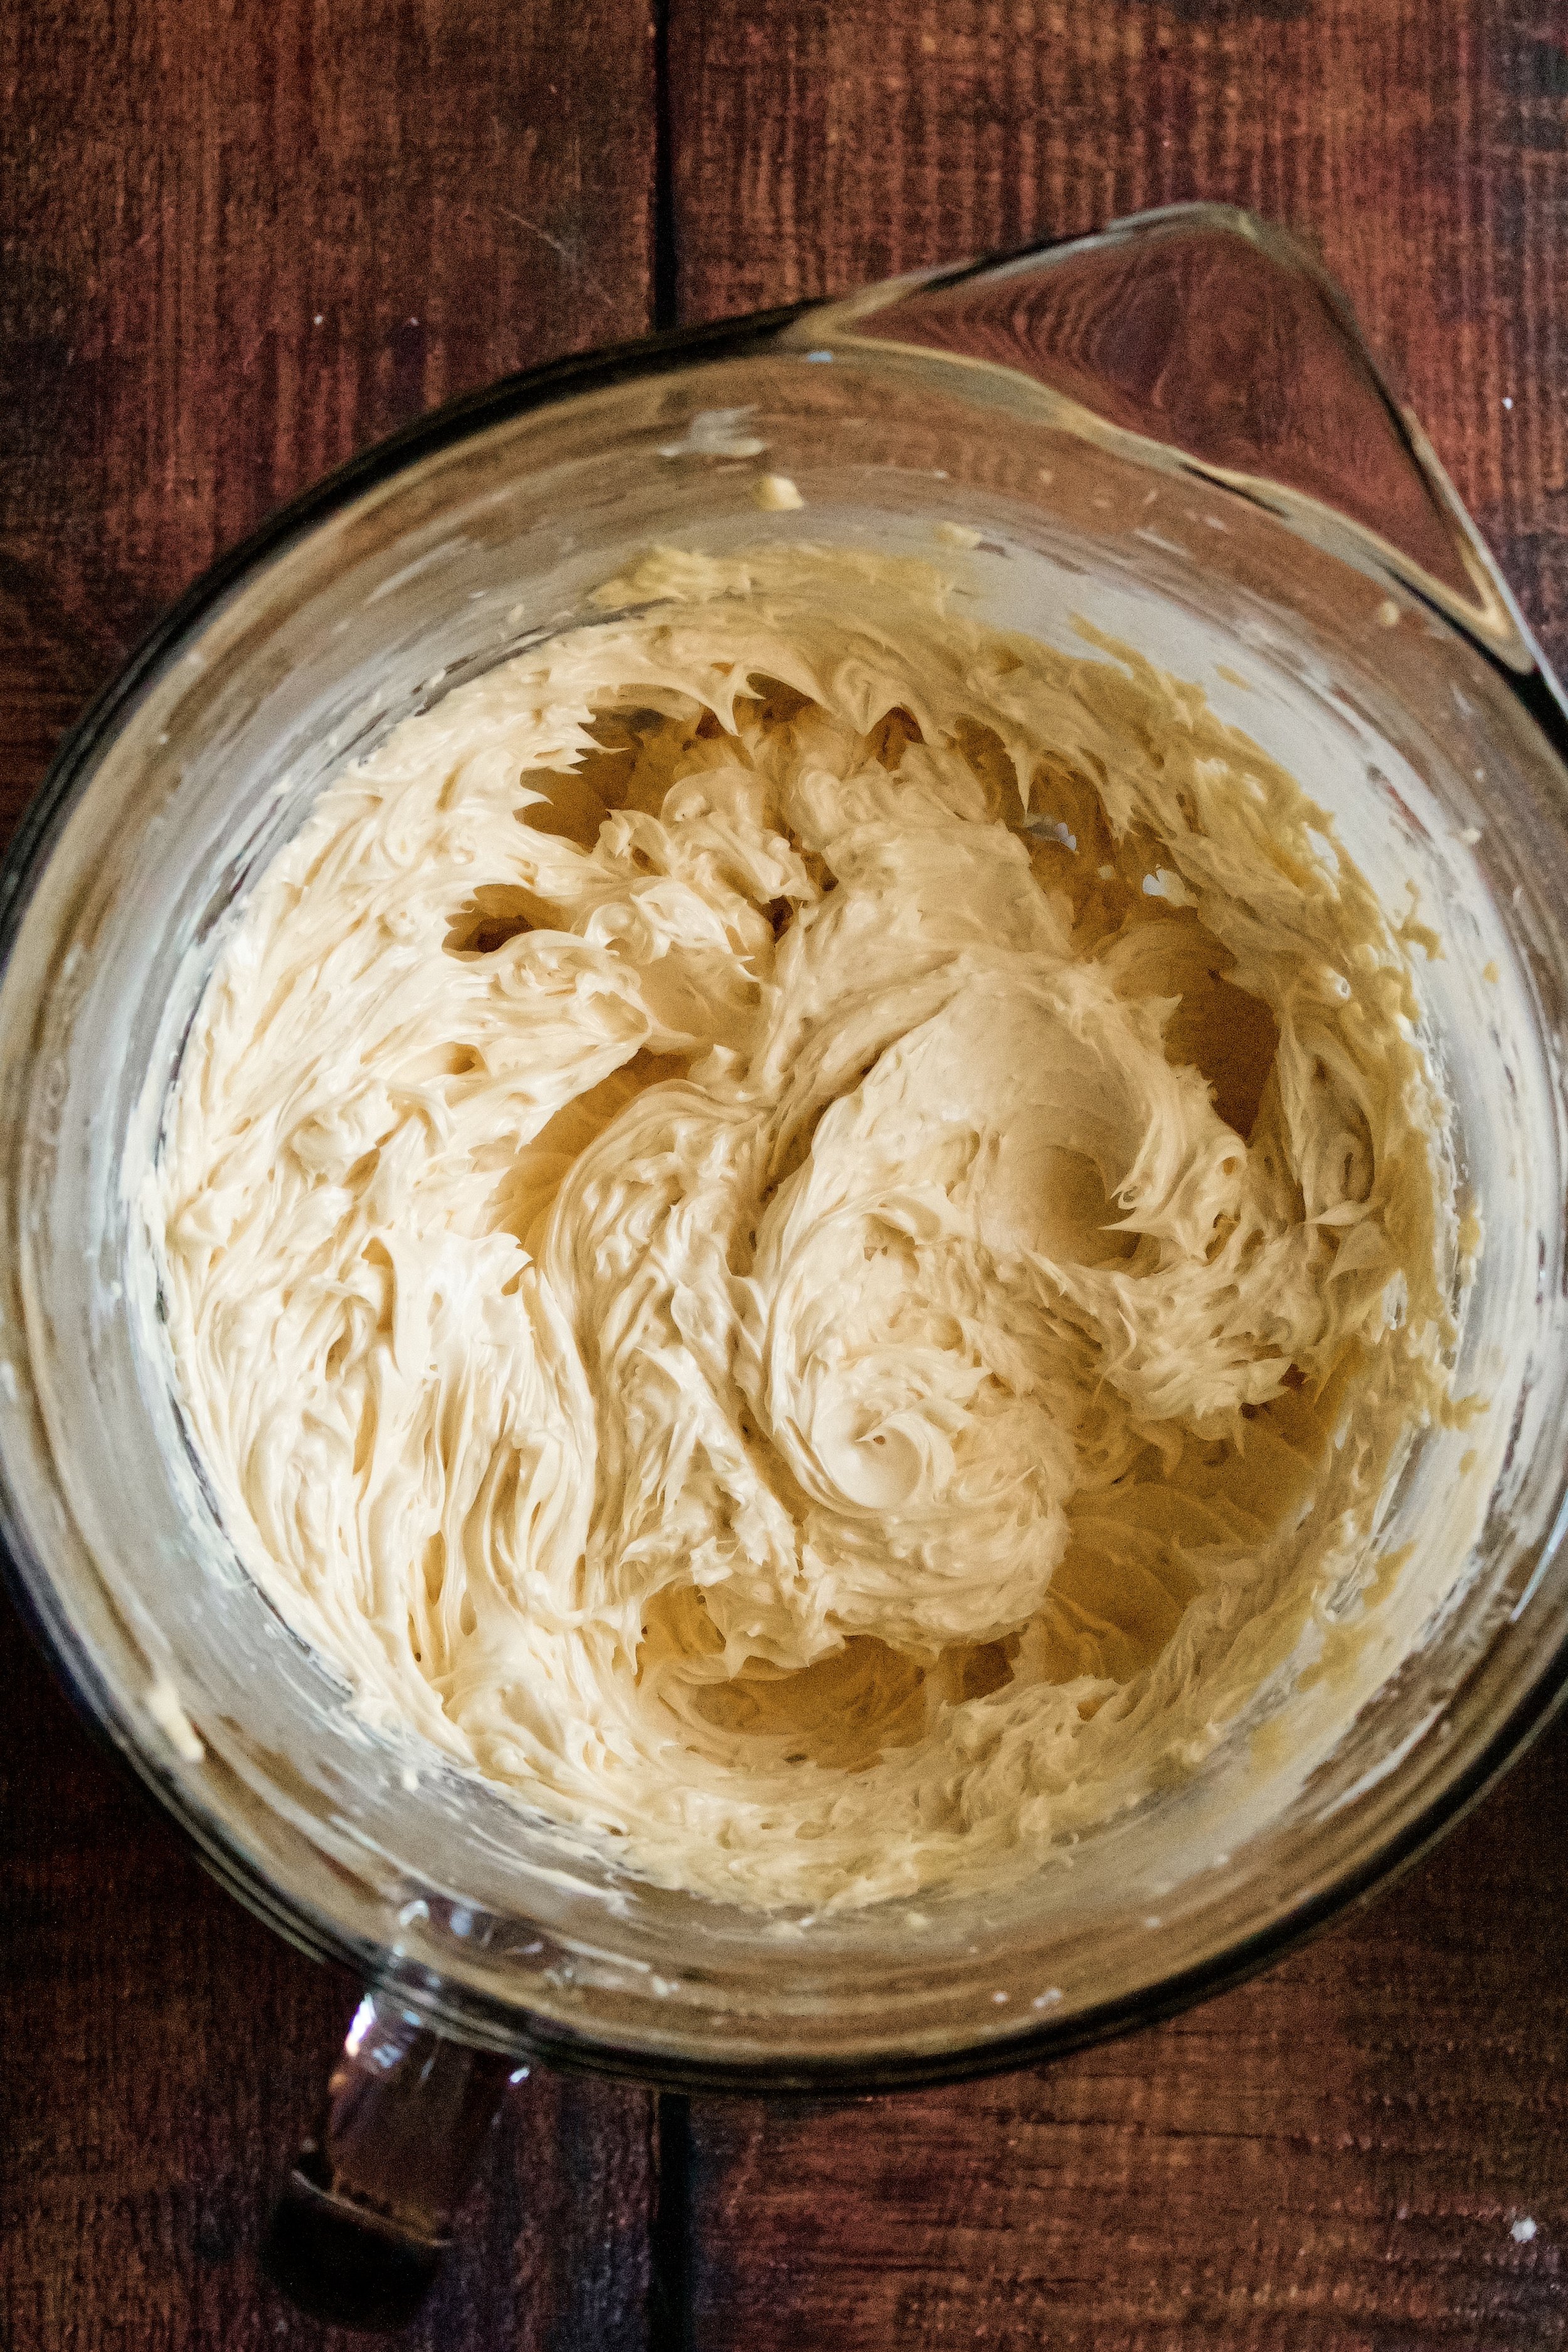
2. Cream cooled butter and powdered sugar. You don’t need to beat it for a long time, just make sure it’s well-combined and perfectly smooth.
3. Add vanilla and salt. Reduce salt to a pinch if you used salted butter. Be sure it’s very smooth so that the flour can be mixed in minimally.
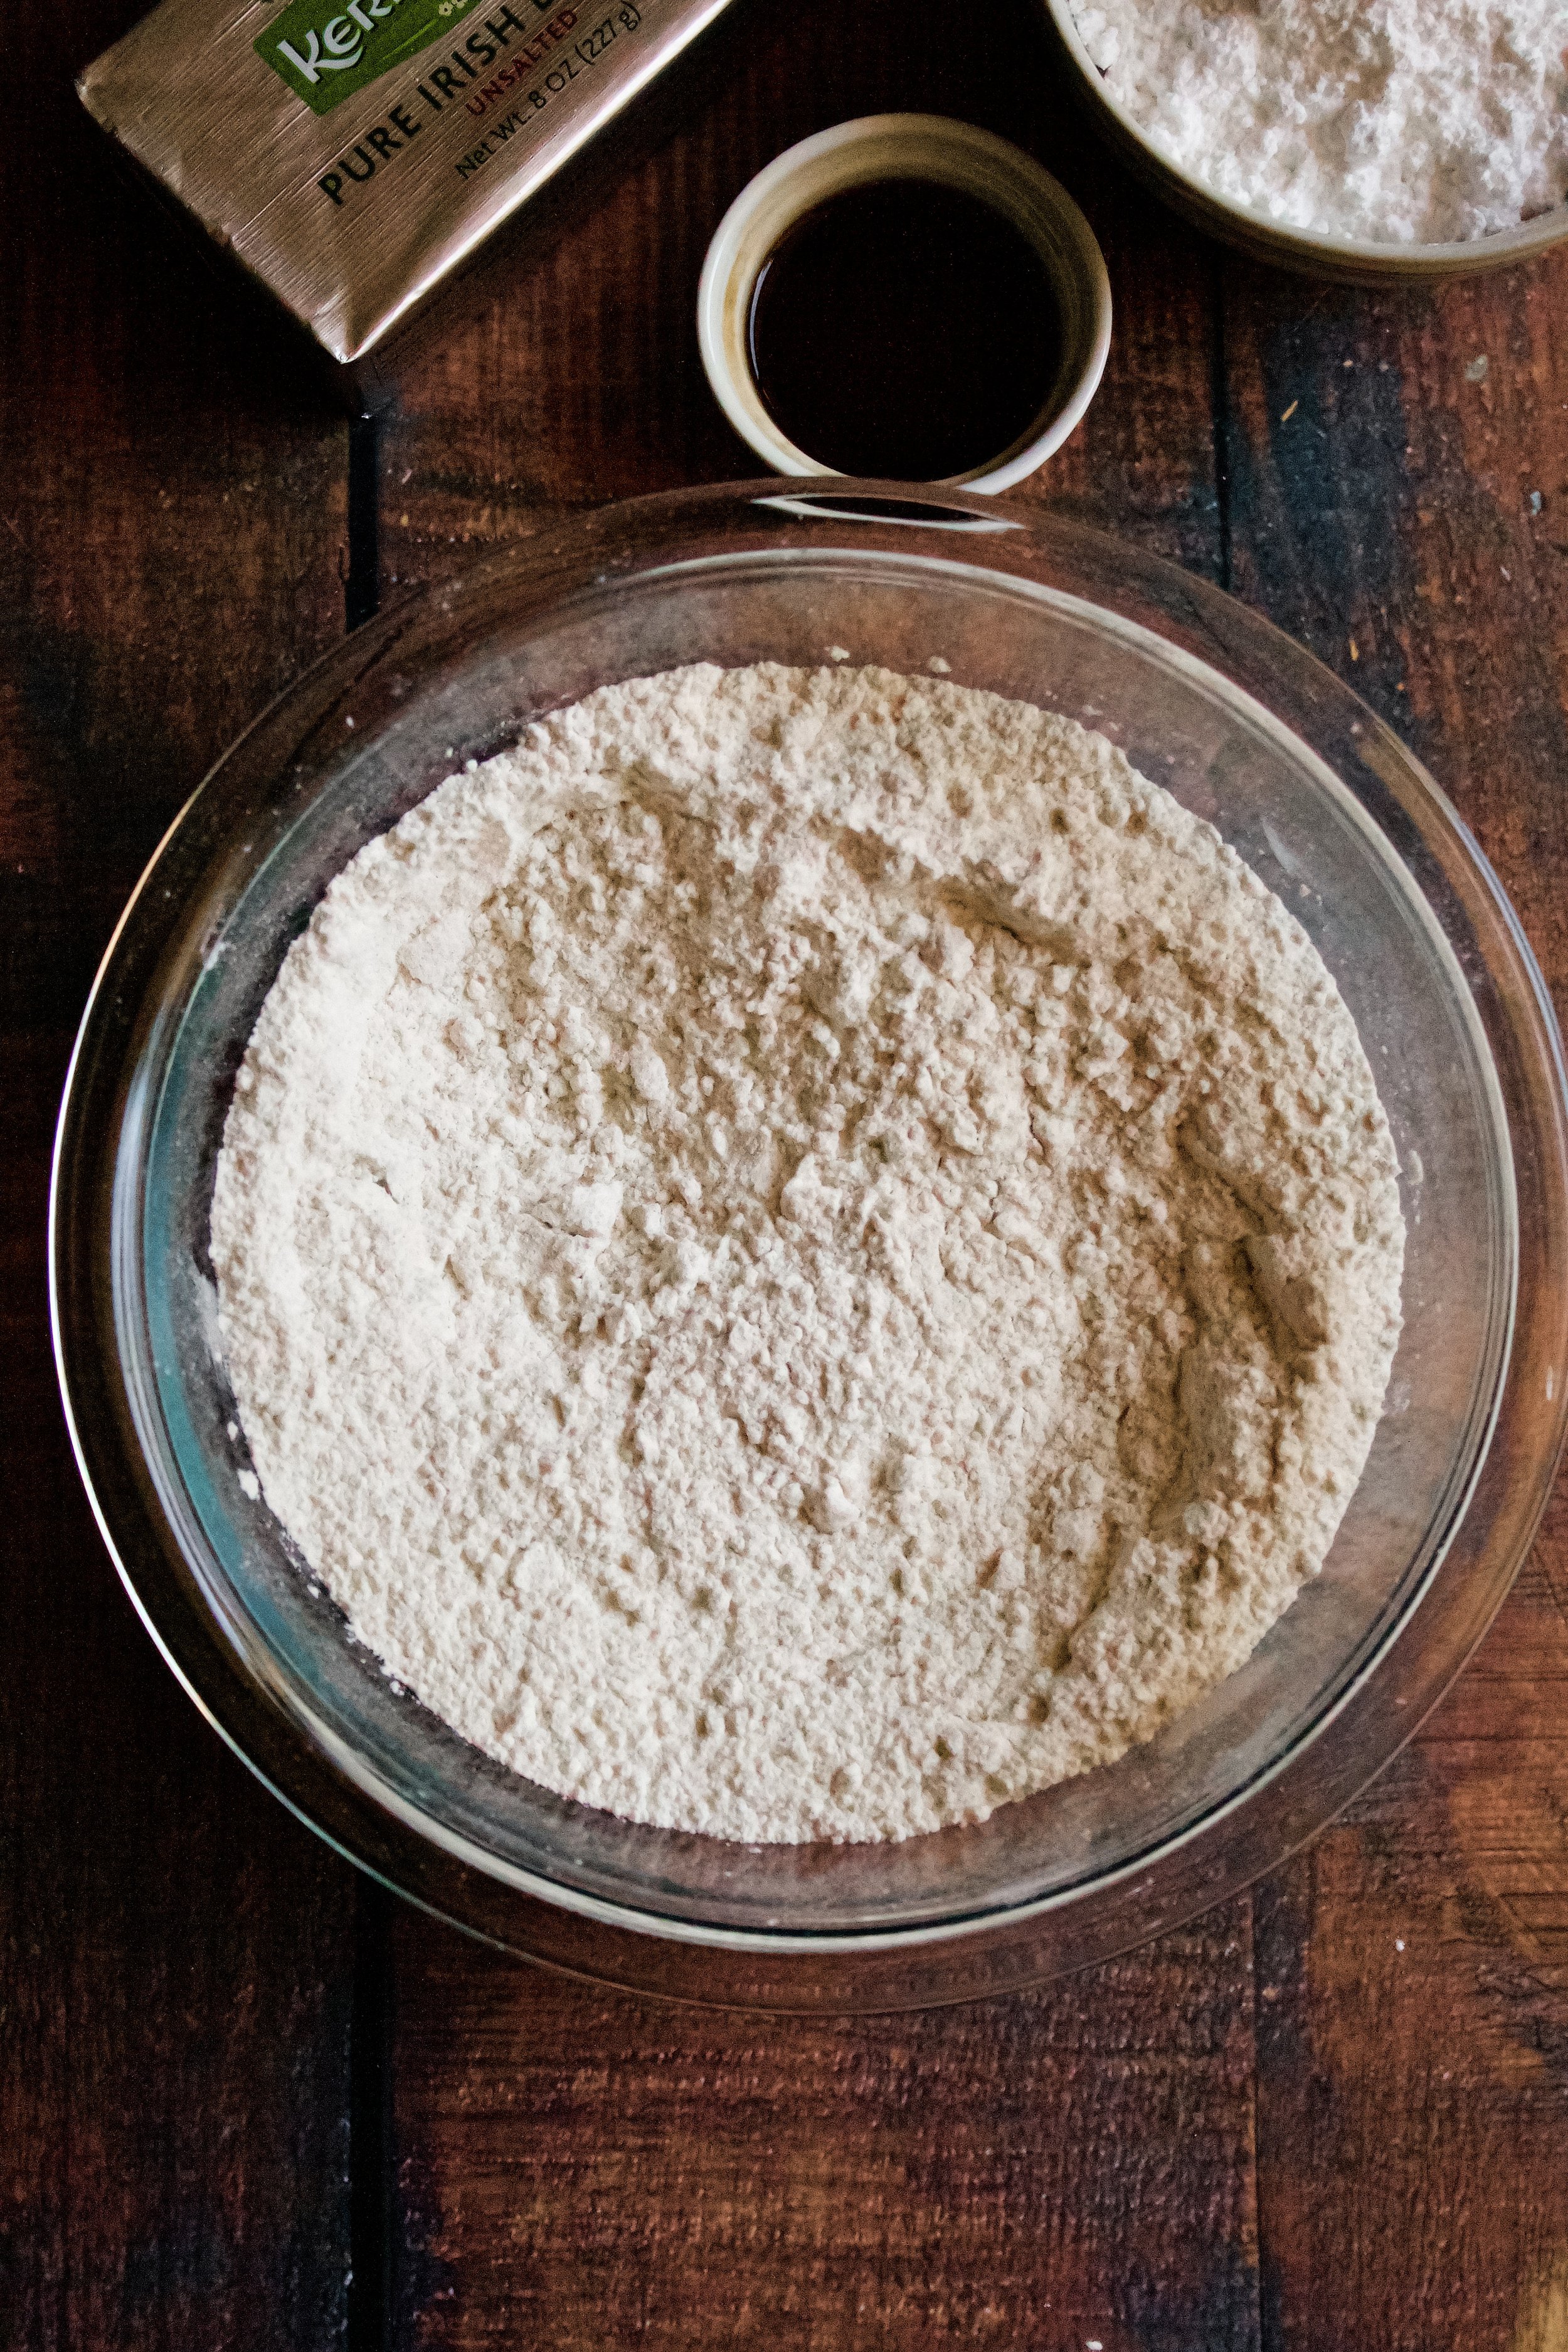
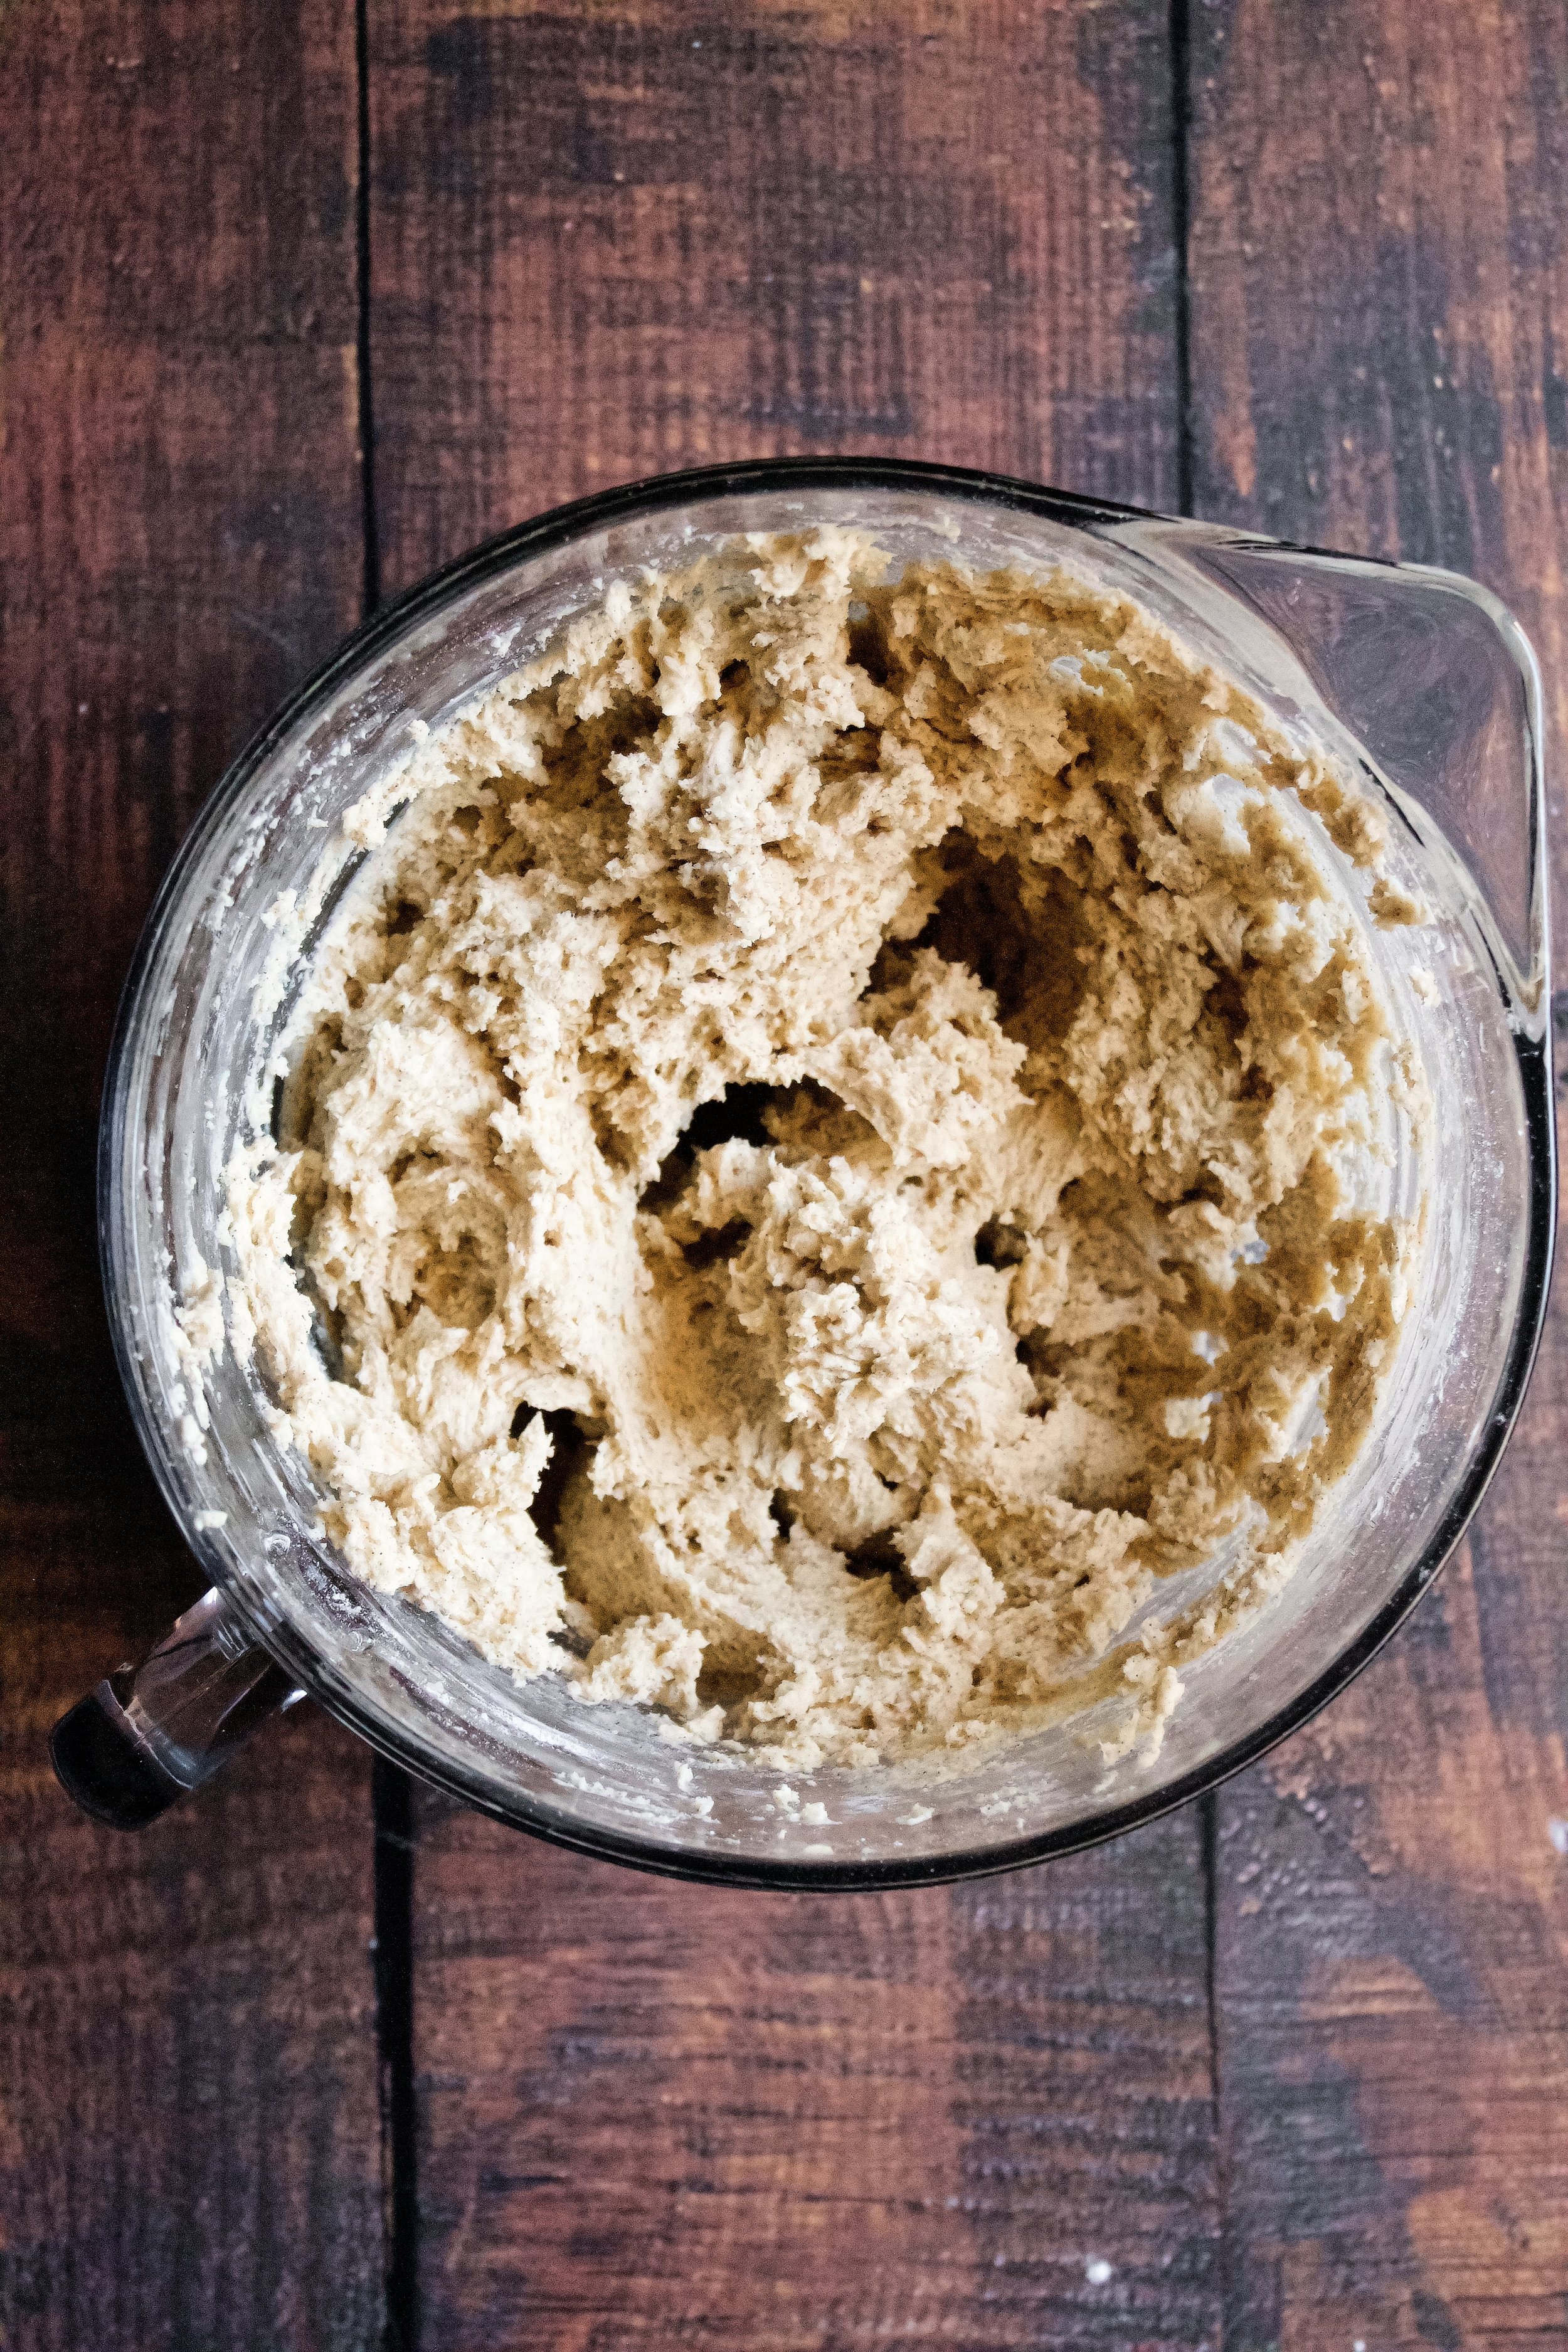
4. Stir in flour. Technically, you could sift and whisk the salt and flour, but that requires an extra bowl, and I just don’t have the patience for more dishes.
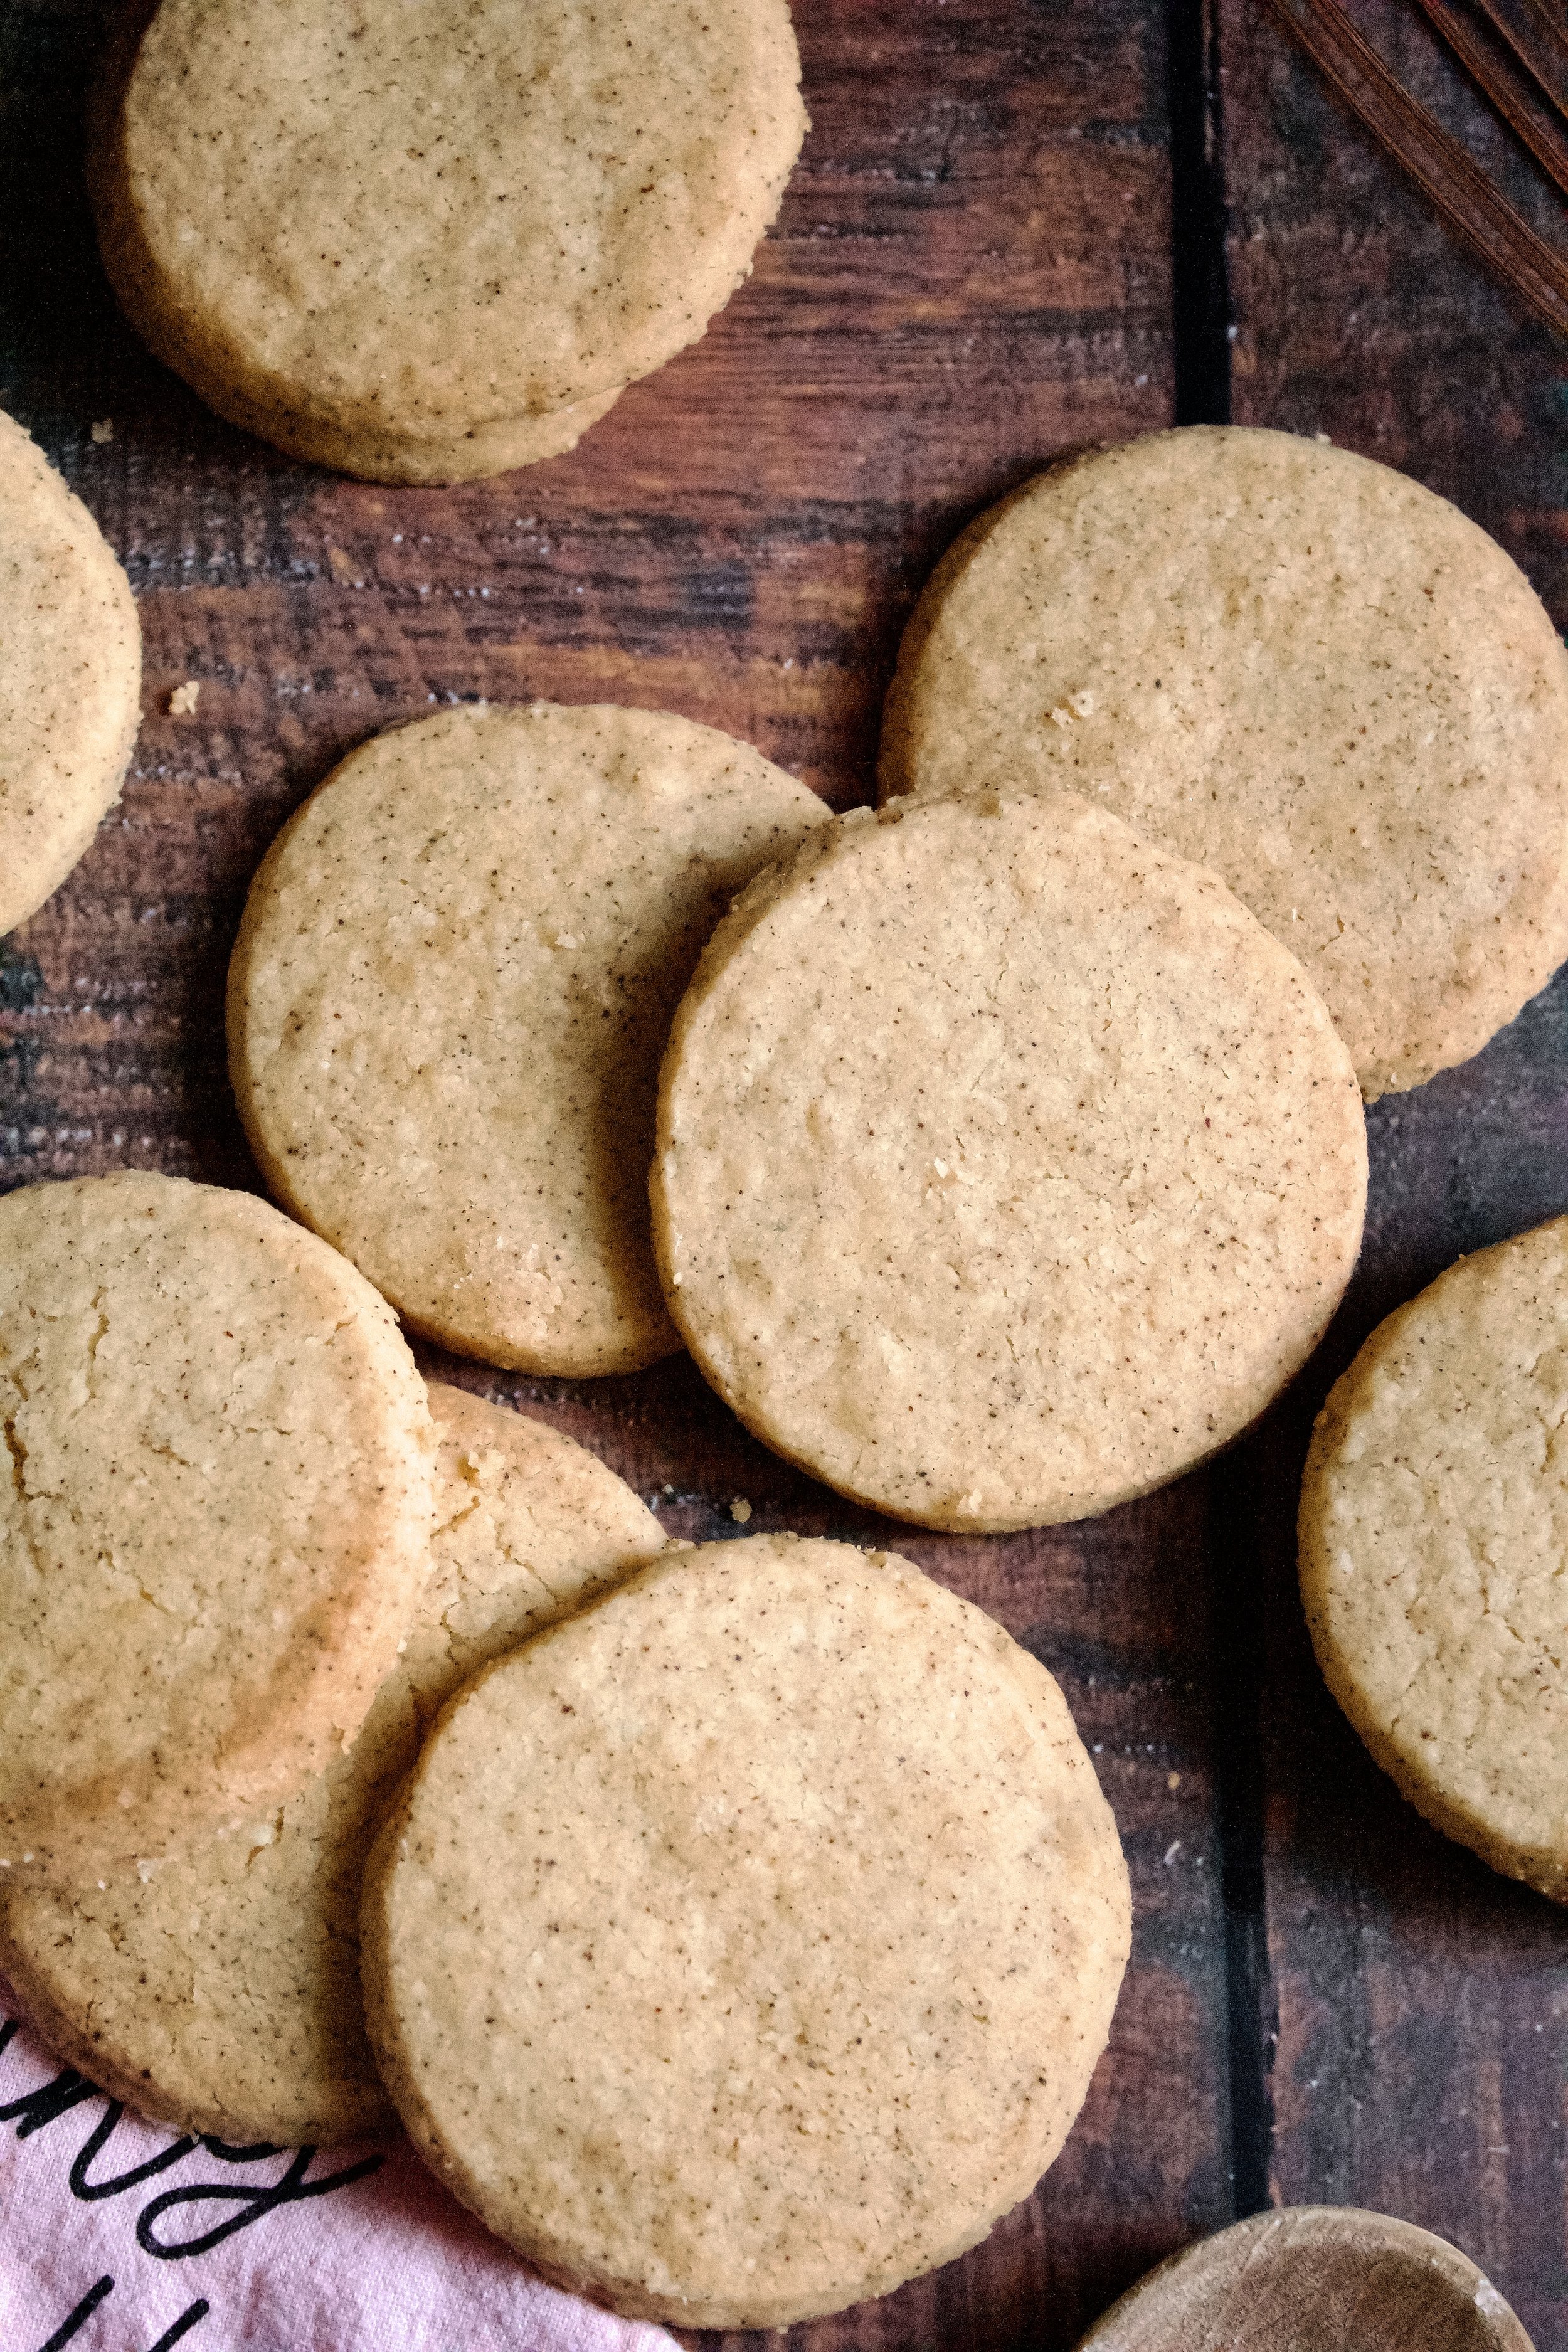
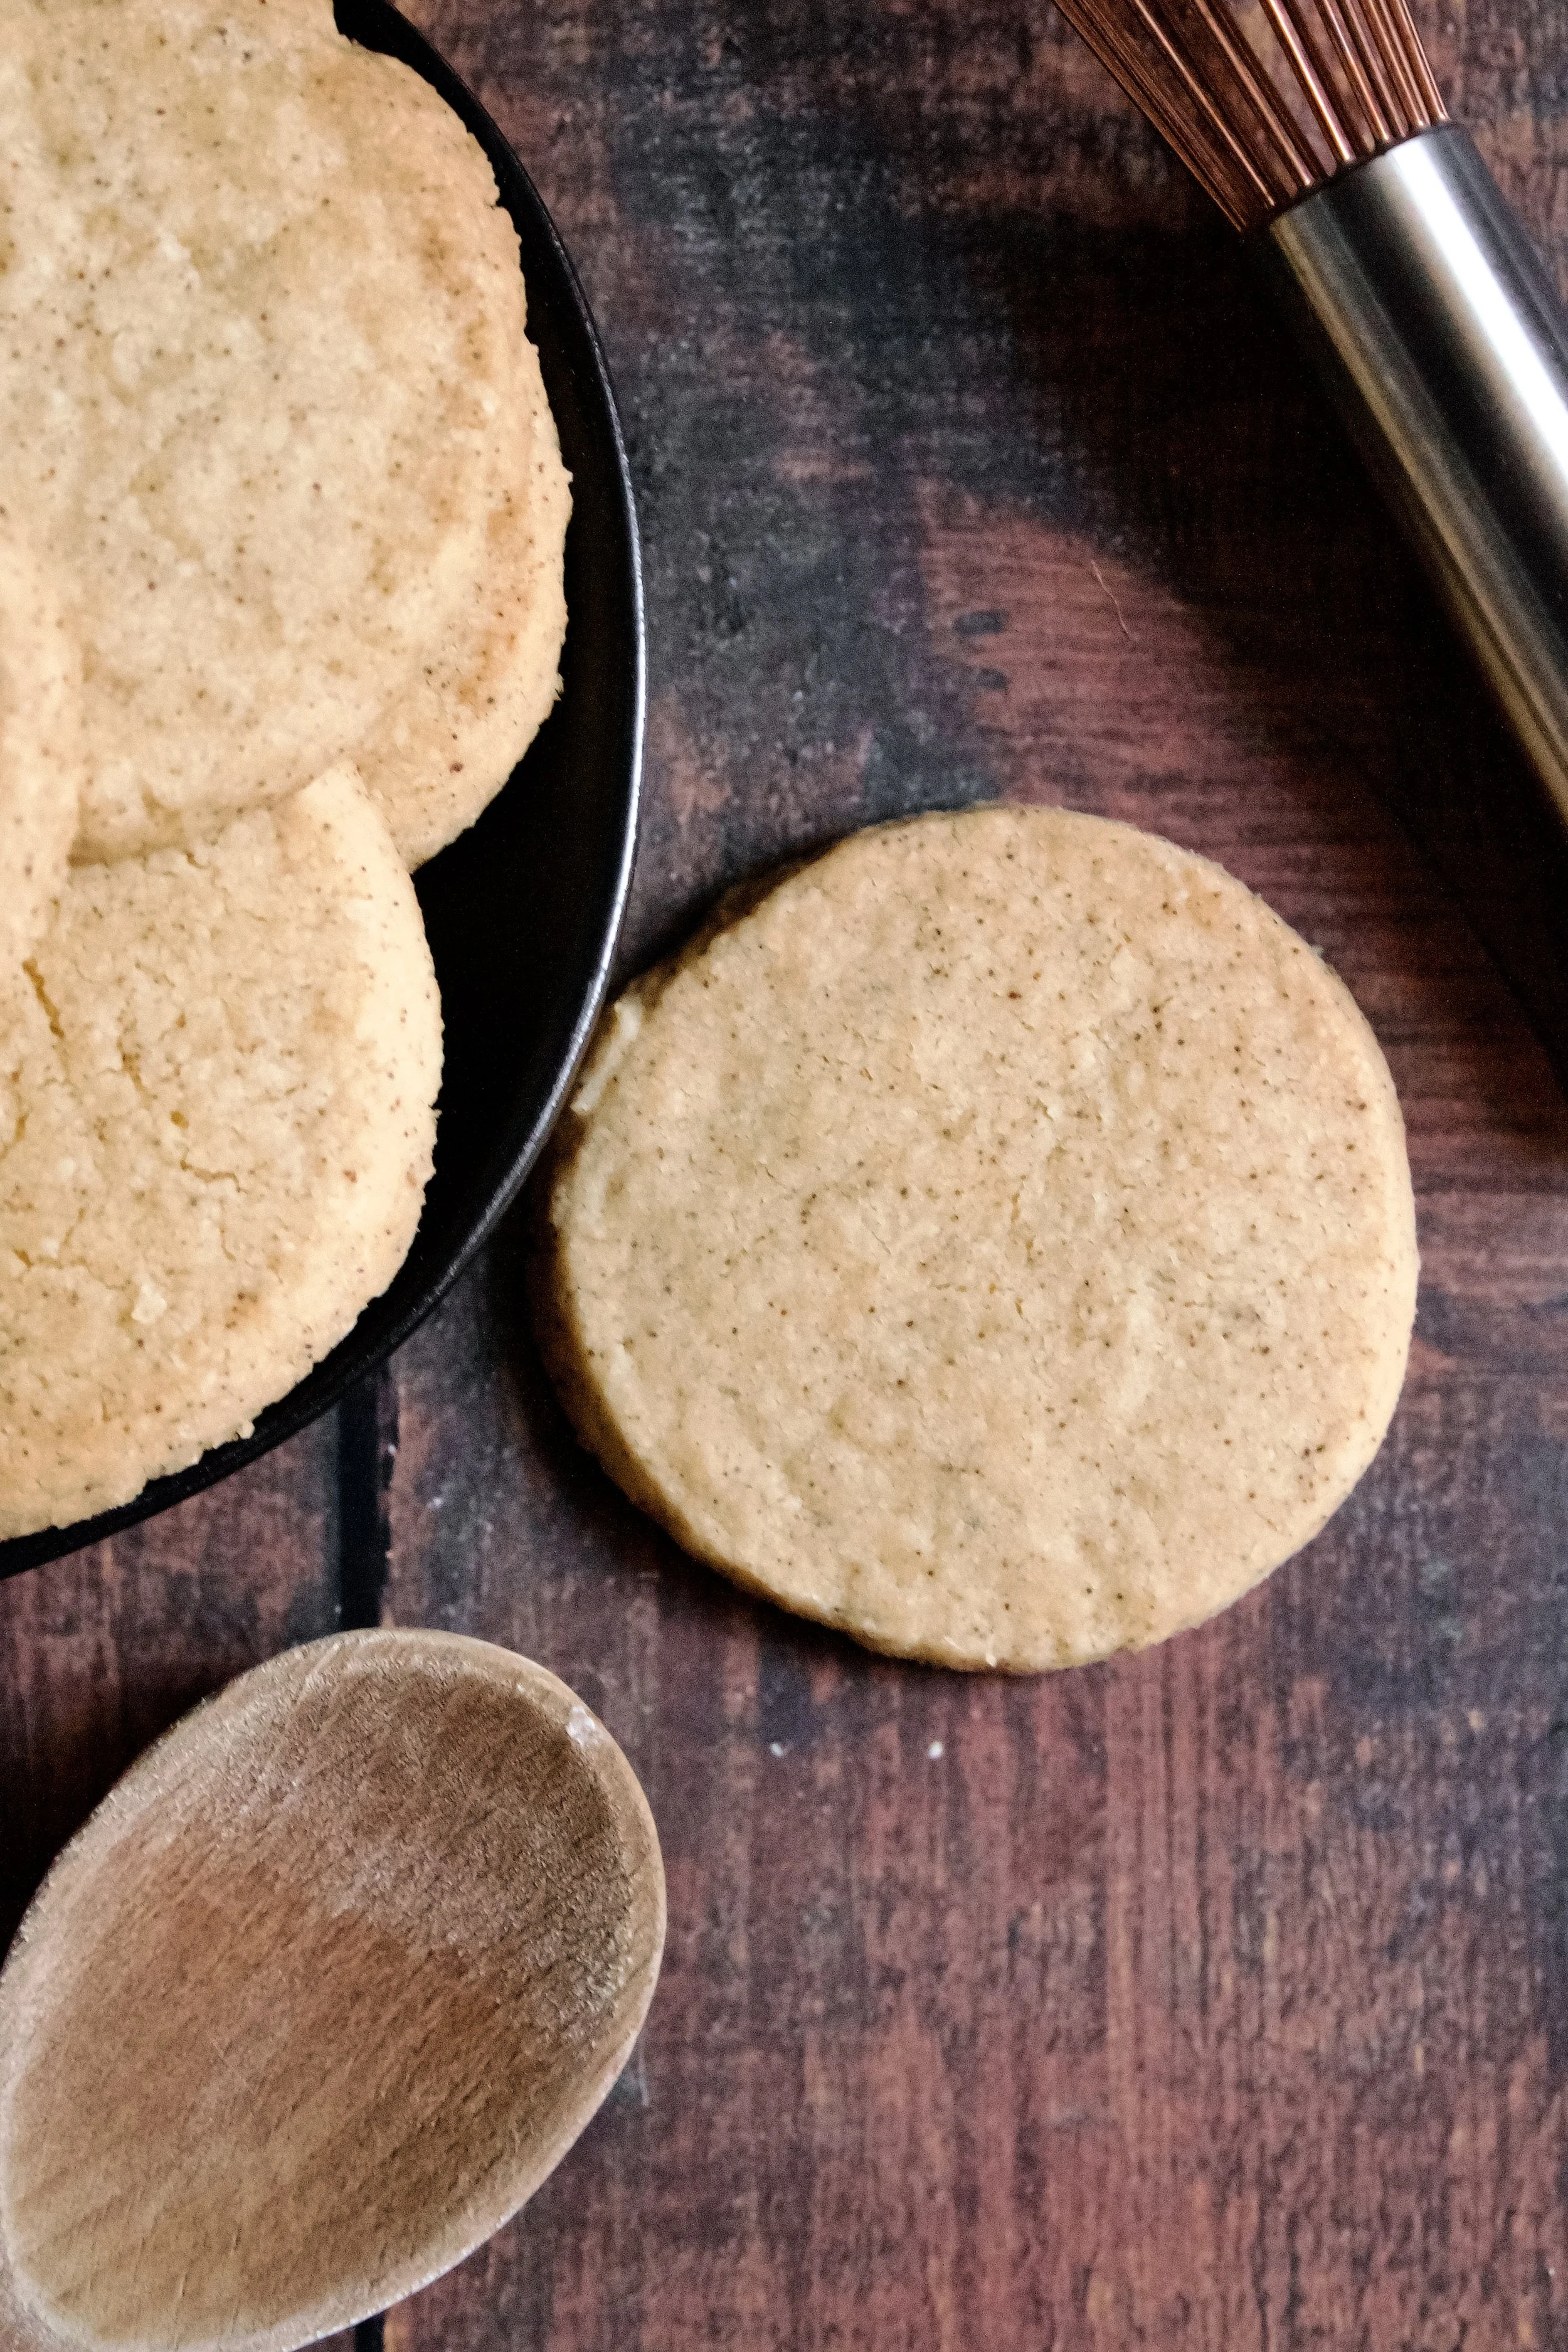
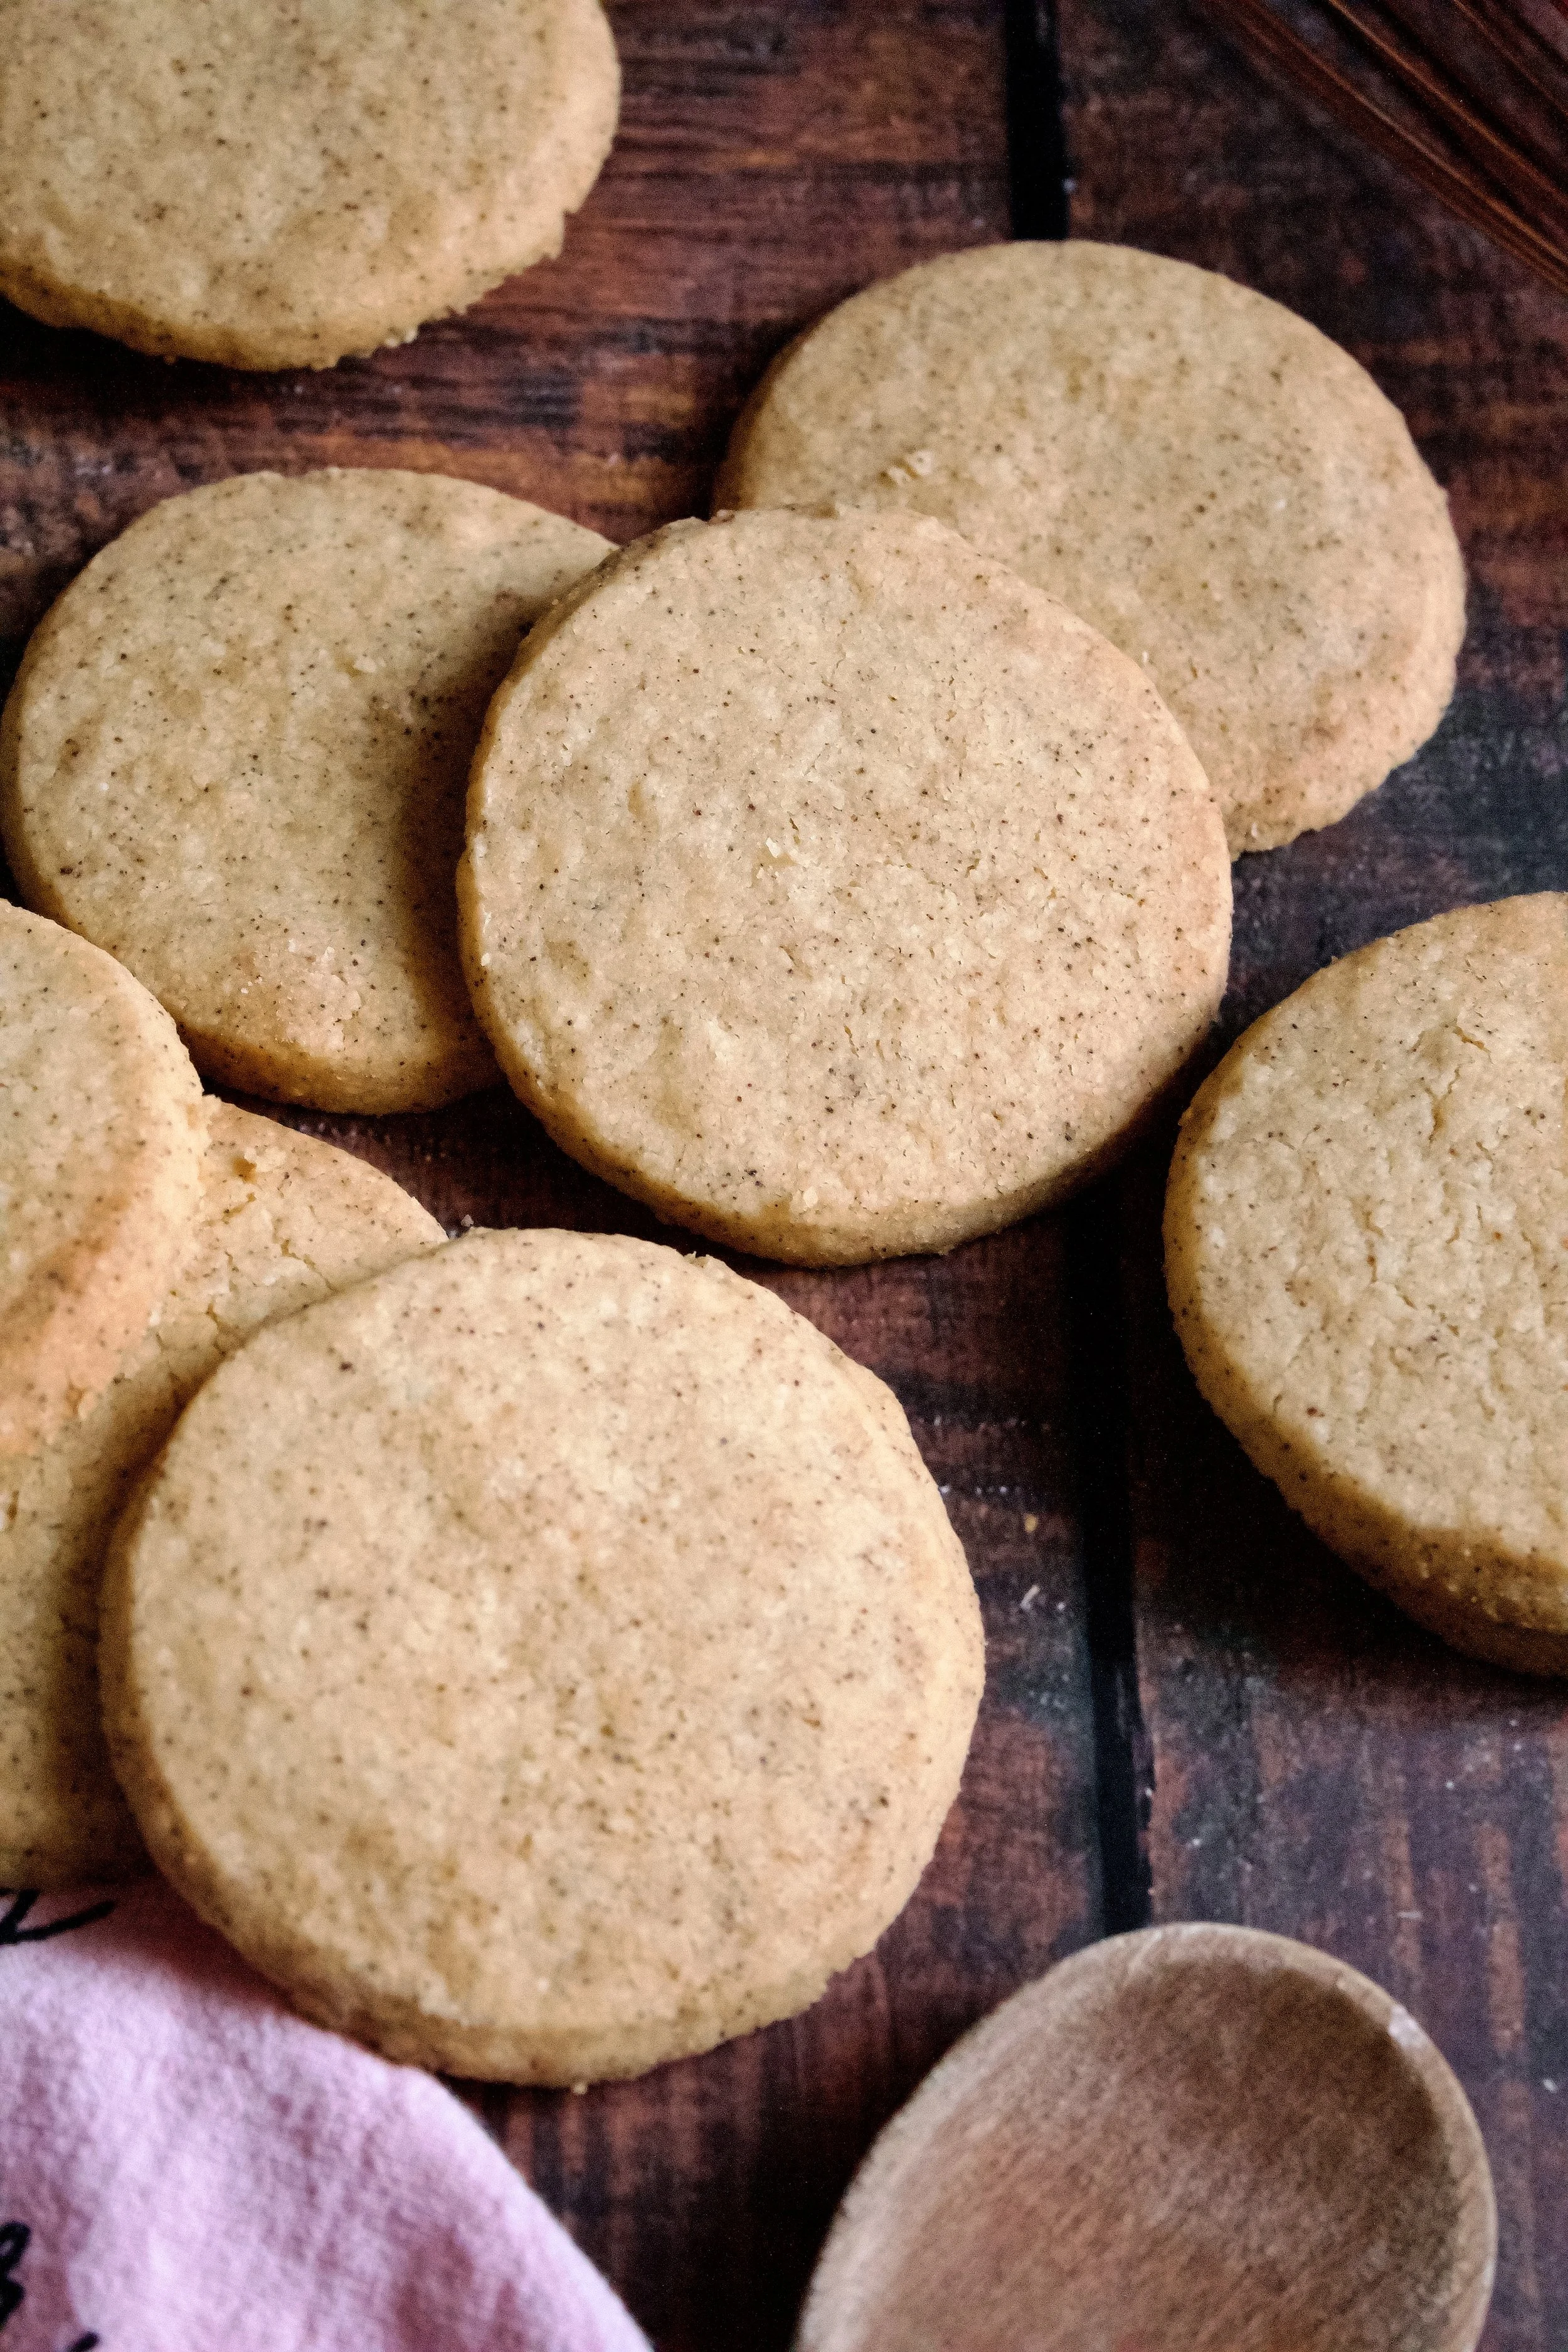
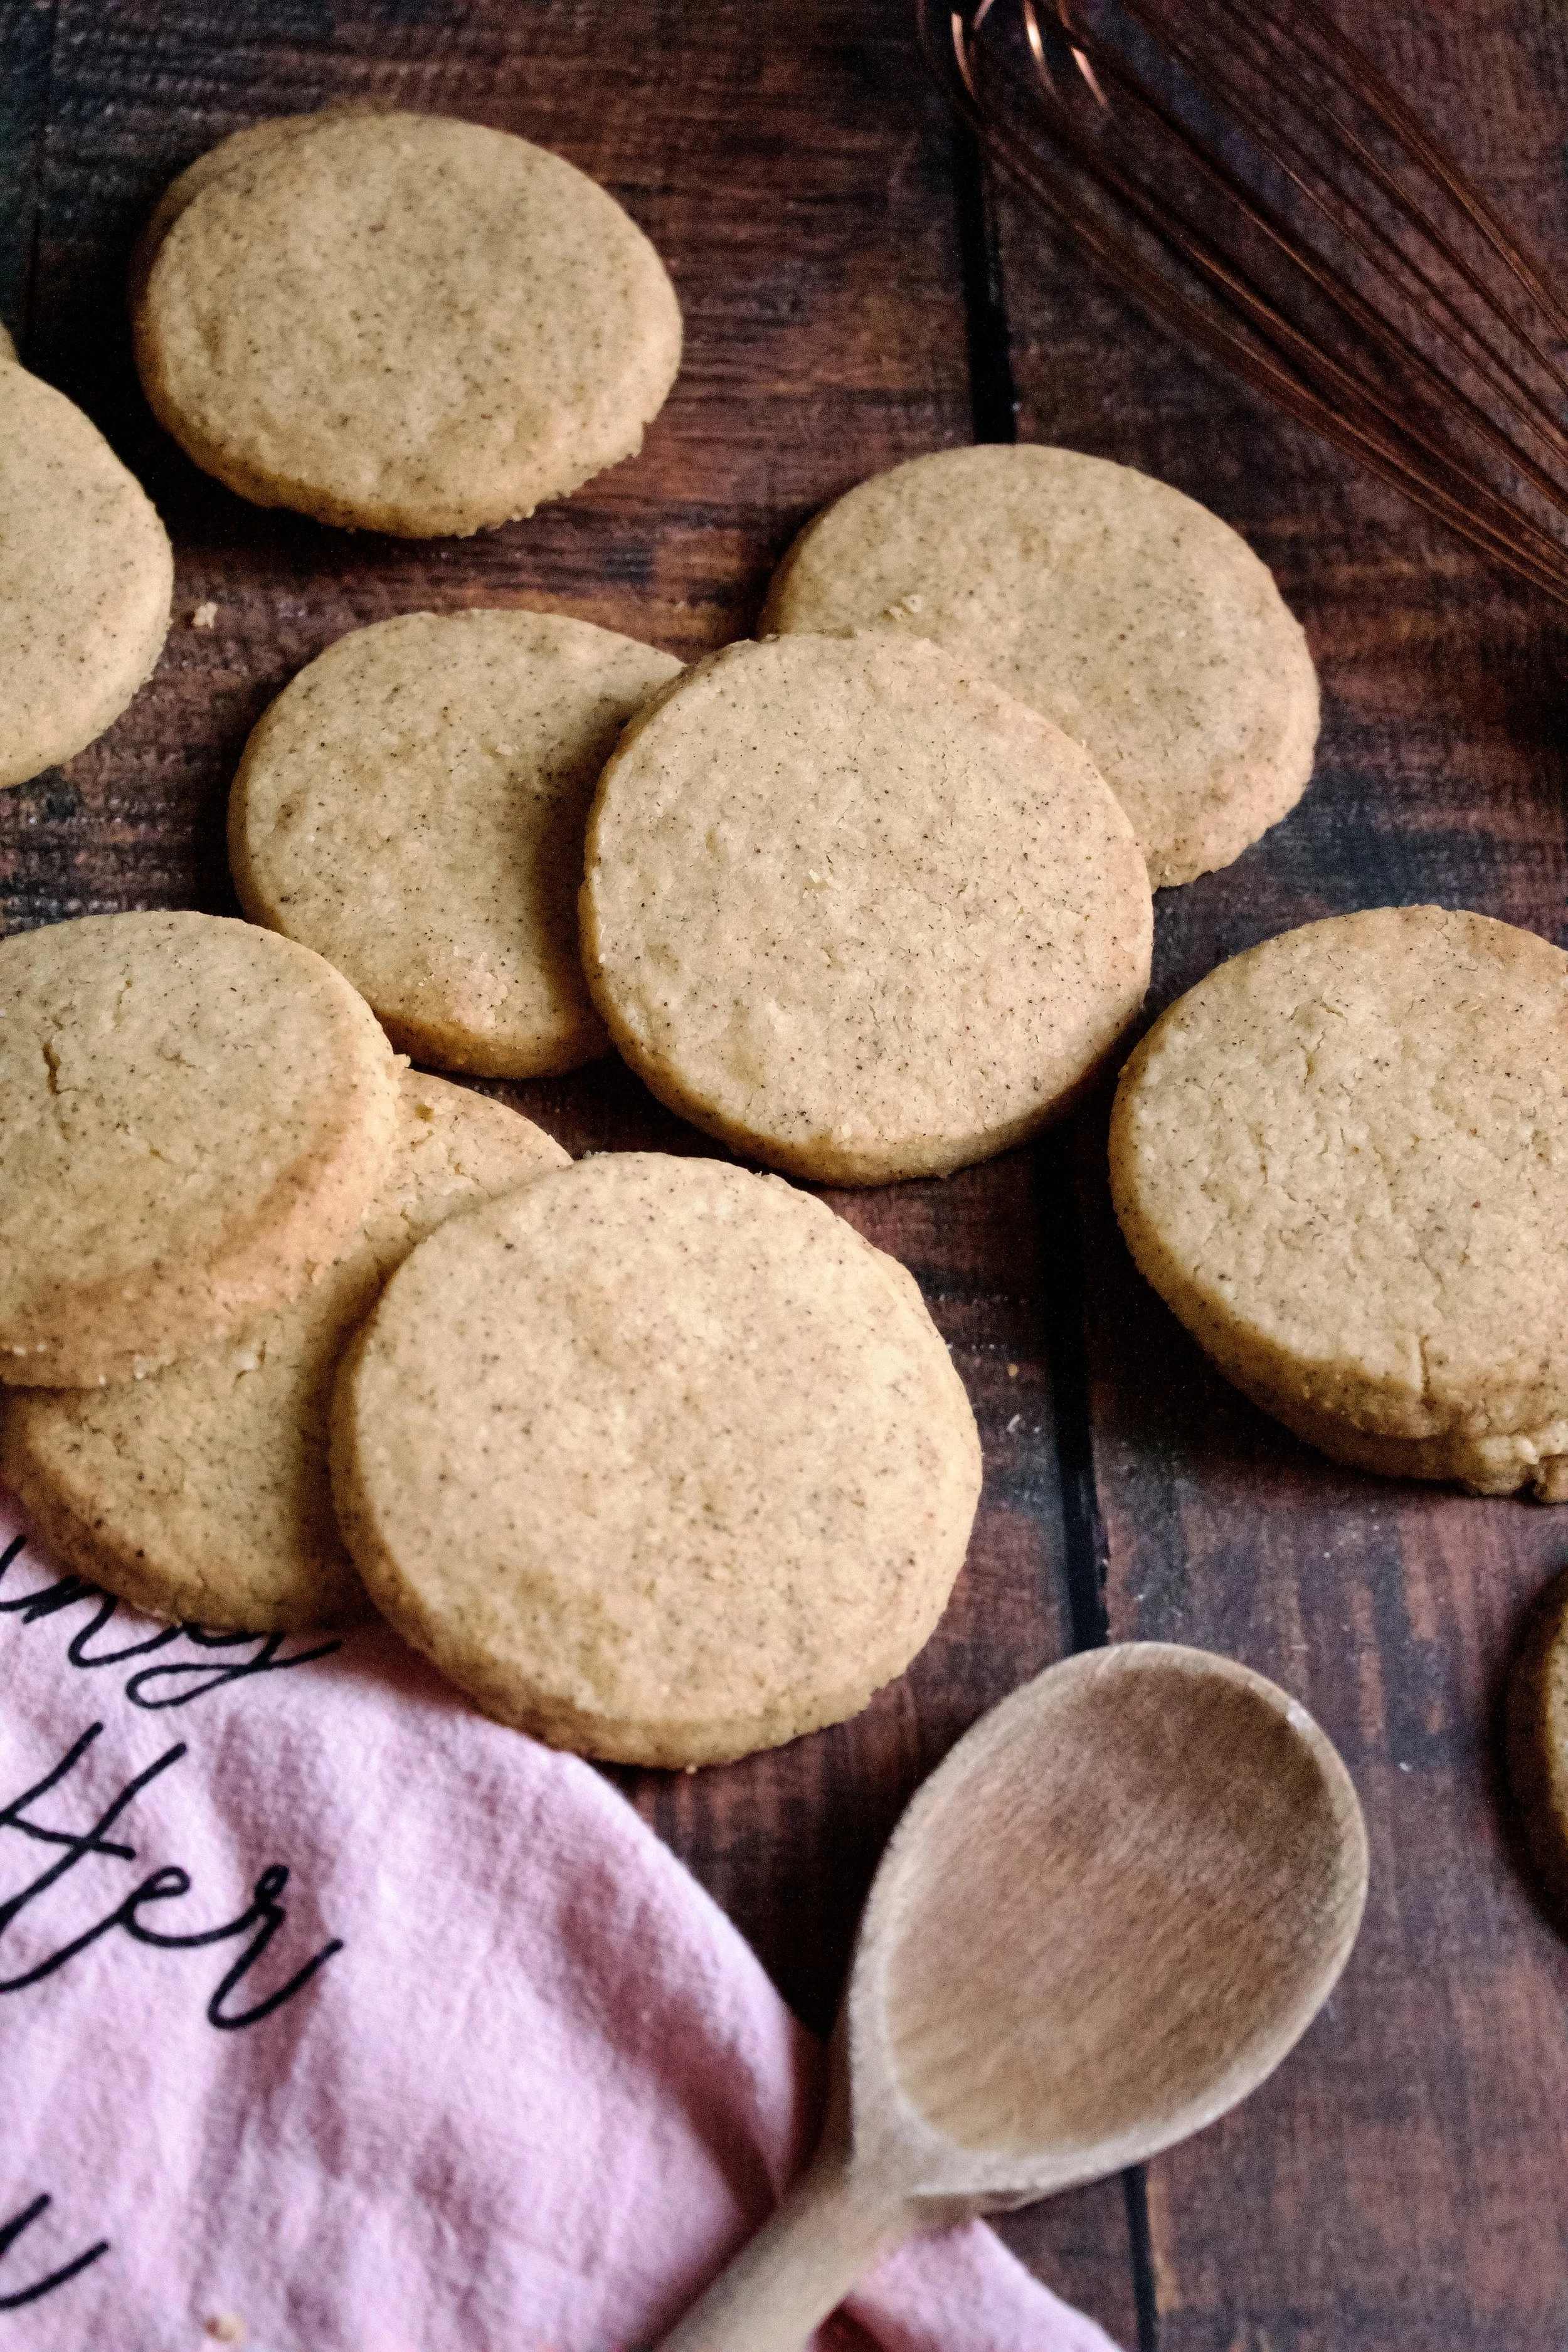
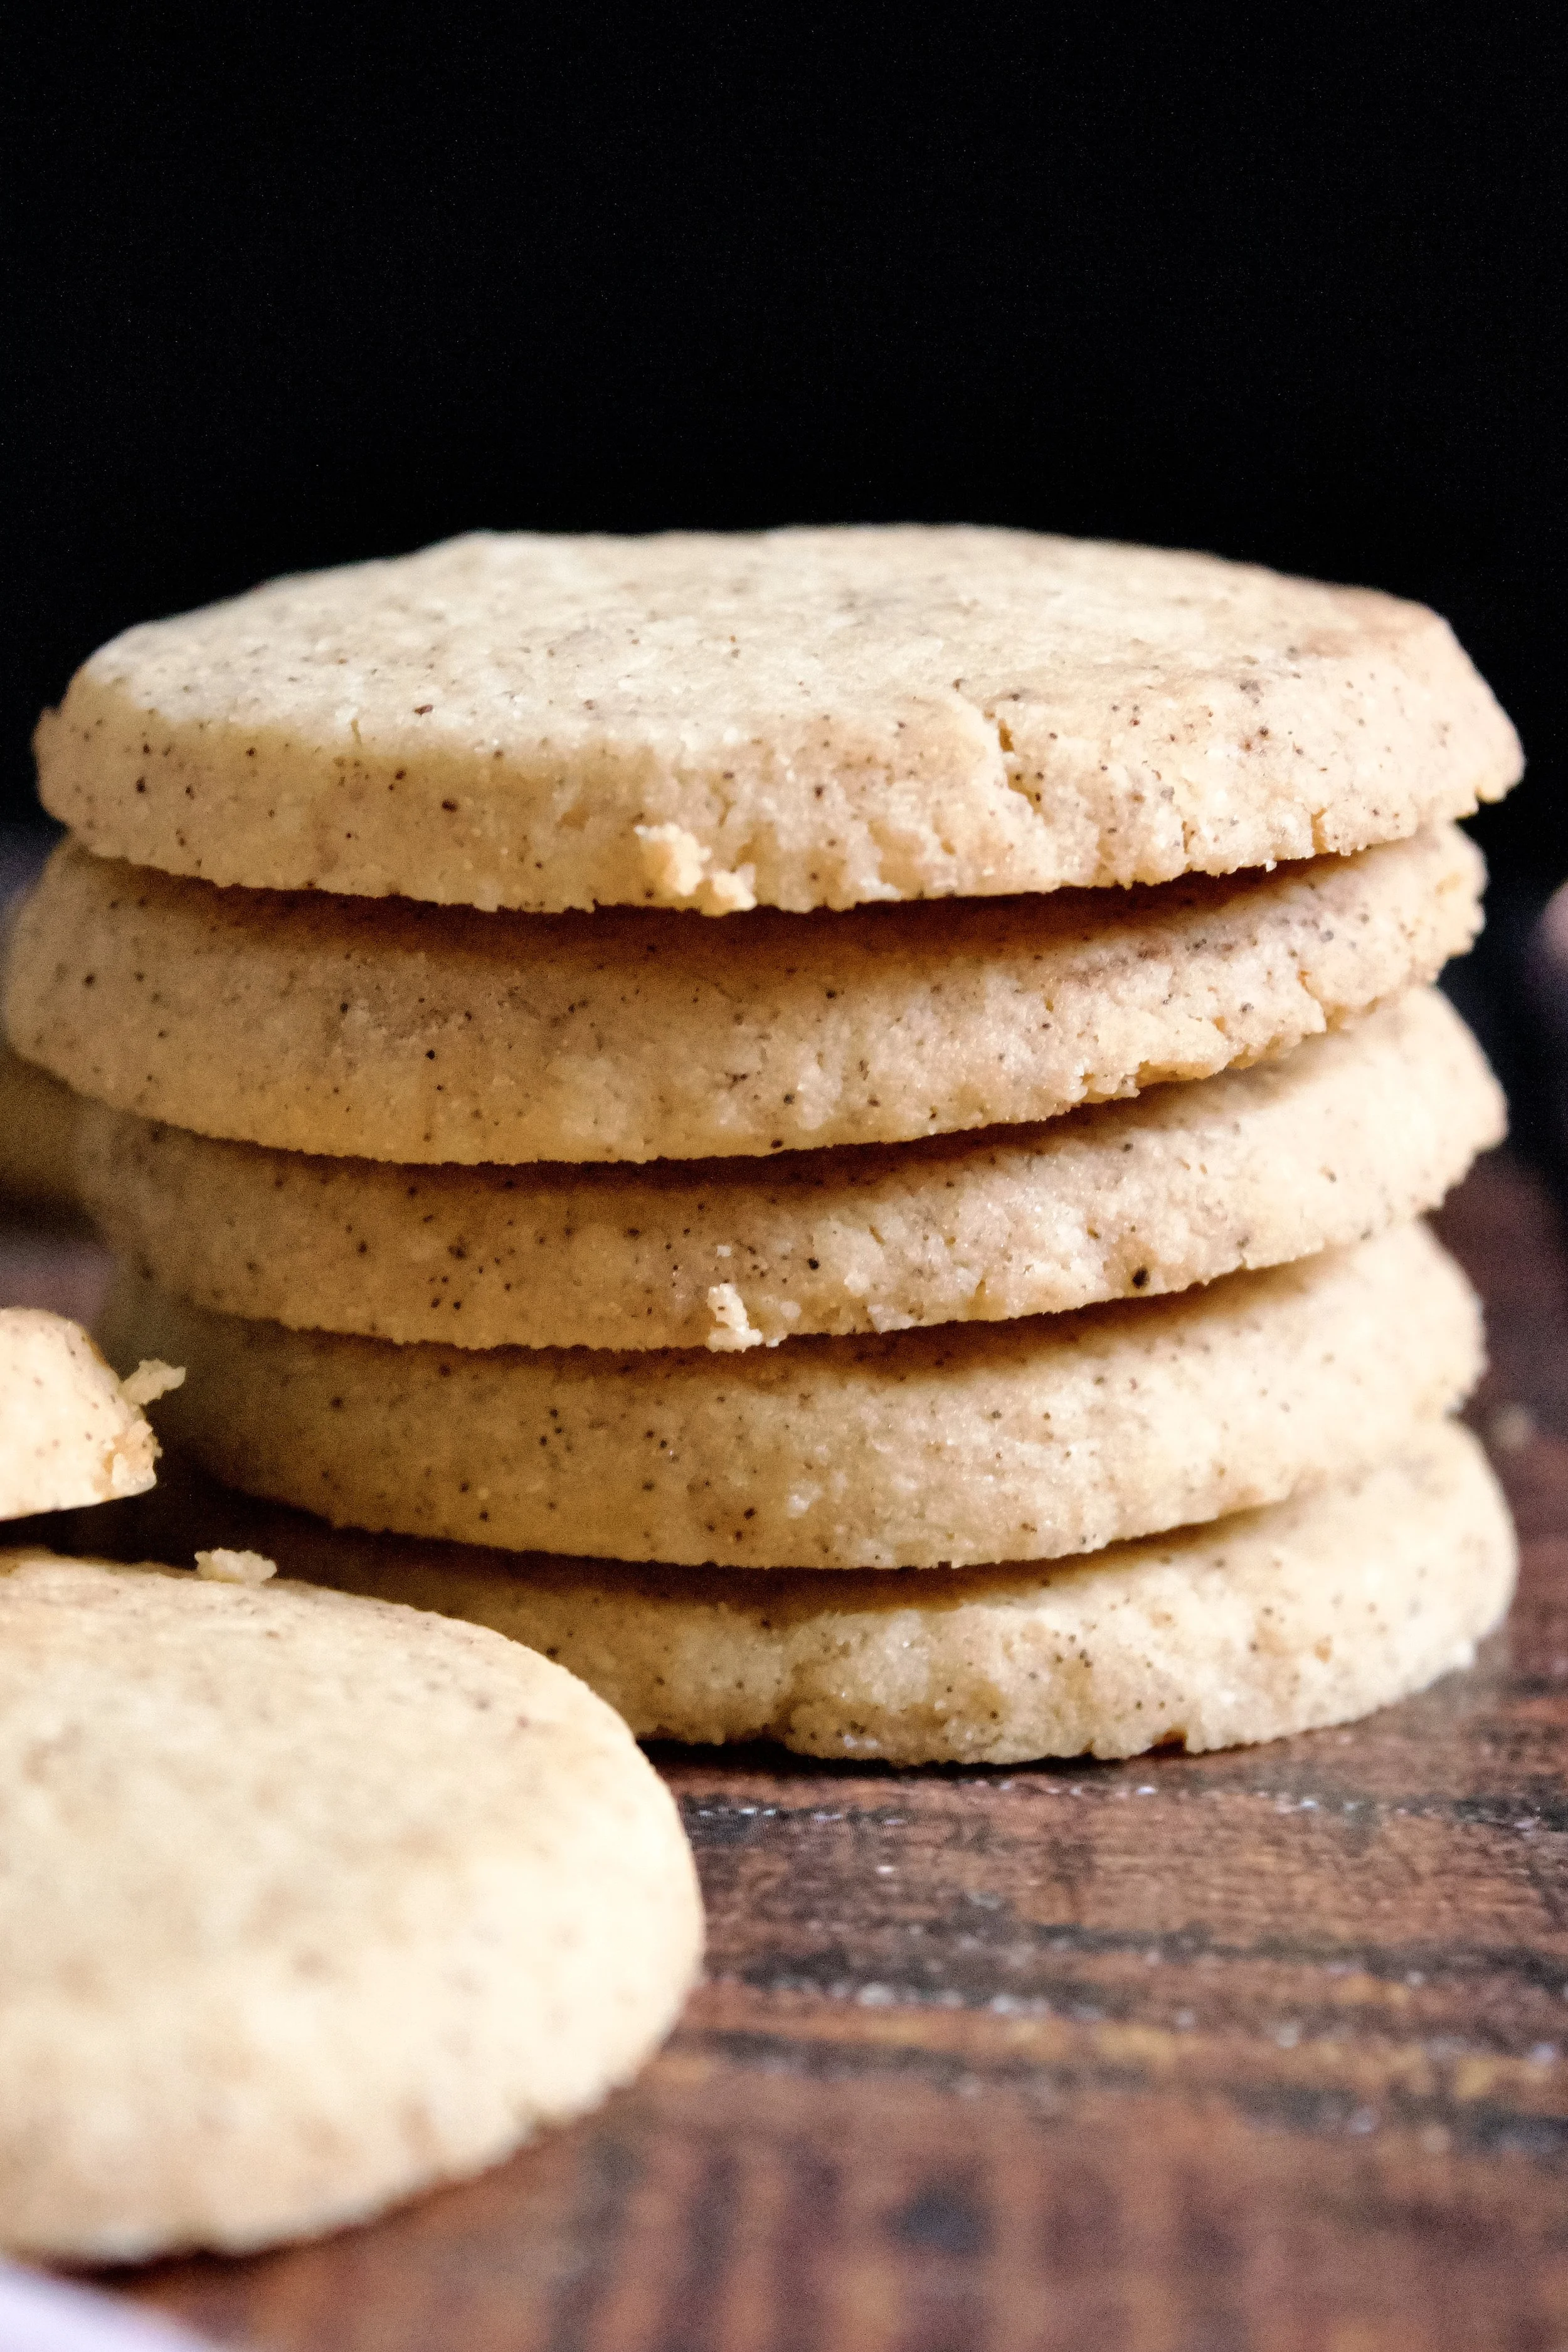
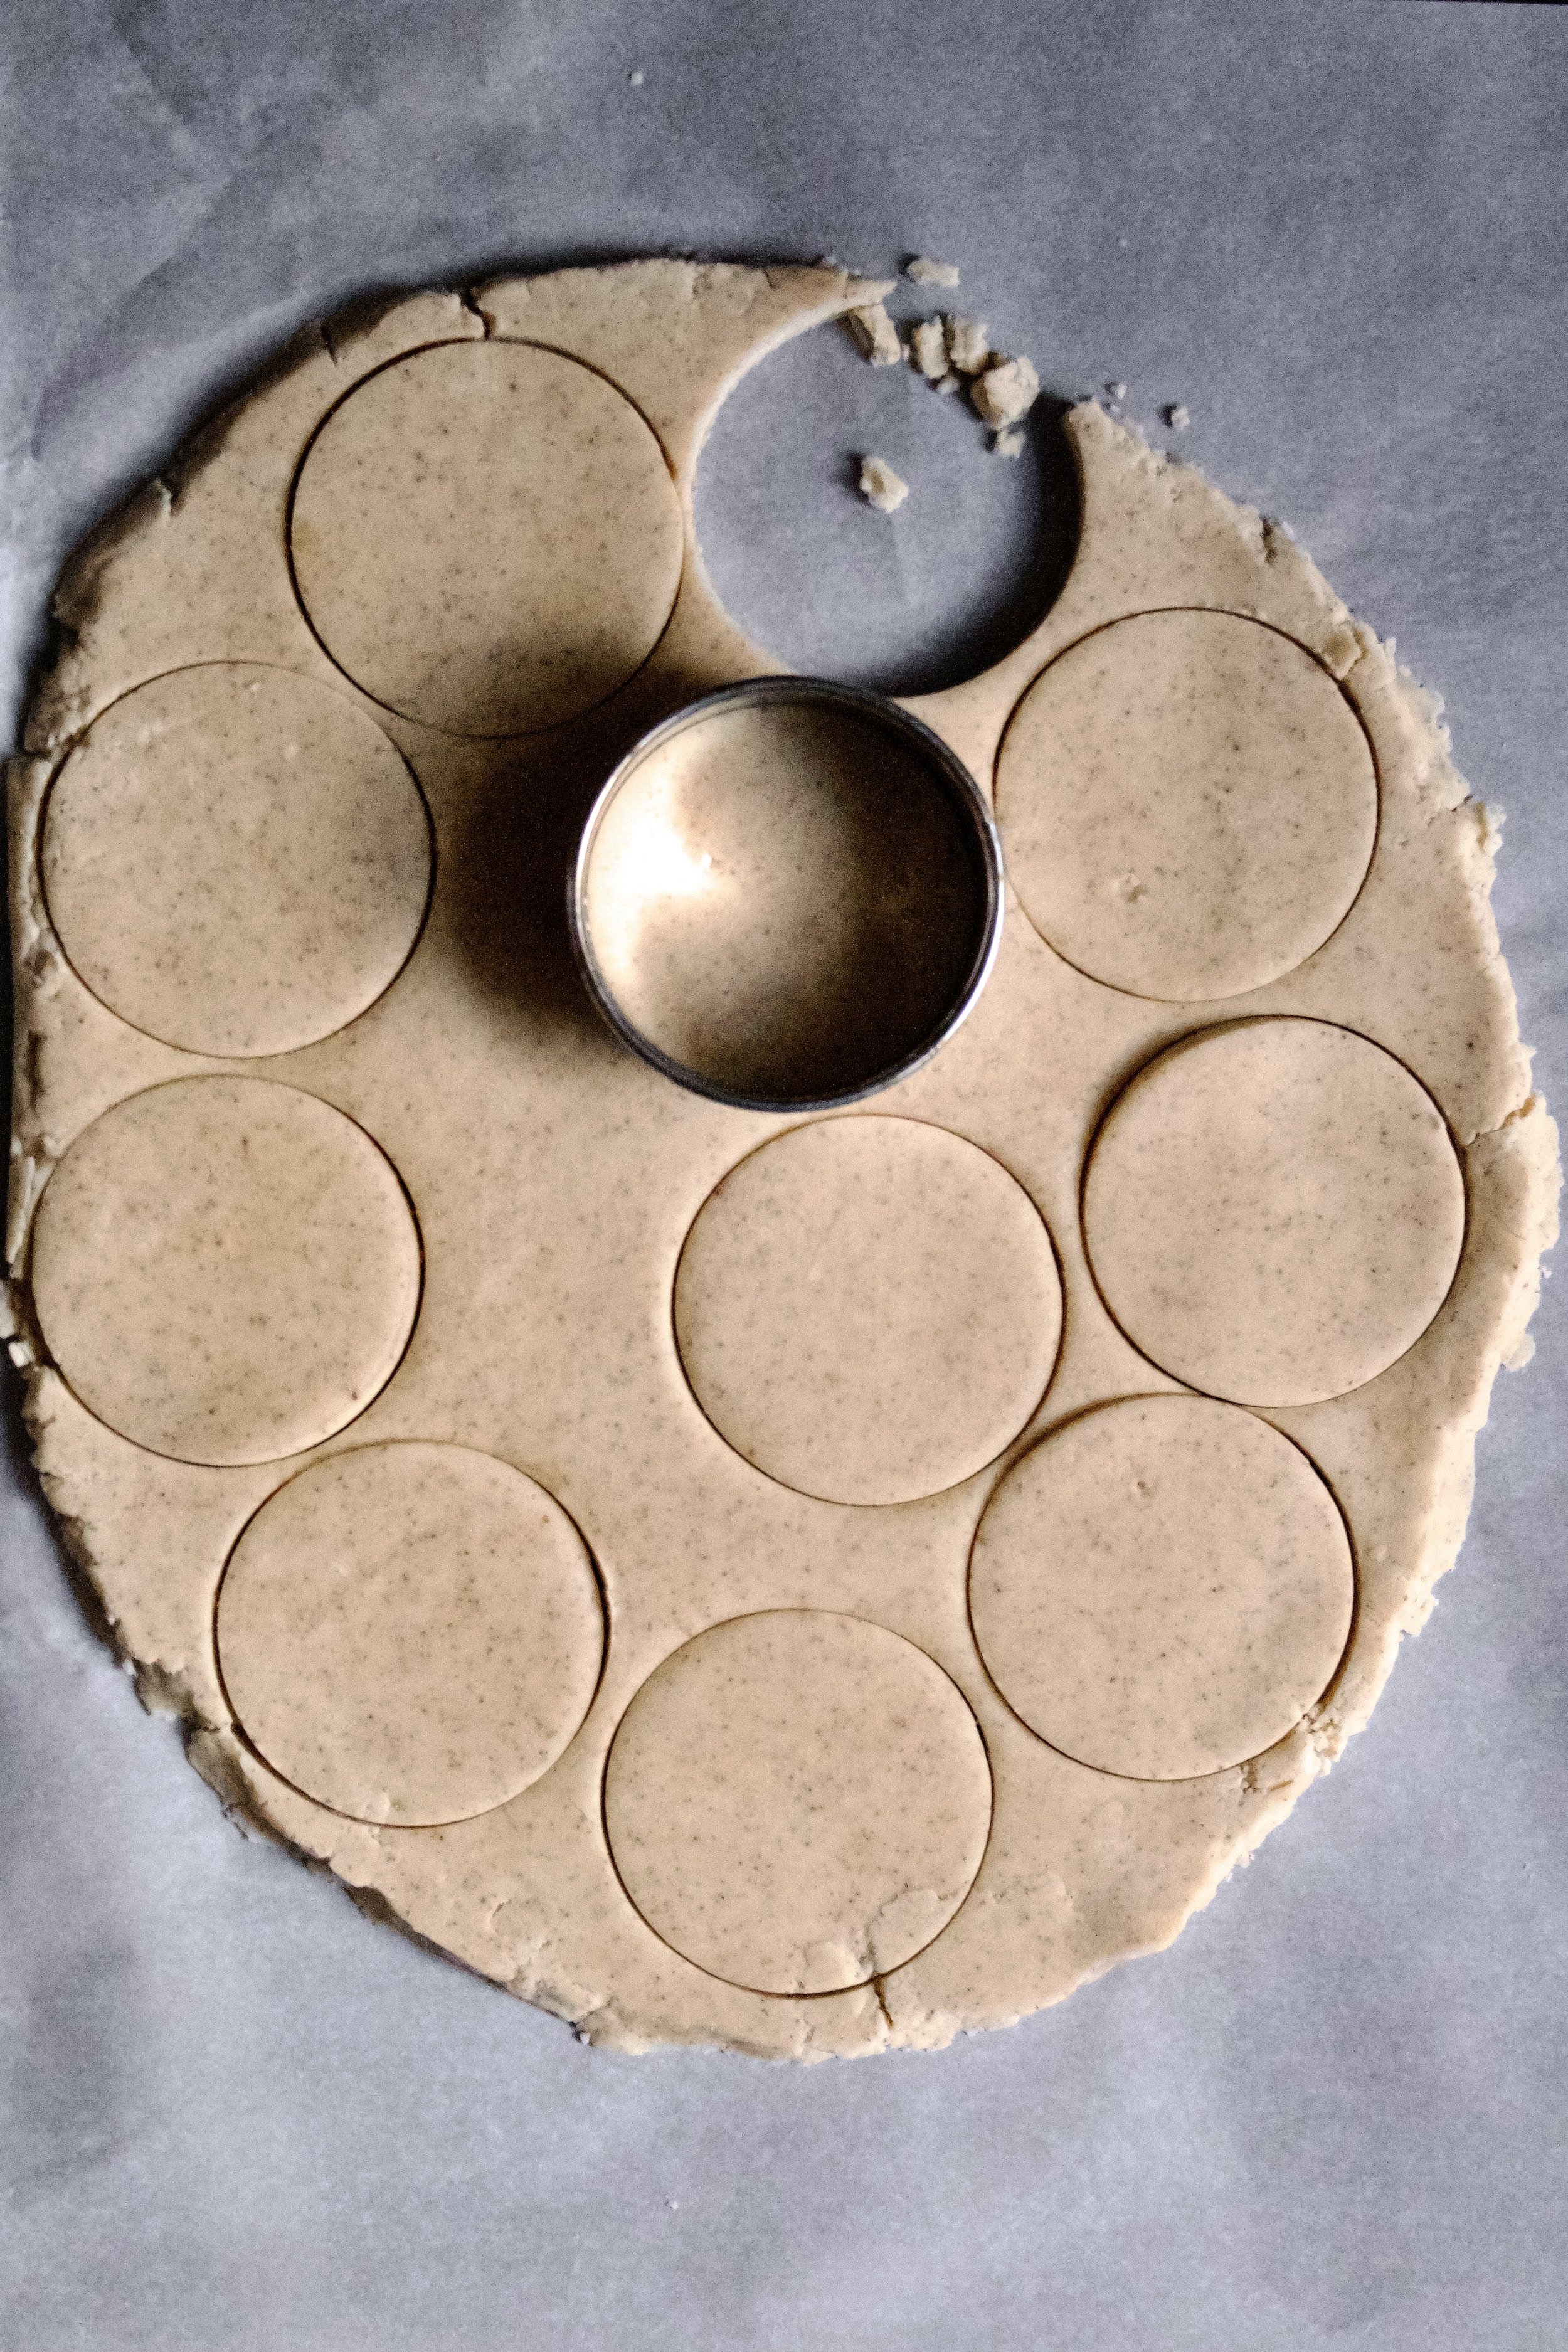
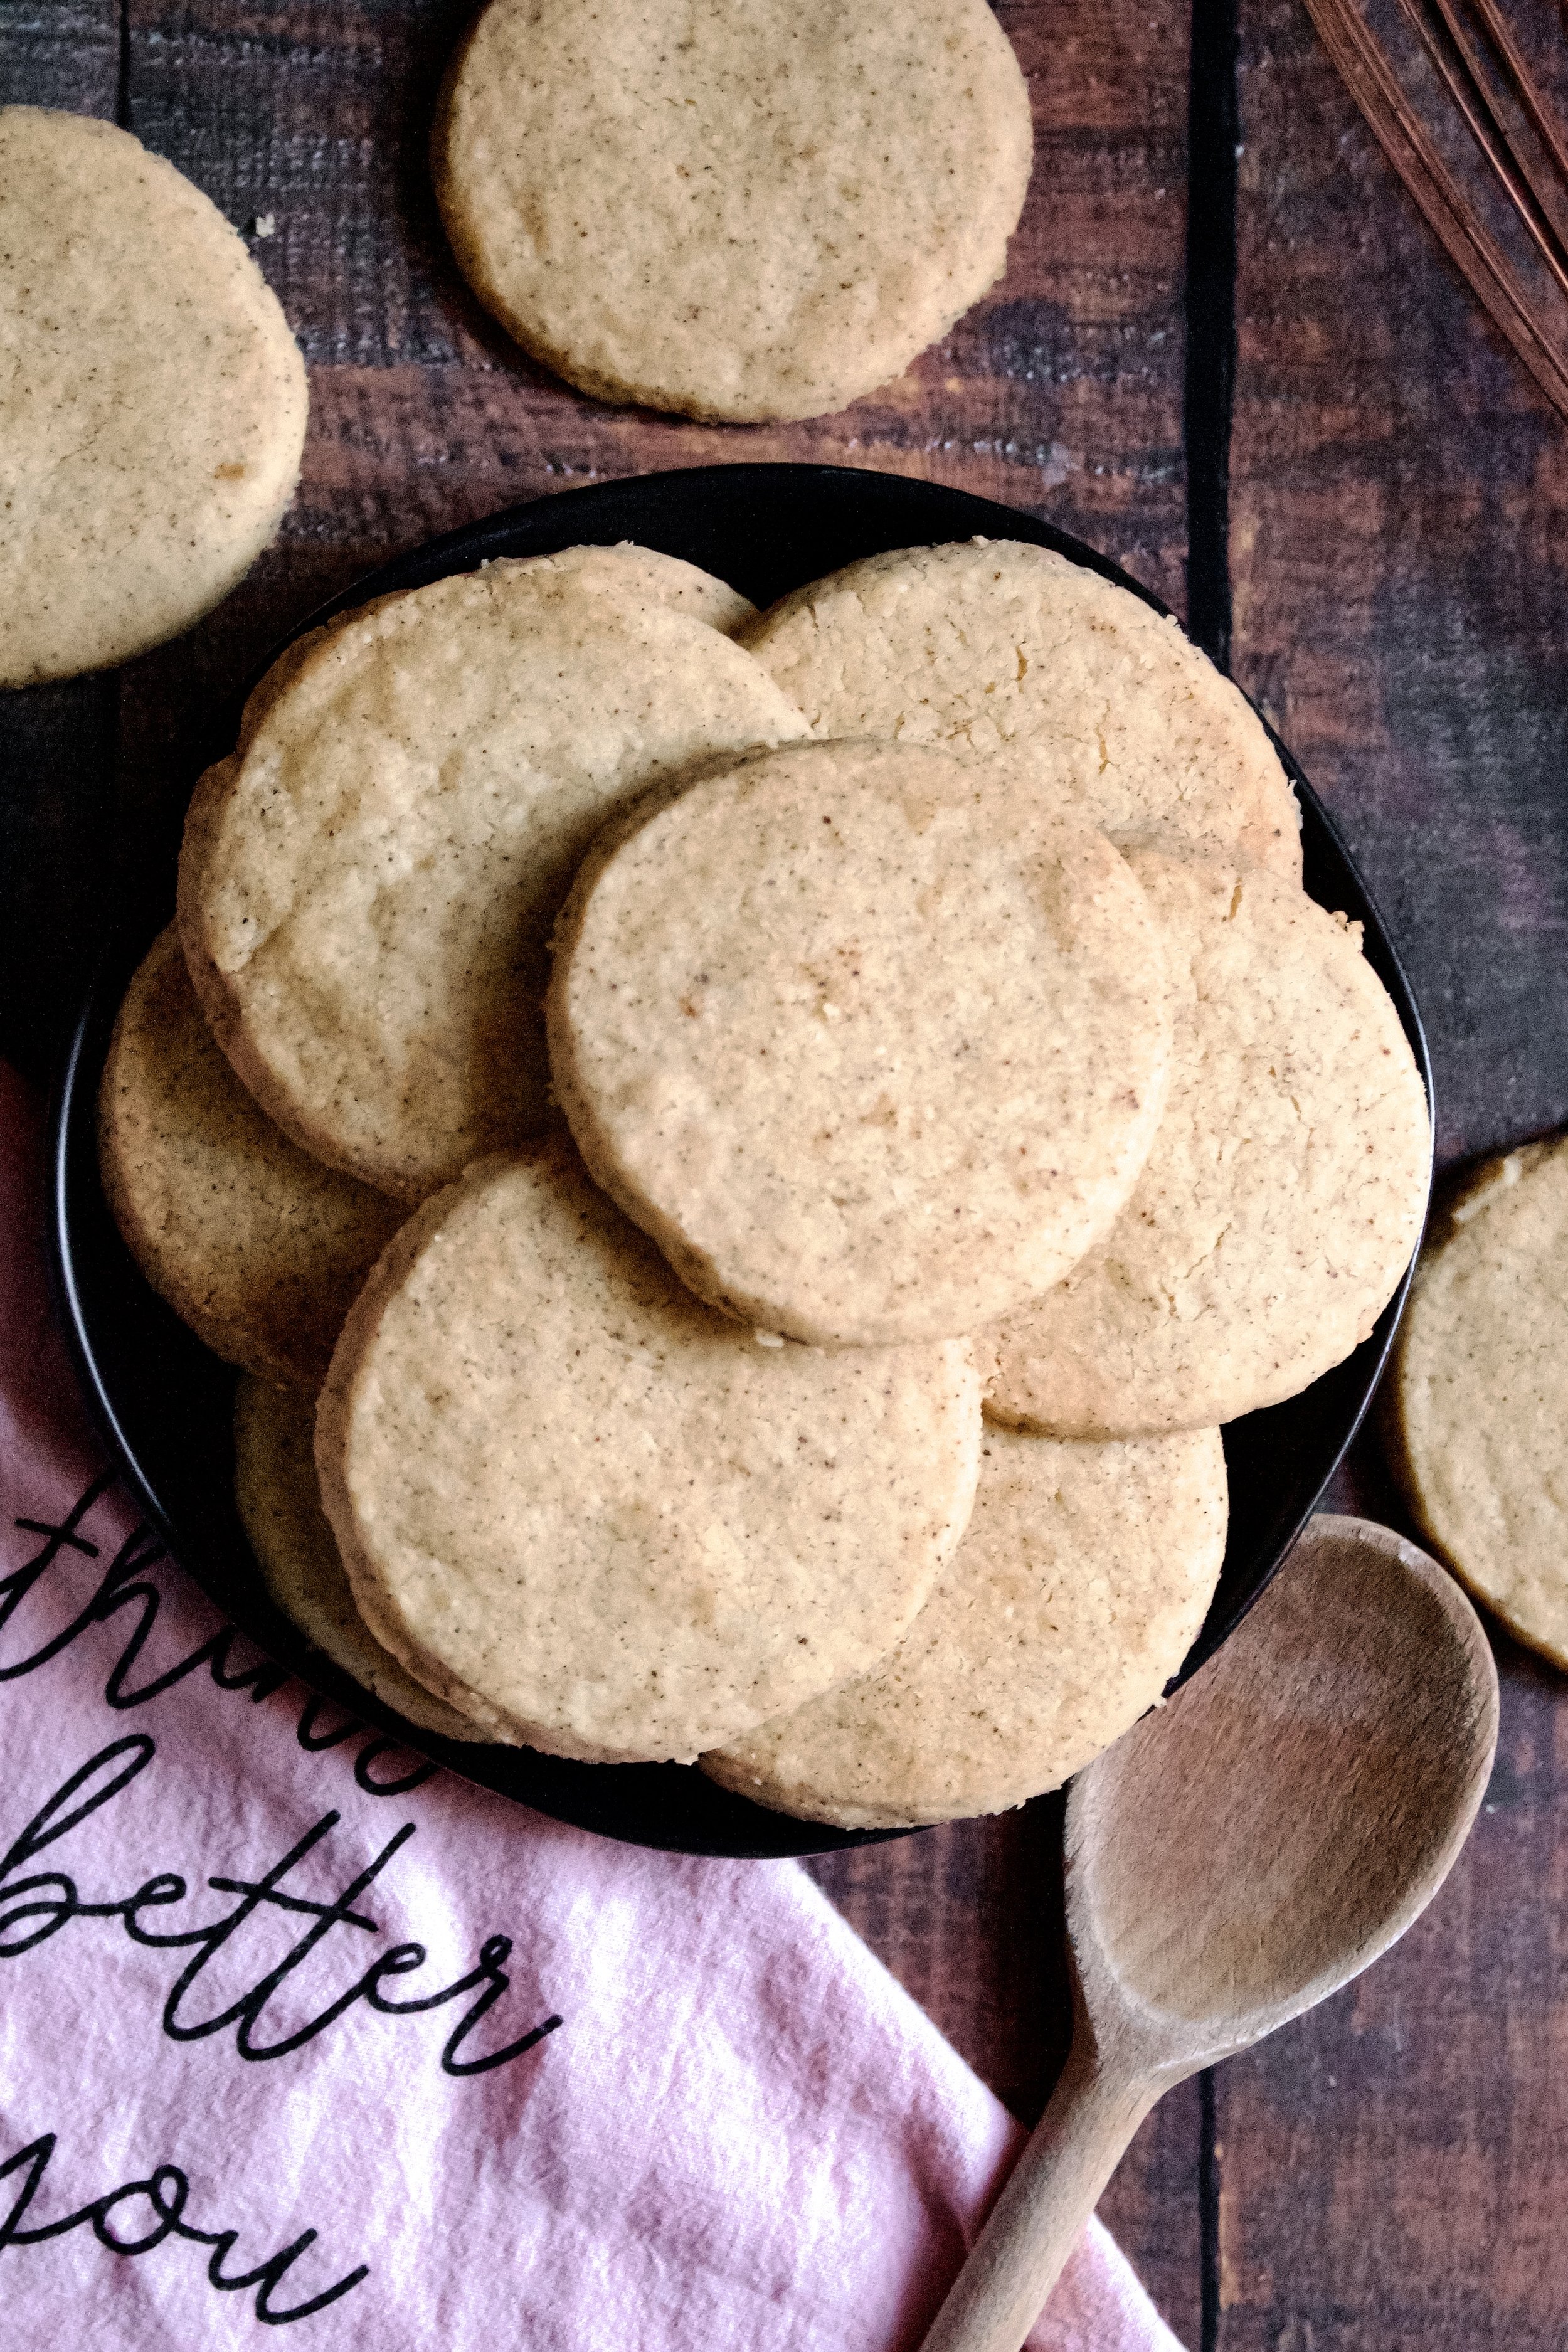
5. Bake. You can either press it into a parchment lined 8x8 pan and cut into squares once cooled or roll the dough out onto parchment sprinkled with flour and cut into desired shapes. I used a simple circle mostly for uniformity in taking photos each month of Baby B.
Enjoy!
Tips and FAQ’s for this recipe
How do I brown butter?
This is actually pretty simple! You’ll just cook it over medium heat in a medium/large saucepan, stirring constantly with a rubber spatula (be sure to get the bottom and sides). It’ll start to bubble then foam. Once this starts to calm down a bit, you’ll start to smell a nutty aroma and notice some golden streaks coming through as you stir (you may not be able to see the bottom). This means you’re almost done—keep stirring until the entire thing starts to take on a golden color, but watch carefully and stir constantly, as the bottom is always darker than what you see on top.
Do I have to use European butter?
Personally, I think it makes a huge difference. It’s creamier and has a very different consistency than sweet cream butter. Since you only have a few ingredients here, you want to make sure each one is of the highest quality. But don’t worry—you can often find it at places like Costco on sale!
What if I don’t have powdered sugar?
You can technically make your own, but I can’t vouch for its efficacy in cookies (it works well in buttercream). Simply place 1 cup granulated sugar and 1 tablespoon cornstarch in a blender and mix until fine—the texture of powdered/confectioner’s/icing sugar. You can of course increase the amount, but this will give you more than you need already.
Do NOT over mix!
These will become tough and lose their flaky tenderness if you mix them too much. Be careful to stir just until the dough comes together then stop. If you find any unmixed flour, you can pat that into the rest of the dough when you roll it out.
Can I make these ahead of time?
Yes! You can make the dough and refrigerate it (well sealed) for up to three days. If you need to make them further ahead, you can shape them then freeze them. Freeze on a cookie sheet then transfer to a well-sealed container or freezer safe bag once they’re solid. They’ll last in the freezer 2-3 months. Bake straight from the freezer, as directed.
My tools
Here are my must-have tools I use for making these cookies. Affiliate links provided.
Mesh sieve (because sifting is KEY for a perfect shortbread)
Rimmed cookie sheets (for pre-shaped cookies)
Silicone baking mats or parchment paper (for baking and rolling the dough)
Round cookie cutters (if you want the round shape I used)

Brown Butter Shortbread
- prep time: 15-20 minutes
- bake time: 10-15 minutes (depending on size)
- total time: 35 minutes
servings: 20-30 cookies (depending on size)
Ingredients:
- 1 cup (227g) unsalted European style butter
- 1 ⅞ cups (255g) flour, spooned and leveled then sifted (you can remove 2 tablespoons from 2 cups of flour for this)
- ¼ teaspoon (2g) finely ground sea salt (omit if using salted butter)
- ¾ cup (98g) powdered sugar
- 1 tablespoon (13g) pure vanilla extract
Instructions:
- Preheat oven to 350F/175C. Line a baking sheet with parchment paper or a silicone mat.
- Brown the butter. In a medium saucepan (deeper than you think you need), heat the butter over medium heat, stirring constantly, until it bubbles then foams and begins to brown. This will take about 8-10 minutes. Watch carefully–it’s typically done while it’s foamy and you can’t actually see the bottom, so watch for streaks of golden butter coming up from the bottom and being stirred into the foam. It will also have a nutty aroma when it’s browned. Remove from heat and pour into your mixing bowl. Let cool completely (you can use the fridge to cool it, but stir every 10ish minutes so it doesn’t harden completely–it should be opaque but stirrable when cooled).
- In a small bowl, whisk together flour and salt. Set aside. (Optionally, you can just add the flour and salt to the butter once it’s blended).
- In a medium bowl (or the bowl of a stand mixer--I couldn't use mine because it does best with larger quantities), whip the butter with a handheld electric mixer on high until creamed, about 30 seconds. Add powdered sugar and mix on high until light and fluffy, about 1 minute. Add vanilla then mix, starting on low then increasing to high to fully incorporate.
- Scrape the bowl then sift in the flour and mix on low until fully incorporated. It will be crumbly at first then will suddenly start to stick to the beaters and pull away from the sides of the bowl. At this point, stop mixing.
- Optional: you could chill the dough for 1 hour or overnight at this point, to make rolling easier. Otherwise, form into a disc, sprinkle both sides lightly with flour, then roll out between two pieces of parchment paper.
- Roll to about ¼ inch thick. Cut into circles or desired shape*. Roll the scraps back out and cut again. Once you have just a small amount of scraps, you can shape that into a couple round cookies.
- Bake 10-12 minutes (up to 15 for larger cookies), until the edges just begin to turn golden. Let cool on the pan for 5-10 minutes then remove the cookies to a wire rack until completely cool.
Enjoy! Cookies will last, covered, for 3-5 days. An airtight container will actually cause them to soften after a day, so I prefer keeping these on a plate covered with foil.
*You can also shape them by hand or press into an 8x8 square pan and cut once cooled.