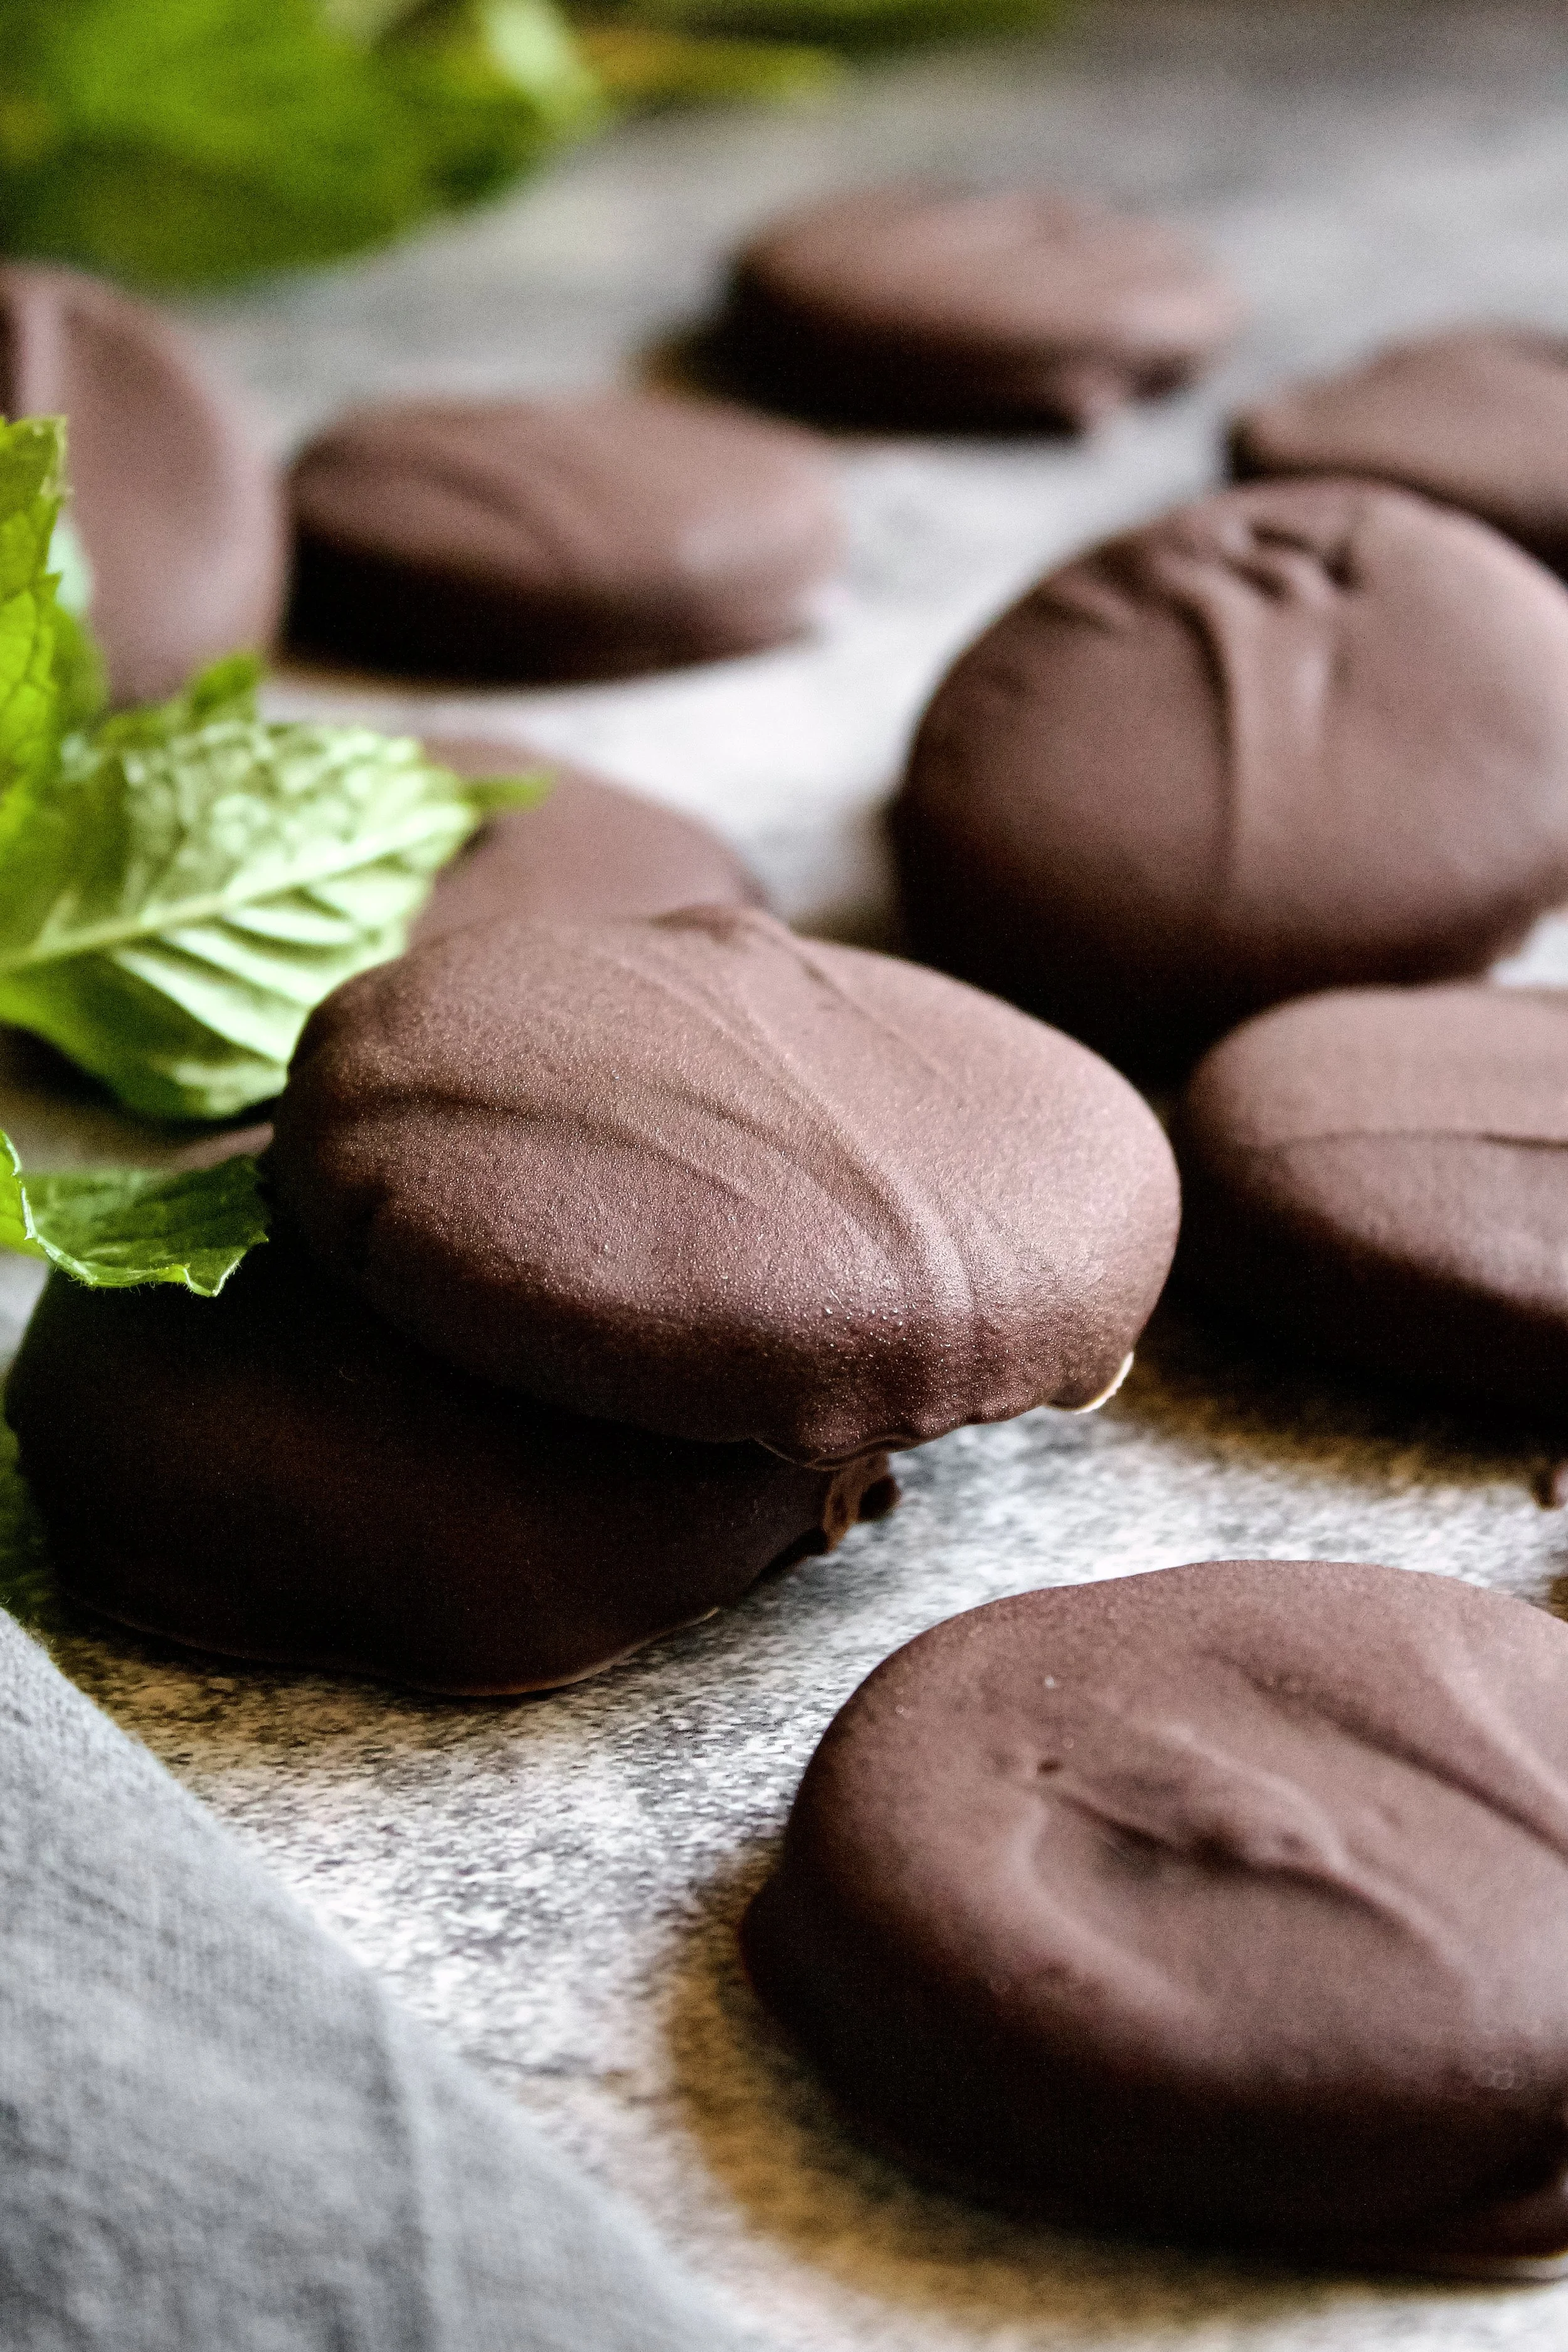
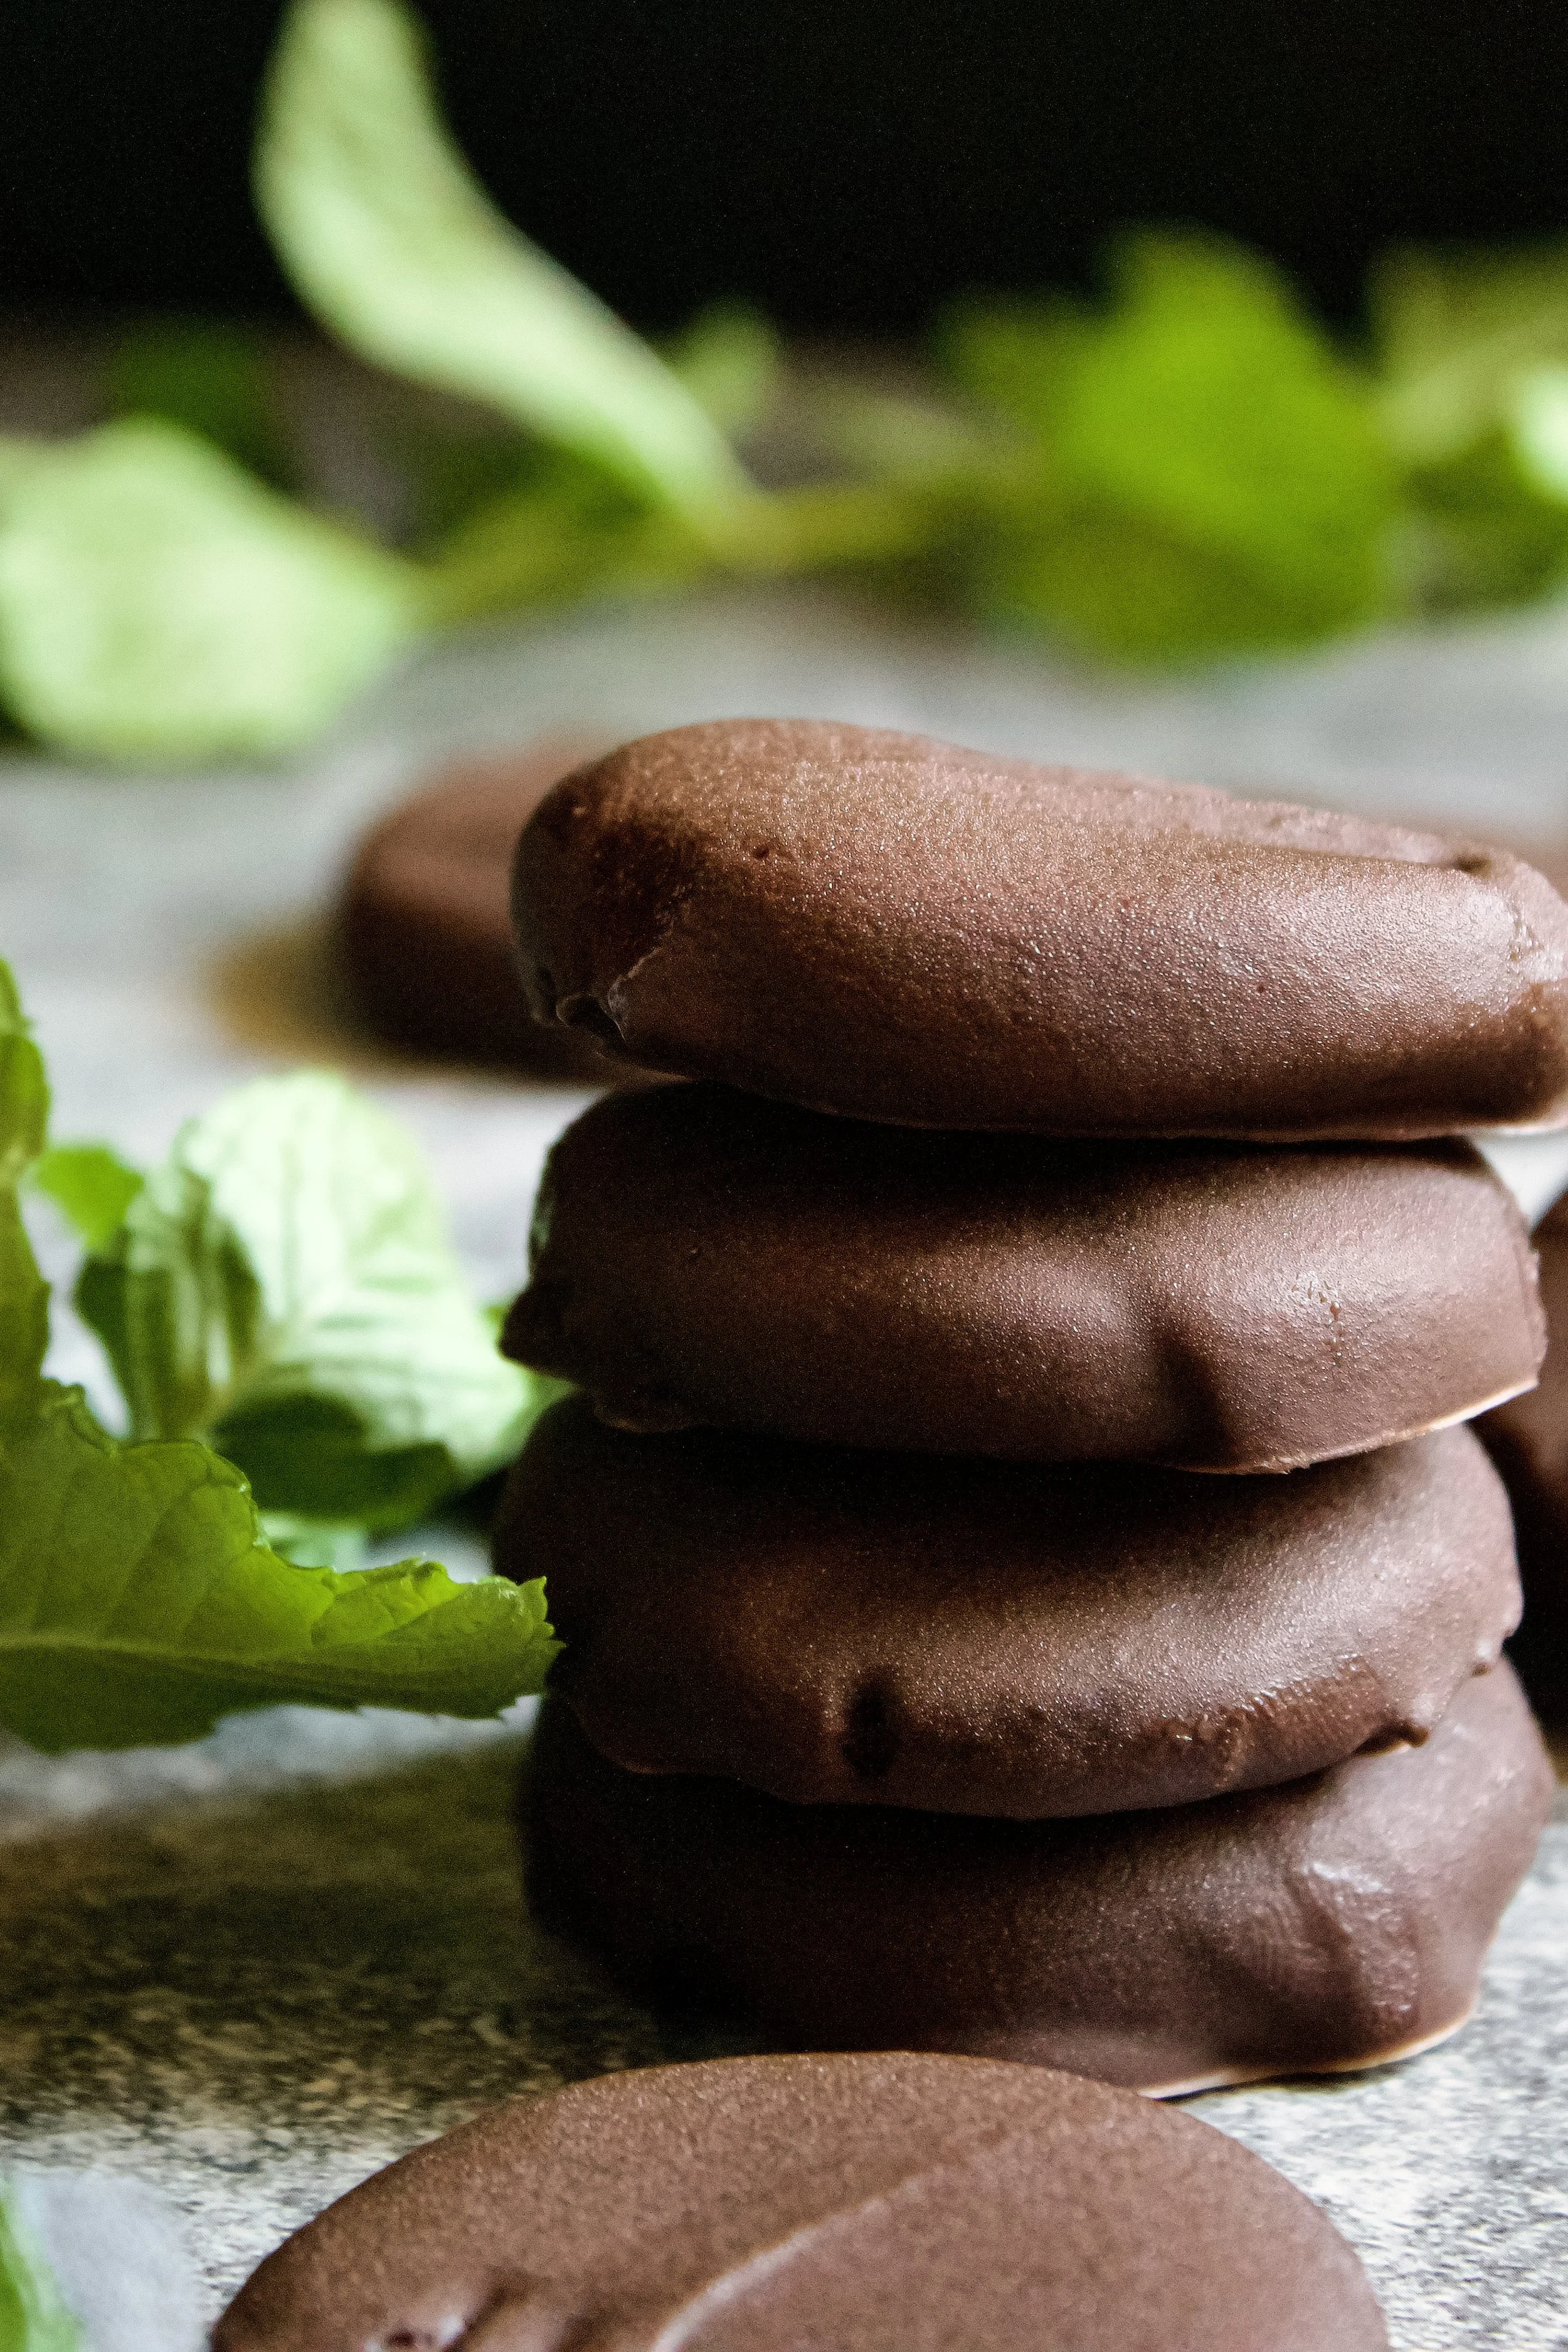
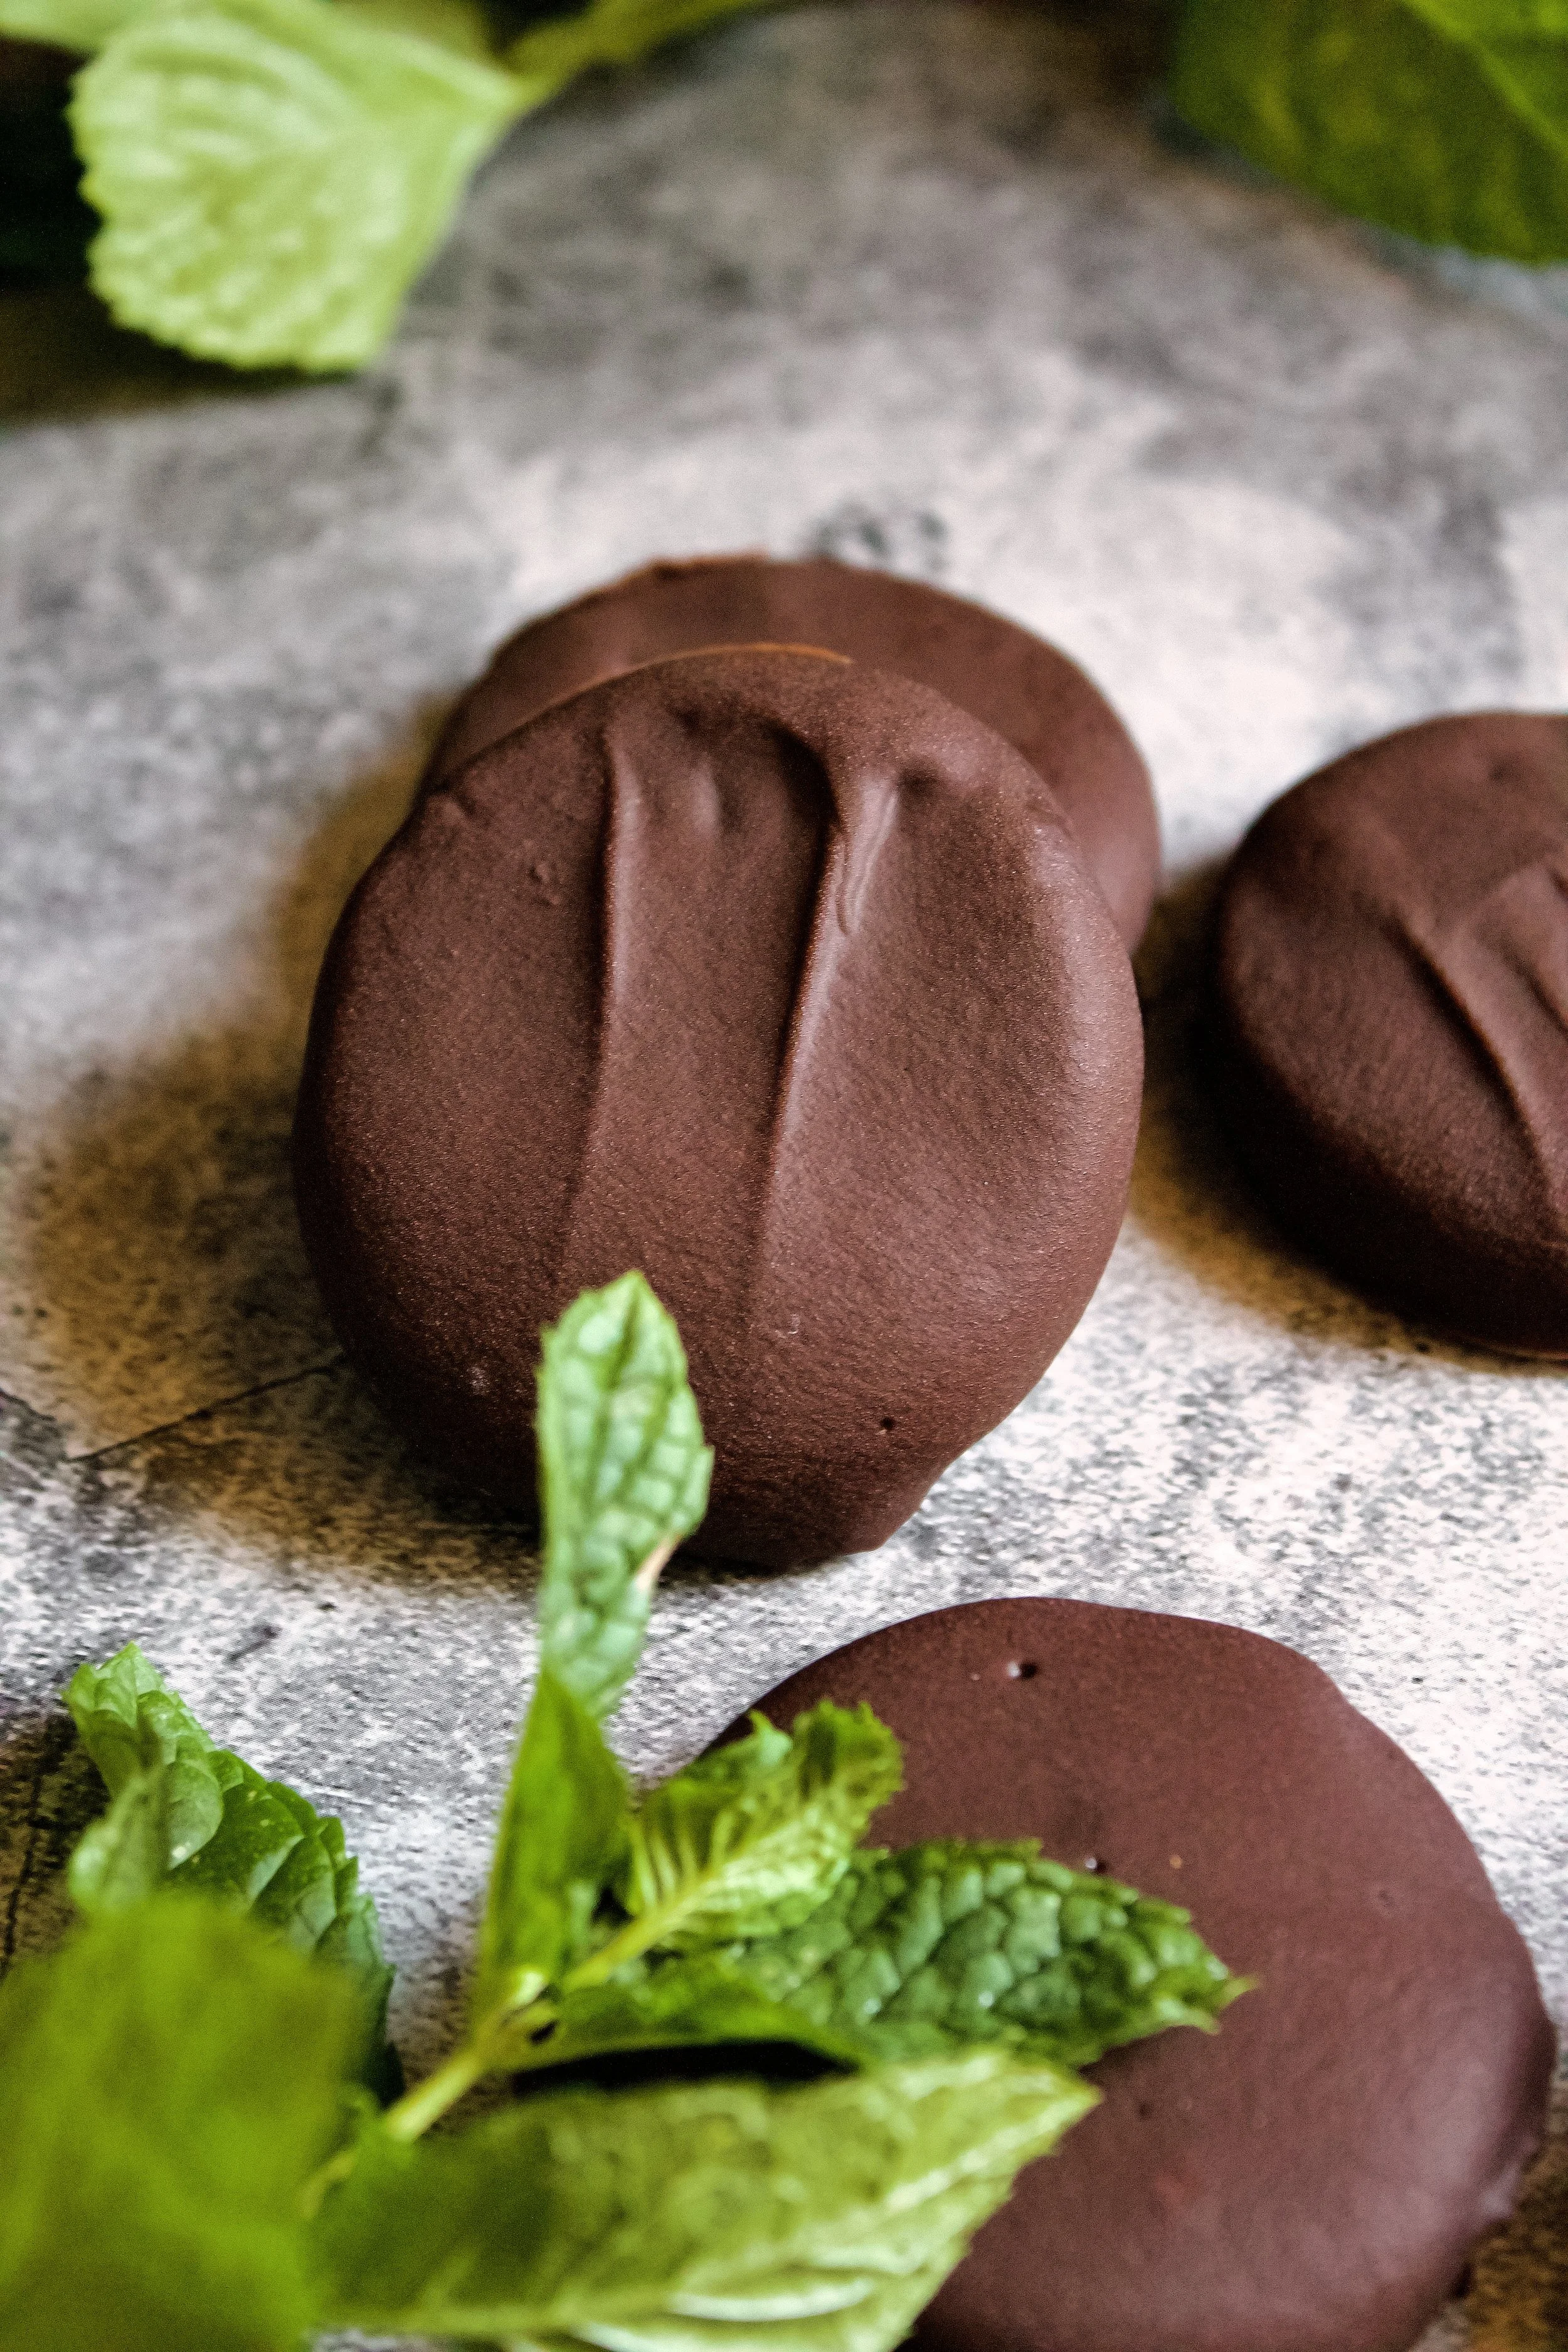
Homemade Thin Mints
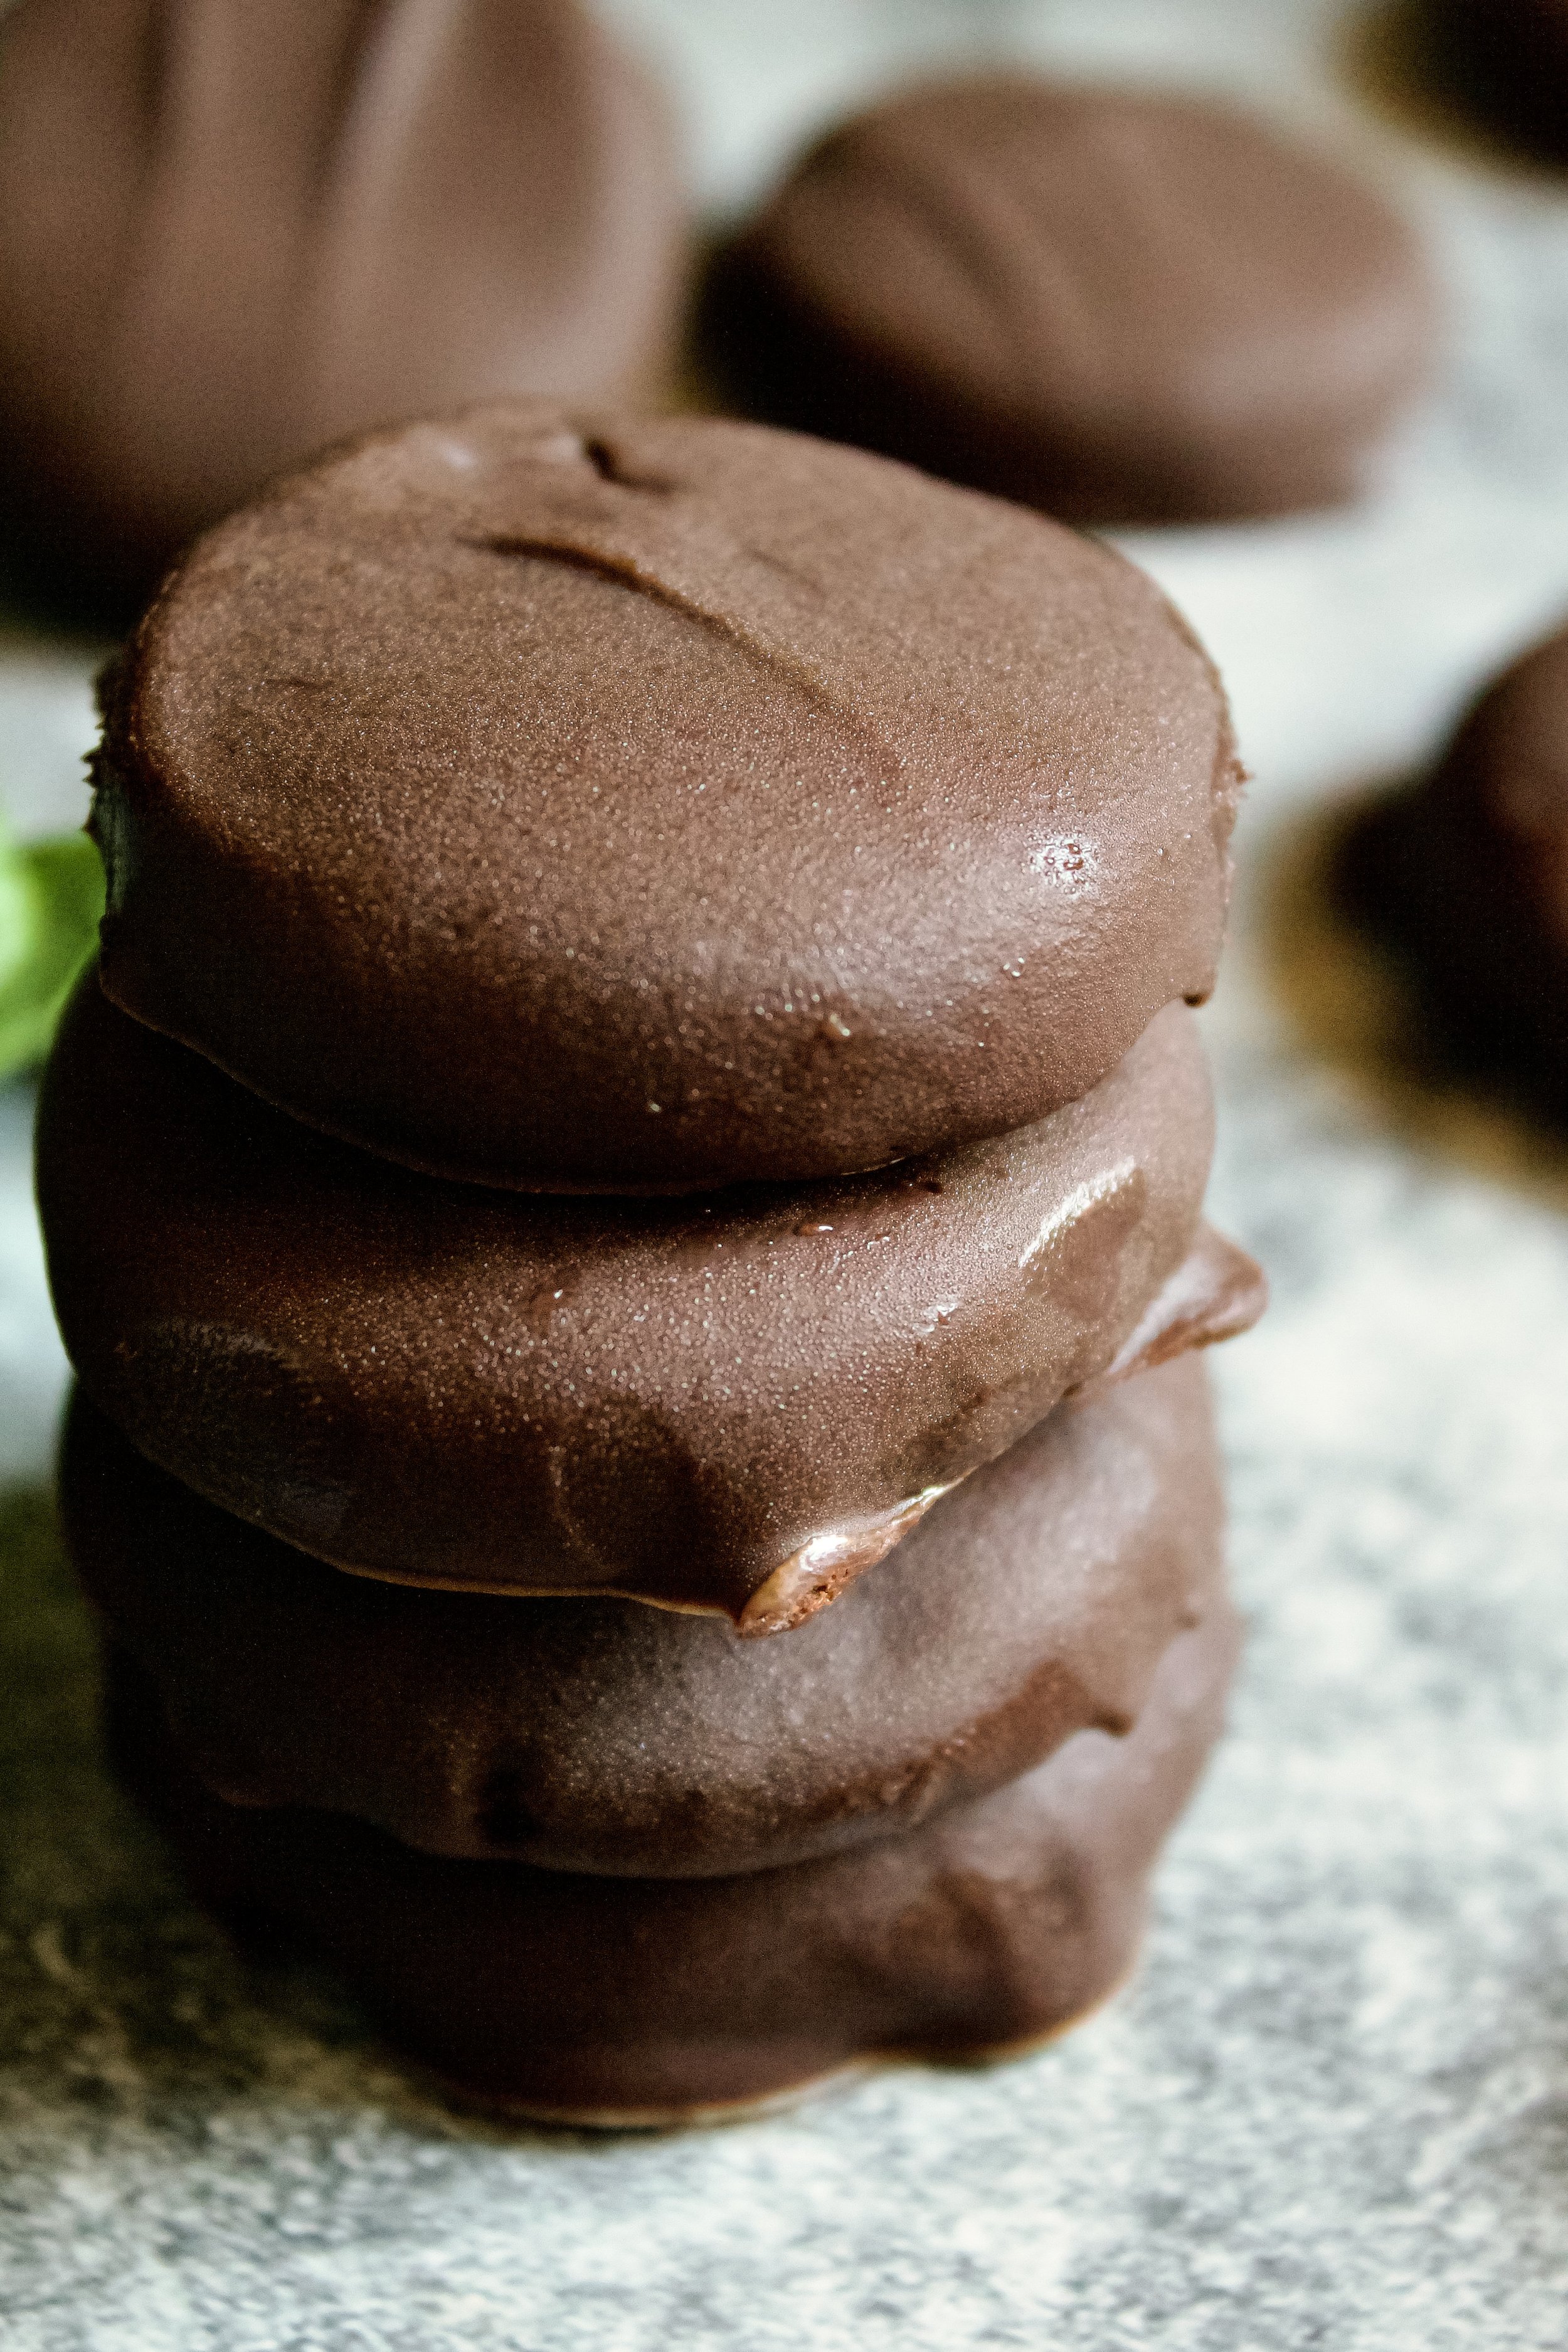
Tender chocolate shortbread dipped in mint chocolate. These simple cookies let you have a beloved Girl Scout cookie all year long!
This post may contain affiliate links from which, at no additional cost to you, I may earn a small commission to keep this site running. Only products I myself would or do use are recommended.
Why this recipe works
First, the shortbread. This is one of my most beloved recipes. My secret is powdered sugar (or confectioner’s or icing sugar). It has a very fine texture, meaning you’ll get a smooth, fluffy dough without overmixing the dough. Additionally, powdered sugar has a bit of cornstarch. Cornstarch is that secret rising agent that gives just a slight poof. It keeps these cookies from being dense yet isn’t powerful enough to make them rise like a chocolate chip cookie. It creates that perfect in-between rise. Adding in cocoa powder (in place of some of the flour) actually makes these even more delicate, as it is finer than flour. Thus, you have an exceptionally tender cookie full of flavor.
As well, European style butter is a game changer. It has far less water and is a MUCH creamier butter, making softer, more tender cookies. I usually use Kerrygold, but any European style butter will do. I often use salted butter, meaning I only add a pinch of salt. This is because I know Kerrygold and know how salty it will make my dessert. If you’re using a different brand or are unsure of the salt content, try to use unsalted so you can better control it.
Finally, the chocolate coating! There are many options for how to do this. Chocolate chips, baking chocolate, or even coating chocolate (also called coating wafers) work. I used dark chocolate chips, because it’s what I had on hand. Then, you simply add a tiny bit of mint extract to it! That’s all you need to get that thin mint taste anytime of the year!
Key ingredients
Butter. As mentioned above, always use European style butter in shortbread. It’s creamier and has less water.
Confectioner’s sugar. This is the secret to the tender texture and perfect sweetness of these cookies.
Vanilla extract. Use pure vanilla extract, not imitation.
Salt. Only use a pinch or so if using salted butter.
Flour. Optionally, you can sift this before using, making the cookies even more tender and delicate.
Cocoa powder. It’s important to sift the cocoa, as it usually clumps up and will either not mix properly or cause you to over mix your dough to get it smooth.
Melting chocolate. Ideally, use dark chocolate. You could use chocolate chips, chopped baking chocolate, or melting wafers. Whatever you prefer!
Mint extract. I chose to use mint, not peppermint. I prefer the flavor. However, peppermint works just fine, too!
How to make homemade thin mints
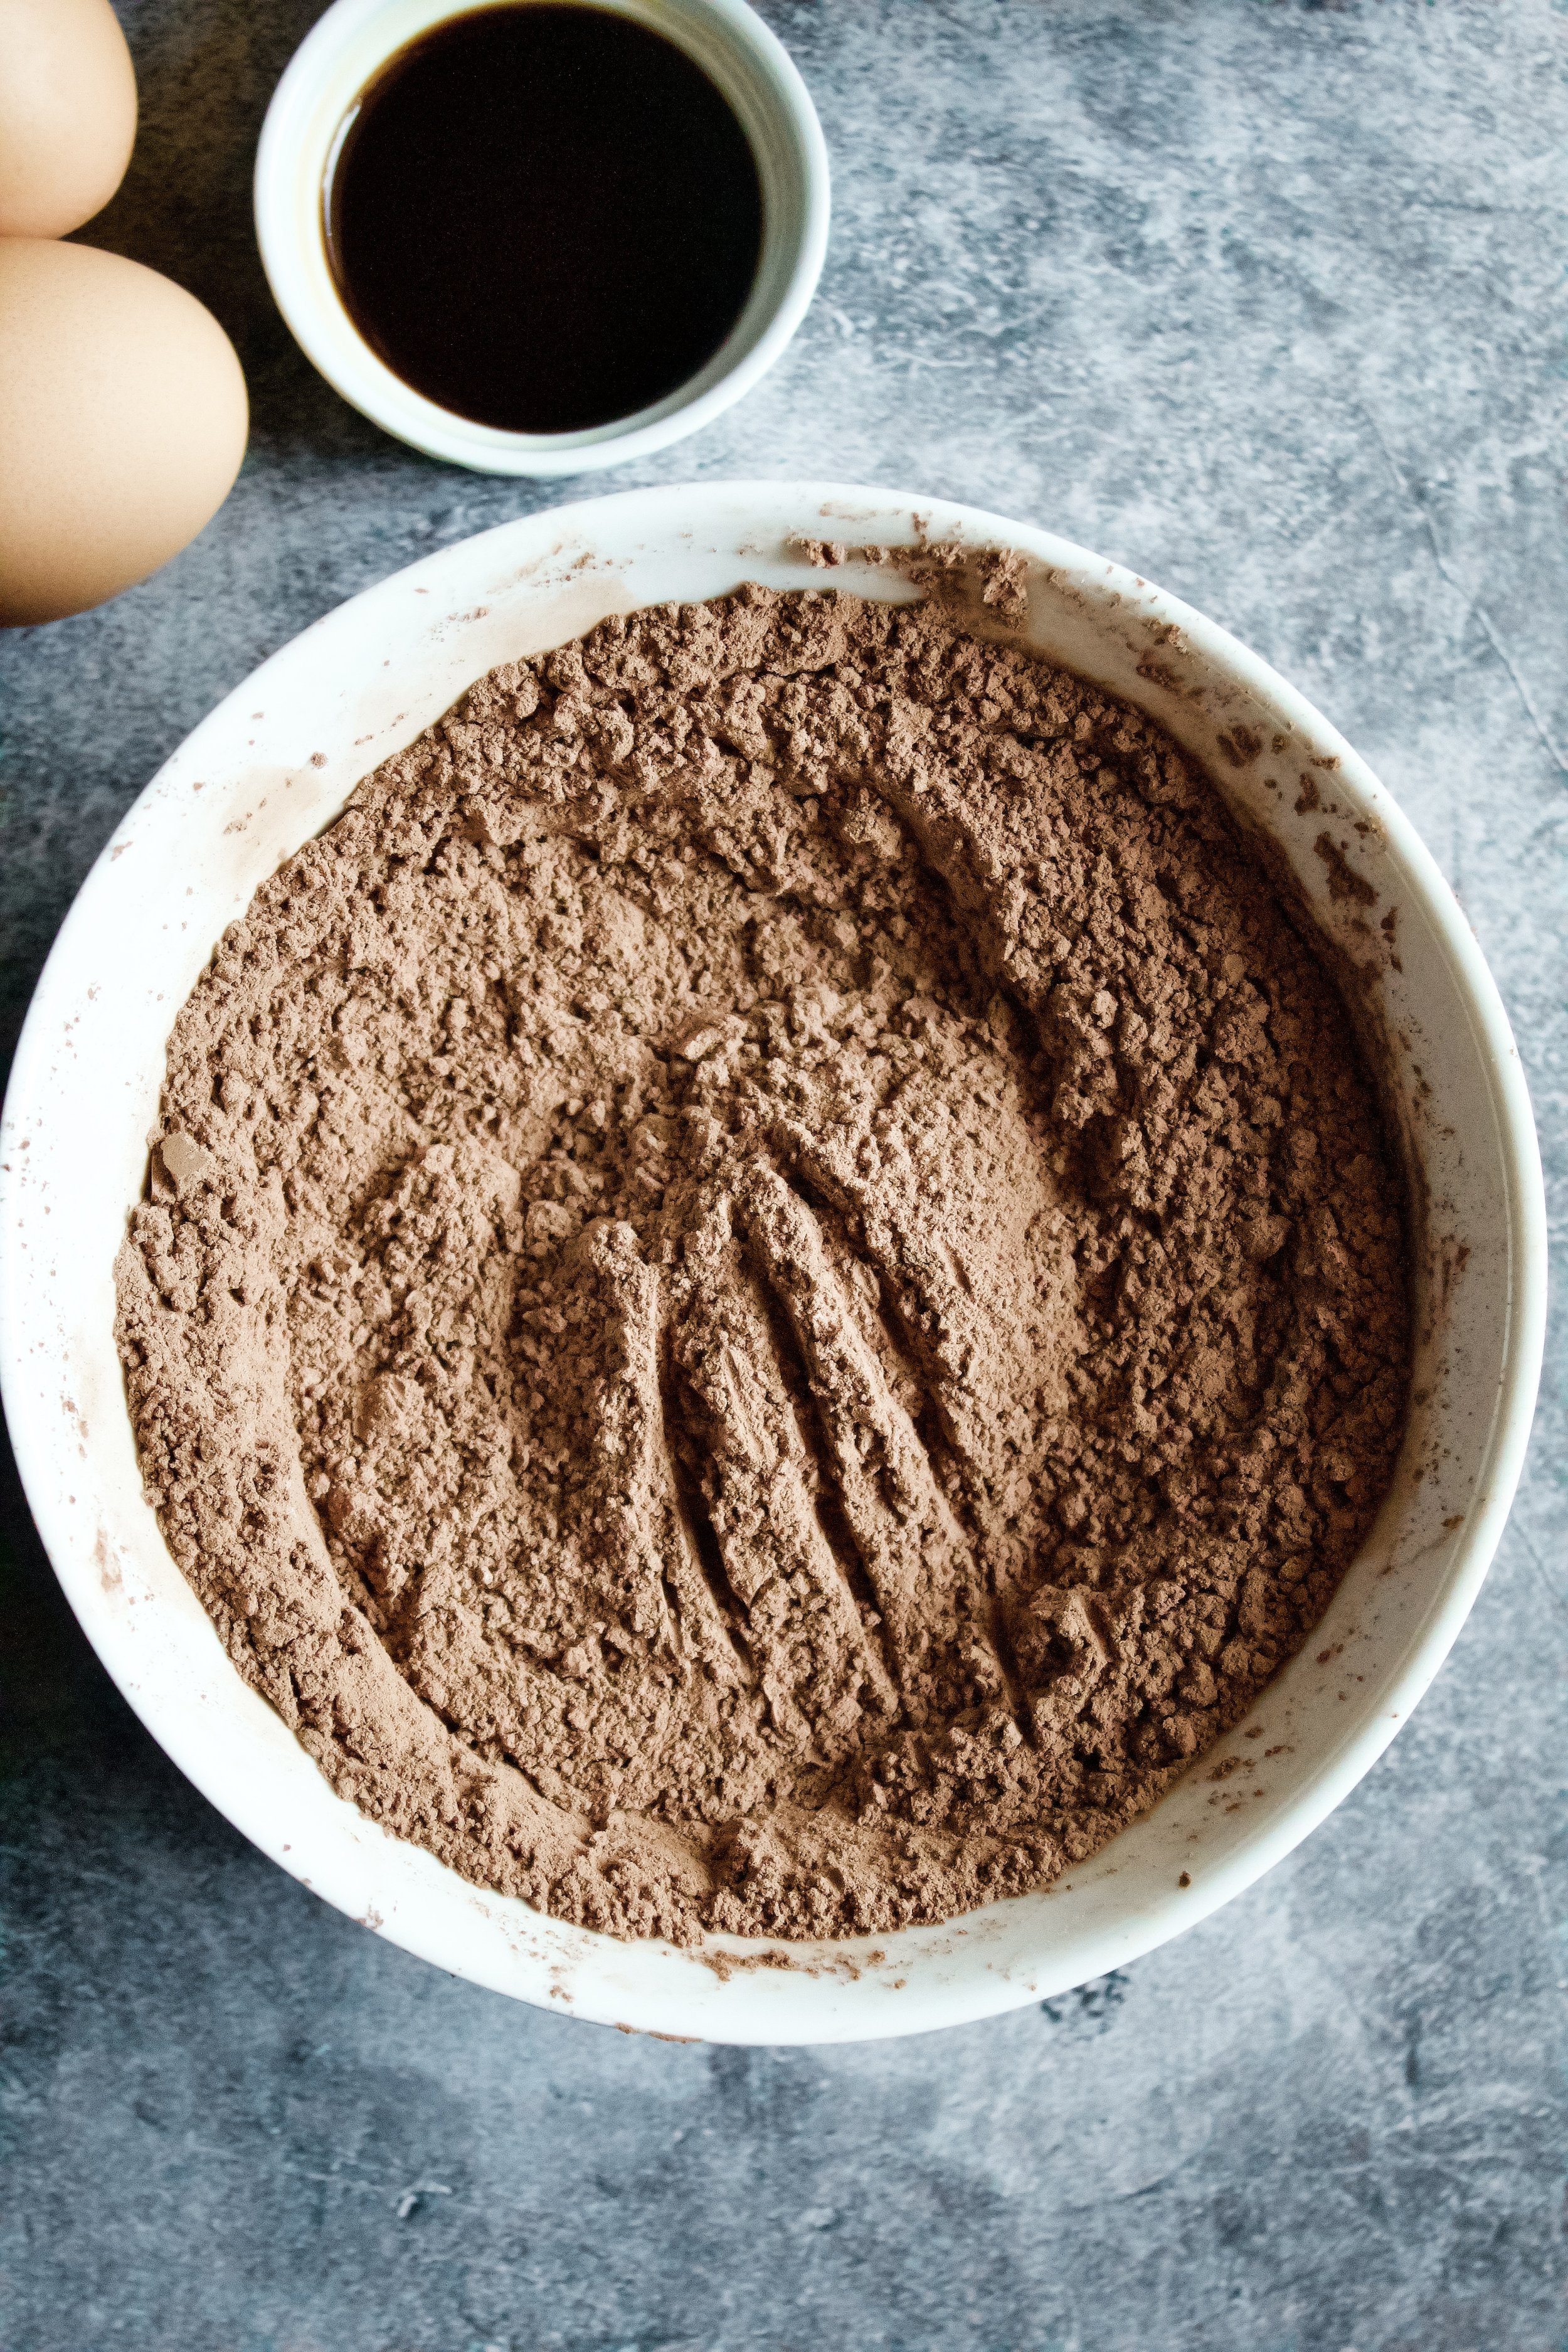
1. Sift flour, salt, and cocoa powder. Only for this shortbread do I suggest you take this extra step. This helps the cocoa distribute evenly.
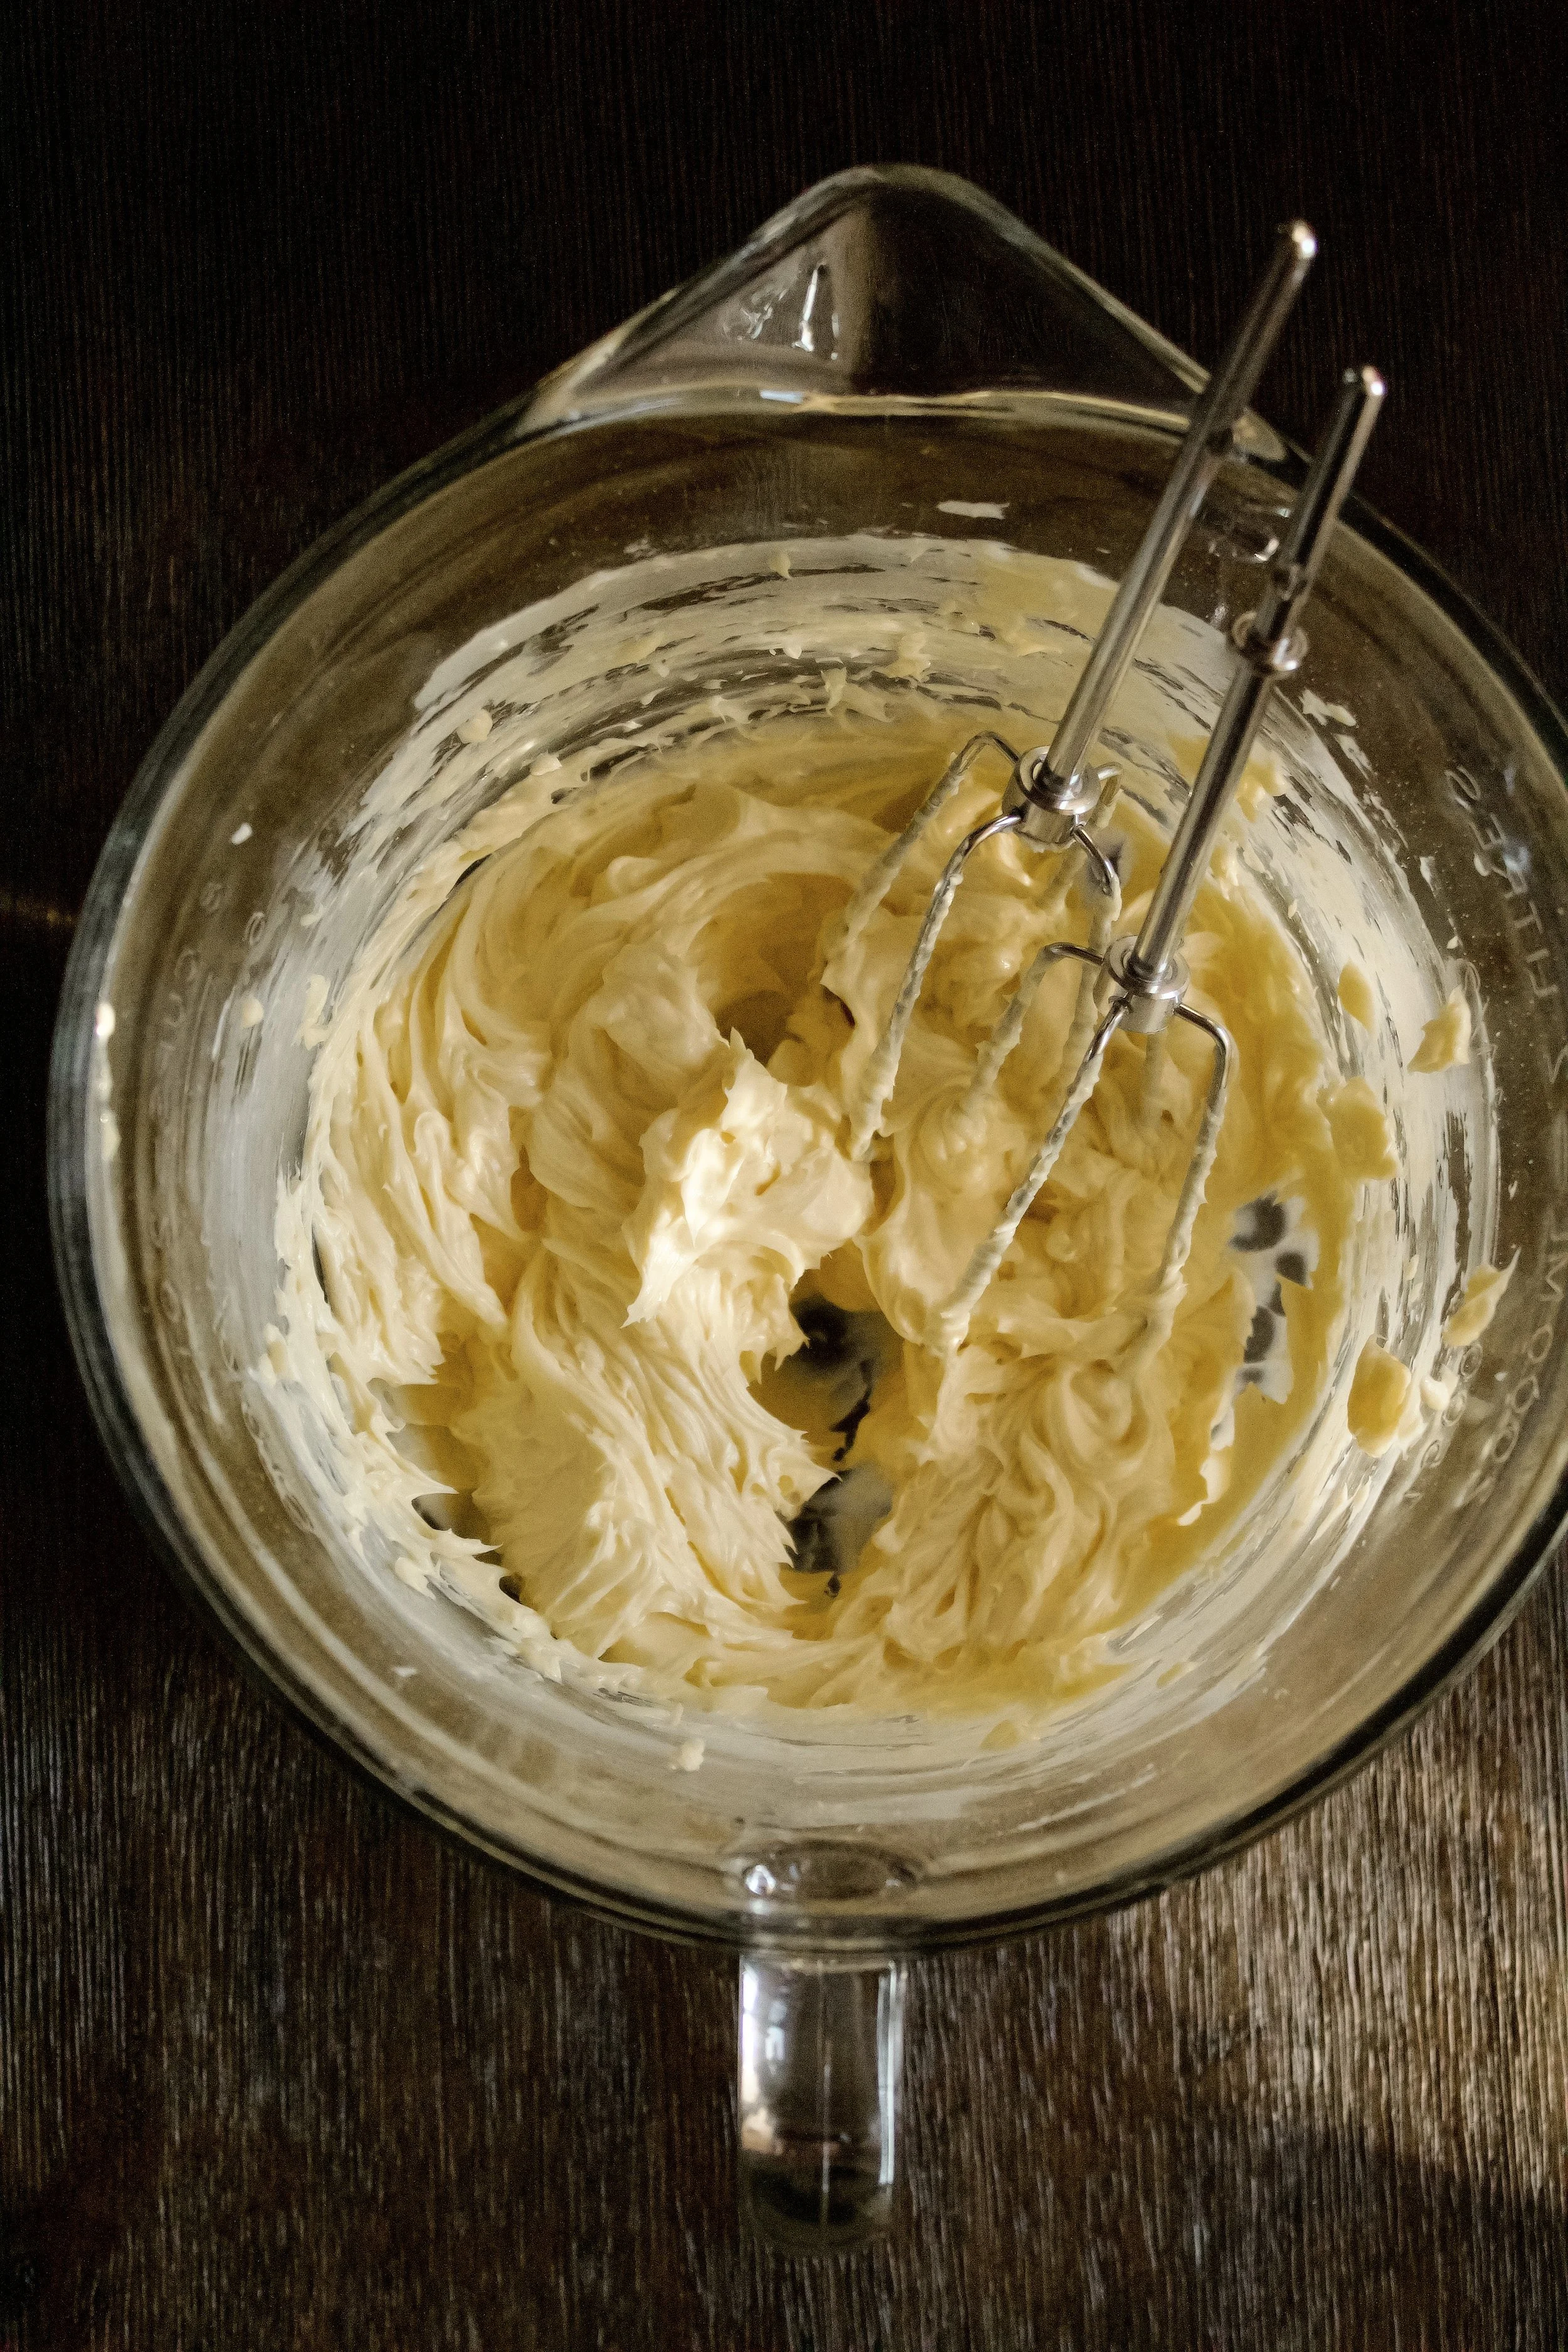
2. Cream butter and powdered sugar. You don’t need to beat it for a long time, just make sure it’s well-combined and perfectly smooth.
3. Add vanilla. Reduce salt to a pinch if you used salted butter. Be sure it’s very smooth so that the flour can be mixed in minimally.
4. Stir in flour. Don’t over mix. Just stir until it comes together.
Optional: You can chill the dough at this point, for 1 hour or up to 3 days, to make it easier to work with.

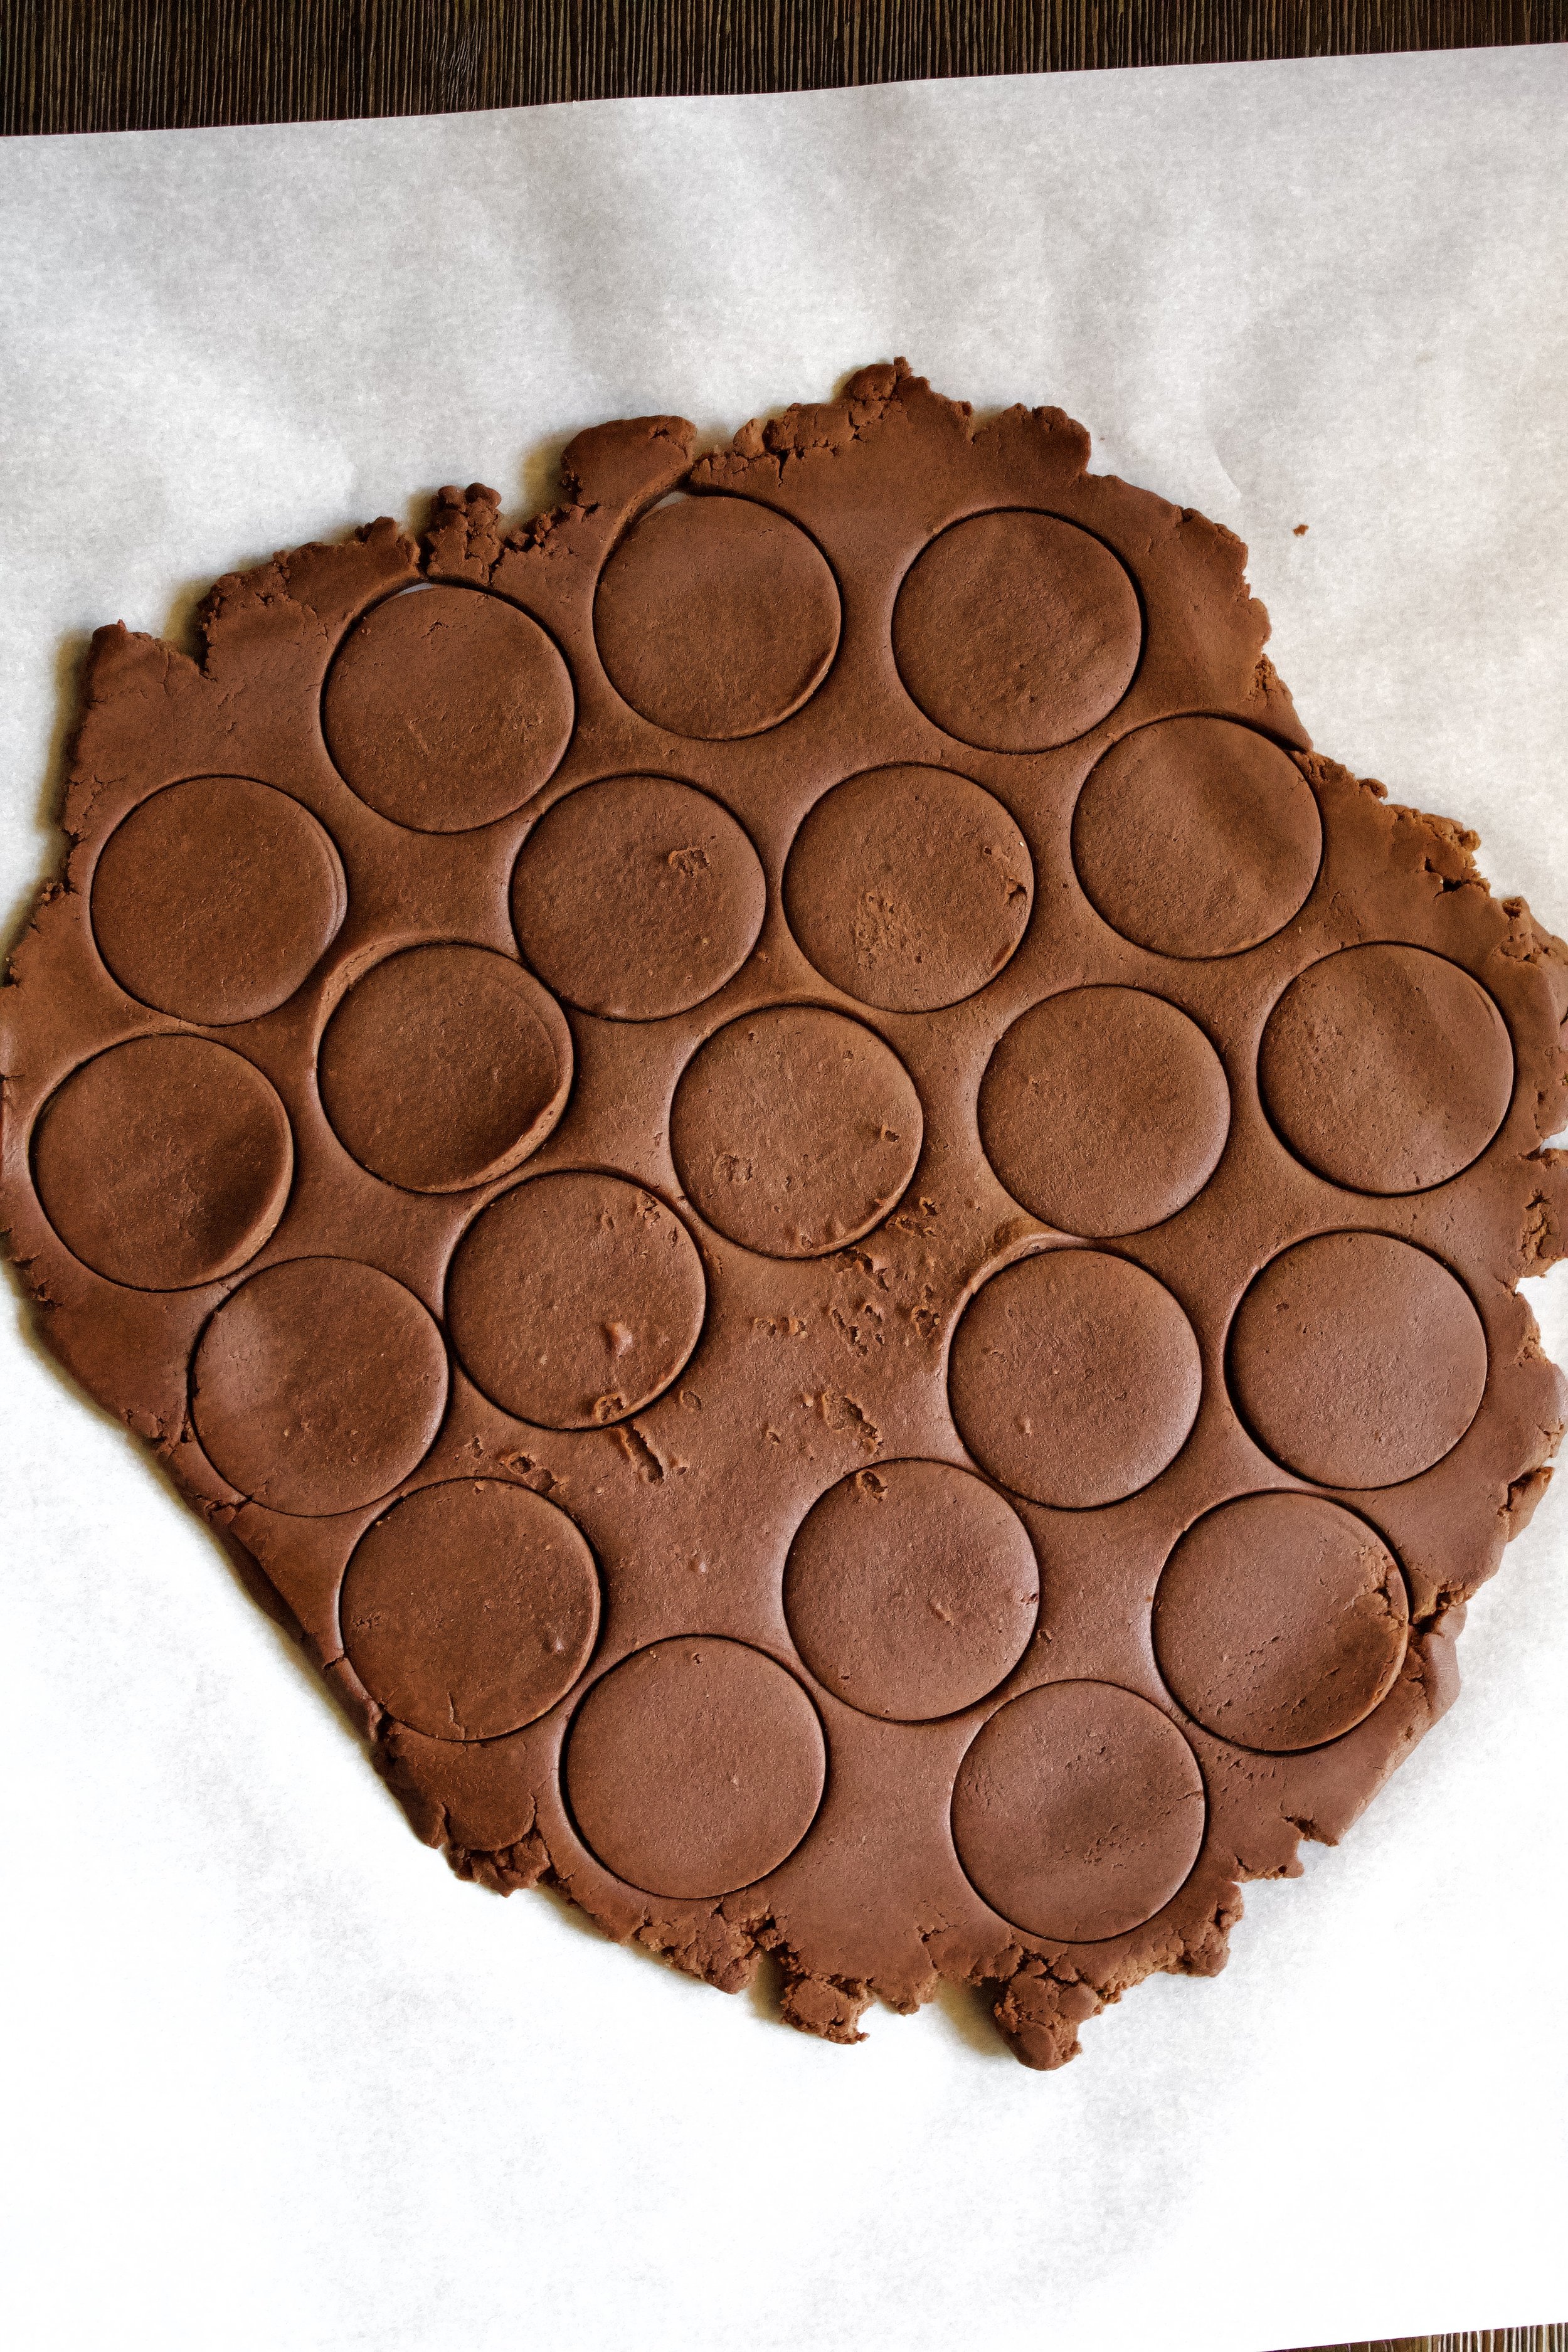
5. Roll out and cut. I prefer rolling these out between parchment paper before cutting out into circles. Don’t roll the dough too thin—somewhere between 1/8” and 1/4” is perfect.
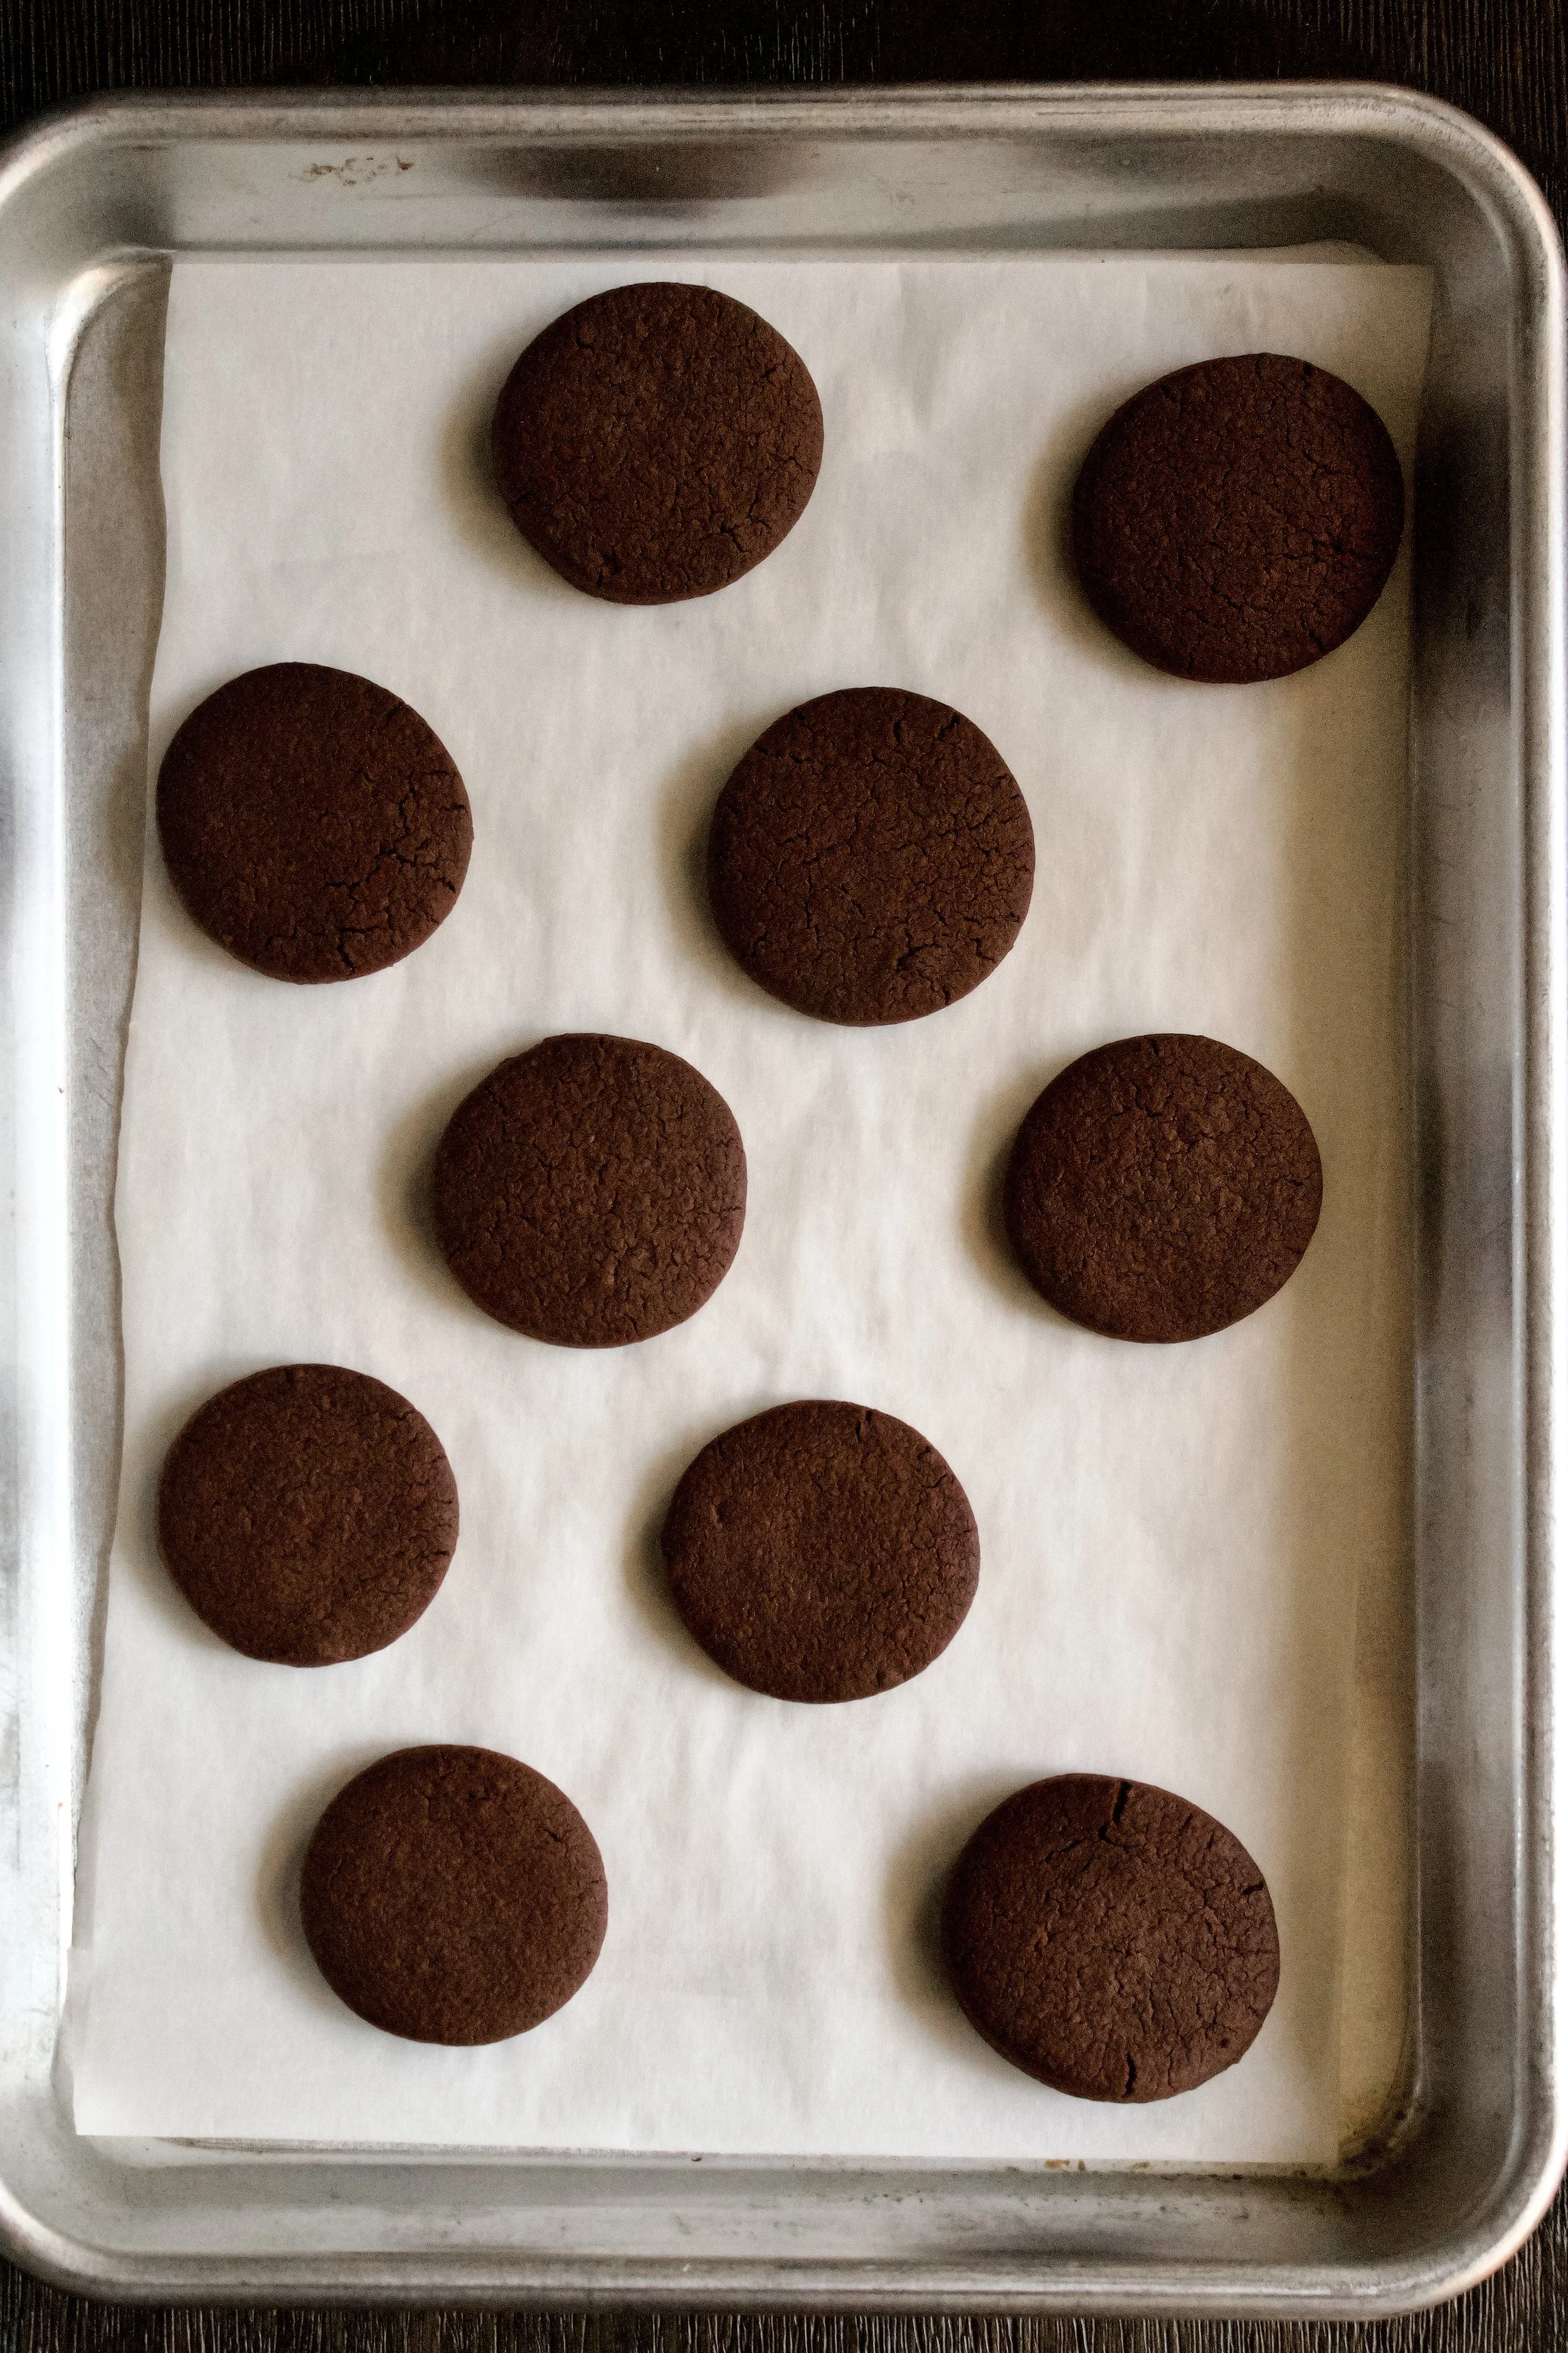
6. Bake. I froze my dough for a few minutes before baking to ensure the cookies kept their shape.
7. Melt chocolate and mint extract. I find it’s best to add the extract before melting the chocolate, so it doesn’t seize.
8. Carefully dip cookies. I like to use two forks to dip and tap off excess chocolate. Let dry on a parchment lined cookie pan.
Let cool and enjoy!


Tips and FAQ’s for this recipe
Do I have to use European butter?
Personally, I think it makes a huge difference. It’s creamier and has a very different consistency than sweet cream butter. Since you only have a few ingredients here, you want to make sure each one is of the highest quality. But don’t worry—you can often find it at places like Costco on sale!
What if I don’t have powdered sugar?
You can technically make your own, but I can’t vouch for its efficacy in cookies (it works well in buttercream). Simply place 1 cup granulated sugar and 1 tablespoon cornstarch in a blender and mix until fine—the texture of powdered/confectioner’s/icing sugar. You can of course increase the amount, but this will give you more than you need already.
Do NOT over mix!
These will become tough and lose their flaky tenderness if you mix them too much. Be careful to stir just until the dough comes together then stop. If you find any unmixed flour, you can pat that into the rest of the dough when you roll it out.
Can I make these ahead of time?
Yes! Dipped cookies freeze well, since they are sealed by the chocolate. You can also make the dough and refrigerate it (well sealed) for up to three days. If you need to make them further ahead, you can shape them then freeze them. Freeze on a cookie sheet then transfer to a well-sealed container or freezer safe bag once they’re solid. They’ll last in the freezer 2-3 months. Bake straight from the freezer, as directed.

Does the mint brand matter?
Yes! McCormick is a pretty reliable brand, but it can taste like toothpaste if you use too much. I’ve also weirdly had good luck with the Whole Foods 365 peppermint. Nielsen-Massey is another one I’ve had pretty good luck with, but I haven’t tried their peppermint. The key is starting small and adding more as needed. Also, the flavor WILL intensify over time—especially in the fridge, so if you plan to make this ahead of time or more than a few hours before serving your dessert, err on the side of “that’s just right” rather than “yeah I taste that peppermint.”
My tools
Here are my must-have tools I use for making these cookies. Affiliate links provided.
Mesh sieve (because sifting is KEY for a perfect shortbread)
Rimmed cookie sheets (for pre-shaped cookies)
Silicone baking mats or parchment paper (for baking and rolling the dough)

Homemade Thin Mints
- prep time: 15-20 minutes
- bake time: 10-15 minutes (depending on the size of cookie)
- total time: 35 minutes
servings: 30-40 cookies (depending on the size)
Ingredients:
- 1 cup (227g) unsalted butter
- ¾ cup (173g) powdered sugar
- 1 tablespoon (13g) pure vanilla extract
- ¼ teaspoon (2g) salt
- 1 ¾ cups (238g) all purpose flour
- ½ cup (43g) unsweetened cocoa powder
- 1 cup (170g) dark chocolate (chips, baking chocolate, or coating chocolate)
- ¼ teaspoon (1g) mint or peppermint extract (to taste)
Instructions:
- Preheat oven to 350F/175C. Line two baking sheets with parchment paper or a silicone mat.
- Make your shortbread by whisking the flour, cacao powder, and salt together. Be sure your flour was spooned and leveled into the measuring cup then sifted. Set aside.
- Beat the butter on high until smooth. Add powdered sugar and beat on low then increase to high until very smooth, about 1 minute. Add vanilla and beat until smooth.
- Add flour mixture and beat on low just until combined.
- Optional: you could chill the dough for 1 hour or overnight at this point, to make rolling easier. Otherwise, form into a disc, sprinkle both sides lightly with flour, then roll out between two pieces of parchment paper.
- Roll to about ¼ inch thick. Cut into circles about 1 to 1.5 inches in diameter. Roll the scraps back out and cut again. Once you have just a small amount of scraps, you can shape that into a couple round cookies.
- Bake 10-12 minutes (up to 15 for larger cookies), until matte in appearance and you can see some slight darkening along the edges. Let cool on the pan for 5-10 minutes then remove the cookies to a wire rack until completely cool.
- While the cookies cool, melt the chocolate and mint. You can do this in a double boiler (or a heatproof bowl set over a saucepan with 2 inches of simmering water on low heat) or in the microwave at half power in 30 second increments. The key to both methods is stirring frequently and only heating until about 75% melted then stirring until smooth. Taste, adding a drop or two more extract as needed (err on the conservative side, as the flavor tends to develop as the cookies cool).
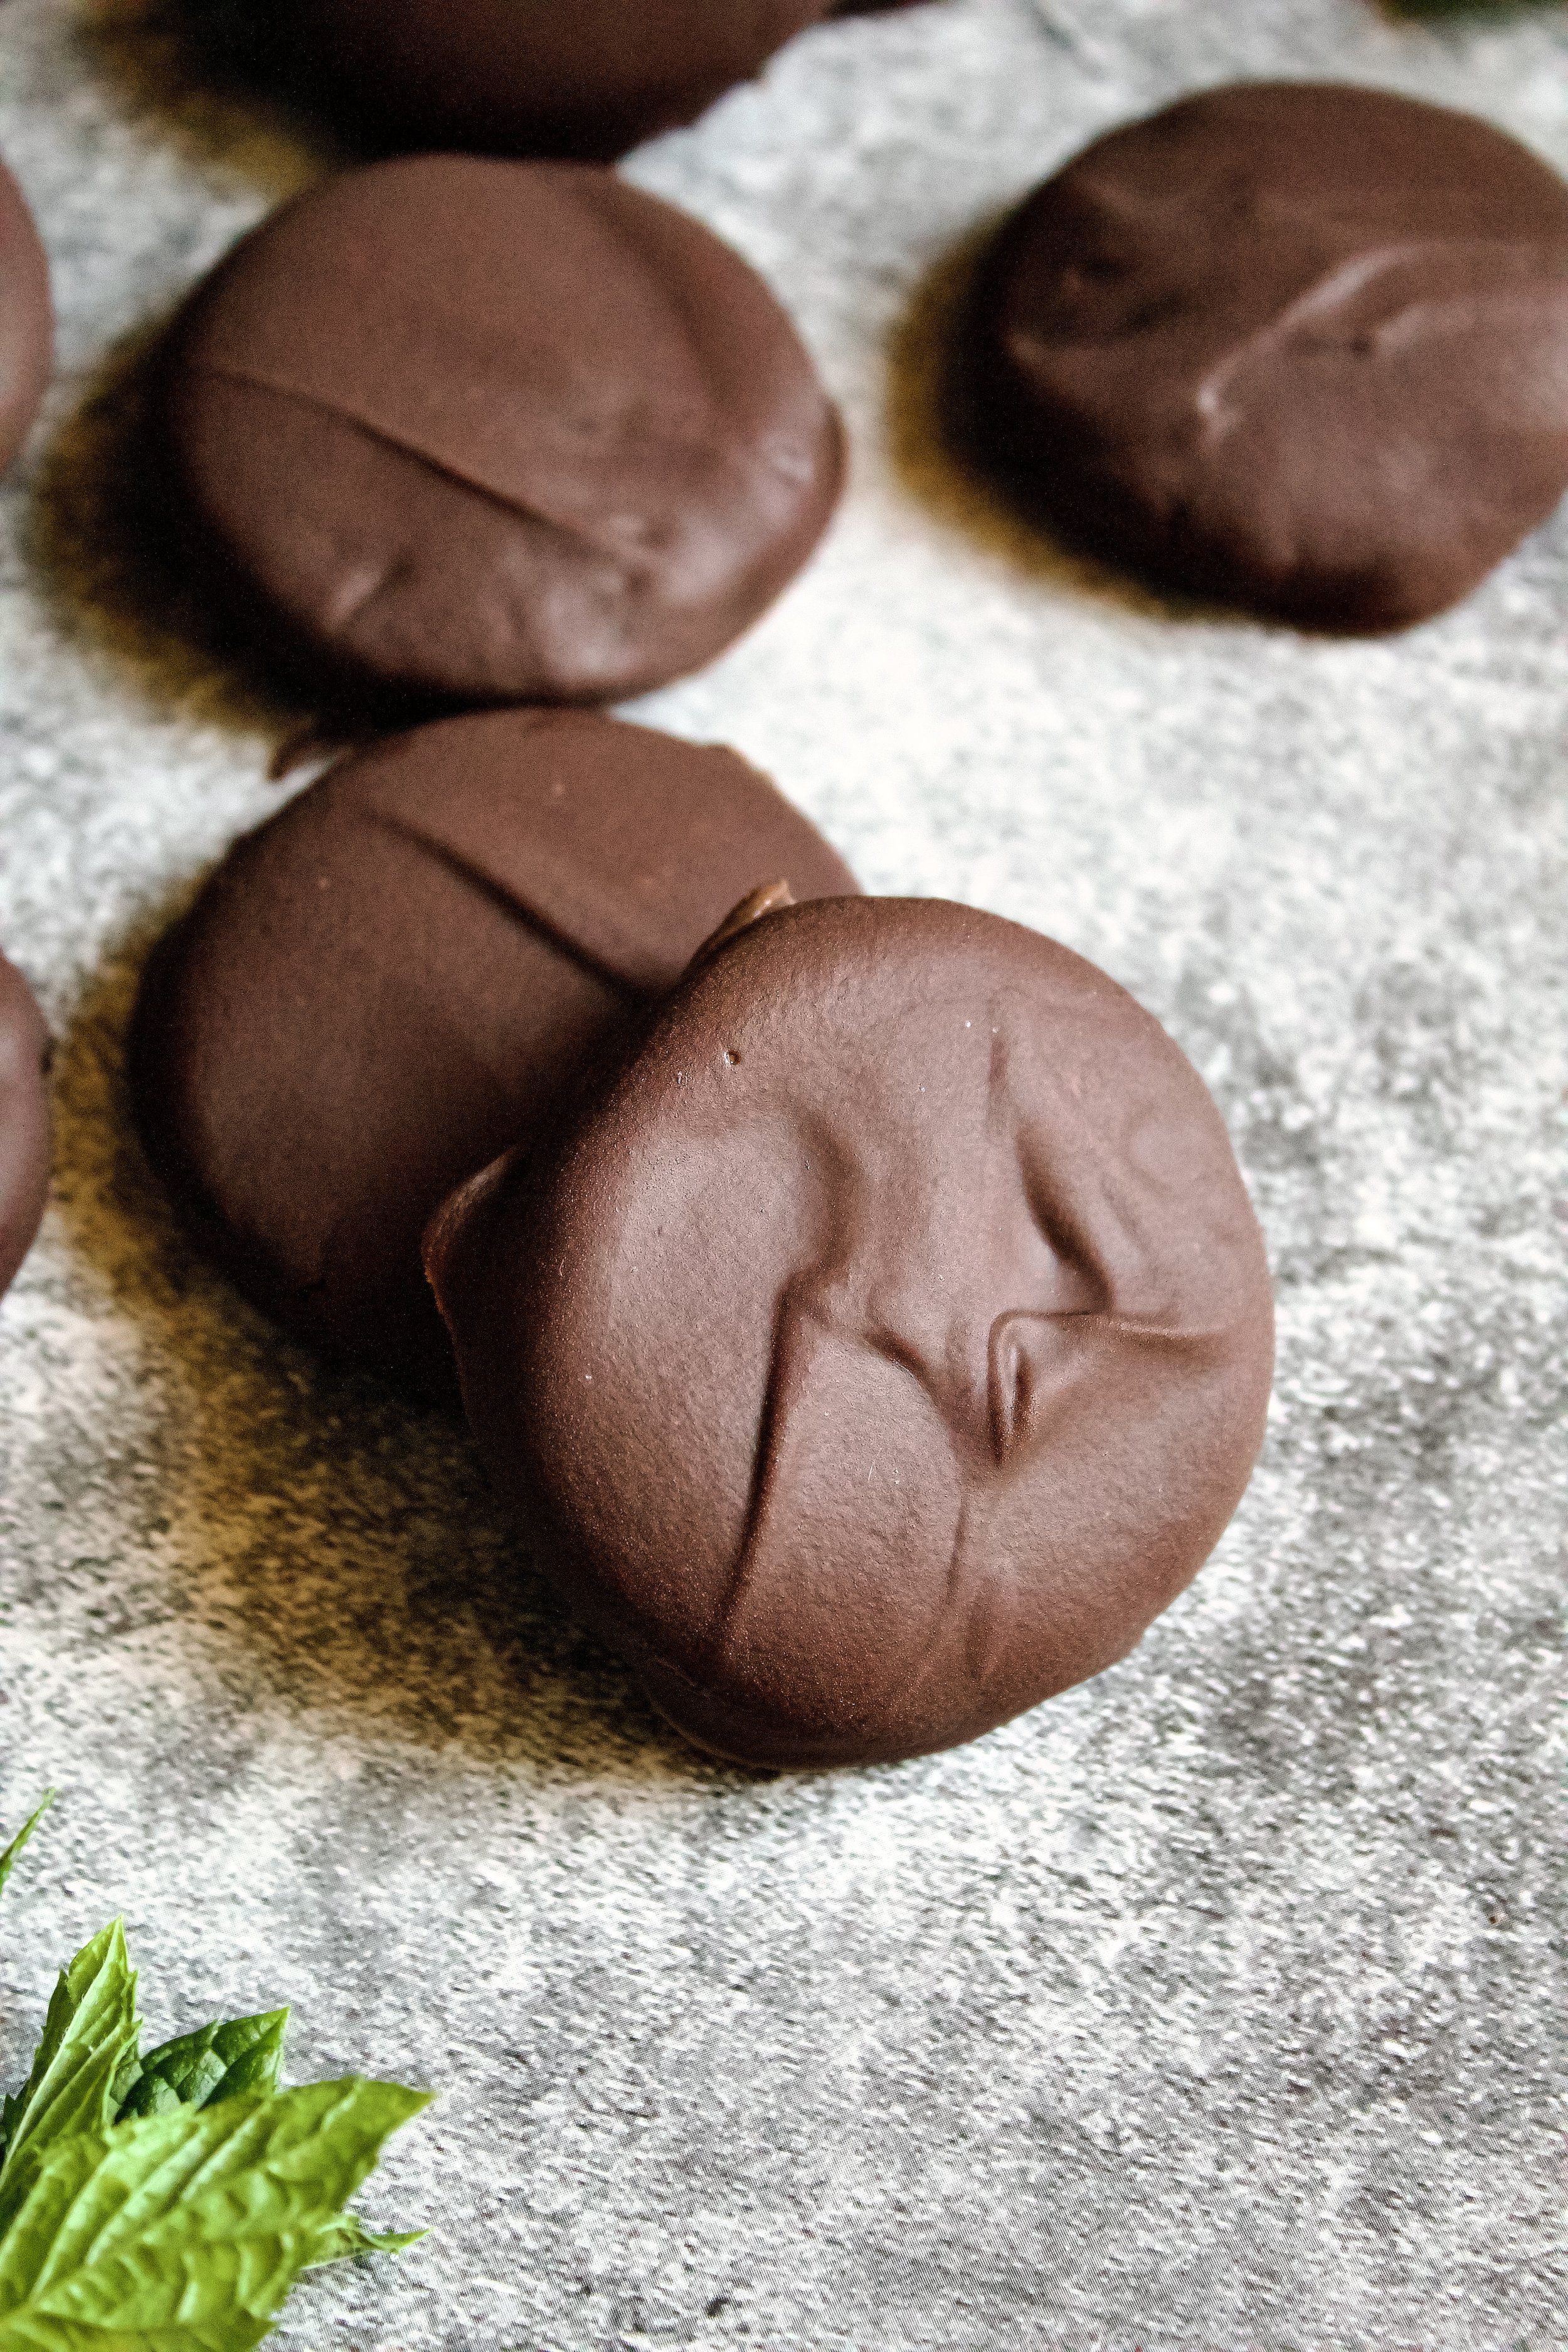
- Dip each cookie carefully in the chocolate, tapping off the excess. Using a fork (or two) to do this helps. Place carefully on parchment until cooled.
Enjoy!
Cookies will last, covered, for 3-5 days.