
Triple Chocolate Brownie Mousse Cake
Fudgy brownie topped with decadent, easy chocolate mousse and chocolate whipped cream. This cake is simpler to make than it appears and is absolutely worth the effort!
This post may contain affiliate links from which, at no additional cost to you, I may earn a small commission to keep this site running. Only products I myself would or do use are recommended.

Hello from the throes of colic. Our precious girl is 8 weeks old, and about two weeks ago we hit what I’m hoping was the worst of her colicky days. She’s still on the fussy side, but it seems to be better than before. Many tears have been shed by all.
But she’s also smiling now! So there’s some sunshine in these dreary days.
You know what else is sunshine? This cake. It’s my favorite fudgy brownie topped with my favorite easy chocolate mousse and a layer of chocolate whipped cream, for good measure. It’s rich and chocolatey yet still light. The perfect balance.

Why this recipe works
The beautiful contrast of fudgy brownie, filled with extra chocolate chips, against the rich, silky mousse and creamy chocolate whipped cream is why this is so addictive. The brownies have the perfect balance of structure (thanks to plenty of cocoa powder) and chew (thanks to the melted butter). And I of course use extra chocolate chips, which is optional, but highly recommended. The mousse is incredibly simple—it’s basically ganache and whipped cream. But this recipe has you stabilizing it by adding gelatin to the ganache (much simpler than carefully beating it into the whipped cream). So you have silky smooth texture along with stability—I mean, look at that clean slice of mousse! And of course, you can’t go wrong with a little chocolate whipped cream on top!

Key ingredients
Flour. Be sure to spoon then level the flour so you don’t have too much.
Cocoa powder. Use unsweetened cocoa, and do not skip the sifting! It’s important to make the brownies tender and the whipped cream smooth.
Baking powder. Use fresh baking powder, meaning not opened longer than 6 months.
Salt. Sea salt is ideal.
Butter. European butter is best, as it has less water.
Sugar. Use granulated sugar.
Eggs. Use fresh, large, room temperature eggs.
Vanilla. Use pure vanilla extract, not imitation.

Chocolate chips. Use high quality chocolate that you really enjoy eating, as that brings most of the flavor to the mousse. For the brownies, you can use any type, and even feel free to mix and match.
Heavy whipping cream. Nope, not a health food, but soooooo creamy and delicious.
Gelatin. This is our secret star ingredient—it has no taste, is healthy for you (although not vegan, but neither is any of this recipe), and just a little helps bring the perfect texture and stabilization.
Water. This is one of those “not an ingredient” ingredients that many recipes don’t list, all in the name of “only 5 ingredients!” I’m not about that life—I want to know all the things. We need just one tablespoon of water to help bloom the gelatin.
Powdered sugar. This is actually optional, but I sometimes will add a small bit to my powdered sugar, especially if using a really dark chocolate that needs some balance.

How to make triple chocolate brownie mousse cake
Make the brownie layer
1. Sift and whisk the flour, cocoa, baking powder, and salt.
2. Melt the butter.
3. Whisk still-hot butter into the sugar. Whisk for a good minute or so to help it begin to dissolve.
4. Add the eggs and vanilla, one at a time. Whisk about a minute after each egg. Add the vanilla and whisk well again.
5. Gently fold in dry ingredients. Leave some streaks of flour.
6. Fold in the chocolate chips. This step should take care of the remaining streaks of cocoa and flour.
7. Pour into a greased pan and bake. Brownies are done when the top is no longer shiny and the middle is slightly jiggly but not liquidy. You can also use a toothpick, but most people like it when about half of the toothpick comes out with some doughy (not raw) batter on it.


Make the mousse
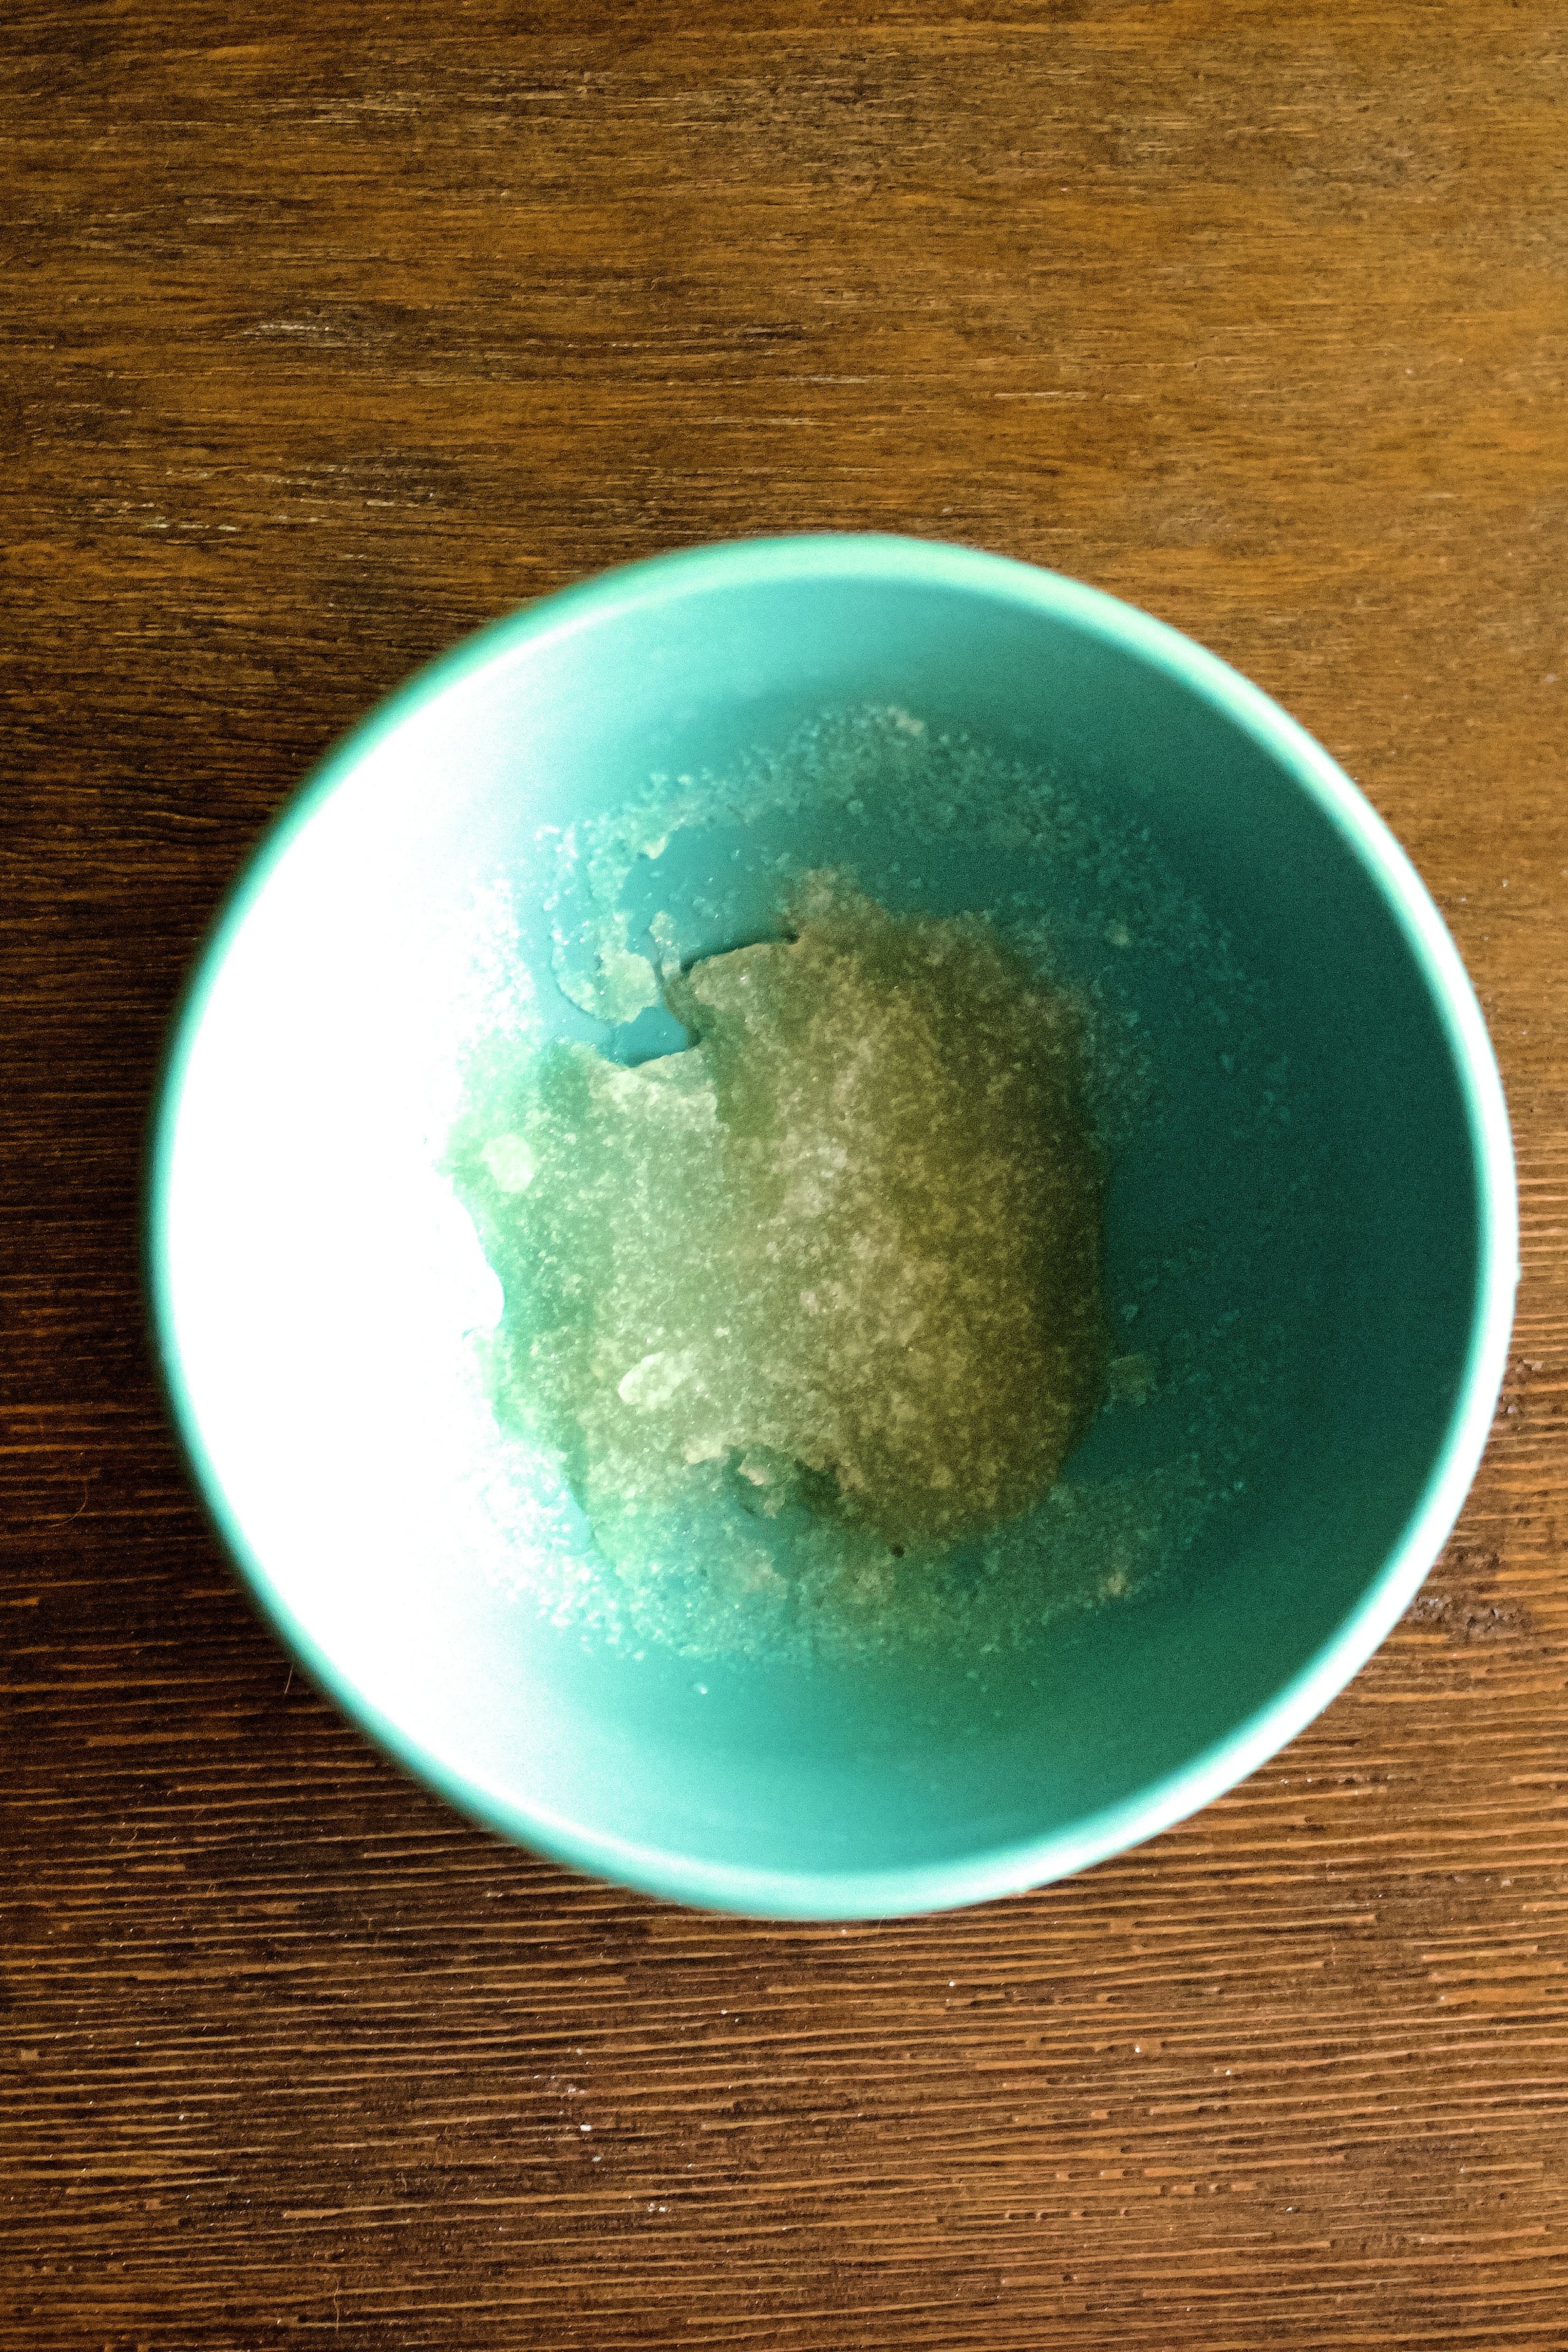
8. Bloom gelatin and water. Super simple—add the water to a small bowl, sprinkle the gelatin over it, then stir a little and let it sit while you heat the heavy cream.
9. Heat heavy cream. I suggest doing this in a double boiler (a bowl set over a saucepan with 1-2” boiling water turned down to low). You can also microwave it for about 30 seconds.
10. Add gelatin and stir until smooth. I’ve tried adding this at different stages in the heating process, and I’ve found that adding it to already warm cream right before the chocolate chips yields the most stable (yet still silky and creamy) mousse.
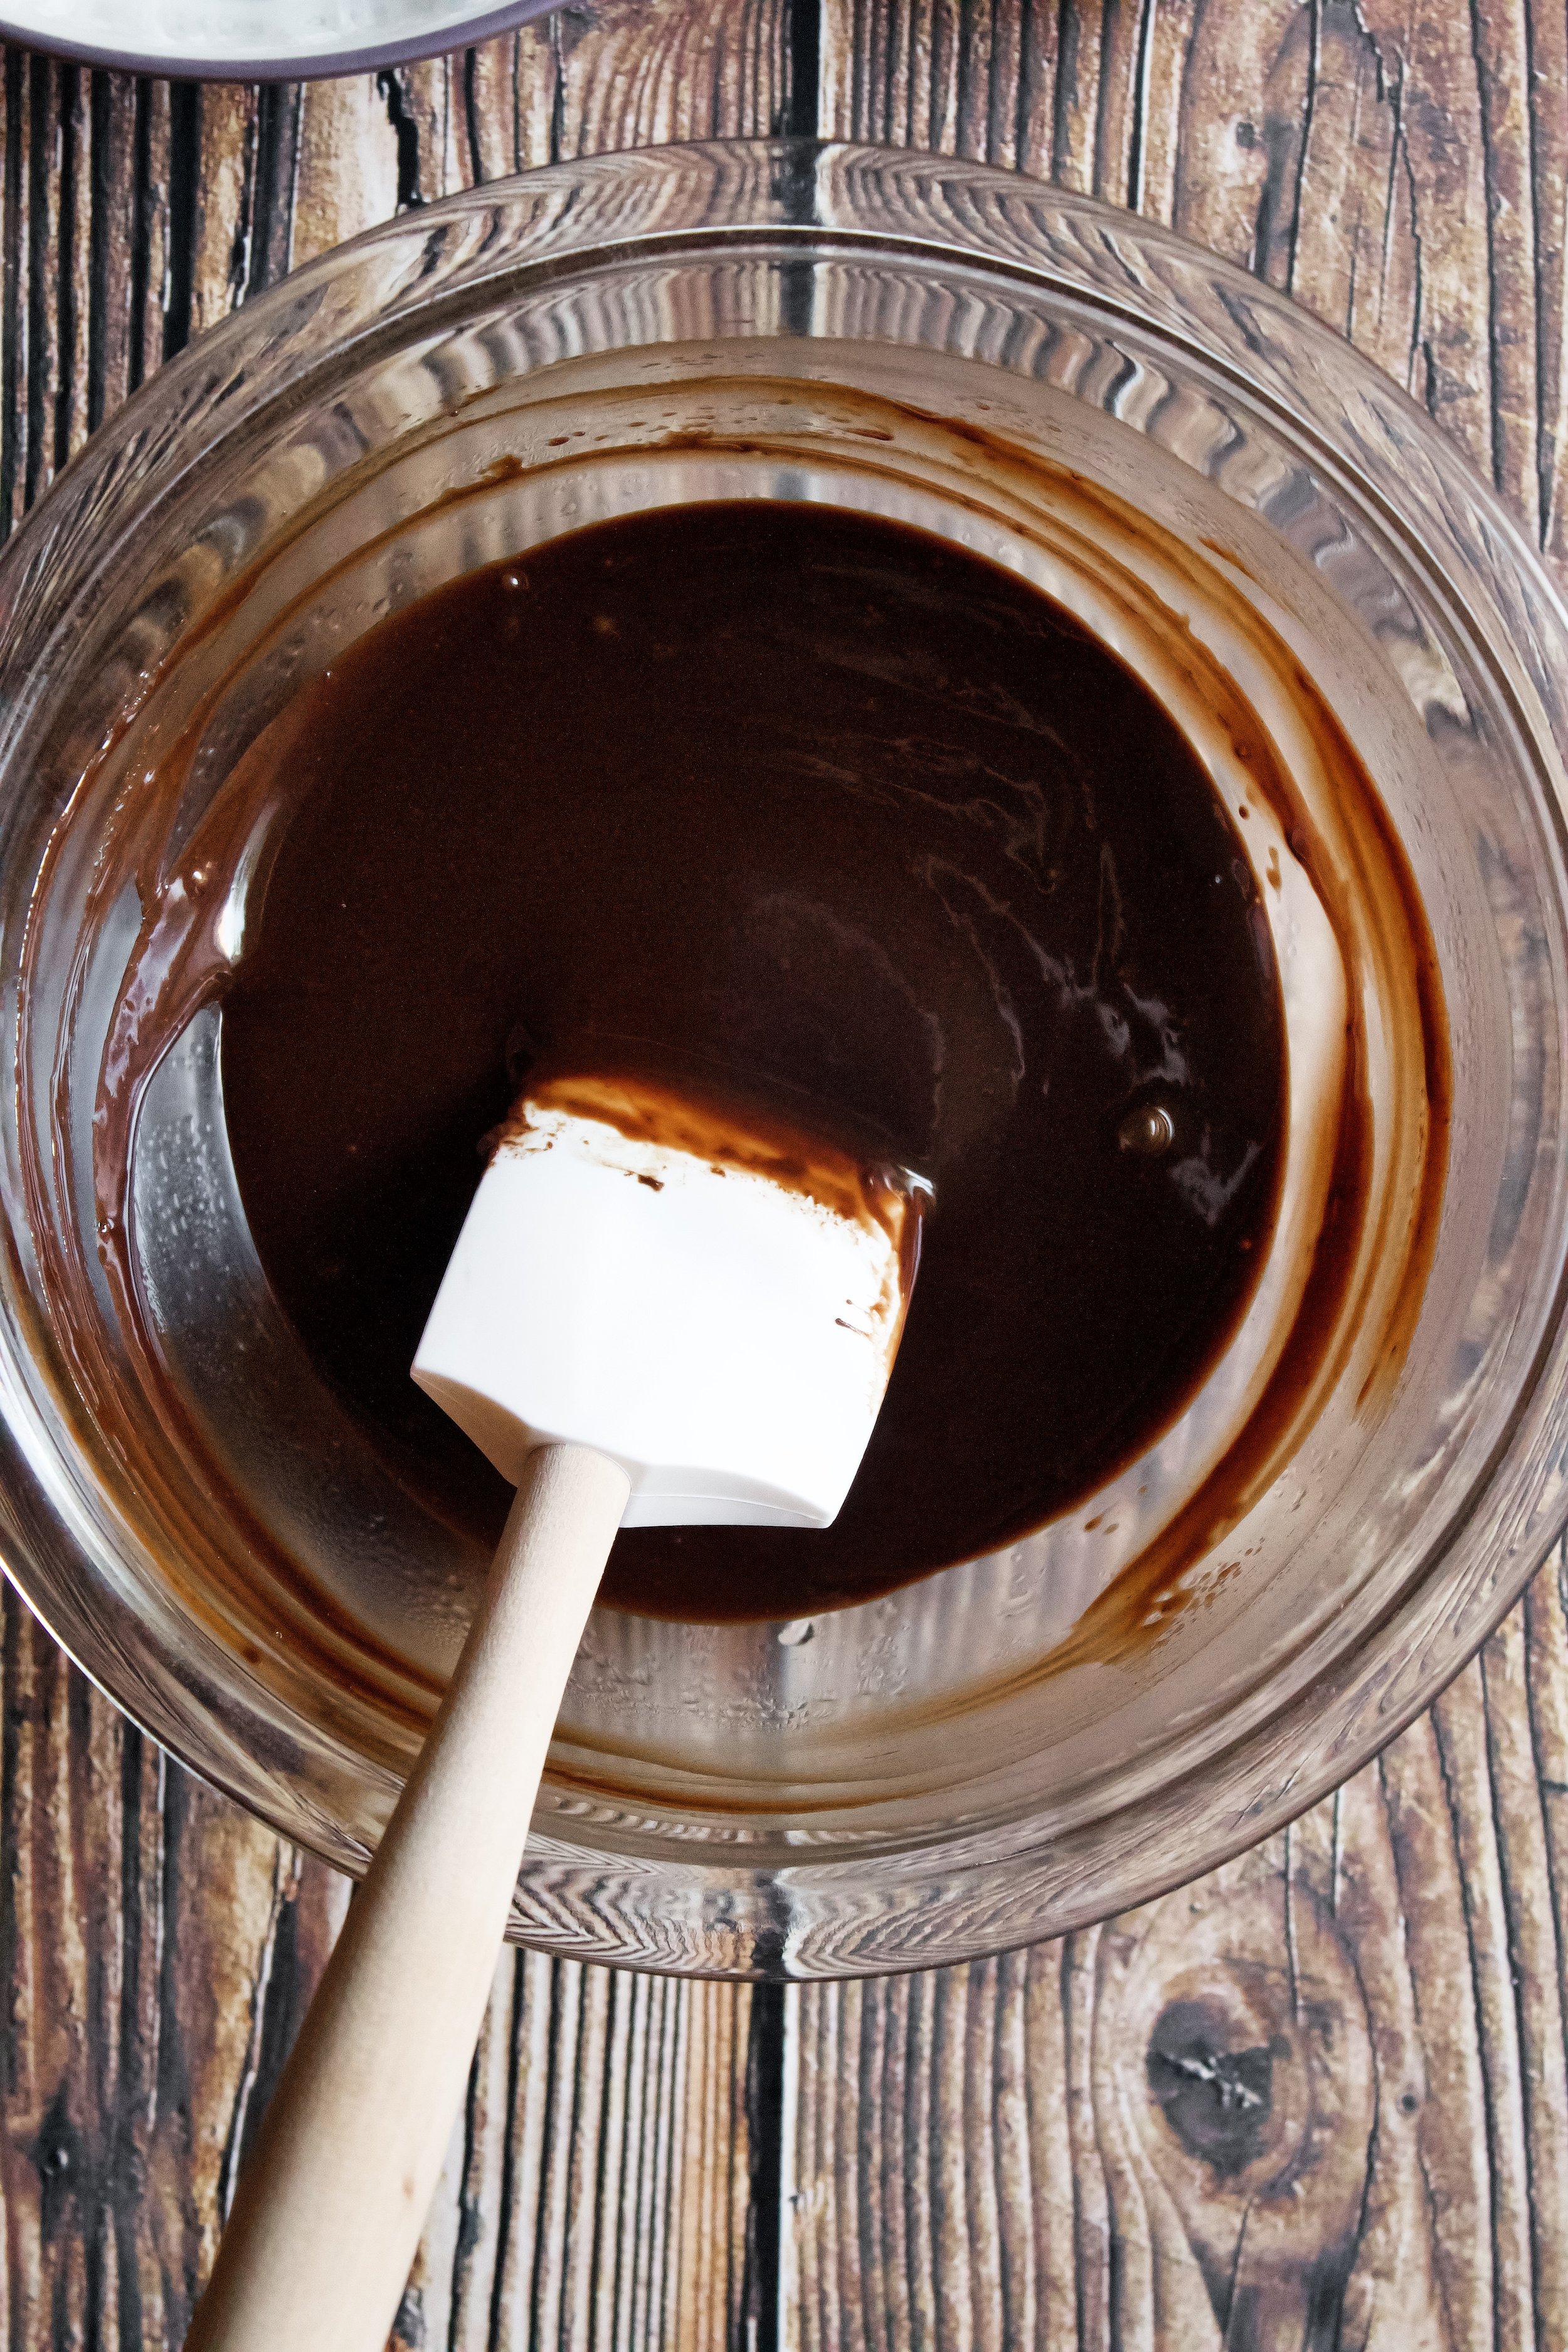
11. Melt in chocolate chips. This will go quite quickly, since the cream is already warm, so stir constantly. If using the microwave, you will need to heat it in 15-20 second increments, at half power, until smooth.
12. Cool to room temperature. I usually do this in the fridge (impatient baker here!). I just set a timer to stir every 5-10 minutes so it doesn’t cool past room temperature.
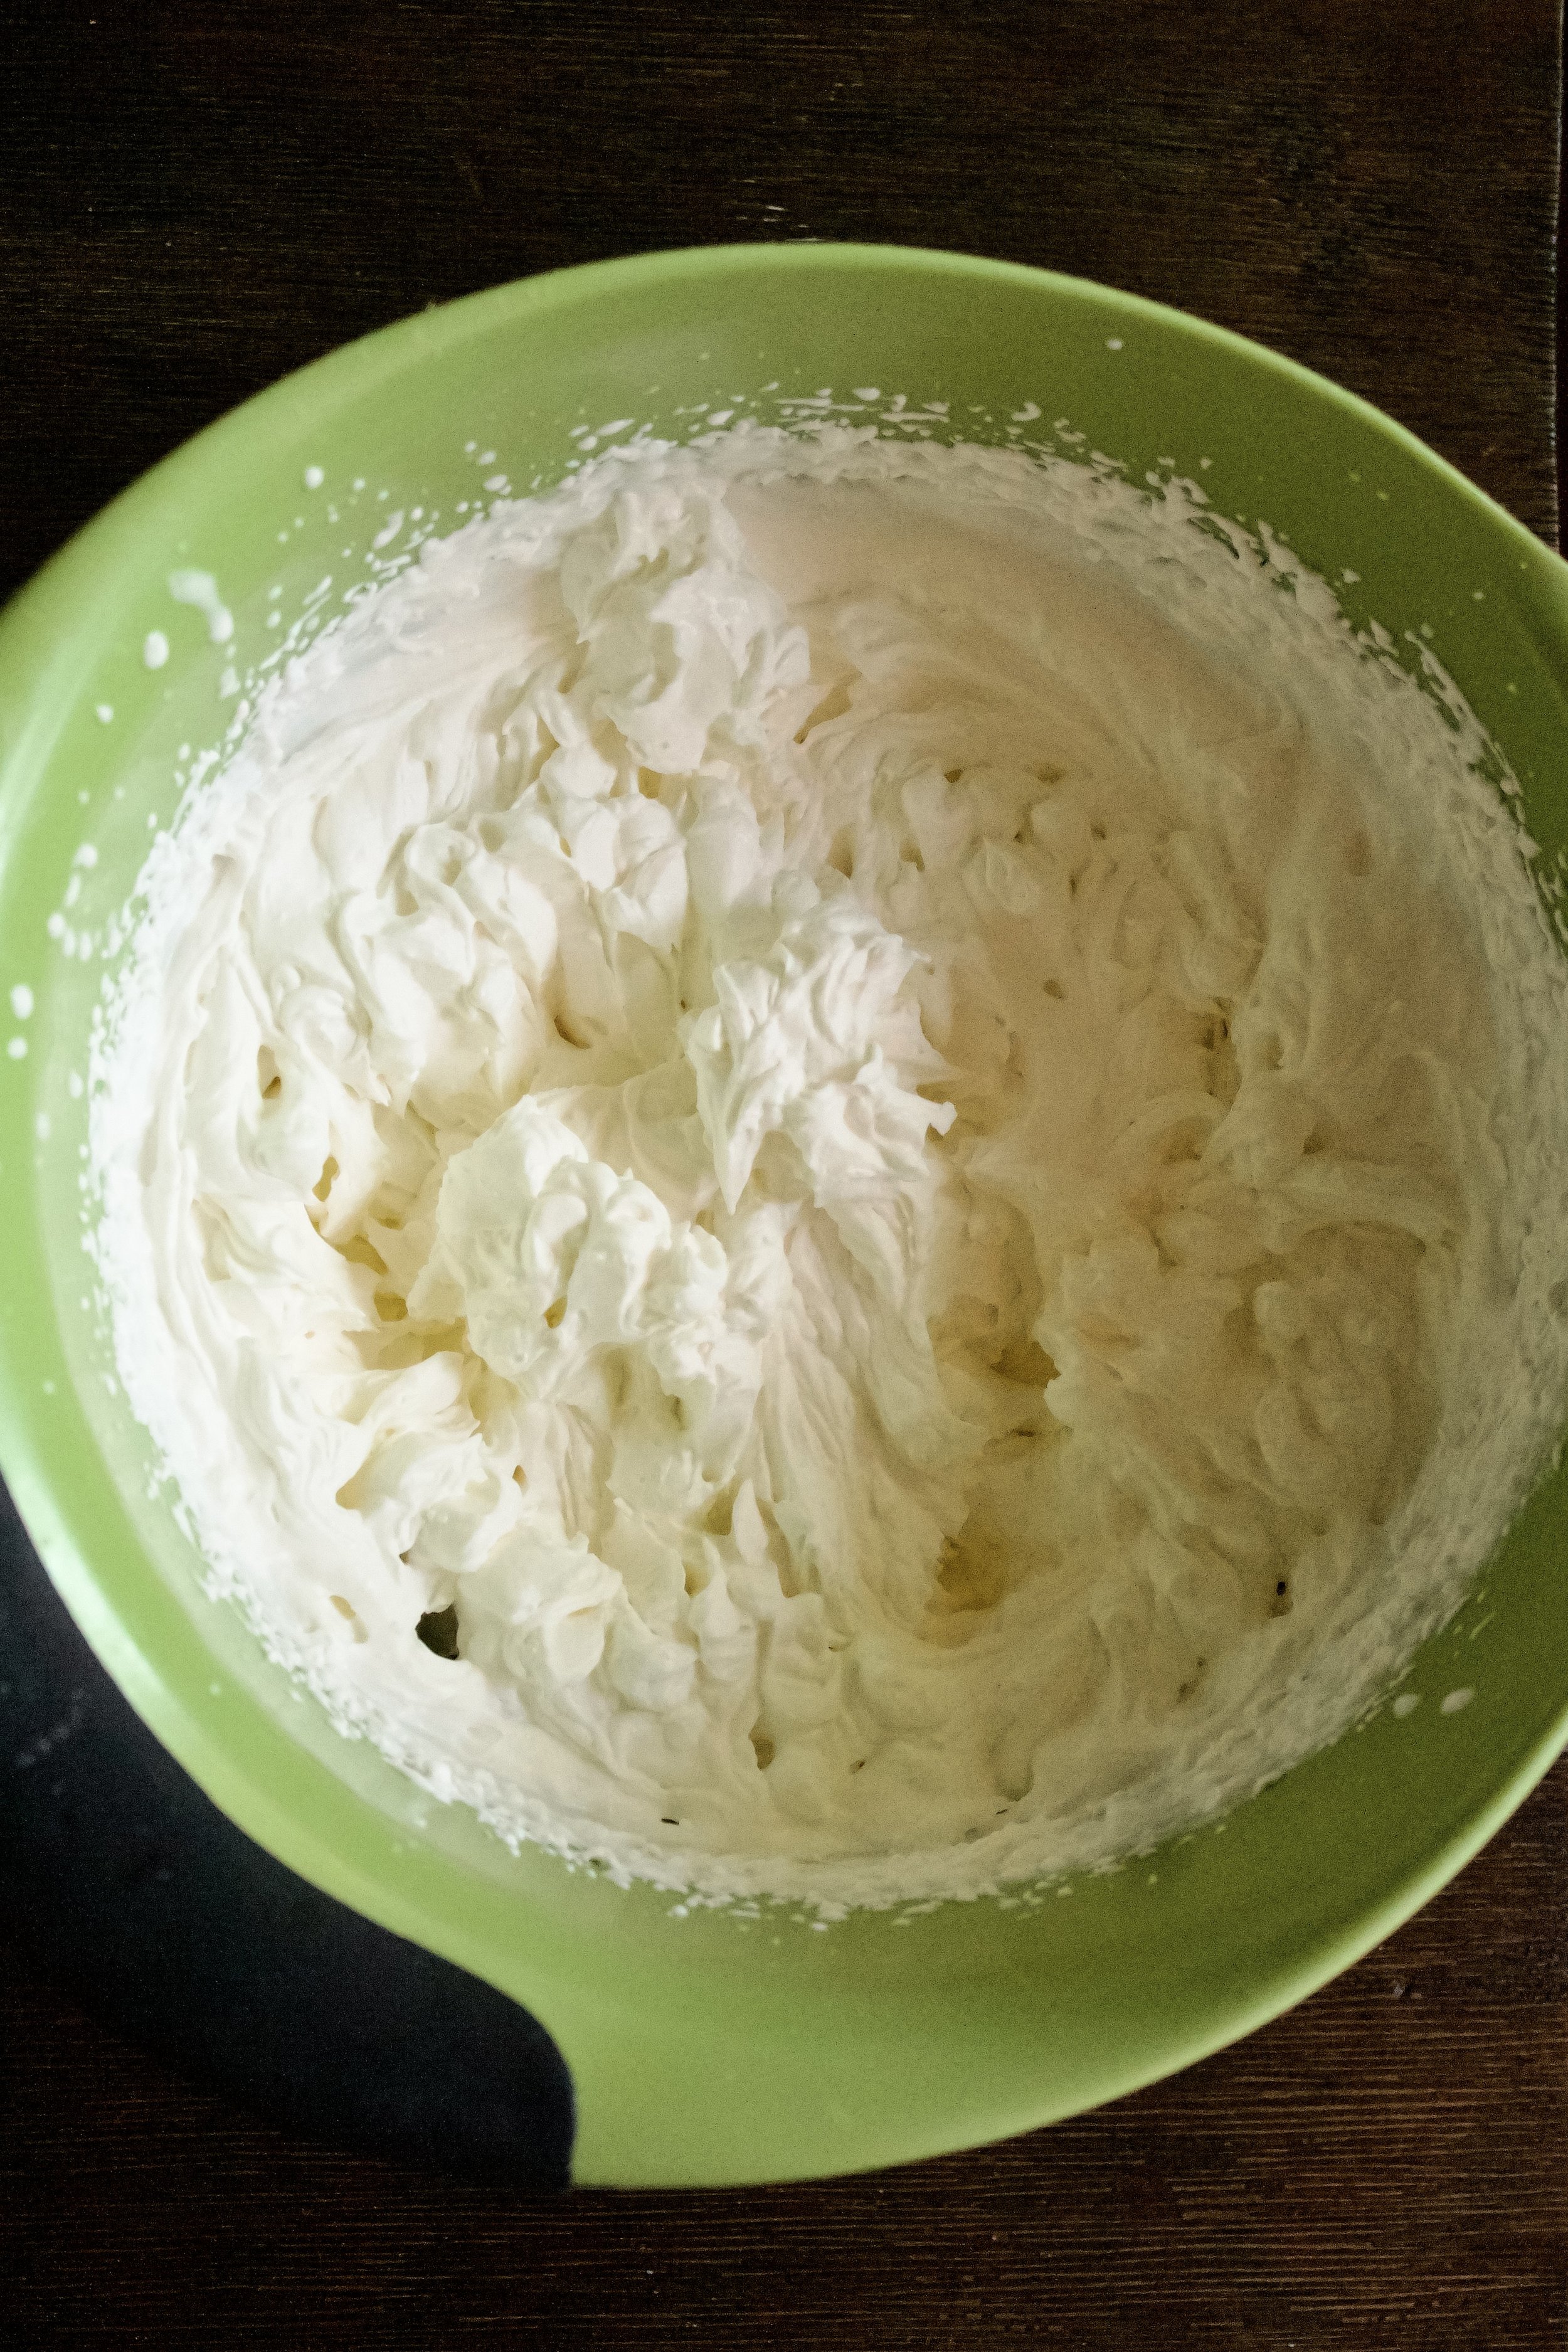
13. Whip remaining cream and vanilla to stiff peaks. You can also add in a bit of powdered sugar, if the chocolate mixture doesn’t taste sweet enough for you (remember that the whipped cream will dilute some of the richness).
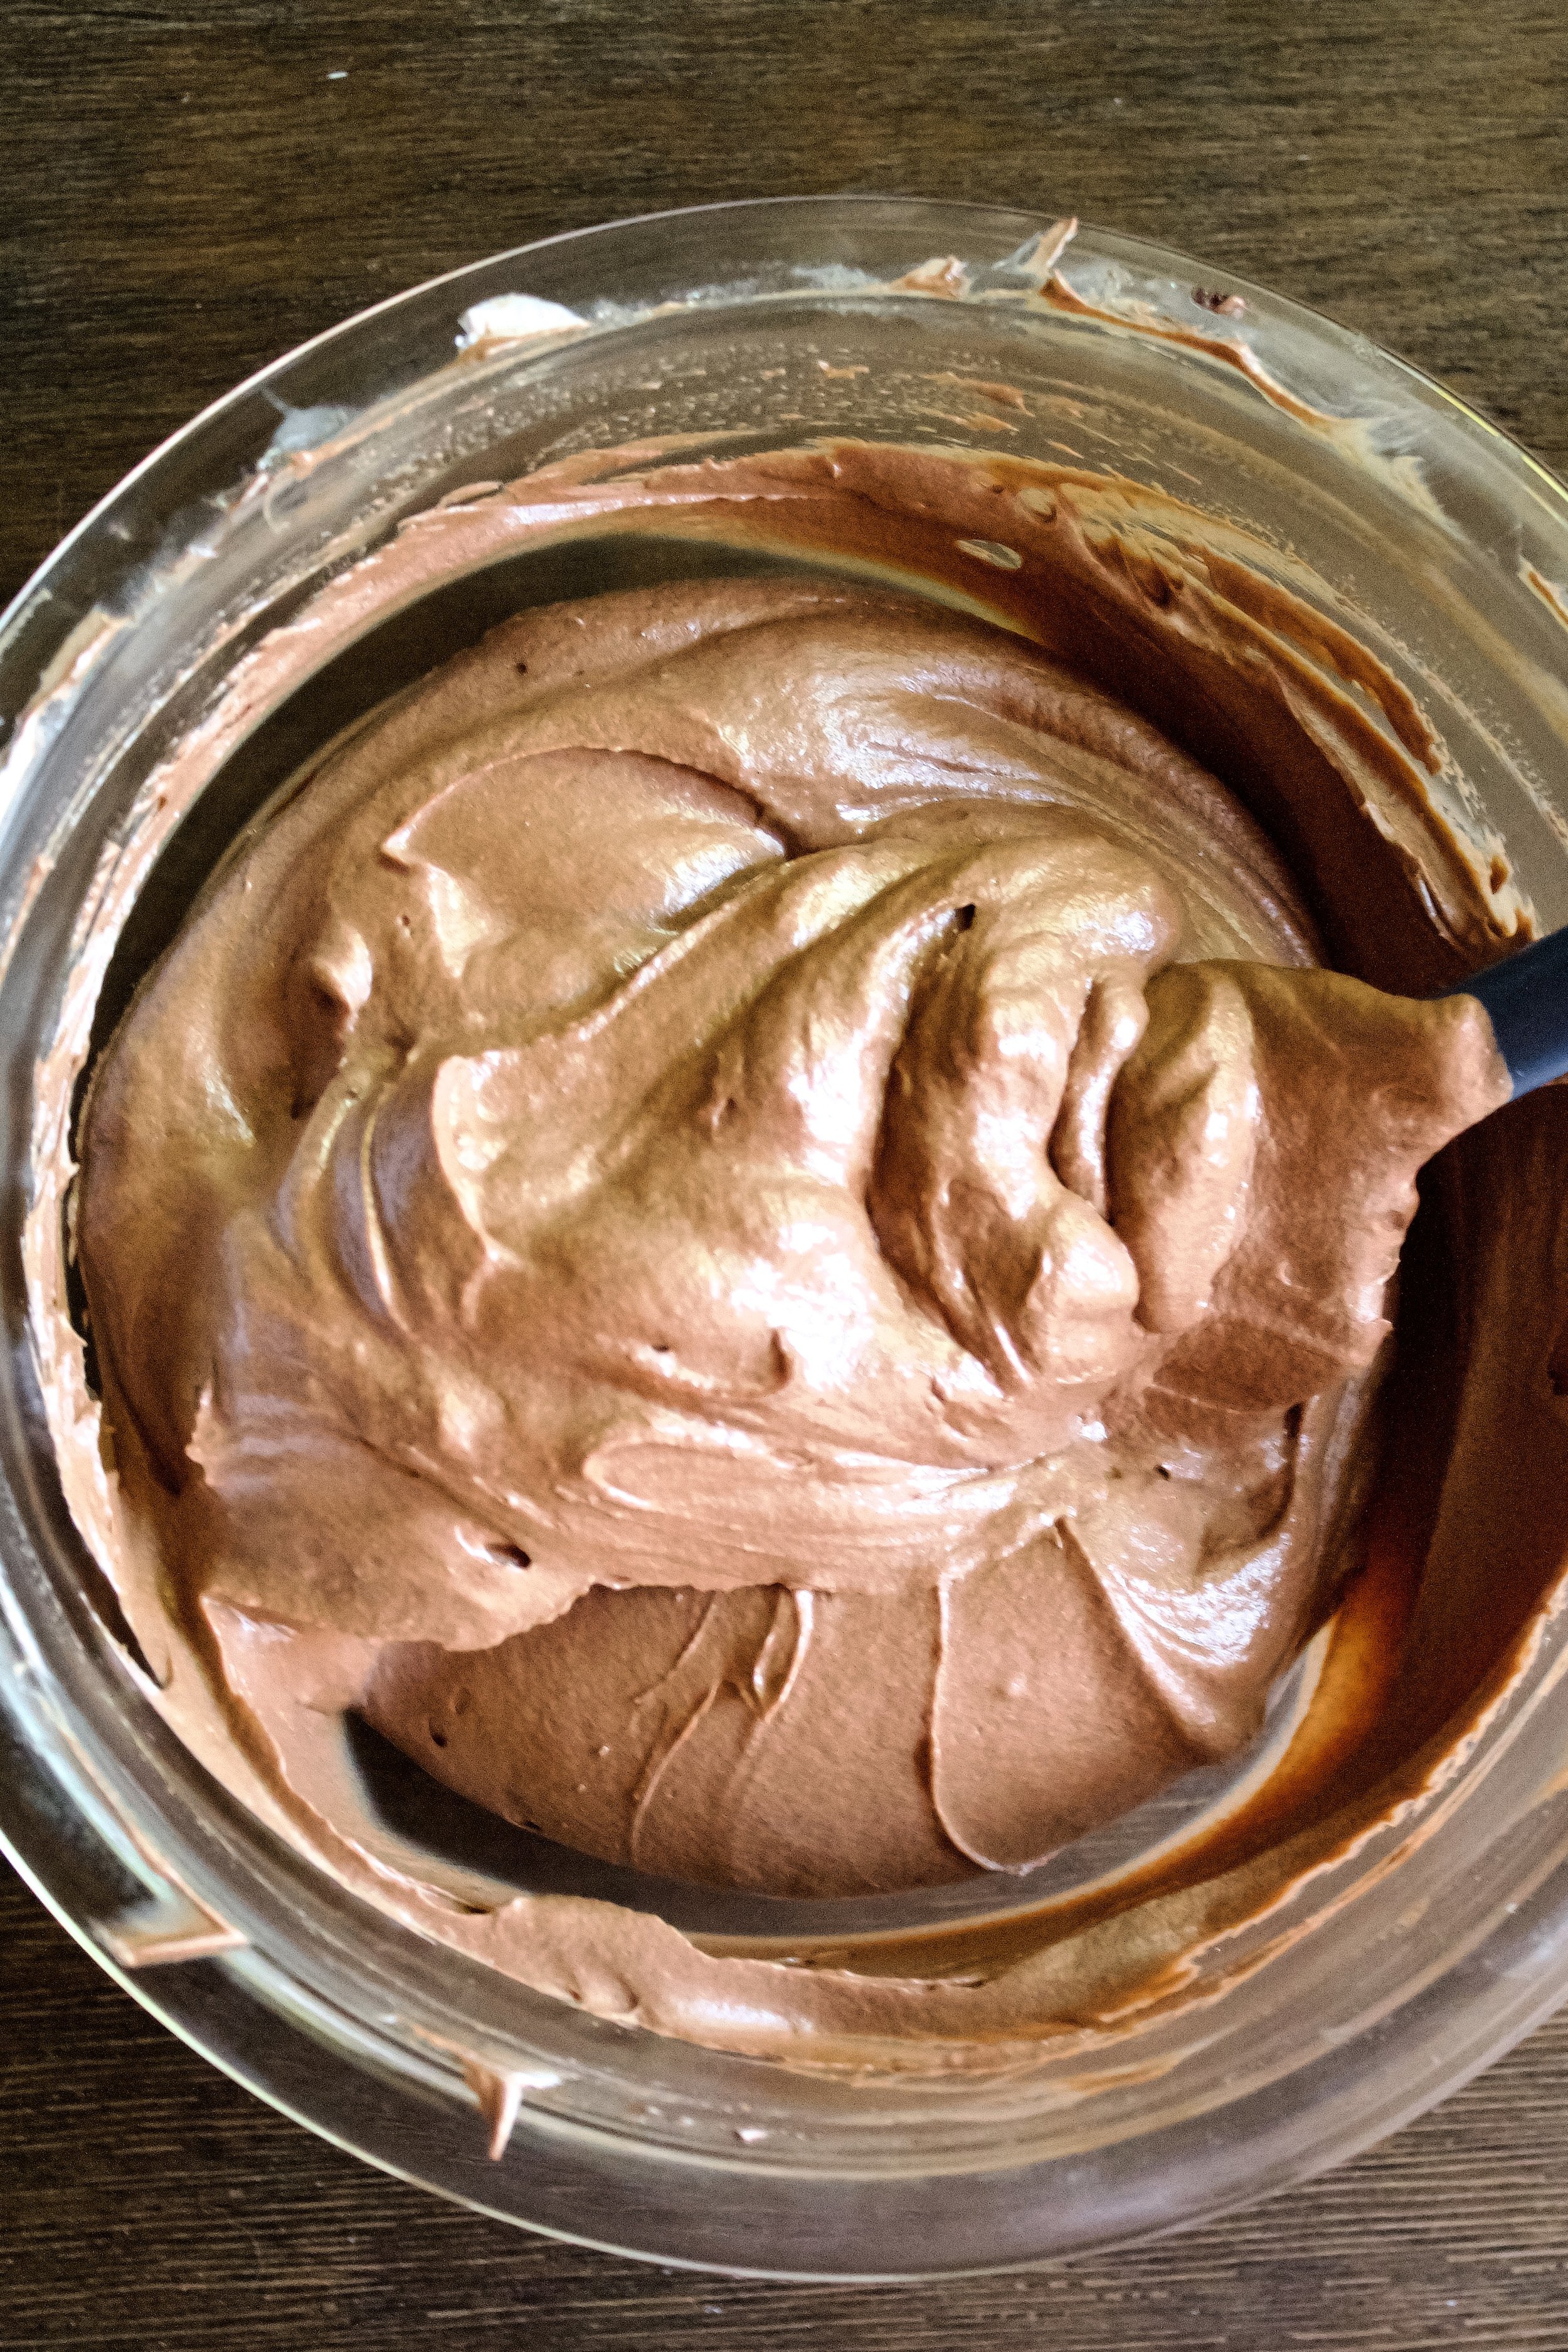
14. Fold into cooled chocolate. Do this in thirds, folding 1/3 of the whipped cream in at a time.
15. Spread on brownie layer. Using a springform pan is ideal, as you can just pour it right on top of the cooled brownie. Otherwise, remove the brownie from the pan and wrap with acetate (I like to do this in the original pan for more stability) or line the pan with plastic wrap and place the brownie back inside.
16. Top with chocolate whipped cream. This is optional, and you could also use regular whipped cream. But it’s such a simple recipe and a great little addition.
Enjoy!


Tips and FAQ’s for this recipe
Sift your dry ingredients
Usually, you don’t need to sift the dry ingredients unless it’s cake. However, I realized that every time I tried making brownies, my cocoa left little clumps that in turn caused me to over mix my batter. Instead, sifting the dry ingredients means you can simply fold them into the wet ingredients without over mixing, resulting in a tender, fudgy brownie that’s not dense.

Use quality cocoa
Since cocoa is the main flavor here, you want a good brand. Opt for something organic and fair trade, if possible, because this usually means it was produced in smaller batches and thus higher quality and is often fresher, too. Plus, the flavor of the high quality cocoa is always noticeable in the brownies. My go-to is Volupta, from Costco, but some other good options are Ghirardelli, Guittard, Scharffen Berger, Anthony’s, or even Hershey’s Special Dark in a pinch.

Whisk sugar well in brownies
The idea is to dissolve the sugar quite a bit. It turns to liquid in the oven, so you want it liquid before the baking so it can absorb into the flour and cocoa. Something magical happens in this process, making a super fudgy brownie.
Keep refrigerated
The cream requires that this be refrigerated so it doesn’t spoil. Be sure to cover it well so the brownie layer doesn’t dry out. I also recommend not making this more than a day in advance so the brownie doesn’t dry out.

Measure the chocolate chips with your heart
For the mousse, you’ll want to stick with the exact amount, as it will alter the texture significantly if you use extra. But for the brownies, go with your gut. I was telling my best friend about some amazing cookies I’d just made and that it was crazy how easy the recipe was. Of course, I always use extra chocolate chips. And she said one of my favorite quotes I’ve ever heard: chocolate chips should be measured with the heart. And it’s true. I always measure out what the recipe calls for then pour a little extra for good measure. But two notes: 1) this only works for mix-in chocolate chips, like in cookies and brownies, not ganache or things like these dark chocolate cupcakes, and 2) there is a point where you’ve added so many chocolate chips that they’re literally drowning out the batter or dough. As long as you keep those in mind, follow your heart.

My Tools
Here are my must-have tools I use for making this cake. Affiliate links provided.
Fine mesh sieve (because sifting is KEY)
All-rubber spatula (this makes scraping the bowl easier so the batter doesn’t get all over a wooden handle!)
Springform pan (or use acetate strips with a regular pan)


Triple Chocolate Brownie Mousse Cake
- prep time: 40-45 minutes
- bake time: 20-25 minutes
- total time: 1 hour, 10 minutes (plus cooling time)
servings: 12-16
Ingredients:
for the brownie layer
- ¼ cup (34g) all-purpose flour
- ⅓ cup (27g) unsweetened cocoa powder
- ¼ teaspoon (1g) baking powder
- ¼ teaspoon (2g) sea salt
- ¼ cup (65g) unsalted butter*
- ⅔ cup (133g) granulated sugar
- 1 large egg, room temperature
- ½ tablespoon (7g) pure vanilla extract
- ½ cup (65g) chocolate chips (or as many as your heart says you need)
for the mousse layer
- 1 teaspoon (3g) powdered gelatin
- 1 tablespoon (15g) filtered water, cold or room temperature
- 1 ¾ cup (420g) heavy whipping cream
- 1 ⅔ cups (10 ounces or 234g) chocolate chips or chopped baking chocolate
- 1 tablespoon (13g) pure vanilla extract
- ¼ cup (33g) powdered sugar (optional)
for the chocolate whipped cream
- ½ cup (120g) heavy whipping cream, cold
- 2 tablespoons (10g) cocoa powder
- ¼ cup (33g) powdered sugar
Instructions:
- Make the brownie. Preheat oven to 350F/175C. I’ve found 350 is good for convection and regular, which is weird but at least it works! Grease a 9 inch springform pan (or an 8-9 inch round cake pan) with butter and flour or baking spray.
- Using a fine mesh sieve set over a small mixing bowl, sift then whisk together the flour, cocoa powder, baking powder, and salt. Set aside.
- In a small saucepan, melt the butter until completely liquid. Immediately combine it with the sugar in a large mixing bowl and whisk for about a minute, until it comes together and the sugar begins to dissolve.
- Add the eggs, one at a time, whisking for about a minute after each egg. Add the vanilla and whisk well again (half a minute should do this time).
- Add the dry ingredients in and gently fold in with a wooden spoon or rubber spatula, until almost blended some streaks of flour remain. Gently fold in the chocolate chips.
- Pour into your prepared pan, smoothing the top and getting the batter mostly into the corners (I like to leave a ½ inch gap that will absolutely fill in during baking but prevent an overly crunchy corner).
- Bake for 15-20 minutes, or until the top is no longer shiny/raw looking and the middle is slightly jiggly but not liquidy (bake time will vary by oven and pan size, so check early, around 12 minutes, to be safe). You can try a toothpick, but that should actually come out with some matte-looking batter (not quite raw dough, not quite crumbly brownies). If you prefer fully cooked, non-fudgy-middle brownies, cook a little longer until a toothpick comes out with several brownie crumbs rather than a smear of almost-cooked batter.
- While the brownie layer cools, make the mousse. (**See note below if you did not use a springform pan–you’ll need to prep the pan before spreading the mousse layer.)
- Place the water in a small mixing or prep bowl. Sprinkle the gelatin over it and stir to combine. Set aside while you heat the cream.
- Heat 6 ounces of the whipped cream in a double boiler (or as almost everyone does, a medium, heatproof mixing bowl bowl set over a medium saucepan filled with 1-2 inches water brought to a boil then turned to low heat to simmer). You can also heat it for 30-60 seconds in the microwave at half power, until steaming.
- Once the cream starts to release some steam and you see some bubbles along the edge, add the bloomed gelatin. Stir until smooth (or mostly smooth–the next step will give the gelatin time to fully melt).
- Add the chocolate. Stir until mostly smooth. (If using a microwave, heat in 30 second intervals at half power, stirring in between, until mostly smooth.) Remove the bowl from heat and stir until completely smooth.
- Let the chocolate cool to room temperature. You can do this on the counter, which takes about 30 minutes, or in the fridge, which takes about 15 minutes but must be stirred every 5 minutes to ensure it doesn’t solidify along the edges. If using the fridge and your brownie layer isn’t completely cooled yet, pop that into the fridge as well so it is cooled to room temperature (or slightly colder is fine) when the mousse is done.
- Once the chocolate is cooled (but not cold), combine the remaining 1 cup/240g heavy cream, vanilla, and powdered sugar (if using) in a medium mixing bowl or the bowl of your stand mixer fitted with the whisk attachment. Whisk (or use a hand mixer on high) until stiff peaks just begin to form and the cream starts to lose its shine.
- Fold ⅓ of the whipped cream into the chocolate until fully combined. Continue with another ⅓ then the final third, until all whipped cream is mixed in.
- Pour on top of the completely cooled brownie layer (be sure you prepped your pan if not using a springform**). Refrigerate at least one hour, until set.
- Once the mousse layer is set (matte in appearance and no longer jiggly), make the whipped cream. Place all ingredients in the bowl of your stand mixer fitted with the whisk attachment (or a large mixing bowl using a hand mixer or hand whisk–I applaud you if you’re whisking by hand!). Whisk on low until all ingredients are combined and no lumps remain. Increase speed to high until stiff peaks just start to form (it begins to turn matte in appearance.
- Spread the chocolate whipped cream on top of the mousse layer. You can serve immediately or refrigerate up to 3 days (well-covered) before serving.
- When ready to serve, carefully open the springform pan. Use a spatula to smooth the whipped cream, if necessary. If you used a regular pan, grab the acetate or plastic wrap and carefully lift the cake out of the pan and place on a serving platter. Carefully remove the acetate or plastic wrap before cutting.
Enjoy!
Cake should keep 3-5 days in the fridge.
*European butter is best! It has less water and makes a better brownie, in my opinion.
**If using a non-springform pan, let the brownie layer cool about 30 minutes in the pan then remove it carefully to a plate while you prep the pan. Both options can be done while the chocolate cools for the mousse (step 13). Option 1: line the pan with a strip of acetate (place the brownie back in before taping it so it can settle snugly against the acetate). Option 2: line the entire pan carefully with plastic wrap, draping it about 1-2 inches over the edge of the pan (so you have something to pull it out with).

