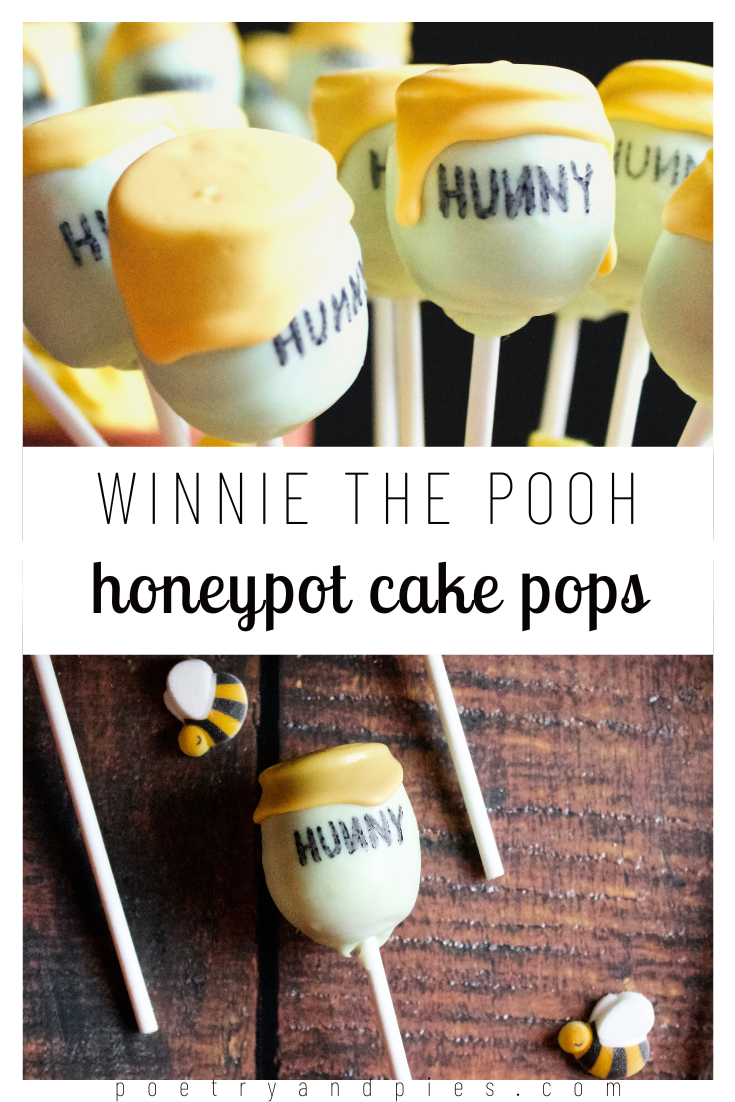
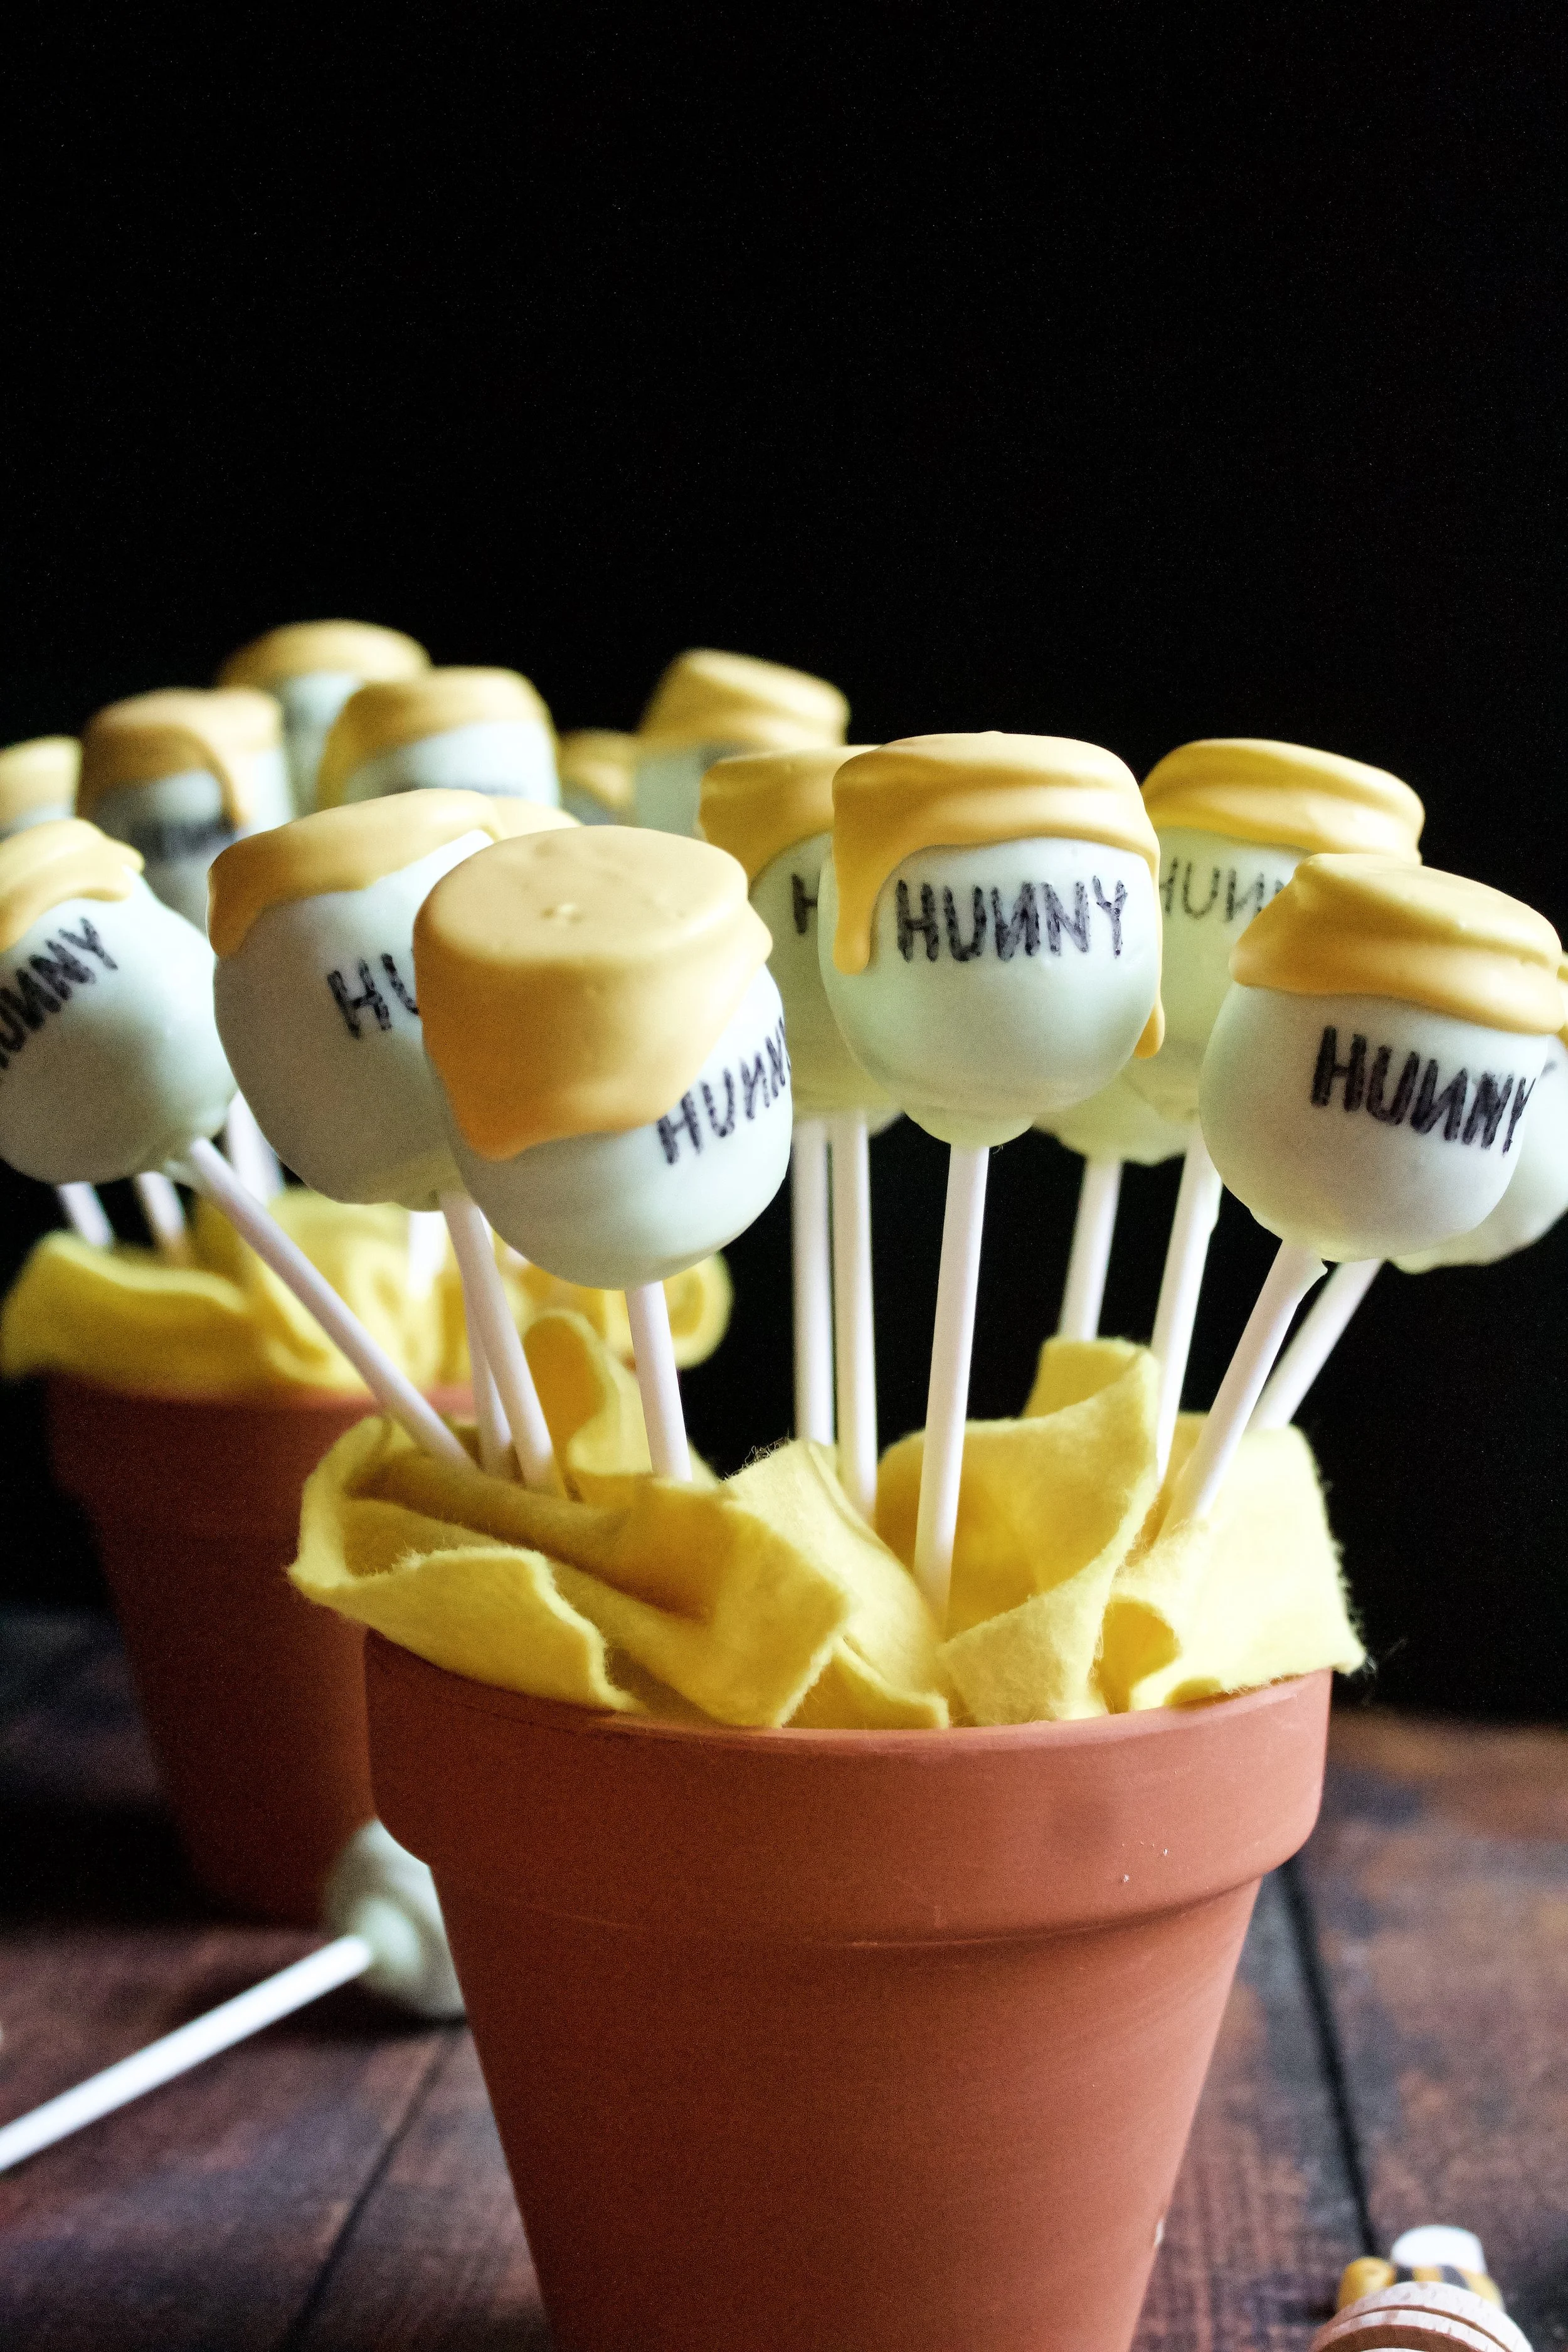
Winnie the Pooh Honeypot Cake Pops
Adorable Winnie the Pooh “hunny” pot cake pops filled with flavorful vanilla butter cake mixed with creamy vanilla frosting and rainbow sprinkles. These treats are as delicious as they are cute and surprisingly simple to make!
This post may contain affiliate links from which, at no additional cost to you, I may earn a small commission to keep this site running. Only products I myself would or do use are recommended.
Oh how I loved making these cake pops. They were as cute as I’d envisioned, which isn’t always the case with decorating for me. I can guarantee my desserts will taste good, but I can’t always promise they’ll have an over-the-top decoration or look like they belong in a magazine.
They did take a few days to create, which was honestly easier than making them all in one go. I was able to make the frosting a week ahead. I then baked the cake, rolled the honeypots, dipped these in green, and drizzled the yellow on successive days.
Obviously, you don’t need to spend four days making these, but it worked best for my schedule that week, as I was busy making beehive cupcakes, mini tiramisus (with homemade ladyfingers), and chocolate espresso “Tigger tail” cookies.
Still, I feel the flexibility is an important feature for these cake pops, as you don’t need a huge chunk of time all at once.

Why this recipe works
The vanilla cake is one of my favorites. You can use any vanilla cake you like, but I knew this one has a very fluffy, almost cake-box-like texture that is ideal for a cake pop. You want something flavorful but not overly sweet, since you’ll be adding both frosting and candy coating, so this cake was perfect for that. I mixed it with a simple vanilla buttercream (and sprinkles, obviously). I like to use extra vanilla in my buttercream, which adds not only a touch of sweetness but flavor as well. And of course the sprinkles are not only cute but add some fun texture, too.
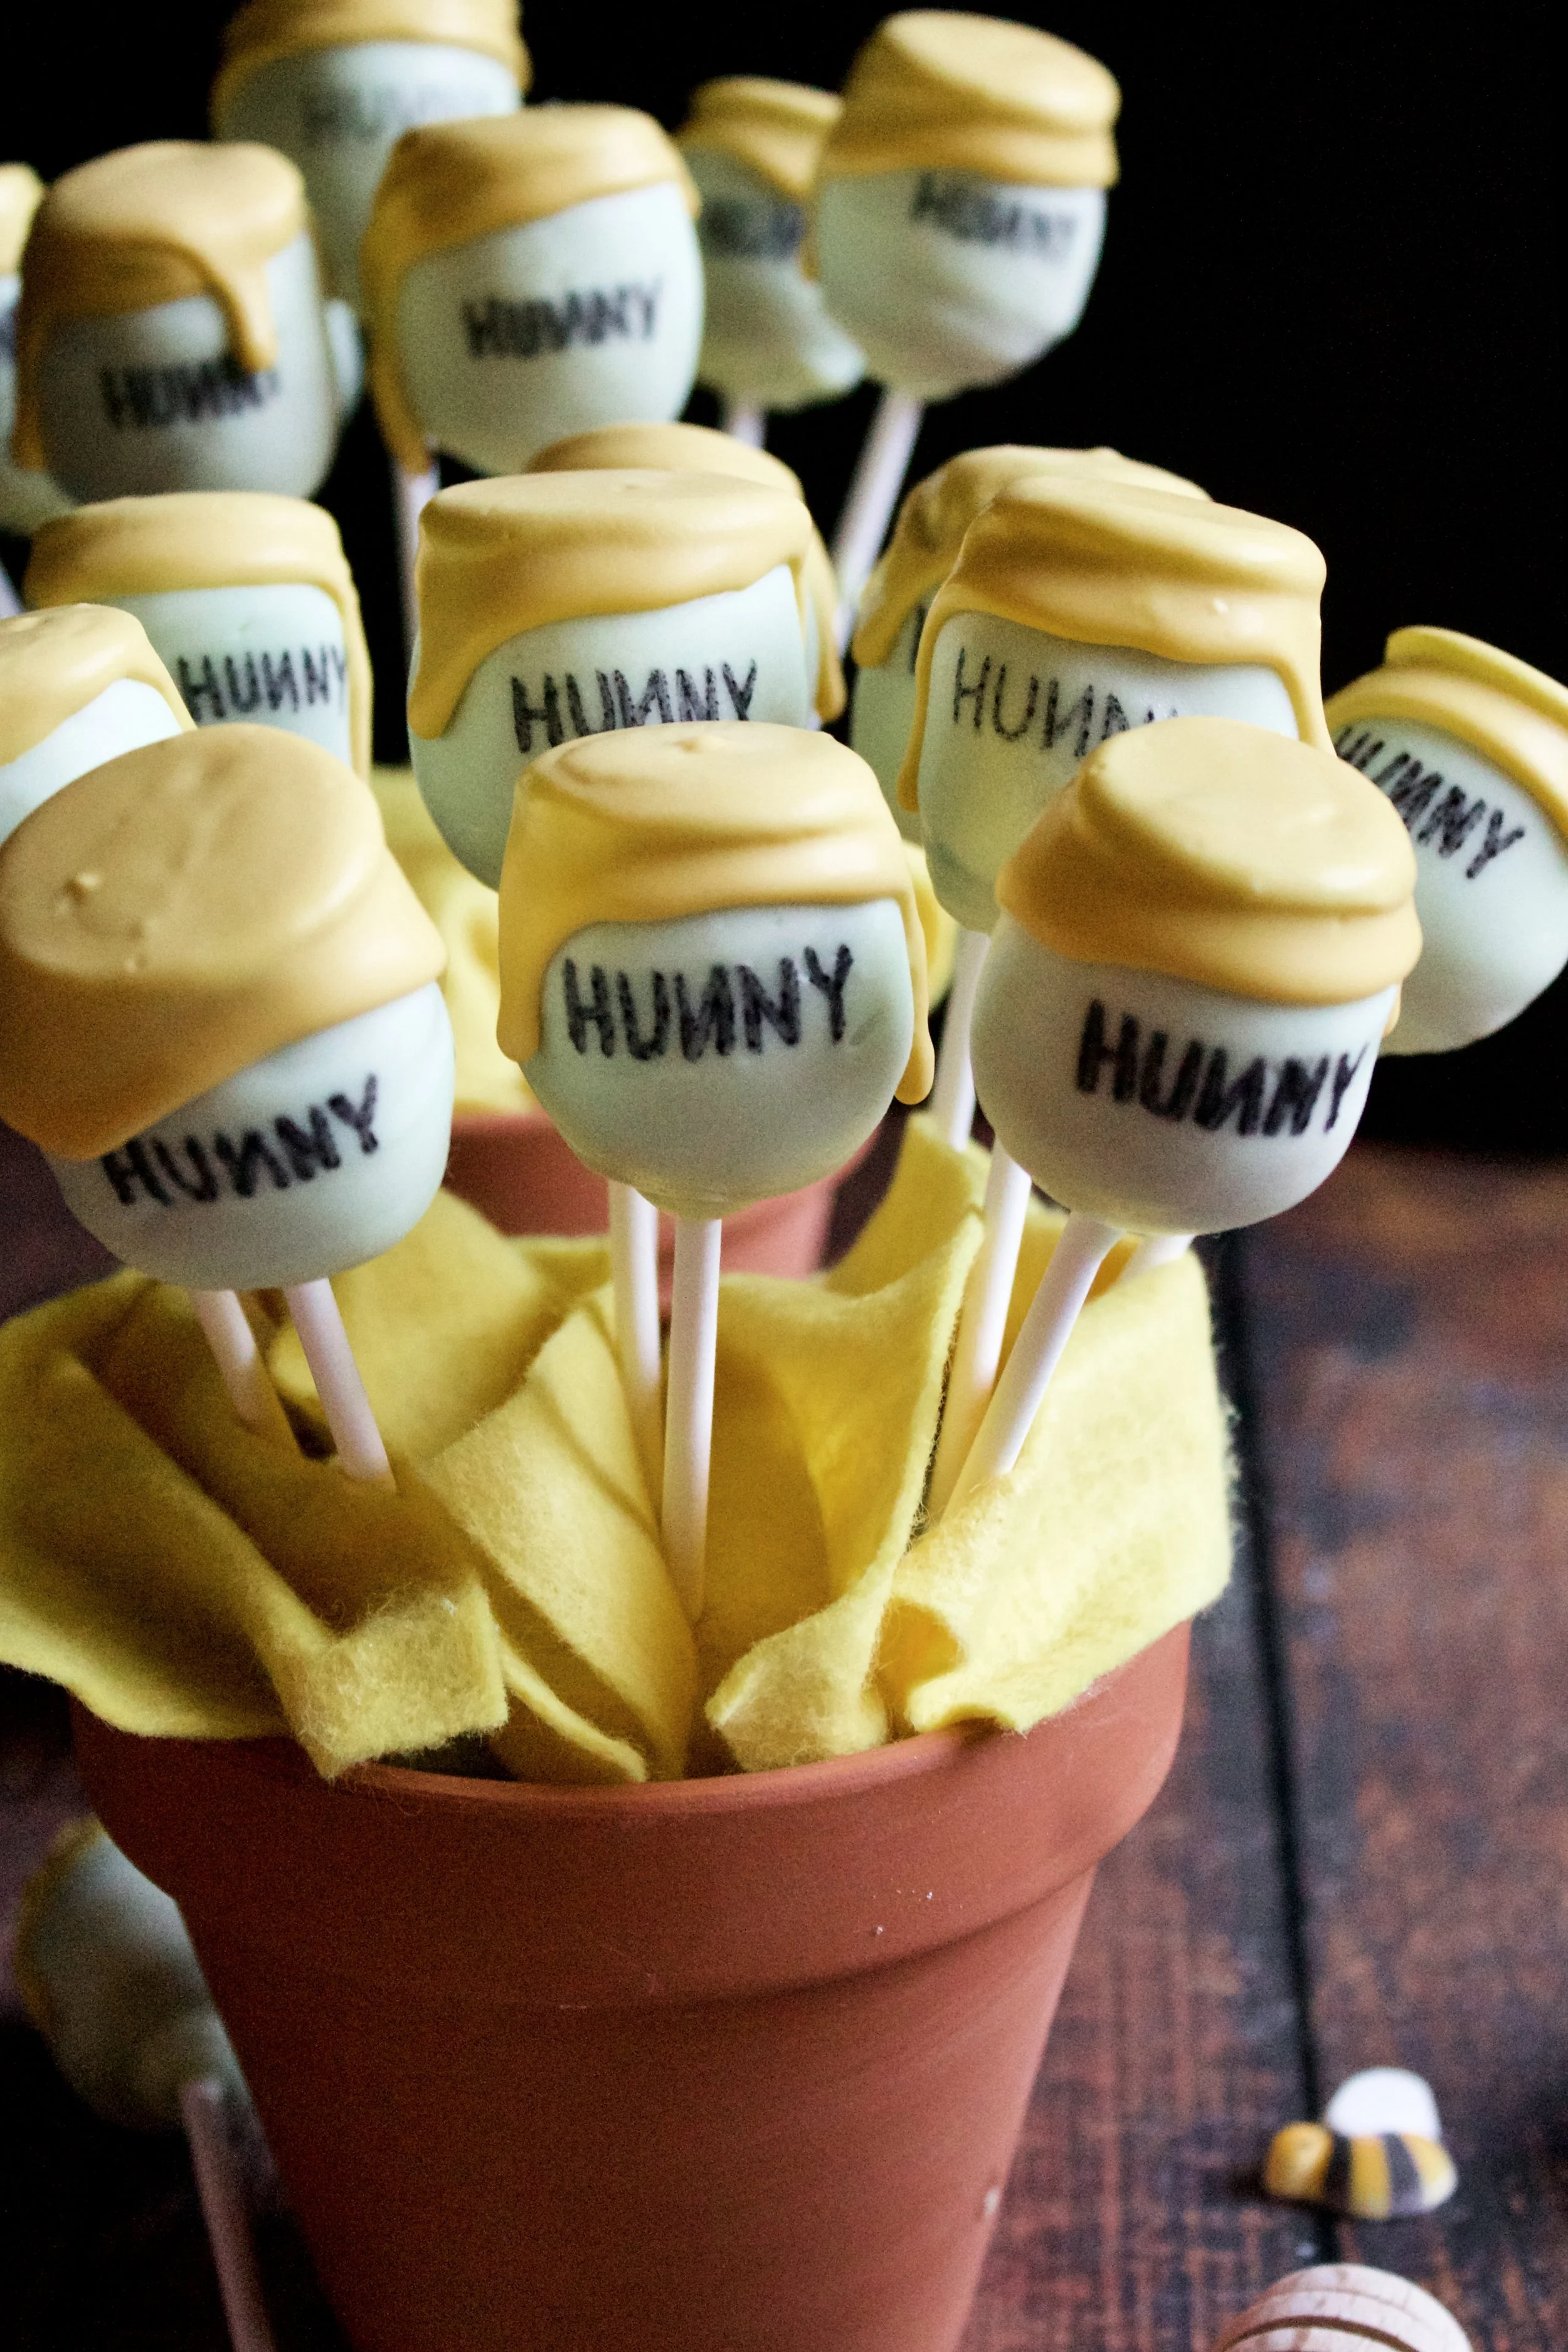
Finally, the decoration. These were actually easier to roll than perfectly round cake pope. You just roll it into a barrel-like shape, pressing on the ends as you go. They actually stand up quite nicely on a pan for refrigeration, which helps flatten out one end to be the top of the honeypot.
The candy coating (both the colors and the process) was a process of trial and error. To match the pale sage and pale yellow colors of the shower these were made for, I used mostly white candy mixed with just a touch of lime green and yellow, respectively. And the first round of dipping was incredibly easy. You just set them on their tops to dry, which creates an even more pronounced honeypot top. However, I learned the hard way that it’s best to drizzle the yellow rather than dunk the top into the hot candy, as that caused the sharp edges to melt. So, pouring it over the top with a spoon and letting it drip over the edge was the most ideal option to maintain the lip of the honeypot and get the classic Winnie the Pooh drip of honey all in one step.

Key ingredients and equipment
Cake flour. You can make your own. For this recipe, you’d want to use 4 1/2 tablespoons (1/4 cup plus 1/2 tablespoon) cornstarch and add that to 1 3/4 cup plus 1 1/2 tablespoons flour. Sift and whisk twice before using in the cake. If that’s too complicated, simply make 3 cups of cake flour and use only 2 cups plus 2 tablespoons. Each cup of cake flour is made by adding 2 tablespoons cornstarch to a 1 cup measuring cup then filling it the rest of the way with all purpose flour (so 7/8 cup or 14 tablespoons flour).
Baking powder. Be sure it’s fresh—not open for longer than 6 months (regardless of the expiration date on the box).
Salt. Sea salt is ideal.
Butter. European butter is best for this recipe, as it has less water.
Sugar/brown sugar. I usually use both, because the color comes out yellow and the brown sugar keeps the cake more moist and flavorful.
Eggs. Use fresh, large, room temperature eggs.
Oil. Just a tiny bit of oil (avocado, grape seed, or canola) helps keep this cake moist.
Vanilla. Use pure extract, not imitation.
Whole milk. Whole milk will make a better cake.

Vanilla buttercream. You only need a cup, so you can make a reduced recipe (1/4 would be about right) or use the extras for something else. You can also use any frosting recipe you like—like marshmallow!
Sprinkles. Jimmies are the most classic tasting here, but you can use any sprinkles you like as long as they’re not too thick or large.
Candy melts. I used lime green and yellow, both toned down with white, but you can use any color you’d like!
Cake pop sticks. I suggest using at least 6” sticks, unless you plan to display them in something shorter. 6” was just enough leverage to stick them into the styrofoam and keep them from falling over.
Edible food pen. You could also use fondant to create a label, but that just felt like too much work so I wrote “HUNNY” right on the pot itself.
How to make Winnie the Pooh honeypot cake pops
Make the cake
1. Sift and whisk flour, baking powder, and salt.
2. Beat butter and sugar until light and fluffy. 2-3 minutes on medium high.
3. Beat in eggs, one at a time. Beat on medium 30-60 seconds after each addition.
4. Beat in oil and vanilla. Beat on medium 30 seconds.
5. Alternate adding flour and milk on low. Beat on low just until combined. Don’t worry about some lumps.
6. Bake. Bake 35-40 minutes, until a toothpick comes out with just some moist crumbs.


Assemble
7. While the cake cools, make the buttercream. You can also make the buttercream ahead of time.
8. Crumble completely cooled cake. Be sure it’s not chunky—you want it all as evenly small as possible so you get a round cake ball.
9. Stir in buttercream and sprinkles. Stirring in the sprinkles at this point keeps them larger and more noticeable.
10. Shape and chill honeypots. Shape them into a barrel, pressing on the ends to encourage them to be flat. Then press them gently into the pan you are chilling them on to make one end even flatter.
11. Dip in colored candy and chill. Set top-side-down on your pan to create the lip of a honeypot. Chill for at least an hour. You can also let these dry at room temperature, but I found that the lip kept its shape better if it was chilled.


12. Label with an edible pen. Do this after the color is fully set.
13. Pour the “honey” over the top. Spooning the yellow “honey” over the top helps keep the honeypot lip prominent and also creates the classic drip down the sides, all in one step.
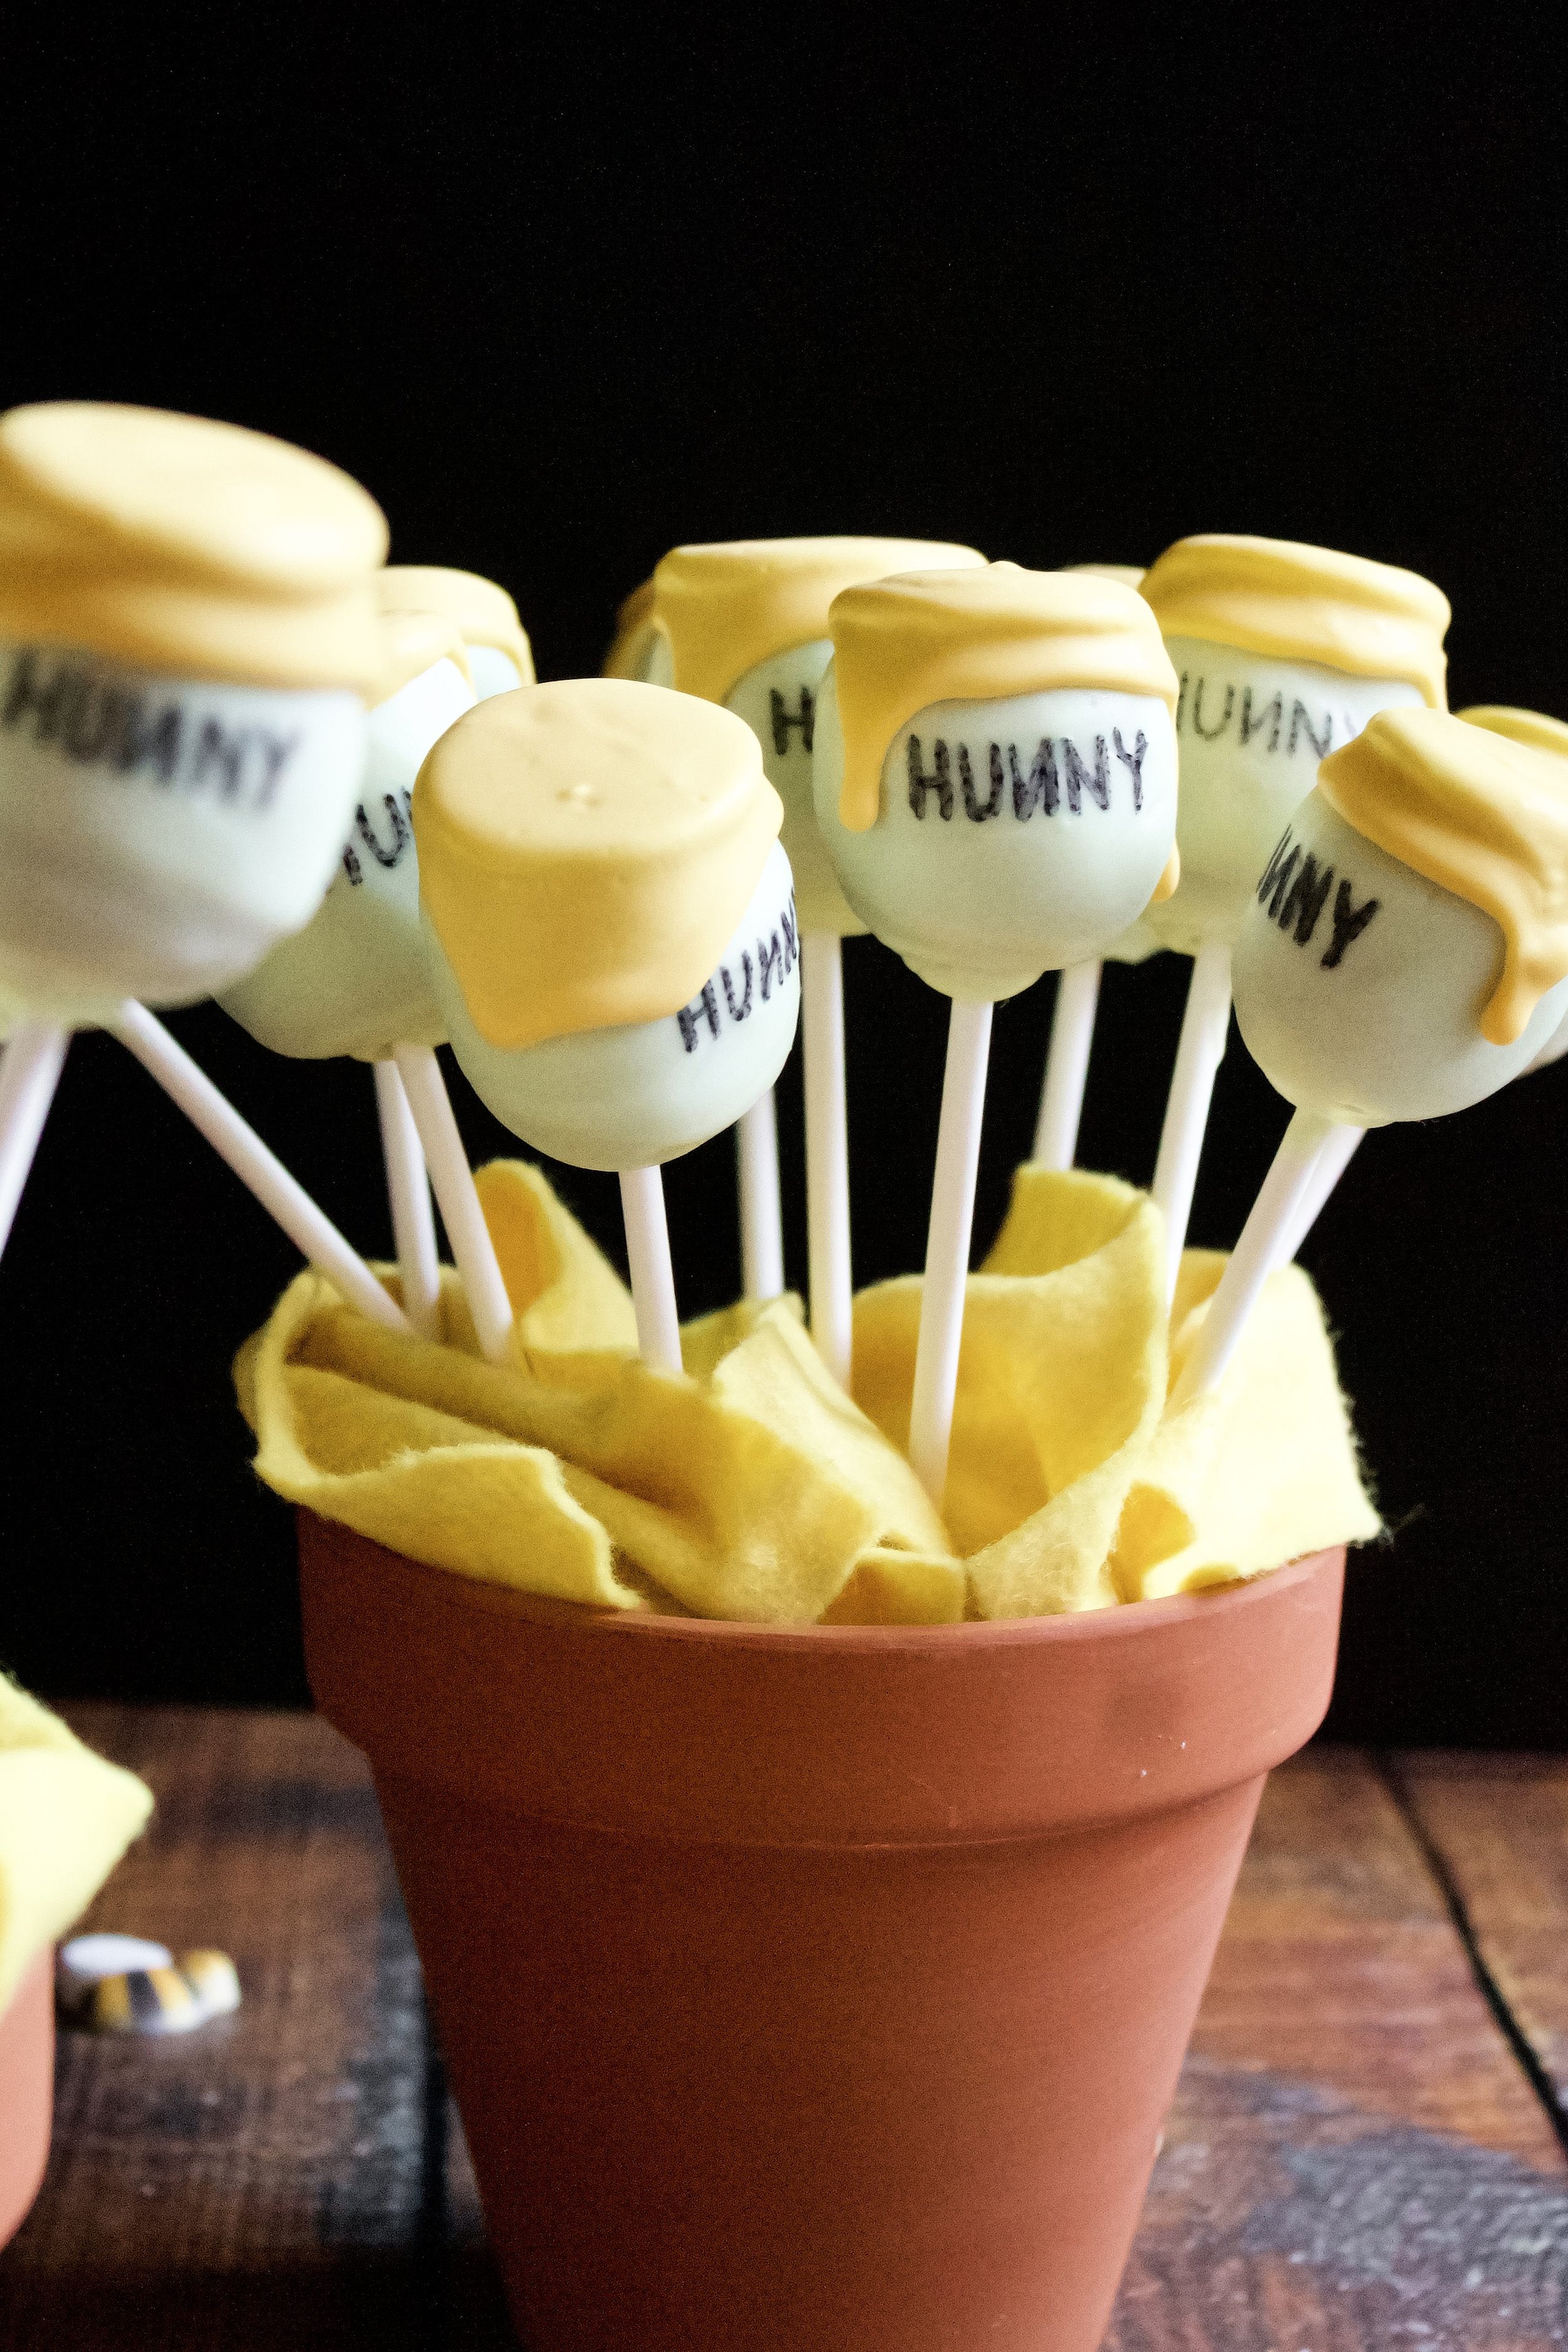
14. Dry upright. I dried them in the extra styrofoam I had from the displays I’d made. There are also drying racks out there, but in a pinch I’ve poked holes in small cardboard boxes. Use what you have.
Enjoy!


Tips and FAQ’s for this recipe
How do I get the yellow to drip?
I used a spoon to pour it on top and just slowly tilted it in a circle until the top was covered and some spilled over the edges. Keeping the cake pops cool until drizzling the yellow is key, so it starts to set as it’s dripping and doesn’t create a mess.
How do I get the “hunny” writing to stick?
If your cake pops developed condensation in the fridge, it may be best to bring them to room temperature before writing on them. At least, that’s what I had to do because it was a pretty humid week when I made these. If you live in high humidity, plan to let these set on the counter after the first dip of candy so they don’t form condensation. Then, just pop them in the fridge or freezer before drizzling the yellow.

Split up your work!
This may sound like an intense recipe, but it’s really just a handful of steps with a good deal of cooling and chilling involved. To make things easier, I suggest making your cake and buttercream the day before you’ll roll and dip them. You could also roll the cake balls and chill them overnight, as long as you cover them well (with plastic wrap or in an airtight container). That way, there’s less to do in one single day. Also, feel free to make these a day or two before you need them! They keep well for 3-5 days at room temperature.
Can I use a different cake recipe?
Yes! Most recipes call for boxed cake, but I just can’t bring myself to make that when I have such an easy homemade cake that I love so much. You could use any yellow cake that you love or even lemon cake. My bakery style cake is actually my favorite vanilla cake, but it’s much more moist and a little old-fashioned-y dense, so it may not be as suited to cake truffles as this fluffier cake.

Can I use a different frosting?
Yes! I’ve made these with marshmallow frosting and it’s so very delicious. Like, I almost wrote the recipe for that version instead because it’s such a winning combination with the confetti cake. You could also use chocolate, but be prepared for a brownish gray color.
How do I get the filling smooth?
This actually starts before you roll them. Be sure the cake is crumbled up very well—think wet sand. And do’t add too much frosting. It’s important to not have these too wet or they won’t dip well and may also be difficult to shape. If they aren’t getting very smooth, you can chill them for a bit then try rolling them again to smooth them out. Luckily, you don’t need these perfectly shaped, since Pooh’s honey is never perfect. Just roll these between your palms and gently flatten at least one end to create a barrel shape.

Make your own cake flour!
I often make my own, because it’s so easy. One cup of cake flour is just 2 tablespoons cornstarch plus 7/8 cup all-purpose flour. Our, in simpler terms, 2 tablespoons cornstarch scooped into a 1 cup measuring cup then you scoop enough all-purpose flour over that to equal 1 cup (be sure to level it off with the back of a knife). Or, for a more mathematically accurate option for this exact recipe: use 4 1/2 tablespoons (1/4 cup plus 1/2 tablespoon) cornstarch and add that to 1 3/4 cup plus 1 1/2 tablespoons flour. Sift and whisk twice before using in the cake.
What kind of sprinkles should I use?
Any kind! I prefer jimmies, because they’re the most classic confetti cake sprinkle. However, you can use any kind you like. Nonpareils are another good option, but be careful not to mix too much or the color could bleed. I don’t recommend super large sprinkles or those jumbo nonpareils, as they are just uncomfortable to bite into with such a lovely bite of cake truffle.
How to I keep the candy coating from turning grainy?
Keep it warm! I don’t own a microwave, so I had not choice but to melt my candy on a double boiler (a saucepan filled with 2 inches water, brought to a boil, then turned down to low). I just kept the bowl on the double boiler at low, stirring it every so often so it stayed in a melted state.

My tools
Here are my must-have tools I use for making these truffles. Affiliate links provided.
Mesh sieve (because sifting is KEY for a fluffy cake)
All-rubber spatula (this makes scraping the bowl easier so the batter and frosting doesn’t get all over a wooden handle!)


Winnie the Pooh Honeypot Cake Pops
- prep time: 45-50 minutes (split up)
- bake time: 35-40 minutes
- chill time: 3-4 hours
- total time: 5 hours, 30 minutes
servings: 36-48
Ingredients:
for the vanilla butter cake
- 2 cups plus 2 tablespoons (244g) cake flour, spooned then leveled
- 2 teaspoons (8g) baking powder
- ½ teaspoon (3g) sea salt
- ¾ cup (170g) unsalted butter, room temperature*
- ¾ cup (150g) granulated sugar
- ¾ cup (150g) light brown sugar
- 3 large eggs, room temperature
- 2 tablespoons (27g) avocado or vegetable oil
- 1 tablespoon (13g) pure vanilla extract
- 1 cup (240g) whole milk, room temperature
to assemble
- 1 cup vanilla buttercream (or your favorite white-ish frosting–marshmallow works well here, too!)
- ½ cup (about 150g) sprinkles (like rainbow jimmies)
- candy melts (I used yellow and light green, both toned down with white)
- cake pop sticks
- parchment paper or a silicone mat
- edible marker
Instructions:
make the cake
- Preheat oven to 325F/165C (350F/175C if at high elevation). Lightly grease and flour a 9x13 baking pan (or use baking spray).
- In a medium mixing bowl, use a large fine mesh sieve to sift then whisk together cake flour, baking powder, and salt. Set aside.
- In the bowl of a stand mixer fitted with a paddle attachment (or a large mixing bowl with a hand mixer), beat the butter on high until fluffy, about 1 minute. Add the sugar and brown sugar and beat until light and fluffy, about 3 minutes. Scrape the bowl as necessary, at least once.
- Add the eggs, one at a time, mixing on medium until light and fluffy (about 30 seconds) and scraping the bowl after each addition. Add the vanilla and oil and mix on medium until well blended.
- Add half of the flour and mix on low until just barely blended. Add the milk and mix on low until just barely blended. Add the remaining flour and mix on low until just barely blended. Scrape the sides and bottom of the bowl. Mix on low another 3-5 seconds, just to mix it all. Don't’ worry if there are a few streaks of flour.
- Pour into your prepared baking pan and spread evenly. Bake for 35-40 minutes, or until the top begins to turn golden and a toothpick inserted in the middle comes out with just a few moist crumbs. Check early, as baking times can vary by oven and climate.
- Let cake cool in the pan completely.
assemble
- While the cake cools, make your buttercream (if not made ahead).
- Once the cake is cool, use your hands or a hand mixer or a stand mixer fitted with the paddle attachment. Try to get it all crumbled up well so you don’t have any large chunks–those will make it hard to make a round cake truffle. Add the buttercream and sprinkles and mix on low or stir gently until fully combined. It shouldn’t come together like bread dough, but it should be evenly mixed. If you squeeze some together in your hand, it should stay. If it’s falling apart, add 1-2 more tablespoons buttercream.
- Use a small cookie scoop to get about 1 ½ tablespoons cake. You can make them slightly larger or smaller, but this will impact how many cake pops total you get. Roll between your palms to create a barrel shape. Press gently on at least one end to help flatten it for the top of the honeypot (you can flatten both ends if desired–it all depends on the look you want).
- Place with the flattest side down on a parchment or silicone lined, rimmed baking sheet, pressing gently to get it perfectly flat on the bottom. Refrigerate at least 1 hour, until firm.
- Melt candy coating for the body of the honeypots (so not the yellow) in the microwave according to directions (or use a double boiler). Be very careful not to overheat it, as it will be ruined. You can keep it warm while you dip the cake pops by placing the bowl over a saucepan with 1” simmering water over lowest heat setting.
- Remove just a few cake balls from the fridge at a time. Dip the very end of a cake pop stick in the candy and insert into the non-flattened end of a cake ball (so that the flattest side is facing up). Carefully place back on the baking sheet in the fridge, to set the candy “glue”.
- Gently reheat candy, if needed. Take a few pops out of the fridge at a time. Dip the cake in the candy, covering it fully. If needed, use a spoon to help get it to cover the part closest to the stick. If your cake pops are falling off, try adding a teaspoon of coconut oil or shortening to thin out the candy.
- Immediately place dipped pops upside down on your parchment lined cookie sheet (or line a second sheet to make things easier), with the stick facing up.
- Repeat until all pops are dipped. Refrigerate about 1 hour or freeze about 20 minutes to set the coating. You can also let it set at room temperature, but this takes a couple hours.
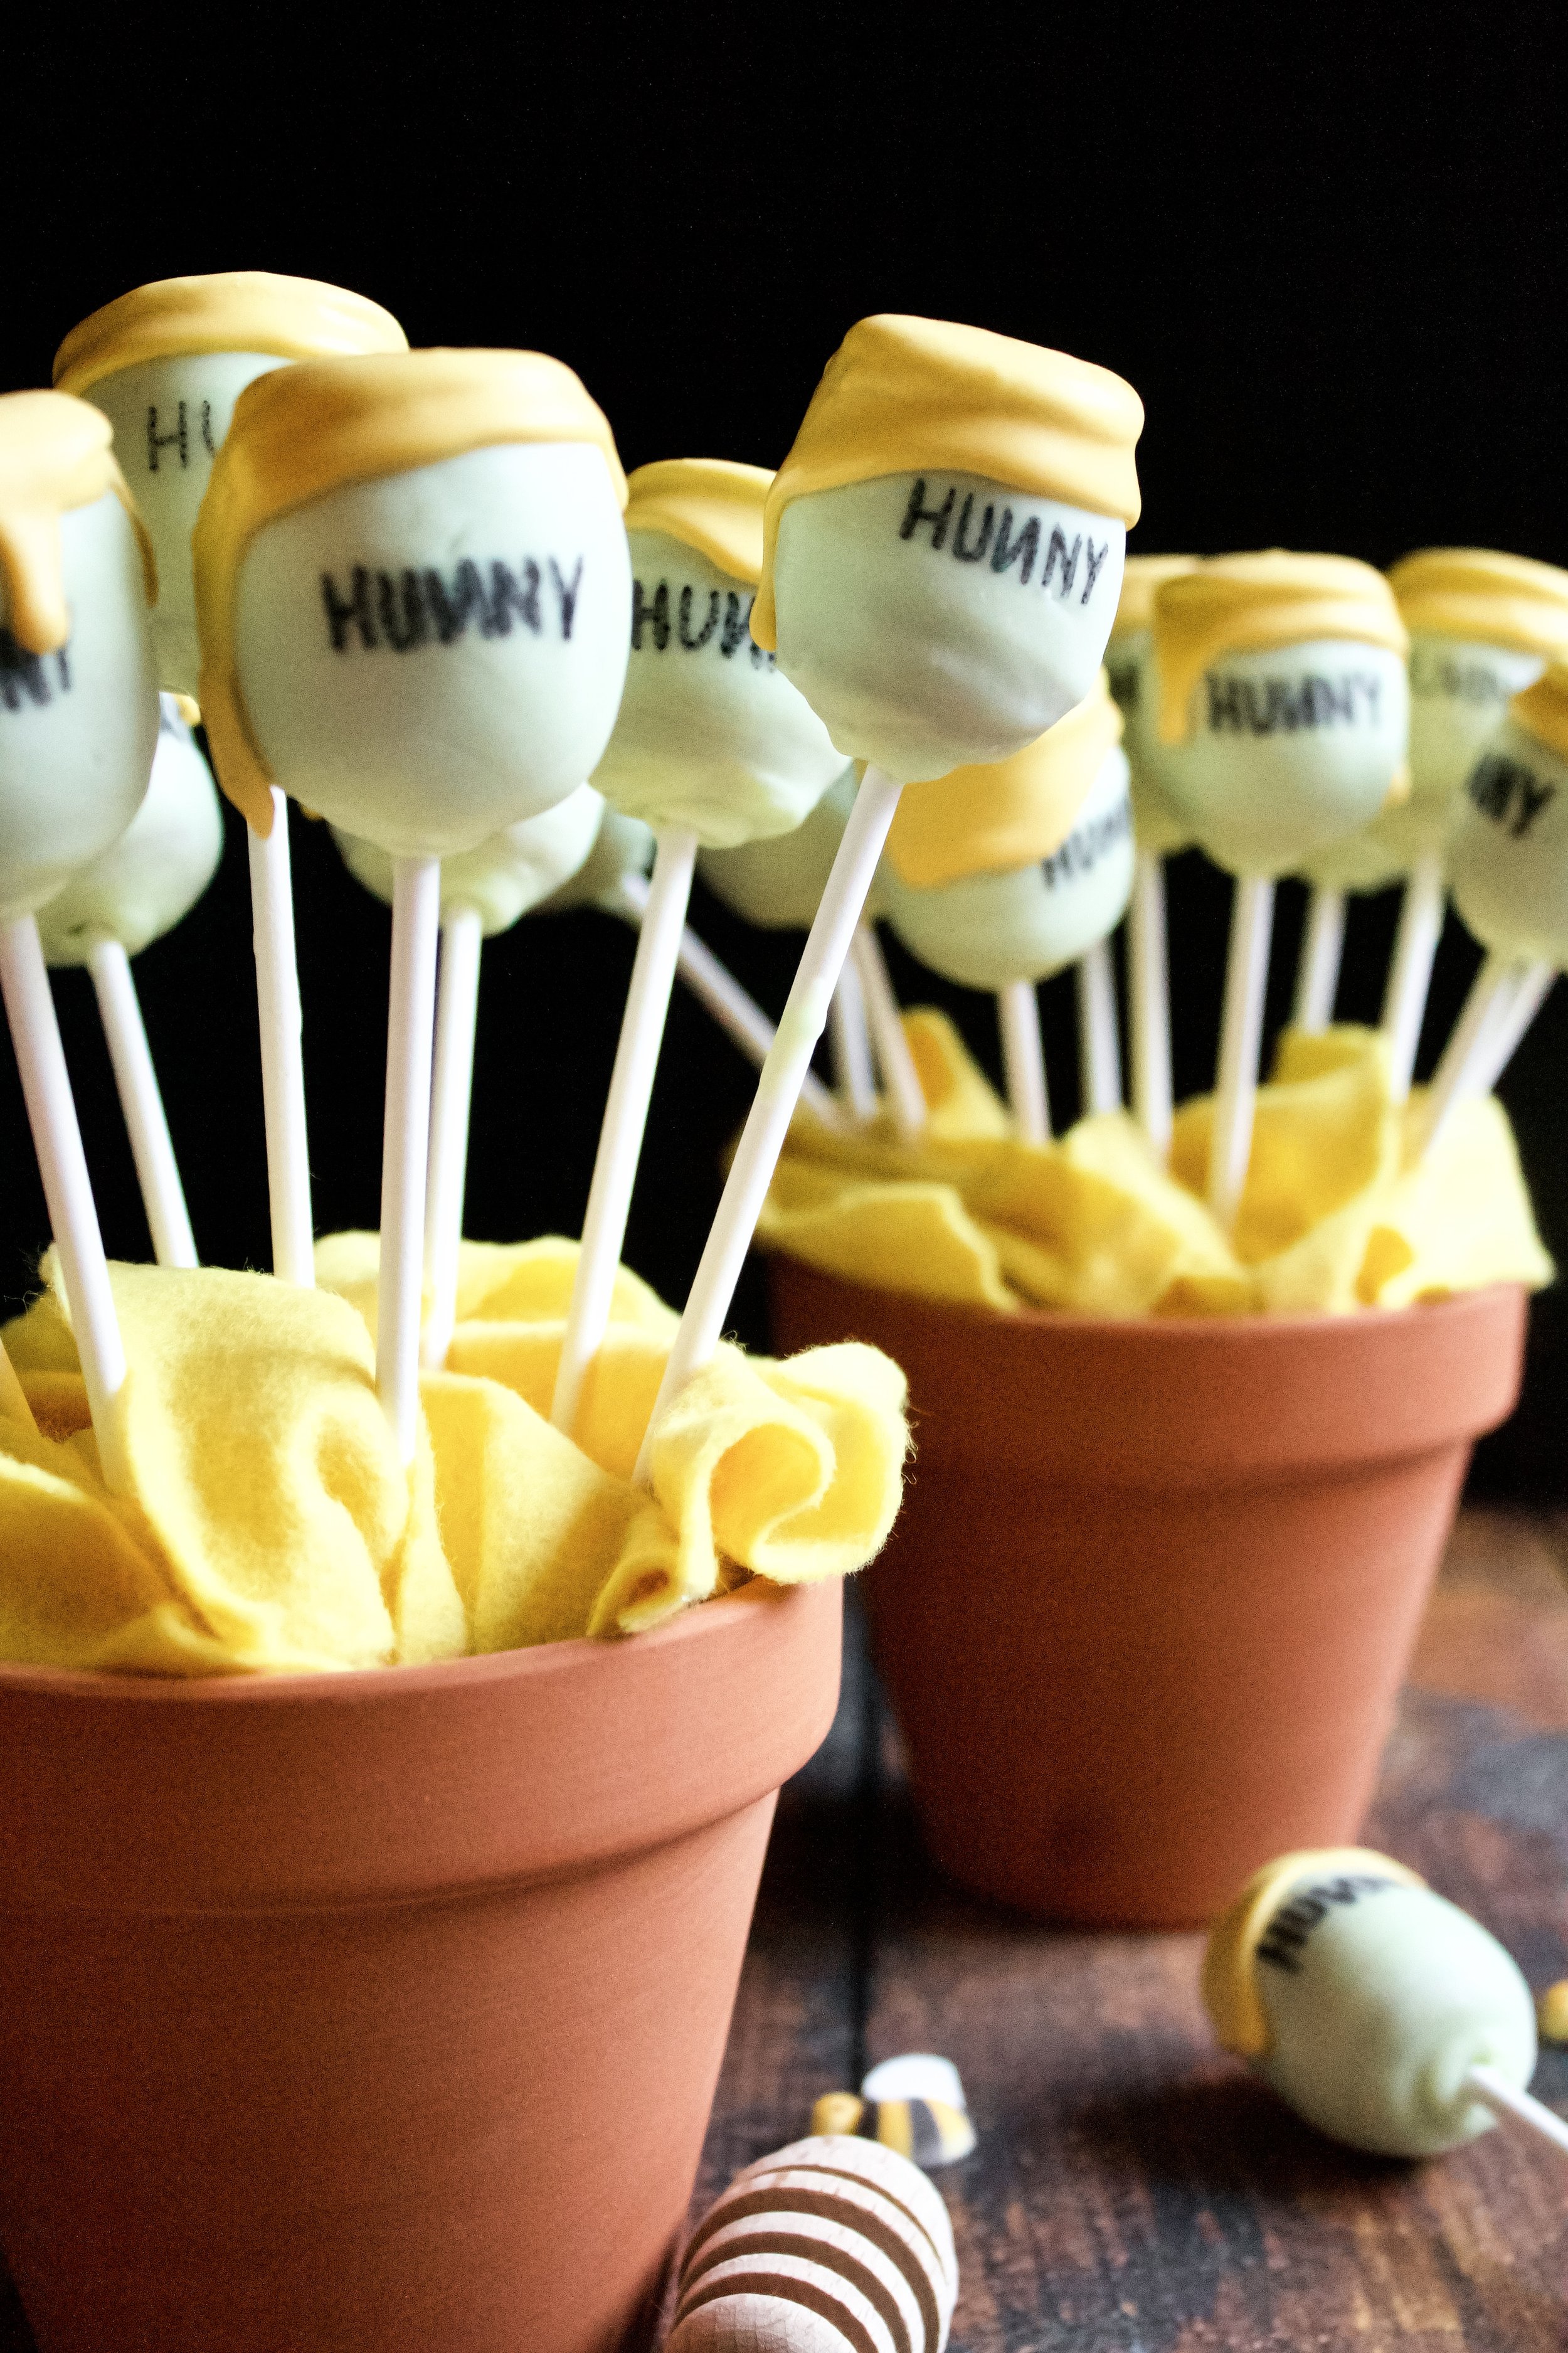
- Once the candy is set, use your edible marker to write “hunny” on each one (I did the classic backwards N on some). Be sure to place back in the fridge before adding the yellow “honey” so that the honeypot lip you’ve created doesn’t melt away.
- Melt the yellow candy for the honey tops. Take a few pops out of the fridge at a time and gently spoon some yellow candy over the top, gently twirling until the whole top is covered and some drips down the sides.
- Place upright in a cake pop rack, upturned colander, styrofoam block, cardboard box with holes punched in it–whatever you have on hand. Let dry 1-2 hours (or refrigerate about 30-60 minutes).
- If serving within a day or two, store these at room temperature (refrigeration causes condensation). Otherwise, wrap in plastic wrap and refrigerate or freeze until ready to serve, letting them defrost before removing the plastic wrap (so the condensation sits on the plastic and not the cake pop).
Enjoy!
Cake pops should be stored in an airtight container. They will last at room temperature for 3-5 days, in the fridge 1-2 weeks, or in the freezer 6-8 weeks (wrapped individually). Let come to room temperature before serving, so that the condensation can dry.
*Ideally, use European style butter, as it has less water. If your butter has become shiny or oily, put it back in the fridge for 5-10 minutes until it firms up a bit (not hard) and is matte in appearance.